In Cult of the Lamb, you must progress through dungeons to get resources for your cult. Different icons on the map indicate various resources ahead, so you’ll need to plan your path according to your cult’s needs.
Table Of Contents
Navigating the Map
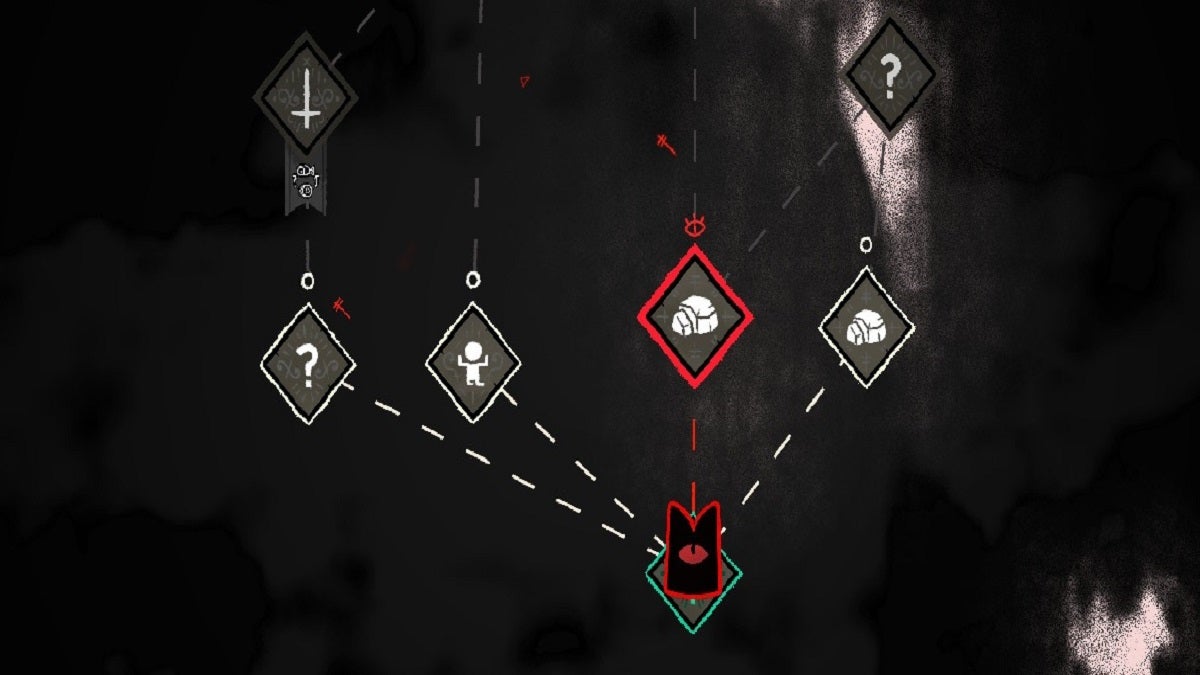
The map is different for each new run-through of a dungeon in Cult of the Lamb. Typically, you’re able to choose which path you want to take to get to the Mini Boss or Bishop fight at the end. You’ll want to be strategic about the path you take, depending on the needs back at your cult. If you choose to go one way at a fork in the map, you’ll be locked out of the other routes, so you must choose wisely. To decide which path you want to take, you’ll need to know the meanings behind each symbol on the map.
All Map Icon Meanings
These are the symbols and meanings for each icon that appears on the map in Cult of the Lamb.
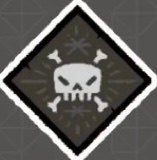
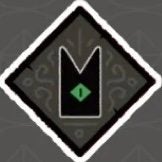
| Map Icon | Map Icon Title | Map Icon Meaning |
|---|---|---|
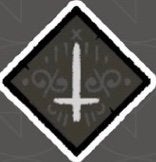 | Normal Fight | Indicates room of enemies without any special bonuses |
 | Mini Boss Fight | Indicates mini boss fight in that region (runs one through three) |
 | Bishop Fight | Indicates a main boss fight in that region (fourth run) |
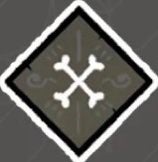 | Bones | Collect Bones |
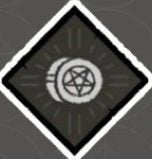 | Coins | Collect Coins |
 | Fertilizer | Collect Fertilizer |
 | Food | Collect Food |
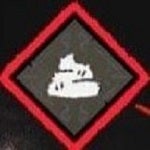
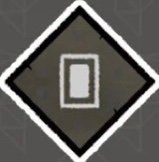
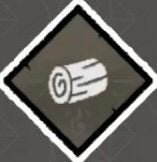 | Lumber | Collect Lumber |
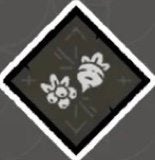
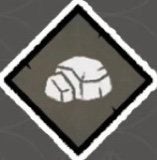 | Stone | Collect Stone |
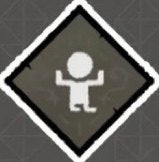 | New Follower | Indicates potential for new Follower upon elimination of enemy wave |
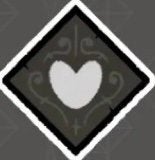 | Heart | Will refill your health |
 | Shop | Indicates Shop where you can use gold to buy Followers or other resources |
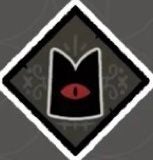
 | Tarot | Indicates Clauneck’s tent, collect a Tarot Card for power boost |
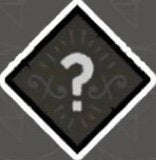 | Event | Indicates randomized encounters that give you various benefits |
 | Pray | Indicates room with altar, pray to receive boon from The One Who Waits |
Choosing a Route
Depending on where you’re at in the game, you’ll make different decisions regarding your routes. For example, if you’re still in the early game, it’s a good idea to stock up as much as you can on Lumber. The quicker you can make vital buildings back at your cult, the more successful your cult will be.
Additionally, gathering new Followers is essential in the early game to progress your cult more quickly. That said, if you’ve got a solid foundation up and running back at your cult, this opens you up to focus more on the success of your runs. This means you’ll want to aim more for Pray, Tarot, Shop, Hearts, or Events.
Map Modifiers
If you notice a small symbol in a banner beneath the main Map Icons, this indicates a Map Modifier. This means that if you choose that route, the modifier will be applied. You can decipher what the modifier means by looking at the symbols. Some of the modifiers include the loss of a Red Heart but the gain of a Tarot Card, Chests that drop Food instead of Coins, or double the amount of Coins.