Spiders appear a handful of times throughout Spyro Reignited Trilogy. The most notable arachnid appearance happens in Spyro 1 when you visit the level High Caves. To fully complete the series, you’ll need to defeat these spiders, along with two other spider types.
Table Of Contents
High Caves: Locating the Metalback Spiders
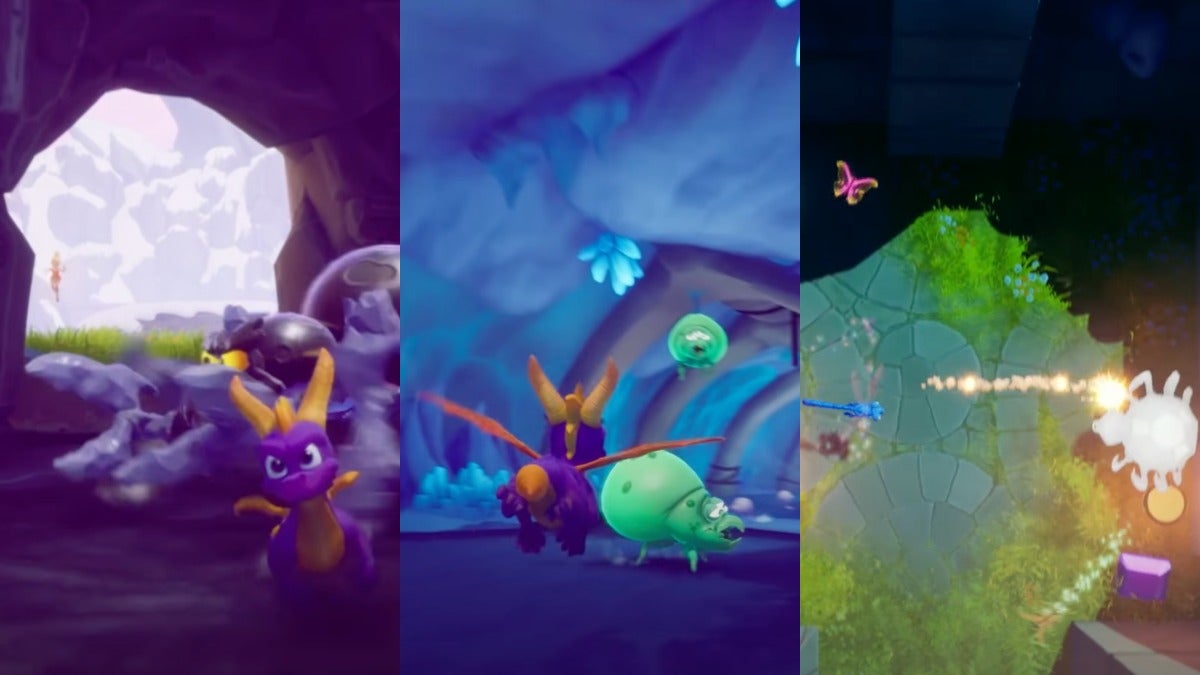
When you first enter High Caves, you’ll see that you can either go to the right or to the left.
There’s a Metalback spider to the right, but we’re not ready to fight those yet. Instead, go to the left and follow the winding path. Be careful to avoid the Elder Wizards and Tornado Wizards.

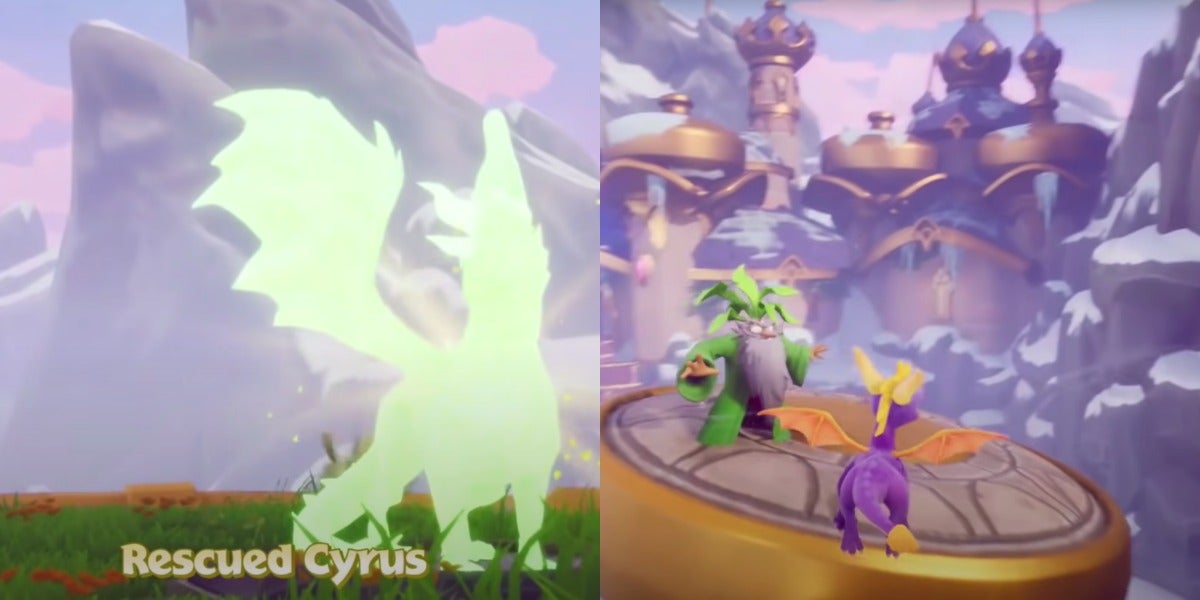
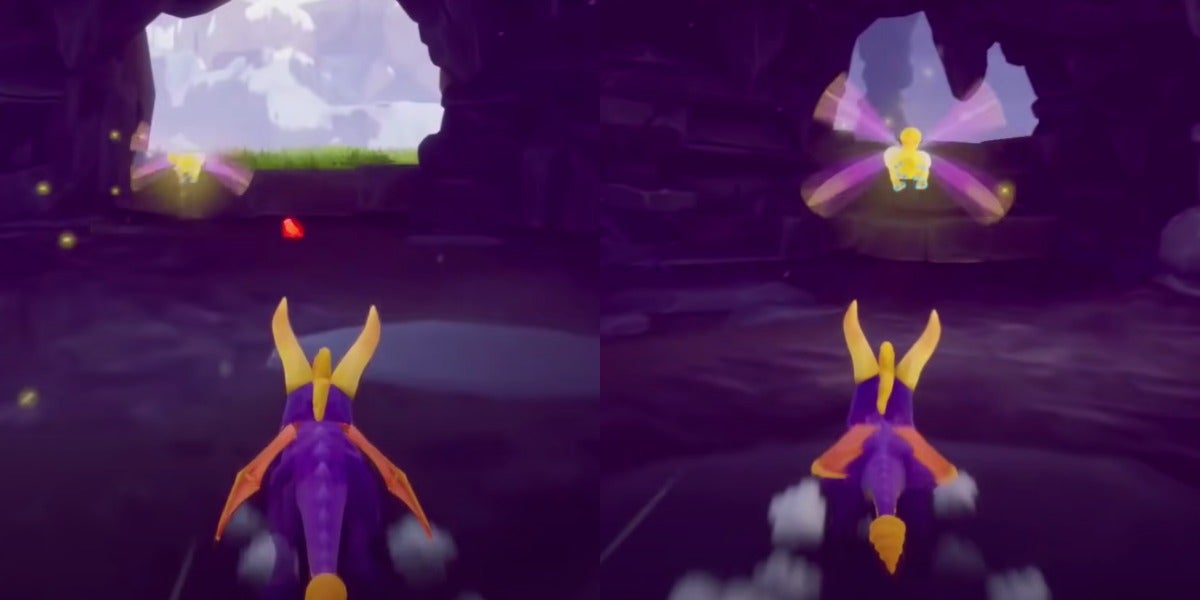
Once you reach the top, you’ll see a Dragon Statue. Free the dragon, Cyrus, to save your progress. Then, proceed to glide onto the moving platforms. The Druids are actively moving these platforms, so take your time here.
After you get to the second platform, glide across into the next room. From here, you’ll hop up onto the exit door platform. Below you is a ledge. Hop down to it. Follow the ledge until you see the second Dragon Statue.
High Caves: Killing the Metalback Spiders
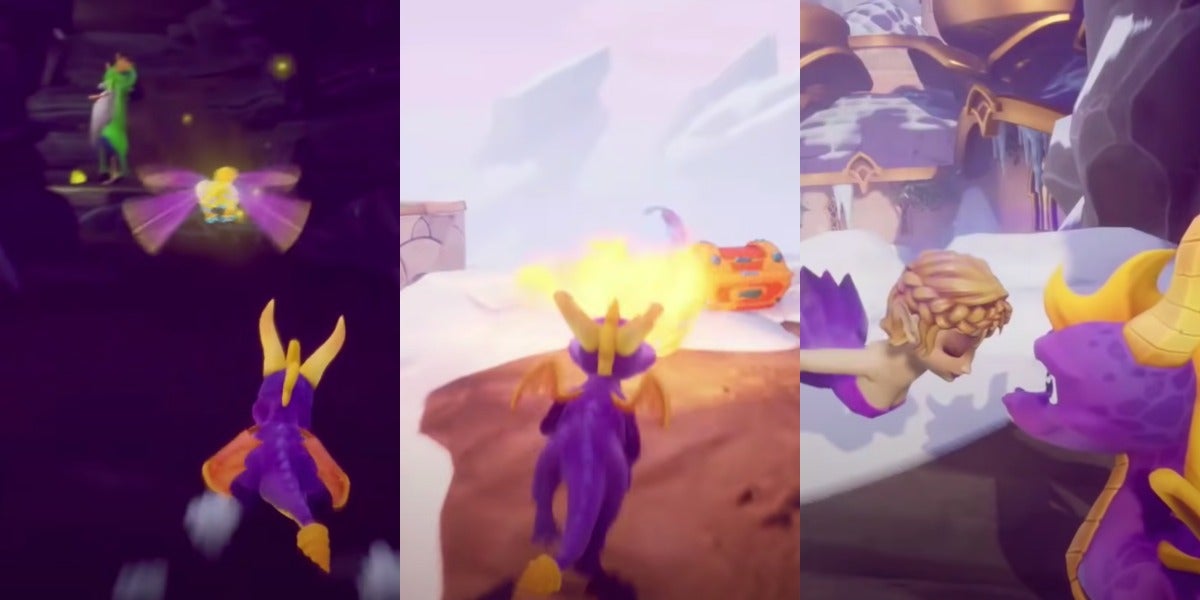
After freeing Dragon Number Two, Ajax, you can see a Super Charge ramp directly behind him. To the right of Ajax’s platform, you’ll see a cave. The goal is to charge down the supercharge, make a sharp left, and keep charging into the cave.
You have to act quickly and be careful to not miss the spiders. If you stop charging, you lose your supercharge ability and must start the process over. This is how you kill the first three Metalback spiders.
However, there are still two more spiders left. This is where it gets tricky.
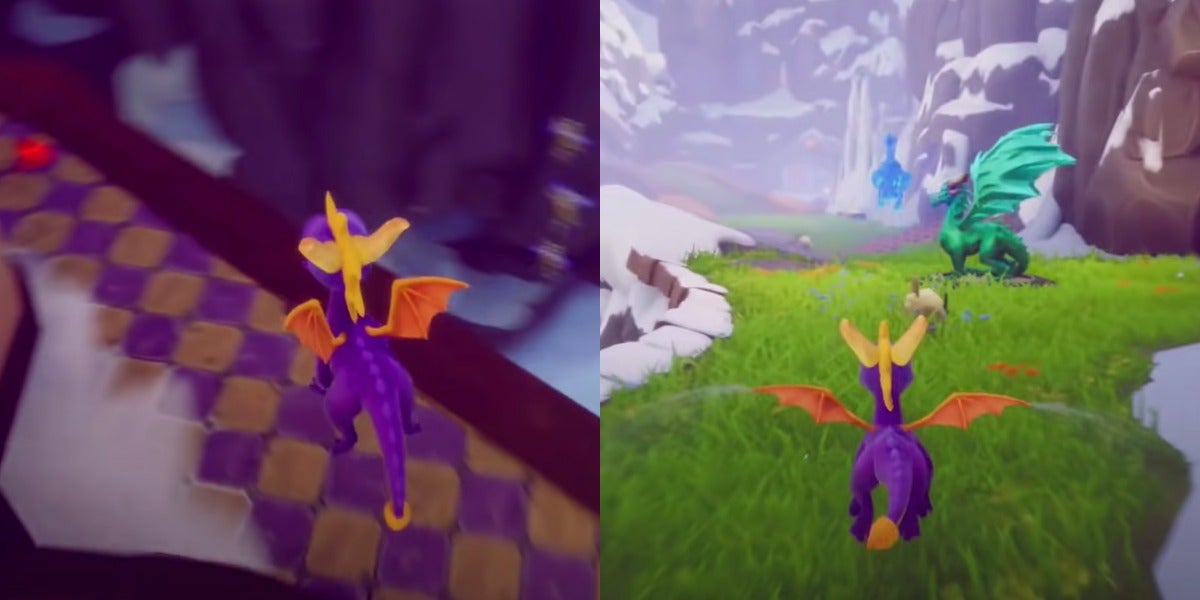
You’ll want to head back into the cave. Proceed through the cave that has all the spider webs and pillars until you get back to where you first started supercharging. Turn around to see a set of stairs that leads to the second level of the cave.
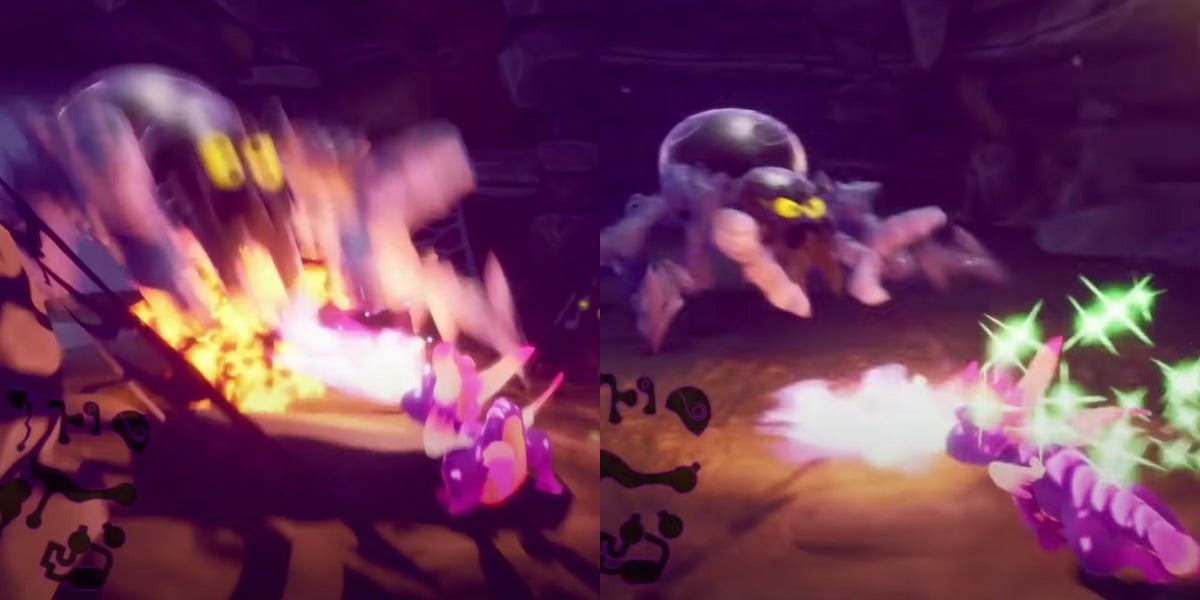
There’s a room with a Druid and a Metalback spider. Ignore the spider for now and kill the Druid. Be careful to avoid the spider’s attacks, though. Head up the next set of stairs to encounter the same situation.
This time, the Druid is standing up on a platform. This helps you keep your distance from the spider. After you kill the Druid, run over to the open cave door to find a fairy. Once she kisses you, you’ll gain a short-lived power-up!
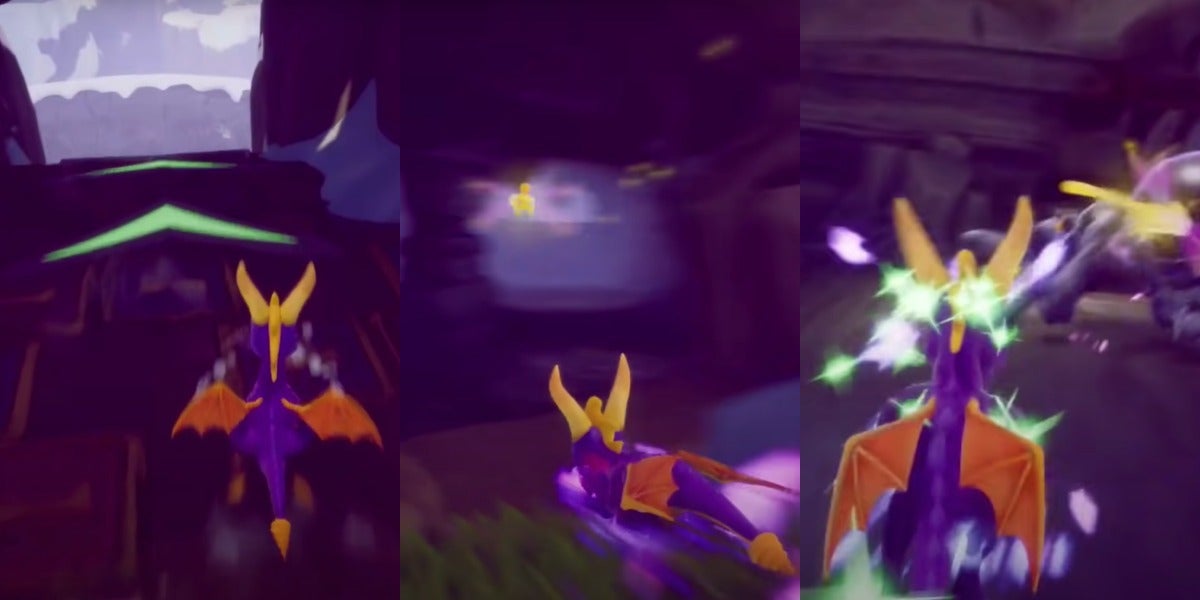
Now, you have the ability to kill the Metalback spiders with your flame! Quickly run back into the cave and flame the last two spiders.
All the Metalback spiders are now gone. It’s safe to say that Spyro is no fan of 8-legged bugs. You receive the “Arachnophobe” trophy!
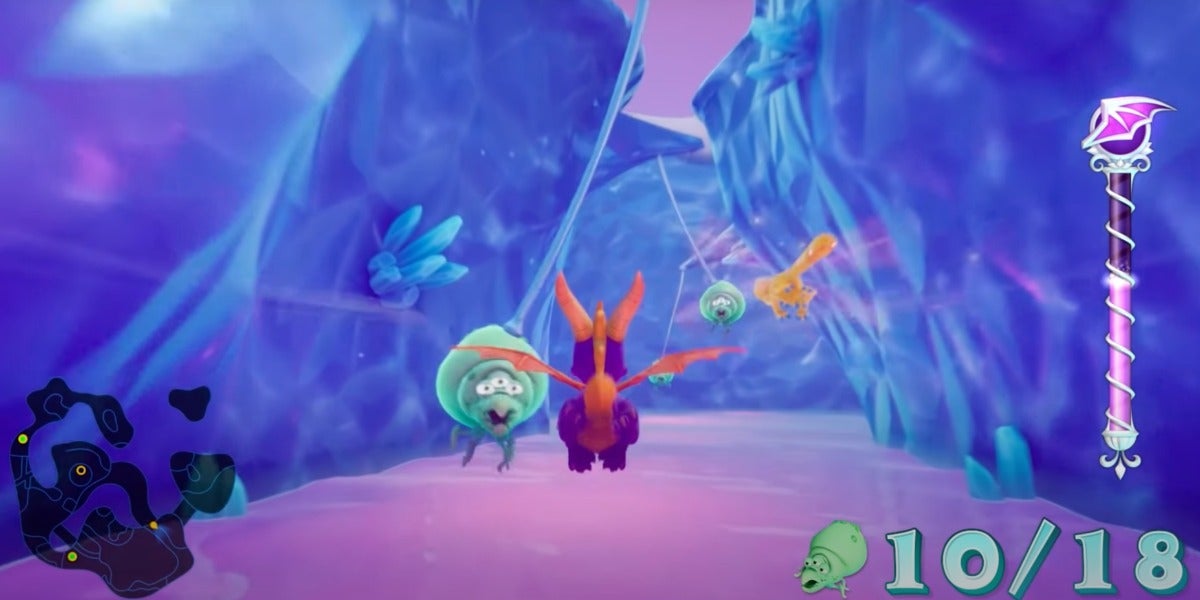
Crystal Glacier: Destroying the Draclets
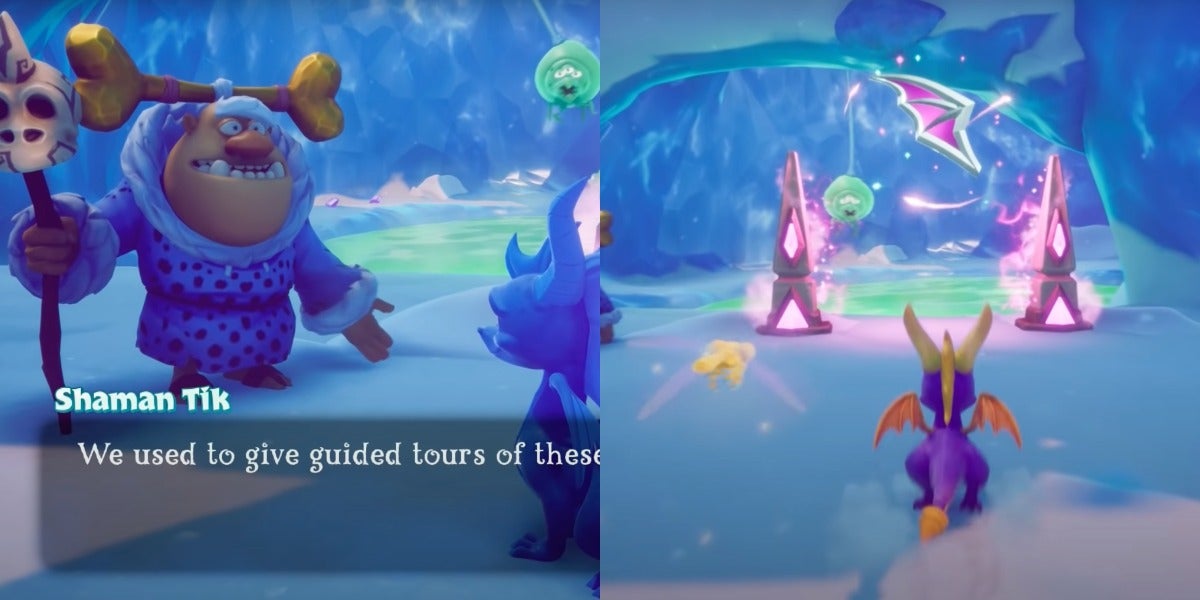
There are also some spider-like enemies in Spyro 2 Reignited. These creatures are called “Draclets,” and they are part of a mini-game in the level Crystal Glacier. You can find this mini-game under the dino bone bridge when you talk to Shaman Tik.
Make sure that you kill at least 15 enemies before you attempt the challenge. If you don’t, the flight power-up will not work. It’s not a good idea to try this mini-game without the power-up.
Simply fly through the tunnel and make sure to kill ALL the Draclets. Even if you miss just one Draclet, its friends will quickly start repopulating. This means that you’ll have to start killing the Draclets all over again.
In order to beat the mini-game and get the orb, you must leave no Draclet behind.
Draclet Challenge: Pro-Tip
Some Draclets are on the ground, while others hang over the poison. If you can’t kill them all while you’re flying, that’s okay! Sometimes It’s more difficult to kill the ground-dwelling creatures when you’re flying due to Spyro’s speed.
If you’re missing Draclets as you fly through the cave, we recommend staying on-ground and using Spyro’s charge ability to kill these creatures. Quickly start flying again once you reach the cave’s poison section.
No matter which method you choose, just remember to be quick!
Once you kill all 18 Draclets without leaving any gaps, you’ll get the orb and the “Bug Control” trophy.
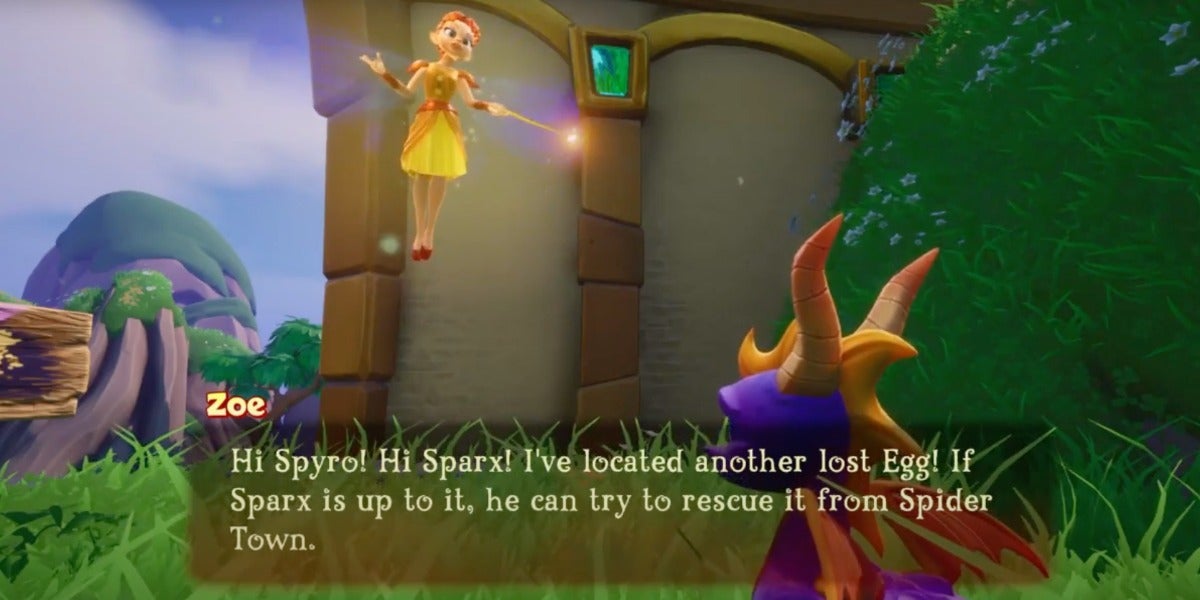
Spider Town: It’s Sparx’s Turn!
Once you reach Spyro 3 Reignited, your next spider enemies are located in a level called “Spider Town.” However, this is a Sparx level, meaning you’ll get to play as Spyro’s dragonfly sidekick!
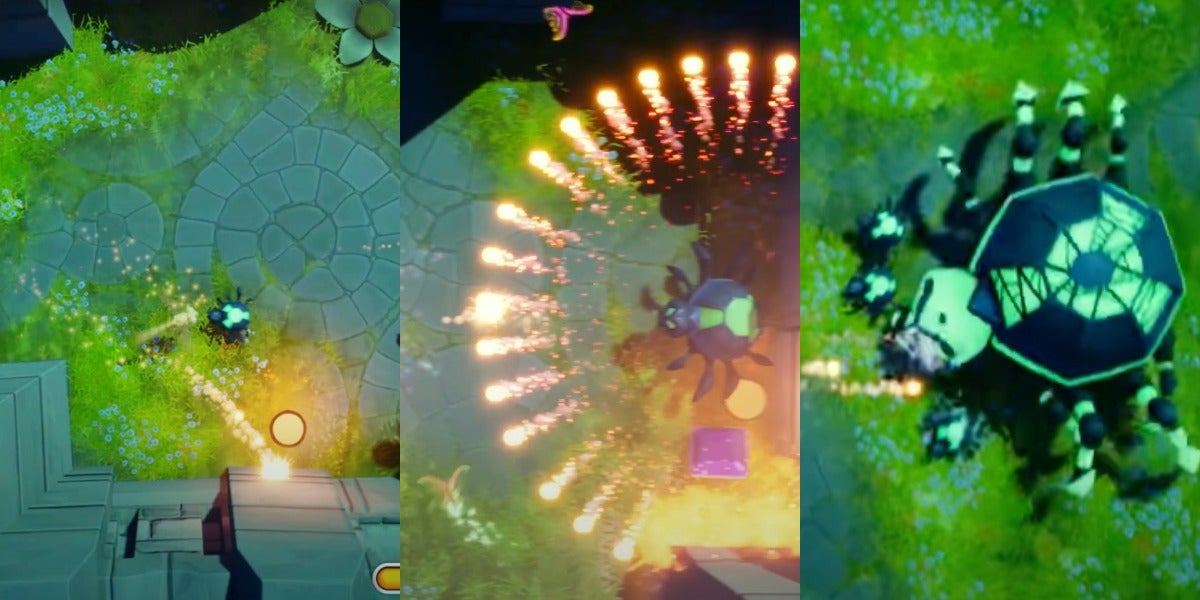
There are three different types of spiders in this level – Small Spiders, Shockwave Spiders, and the Spider King.
It only takes one hit to kill the Small Spiders. However, they’re very fast and they approach you in groups. While you can kill them with Sparx’s regular attack, using butterfly power-ups makes this much easier.
Shockwave Spiders are larger than Small Spiders. They are stationary, but it takes multiple hits to kill them. And to top it all off, these spiders shoot out dangerous “shockwaves.” Repetitively shoot these spiders from a distance to avoid the waves.
Finally, the Spider King is this level’s final boss. This giant spider spits out Small Spiders to attack. The Spider King itself also does a “spin attack” to harm Sparx.
Avoid the Spider King’s spins and attack it when it stops spinning. When you shoot at the Spider King’s mouth, you’ll kill the Small Spiders while also doing damage to the Spider King itself.
Once the Spider King is dead, you’ll get Tootie the dragon as a reward! While that doesn’t seem like the most appealing gift, it’s much better than a spider infestation.
Spider Spawners: Pro-Tip
Some Small Spiders will just keep regenerating. You’ll have to destroy the spawners to keep this from happening. In Spider Town, spawners look like flowers as you can see below.
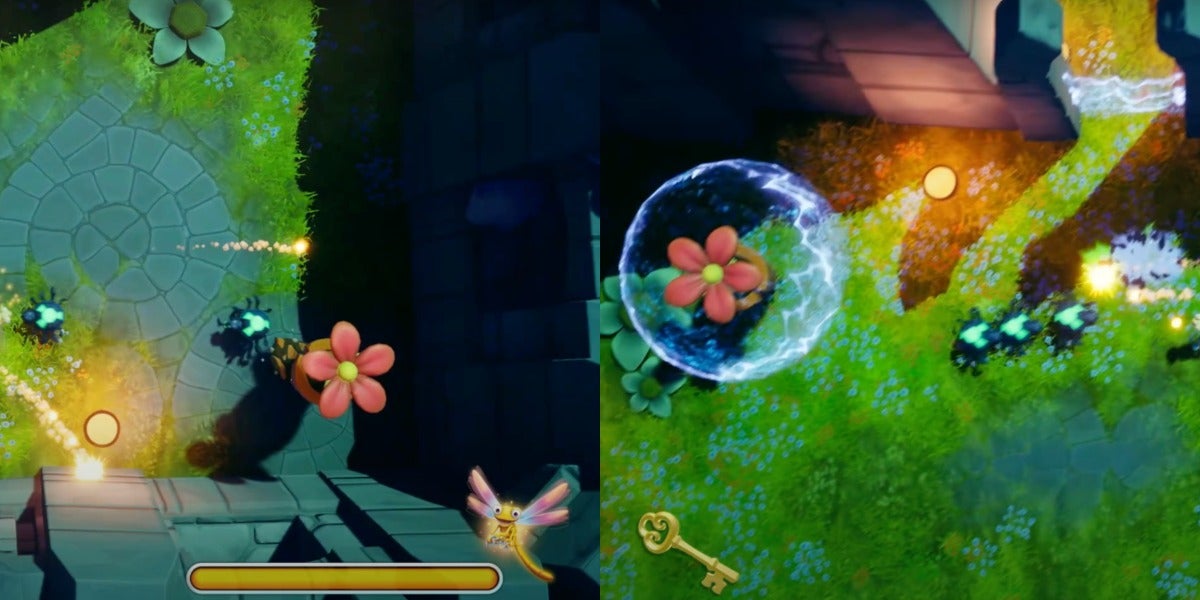
Some of these spawners (like the spawner seen on the right image here) are blocked by a force field which makes them impossible to destroy. When this happens, you must press a button to deactivate the force field. These buttons are often located near enemies.
Once you defeat the Small Spiders and the Shockwave Spiders, make sure to look around for these buttons! Otherwise, you’ll experience an endless loop of spiders.