![]() Key Takeaway
Key Takeaway
To make a decal in Roblox, you’ll need to create and upload your image. To upload your image, log in to Roblox and click Create > Decals > Choose File. Select your file, give it a name, and then click Upload.
In Roblox, players can use decals to apply images to surfaces of in-game objects like bricks. Decals are similar to T-shirts, but players cannot wear them on characters. You can keep decals for personal use or even share them with others.
Before creating a decal, you need to create the image that you want to use. You can’t create your image within Roblox itself, so you’ll need to use another program such as PhotoShop, Adobe Illustrator, or even something simpler such as Microsoft Paint. Once you’ve created the image you’d like to use as a decal, save it to your desktop.
Your image must be one of the following file types: PNG, JPG, TGA, or BMP.
Once you have your image ready, log in to Roblox on your desktop and click Create at the top of the screen.
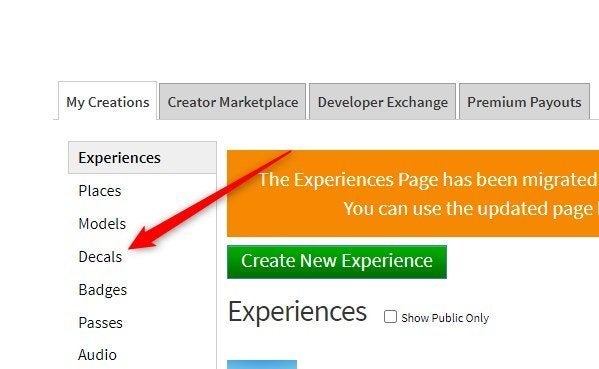
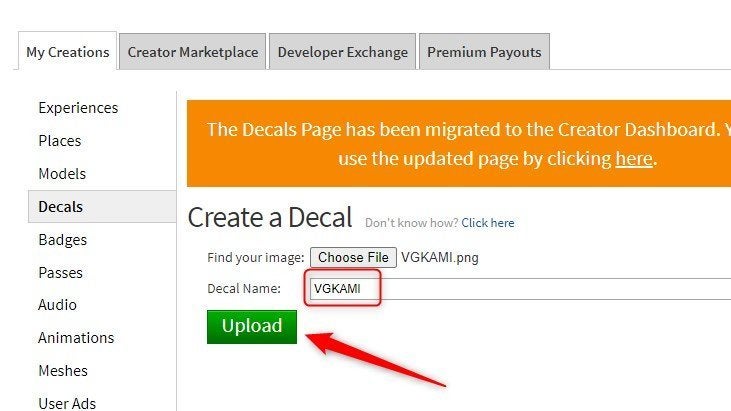
On the next page, click the Decals option, found under the My Creations tab.
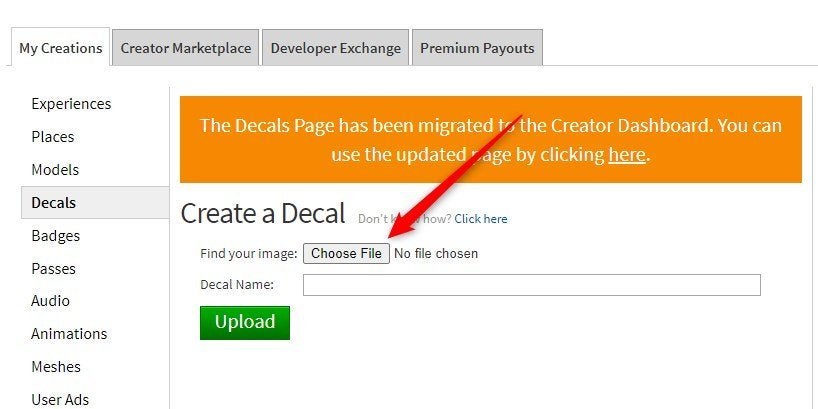
Next, click Choose File.
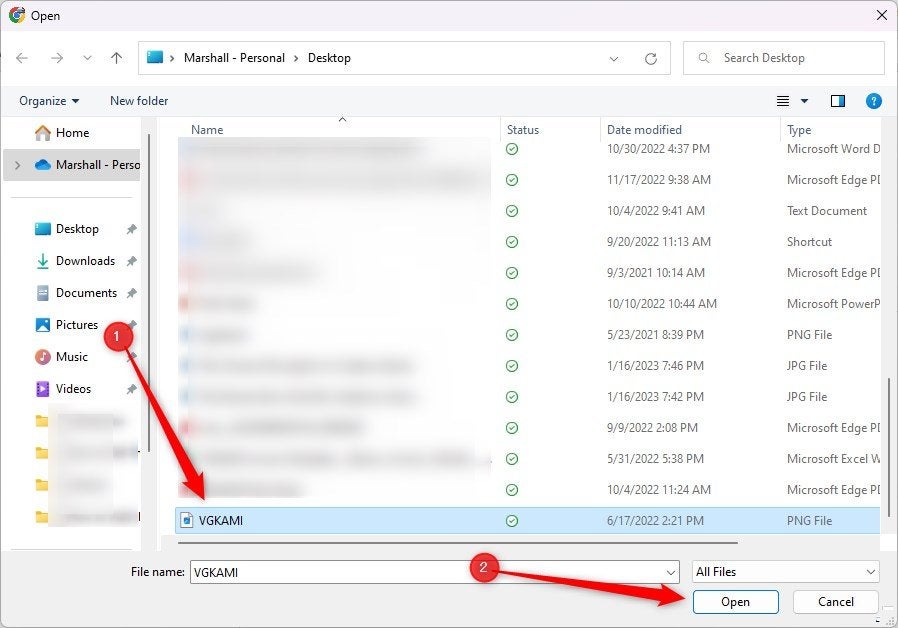
Your computer’s file explorer will appear. Find and select your image file and then click Open.
Finally, give your decal a name by entering it in the text box next to Decal Name, and then click Upload.
Now all that’s left to do is wait for a moderator to approve the decal. As long as you aren’t violating any of the rules or terms of use, your decal will be approved in no time.