
GFs: None
Draw Points: Berserk, Aero
Enemies: G-Soldiers, Thrustaevis, Wendigo, GIM47N, GIM52A
Bosses: Biggs and Wedge, GIM52A (x2) and G-Soldier
Table Of Contents
Assassination Aftermath
You’ll begin the next section of the game controlling Zell. He wakes up from a dream into a nightmare as the SeeDs and Rinoa have been thrown in prison for their attack on Sorceress Edea. You can speak with everyone and get their thoughts on the matter, or you can skip right to talking to Rinoa to advance the scene. Rinoa puts things together and figures out where you’ve ended up: the D-District Prison in the Galbadian Desert.
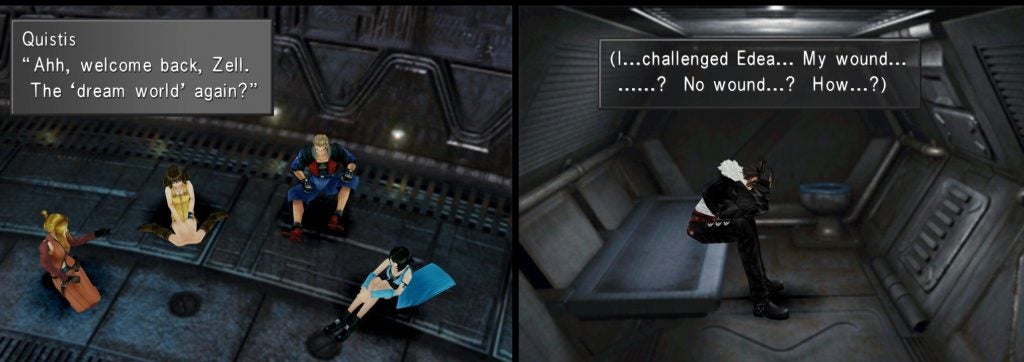
The scene switches briefly to check in on Squall—he’s somehow healed from Edea’s icicle but is in some sort of solitary confinement. From here, control will switch back and forth between Zell and Squall a few times, but there is no reason to check your junctions for a while. When you’re in control of Zell next, he gets ganged up on by the guards who have come to get Rinoa from your cell on Floor 7.
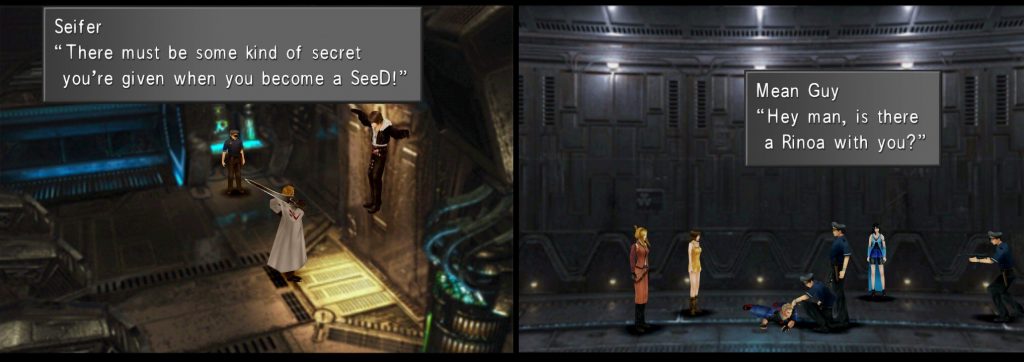
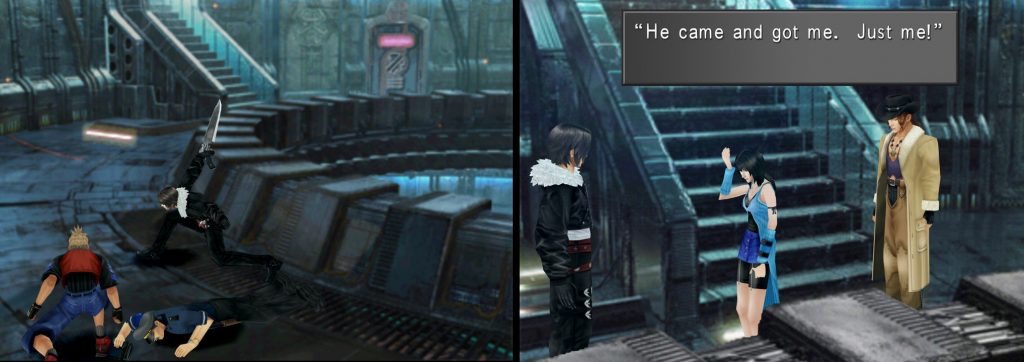
After Squall and Seifer catch up and debate the meaning of SeeD, you’ll switch control back to the gang on Floor 7. A Moomba enters the room with a tray, but he trips and falls, bringing the guards back in. When the Mean Guy kicks our new furry friend, have Zell choose the option: “I’ll stop him!”
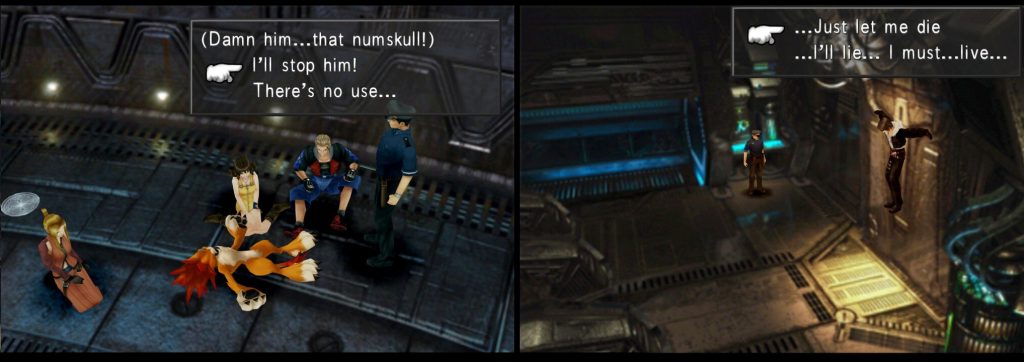
Back to the interrogation: Squall gets a choice to give in to his torture and die, or to lie and live. Choose “…Just let me die.” and have Squall accept his fate.
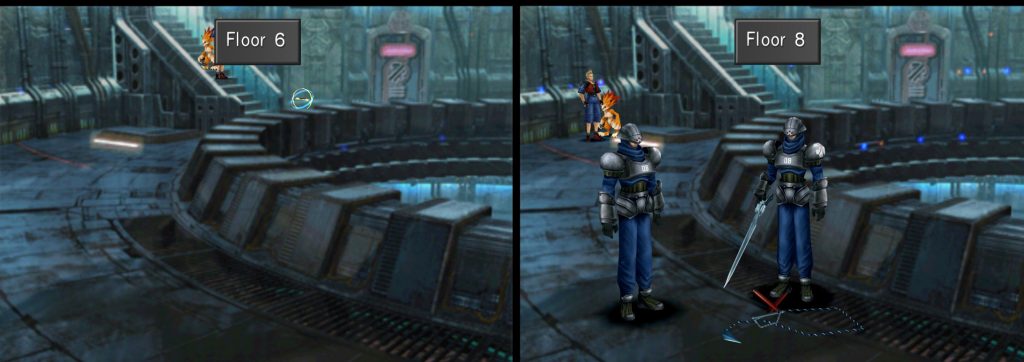
Speaking to Quistis advances the scene. With a new friend in tow, it’s time to get the girls their weapons back. If you’d like to save, go down the stairs to Floor 6, and be sure to fully junction Zell, Quistis, and Selphie for an upcoming battle. There’s not much else to do here, as all the doors are still locked.
Head back upstairs and up another set of stairs to reach Floor 8. You’ll see a pair of Galbadian Soldiers looking over the weapons you’re missing. They don’t see Zell, so sneak up on them to get the plan underway. These guys are no sweat and have nothing interesting to draw or mug, so just punch them a few times and they’ll go down.
Breaking Out
A group of Moombas calling Squall “Laguna” save him from his torture, and Zell returns to the cell on Floor 7 with the weapons—things are finally looking like you’re gonna be able to make a prison escape. But not before you see some old friends.

Boss: Biggs and Wedge
Level Range: 9-22
HP Range: Biggs 1467-2235 , Wedge 1416-2139
Draw: Biggs: Cure, Haste, Slow, Regen; Wedge: Fire, Shell, Protect, Reflect
Drops: Elixir, Remedy x8
Mug: Regen Ring (Biggs), Strength Love (Wedge)
Scan: Biggs: He was a major during the Dollet communication tower operation, but was demoted after the operation failed. Hates SeeD. ; Wedge: Demoted along with Biggs for his part in the Dollet communication tower operation. Unfortunately, still works under Biggs.
AP: 10
Wedge slashes with his weapon and casts Fire. Biggs uses his Machine Gun arm but also casts Thundara. The anti-magic field seems to be pretty useless as casting magic, drawing, and using GFs all work just fine. Of note is Biggs’ drawable spell list, containing Haste, Slow, and most importantly, Regen.
If you have learned Mug with Diablos, you can steal a Strength Love from Wedge, an item that will teach Str +20% to a GF. Biggs has a Regen Ring to steal, an item needed to create Rinoa’s final weapon Shooting Star. It’s not a rare item later on, so if you’re not trying to upgrade to final weapons early in the game, you can also refine the Regen Ring into 20 Full-Life spells with Siren’s L-Mag Ref ability.
Going Down
Biggs sounds the alarm and now the prison is full of soldiers, monsters, and robots looking to thwart your escape. You’re greeted by a pair of Moombas who run up to Floor 8. Zell wants to follow them, but don’t go after them yet; head down to Floor 6 to find the Save Point.
Most of the enemies here are easy to make quick work of. Both Wendigo and GIM47N have a chance to drop Steel Pipes which can be turned into Aura Stones with Siren’s Tool-RF ability: an item that guarantees a Limit Break even at full health.
Watch out for GIM52A’s Micro Missiles, which will halve your current HP. Luckily, each GIM52A has a chance to drop the item Missiles which will allow Quistis to learn Micro Missiles as a Limit Break. If they aren’t dropping Missiles for you, you can also try to Mug them.
Before you go upstairs, you’ll want to run all the way down to the ground floor. You won’t be able to go lower than the 3rd floor if you don’t go now. You’ll find as you go downstairs that there are barricades by the stairs that force you to run around the whole floor. As annoying as it is, there are quite a few items down here that you can miss out on.
Here’s what to look out for on your way down:
Floor 6: Save Point near the stairs, both doors are locked.
Floor 5: In the cell further from the stairs, you’ll find a man who will play cards with you for 500 Gil a game. He’s got the potential to drop one Luck Up and multiple Phoenix Pinions if you can beat him, though both prizes are very rare.
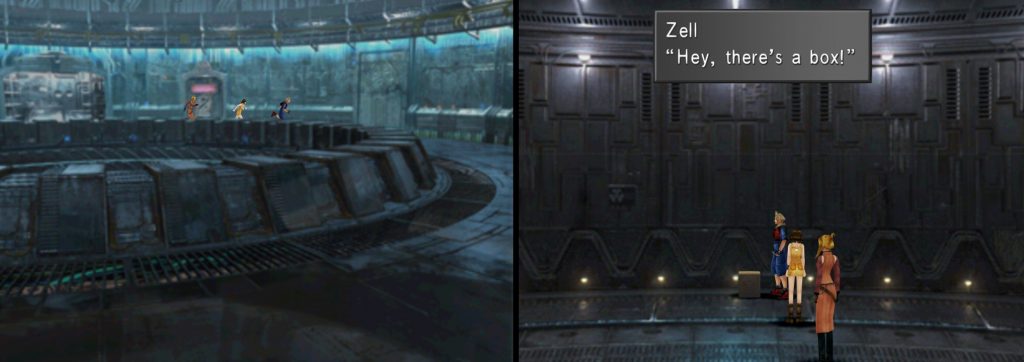
Floor 4: In the cell closest to the stairs, you’ll find a box containing a Tent. The other door is locked.
Floor 3: The cell closest to the stairs is locked. The cell further from the stairs contains a Pet House.
Floor 2: The cell closest to the stairs has a box containing a Pet Nametag. The cell further from the stairs contains a rare Strength Up.
Floor 1: The cell closer to the stairs is unlocked, but empty. The cell further from the stairs contains the magazine Combat King 001. Combat King magazines will teach you combos for Zell’s Limit Break Duel. Combat King 001 teaches the combo for Dolphin Blow.
Going Up
Time for the long climb back upstairs. Remember that Floor 7 has no barricade, so save yourself the trouble of running around it. When you go upstairs from here, you’ll find that Floor 8 also has no barricade, but from Floor 9 upwards, you’ll start seeing them again.

On Floor 8, in the room next to the stairs, you’ll find a Garden Student. He’ll sell you items, so stock up on anything if you need it. The door further from the stairs is locked.
On Floor 9 In the room further from the stairs, you’ll find a Berserk draw point. The door closer to the stairs is locked.
On Floor 10, in the room closer to the stairs, you’ll find a Save Point. The other room holds a prisoner who won’t speak with you if you interact with him using x, but he will play cards for 300 Gil per game. If you can beat him, he upgrades your Battle Meter to include the Character Report.
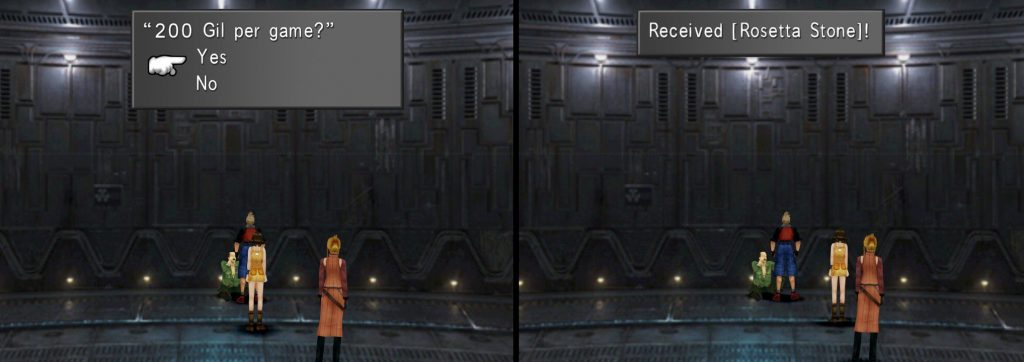
On Floor 11, in the room nearest the stairs, you’ll find a prisoner who will charge you 200 Gil per card game. Not only is he the cheapest card player in the prison, but he has the best rewards. Beating him at cards has the potential for him to give you Hi-Potion+, Mega-Potions, Holy Stones, and a one-time HP Up item.
Most importantly, he has a chance to give you a Rosetta Stone, which is an extremely rare item that will teach a GF Abilityx4. The game gives you two of these items on Discs 3 and 4, plus a GF that naturally learns the ability. This means if you’d like to have this ability for all 6 party members, it’s time to play some cards. The chances of him giving you this item after winning a game of cards are only 1%, however, If you’re patient and have learned Diablos’ Enc-None ability, you can work some RNG magic to ensure you’ll get them.
The Rosetta Stone Trick
If the Queen of Cards Is in Balamb
Equip Enc-None. Save at the Save Point in the cell on Floor 10 and reset your game (close down the game completely and open it back up). Run up the stairs, around the circle of Floor 11, and enter the room closest to the stairs.
Challenge the man to play cards, and choose “No.” Continue challenging and saying no to the man roughly 40-50 times. A perfect run to the room with no pauses means you can safely go up to 50. If you get caught on any walls or stop while running, aim lower.
After you have said no a number of times that you feel comfortable with, challenge him to a game and say yes. You should only have to win a handful of easy games in order to obtain a Rosetta Stone. For example, even if you run around the floor as quickly as possible and say no 45 times, you should still have less than 10 games to play. You can repeat this process as many times as you like by returning to the Save Point on Floor 10, saving, and resetting.
If You’ve Begun Her Quest and the Queen of Cards Has Moved to Deling City
Equip Enc-None. Save at the Save Point in the cell on Floor 10 and reset your game (close down the game completely and open it back up). Run up the stairs, around the circle of Floor 11, and enter the room closest to the stairs.
Challenge the man to play cards, and choose “No”. Continue challenging and saying no to the man roughly 125-135 times. A perfect run to the room with no pauses means you can safely go up to 135. If you get caught on any walls or stop while running, aim lower.
After you have said no a number of times that you feel comfortable with, challenge him to a game and say yes. You should only have to win a handful of easy games in order to obtain a Rosetta Stone. For example, even if you run around the floor as quickly as possible and say no 130 times, you should still have less than 10 games to play. You can repeat this process as many times as you like by returning to the Save Point on Floor 10, saving, and resetting.
Squall’s Prison Break
Once you’ve had your fill of playing cards, it’s time to head back to Floor 10 to save the game, and then take the stairs up to Floor 12.
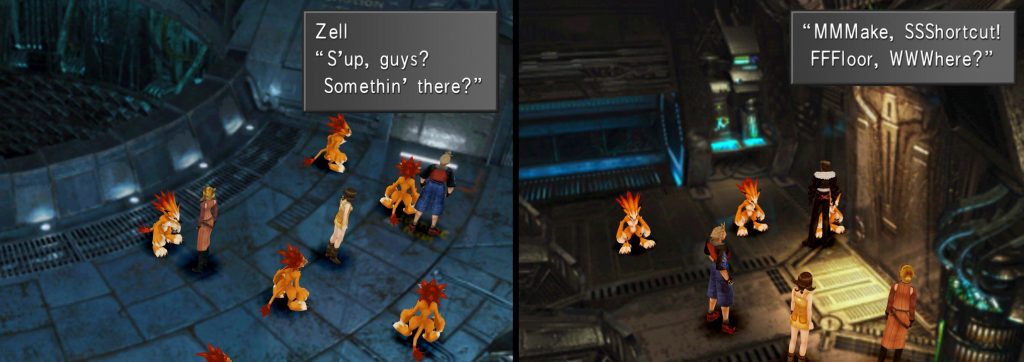
On Floor 12 you’ll see the Moomba scurry up the stairs; it’s finally time to follow them. Both of these doors are locked so you can just head upstairs. You’re greeted by a group of Moombas shouting ‘”Laguna!” “Laguna!”‘ Ignore the stairs and see what the fuss is all about. When they open the door, you’re finally reunited with Squall.
If you helped the Moomba as Zell and toughed out your torture as Squall, there will be three Moombas in the room. Speak to all of them as each one will remove a barricade from a floor of your choice. Picking Floor 2 or 3 from the Moomba on the right would be a waste of time; you’ll want to choose Floor 4. From the Moomba on the left, Floor 10 is a smart choice, as it is one of the floors with a Save Point on it. Choose any floor you like from the center Moomba.
The Reunion
After leaving the torture room, the gang hatches a plan to take the crane that lifted Squall up here back down to check out the bottom. Quistis and Selphie volunteer to leave Zell up here to work it. Have Squall press the button in the center pedestal console and you’ll be downstairs in a jiffy. Go check out the door– there’s no way out down here either.
Once you start hearing some gunshots, you’ll suddenly be controlling Zell again, and the chase begins. Run to the right and punch your way through any G-Soldiers that catch up to you. Head towards the stairs that go down to Floor 7. Squall saves Zell from the Warden, and Quistis and Selphie aren’t far behind.
It turns out to be a double rescue when Rinoa and Irvine arrive. After the reunion, Irvine tells us to head back upstairs. Choose a third party member to go upstairs with Rinoa and Squall. When you get up the stairs on Floor 12, you’ll be switching back to Irvine’s party, so prepare yourself for a little switching of junctions here.
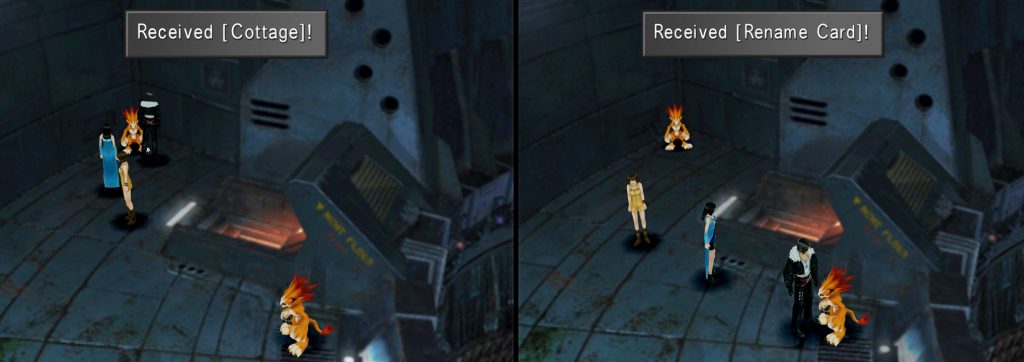
With Irvine’s party, head down to Floor 3 and the scene will change back to Squall’s party at the top of the prison. If you switched your junctions to Irvine’s party, switch them back here. The two Moombas by the stairs will give you a Cottage and a Rename Card if you talk to them.
On The Lam
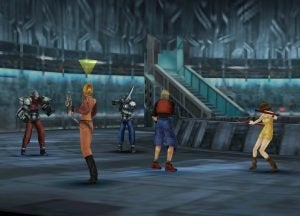
Head up both sets of stairs and outside to the top of the prison structure. It may seem like Squall’s party has made it to freedom, but before they can make it any further, an alarm sounds. The party is met with the last defenses against their escape. Two of the creepy-looking GIM52As arrive, flanked by a G-Soldier.
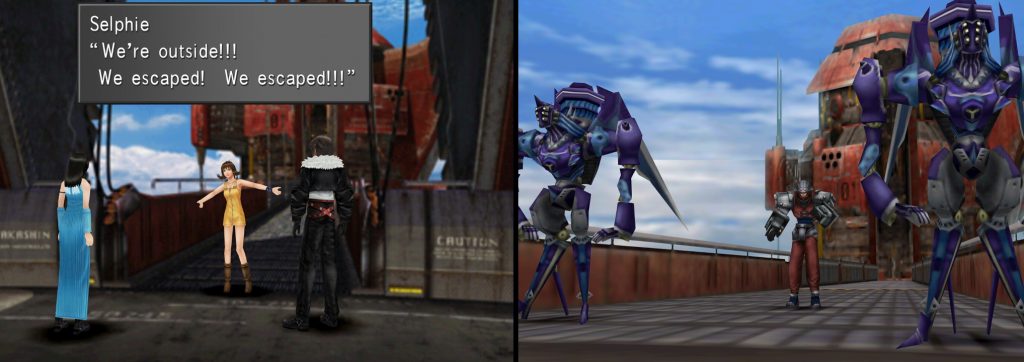
Boss: G-Soldier Elite and GIM52A
Level Range: 9-22
HP Range: GIM52A: 1850-2600, G-Soldier:
Draw: GIM52A: Haste, Slow; G-Soldier: Fire, Thunder, Blizzard, Scan
Drops: GIM52A: Screw (Rarely: Missile, Windmill, Fuel); G-Soldier: Potion (Rarely: Phoenix Down, Shotgun Ammo, Cottage)
Mug: GIM52A: Missile, G-Soldier: Tent
Scan: A Galbadian machine that attacks with magic and missiles. The more advanced models use high-powered beams; G-Soldier: An officer acting together with Galbadian soldiers. Defeat him first, before he uses recovery magic on the other soldiers.
AP: 8 (total)
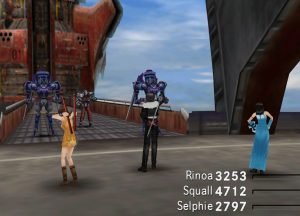
This may technically be a boss fight; however, it’s not particularly difficult. You’ll want to focus on the G-Soldier first; he will cast support magics like Aura, Protect, and Shell on his robot buddies and leave them to fight you. He will rarely cast Meltdown, a spell that causes the status Vit-0. A character affected by Vit-0 will turn bright pink, indicating that their defense stats of Spirit and Vitality have been dropped to 0. In battle, it can be cured with an Esuna, or, if you’re desperate, an Elixir—though you’ll want to try to save those for later. Vit-0 wears off at the end of the battle.
The GIM52A’s have both Haste and Slow available to draw if you didn’t get enough from Biggs and Wedge. These also make this battle a great deal easier, as casting Haste on the party and Slow on the GIM52A’s will make quick work of them.
The Great Escape
After the battle, Irvine will call on a PA system and ask you to use the crane again. Squall will automatically walk over to the machine and get it started. While they make their way back up, you can go on ahead.
Proceed across the bridge until the prison starts moving again. The bridge comes apart below Squall’s feet. He’ll run towards the camera automatically at first, but the floor will fall away before he can make it back.
As soon as you see him hanging on to the side, hold the d-pad or analog stick to the right. Make Squall inch towards the rest of the party and the flashing green light, or it’s game over!

After that ordeal, the guys and girls drive away in two separate cars. They make a stop in the middle of the Galbadian Desert to talk about a game plan. As they debate their options, the missiles headed to Trabia Garden are let loose. It’s probably too late to warn them, but maybe you can still save Balamb. It’s time to split the party into two teams, the Missile Base Team and the Balamb Garden Team.
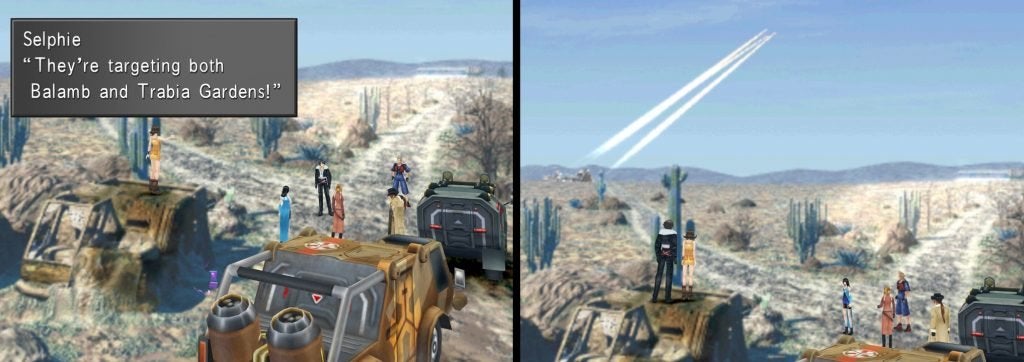
There’s a Draw Point at the base of the broken-down vehicle that contains Aero. Climbing on top of the vehicle and talking to Selphie will progress the story. After picking teams, Squall’s team makes it to a train station. Walk around the semicircular barricades and climb the ladder of the train to stow away.