GFs: None
Draw Points: Regen, Shell, Haste, Ultima
Enemies: G-Soldiers, GIM47N, SAM08G
Bosses: BGH251F2
Table Of Contents
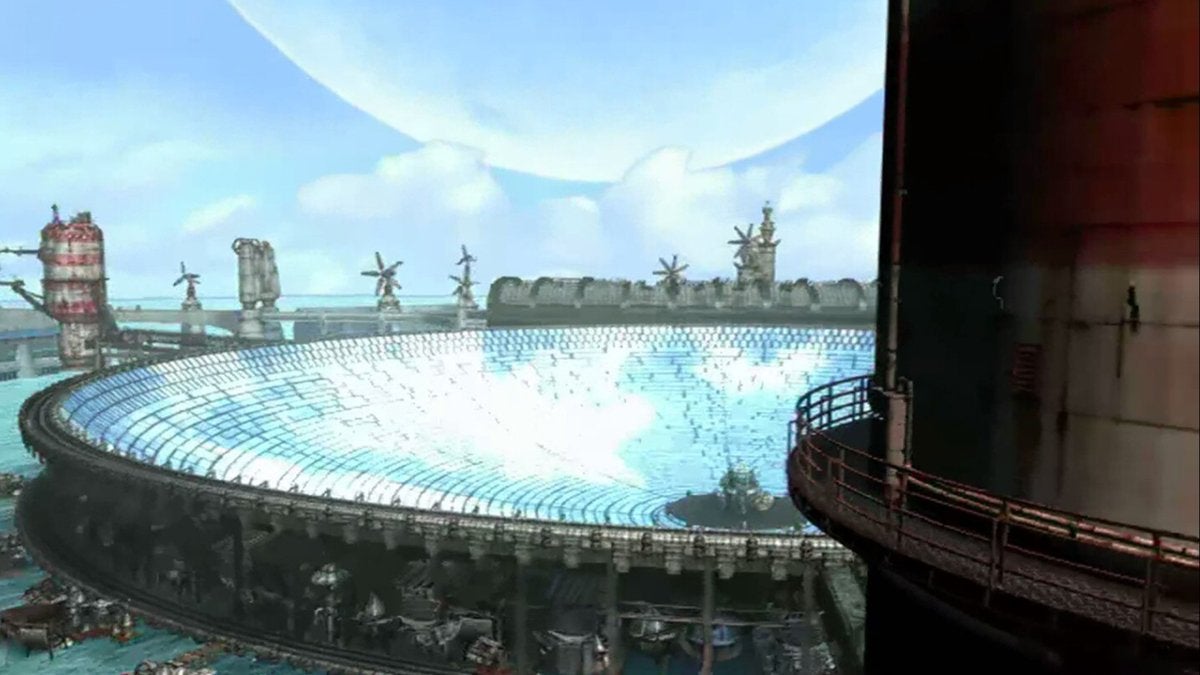
The Crash
Squall tosses and turns for a while, but he finally falls asleep. After a short dream, Squall will get up. If you brought Rinoa, she’ll wake him up and ask him to go on a walk. Choose (I’ll play along) and accompany Rinoa out of the Dormitory. Whether you have Rinoa with you or not, the game will stop you once you reach the main circular hallway.
The PA system is functional again—just in time for a live reaction from Cid! After the cutscene, Squall will join Cid up on the Bridge. He’ll instruct you to go into Fisherman’s Horizon and make a formal apology for having crashed an entire school into their town.
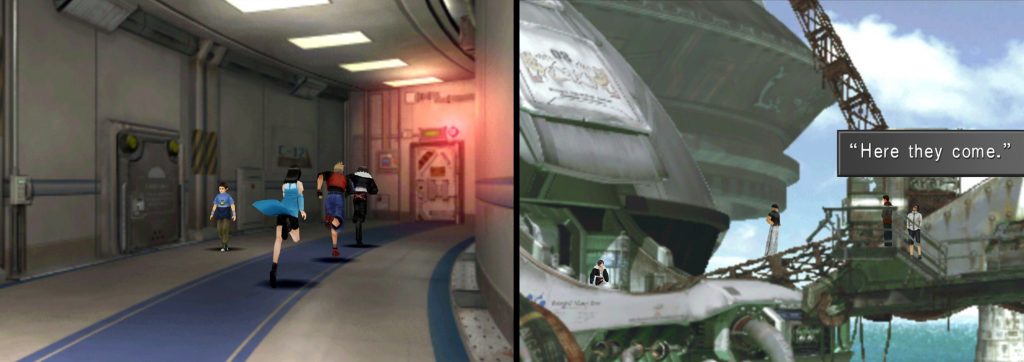
Your party members will be waiting at the base of the Elevator, and someone will give you the heads-up that you need to access FH through the Second Floor Balcony.
Head past the Classroom and exit onto the metal scaffolding. You’ll be greeted by a few of the FH Technicians, who assure you that despite the massive infrastructure damage, the only thing they’re concerned with is whether or not you’ll be using your weapons in town. Proceed to the right, across the scaffolding, until you reach the large rusted silo.
Master Fisherman’s Quest
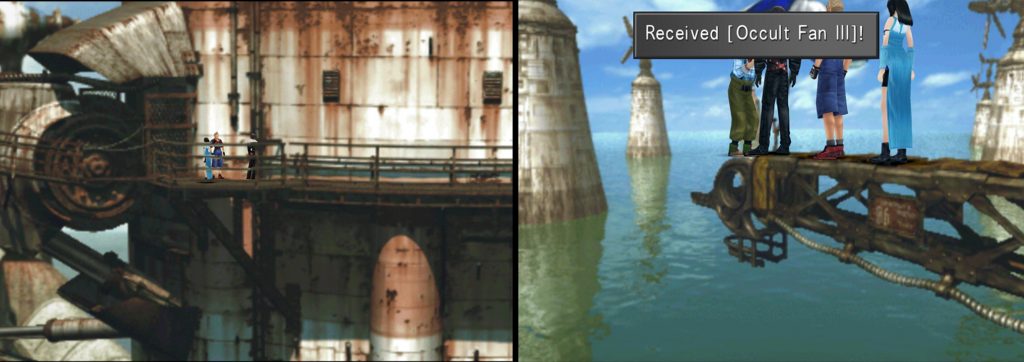
On the left side of the silo is a ladder that goes down to lower levels of the scaffolding. If you don’t go down now to meet the Master Fisherman, you’ll miss the Occult Fan III Magazine. Make your way left, over the walkways and ladders, until you reach the edge of the crane.
Regardless of whether you choose to apologize to him or not, he’ll give you Occult Fan III. Return up to the silo, head to the right, and the FH Technician there will operate the lift for you to access the rest of FH.
Directly in front of you is the path down to the Mayor’s place in the center of the Solar Panel Dish. Before you meet the Mayor, go right to find a Regen Draw Point and a Save Point. Afterward, continue to the right toward the rest of town.
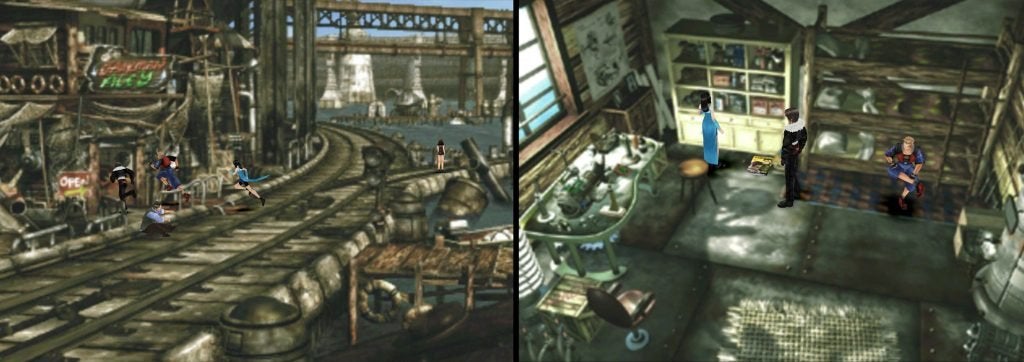
On the left, you’ll find Drunkman’s Alley: the Inn and Shop. Walk upstairs (you don’t need to pay to get a room) to find an issue of Timber Maniacs. Head back outside and to the right to find the docks and the Junk Shop. Beside the Shopkeeper is a Draw Point containing Shell.
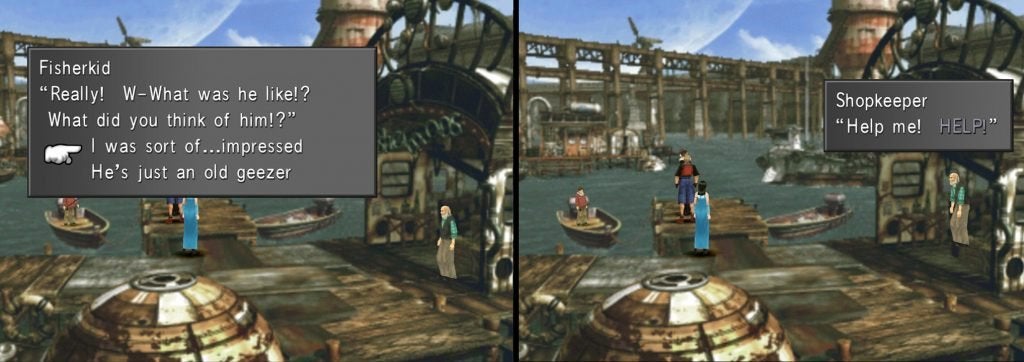
By the Shop, there is a boy in a rowboat. It turns out this is the pupil that the Master Fisherman mentioned. When he asks you if you like fishing, answer Sort Of. Next, he’ll ask you if you’ve seen the Master Fisherman, to which you should respond I saw him. Lastly, he’ll ask your opinion on the man he looks up to; tell him I was sort of… impressed. Once you’ve answered all his questions, keep talking to the Fisherkid until he catches the Shopkeeper in his line. Squall jumps in to cut him down, and your work here is done.
G-g-g-g-galbadians!
You could continue exploring the town at this point, but you’ll be heading that way soon enough. For now, turn around and backtrack to the Save Point. Take the ramp down into the center of the circular Solar Panel.
Inside the Mayor’s house, just walk upstairs without so much as a knock and introduce yourself to Dobe and his wife, Flo. The conversation is short, and Squall pretty quickly takes the hint that SeeD is definitely not wanted here.
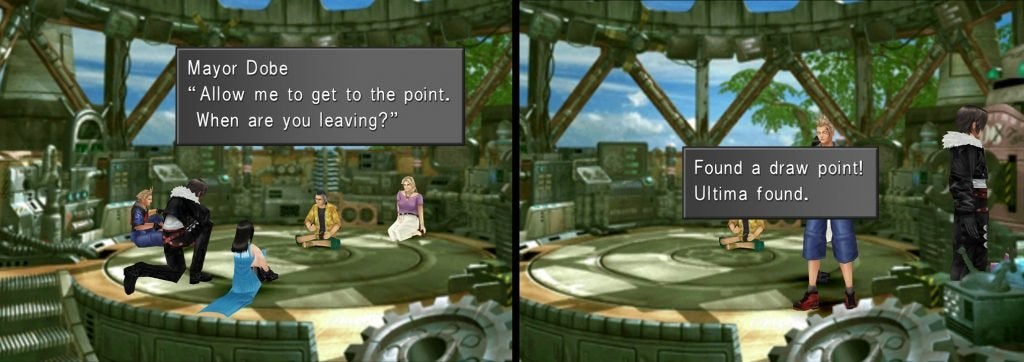
Before you leave the house, equip Move-Find or click around on the right side of the room by the big Wind-Up Robot. This hidden Move-Find Draw Point contains the most powerful magic in the game: Ultima.
This Draw Point will never refill, so try to use the character with the highest Mag stat and junction them to Siren, Quetzacotl, Carbuncle, or Leviathan for Mag-J. Beef up their Mag stat by putting your best Magic in Mag-J before you Draw from it in order to get a higher number of spells from the Draw Point.
When you exit the house, one of your party members will stop and complain about the Mayor having been a bit rude. Following this, proceed up the ramp without them and they’ll follow you. As you head back up, you’ll get the bad news: the Galbadian Army has arrived in peaceful Fisherman’s Horizon.
Mayor Dobe heads off to try to reason with them. Before you follow him, check your junctions. You’ll want to have Water equipped to your Elem-Atk-J or available to cast, equip Mug if you have it, and be sure to bring in your new GF, Leviathan. Tsunami will pack a big punch against the upcoming boss, as the BGH251F2 takes a whopping 200% damage from Water attacks in this battle.
Reunion
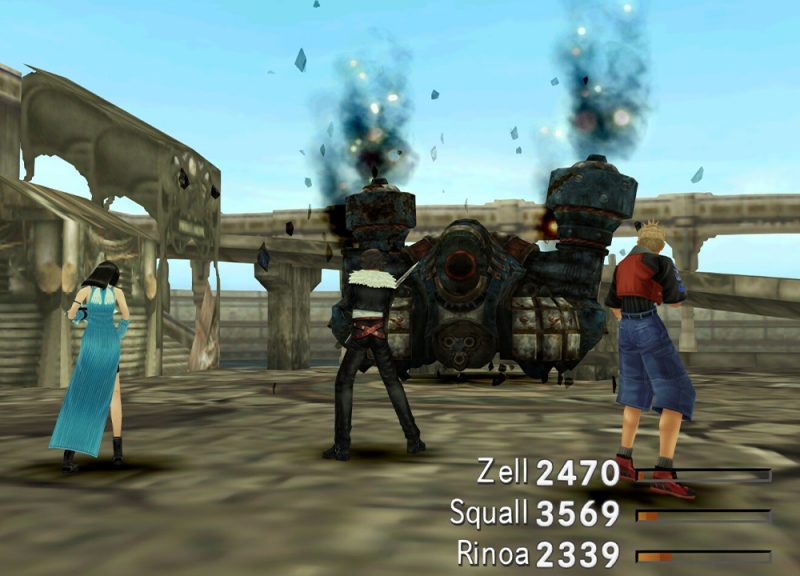
Head past the Inn and the Docks to the next screen where the Mayor is speaking with the Galbadian Soldier. Squall will have a choice whether to step in or keep listening. Choose (Go Help) as deciding to listen will just make your party members yell at you. After a battle with two G-Soldiers and a G-Soldier Elite, you’ll see a familiar enemy. Though it’s in terrible shape, the Iron Clad is still in service.

Boss: BGH251F2 (Iron Clad)
Level Range: 9-28
HP Range: 6000-7800
Draw: Shell, Protect, Stop
Drops: Running Fire x8 or Missile x8
Mug: Adamantine
Scan: Out of control after being destroyed at the Missile Base. Can only fight for a short amount of time.
AP: 20
Much like last time, the strategy for fighting BGH251F2 involves drawing Protect to cast on your party in order to counteract the damage from Beam Cannon. This time, however, the Iron Clad is much weaker to Water, so don’t bother using Thundara or summoning Brothers. If you have Mug equipped, you can try to steal an Adamantine from the Iron Clad—an item needed for Squall’s Final Weapon.
Luckily for us, Selphie’s team (and probably that explosion) already did a number on it, so between Limit Breaks, casting Water, and summoning Leviathan, you should make quick work of the beaten-up tank.
It turns out that Selphie’s team escaped the explosion and although they’re a little shaken from the battle, they’re all still in one piece. Once they head back to Garden, Rinoa and Mayor Dobe will stay behind.
Speak with Rinoa and select (I was really glad to see them). Then speak with Mayor Dobe. Choose (I want him to understand us) and then (Try to continue).
Once Squall is finished speaking, run up the stairs behind Mayor Dobe into the abandoned Train Station. Past the turnstile, there is a Draw Point containing Haste.

Head back to the docks and talk with Fisherkid again. He’ll show you that he’s got his casting under control. Once you take the lift up to the silo, Irvine will be waiting for you there. There is a scene you can see now that Irvine is in your party that is detailed in the next section, but the rewards are better if you check back later.
Return to Garden and head for the Quad to talk with Selphie. You can try to cheer her up or leave it to Irvine. Either way, she’ll feel a lot better. Squall will report his findings to Cid and get his reward: a promotion and even more responsibility.
Irvine’s Day Out
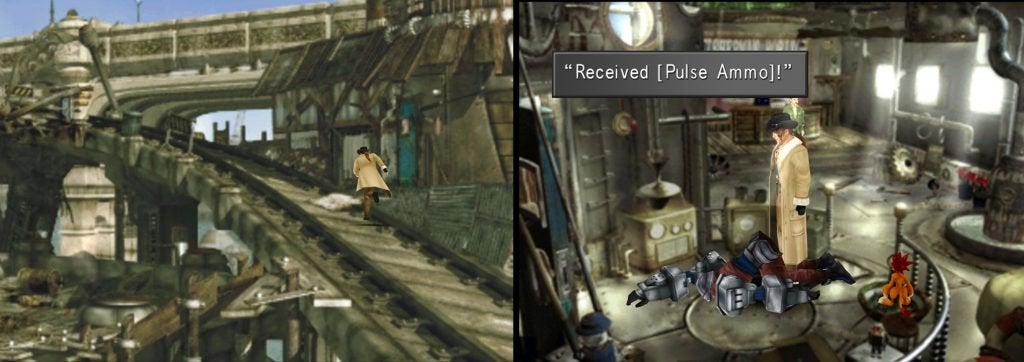
Everyone has gathered to put on a surprise concert for Squall. After some conversation, you’ll be in control of Irvine. This concert might be important, but you’ll want to put it on hold for a moment in order to get some Pulse Ammo, which is needed for Squall’s Final Weapon and the ammo Irvine uses for one of his best Limit Breaks, Hyper Shot.
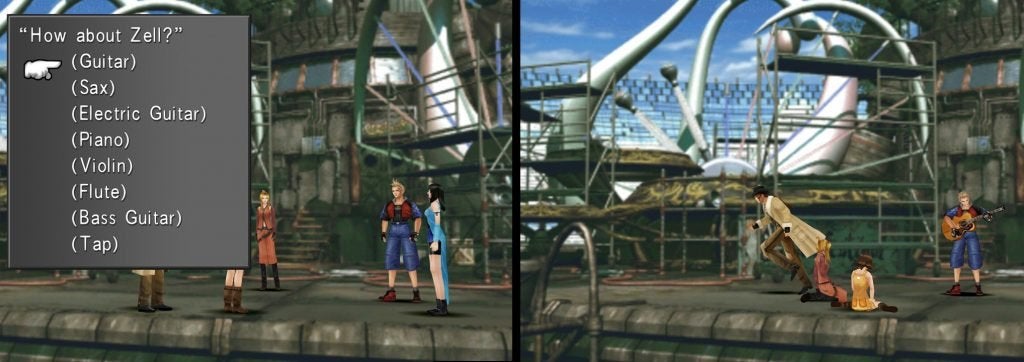
Start by selecting whatever you like from the list as Zell’s instrument—you can change it when you get back. As he is performing, sneak up the ramp behind the group.
You can go to Garden and visit the Library for an optional scene that will allow you to hear more of the conversation at the end of Zell’s Love Quest. Step into the corner where the Draw Point is to find The Librarian with a Pigtail and speak with her.
There’s not much else to do as Irvine in Garden besides check the Classroom Computer and see his reactions. In FH, visiting Mayor Dobe’s house shows the Garden Stage in storage. Inside the Inn, Irvine can view the television to hear a description of himself as the town sees him.
Most importantly, run back to where you fought BGH251F2 and enter the blue door on the right. Inside, a man called Grease Monkey is being threatened by a Galbadian Soldier.
Confront him and he’ll demand Irvine step outside. Exit the building and re-enter it. Speak with Grease Monkey to get a Phoenix Down. Search the floor to his left for another issue of Timber Maniacs. Lastly, examine the Soldier to take his Fast Ammo and Pulse Ammo.
If you visit Grease Monkey as Irvine and Squall before Selphie, you get a Mega-Phoenix rather than a Phoenix Down from Grease Monkey, but no Ammo.
The Garden Festival
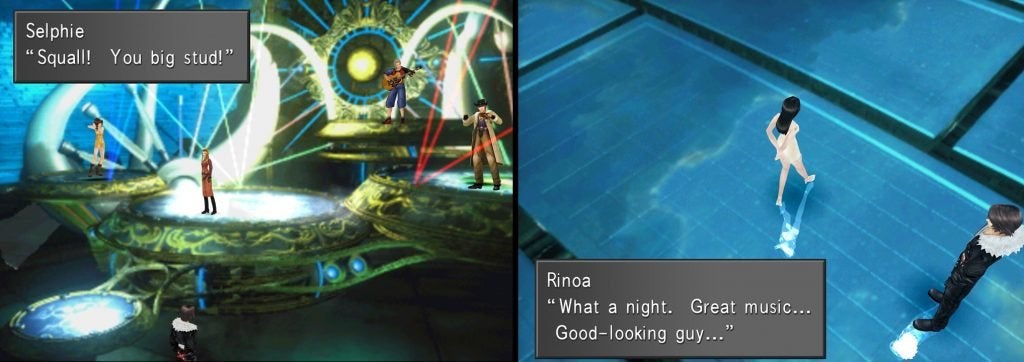
Return to the group and pick the instruments for the concert. It doesn’t matter who plays what instrument, as long as the combination of instruments is correct. The Irish Jig (Guitar, Violin, Flute, and Tap) will mean Squall and Rinoa have a good night. Choosing Eyes on Me (Sax, Electric Guitar, Piano, and Bass Guitar) or a combination of the two scores will encourage an argument.
Once that’s all been sorted out, you’ll regain control of Squall. Exit your dorm and you’ll find Rinoa waiting for you. When she asks you to head out to the concert with her, choose (…I don’t know) and you’ll be off on your date.
Irvine fails at being a wingman but excels at being a dumb teenager. There’s nowhere to go but down the ramp to the concert. Speak with Irvine to interrupt and he and Selphie will move out of the way so you can reach the stage.
Once you’ve seen enough of the performance, walk offscreen to the right and Rinoa will point out the magazine Irvine put there to mark the spot. Rinoa and Squall will have a good or bad date depending on what music you selected. Once the night is over, Squall will fall asleep again and have the same dream.
In the morning, the PA System calls Squall to the Bridge. You now have control of piloting Balamb Garden. Balamb Garden shares its controls with driving a vehicle in the game and can operate on both water and land. Find a beach in order to maneuver the Garden out of the water and onto land.