
![]() Key Takeaway
Key Takeaway
To enter Sen’s Fortress, you must first ring the two Bells of Awakening. One of them is found at the top of the Undead Parish, and the other is at the bottom of Blighttown.
Sen’s Fortress is one of the most tricky areas to explore in Dark Souls. It is filled with dangerous traps, reptilian enemies, and more. Death is a common occurrence here, but you must pass through it to progress the game.
Table Of Contents
How to Unlock the Gate to Sen’s Fortress in Dark Souls
To open the way into Sen’s Fortress, you’ll need to ring the two Bells of Awakening. One of them is on the top of the bell tower of the Undead Parish. The second one is at the bottom of Blighttown. Both of these bells are placed at the end of their respective areas and are guarded by bosses.
Preparing for Sen’s Fortress
Before you get into Sen’s Fortress, we recommend that you be at least level 50. You should also be wielding a +10 weapon at this point. The enemies at Sen’s Fortress have a ton of HP.
Going Through Sen’s Fortress
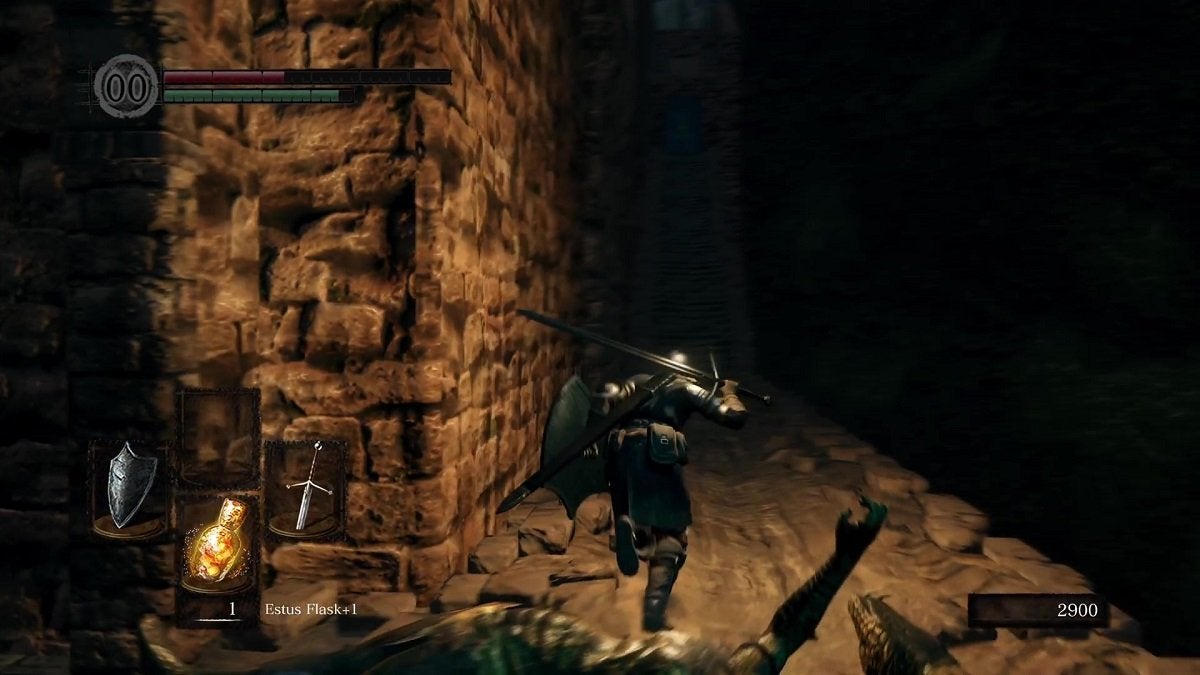
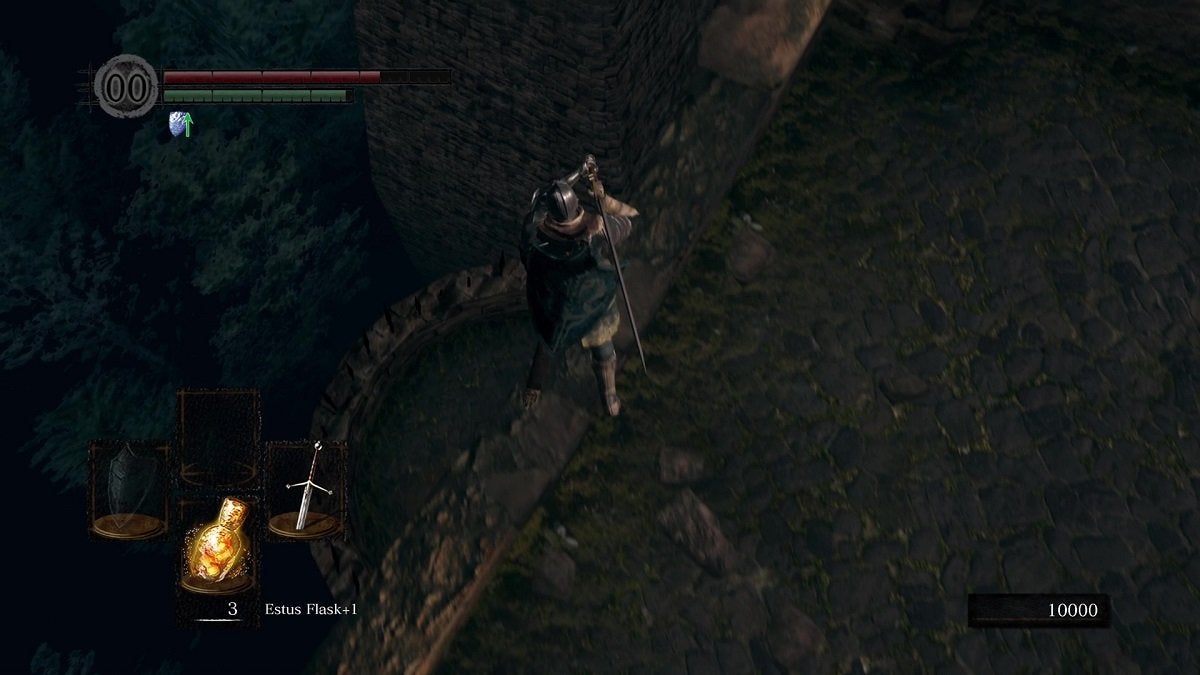
Once your level is high enough, your weapon is strong enough, and you’re ready to take on one of the most challenging places to navigate in Dark Souls, start making your way to Sen’s Fortress from the Undead Parish bonfire.
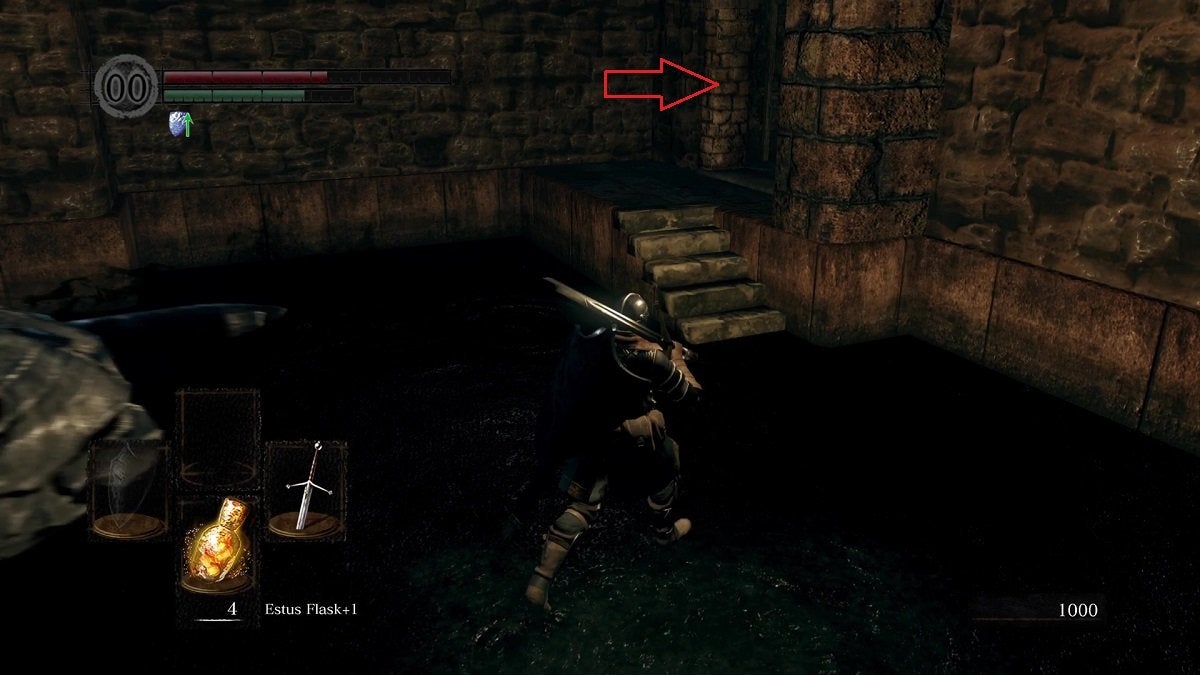
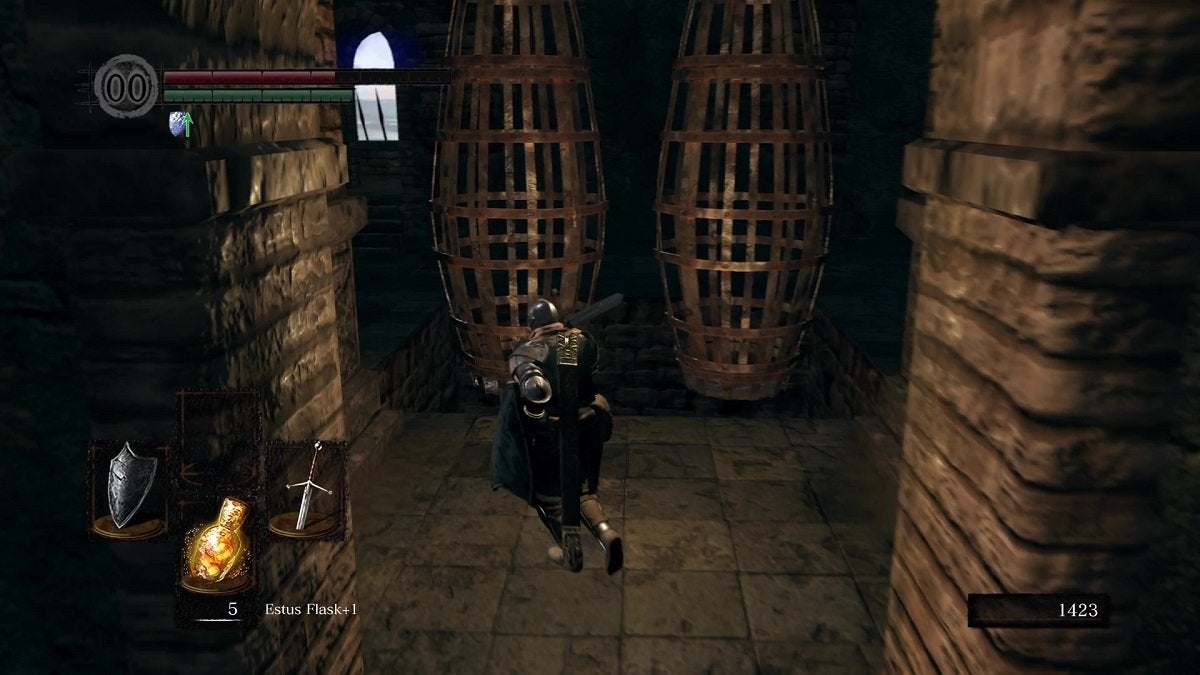
From the Entrance to the First Pendulum Bridge
Be mindful of the ground as soon as you step inside the fortress. There’s a pressure plate on the floor here that will cause darts to shoot in your direction the moment you step on it. Avoid this by walking around the pressure plate.

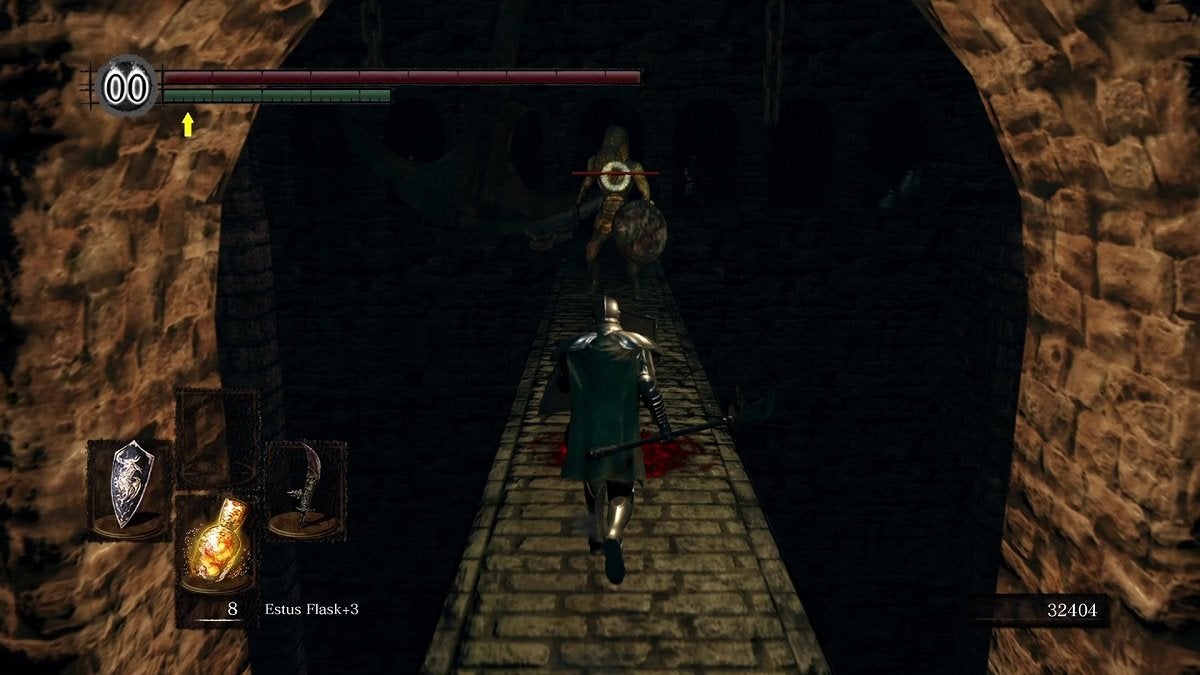
Continue forward and you’ll meet two Man-Serpents. Deal with them before moving forward. You can use the trap in this room to shoot darts at the serpents.
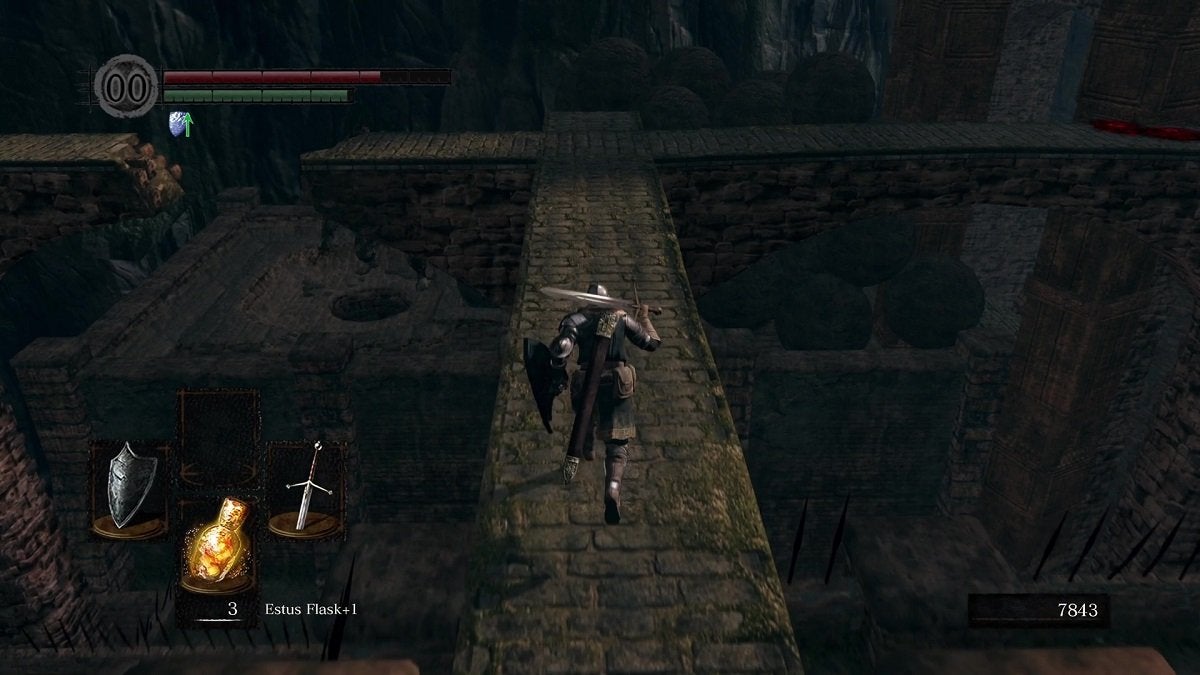
In the next area, you’ll have to cross a narrow bridge while avoiding massive bladed pendulums. There’s a Man-Serpent on the upper bridge that will continue to hurl lightning bolts at you while you’re here. You can shoot this enemy with a bow or a spell to get rid of them.
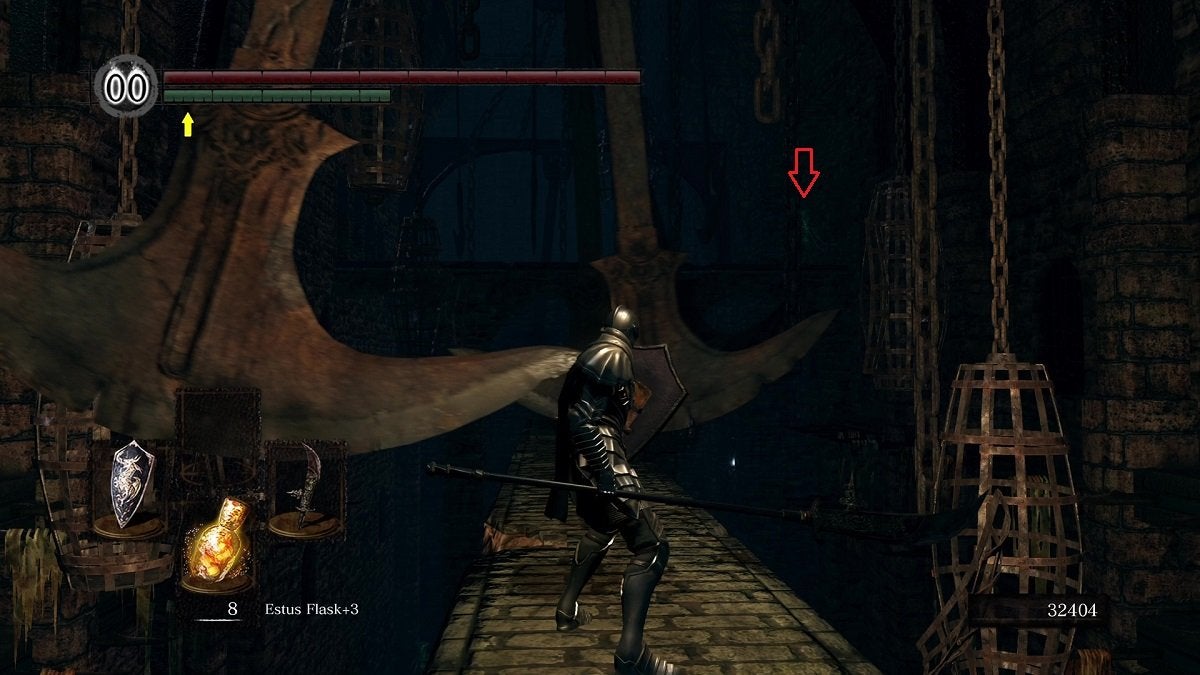
However, if your build is strictly melee or you simply want to push forward, feel free to do so. Time your movements correctly to avoid the pendulums. Don’t linger in one spot for too long.
Halfway across this bridge, you’ll be positioned over an arch of the overhead bridge, which protects you from the lightning bolts of the Man-Serpent above. This is also a perfect place to deal with the other Man-Serpent ahead. Lure him towards this position and deal with him here.
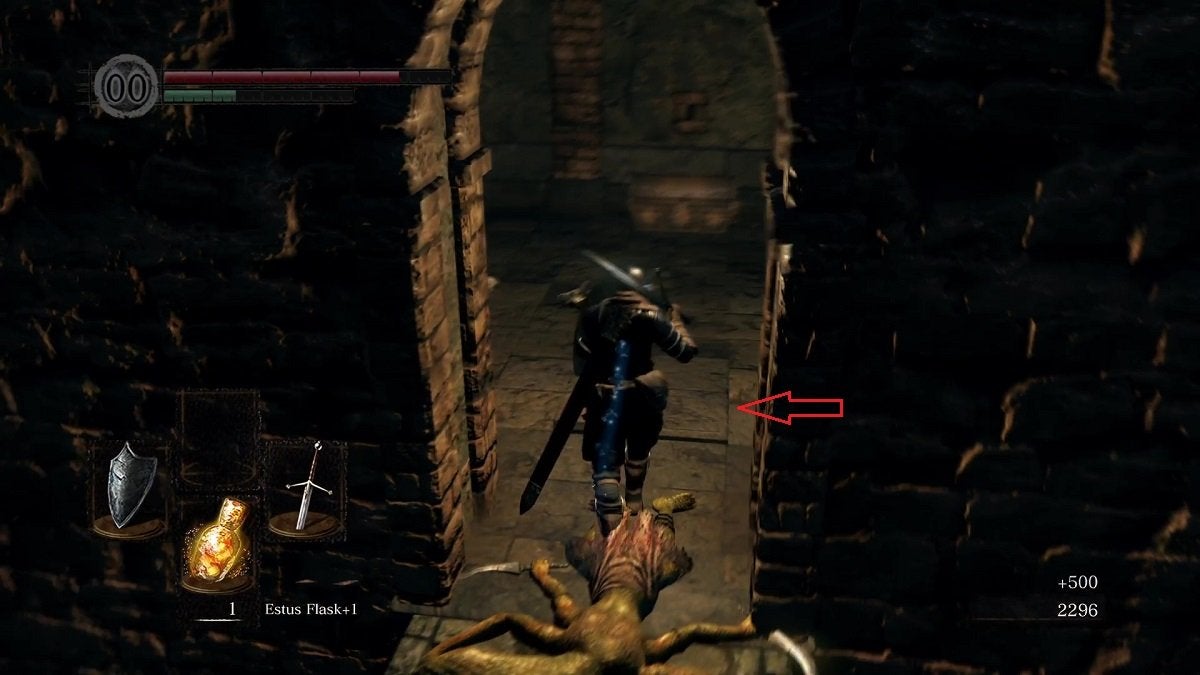
Entering the Tar Pit
This sub-area is entirely optional, but once you make it to the other side of the bridge, you can hop off of it to either side to get to the bottom area. This part of Sen’s Fortress is filled with Man-Serpents and Titanite Demons. However, there are also good items to be looted here.
It’s recommended to equip the Rusted Iron Ring if you want to explore this pit. This ring will allow you to walk normally on tar instead of being slowed down. You can find this ring when you revisit the Northern Undead Asylum.
However, if you want to explore the pit, face the enemies here, and get the items, hop off to the left or right of the bridge once you’ve almost reached its other side. You’ll land on a platform here where there are three Man-Serpents. Deal with them accordingly.
Once all three enemies are eliminated, hop down, turn around, and head through the tunnel here. There’s one Titanite Demon inside. Take it out and loot the Scythe on the body at the end of this tunnel. The other loot here is a Large Soul of a Brave Warrior.
Exit the tunnel. Your goal is to reach the right corner on the opposite side of the room. There are Titanite Demons here as well. You can defeat them for Demon Titanites, some Souls, and a chance to receive the Titanite Catch Pole. However, if you’re not feeling up to it, simply run past them.
Leaving the Tar Pit
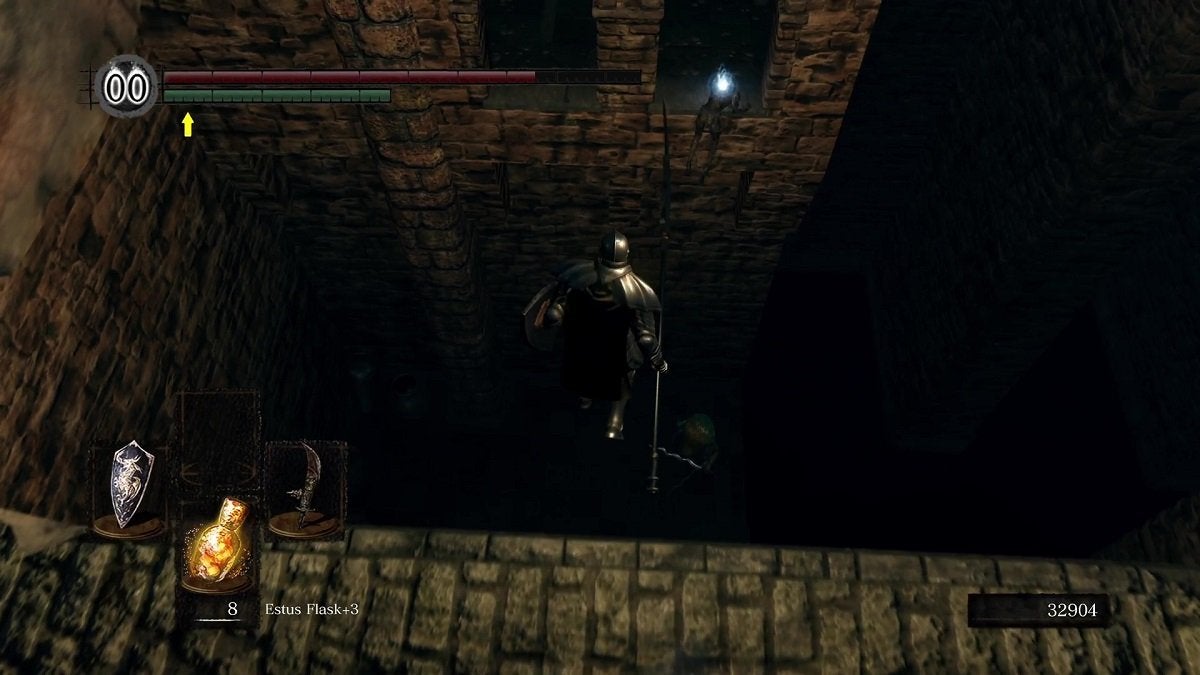
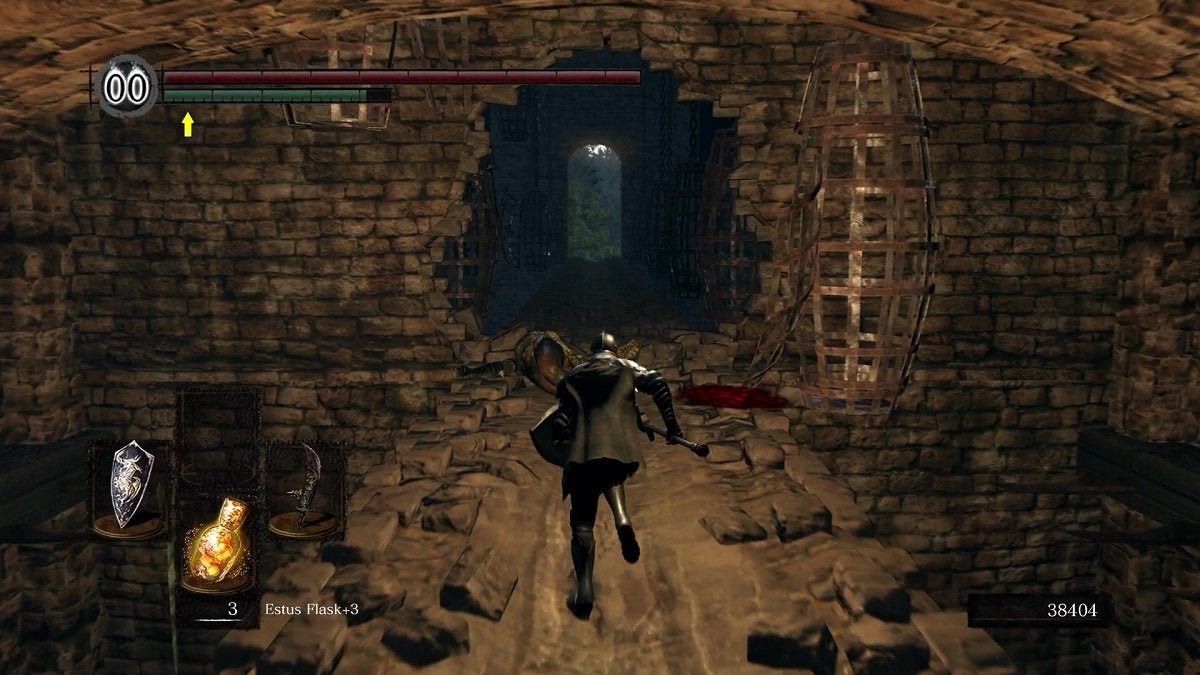
Once you make it to the rightmost corner, enter the room here and climb the ladder. Walk forward once you make it to the top. The archway at the dead end of this path is a fake wall. Hitting it will dispel the illusion, revealing a ladder inside.
You can climb up to get to the top of the fortress where you’ll find a giant. You can also kill this giant to receive 3,000 Souls and a Titanite Chunk.
When you’re done with that, head back down and hop off to the platform below. You’re now back on the ledge just before the bridge you were previously on.
Ascending to the Second Floor of Sen’s Fortress
Once you make it to the other side of the bridge, make a left, and head up the staircase on the left. Continue forward until you’re just before the next bridge. If the lightning bolt-hurling Man-Serpent was giving you a hard time earlier, now’s your opportunity to get revenge.
Again, be mindful of the bladed pendulums here. Keep your shield up for the serpent’s attacks, and keep advancing. As soon as you make it to the serpent’s location, get rid of it immediately.
Watch out when entering the next room. There’s another pressure plate on the ground very close to the entrance.
Walk around it and approach the chest ahead. Open it to receive two Large Titanite Shards.
Proceed through the door on the right corner here. Once on the bridge, look over to the area on the lower right to find a sleeping Man-Serpent.
You can drop down and deliver a plunging attack to severely hurt the sleeping Man-Serpent. Once eliminated, head back up and head to the next door.
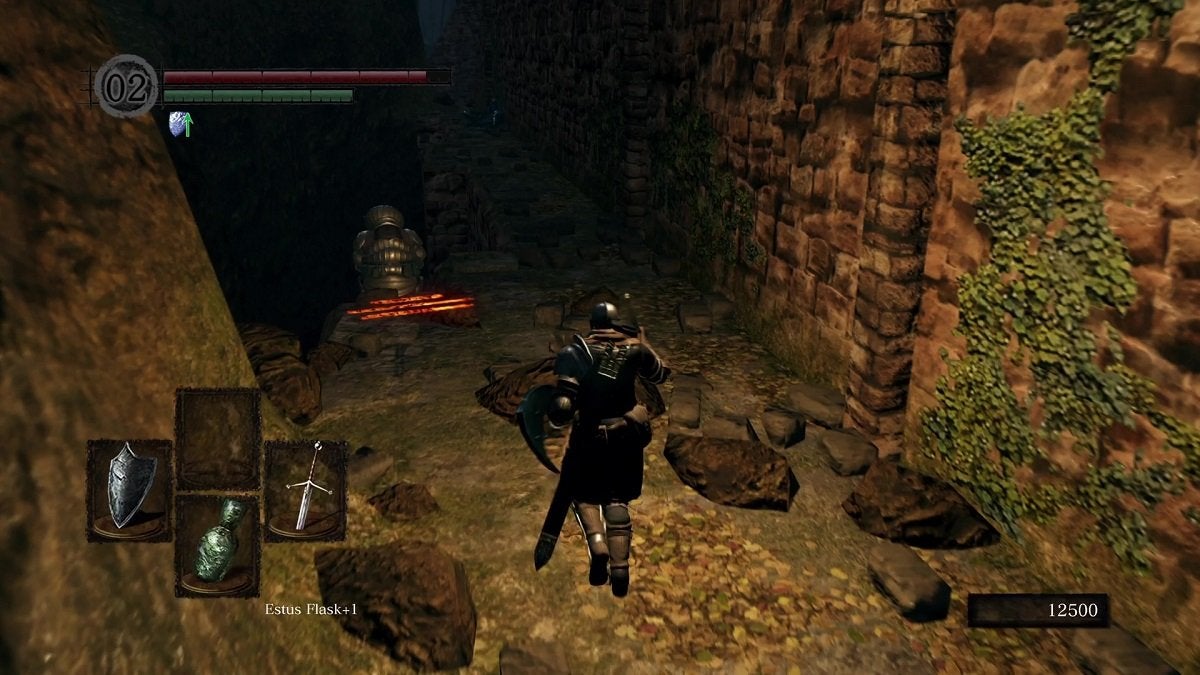
Dealing with Boulders and Finding Siegmeyer of Catarina
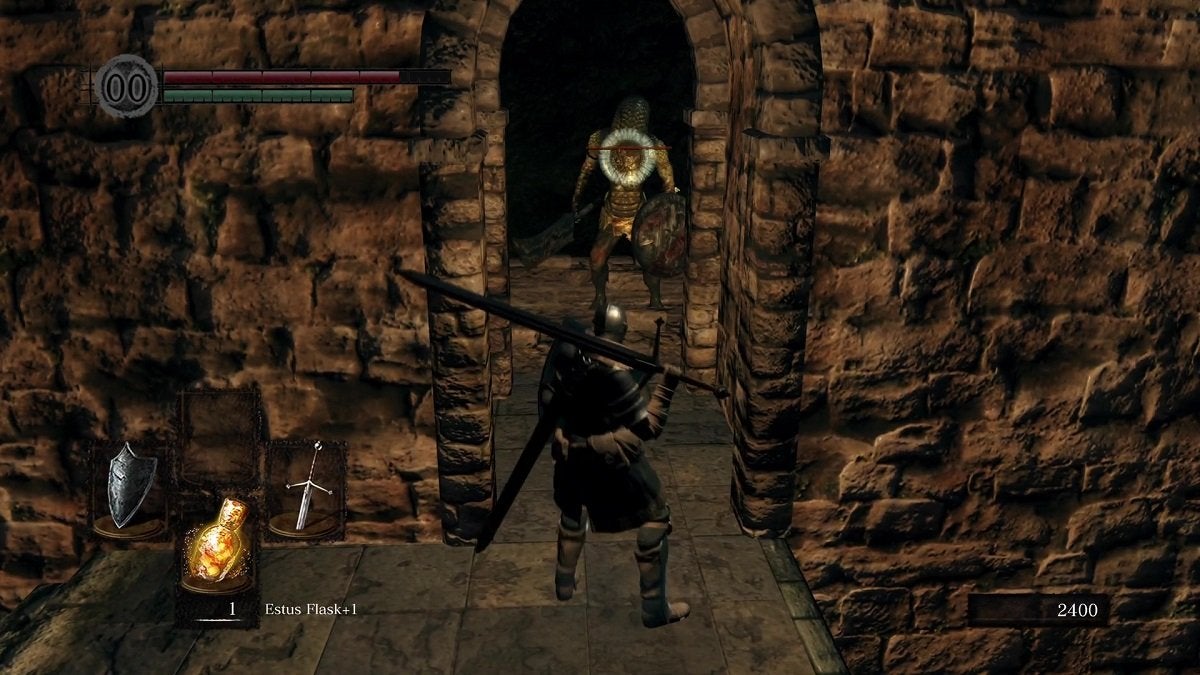
Be careful here. There’s another Man-Serpent that will attack you from the left as soon as you emerge from this door. On top of that, a large boulder also rolls through this next path.
If you’re lucky, the serpent can get hit by the rolling boulder, either killing it or lowering its health. If it does manage to survive, lure it back to the previous area to take it out.
Once you walk past the door, there’s a small corner on the left where you’re free to stand without getting hit by the rolling boulder. Stand here and wait for it to roll past you. Immediately run forward after that.
After running up the first flight of stairs, stay close to the fog gate on the left, but don’t pass through it yet. Wait for the next boulder to roll past.
Once done, run up the next flight of stairs and deal with the Man-Serpent here.
Enter the room behind him. You’ll find a chest at the back of this room. Open this chest to receive the Ring of Steel Protection. Return to the previous area and jump off to the lower platform on the left. Loot the body on the ground here to obtain the Shotel.
Jump down further and you’ll find Siegmeyer of Catarina and a Man-Serpent.
Deal with the Man-Serpent first, then speak to Siegmeyer. Exhaust his dialogue here if you want. When you’re done talking to him, move forward and onto the base of the staircase.
Again, be mindful of the rolling boulder. Time your run and use the gaps in the doors to avoid it. Make your way to the fog gate you previously encountered and walk through it.
Meeting a Mimic
Walk towards the door to the right, but don’t walk through it yet. Look down and you’ll find another pressure plate. If you step on it, darts will shoot from behind you. There’s also a Man-Serpent up ahead that will eventually make its way here. Wait for the Man-Serpent to cross first.
Defeat the Man-Serpent then move forward. You have no choice but to cross this pressure plate. As soon as you run over it, dodge-roll forward to avoid getting hit by the darts.
Head through the door on the left, but wait under the archway. You’ll encounter another rolling boulder in this area. Wait for the boulder to roll past you. Once it does, run down quickly, almost as if you’re trying to catch up to the boulder.
Once you make it to the very bottom, you’ll notice a hole in the ground at the end of this path. Stay close to the doorway on the left to avoid getting hit by the boulders.
Wait for this hole to get filled up by boulders and, once it gets filled, the next boulder will break the wall ahead. Once it does, enter the room and loot the Covetous Gold Serpent Ring from the body here.
Head back outside and pass through the door on the left. You’ll find a chest on the ground.
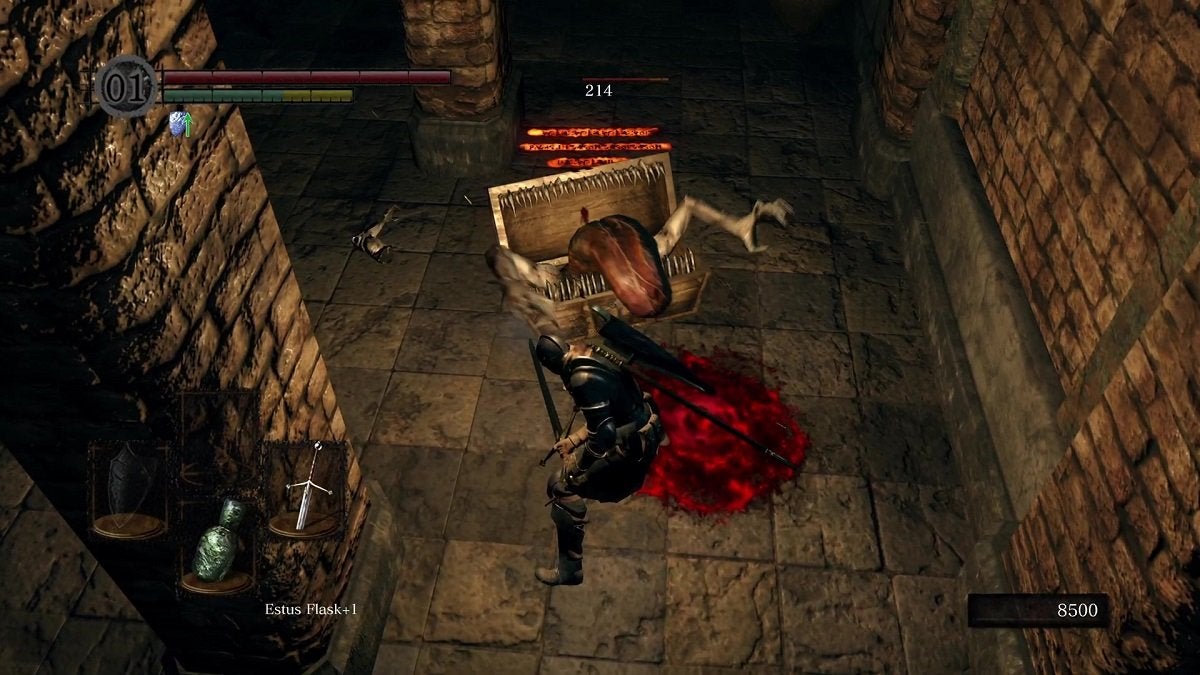
However, this chest is actually a Mimic. It will attack you as soon as you try to open it. What you should do instead is attack it first. Defeat this Mimic and you’ll receive the Lightning Spear.
Sorcery Items For You
Ride the elevator in this room up. As soon as the elevator stops at the top, immediately step off of it. This elevator will continue to rise, causing you to hit the spikes on the ceiling.
Proceed to the stairs on the left, head forward, and then once you’re on the bridge, look to the right and you’ll see the room where the boulders get launched. Use the lever nearby to change the direction of the boulders. Make sure the boulder isn’t coming your way, then make your way up.
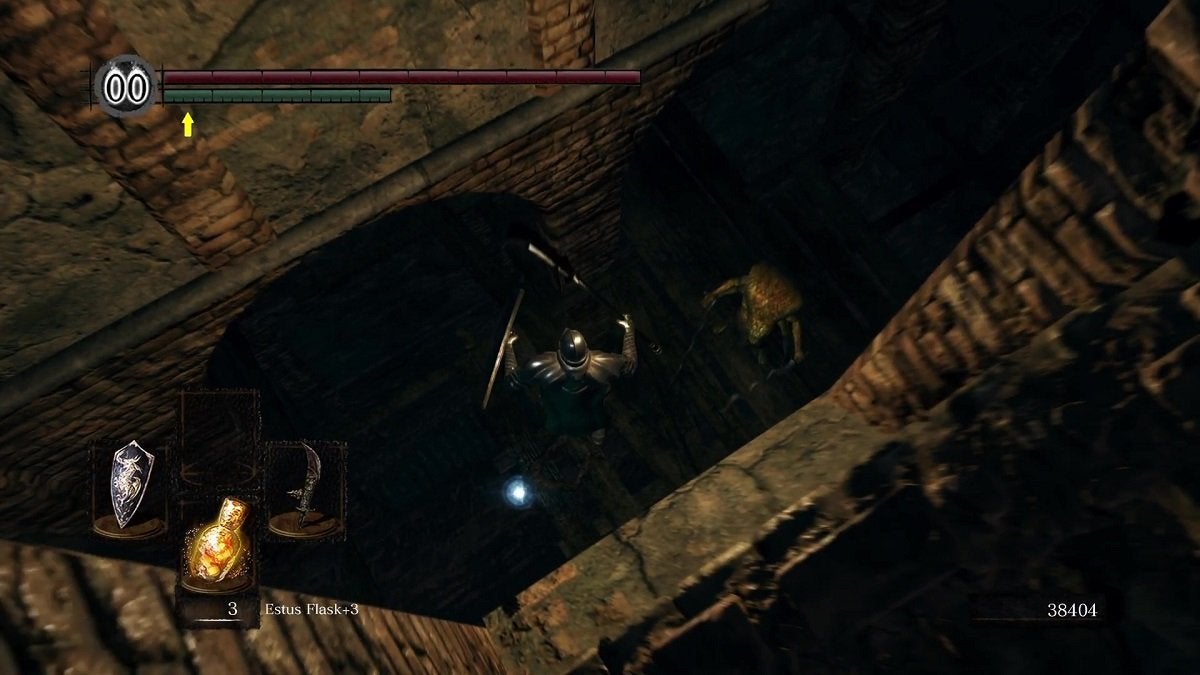
Once here, make your way to the path where you ran down while running behind the boulder. Again, make sure the mechanism isn’t punching the boulders toward this path. While walking down, keep your eye on the lower area to the right. When you find a wooden platform with a Man-Serpent on it, drop down and kill the serpent.
Pass through the door here. Climb up the stairs on the right and you’ll find a body on the ground with items you can loot. Loot it to obtain the Black Sorcerer Set and the Hush sorcery.

With that, climb the staircase on the right, open the door, walk to the left, and you’ll be on the bridge facing the boulder mechanism room.
Finding the Bonfire
There’s a door in this room placed beside the boulder path you ran down on earlier.
Pass through this door and be mindful of the pressure plate on the ground. Once again, as soon as you step on it, dodge-roll forward.
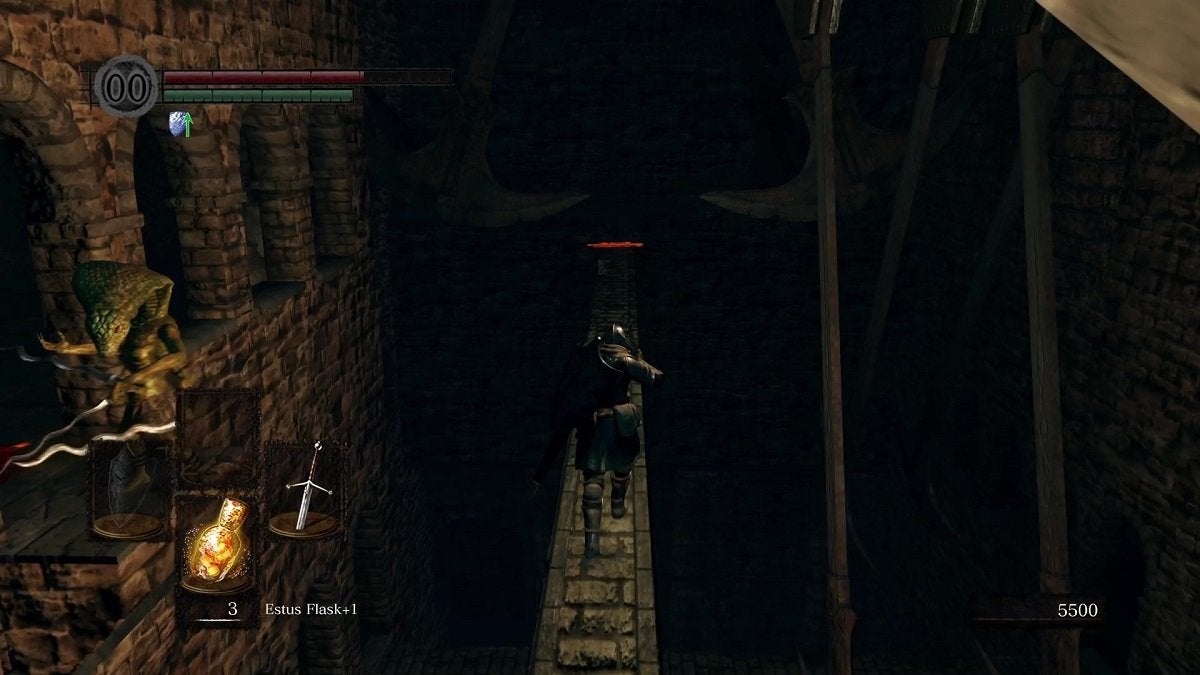
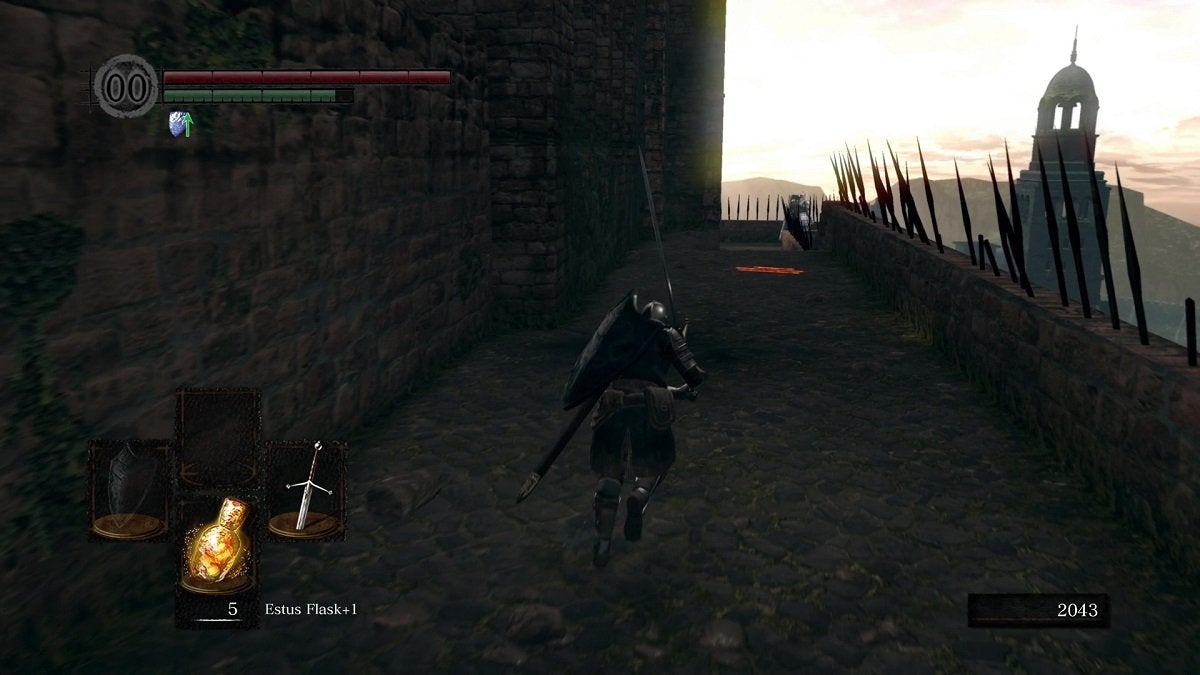
Keep marching ahead until you’re on a very narrow bridge with swinging pendulums. The pendulums are placed very close to each other. The best strategy here is to sprint past the whole thing in one go. Be mindful of your timing.
Once you cross the bridge, make a right and deal with the Man-Serpent here. Then, turn around and take the path left of the staircase. There’s a Man-Serpent at the end of this path. Defeat it and loot the two Large Titanite Shards behind him.
Return to the staircase and climb it up. Defeat the Man-Serpent that’s waiting for you at the top of the stairs. Keep heading up until you’re right before another bridge. When running on this bridge, be careful and be quick. There’s a Man-Serpent on the left that will throw lightning bolts at you while you’re on the bridge.
Better yet, kill the serpent with a bow (or spell) before crossing the bridge. You’ll be safer if you can take your time.
That said, cross this bridge and be mindful of the pendulums ahead. Once you make it to the other side, walk to the right and avoid the pressure plate on the ground. Proceed onward and cross the fog gate ahead.
Move forward, then make a left, and use the staircase to head up. Continue towards the next staircase to ascend again. Here, head to the section of this area where the wall breaks off.
Slowly step off the ledge here and you’ll land right next to the bonfire in Sen’s Fortress.
The Fortress Rooftops
Leave the bonfire room and you’ll be able to drop down to the staircase right before the previous fog gate. Pass through the fog gate and return to the area where you dropped down to the bonfire. Remember, while here, a giant is going to keep hurling boulders at you. Be fast on your feet!
While here, run up the staircase on the left. You’ll find an item on the ground. Loot it to get two Large Titanite Shards. After that, run straight ahead and you’ll come across a Berenike Knight.
Defeat it, head left, and climb down the ladder nearby. Proceed forward to the tower ahead. Climb up and you’ll come across a bow-wielding enemy. Defeat him to receive Ricard’s Rapier. Keep climbing up and you’ll find two chests at the top of this tower. Open both and you’ll find a Divine Blessing and a Rare Ring of Sacrifice.
Return to the area where you looted two Large Titanite Shards. From here, make a right and continue towards the catwalk. You’ll notice that a section of the catwalk on the left has been destroyed.
You can jump over this gap if you want. You’ll meet the Crestfallen Merchant in the tower beyond the gap.
Rescuing Big Hat Logan
This is another optional objective you can do in Sen’s Fortress if you want another NPC (non-player character) pal. From there tower housing the Crestfallen Merchant, go all the way down and walk across the bridge at the bottom to find a lone Man-Serpent. Defeat him and loot the Cage Key from behind him.
The Cage Key opens all the locked dangling cages in Sen’s Fortress, including the one trapping an NPC named Big Hat Logan. Logan’s cell is in a room that’s accessed by breaking a wall using a boulder.
What you’ll do is return to the boulder mechanism room, and point it towards the area where there’s a Man-Serpent that’s sleeping while leaning against the wall. The boulder will destroy this wall, revealing the room Big Hat Logan is in.
Once freed, Big Hat Logan will return to Firelink Shrine where you can then purchase Sorcery spells from him.
Heading to the Iron Golem
Return to the Crestfallen Merchant’s location. Return to the catwalk and hop over to the next one.
You can jump to the area where the giant is found. This giant is the one responsible for the rolling boulders in Sen’s Fortress. If killed, you’ll receive 1,000 Souls and a small percentage of receiving a Titanite Chunk. Otherwise, continue crossing the catwalk.
Make a right and you’ll arrive in a room with two hanging cages. One of these can be opened by the Cage Key. When you open and enter it, the cage will take you to the start of the first bridge in Sen’s Fortress. This brings you closer to the Undead Parish bonfire.
From the room where the cages are, proceed to the next area and ascend the staircases. Cross the catwalk here. Be mindful of the archer. Keep running forward to not get hit by the archer. You can kill him when you get a bit closer.
Pass through the door behind the archer. Here, you’ll see a fog gate on your left and a staircase on your right. Past the fog gate is the Iron Golem, the boss of Sen’s Fortress. If you take the staircase on the right, you’ll arrive at the area where the boulder-hurling giant is located.
If you kill the giant, you’ll receive 3,000 Souls and a guaranteed Titanite Chunk. This giant won’t respawn after you kill it.
Aside from the two aforementioned paths, there’s another up ahead that leads to another tower. If your humanity is intact, you’ll find a summon sign in this tower. This sign will summon Iron Tarkus. He can help you out during the boss fight. If you do that, Iron Tarkus can pretty much take all the hits from the Iron Golem while you continue attacking its ankle.
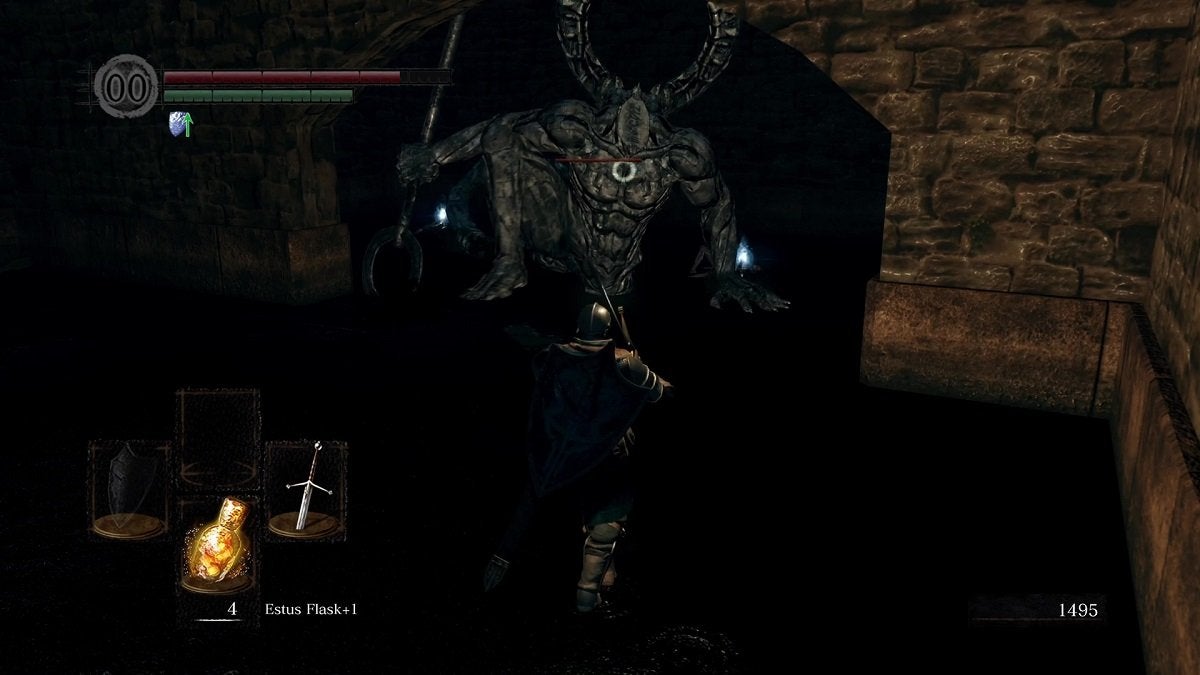
Defeating the Iron Golem
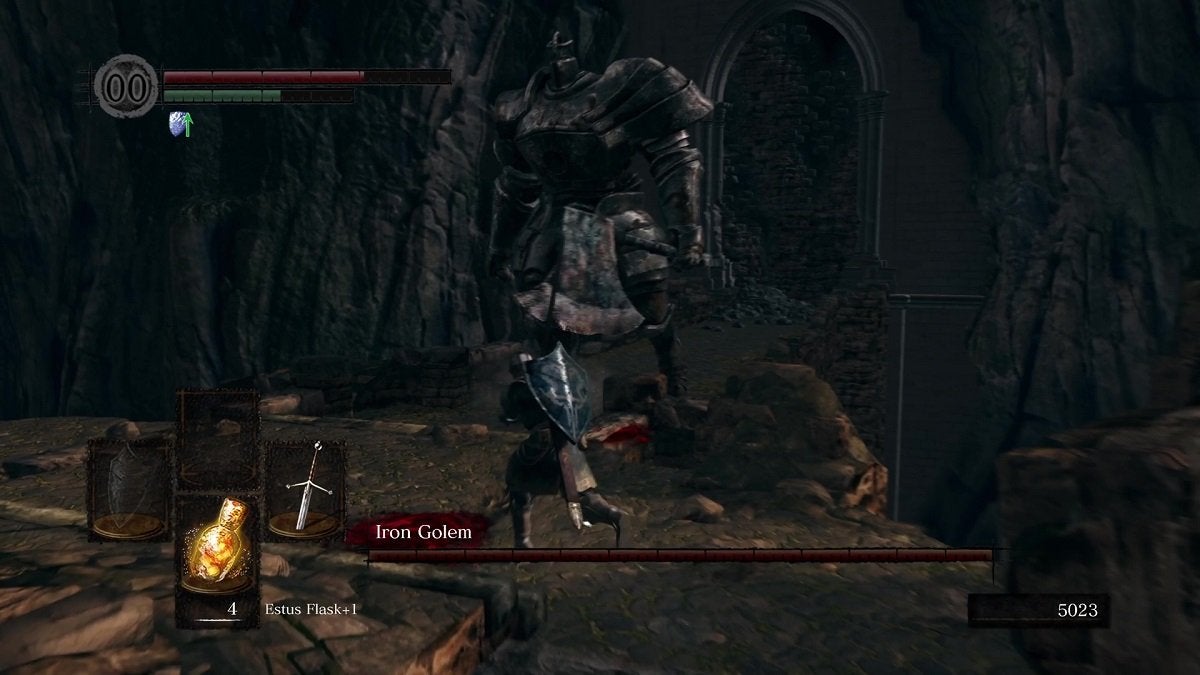
The Iron Golem isn’t too tough of a boss. Stay near its feet and keep hitting its ankle. If you summoned Iron Tarkus, have him take the heat for you.
Once Iron Golem’s HP is low enough, it will fall to the ground. Keep hitting it while it’s down to deplete its HP completely.
After the boss is defeated, interact with the glowing ring in the middle of the arena and you’ll be taken to Anor Londo.
Sen’s Fortress is quite a chaotic locale. It is another difficult FromSoftware classic location that you either hate or love. Either way, you’ve gone through it now. Be prepared to take on the magnificent Anor Londo.