A Starlight Shard is a must-have emergency Consumable for Spellcasters. It can save you from running out of FP during a frustrating challenge. However, it also has other important uses that you’ll want to note.
Table Of Contents
What Is a Starlight Shard?
A Starlight Shard is a non-craftable Consumable that restores 120 FP in 60 seconds (2 FP per second). You can only find up to 23 Starlight Shards per journey in Elden Ring. But don’t worry, you can carry them over to your next playthrough.
How to Use Starlight Shards
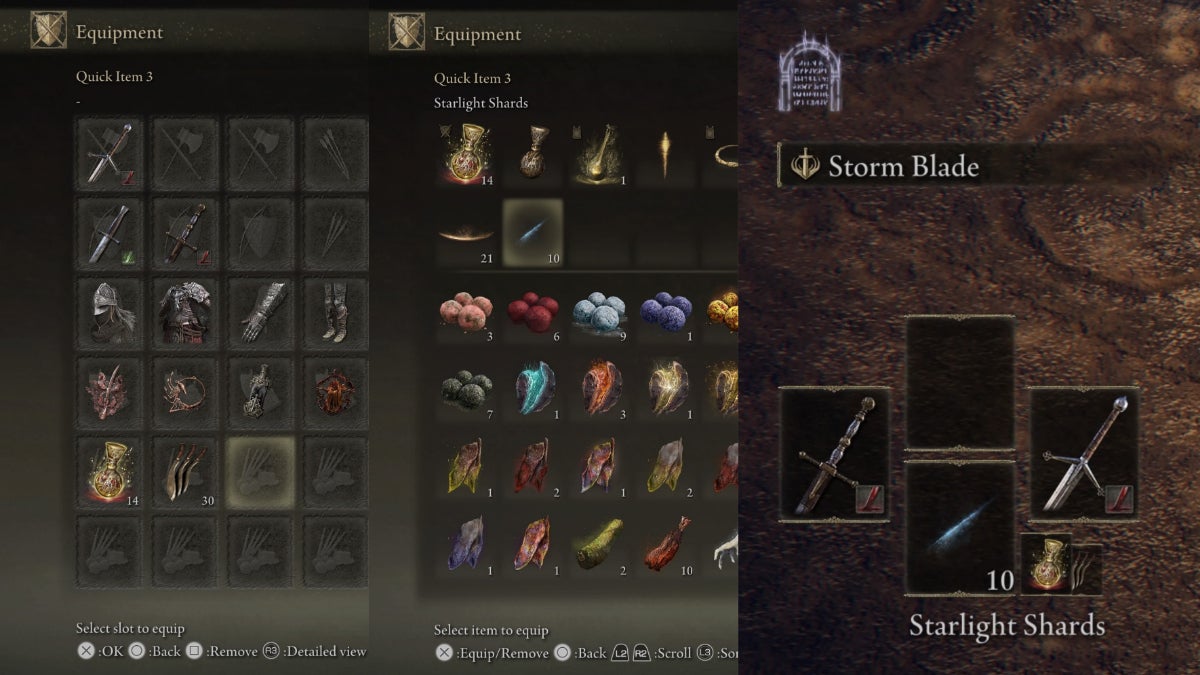
You can only equip 10 Starlight Shards at a time. Simply follow these steps:
- Open your Inventory
- Select a Quick Item slot
- Select Starlight Shards
While you may have the freedom to use a Starlight Shard anytime, here are the three best ways to use it:
- A Trading Item for Preceptor Seluvis’ Spirit Ash Shop during Mid-Game
- As emergency FP when you run out of Cerulean Tears Flasks
- An Item for Multiplayer Trade
All Starlight Shard Locations in Elden Ring
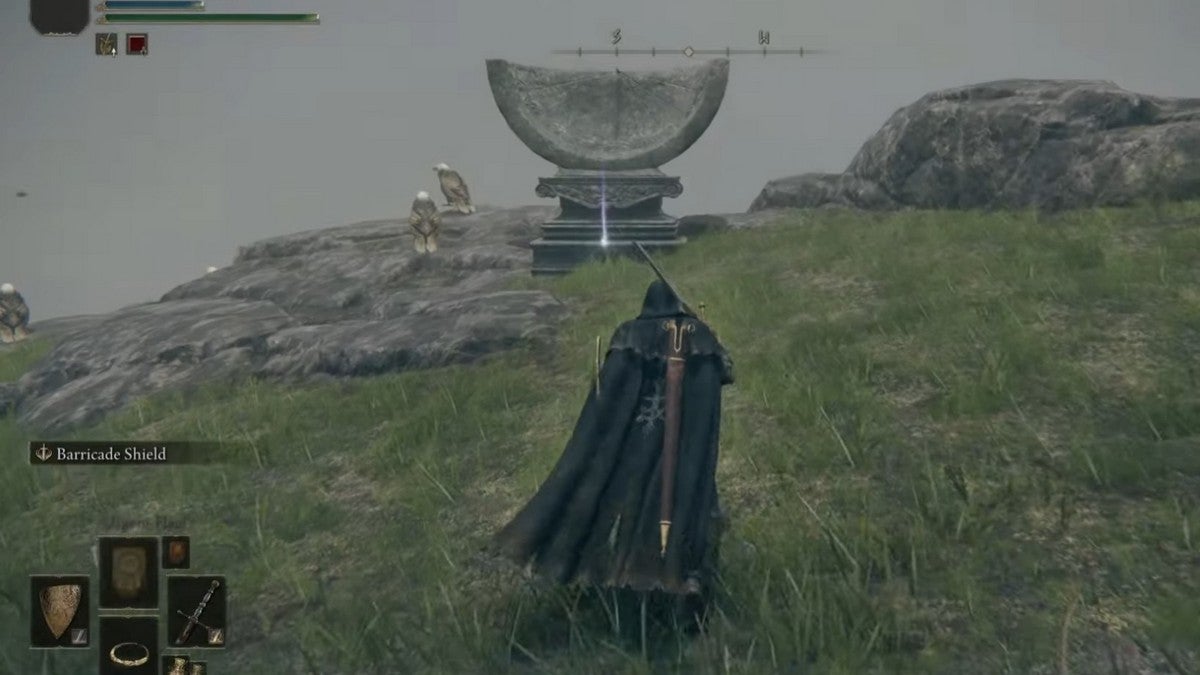
Only five of the nine regions in the Lands Between have up to three Starlight Shards to be found. Most Starlight Shards are placed near a Scaphe Sundial, which is an ancient device used to indicate the time of day. The following are all their locations:
| Region | Starlight Shard Locations |
|---|---|
| East Limgrave | Agheel Lake South Grace — Summon Torrent, and seek a Spirit Spring on the pathway towards the Bridge of Sacrifice. When jumping on the Spirit Spring, aim to land on the eastern cliff. One Starlight Shard is in front of a Scaphe Sundial at the right side of the trees. |
| West Limgrave | Stormhill Shack Grace — Make your way to the tip of Stormhill, which is further southwest of the coliseum ruins with a Guardian Golem nearby. There are four Eagles near a Scaphe Sundial with one Starlight Shard. |
| Weeping Peninsula | Castle Morne Rampart Grace — Summon Torrent, and jump on a nearby Spirit Spring. You'll reach the small pond of Oridys's Rise. Go to the edge of the cliff, west of the rise, to find one Starlight Shard near a Scaphe Sundial. |
| East Liurnia of the Lakes | Gate Town Bridge Grace — Summon Torrent, and seek a Spirit Spring within the forest along the cliffside. Jump on the Spirit Spring to find the Scaphe Sundial with one Starlight Shard at the edge of the cliff. |
| South Caelid | Caelid Highway South Grace — Jump behind the large branch, and notice the withered tree nearby. Just beyond is a Scaphe Sundial with one Starlight Shard. |
| North Caelid | Farum Greatbridge Grace — Follow the pathway back towards the upper eastern cliff. Beware of the Vulgar Militiamen nearby. You'll find one Starlight Shard below a Scaphe Sundial at the western side of the cliff. |
| Central Caelid | Church of Plague Grace — You'll notice a Scaphe Sundial northwest of the church, there's one Starlight Shard in front of it. Note: Solve the Sellia, Town of Sorcery Puzzle to gain entry to the church and more. |
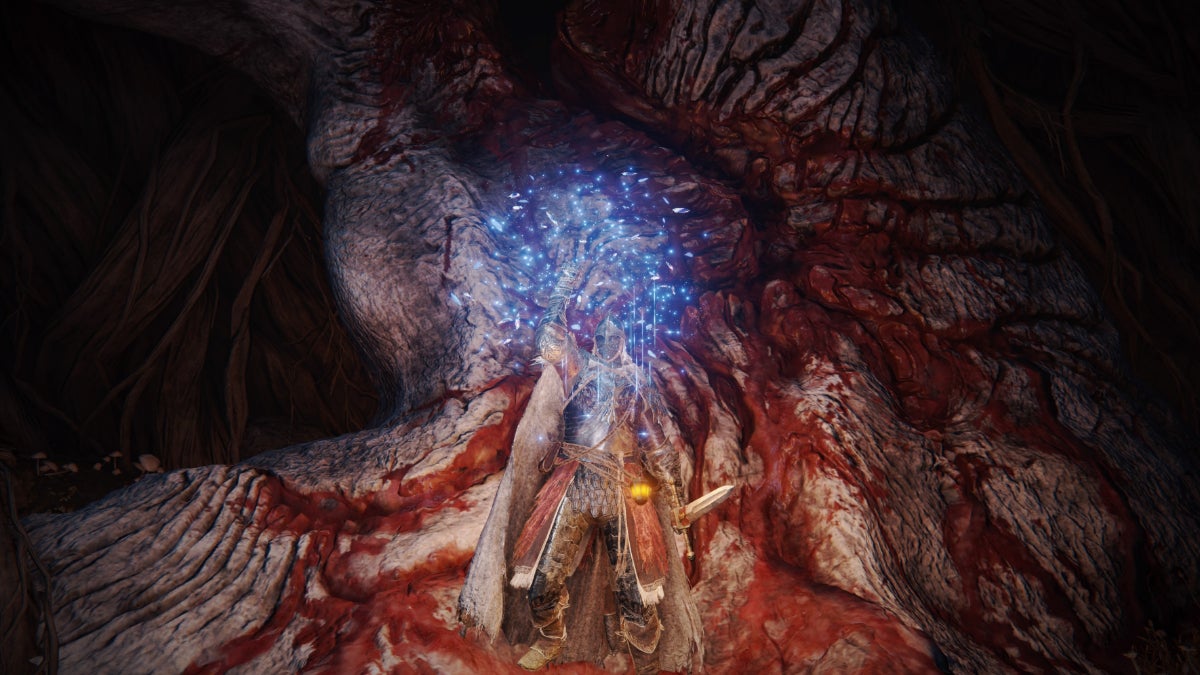
| East Limgrave | Waypoint Ruins Cellar Grace — Sorceress Sellen will give you one Starlight Shard when you give her Master Lusat's location. Note: You can find Master Lusat in a magically-sealed cavern within Sellia Hideaway. It's located northwest of the Church of Plague. However, you'll need the Sellian Sealbreaker from Sorceress Selllen to break it. |
| West Altus Plateau | Shaded Castle Ramparts Grace — Jump out of the castle, and summon Torrent. Make your way to the western side of The Shaded Castle, then go all the way to the back to find a Scaphe Sundial with one Starlight Shard. Beware of the Giant Miranda Flowers and Miranda Sprouts along the way. |
| South Mt. Gelmir | Craftsman's Shack Grace — Stick to the right side as you make your way into the Hermit Village. There's a Scaphe Sundial along the edge, which is guarded by a Glintstone Sorcerer and Demi-Humans. |
| North Mt. Gelmir | Ninth Mt. Gelmir Campsite Grace — Summon Torrent, and jump on the Spirit Spring towards the Full-Grown Fallingstar Beast's nest. You don't need to defeat it. Make your way towards the Scaphe Sundial to get one Starlight Shard. |
| West Mountaintops of the Giants | Castle Sol Main Gate Grace — Summon Torrent, and go west towards the edge of the cliff. Notice the rocks at the right side of the small graveyard. Carefully jump on it until you make it to the upper cliff. Turn left to find a Scaphe Sundial, and go around it to get one Starlight Shard. |
| East Mountaintops of the Giants | Foot of the Forge Grace — Make your way towards the smaller northeastern cliff of the mountain. The Scaphe Sundial is at the edge of the cliff, just behind the northern Death-Blighted Giant. Beware of a Fingercreeper while getting the Starlight Shard. |
| South Liurnia of the Lakes | Moonlight Altar — Go to the Cathedral of Manus Celes, which is located northeast of here. But beware, it's guarded by the Glintstone Dragon Adula, Ranni the Witch's most loyal dragon. There's a total of 10 Starlight Shards within the area, including the on near a Scaphe Sundial. Note: You will need to do Ranni the Witch's questline to reach the subregion. The only path to get here is located within the Lake of Rot. |