
Despite being a useful tool for build customization, the Iron Whetblade is not something you can easily find. You’ll have to travel high and low through Stormveil Castle. The reward is being able to choose any affinity for your weapons.
Table Of Contents
If you need some more visual references for topics mentioned in this article, check out the video below:
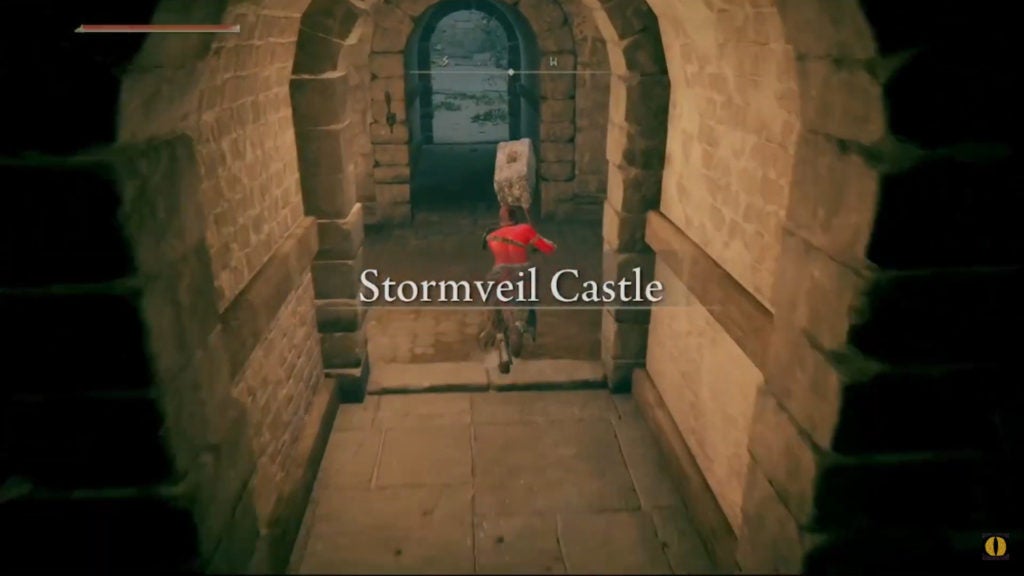
Jumping Puzzle in Stormveil Castle (00:20)
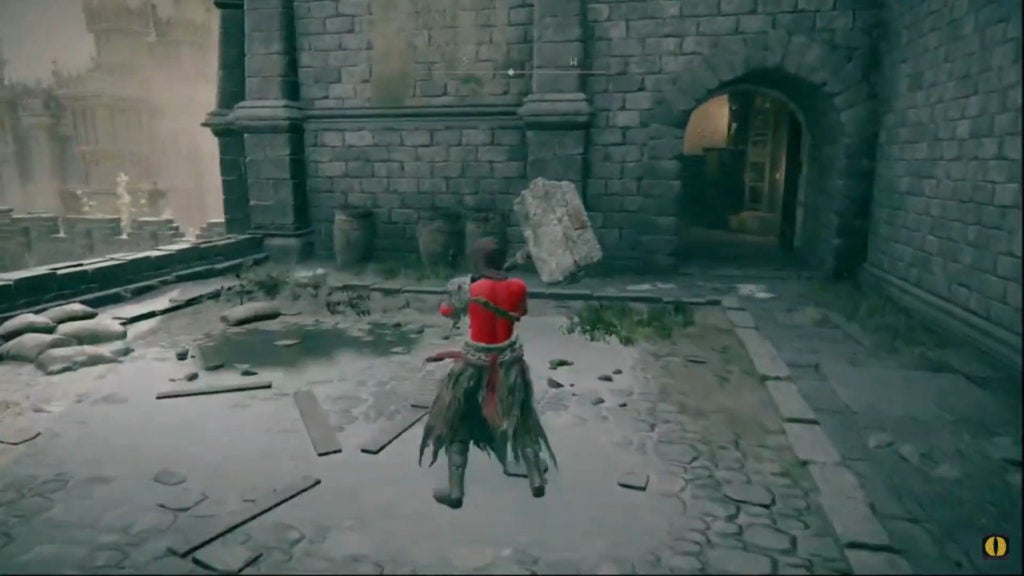
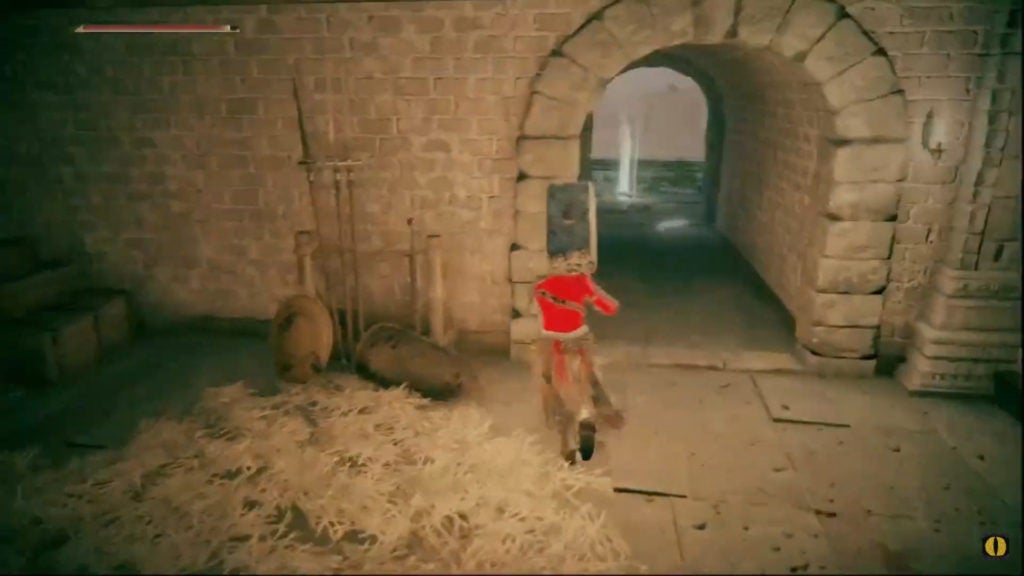
Start from the Secluded Cell Site of Grace in Stormveil Castle. From there, run through the doorway across from the cell door.
This will bring you to an area with a rubble ramp leading up to an area with many living jars.
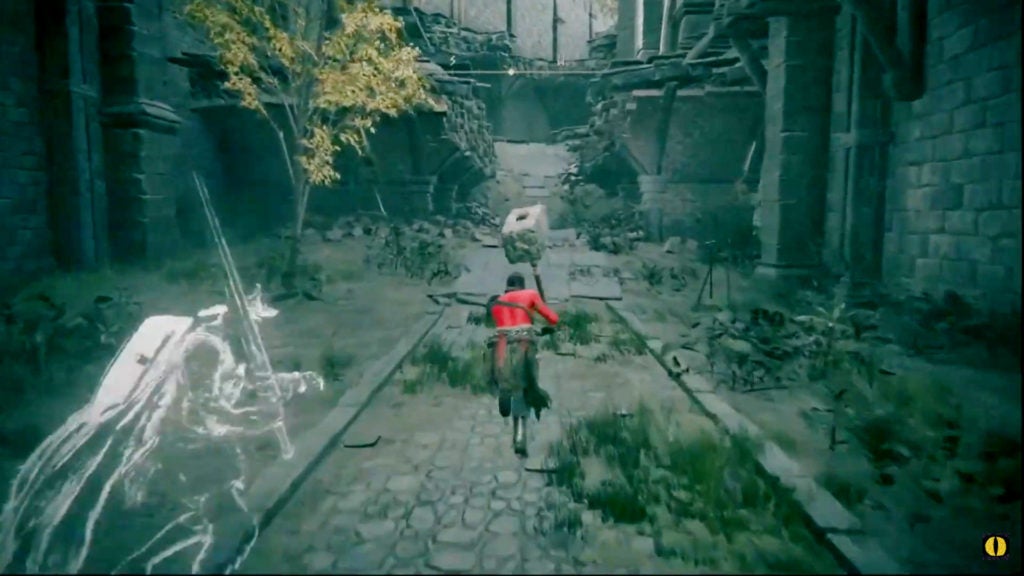
When you reach the top of the ramp, turn right and walk towards a corpse on a wooden platform. The body will have a bit of loot on it, but nothing too special.
Jump #1
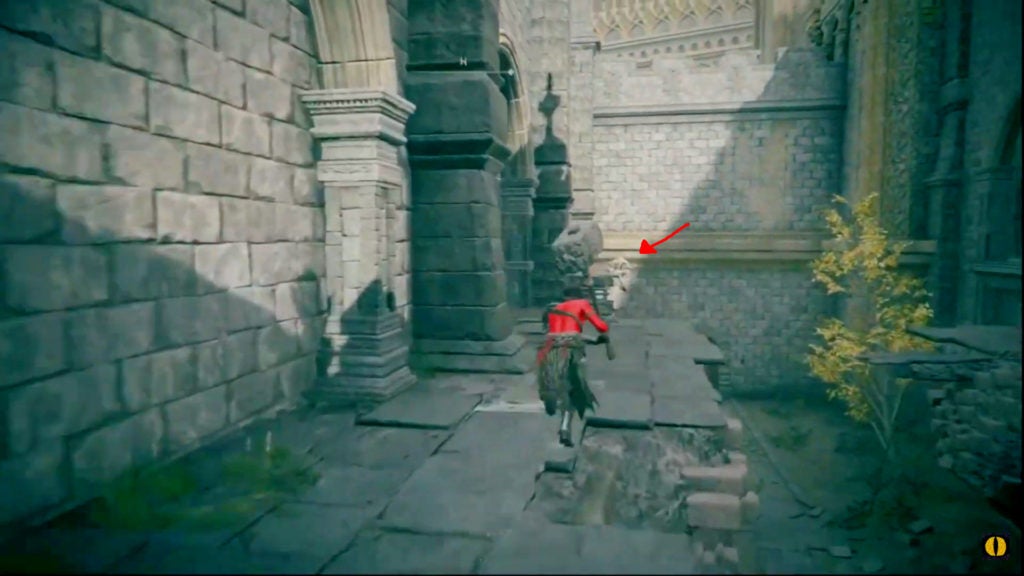
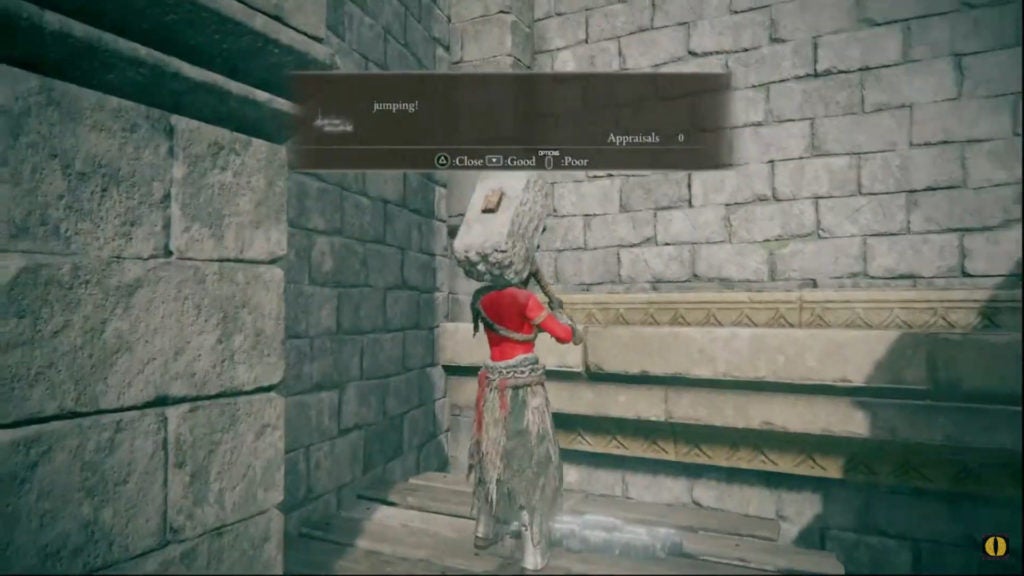
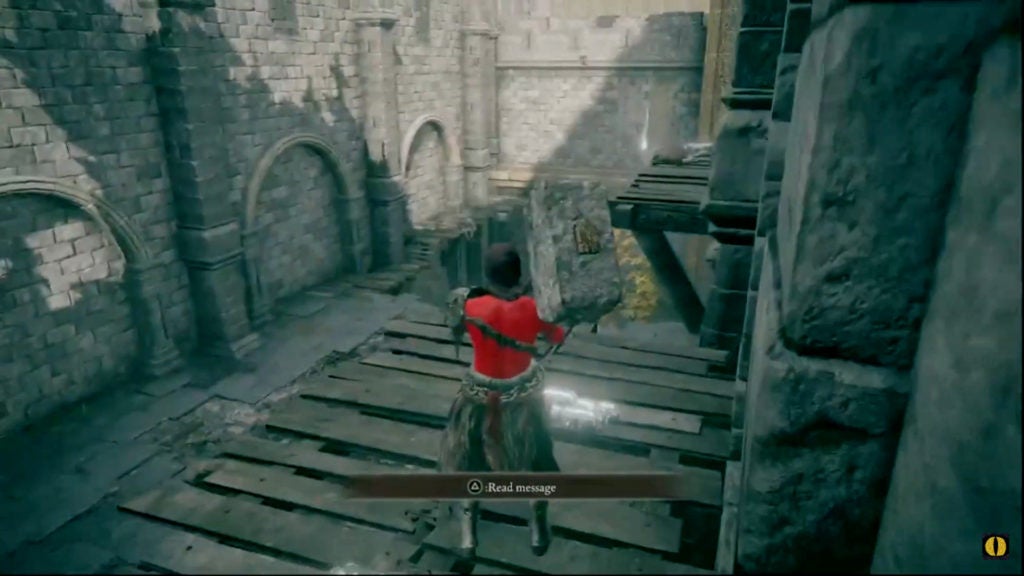
As you make your way over there, you may notice a ledge that looks walkable. It’s possible that there may even be a helpful message or two indicating a path.
Here is where begins the jumping puzzle that will start your journey to the Iron Whetblade’s location. When ready, leap onto the thin ledge that’s up against the wall. When you make the jump, follow the ledge to the right.
Jump #2
Soon, you’ll be at the end of the ledge. Here, you’ll find a gap to another ledge and a doorway.

If you’re having a hard time getting to the ledge with the doorway, try sprint jumping. The added speed will help you cover more distance in the air. To sprint jump, hold down the run button while moving forward and then press the jump button while your character has forward momentum. You can begin sprinting in pretty much a single step in Elden Ring, which makes it possible to sprint jump with very little room for a run-up.
Beyond jump #2, you’ll find yourself in a doorway that leads to an open area overlooking another open area. Don’t drop down into the lower open area, as there’s no way back up. From this point, you’ll want to go through the doorway on your right that leads inside.
Inside, you’ll need to ascend two short flights of stairs. At the top, you’ll find yourself in an area overlooking the rubble ramp. To your left will be the way forward on your journey to the Iron Whetblade. However, to your right, there is some loot.
Jump #3 (Optional)
The item that’s on the secluded wooden platform is a Smithing Stone [2]. You’ll need to sprint jump to get it. Additionally, you’ll need to sprint jump back from that location as well. However, to proceed, you’ll need to go left.
Going Inside Once More
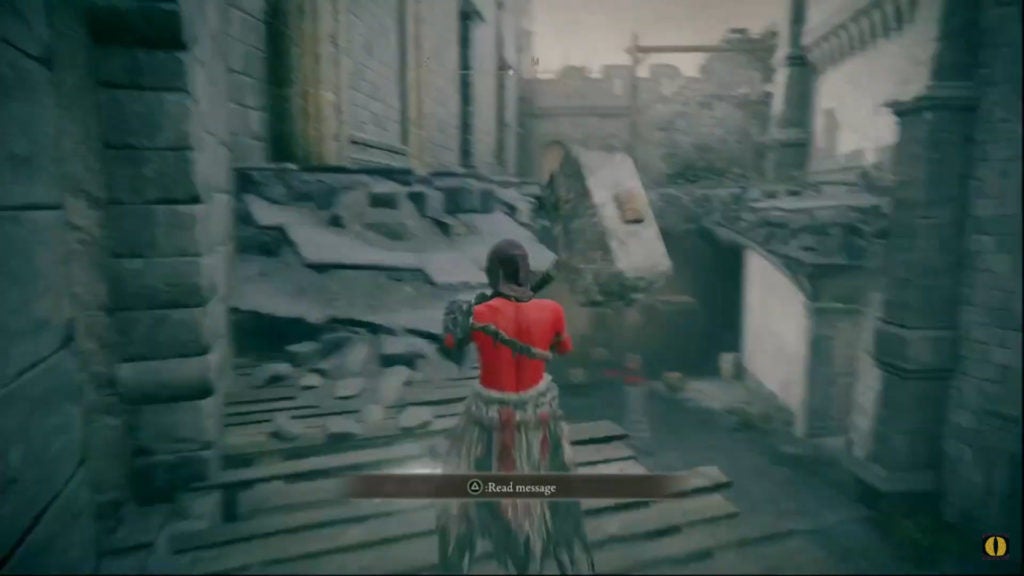
As you walk on this decrepit castle’s path, keep going straight to find a doorway that leads inside once more. To the right of the doorway is a bit of loot to gather before continuing.
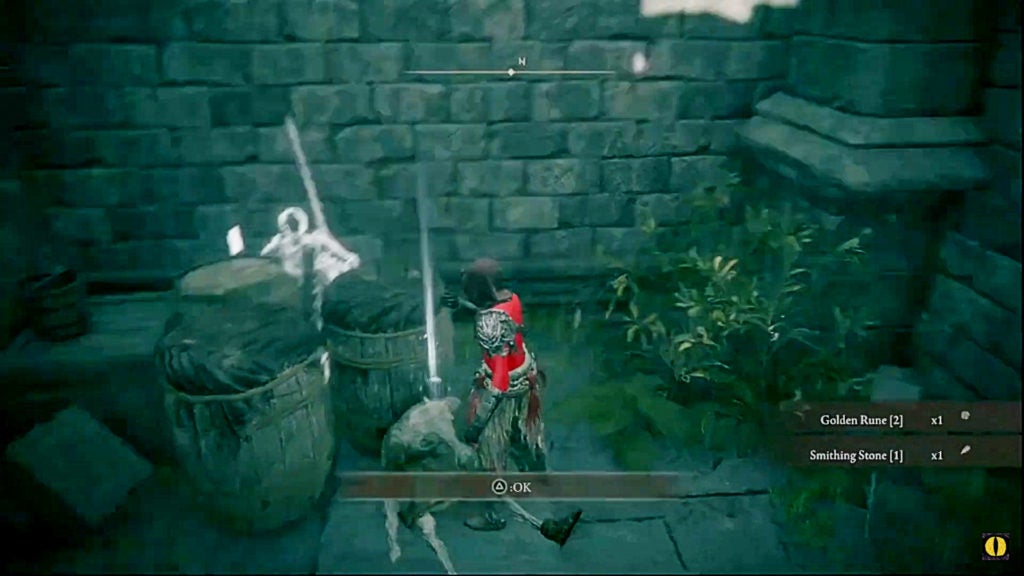
Here, you’ll be able to pick up a Golden Rune [2] and a Smithing Stone [1]. After you’ve pocketed the goods, proceed through the nearby doorway.
Entering the Underground (02:35)
If you have a way of lighting up your surroundings, now’s the time to begin using it. The underground portions of this adventure will be dark and dangerous, so illuminating the area can help you deal with threats better.
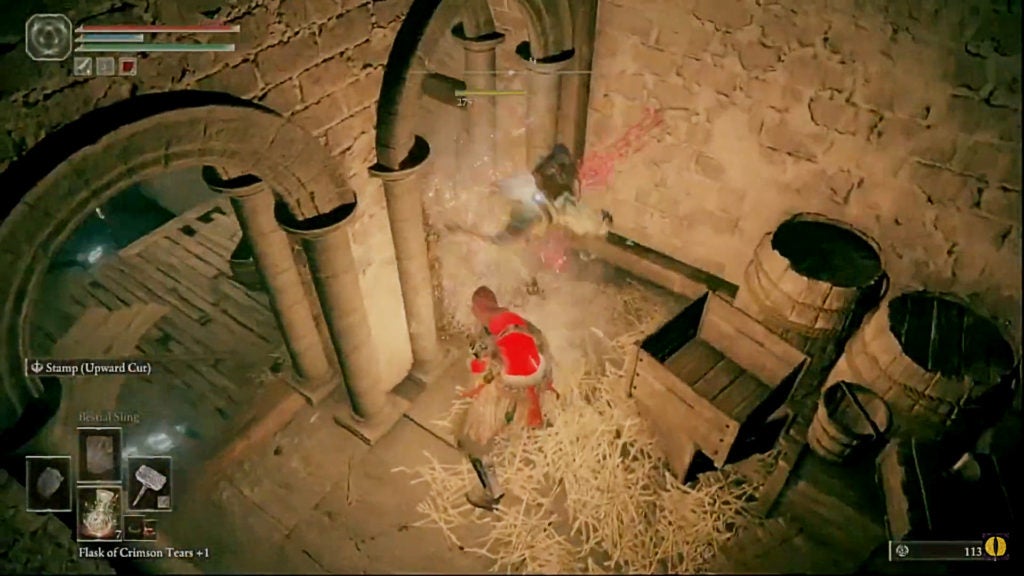
This area will be full of weak enemies. While alone they pose no threat, if you get swarmed, they can overwhelm you. When you walk deeper into this room you’ll find some stairs leading down into a large chamber.
However, before you descend into this big open area, you should check out the small room to the right of the stairs. Within, you’ll find two enemies that could ambush you later or throw ranged attacks at you from above. They will both be resting, so it should be easy for you to take them out.
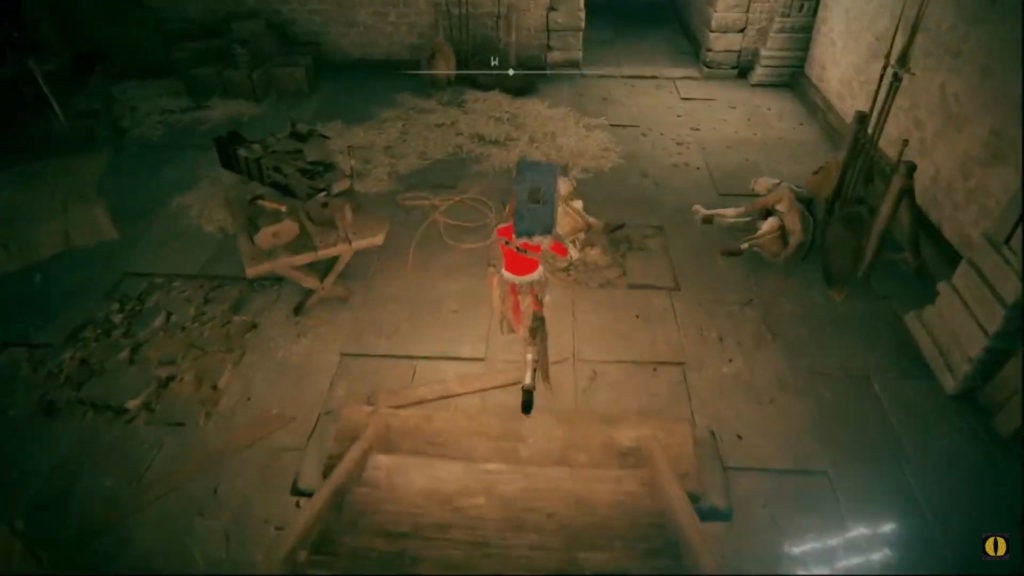
After defeating both of the minor threats, proceed down into the room while preparing for more enemies. When you descend the first flight of stairs, you’ll find three more enemies resting. Take them out so that they don’t cause you any problems later.
After clearing out this floor, descend the next flight of stairs and deal with the pair of enemies sitting there. These ones will actually begin to move as you approach, so you’ll need to kill them quickly if you don’t want a struggle.
Manor Towershield Location
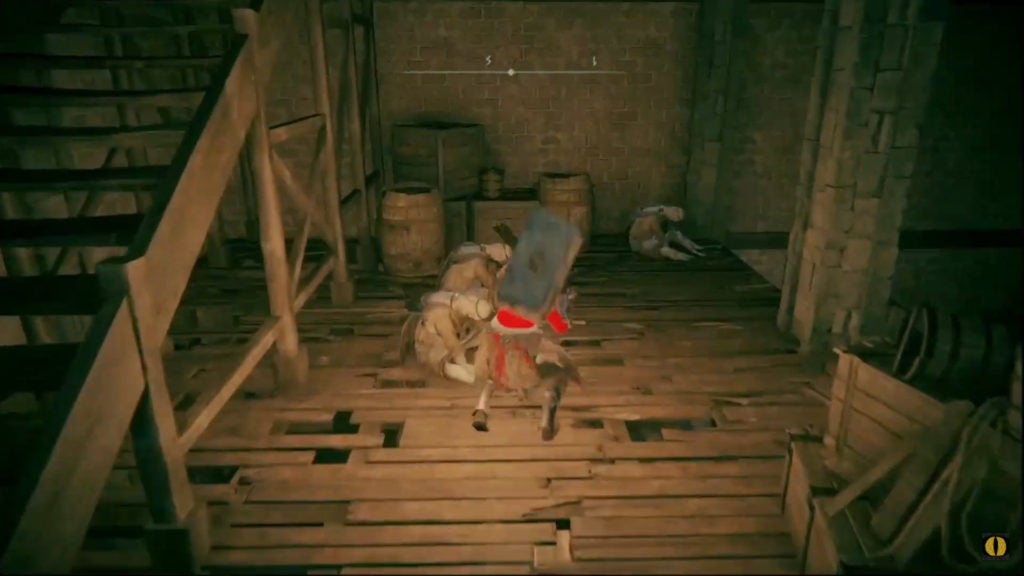
Beyond is the doorway that leads to the next area you’ll need to traverse in search of the Iron Whetblade. However, there’s a bit of loot to find in this room before you proceed. After taking out the two enemies sitting on the stone floor, turn around and explore under and around the stairs to find a few more enemies.
There will be a couple in the back corner by some barrels, so defeat those foes first. Afterward, check underneath the stairs to find another enemy as well as the Manor Towershield.

If you’re a fan of greatshields, this is a decent weapon to find early. It has 100 physical guard damage negation and possesses a Guard Boost stat of 65, making it a sturdy defensive tool.
After looting the greatshield, head out the doorway at the bottom of the stairs to find yourself outside. Though, this detour through some fresh air won’t last long, so don’t bother turning off your light source.
Descending Rocky Ledges
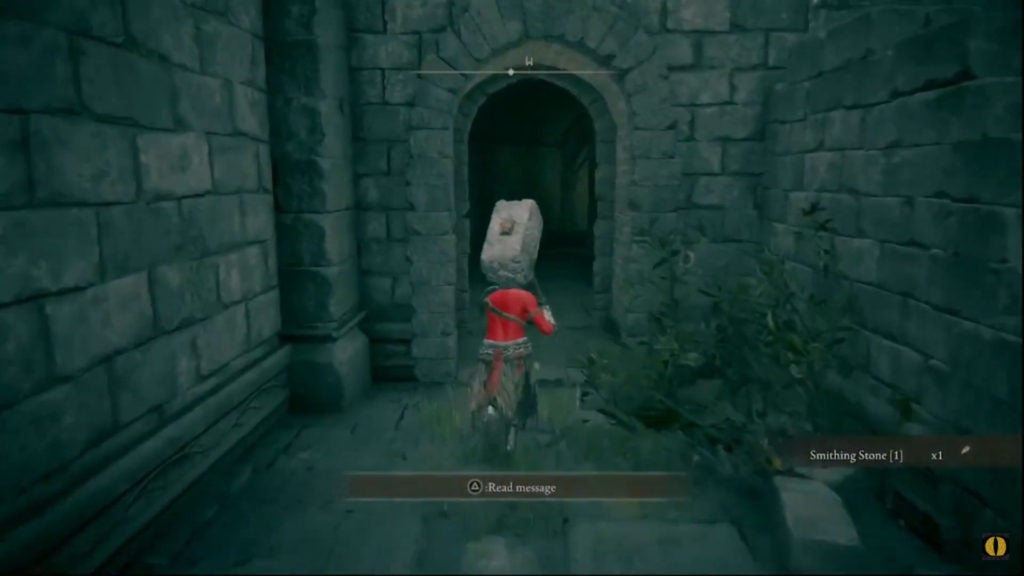
Beyond the doorway leading outside, you’ll find an in-game message that tells you that what you seek may be nearby. This cryptic hint is not one left by another player through online gameplay and is part of the world.

Near to this message is a corpse that is holding a Smithing Stone [3]. Be sure to pick it up before you proceed. When ready, you’ll need to head down some rocky ledges to the left of the doorway leading to this outside area.
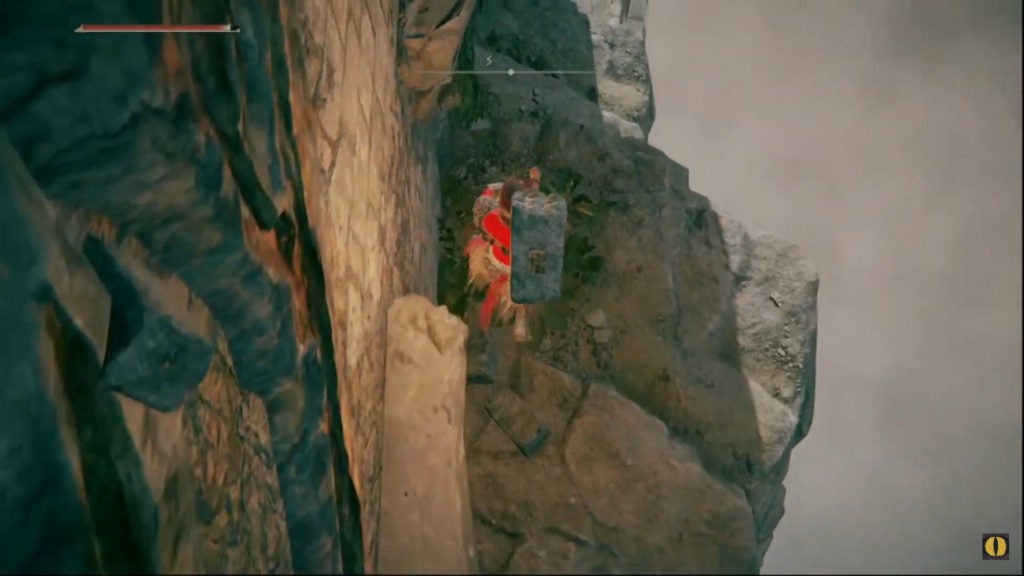
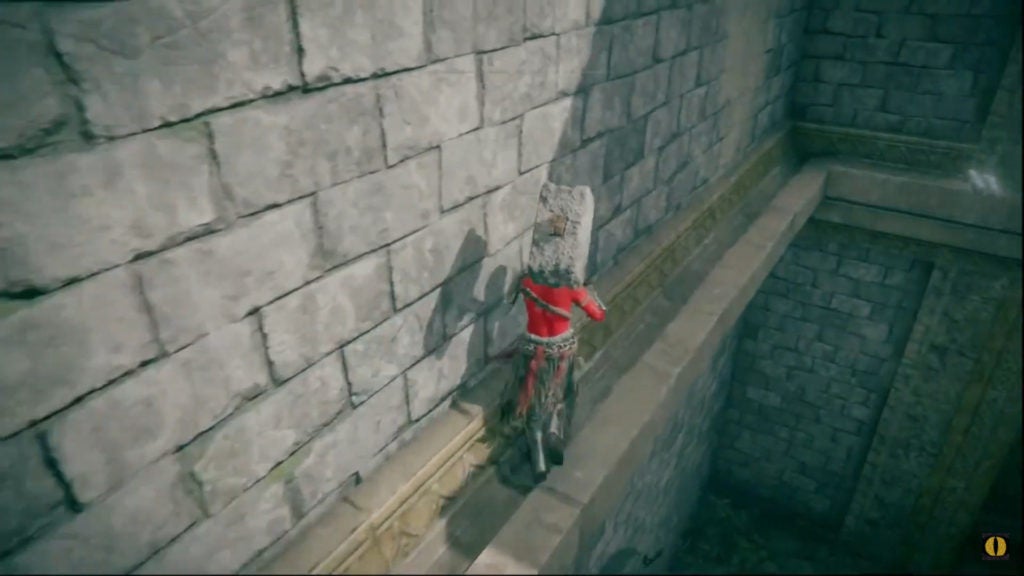
You’ll be safe as long as you hug the wall on your left. Keep descending the rocky ledges gradually and you’ll come to a stone balcony. The leap down to this part will be easy and relatively low-risk.
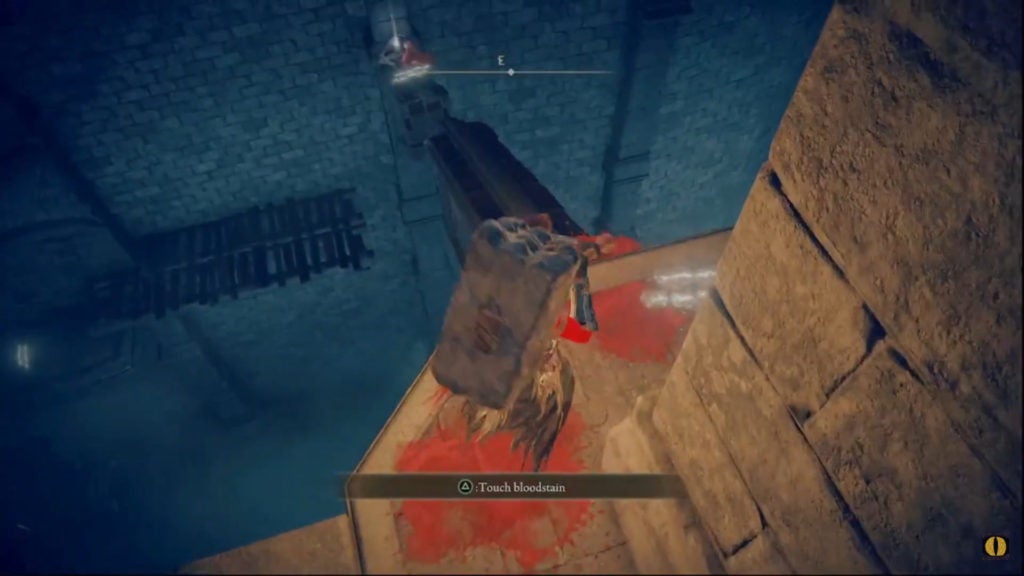
On this balcony will be an open door that leads you inside again as well as a railing. On the railing is an item, however, you’ll need to jump onto the railing itself to get the item. This is pretty dangerous, given the location. The item is a Golden Rune [5], which can net you a decent amount of Runes. If you want the money, hop up on the railing carefully and grab it.
![The player looting a Golden Rune [5] from a body on a balcony railing.](https://vgkami.com/wp-content/uploads/2022/03/The-player-looting-a-Golden-Rune-5-from-a-body-on-a-balcony-railing.-1024x576.jpg)
When you want to progress towards the Iron Whetblade, head through the open door. Get ready for more jumping, but this time in the dark and among flying foes.
Underground Jumping Puzzle (05:15)
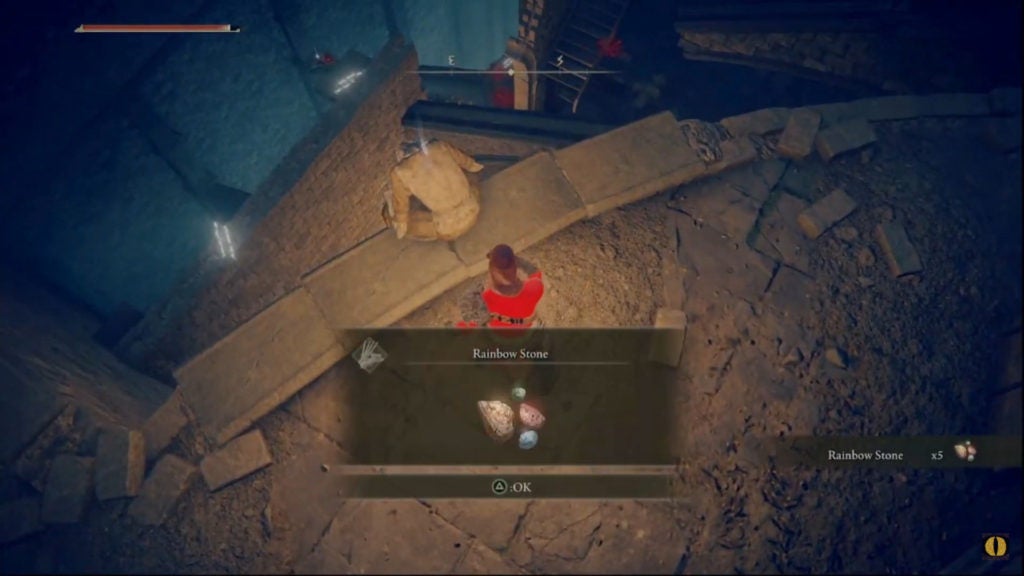
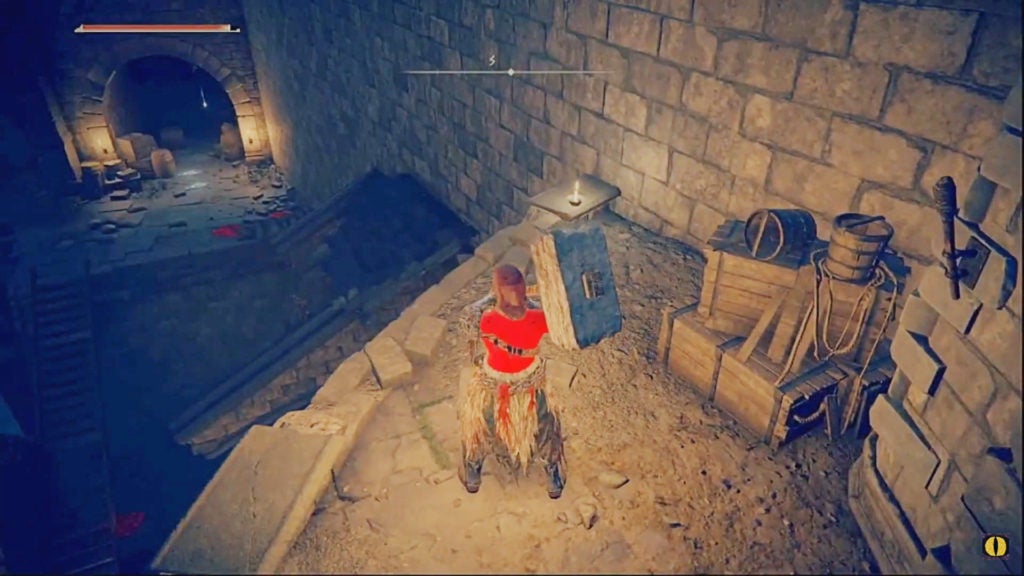
After crossing the threshold into this new dark area, you’ll see a corpse on the ground before you on a split in your path. The item on the body will be five Rainbow Stones, which can be used to mark areas for both yourself and other players for a short time.
Shortcut to the Liftside Chamber Site of Grace
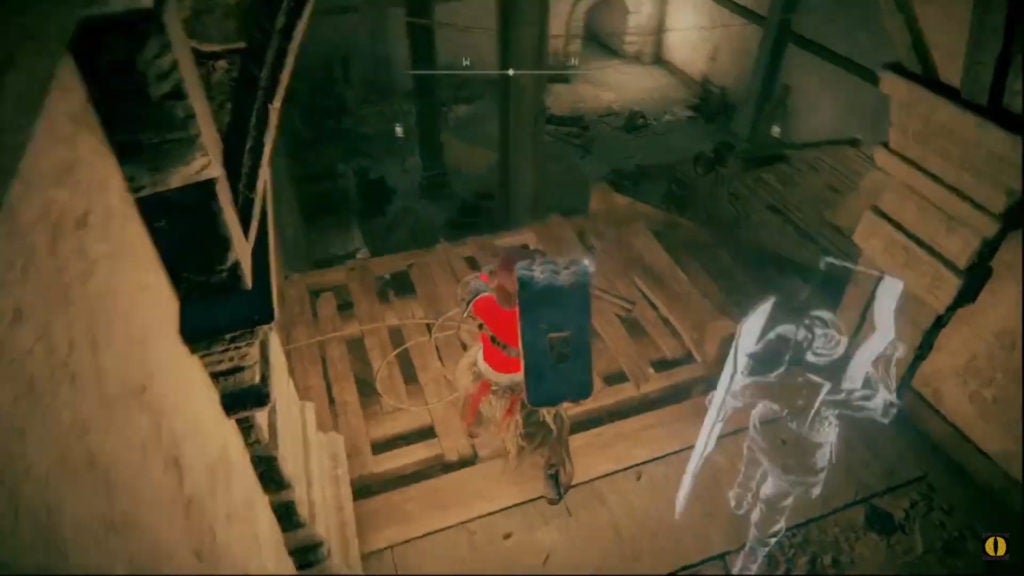
After picking up the minor goods, you’ll want to take the left path first, as that leads to a shortcut. Open the wooden door you find and you’ll unlock the way to the Liftside Chamber Site of Grace.

It would be a good idea to rest here, even if you don’t need the healing. Resting at this Site of Grace will let you respawn close by if you happen to die on the path to the Iron Whetblade. After you set your spawn, head back to the spot where you looted the 5 Rainbow Stones and go right. Here, you’ll need to jump across a platform to reach an item before descending downward.
Arteria Leaf Location
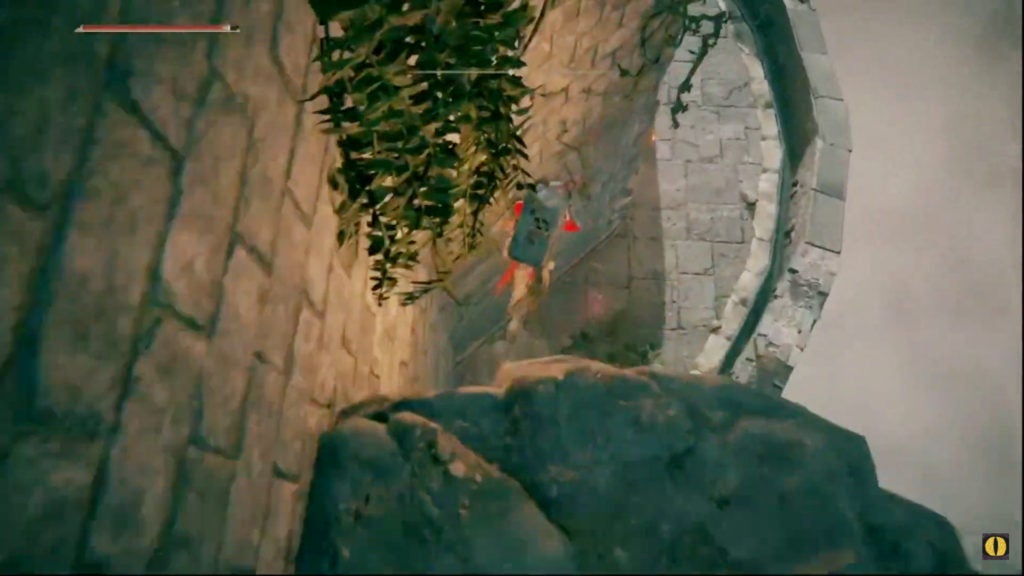
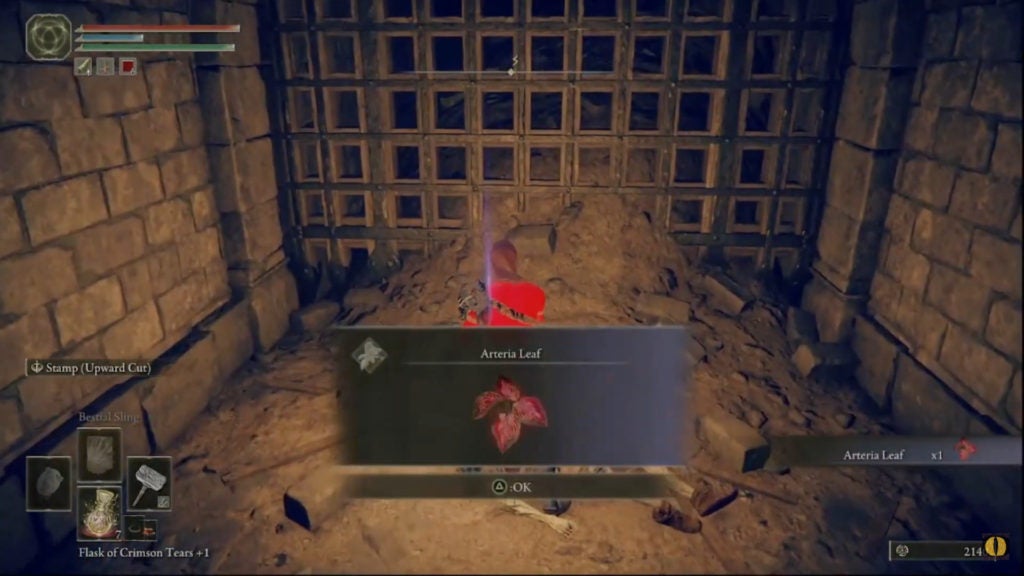
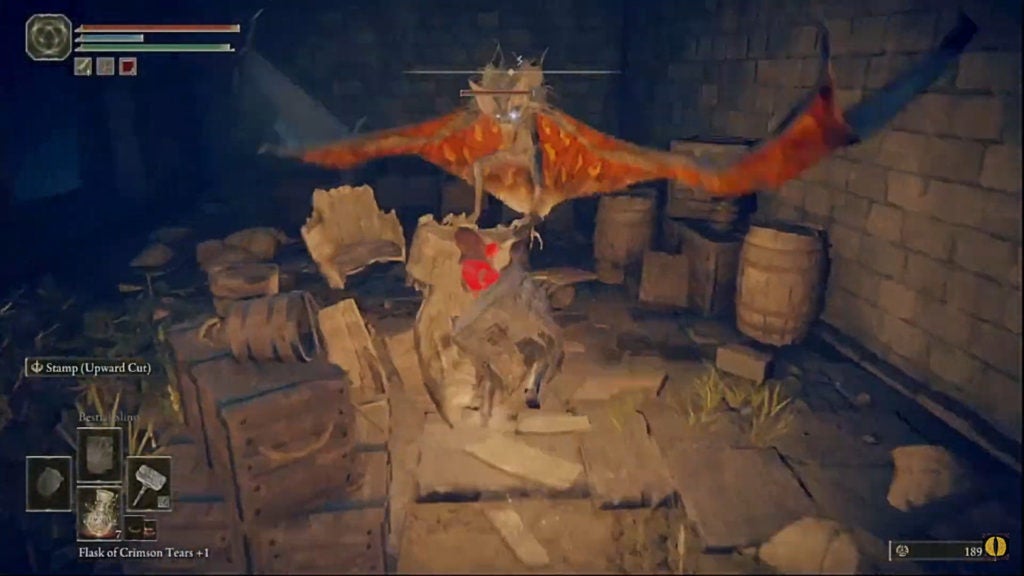
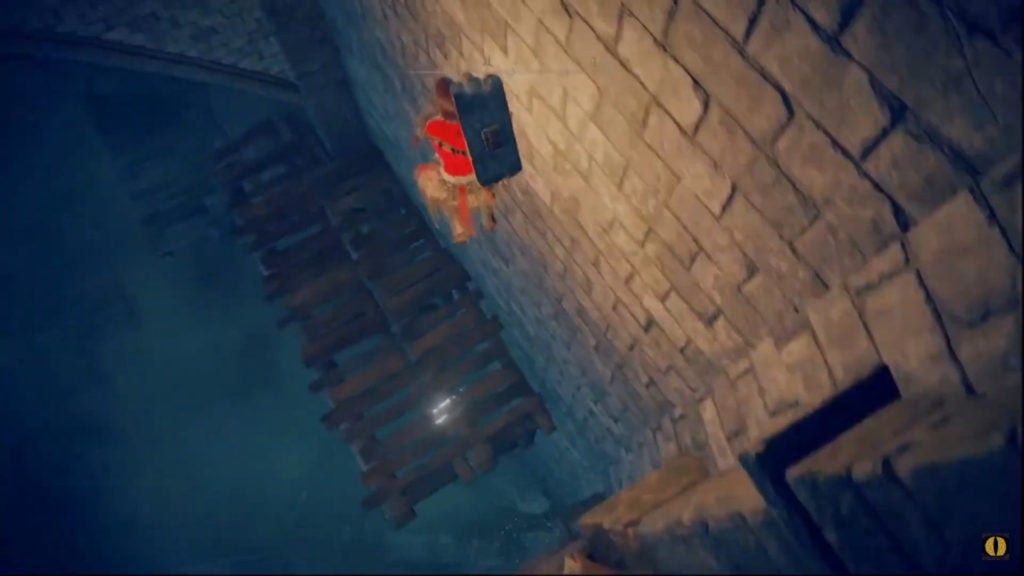
Hug the right wall and leap to the nearest of the broken bridges. From there, leap to the next one and then to the large stone ledge with the lit archway. Within the little indentation will be a bat monster hanging from the ceiling as well as an Arteria Leaf.
From here, walk down the partially broken wooden staircase and drop down to the small chamber below. A couple of bat monsters will attack you in this location, so be sure to take them down before you continue.
Jump Down the Broken Walkways
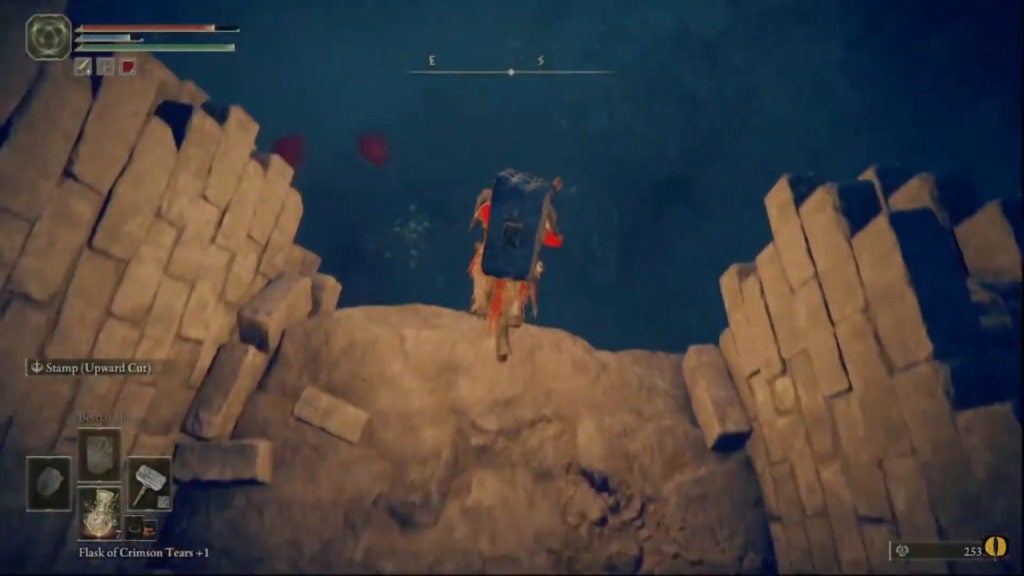
After you clear out the bat monsters, you’ll be able to look around in peace. From one of the columns in this open chamber, you’ll see a broken walkway that leads to an item. That item is actually two Smithing Stones [2], so they are worth getting.
From the corpse holding the Smithing Stones [2], turn left to find some wooden platforms leading downwards. Jump cross them to make your descent to the bottom of the area safely.
When you get to the bottom, you’ll find another corpse with an item on it. This one is a Golden Rune [2], so loot it for some free money. Afterward, turn towards the foggy underground path that leads deeper under Stormveil Castle.
Take Out the Big Rat (10:05)
As you make your way forward, you’ll find three rats that you’ll need to take out. Though, they aren’t even close to the biggest threat in this area. A bit past the small rats will be a big rat that will try to avenge their fallen brethren fiercely.
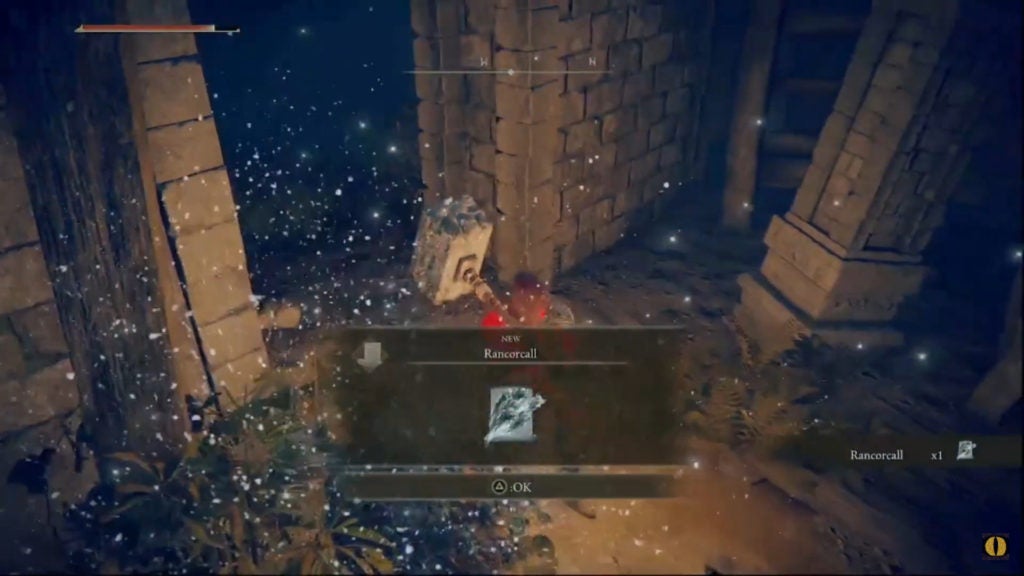
Rancorcall Sorcery Location
Just past the spot where the big rat spawns, there will be a scarab that you can slay for a spell. This will be a sorcery spell named Rancorcall, which can summon moderately slow projectiles that have fairly precise homing.
Although this area will be a jumble of broken architecture, there is actually only a single path that leads forward. When you find it, you’ll be close to a ledge overlooking a dank pit.
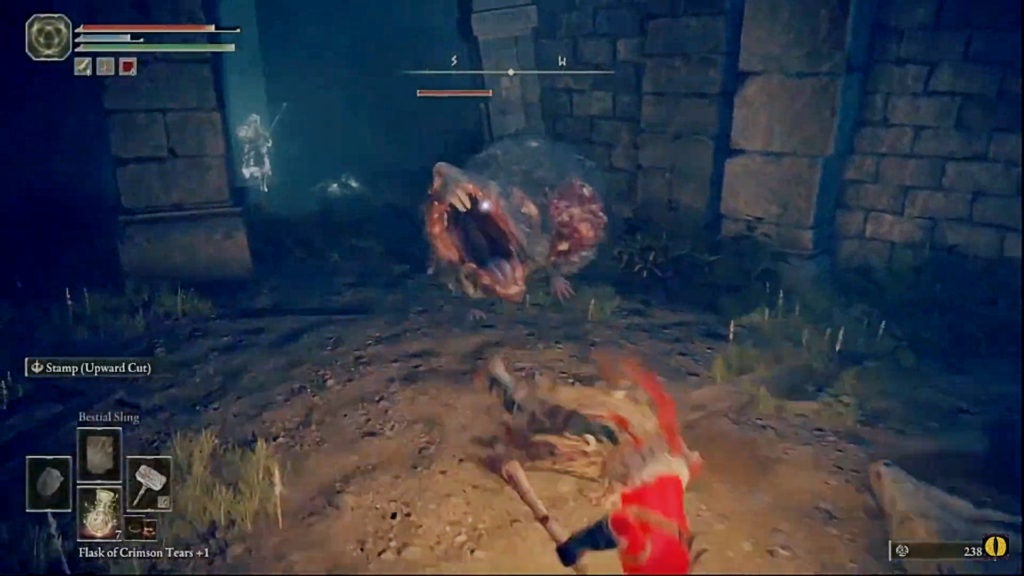
Avoid or Fight the Rat Monstrosity in the Dank Pit (12:10)
Before you drop down into the pit, make sure to heal and possibly buff yourself. Below you, there will be a hideous and huge unique enemy, so prepare accordingly. When ready, step off the ledge and into the bone-strewn dwelling of the beast beneath Stormveil Castle.
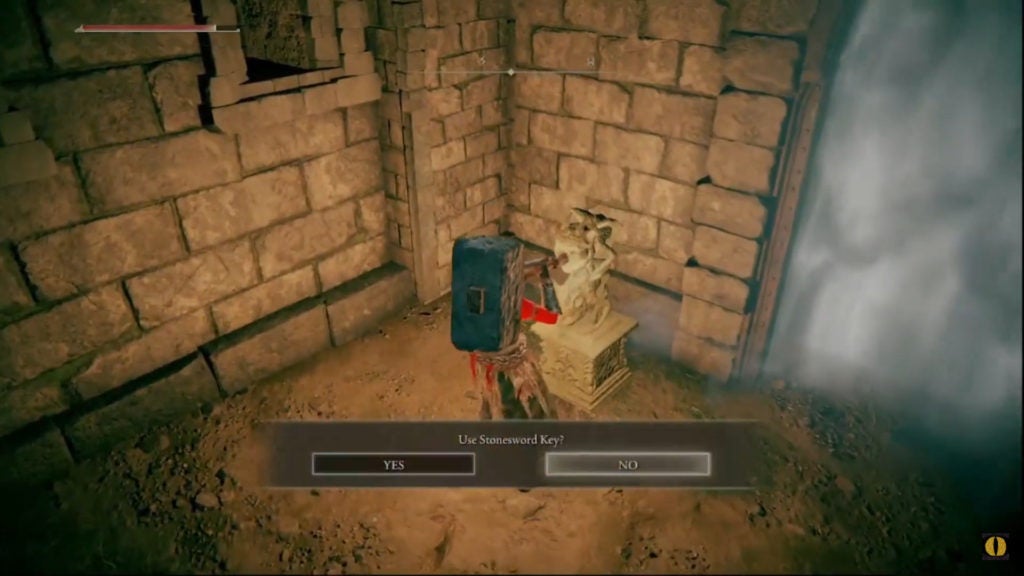
Stonesword Key Location
Below, you’ll find three items in the large area: 1 Smoldering Butterfly, 8 Throwing Daggers, and 1 Stonesword Key. The latter is the item with the purple and white glow instead of just a basic white glow.
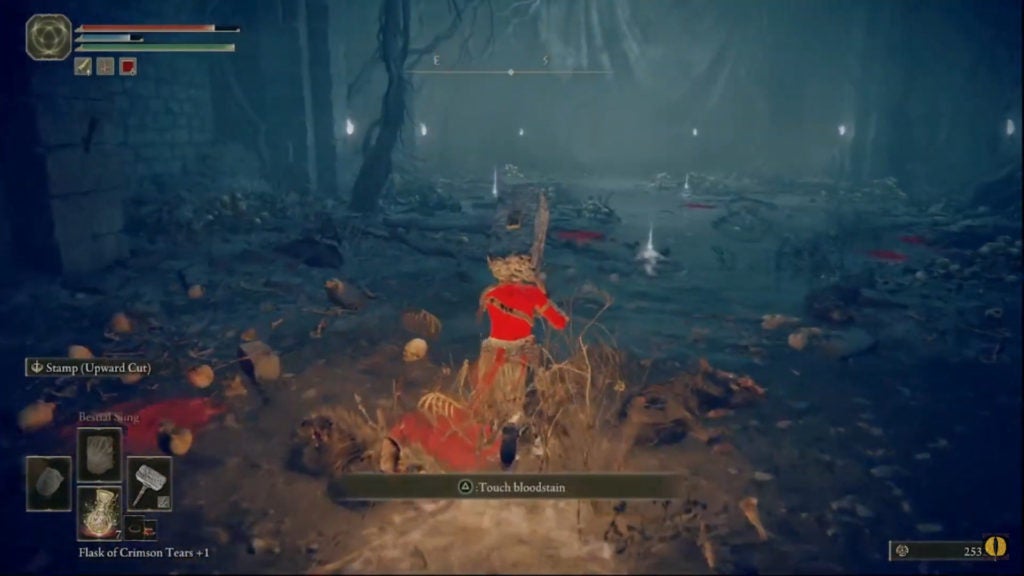
However, as you approach these items, the monstrous beast that lives here will erupt from the ground aggressively. As such, you’ll want to gather the items quickly before the rat monstrosity fully begins attacking.
About the Rat Monstrosity
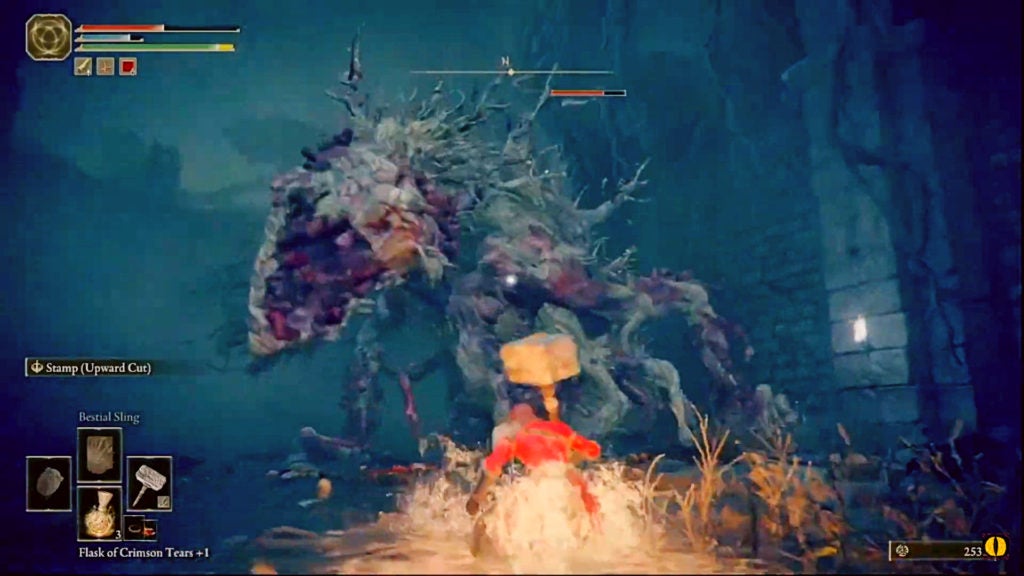
While it’s hard to tell what exactly this fiend is, its few discernable features point towards a horrific possible origin. The beast’s body is mostly reddish-purple rotting flesh and matted gray fur—much like the rats you saw earlier in this underground area. Furthermore, there are no other entities down here, so the monstrosity’s origins as a rat seem to be the most plausible, plus its head is roughly rodent-like. However, this thing is no mere overgrown rat. It looks like its body has been artificially changed; like many additional parts were grafted onto its original form. Given the nature of Stormveil Castle’s lord and the other grafted abominations one finds here, it can be theorized that the rat monstrosity is some sort of disgusting creature that Godrick the Grafted created through some experiment.
In terms of danger, the rat monstrosity is arguably more deadly than Godrick. The beast’s huge size and unpredictable attacks can take away a lot of HP and be hard to see coming due to the monster’s unnatural movements. In addition to claw attacks, vicious bites, and body slams, this thing can, for some reason, shoot lightning out of its gaping maw. That combined with the fact that the rat monstrosity can clip through walls makes it something you’ll want to avoid if you’re at a low level. However, if you do kill it, you’ll get a Golden Seed for your efforts: a worthy prize.
The Prince of Death’s Pustule Location
Past the spot where the rat monstrosity spawns, there will be a large and strange tentacled face in the ground. By this odd visage will be an item: the Prince of Death’s Pustule. This is a talisman that, when equipped, will increase your Vitality stat—which governs your resistance to the Death status effect.

This is the last item that you can grab in this disgusting pit. When you obtain it, you can start to make your way up and out of this dreaded place. By the left side of the huge face in the ground, you’ll find a ladder.
Climb the Ladder
If the rat monstrosity is still alive, it can be hard to climb the ladder here. However, once you get above the fiend’s head in terms of height, you’ll be safe from their attacks. Thankfully, you can get hit once while climbing a ladder without falling off, which will make your escape a bit easier.
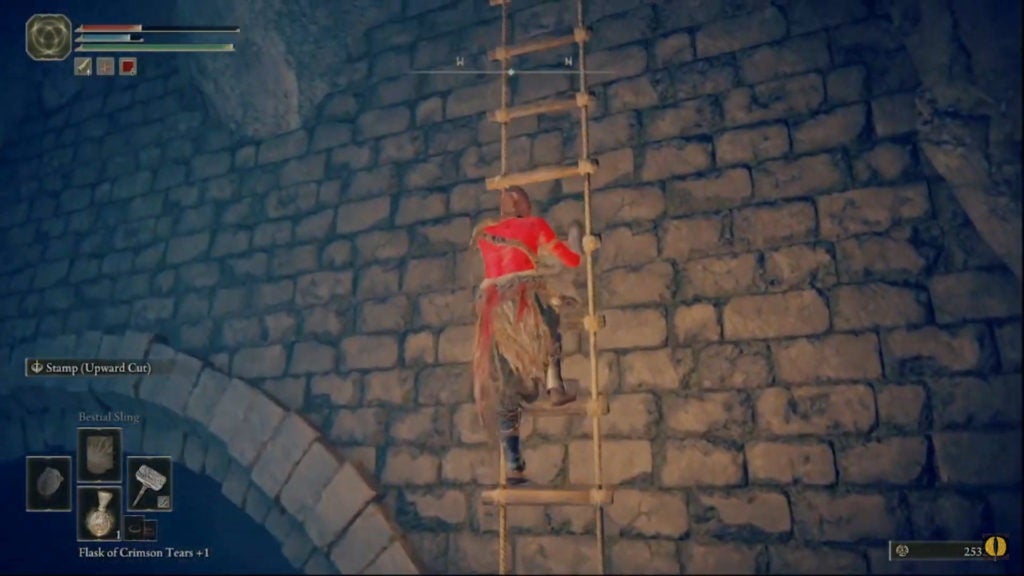
At the top of this ladder, you’ll be able to find another shortcut. After you ascend the ladder, you’ll be on a ledge overlooking an open area. You can safely drop down here, as the distance isn’t too great and there are no enemies in this chamber. Here, you’ll find a white fog gate with an imp statue next to it and another doorway.
Shortcut #2 (16:00)
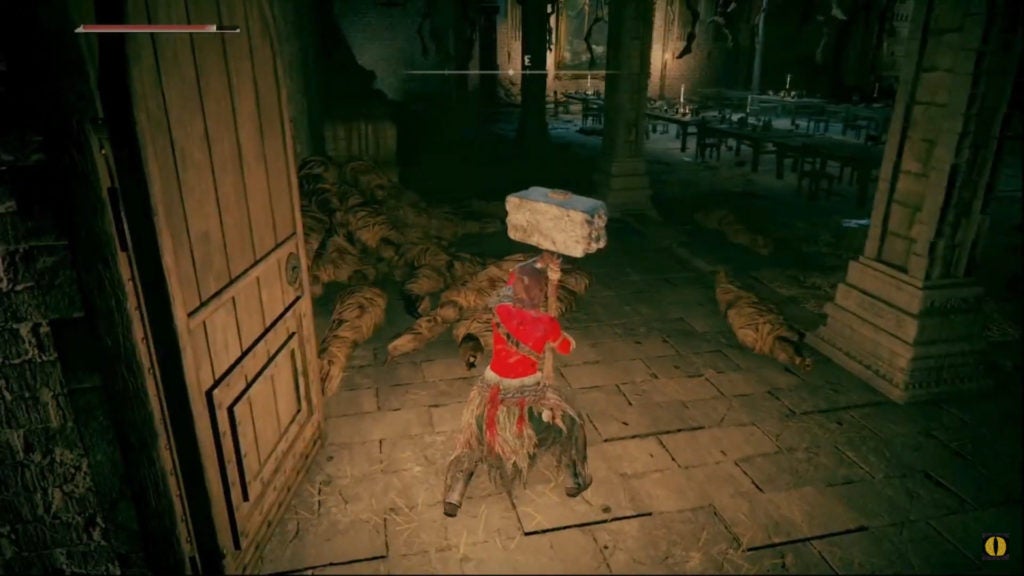
The open doorway will lead you to a room with many limbs hanging from the ceiling and a grand painting at the end. In this room will be a grafted scion—unless you’ve killed it already while exploring Stormveil Castle. Furthermore, this room can be reached from other parts of the castle, meaning that you can make your way back here if you die. It should also be mentioned that you can come to this room from another path to get to the Iron Whetblade’s location, although, that way has far less valuable loot and no guaranteed sighting of a Stonesword Key with which to open the white fog gate. However, since you have a Stonesword Key from the rat monstrosity’s pit, use it to open the white fog gate that leads the other way.
Loot the Room Beyond for Awesome Items (16:20)
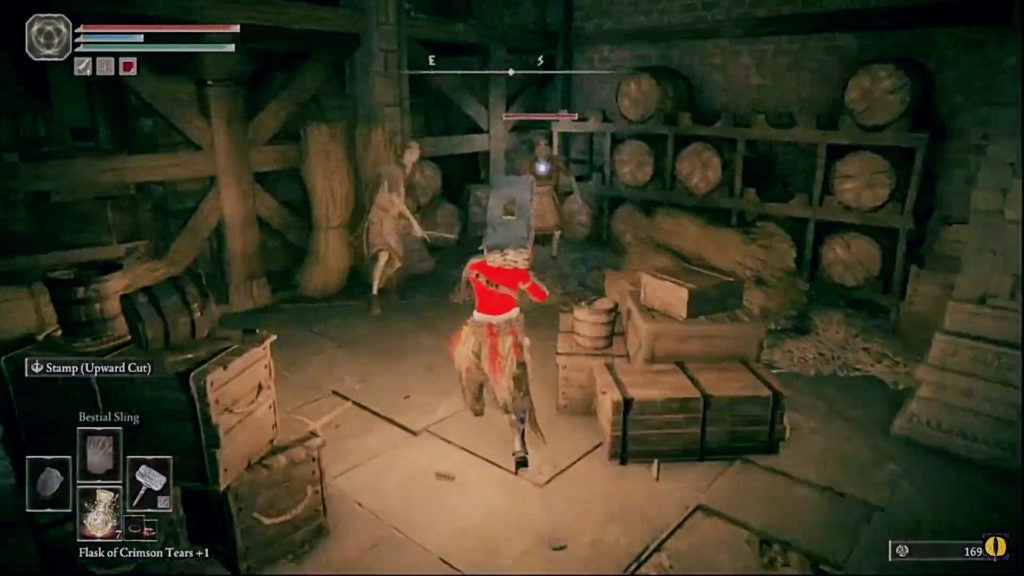
Beyond the once-blocked doorway, you’ll find an armory room with a couple of exile warriors wielding greataxes. It will be easier to loot the room when these foes are dead, so dispatch them as you see fit.
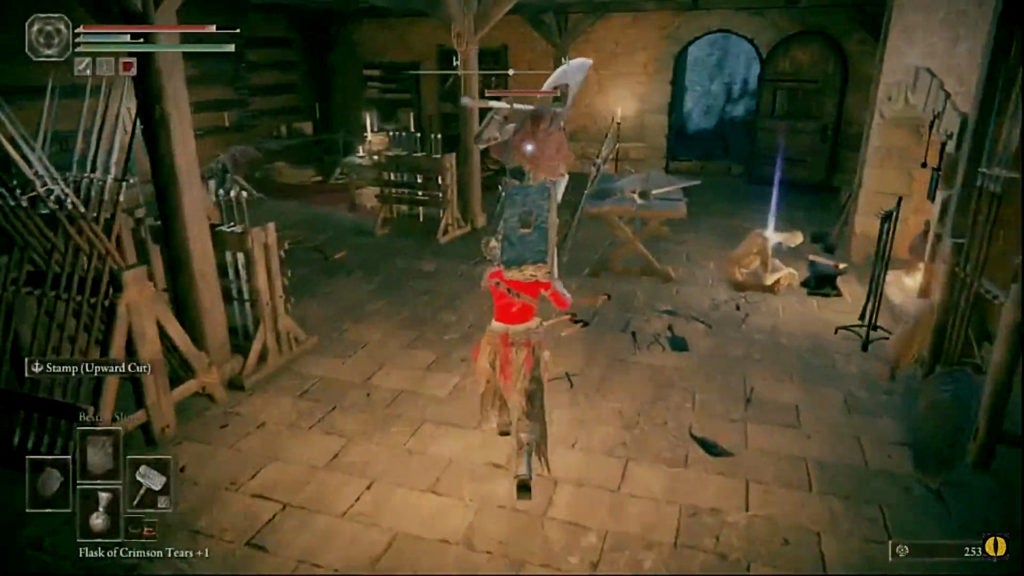
Of the items on the far side of the room from the entrance, you’ll be able to pick up the Hawk Crest Wooden Shield and the Miséricorde. The former is a medium shield with decent guard damage negation stats and the latter is a dagger with high critical attack power (140 as opposed to the base 100 on most weapons).
Last, but not least, is the much-desired Iron Whetblade. You can find this excellent customization item on the corpse in front of the fireplace. Appropriately, you can find it surrounded by blacksmithing tools of all kinds. The only other feature in this room worth mentioning is the open door to the left of the fireplace. Put simply, there’s nothing useful out there. Beyond that door are a ledge and an exile enemy with a torch who will try to push you off the ledge and to your doom.
How to Use the Iron Whetblade
Anytime you use an Ash of War to apply a new skill to a weapon, you’ll get a prompt to choose its affinity if you possess the Iron Whetblade. The three affinities that you can choose from are Heavy, Keen, or Quality. The first is for strength scaling, the second is for dexterity scaling, and the third is for a balance between strength and dexterity scaling.