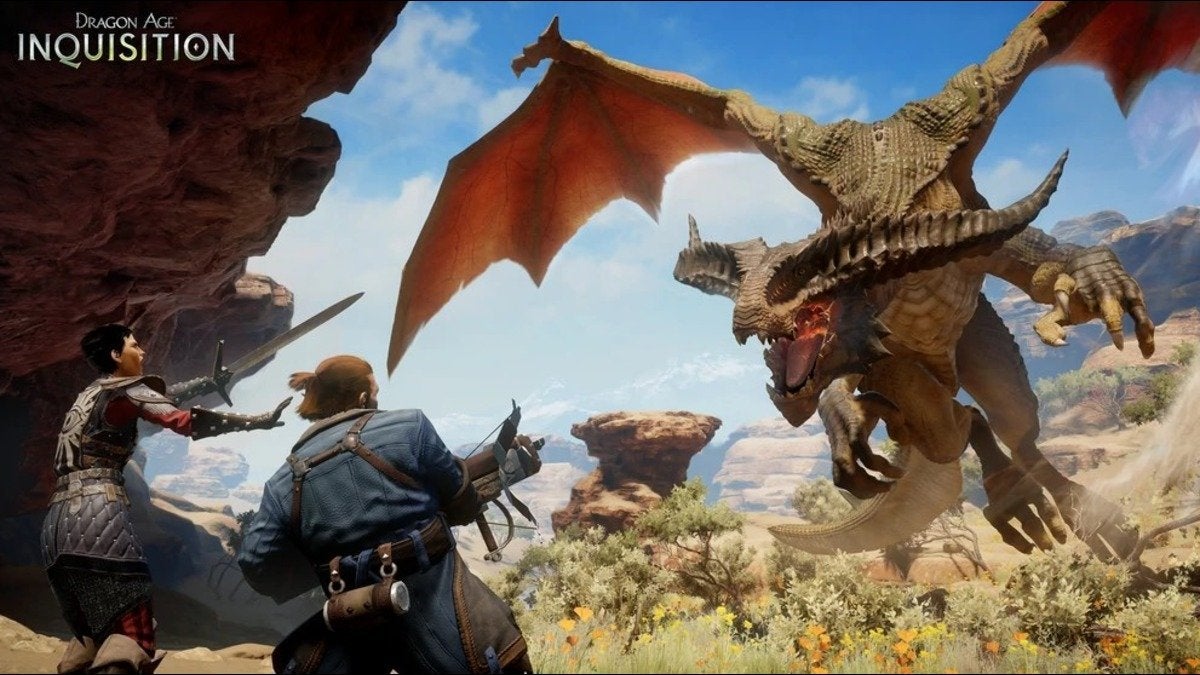
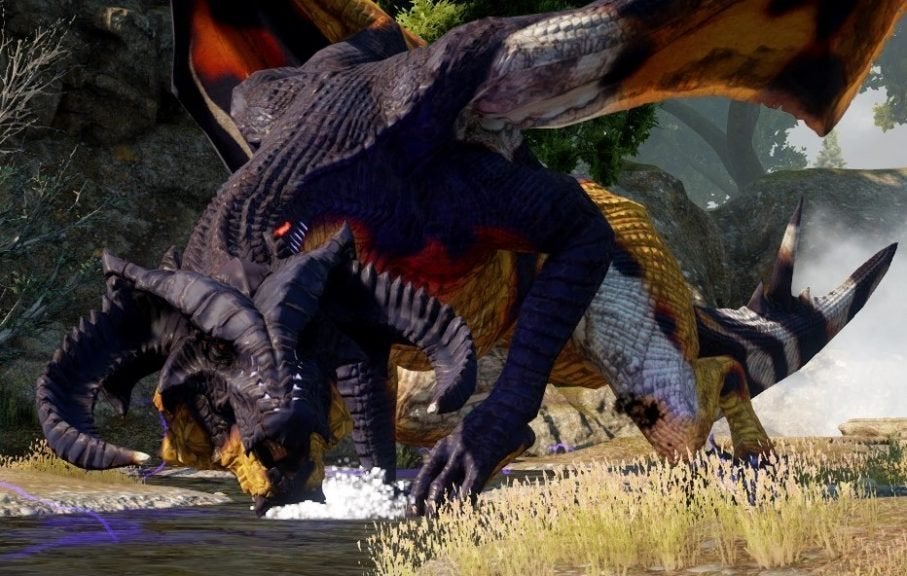
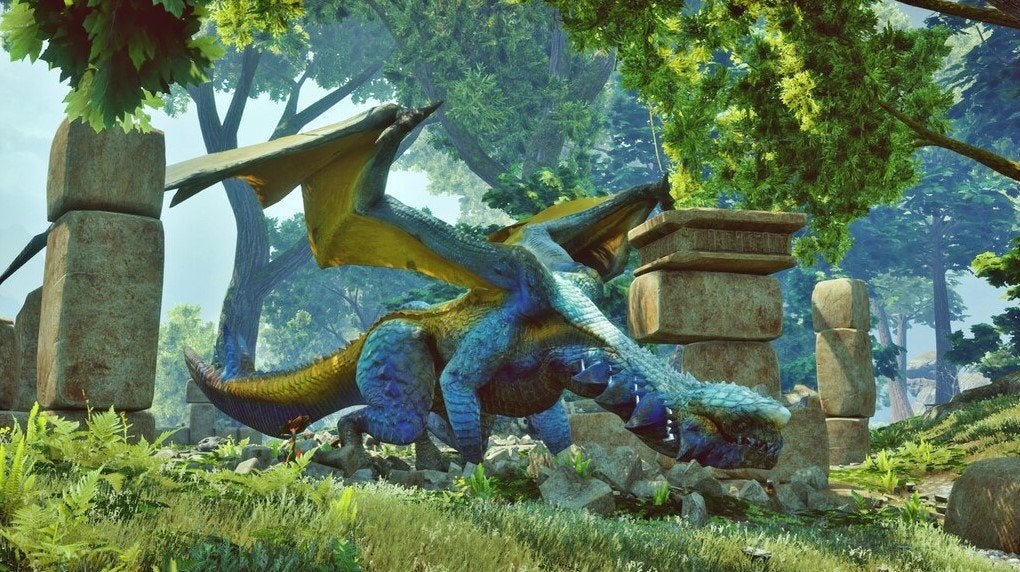
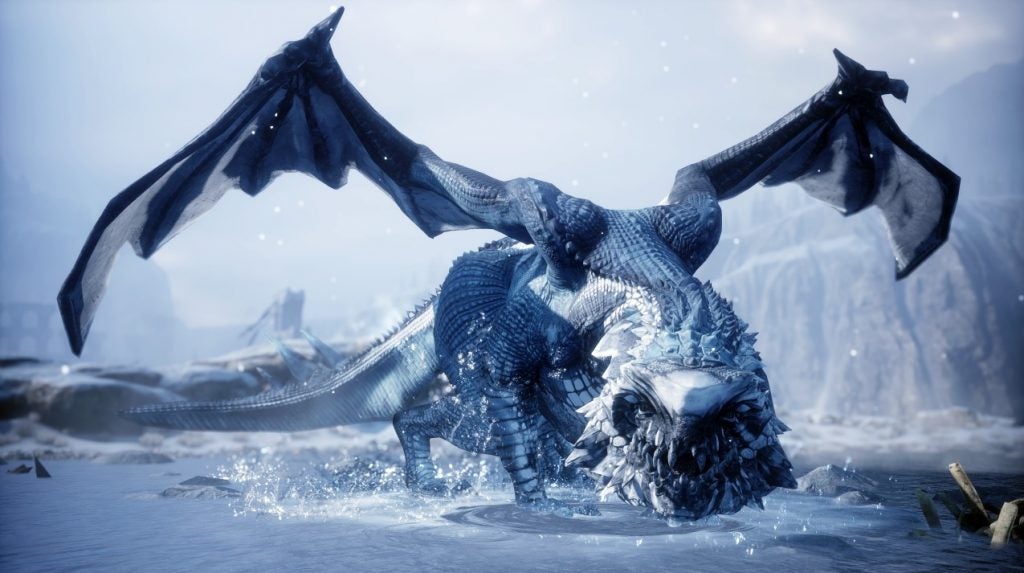
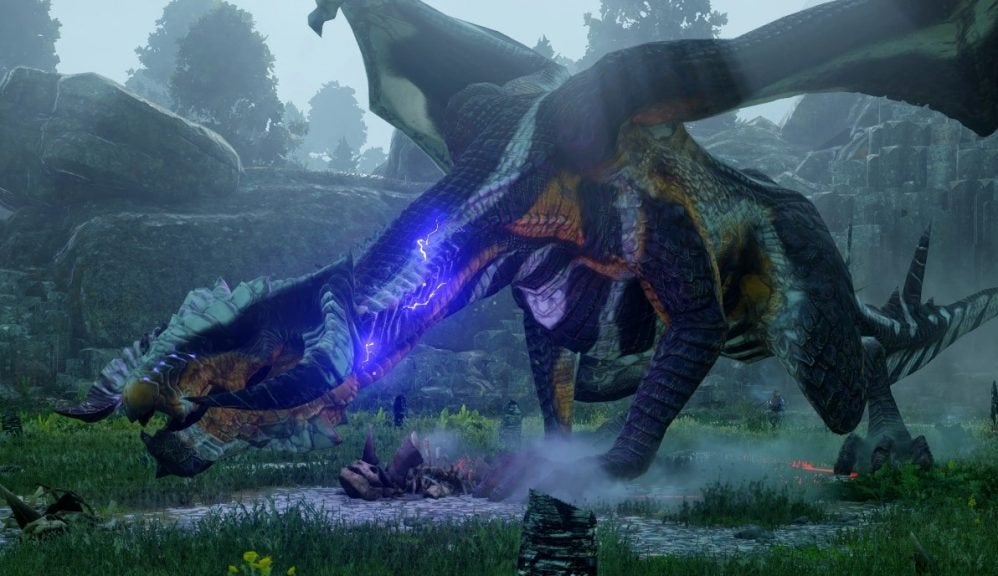
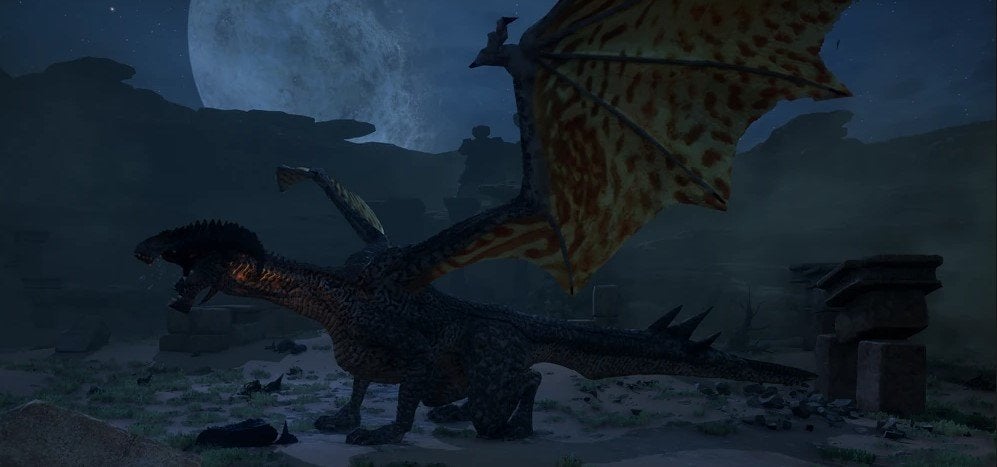
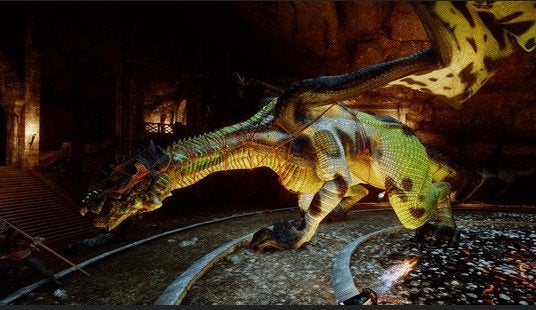
As the name implies, the world of Dragon Age: Inquisition is filled with terrifying dragons. While many in Thedas believed these creatures to have vanished long ago, 12 High Dragons can be found on your journey as Inquisitor. Defeating them will result in valuable awards and a coveted achievement.
Table Of Contents
Dragon Hunting, Explained
In the Dragon Age universe, High Dragons are exceedingly rare. These adult female dragons were common during ancient times, but during the era of Dragon Age: Inquisition, many citizens of Thedas believed them to have gone extinct, or perhaps to have ventured off to some far corner of the world.
The base game features 10 unique High Dragons, while the Jaws of Hakkon and Trespasser DLCs bring the total up to 12.
Each of these dragons utilizes a particular element during battle, and using said element will do less damage against them. You’ll want to use the opposite element in order to take down these powerful foes. Don’t forget to equip armor protecting you from each dragon’s specific element!
| Dragon Name | Level | Location | Element |
|---|---|---|---|
| Fereldan Frostback | 12 | The Hinterlands | Fire |
| Northern Hunter | 13 | Crestwood | Electricity |
| Abyssal High Dragon | 14 | The Western Approach | Fire |
| Gamordan Stormrider | 15 | The Exalted Plains | Electricity |
| Greater Mistral | 17 | The Emerald Graves | Cold |
| Hivernal | 19 | Emprise du Lion | Cold |
| Vinsomer | 19 | The Storm Coast | Electricity |
| Sandy Howler | 20 | The Hissing Wastes | Fire |
| Kaltenzahn | 21 | Emprise du Lion | Cold |
| Highland Ravager | 23 | Emprise du Lion | Fire |
| Hakkon Wintersbreath | 25 | Frostback Basin | Cold |
| Ataashi | 25 | The Darvaarad | Poison |
Use cold against fire breathers, fire against cold breathers, and spirit magic against electricity breathers to prevail. Bringing Resistance Potions can also help you to survive these encounters. The schematics for these can be purchased in Val Royeaux, and they can be equipped at any Potion Table.
Additionally, you’ll want to stay relatively close to each dragon during battle. Occasionally, these beasts will flap their wings, causing a vortex to form and pulling in all party members, causing heavy damage to those on the outskirts of the arena.
Killing your first High Dragon will earn you the ‘Wyrmslayer’ achievement and unlock the ‘Celebrate the Dragonslaying’ war table operation. Slaying 10 of these hulking beasts will earn you the highly-coveted ‘Dragon’s Bane’ achievement. Each dragon killed will also reward you with plenty of impressive loot.
While most dragons will appear immediately after entering their lair, some will require the completion of specific quests to summon. These will be listed below.
Ferelden Frostback (The Hinterlands)
Level: 12
Recommended Player Level: 10-13
Location: Lady Shayna’s Valley, in the northeastern portion of The Hinterlands, due north of the Dusklight Inquisition Camp
Native to the Frostback Mountains, this territorial High Dragon will appear immediately after entering her lair. Before reaching her, however, be prepared to face a large number of her spawn as you explore the area.
The Ferelden Frostback is vulnerable to cold damage. You’ll want to pay close attention to her trajectory as she flies over the battlefield–her fireballs can do some serious damage. Wearing fire-resistant armor and having dragon-slaying or frost weapon runes can make this first dragon fight more manageable.
During battle, the boss will occasionally fly out of attack range, summoning her children to fight in her stead. Defeat them in order to bring her back to the arena.
Rewards: 2,991 XP / 1,600 Influence / 4 Power
Northern Hunter (Crestwood)
Level: 12
Recommended Player Level: 11-14
Location: South of the Village of Crestwood in the Black Fens region
Prerequisite Quest: ‘Still Waters’ (Side quest)
When you first arrive in Crestwood, you’ll see the Northern Hunter resting south of the dam. In order to reach her, you’ll need to complete the side quest ‘Still Waters,’ which is automatically obtained upon arriving in the area for the first time.
Despite its frightening appearance, the Northern Hunter is one of the weaker dragons in Dragon Age: Inquisition. She won’t summon any adds and won’t fly off in the middle of the fight. Keeping your party spread out and using Electrical Resistance Tonic before the battle will ensure an easy victory.
Rewards: 6,794 XP / 1,600 Influence / 4 Power
Abyssal High Dragon (The Western Approach)
Level: 14
Recommended Player Level: 12-15
Location: In The Wastes, the southernmost area of the Western Approach, south of Nazaire’s Pass
Prerequisite Quest: ‘The Abyssal High Dragon’ (Side quest)
Near the Nazaire’s Pass Inquisition Camp in the Western Approach, you’ll find Frederic, a Professor of Draconology from the University of Orlais. The masked man is eager to study the Abyssal High Dragon, and completing his quest chain will cause this frightening beast to appear.
You’ll want to make use of Fire Resistance potions during this fight. Equipping your mage with an Ice Staff will also help to cause some extra damage. The Abyssal High Dragon will remain on the ground for the fight, though she does tend to jump around quite a bit. Moves like Fade Step and Combat Roll will help to keep your party members out of harm’s way.
Rewards: 2,790 XP / 600 Influence / 2 Power
Gamordan Stormrider (Exalted Plains)
Level: 15
Recommended Player Level: 14-16
Location: The Crow Fens, in the far northeast region of the Exalted Plains
Prerequisite Quest: Gain Access to Ghilan’nain’s Grove (War Table operation)
After completing the War Table operation ‘Gain Access to Ghilan’nain’s Grove,’ this lightning-spitting beast will appear in the northeastern section of the Exalted Plain. During this battle, it’s vital to avoid standing in water. This, however, is extremely difficult, as the fight takes place in a marsh. The beast can electrify the water around it, causing damage to any party members not on dry land. The southeastern portion of the battle area has the most solid land, so try to make use of it.
Additionally, the area also features poison pits which must be avoided.
The Gamordan Stormrider is vulnerable to Spirit magic, and bringing Electrical Resistance potions is recommended. During the battle, she’ll sometimes fly around the area, spitting lightning balls at your party, before landing violently on the ground. Try to spread your party out when she does this to avoid all members taking damage.
Rewards: 3,611 XP / 1,600 Influence / 4 Power
Greater Mistral (Emerald Graves)
Level: 17
Recommended Player Level: 15-18
Location: The Southfinger Watch region, in the northern portion of the Emerald Graves
The Greater Mistral can be challenged immediately after arriving in the Emerald Graves. Fire is highly effective against this terrifying creature, and using Cold Resistance Tonics will provide some extra insurance for your party members. If you have any Antivan Fire grenades on hand, they can also do some serious damage to the high dragon.
This fight is a lengthy one, as the Greater Minstral will often generate a full Guard bar which must be worn down before any damage can be done.
Rewards: 12,372 XP / 3,000 Influence / 5 Power
Hivernal (Emprise Du Lion)
Level: 19
Recommended Player Level: 19-21
Location: In Etienne’s Ring in the eastern part of Emprise du Lion
Prerequisite Quest: Restore Judicael’s Crossing (War Table operation)
Hivernal is one of three high dragons found in the eastern portion of Emprise du Lion. While these beasts can be fought immediately following the completion of the ‘Restore Judicael’s Crossing’ War Table operation, you’ll want to pick up the ‘Breeding Grounds’ quest from Baron Edouard Desjardins prior to doing so. This will allow you to obtain all possible rewards for your impressive kills.
You’ll want to bring plenty of Fire to this fight, equipping your mages with Fire Staffs and having some Antivan Fire grenades on hand. The battle itself is very similar to your fight with the Greater Mistral, with the only differences being the amount of health your enemy has and Hivernal’s lack of a Guard bar.
Rewards: 4,253 XP / 3,600 Influence / 5 Power
Vinsomer (The Storm Coast)
Level: 19
Recommended Player Level: 19-21
Location: On Dragon Island, located off of the Storm Coast to the northwest.
Prerequisite Quest: Red Templars on the Storm Coast (War Table operation), ‘Red Water’ (Side quest)
After completing the prerequisite War Table operation and side quest, you’ll be able to make your way through the ancient Dwarven ruin known as Daerwin’s Mouth on the Storm Coast. This will unlock a boat you can use to reach the aptly-named Dragon Island.
As Vinsomer uses electricity, you’ll want to wield Spirit magic in order to damage her. Mages in your party should have the Barrier, Dispel, Fade Step, and Energy Barrage abilities. Additionally, your Warrior should have Combat Roll, along with either Shield Bash or War Horn. Having the Inquisition Perks More Healing Potions (Forces) and Tempered Glass Flasks (Inquisition) will also help you to survive this tough battle.
Your armor should grant you increased electricity resistance or magic defense, and any accessories that give a health bonus or guard damage bonus are recommended.
Although she is immune to most status effects, she can be poisoned, which can make this battle go by much quicker.
Rewards: 14,367 XP / 3,000 Influence / 4 Power
Sandy Howler (The Hissing Wastes)
Level: 20
Recommended Player Level: 19-22
Location: Near the Tomb of Fairel and the Sand Crags Inquisition camp in the eastern area of the Hissing Wastes
Vulnerable to cold damage, the Sandy Howler can be taken down quickly by utilizing cold magic and your Warrior’s upgraded Shield Bash ability to break through her regular Guard bar.
During this fight, the dragon will occasionally screech, stunning the entire party for a few seconds and summoning two or three dragonling adds. Kill these tiny dragons quickly to avoid taking unnecessary damage.
Rewards: 6,003 XP / 3,000 Influence / 4 Power
Kaltenzahn (Emprise Du Lion)
Level: 21
Recommended Player Level: 20-23
Location: In Judicael’s Ring in the eastern part of Emprise du Lion
Prerequisite Quest: Restore Judicael’s Crossing (War Table operation) / ‘Breeding Grounds’ (Side quest)
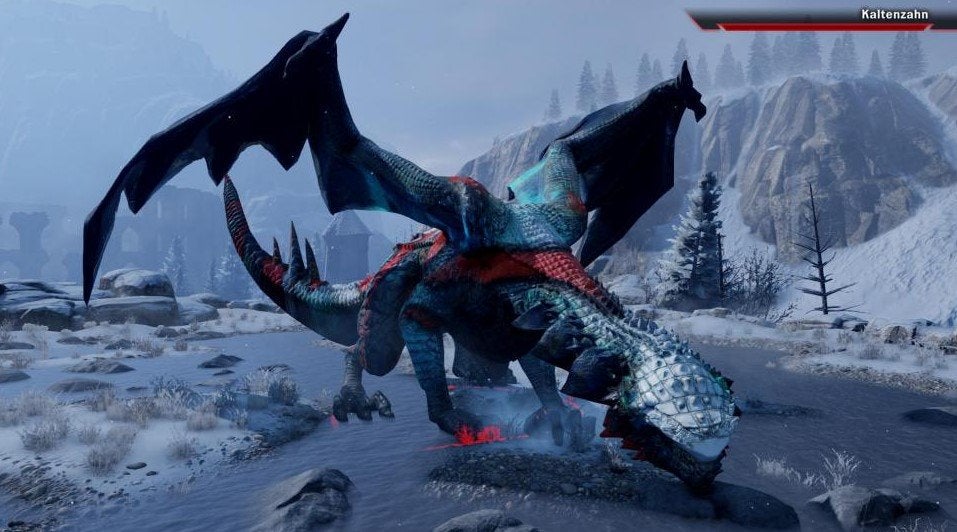
One of three High Dragons found in the eastern portion of Emprise du Lion, Kaltenzahn should be challenged after triggering the ‘Breeding Grounds’ side quest. She is vulnerable to fire damage and can be poisoned.
Any Mages in your party should have the Barrier, Dispel, Fade Step, and Energy Barrage abilities and should have a Fire Stave equipped. As with Vinsomer, your Warrior should have Combat Roll, along with either Shield Bash or War Horn. Having either an Archer Rogue or two Mages can be helpful during this lengthy fight.
Focus on the dragon’s head during the fight, as this will occasionally interrupt her attacks.
Rewards: 16,822 XP / 3,600 Influence / 5 Power
Highland Ravager (Emprise Du Lion)
Level: 23
Recommended Player Level: 22-25
Location: In Leontine’s Ring in the eastern part of Emprise du Lion
Prerequisite Quest: Restore Judicael’s Crossing (War Table operation) / ‘Breeding Grounds’ (Side quest)
One of three High Dragons found in the eastern portion of Emprise du Lion, the Highland Ravager should only be challenged after triggering the ‘Breeding Grounds’ side quest. She is vulnerable to cold damage.
This powerful creature will summon dragonlings towards the end of the battle, and the arena in which you fight her is extremely small, limiting your party’s movements. As with past battles, you’ll have to wear down her Guard bar to deal any damage.
The Highland Ravager has a unique Fire Mine ability. Throughout the battle, you’ll see orange circles around certain party members. After three seconds, these circles will explode, doing high damage and knocking down any party members standing inside. As soon as you spot these circles, run away as quickly as possible.
Rewards: 21,736 XP / 3,600 Influence / 7 Power
Hakkon Wintersbreath (Frostback Basin)
Level: 25
Recommended Player Level: 24-27
Location: In the Frostback Basin during the Jaws of Hakkon main quest ‘Hakkon Wintersbreath’
Prerequisite Quest: ‘Hakkon Wintersbreath’ (Jaws of Hakkon DLC main quest)
You’ll fight Hakkon Wintersbreath as part of the Jaws of Hakkon DLC’s main story. Prior to doing so, make sure you have some Cold Resistance Tonics and fire-touched weapons.
Before launching her attack, the dragon will first release a pack of Frosted Gibbering horrors, which will need to be defeated quickly. As with other High Dragons, Hakkon Wintersbreath will occasionally stun the party and fly around the arena, launching elemental projectiles.
Rewards: 2,650 XP / 3,000 Influence / 4 Power
Ataashi (The Darvaarad)
Level: 25
Recommended Player Level: 24-27
Location: In the Darvaarad during the Trespasser DLC
Prerequisite Quest: ‘Trespasser’ (Trespasser DLC main quest)
Ataashi is a unique case. While you can fight this powerful foe, you can also choose to set her free, as she is held captive within The Darvaarad, a Quinari fortress controlled by the fearsome Ben-Hassrath.
If you have killed 10 dragons and have already earned your Dragon’s Bane achievement, we would recommend setting her free for the amazing cutscene alone. First, destroy the cart blocking one of the flame rings using your newly-earned Fade power. Use the wheels to aim all flamethrowers away from the gate, then open the door by pulling the levers.