![]() Key Takeaway
Key Takeaway
To override Burrowers, Scroungers, and Grazers, you’ll need to visit Cauldron: Mu in the western parts of Utaru territory. After that, you’ll need to delve into its depths to override this Cauldron’s core.
Burrowers, Scroungers, and Grazers are some of the most common machines in the early parts of Horizon Forbidden West. Luckily, you can learn how to override them and turn them into mounts by completing one of the earliest Cauldrons.
Table Of Contents
Where to Find Caudron: MU
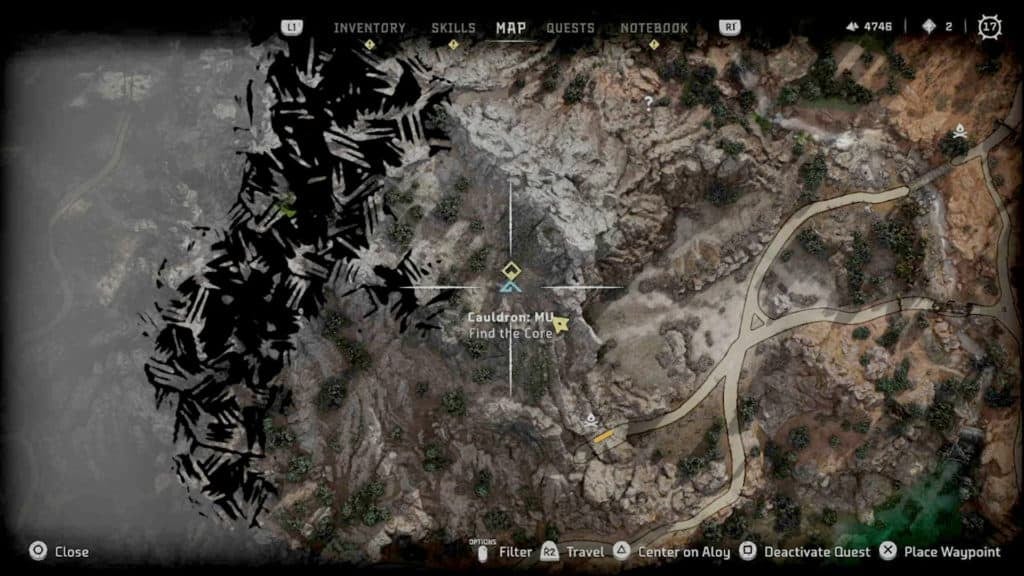
The Cauldron you’ll need to complete in order to override Burrowers, Scroungers, and Grazers is Cauldron: MU. This location is found at the top of a mountain south of Plainsong—the largest city in Utaru Territory. You’ll need to approach it from the south to find its entrance.
Dive Deep Within the Cauldron
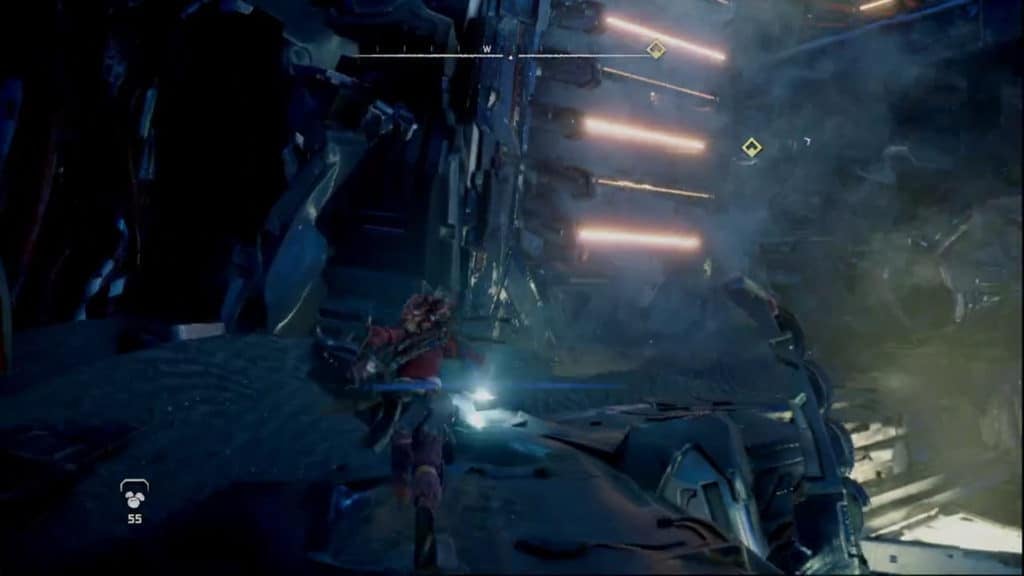
When you first descend into the Cauldron, you’ll need to climb up a vent to the west. This vent is illuminated by yellow lights and acts much like a large ladder.
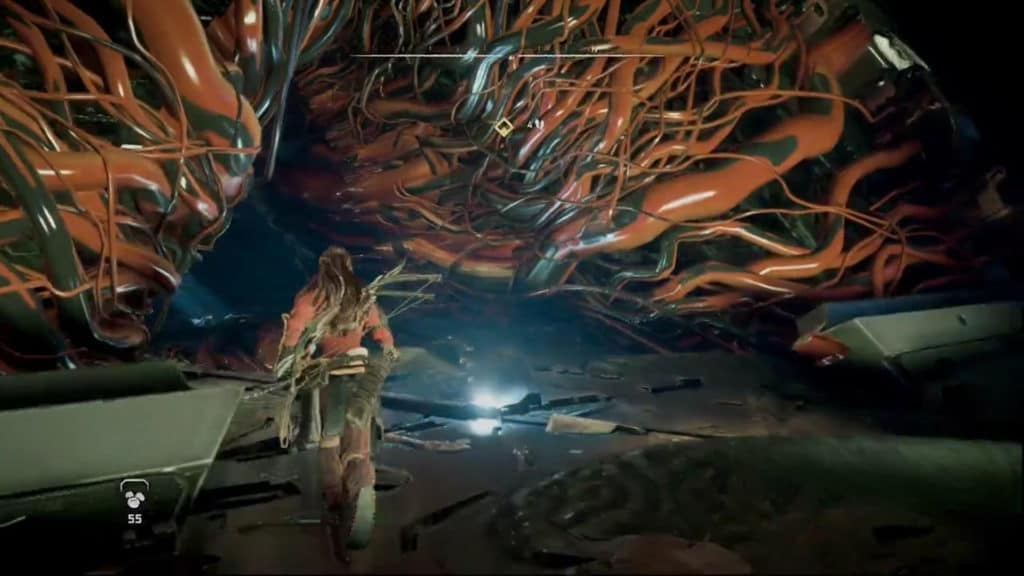
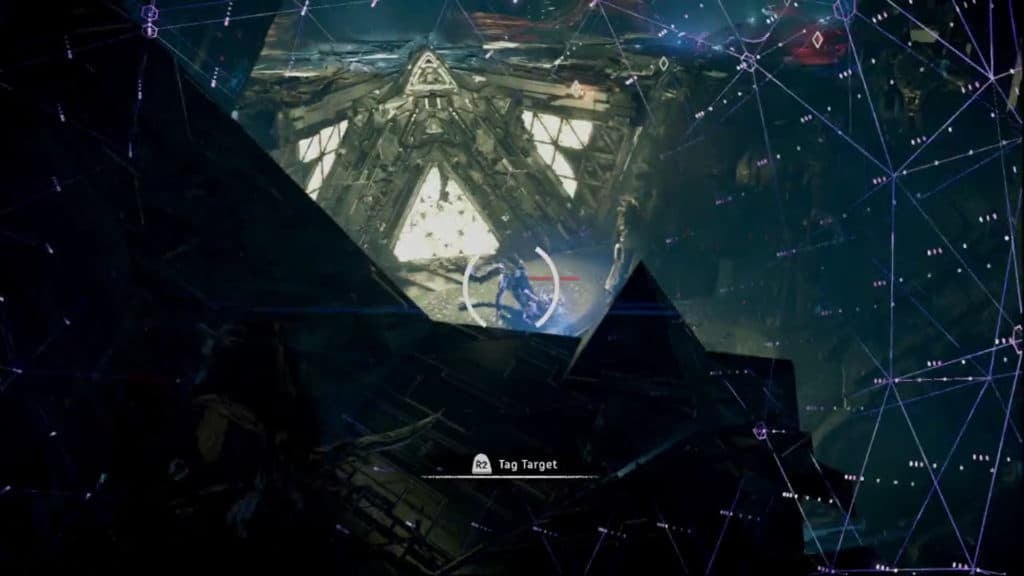
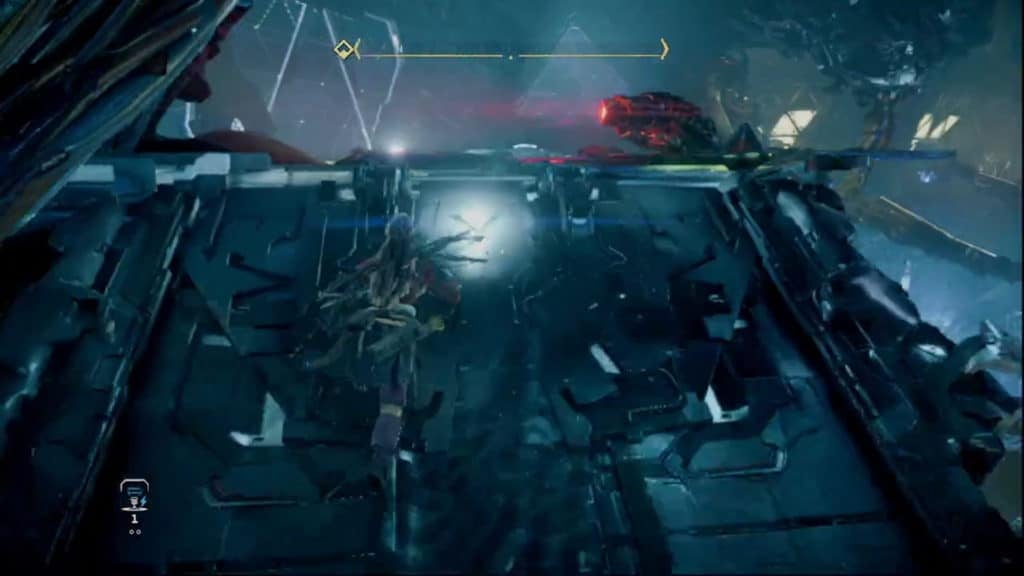
After you climb up the ledge above the vent ladder, you’ll see an ominous cluster of red wires around an opening. You’ll need to proceed through this creepy doorway to get deeper into this Cauldron.

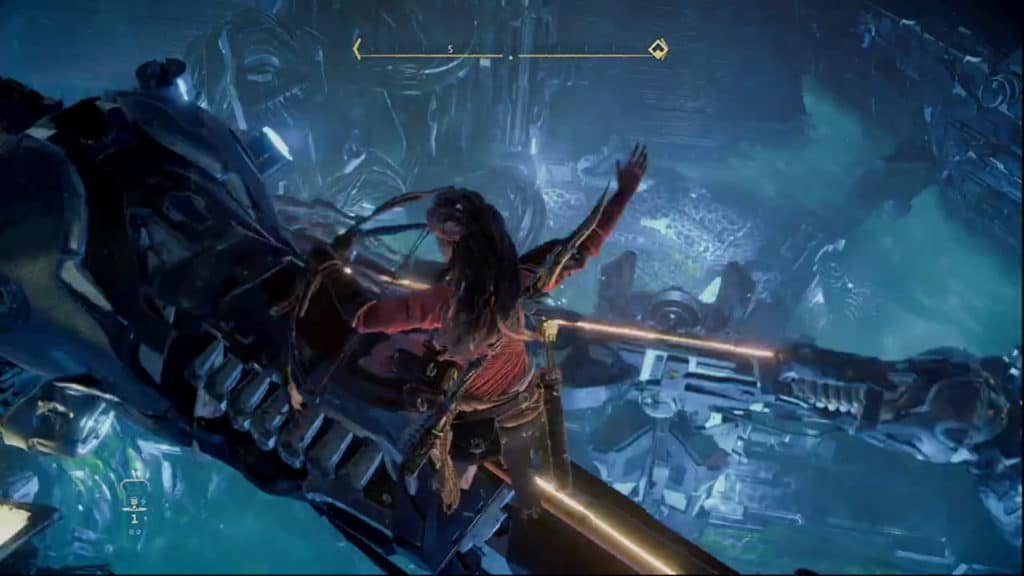
Just beyond, you’ll see a glowing yellow cable that leads downwards. You’ll have to jump to it, however, Aloy will grab onto it automatically if you’re close enough, so don’t worry about any button inputs.
Afterward, you’ll slide down this makeshift zip line very quickly. Again, don’t worry about needing to press any buttons here, as Aloy will do all the work for you. This is a good thing, as she will need to jump from cable to cable while rapidly descending. Sit back and enjoy the ride to the bottom.
Take Out the Pair of Burrowers
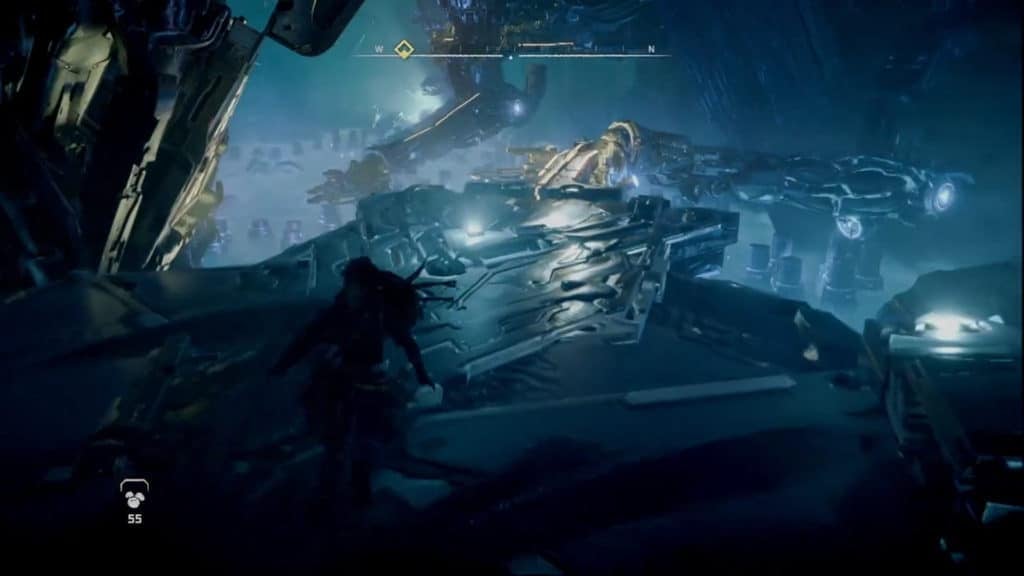
When you’ve made your descent, you’ll be on a ledge overlooking a lower area and another raised area on the other side. There are two Burrowers here that you should take out before proceeding. Thankfully, these are just basic Burrowers, so you should be able to take defeat them pretty easily.
For a ranged approach, be sure to aim for their eye or the resource canister on their backs to deal more damage. For melee, you can do a dropdown attack on the Burrower in the lower area and then sneak up the other side to perform a silent strike on the other Burrower.
Grapple North to the First Network Uplink
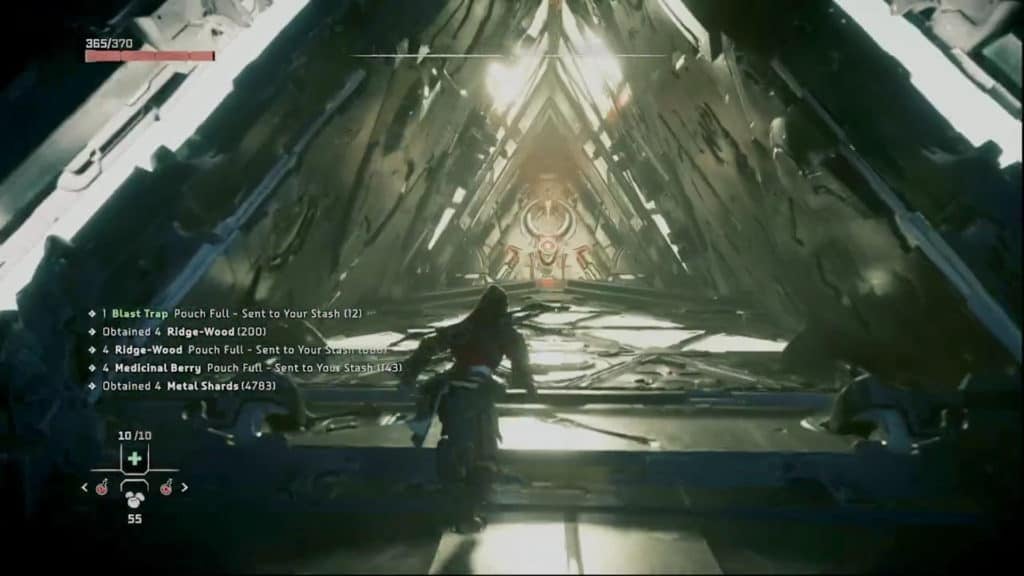
To the north, there is a grapple point that you can reach by jumping towards it and using your pullcaster. On the ledge with the grapple point, there is some loot that you should grab. From this same ledge, look west and you’ll see a red light.
This is the first Network Uplink that you’ll need to override to progress. Jump down to it and override it with your spear. Afterward, head north through the triangular doorway.
Head Southeast and then South Through the First Cauldron Door
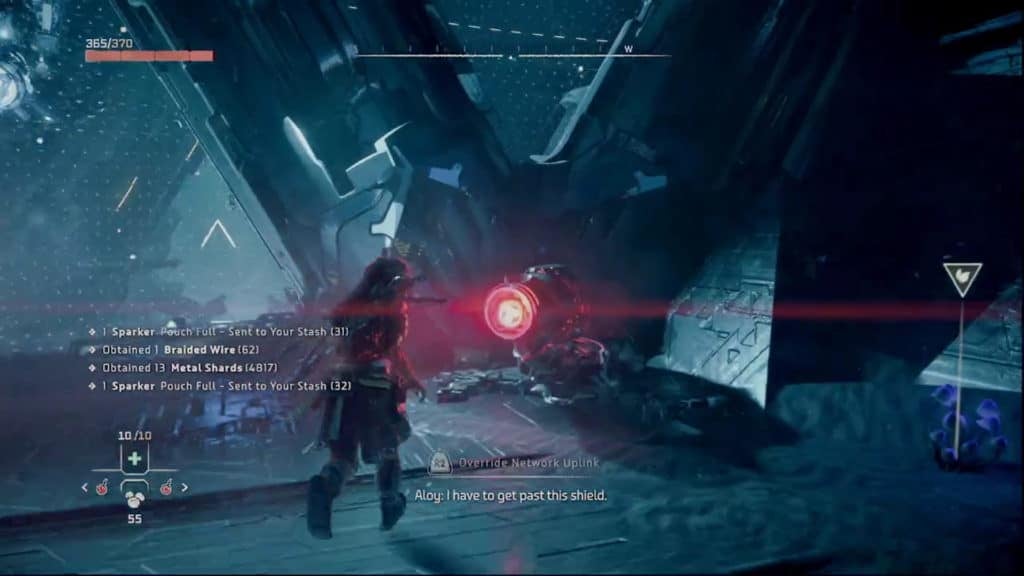
After you run through the doorway, there will be another one straight ahead. However, you won’t be able to pass through this other doorway, as there is an energy shield blocking it.
Instead, you’ll have to head southeast. When you do, you’ll find some loot and a hallway at the highest point of this area. Go south down the short hallway and you’ll find a cauldron door that you can override and pass through.
Take Out a Couple of Scroungers and Override the Second Network Uplink
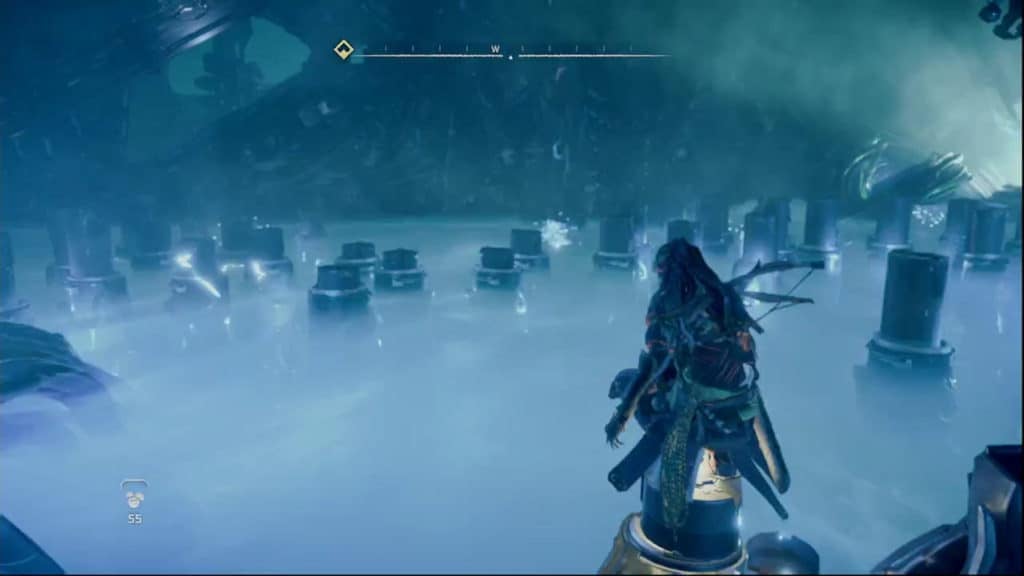
Beyond the cauldron door, you’ll be on a ledge separated from another one housing a couple of Scroungers. To the east, there is a pillar that you can use as cover to take out the Scroungers from afar.
On this same pillar, there is a grapple point at the top. When you’ve dealt with the Scroungers, use your pullcaster to reach this grapple point and pull yourself onto the top of the pillar.
From here, you’ll need to jump and glide to the platform across the gap that once held the duo of Scroungers. When you do, you’ll see another Network Uplink that you’ll need to override.
Parkour Across Some Temporary Climbing Points
Next to the Network Uplink that you just used, a large energy shield will drop, which will let you progress. In this new area, you’ll need to climb carefully, as the climbing points here will activate and deactivate on a set cycle.
You’ll first have to climb the vent ladder to the south to reach a ledge. Wait until the vent opens and then scale it quickly to avoid getting dropped when the vent closes.
After reaching the ledge above, head east to the triangular archway. Climb up the left side of it until you reach the top. Then, leap to the right side of it and descend the archway.

From there, go west, and a bit downhill until you find a glowing yellow beam that you’ll need to walk across. Next, you’ll need to go east and uphill until you reach a ledge.
Cross the Robotic Arm and Reach the Next Cauldron Door
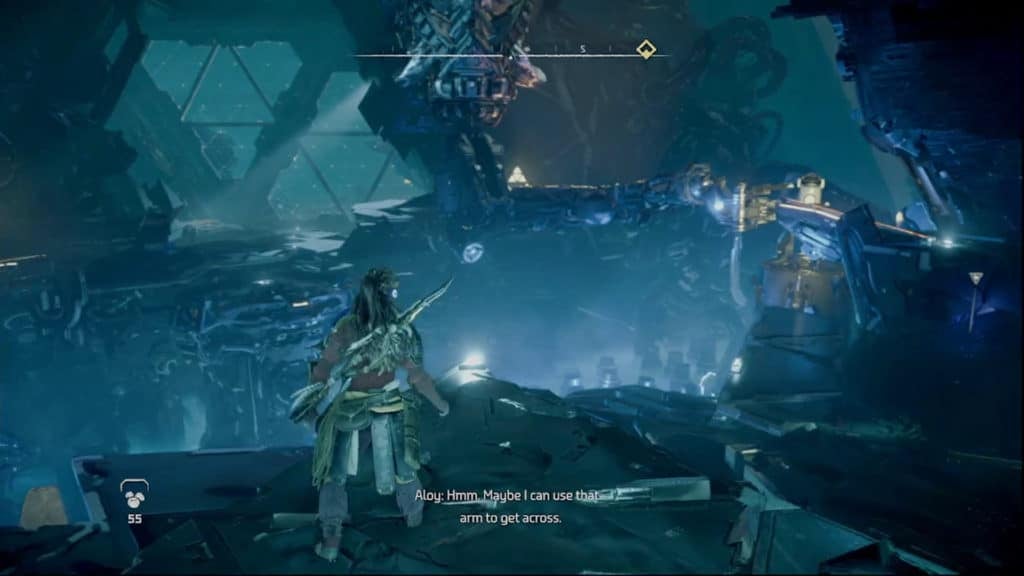
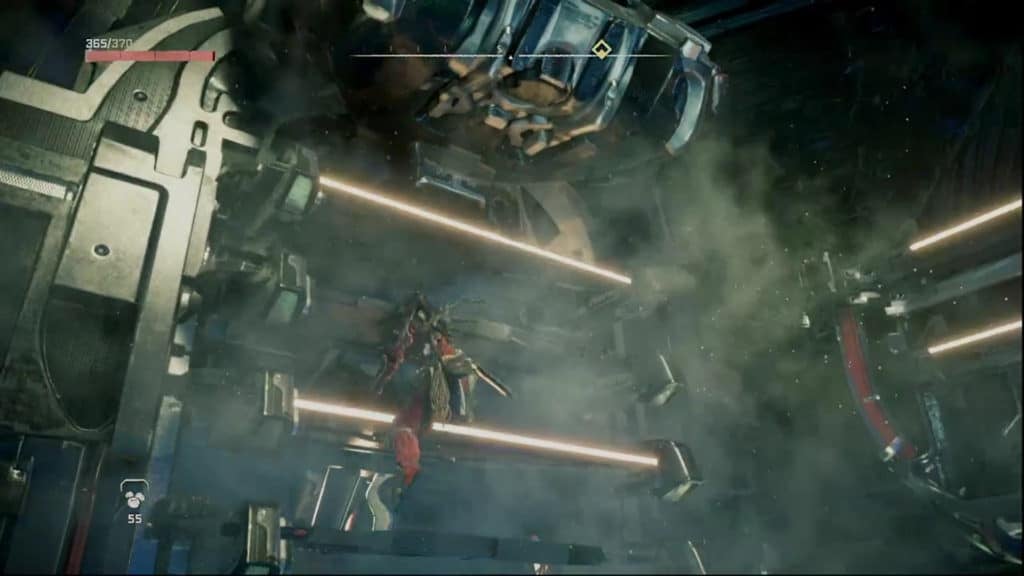
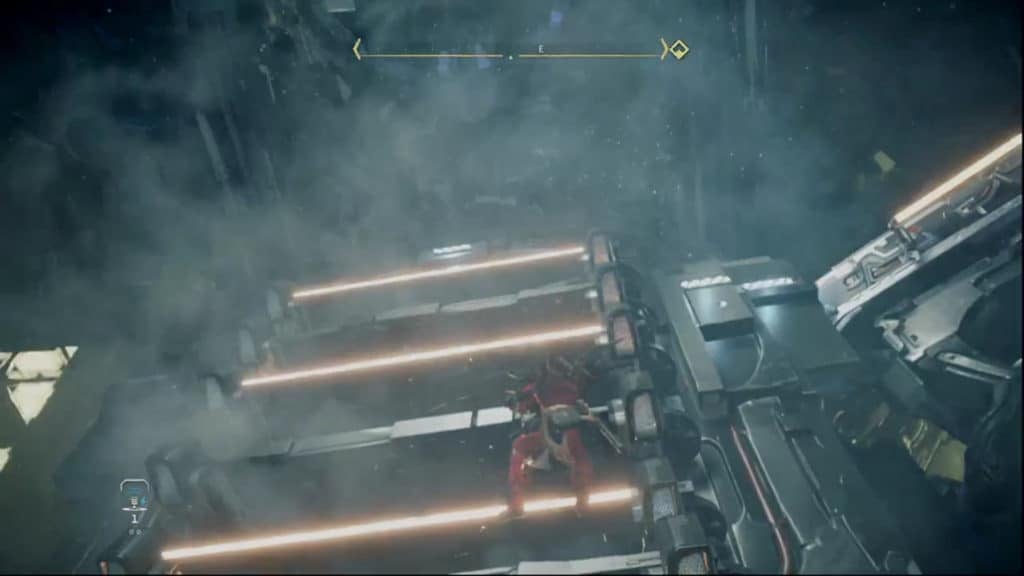
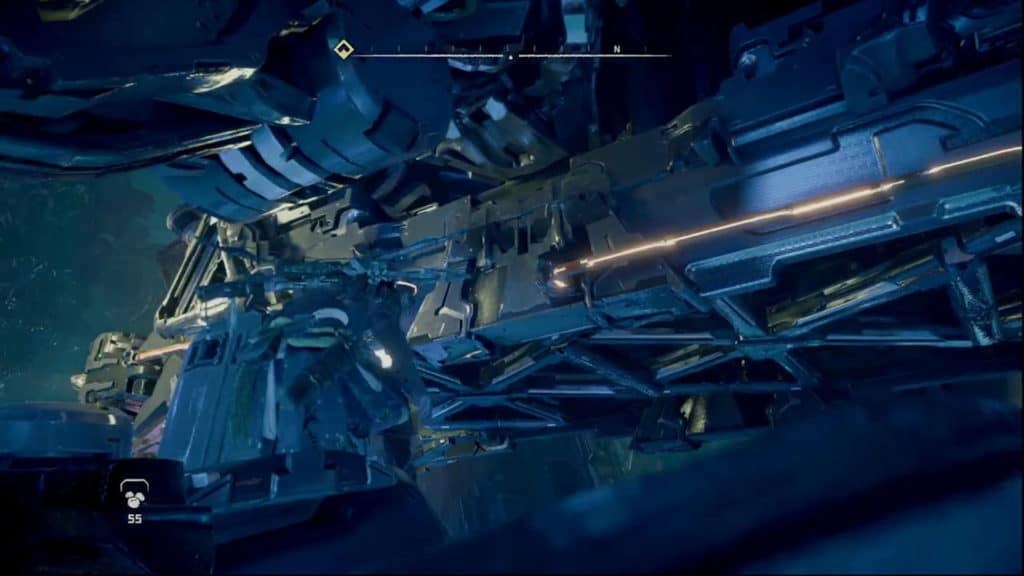
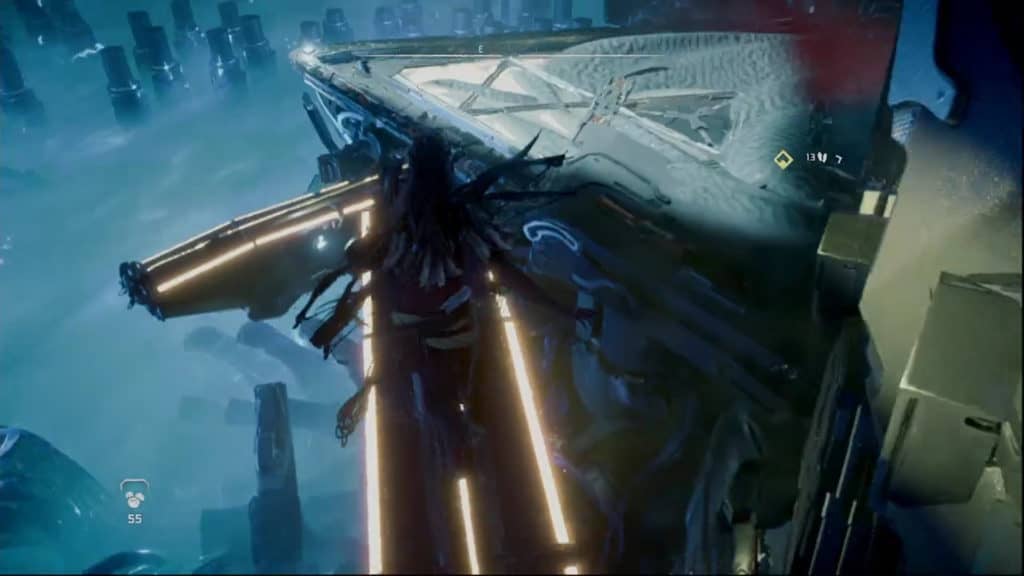
When you reach the next ledge, you’ll see a robotic arm to the southwest. You’ll need to jump onto it using the glowing beam nearby. Following this, you’ll need to cross the metal limb until you reach its elbow. From there, jump to the ledge beyond.
Travel a bit southeast and then look down. You’ll now spot a red light, which indicates the next cauldron door that you’ll need to pass through. Leap down and open it with your spear to proceed.
Take Out the Burrower and Harvest the Shell-Walker
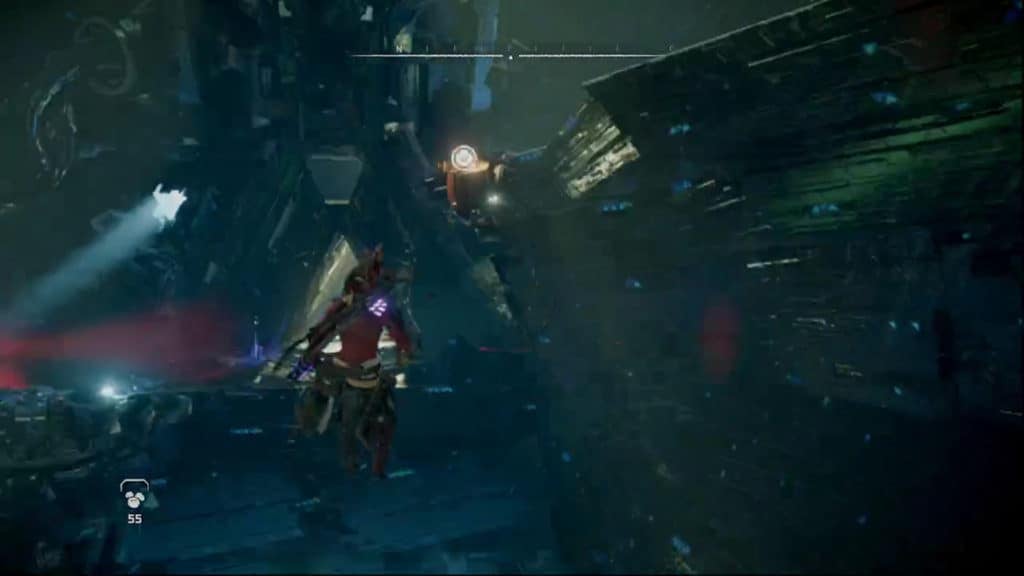
Beyond the cauldron door, you’ll be in a lower area facing a ledge. At the top of this ledge, to the east, there is a Burrower perched and is scanning the area. There is also a rare Shell-Walker patrolling to the northeast. However, you’ll definitely want to take out the Burrower first so that you can deal with the Shell-Walker more easily.
Below the upper ledge where the Burrower is located is a lip that you can grab and climb. This will bring you directly behind the Burrower, which will let you take it out with a silent strike. If you do so quickly, you’ll avoid alerting the Shell-Walker.
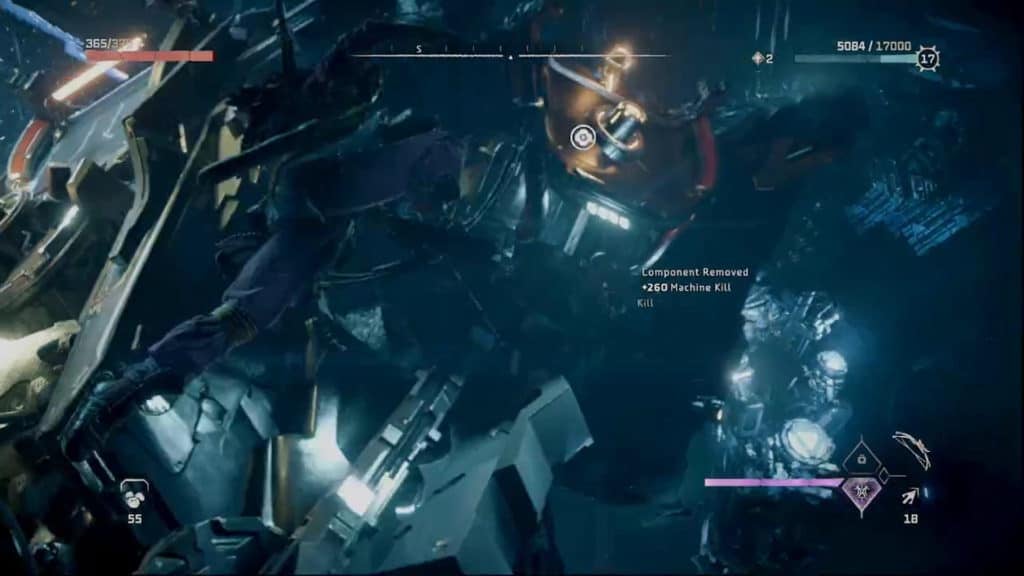
Afterward, take note of the vent spewing a gray cloud to the east of the area where the Burrower was located. You can crouch in this cloud and you’ll be completely hidden. Use this and the lower area to take sneaky shots at the Shell-Walker to knock off its valuable components.
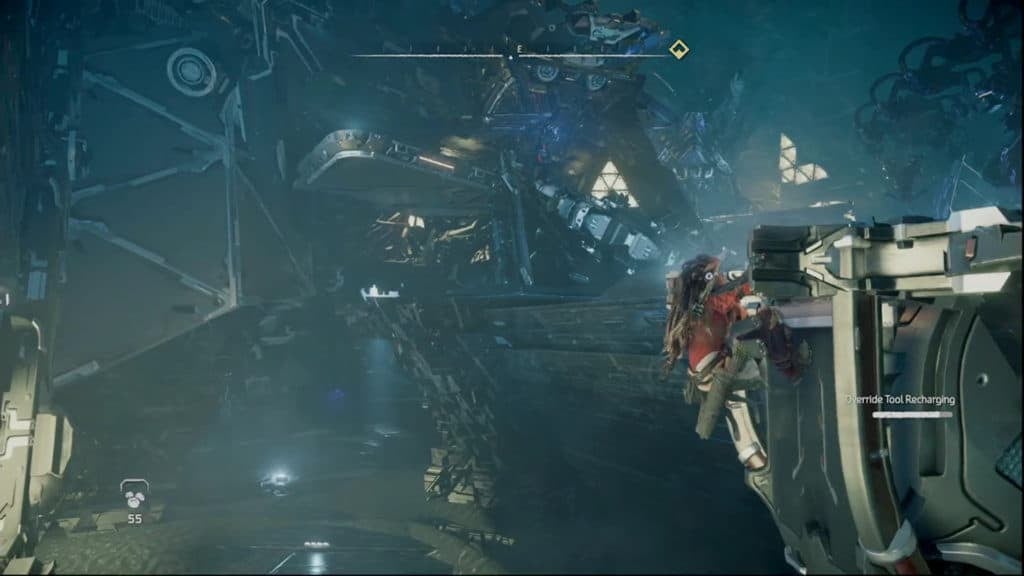
Cross More Robotic Arms and Jump Onto a Metal Carrier
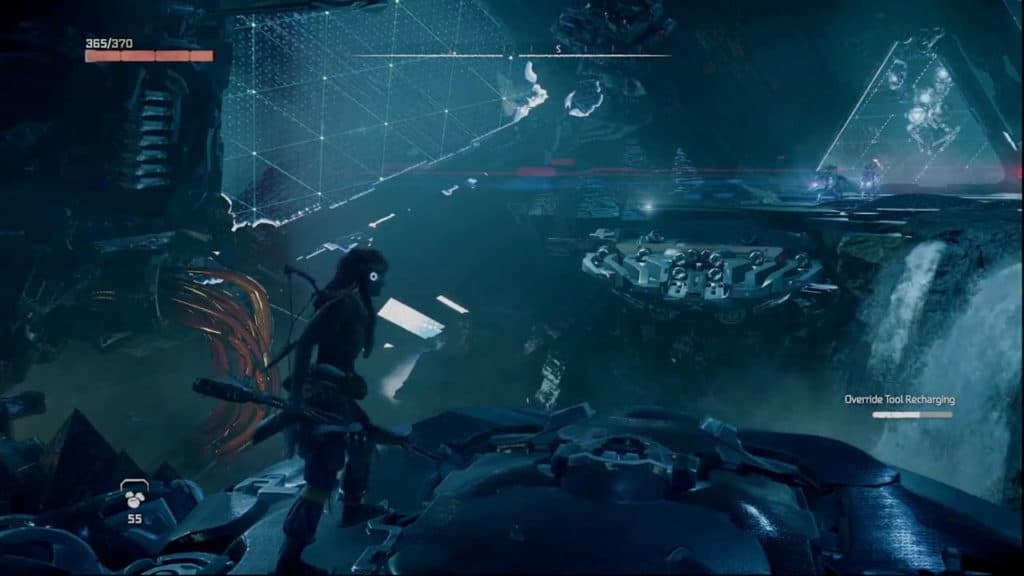
Travel uphill past where the Shell-Walker was patrolling and you’ll find an area overlooking more robotic arms. Turn northwest and you’ll spot a yellow ledge that you can climb.
Afterward, turn north and head to the red light that you see. This is another Network Uplink that you’ll need to override. When you do, it will create a bridge that will lead you northeastward.
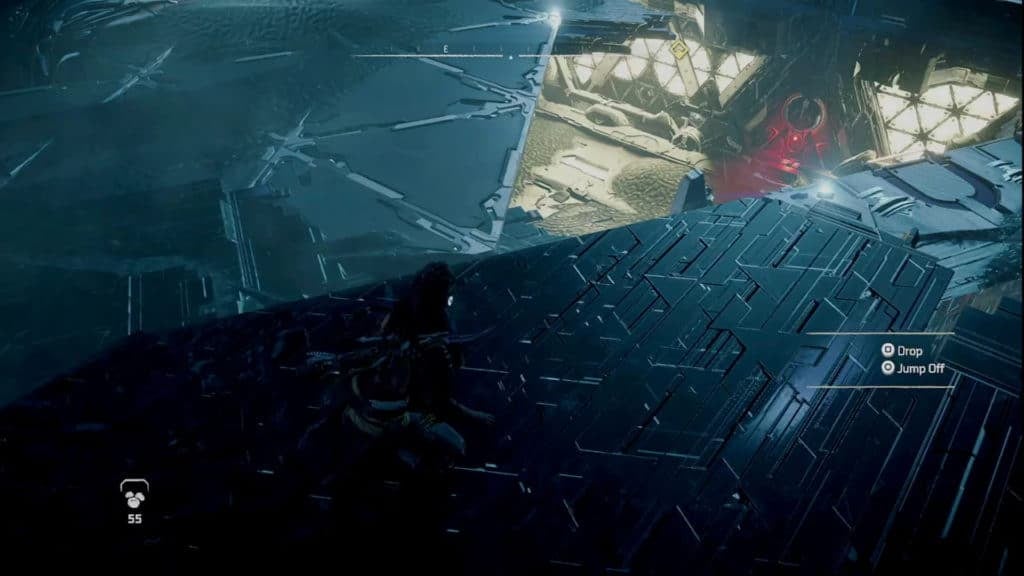
Beyond the newly-formed bridge, you’ll find some more robotic arms. Jump onto the closest one and then look down. There is another robotic arm below you that you’ll have to drop onto. However, you’ll need to time this movement carefully, as both arms will be moving while you make the leap.
At the elbow-end of the lower robotic arm, there is a platform that you can jump to. Above this, you’ll find another vent ladder. Scale it and then jump to the ledge to the right.
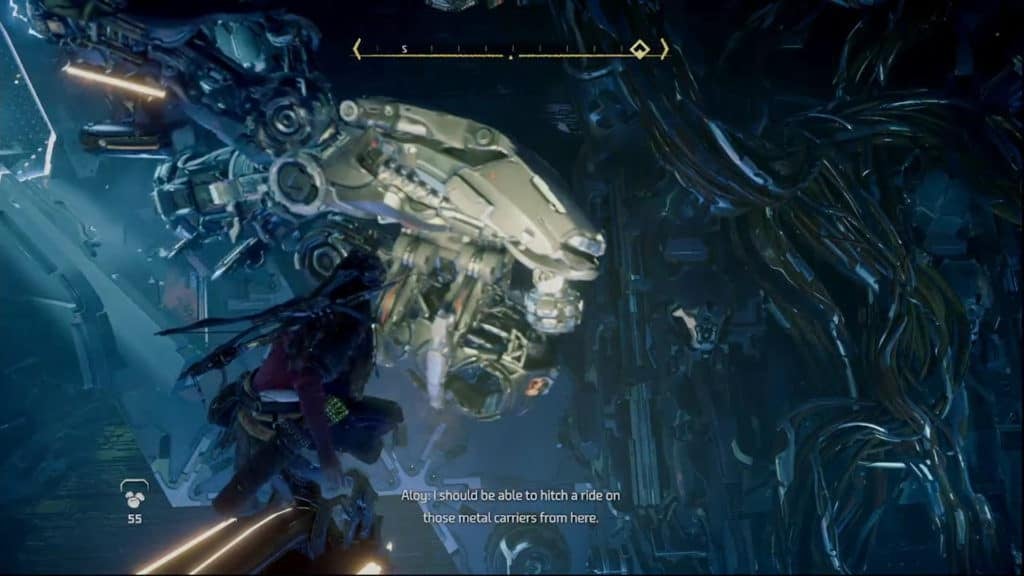
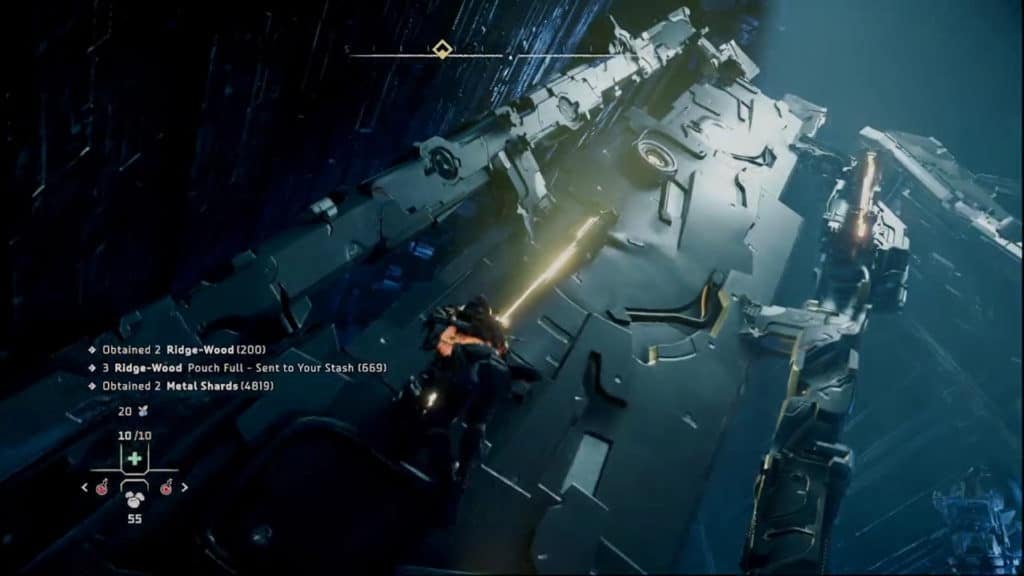
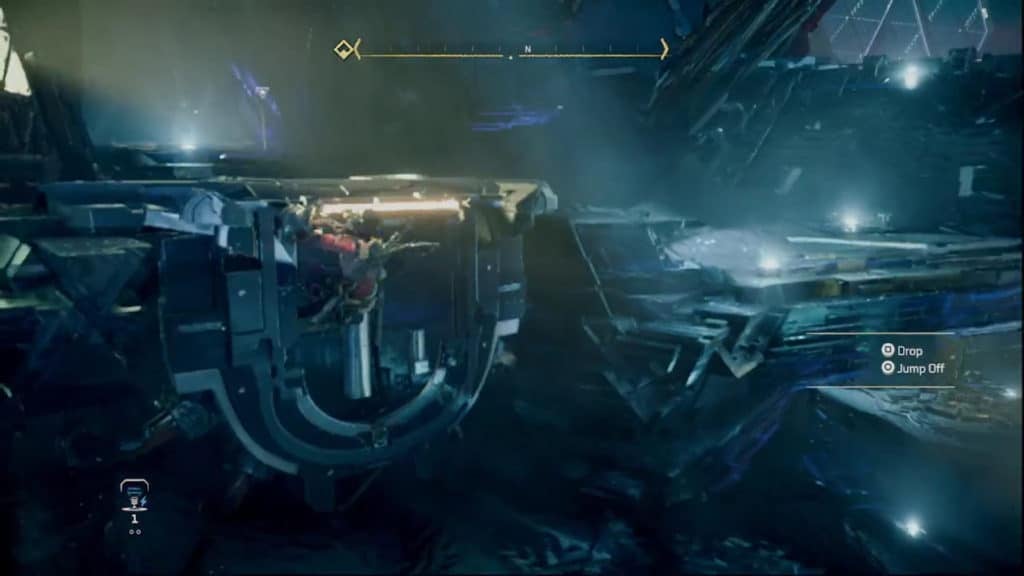
On top of this ledge, you’ll then spot a glowing yellow beam that extends over a gap. Stand on this beam and wait for one of the passing metal carriers to fly in front of you. You’ll need to time your jump carefully so that you can grab onto the yellow lip towards the tail end of a metal carrier.
Leap Across the Wrists of Yet More Robotic Arms to Reach Another Metal Carrier
Ride the metal carrier until it’s about to pass through an energy shield. Aloy will loudly mention when it’s time to get off, so use that as your cue to disembark. Afterward, go northwest to a series of more robotic arms. You’ll have to jump onto the wrist nodes of these as well as climb up their arms.
After you jump onto the nearest robotic arm, walk along it until you find a lip on the wall to the north. Jump to this lip and then climb to the left to another one. From here, jump onto the second robotic arm’s elbow and descend to its wrist nodes.
Following this, you’ll need to jump to the wrist of a third robotic arm. When you do, stay on the left wrist node, as this will make jumping onto the metal carrier ahead much easier.
This time, instead of jumping onto the side of a metal carrier, you’ll have to jump onto the back of one. However, there will still be a yellow bar to indicate your grabbing point. Although the distance will look too far to jump from this angle, you can definitely make the leap if you are on the left wrist node of the third robotic arm.
Enter the Core of the Cauldron
Ride the metal carrier up a short way and then drop down before it passes through an energy shield. From there, head east and walk onto a yellow beam in order to jump to another one below it.

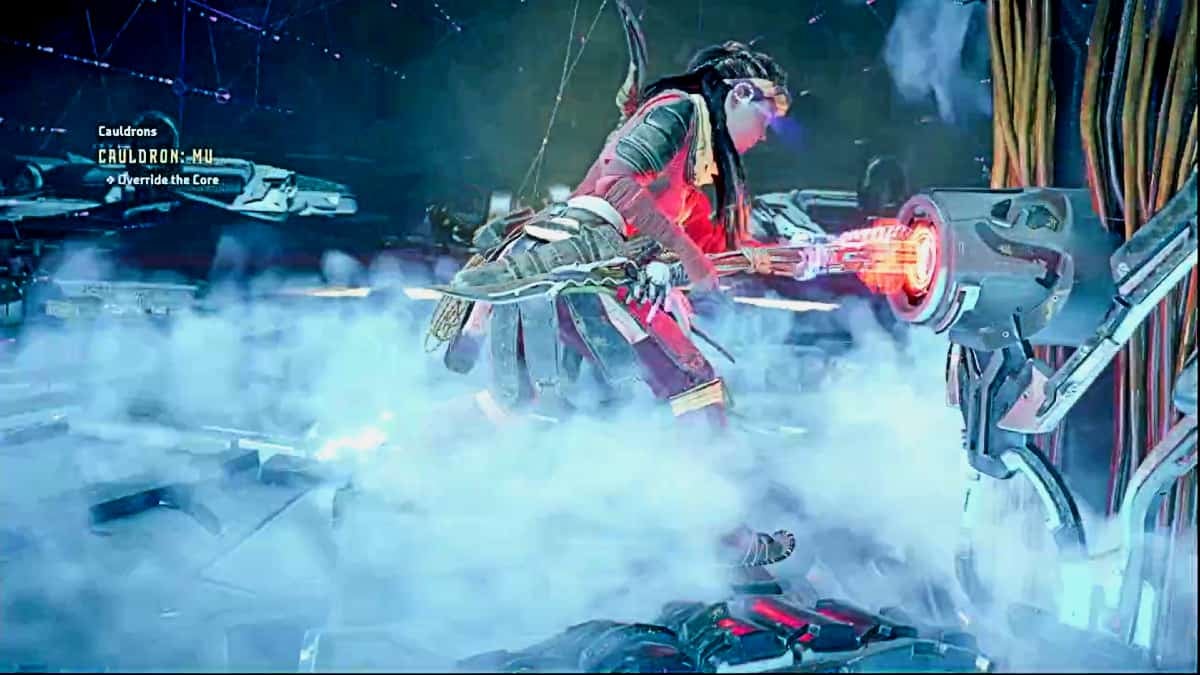
At this point, you’ll find one last cauldron door that you’ll need to override. Beyond it is the core of Cauldron: MU. Within, you’ll have to go two-on-one with some powerful machines, so be sure to heal up and collect any medical plants you see growing nearby.
Take Out a Pair of Widemaws
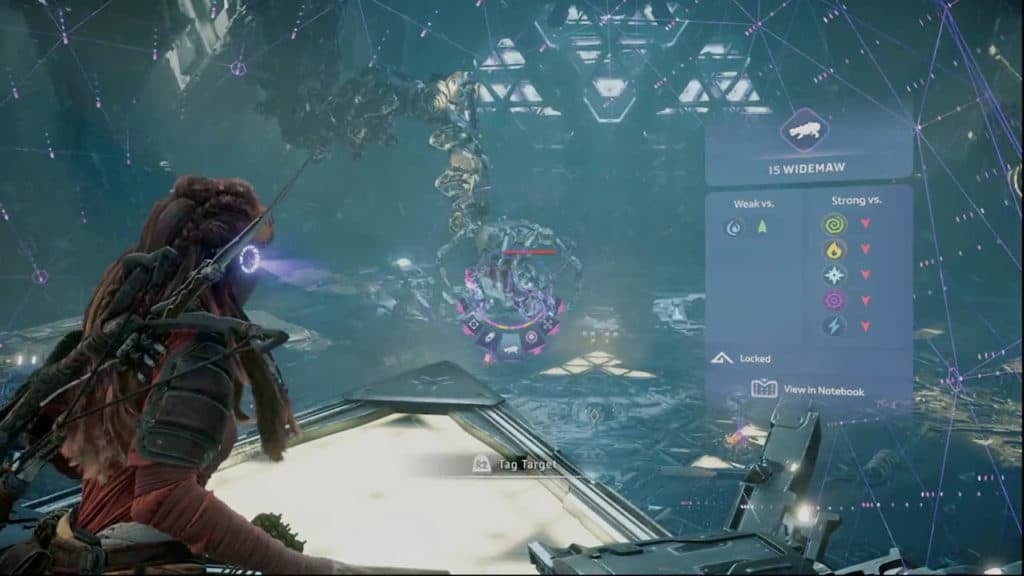
Within the core, you’ll see a massive robotic arm completing a Widemaw. Be sure to give this metal beast a scan so that you can see all of its weak points. Highlighting them can be helpful as well. When you’re ready, jump down below and get ready to fight two Widemaws at once.
Tips for Fighting the Widemaw Duo
A Widemaw’s only true elemental weakness is purgewater. As such, any weapons you have that inflict this kind of element will be very useful here. When a machine is drenched from purgewater buildup, it won’t be able to use any elemental attacks. In this case, the Widemaws won’t be able to use their own purgewater attacks against you for a little while.
To deal more damage to the Widemaws, target the weak points in their mouth and on their rear ends. They have lots of weak points on their hindquarters, so, if you can get behind them, unload a ton of arrows, javelins, or other ammo at them.
As for their fronts, Widemaws will, on occasion, open their huge mouths to prepare for a boulder-spewing attack. When they do this, they’ll give you a great view of their throat and lower tusks—all of which are great places to attack for big damage.
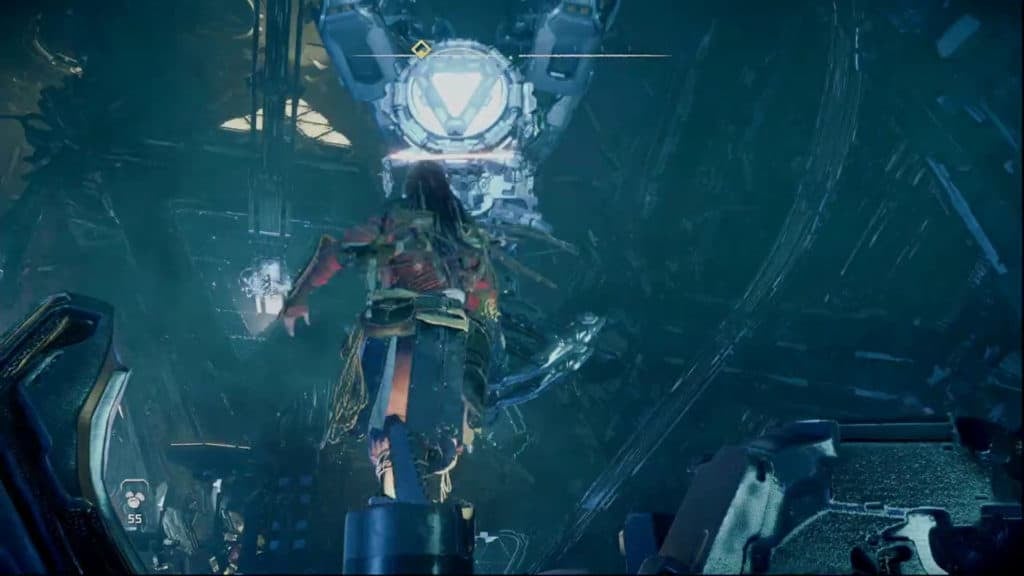
Override the Cauldron Core and Claim Your Rewards
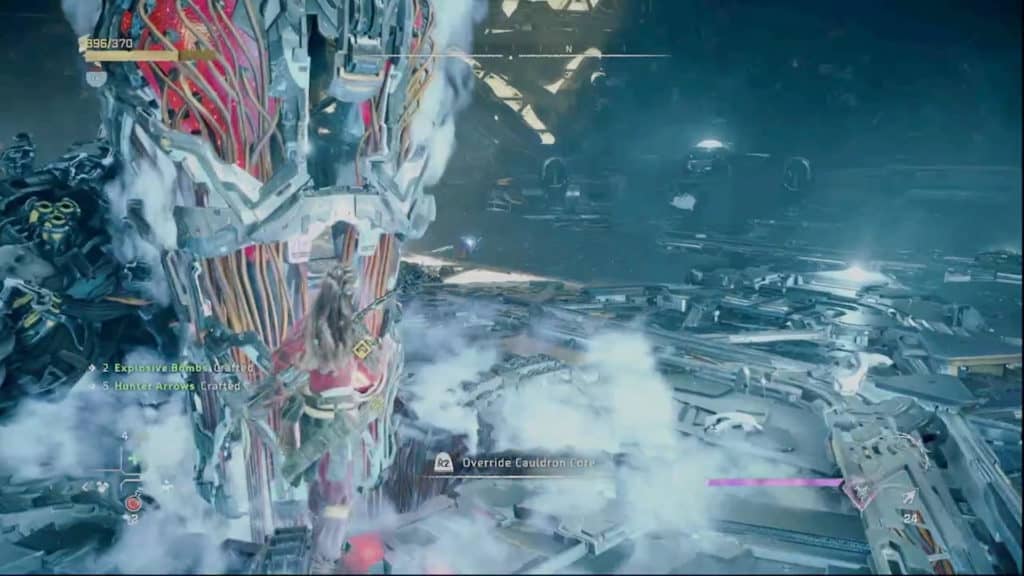
After you’ve dealt with the Widemaws, the cauldron’s core will rise up in the center of the battle area. However, before you interact with it, make sure to loot the Widemaws and their components, otherwise, you won’t be able to collect them.
When you override the cauldron’s core, you will unlock the override data for Burrowers, Scroungers, and Grazers. Additionally, you’ll get corrupted override data for Scrappers, Fanghorns, and Widemaws. On top of all this, you’ll also get 8,000 XP and 3 Skill Points.
Well done! You can now ride more mechanical beasts through the Forbidden West. This will save you from having to only seek out Chargers every time your mount gets destroyed.
How to Uncorrupt Corrupted Overrides
To uncorrupt the corrupted override data you got, you’ll have to unlock the base following the completion of The Dying Lands main quest. There is a room in your new base that will let you process corrupted data until it is useable.