![]() Key Takeaway
Key Takeaway
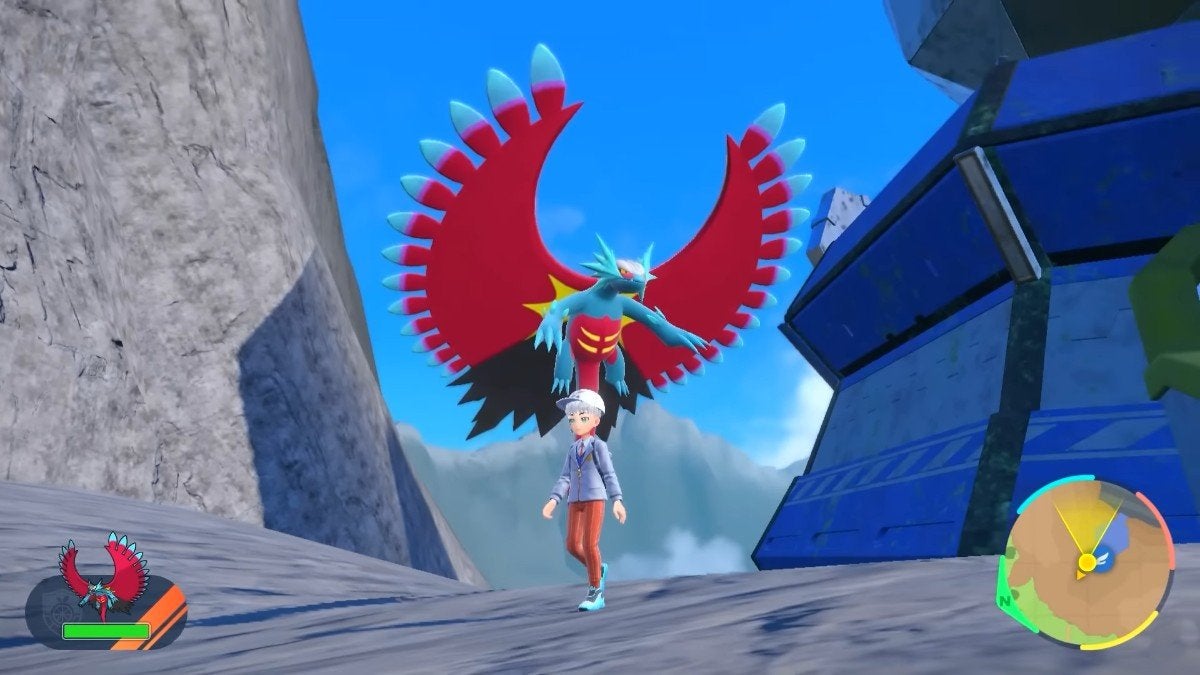
First, begin your search at Research Station #3 in Area Zero. From there, leave the building and go down the grassy path to the left of the large cave entrance that leads into a crystal cavern. When you reach the tree beneath the large stone archway, turn slightly left and squeeze through a tiny gap. In the cave beyond, you can find Roaring Moon by a big waterfall.
If you want to get Roaring Moon in Pokémon Scarlet & Violet, you must do some exploring in Area Zero. The spawn location for this Dragon and Dark-type pocket monster is pretty well hidden, so you need to look carefully!
Table Of Contents
What You Need to Do to Find Roaring Moon

First of all, Roaring Moon is a version-exclusive Pokémon that you can only catch in Pokémon Scarlet. If you have Pokémon Violet, you will need to trade for a Roaring Moon or join a party of players whose host is playing Pokémon Scarlet.
With that said, start from Research Area #3 and then exit the building. When you do, you see two paths before you: the right path leading into a massive cave and the left path leading down a grassy trail. Take the left path.
Keep going until you reach the tree below the big stone archway. Here, turn a bit left and take a close look at the rock formation nearby. There is a tiny gap that you can squeeze through.
Afterward, head into the cave entrance. Within, you find a large cavern that has a lot of different Pokémon species. Head deeper until you come across a large waterfall.
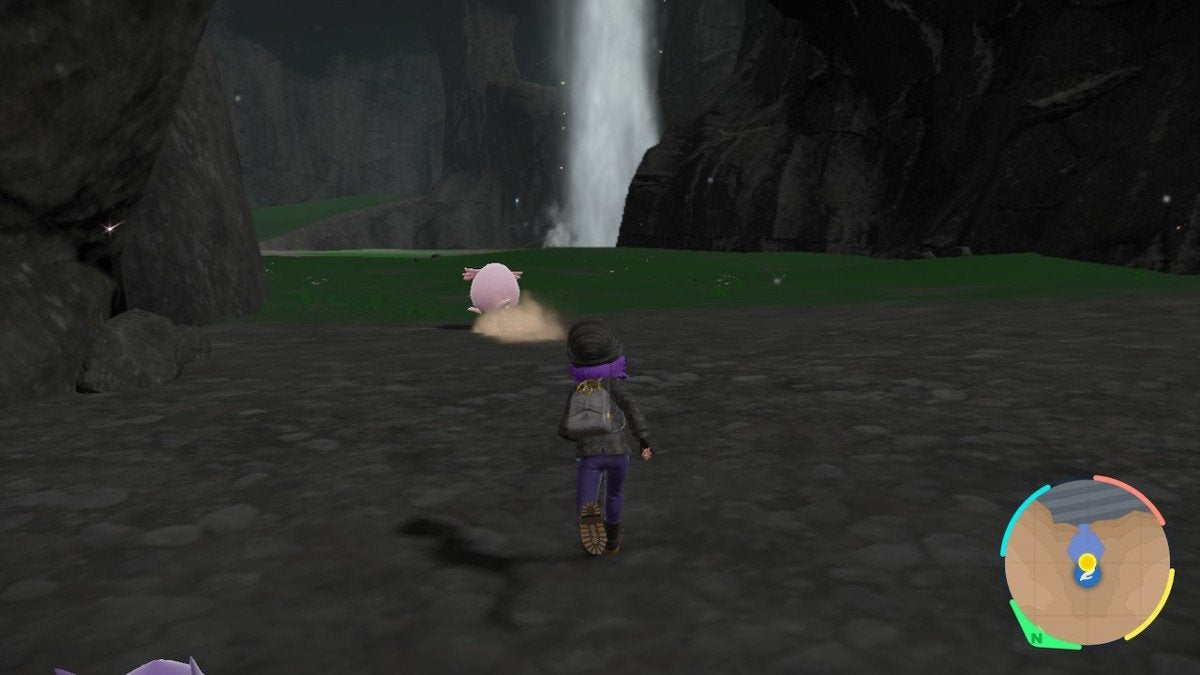
Roaring Moon can spawn anywhere in the grassy section near the waterfall. If you don’t find one, defeat some nearby Pokémon to make some room for a Roaring Moon to spawn. Soon enough, you can encounter this powerful Paradox Pokémon.
Now that you’ve found a Roaring Moon, all that’s left to do is catch it! Be careful if your Pokémon are around or below level 55, as this is around the level at which Roaring Moon spawns.
Also, since Roaring Moon’s catch rate is 10, it may be tricky to capture. For reference, a catch rate of 10 means that you only have around a 4% chance to capture a Roaring Moon at full HP with a standard Poké Ball.
Tips for Catching Roaring Moon
Like when catching other pocket monsters, you want to decrease Roaring Moon’s HP and afflict it with a status ailment. This drastically increases your capture success.
Try putting it to sleep, as that will stop it from attacking for a few turns and won’t accidentally cause it to faint like poison or burning it will. On top of that, make sure to use an Ultra Ball or a different Poké Ball that has a better catch rate modifier than a regular Poké Ball.
Is Roaring Moon Any Good?

Yes, Roaring Moon can be a powerful physical sweeper. It has stats that are usable for its niche in addition to a great ability and a top-tier movepool. Its typing is nothing new but this is far from being a bad trait.
You may notice that Roaring Moon looks a lot like Mega Salamence due to the shape of its wings. This is probably a throwback to Mega Salamence and how powerful it was during Generation VI and Generation VII.
Roaring Moon’s Typing
By being both Dragon and Dark-type, Roaring Moon immediately has similarities to Hydreigon. Although, Roaring Moon is much more physically-oriented, which makes it more of a parallel to Hydreigon than a better version of its fellow dragon.
This gives Roaring Moon one immunity (Psychic) and six resistances (Ghost, Fire, Water, Grass, Electric, and Dark). This outweighs its five weaknesses (Fighting, Bug, Ice, Dragon, and Fairy).
It should be mentioned that it has a double weakness to Fairy-type moves as both Dragon and Dark-types are weak to such attacks. For this reason, you should always keep your Roaring Moon away from Fairy-type foes unless you’re absolutely certain that you can knock them out before they attack.
Roaring Moon’s Stats
Here are Roaring Moon’s base stats:
- HP – 105
- Attack – 139
- Defense – 71
- Special Attack – 55
- Special Defense – 101
- Speed – 119
Since its highest stat—by a large margin—is its Attack, you know right away that Roaring Moon can hit enemies very hard. And, thanks to a high Speed stat, it will most often move first during a turn against many foes. On the opposite side, you’ll notice that Roaring Moon’s Special Attack is very low. Fear not, however, as you won’t need it.
Next, is its HP, which is pretty good considering Roaring Moon is clearly meant to be a fast and hard-hitting pocket monster. In terms of bulk, this generous HP stat is backed up by solid Special Defense and rather mediocre Defense. In this regard, you can expect Roaring Moon to tank a hit or two from normal-effectiveness damage sources—particularly special attacks.
Roaring Moon’s Ability
The ability Roaring Moon comes with is called Protosynthesis. If it is holding a Booster Energy as a held item, or if Sunny Day’s effects are active, the highest of Roaring Moon’s stats will get boosted by 30%. The exception is its Speed stat, which will gain a 50% boost instead.
On a related note, Protosynthesis factors in pre-existing stat boosts before applying any changes. This means that if you increased one of Roaring Moon’s stats with a status move or item, Protosynthesis will apply its effects to the highest stat after the pre-existing boosts. This way, you can choose which stat gets affected by Protosynthesis more easily.
Let’s take a look at the respective stat increases of Protosynthesis for clarity. If Roaring Moon’s highest stat is its Attack at 200 and Protosynthesis gets triggered, it will boost your Attack to 260 (+30%). However, if Roaring Moon’s Speed is its highest stat at 200 and Protosythesis gets activated, it will boost your Speed to 300 (+50%).
For the most part, you want to trigger the Speed boost for ideal stat gains. Although Roaring Moon has somewhat reliable bulk, you want to hit opponents first so that you can initiate a cleaner sweep.
Roaring Moon’s Moveset
Through leveling up and TM usage, Roaring Moon gains access to great moves. First, set up your ancient dark dragon with a couple of STAB (same type attack bonus) moves. Some ideal choices for STAB moves are Outrage and Crunch.
Afterward, you want to give it status and coverage moves to round out the set. Dragon Dance is a particularly good choice, as it enhances Roaring Moon’s already top-notch Attack and Speed.
As for a coverage move, it can be a good idea to teach it Acrobatics if you make it hold a Booster Energy. This is due to Booster Energy being consumed upon being used (it gets restored after a battle).
Here are some of the best moves for Roaring Moon:
- Sunny Day (can be remembered or learned from TM049)
- Dragon Claw (learned at level 28)
- Zen Headbutt (learned at level 35)
- Night Slash (learned at level 49)
- Dragon Dance (learned at level 56)
- Dragon Rush (learned at level 63)
- Throat Chop (learned at level 77)
- Roost (learned at level 84)
- Double-Edge (learned at level 91)
- Acrobatics (learned from TM014)
- Brick Break (learned from TM058)
- U-Turn (learned from TM060)
- Shadow Claw (learned from TM061)
- Iron Head (learned from TM099)
- X-Scissor (learned from TM105)
- Crunch (learned from TM108)
- Earthquake (learned from TM149)
- Stone Edge (learned from TM150)
- Outrage (learned from TM156)