![]() Key Takeaway
Key Takeaway
Your locker becomes available to you once you reach level four in Splatoon 3. After that, you can show off your gear and decorate it with a range of decor and collectibles that can be found throughout the game.
One of the newest additions to Splatoon 3 is your very own stylish storage space. This feature is your locker, and with it comes another way for you to express your style and creativity on your ink-splatting adventures. Customizing your locker is easy once you know how.
Table Of Contents
What Are Lockers in Splatoon 3?
Splatoon 3 introduces lockers as a new way for players to show off their individual flair. As well as being useful for storage, your locker is intended to be styled and customized to your own personal taste.
You can use your locker to display any of your unique weapons and outfits that you’ll pick up whilst playing the game. In addition, lockers can be decorated with a variety of items. These include stickers, cushions, collectibles, and other colorful accessories that can be obtained in different ways.
Lockers can also be upgraded as you level up, which means you’ll be able to expand the size of your own personal showcase with new parts.
You can decorate your locker as many times as you like, and it’s a great way to make use of new items you earn in battle. However, it’s not all that clear when you first start playing Splatoon 3 that these lockers exist. Nor is it initially obvious where to find them.
Finding Your Locker
Before you can access your locker, you’ll need to level up to at least level four. Before this, you won’t be able to find the locker room, so you’ll need to take some time to play the game a bit first. Fortunately, it’s really easy to jump into a number of online multiplayer battles from the main Battle Lobby. Doing this will help you hit level four in no time.
Once you’re at level four, you’ll want to head back out of the Battle Lobby and into the main area of Splatsville. This is where you start the game after loading Splatoon 3 up and looks like a main city square. Make your way to the Hotlantis general store.
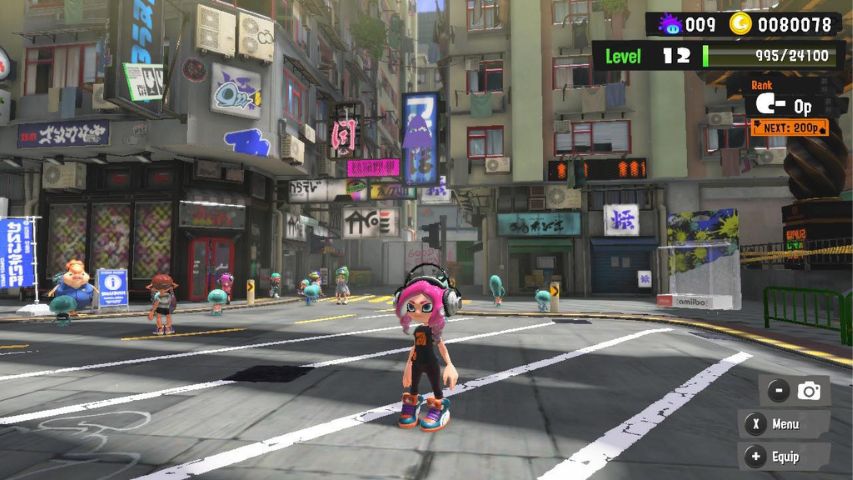
Hotlantis is a gray building with red double doors to the rear and left of your Splatsville spawn point.
Inside, you’ll be given a Catalog and access to the locker room by Harmony, the store vendor. You’ll find your locker back inside the main Battle Lobby, so you’ll want to make your way back there again.
To find it, head towards the main battle hub and look to the right, just behind the Shell-Out Machine. You should see some transparent automatic doors, which were previously blacked out.
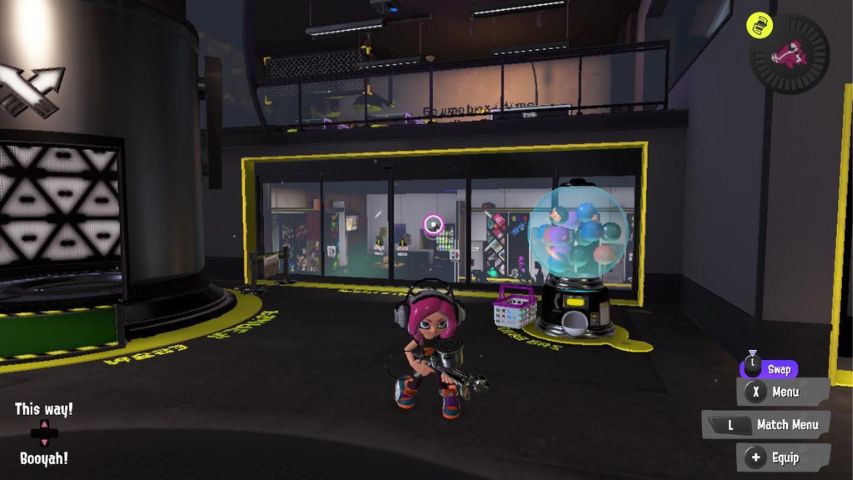
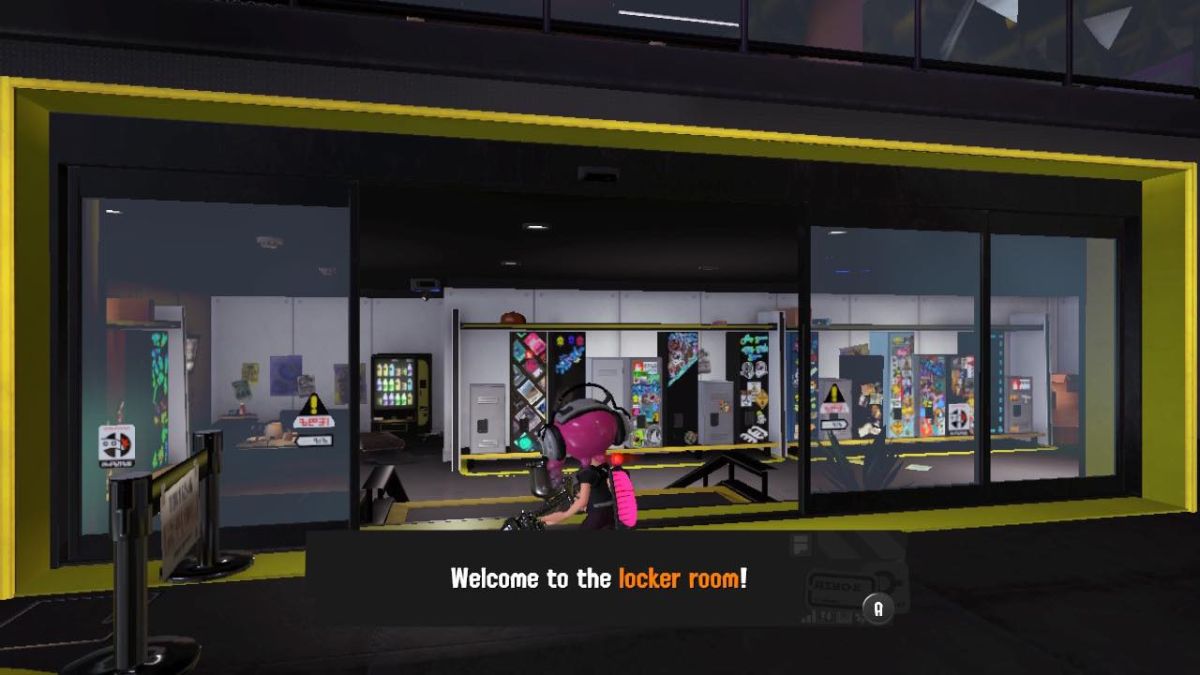
Head through these and you’ll have made it to the locker room. Your personal locker will have a floating white triangle above it.
How to Customize Your Locker
Once you’ve located your locker, you can edit and customize it with your owned items. The options available to you will depend on whatever items you’ve picked up from your Catalog rewards or purchases. To start customizing your locker, walk up to it and press A to open it.
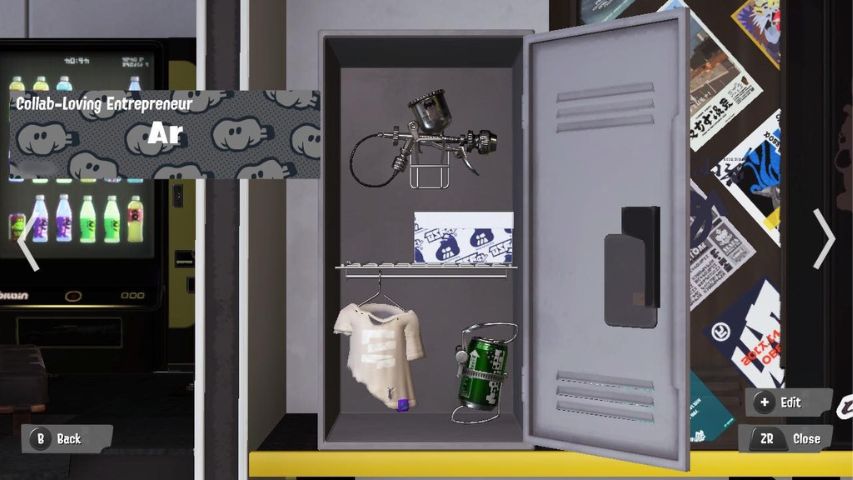
By default, you’ll see some of your currently owned items displayed. However, to make changes, you’ll need to press + to Edit.
A new screen will appear on which you can select individual items from inside your locker and make changes to how they’re displayed. This includes rotating them, unboxing or boxing footwear items, and putting items away if you don’t want to display them at all.
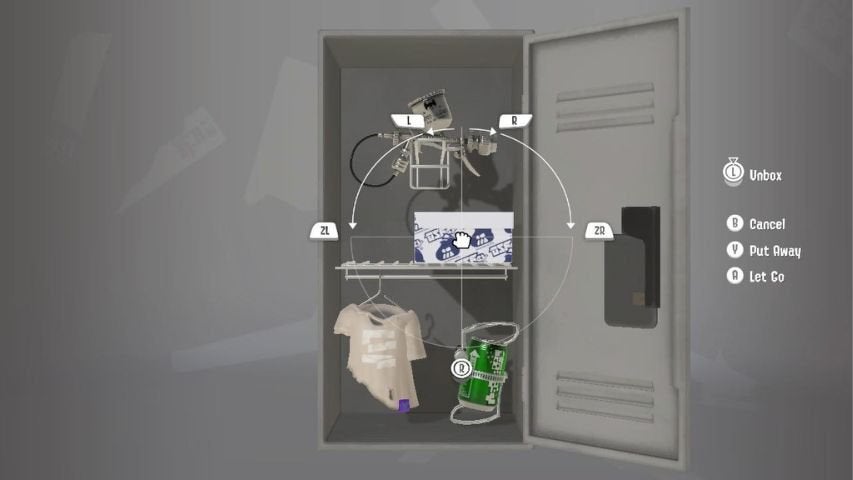
Additionally, you can press – to remove all of the items from your locker whenever you want a clean slate to start designing with.
To make further edits to your locker, press X to bring up the customization menu. This will bring up an inventory on the right-hand side of the screen.
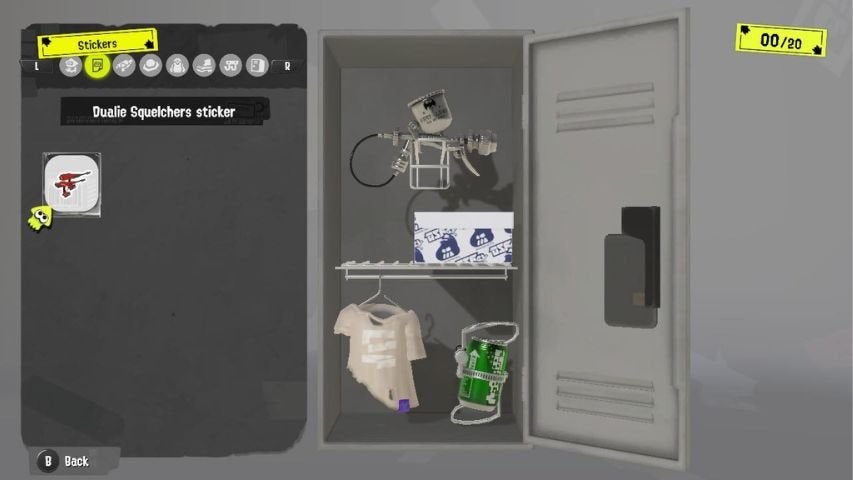
You’ll be able to select items from this panel and add them to your locker as you see fit. Provided you can fit them into the space available, you can add and reposition as many objects as you like.
Upgrading Your Locker
This menu will also display any additional parts that you can make use of in your locker. For example, as you level up you’ll be able to add extra hooks, a shelf, and even a locker organizer section to help you make extra space. Locker upgrades are available once you reach level 15, and again at level 30.
You’ll also be able to select the type of locker as you obtain different locker styles during the game. These can all be purchased from Hotlantis and will give your locker a new color or even material if you prefer wood rather than metal.
Once you’ve finished making your changes, press + again to Finish. This will save your customizations until the next time you want to edit your locker.
Getting New Locker Items
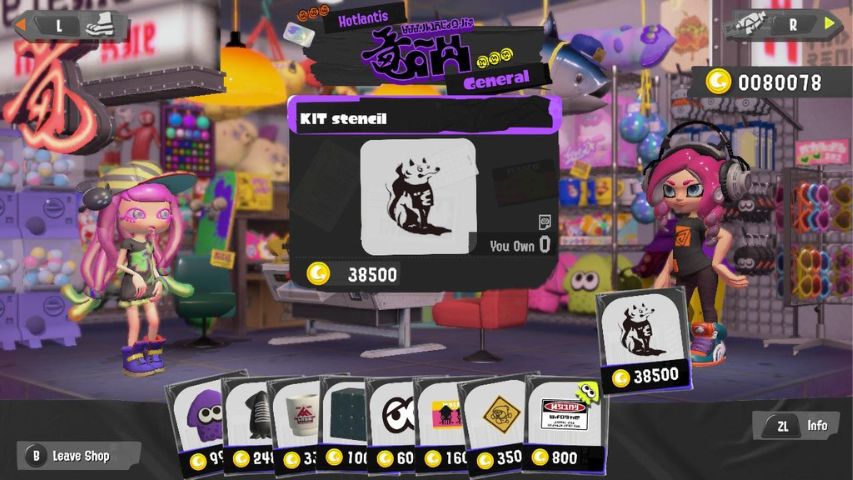
You can find new items to decorate your locker further in a few different ways. If you’ve got plenty of Cash burning a hole in your pocket, you can buy various objects from Hotlantis. Harmony sells a range of decor, including posters, stencils, stickers, cushions, and mugs, to name a few. Stock will refresh on a daily basis, so don’t forget to check in regularly to see what’s new.
As you raise your overall Catalog Level, you’ll also gain rewards. Each time you level up your Catalog, you’ll receive items such as gear, banners, and locker items such as stickers. You’ll raise your Catalog Level by gaining XP in Splatoon 3‘s multiplayer modes. Take part in Turf Battles, Anarchy Battles, or the Salmon Run to build up some serious Catalog points.
Story Mode Locker Items
Another way to pick up some new merchandise for your locker is to play through Splatoon 3‘s main single-player campaign mode. This can be found by sinking through the main sewer grate in Splatsville, to the left of the large steps.
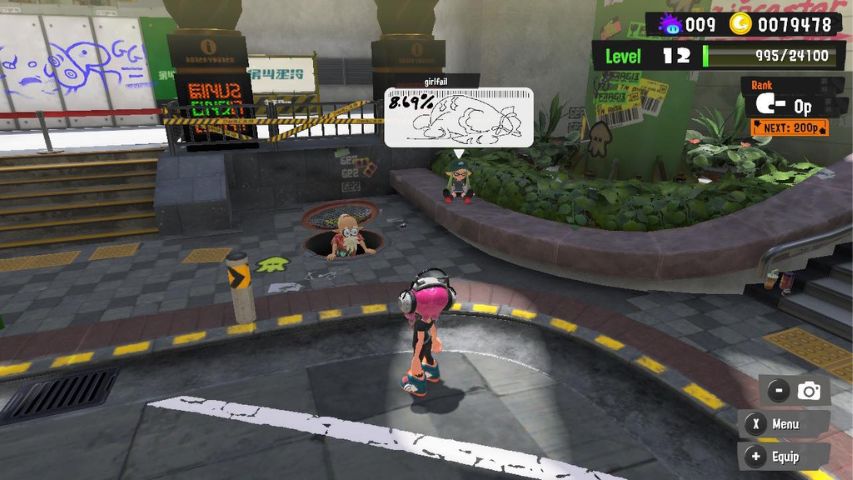
Doing this will take you to The Crater and also Alterna, where you can work your way through the game’s campaign levels.
You’ll discover a number of items buried throughout the different zones in The Crater and Alterna, so keep an eye out for loot anchors on your adventures. Loot anchors have a red LED light on the top and can be spotted by Smallfry, your companion pet. Be sure to pay attention to him while he’s on your back. Simply shoot the loot anchor with ink to destroy them.
You’ll need to claim the items you’ve discovered in the main campaign, as they won’t automatically be added to your inventory. Once you’re done adventuring in The Crater or Alterna, head back up to the surface and make your way back to the main Battle Lobby. You’ll then need to approach the Lobby Terminal computer that’s next to the battle hub.
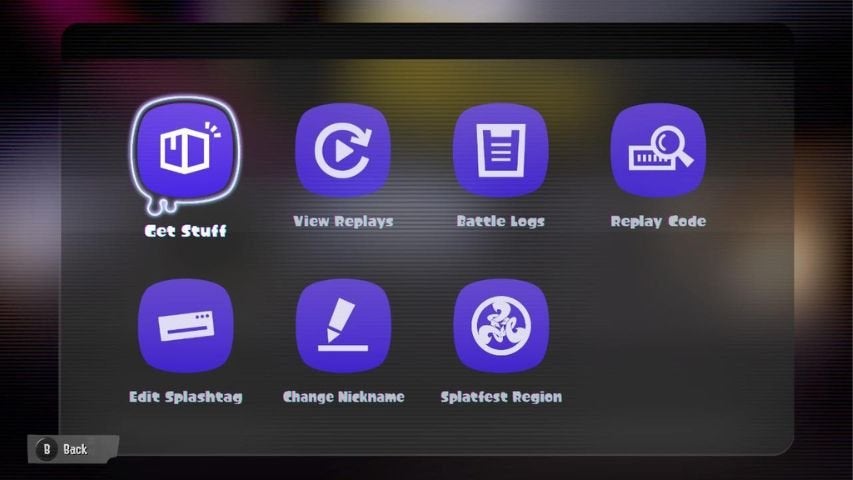
Access this by pressing A and then selecting the Get Stuff option that appears on the menu. Your items from your campaign adventures will then be added to your inventory. You’ll then be able to add them to your locker as you see fit.


