Stim Canisters are Cal’s health vials in Star Wars Jedi: Survivor, just like in the first game. These replenish each time you rest at a meditation point. At the beginning of the game, you only have two of these to start. Thankfully, there are more for you to find.
Table Of Contents
Stim Canister 1
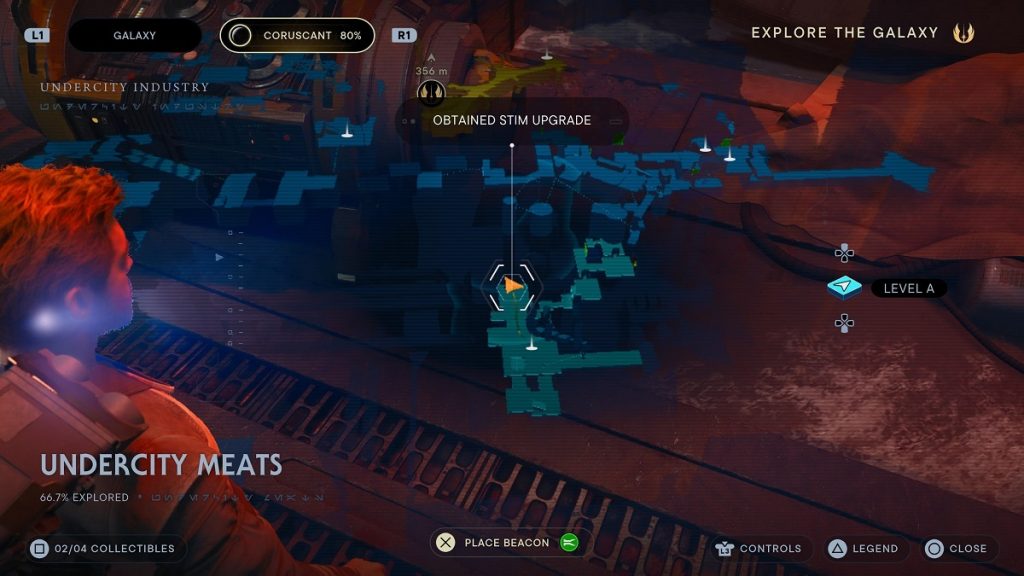
The first Stim Canister is in the game’s very first level: Coruscant. If you were unable to find this during the first chapter, you can return to Coruscant later in the game.
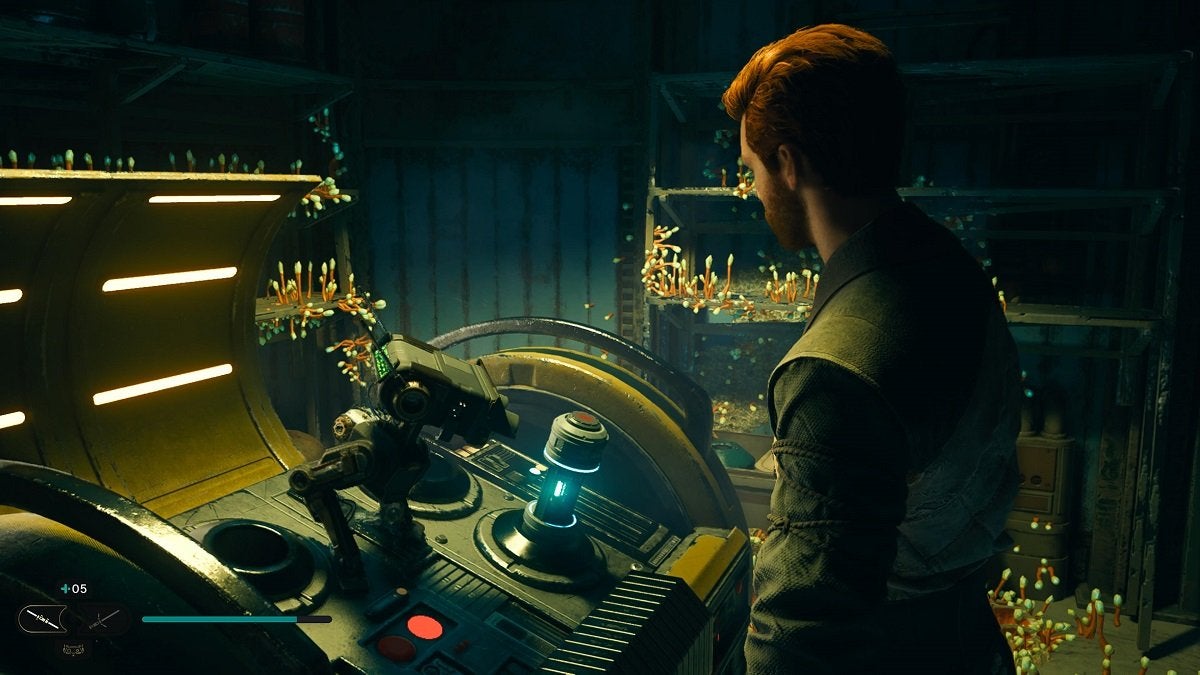
Across the meditation point in the Undercity Meats is a scalable wall. Run up the wall and proceed forward. You’ll find the Stim Canister pod here guarded by a Security Droid. You’ll have to defeat the droid first before you can interact with the Stim Canister pod.
Stim Canister 2
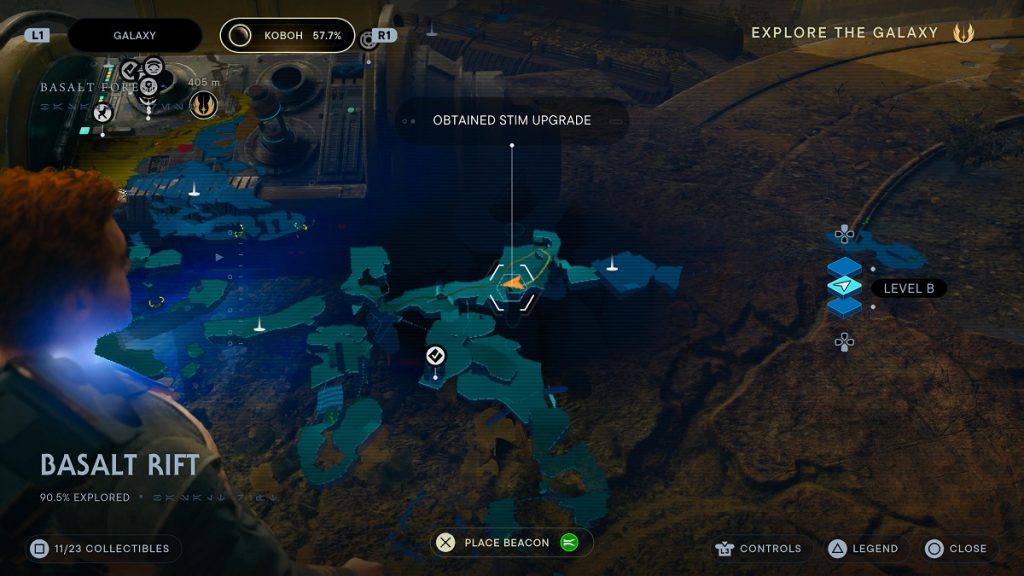
Head to Koboh for the next Stim Canister upgrade. Fast travel to the Rift Passage meditation point and head outside. Head downhill and make a left. At the end of this path, you can find the Stim Canister pod next to a Relter bird.
If you don’t have the Rift Passage travel point unlocked, fast travel to the Basalt Rift instead and continue onto the fallen pillar that’s become a bridge here. Past the bridge, make a right, and continue onwards until you’re in the area where a lone Mogu. You can either fight the Mogu or avoid him. Both are challenging endeavors.
Run on the wall until you’re on the vines you can climb on to get to the upper ground. You can get to where the canister pod is from here.
Stim Canister 3
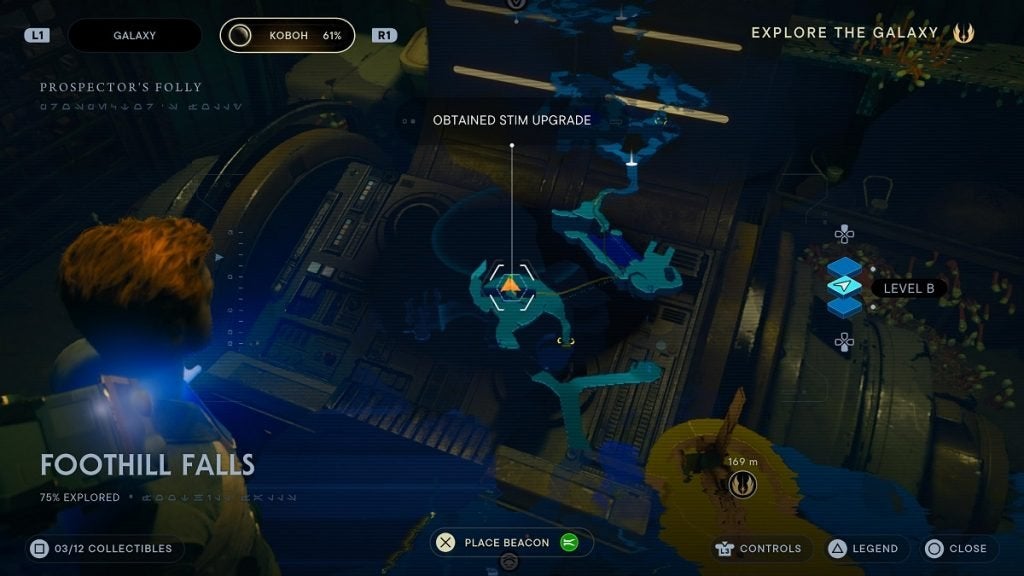
The next Stim Canister pod is in Foothill Falls. To get to its location, fast travel to the Mountain Ascent meditation point and make your way to the Foothill Falls from here. Once you make it past the pond where you find Skoova, make a right and ride to bird to the area across.
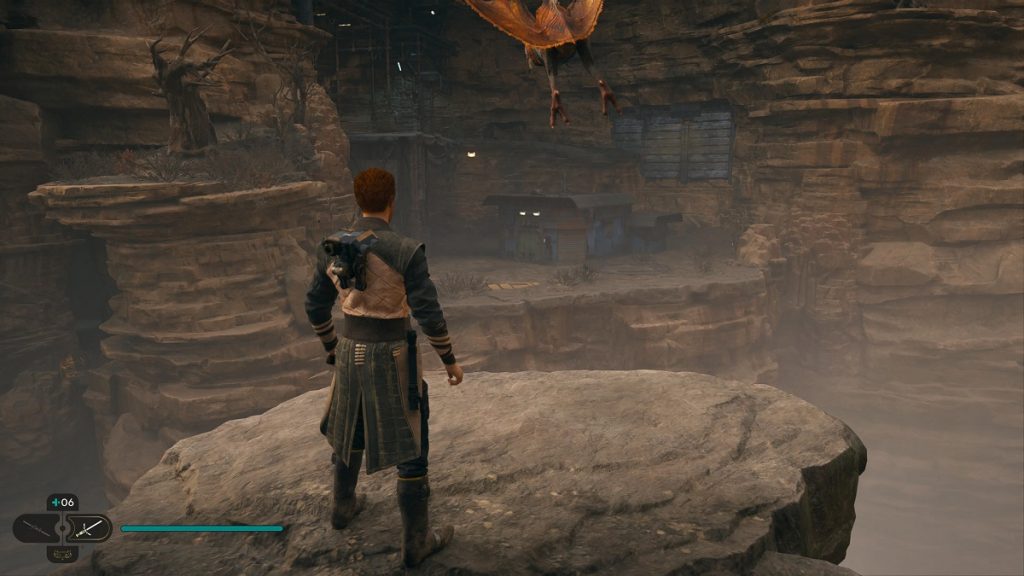
You’ll find a house here and you’ll find the Stim Canister pod inside. However, before you enter the house, you must first throw a bomb inside from the roof to break open a heavy door inside. To do this, call your mount and ride it to the back of the house. You’ll find a scalable wall here. You cannot reach this wall on foot, which is why you’re going to jump to it from your mount.

From here, go all the way around and use the two poles to swing across. Make a right and have BD-1 slice the device ahead. This will summon a Roller Mine. Lure it to the other end of this area where you’ll be situated close to the roof of the house. Force Pull the Roller Mine, then use Force Push to throw it into the hole in the roof. This will then destroy the heavy door inside.
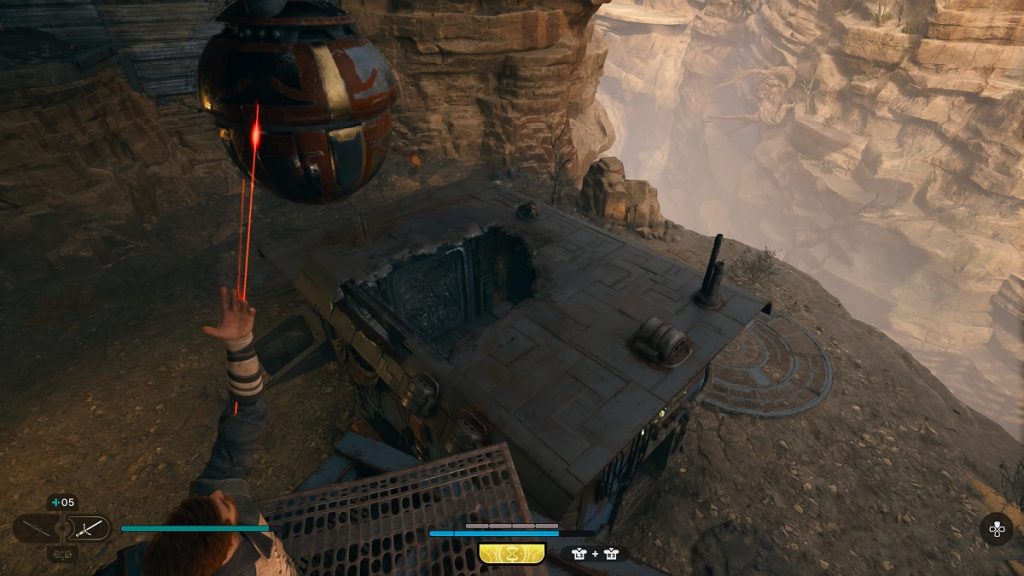
Once done, hop into the hole to enter the house and you’ll find the Stim Canister pod.
Stim Canister 4
Before you can get to where this Stim Canister pod is, be sure you’ve unlocked Force Lift and Slam already. You’ll need this ability to get there. You unlock this ability while you’re in the Yurt Barracks in Koboh on your way to rescue Zee.
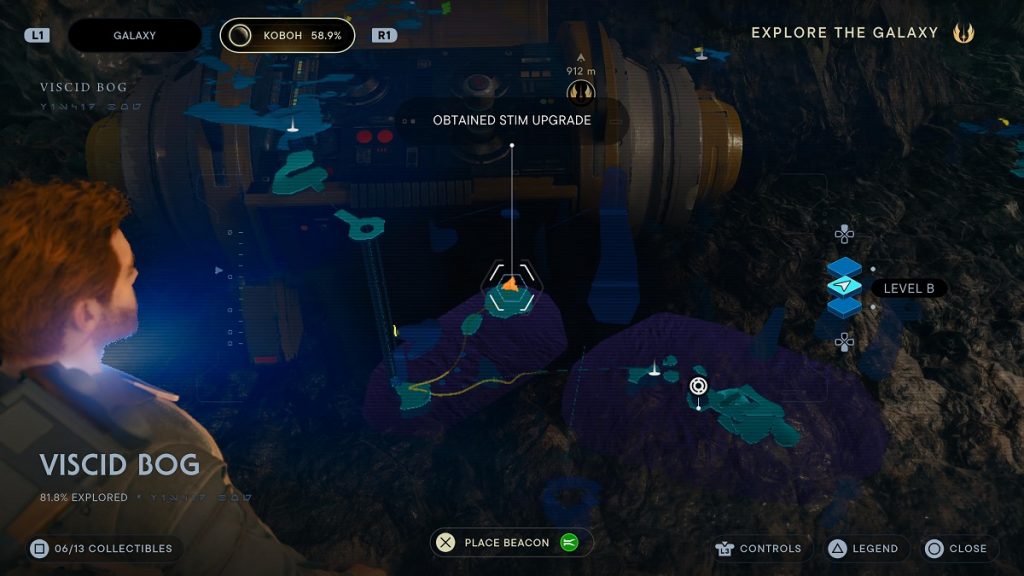
Fast travel to the Viscid Bog. From the meditation point, walk forward and jump on the wire ahead to zip over to the other side. As soon as you’re about to get off the wire, jump ahead and dash forward (if you’ve unlocked this ability already), then zip onto the pole ahead.
If you don’t have the aerial dash ability unlocked yet, it’s okay. You can land on the mud below, but just keep walking until you’re close enough to the pole to zip to it.
From the pole, swing forward and continue going forward until you’re close enough to the grates ahead to zip to it. Climb up to get on top of this rock. Look over to the right and look down to find three rocks in the mud below. You can use Force Lift on these rocks to elevate them.
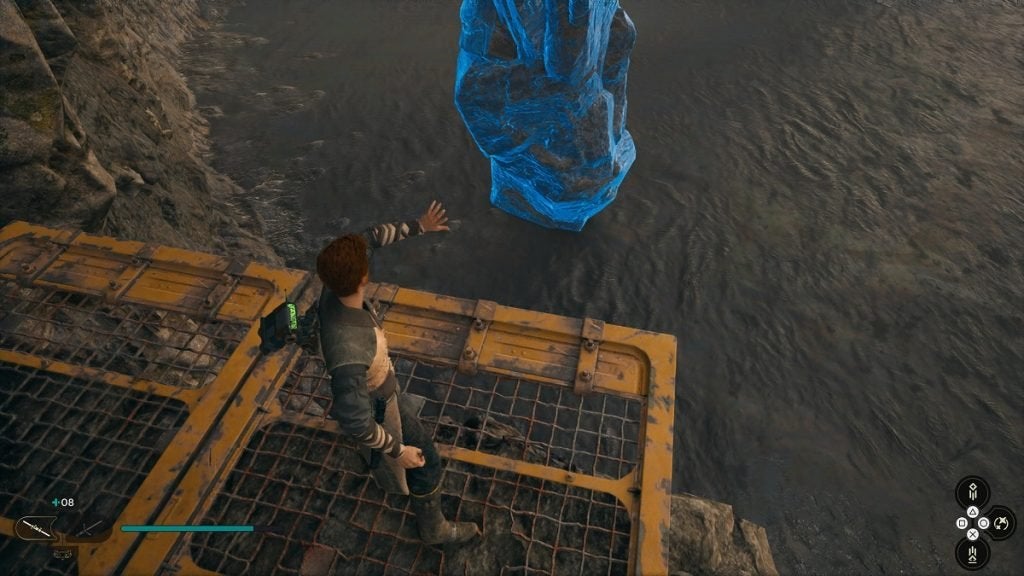
Lift the first rock, then jump on it. Do this process on the next two rocks until you’re on a wide area where you’ll find two Mogus. Be careful here. One of these Mogus is a legendary enemy. Defeat these enemies to open the Stim Canister pod at the back of this arena.
Stim Canister 5
You’ll also need Force Lift for this next Stim Canister upgrade.
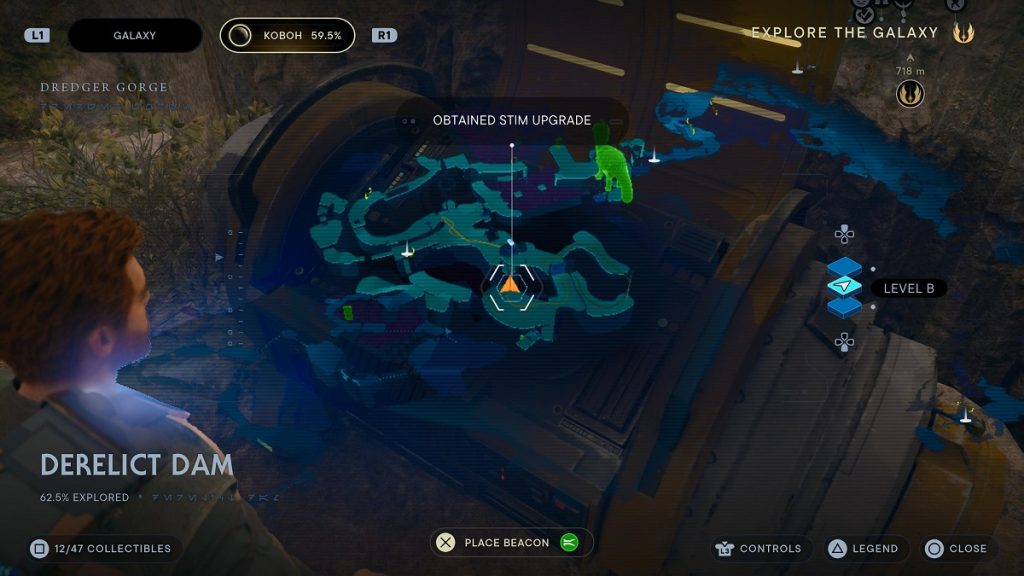
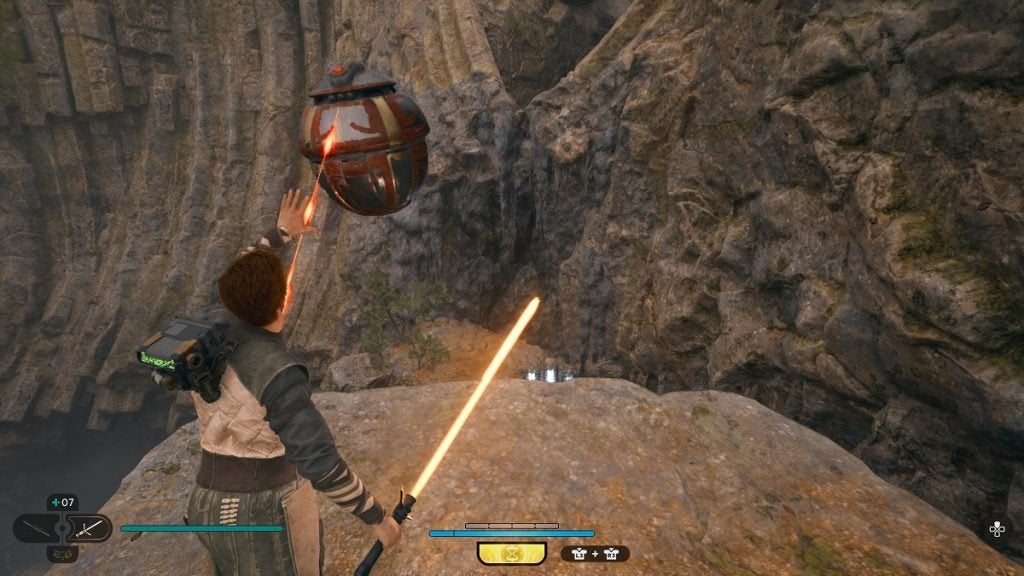
Fast travel to the Derelict Dam in Koboh. Head to the tunnel on the left until a Roller Mine surfaces from the ground. Lure this Roller Mine back out of the tunnel and onto the area here close to where the workbench is. Once you’re on the cliff next to the workbench, use Force Pull on the Roller Mine and throw it to the rock formation across the cliff to open up a new path.
Proceed through and climb up. You’ll have to fight a Gorocco here. Once you defeat the enemy, continue onward. There are three smaller monsters here you can either fight or run past. Once you reach the rope, climb it up.
Continue onwards and destroy the droids blocking the way. Lift the orange gate here with Force Lift and pass through. You’ll have to fight a legendary enemy in this next area. Defeat the enemy to open the Stim Canister pod here.
Stim Canister 6
It’s best to get this upgrade after you’ve defeated Dagan Gera in the Mountain Observatory.
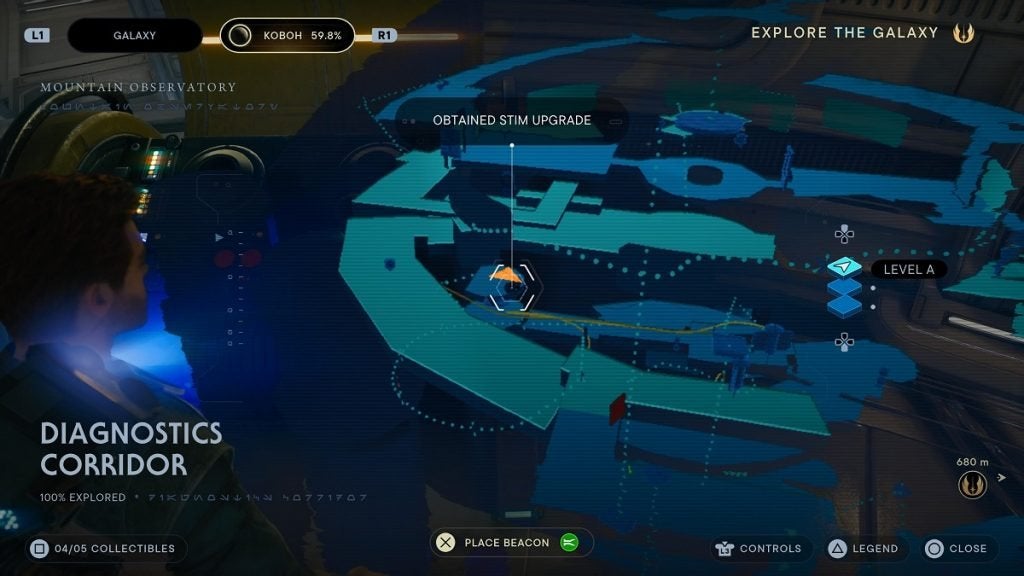
Fast travel to the Observatory Understructure meditation point. Use the rope next to the meditation point to zip up. Once above, walk forward and jump onto the platform ahead. Proceed inside and use the elevator here to head up.
Once up, continue forward to the door with a narrow opening ahead. There’s a floating perch here you can pick up and throw out the window ahead. Do so, then turn around and you’ll spot another room above where you previously were. Jump into this room to find the Stim Canister pod.
Stim Canister 7

To get this Stim Canister upgrade, you’ll first need to collect 10 Priorite Shards. You’ll find these all around Koboh. Once you have 10 of these, head to Domo’s shop and purchase the Mysterious Keycode from her. Once done, use that to open the door next to her counter and you’ll find a Stim Canister pod inside.
Stim Canister 8

This next Stim Canister pod is in Jedha. You encounter this during a main story quest so it’s very hard to miss. During the mission where you get trapped in a cave with Merrin, after the cutscene, follow Merrin into the tunnel and you’ll find the pod along the way, on the left side of the path.
Stim Canister 9
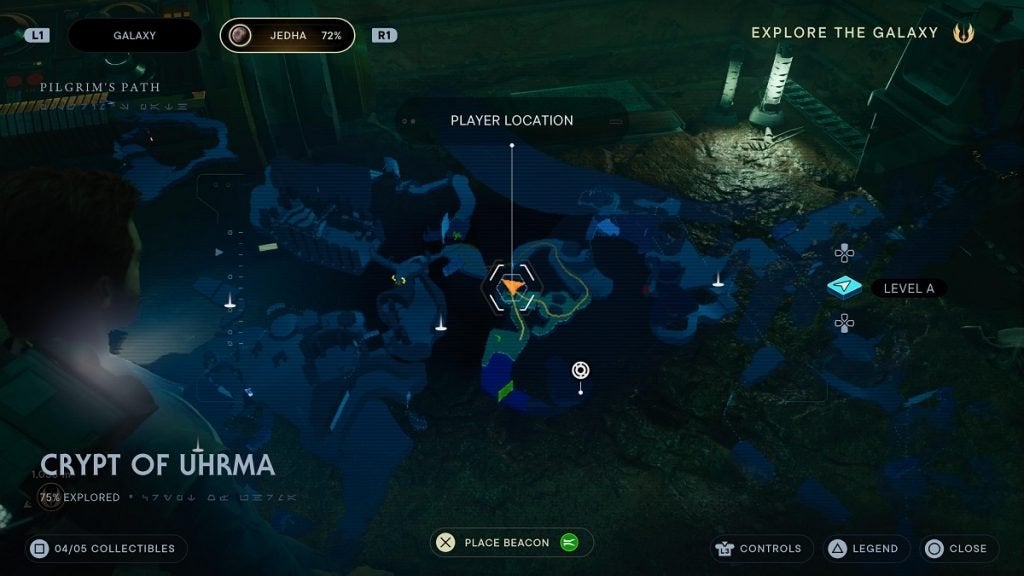
The next Stim Canister pod in Jedha is in the Crypt of Uhrma. Fast travel to the Crypt of Uhrma meditation point. Enter the building on the right. Defeat the stormtroopers, then head up the stairs and walk through the door. Continue walking forward and defeat all the enemies below. Walk to the right and jump onto the scalable wall ahead.
Climb up and continue going forward and you’ll find the Crypt of Uhrma past the entrance to the right. There are a lot of Hardshell enemies here. Be sure to deal with them first. You’ll find a wall in this crypt that has protruding blocks on it. This is a puzzle you’ll need to solve to open the path ahead.
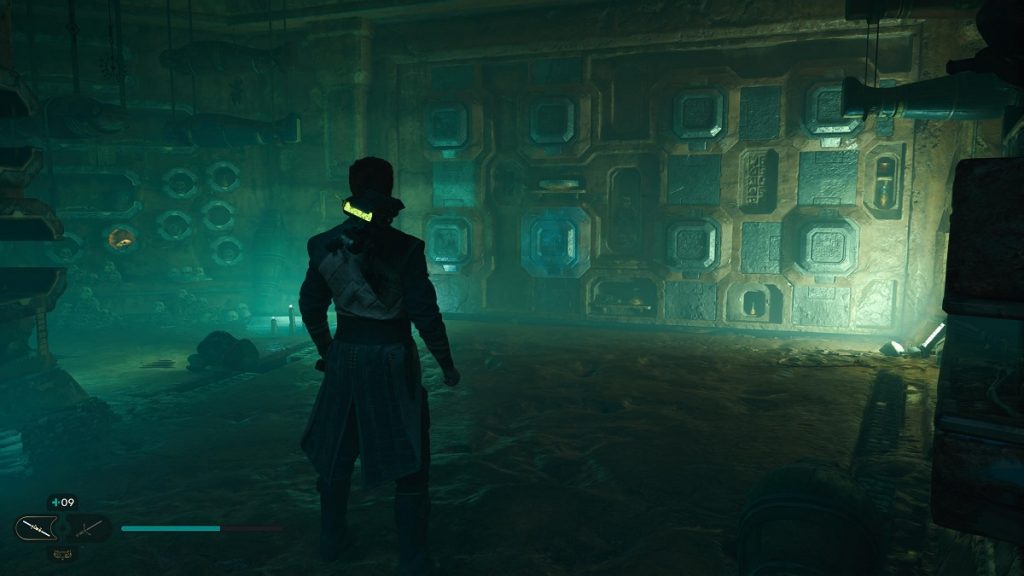
To solve this puzzle, use Force Pull on the far left and far right pillars on the top, and the two middle pillars on the bottom. This will open the path ahead. You’ll find the Stim Canister pod at the back of the room ahead.
Stim Canister 10
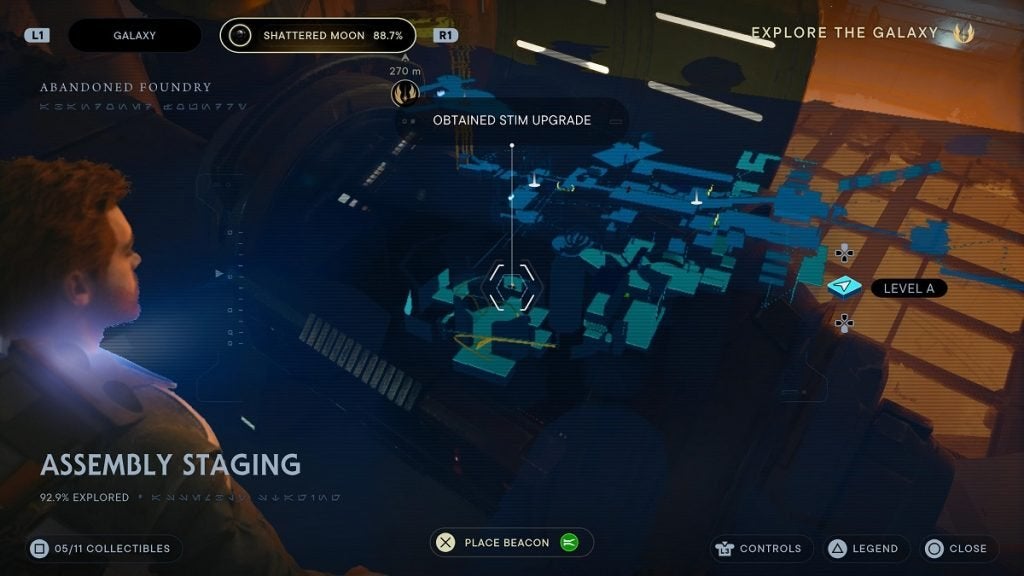
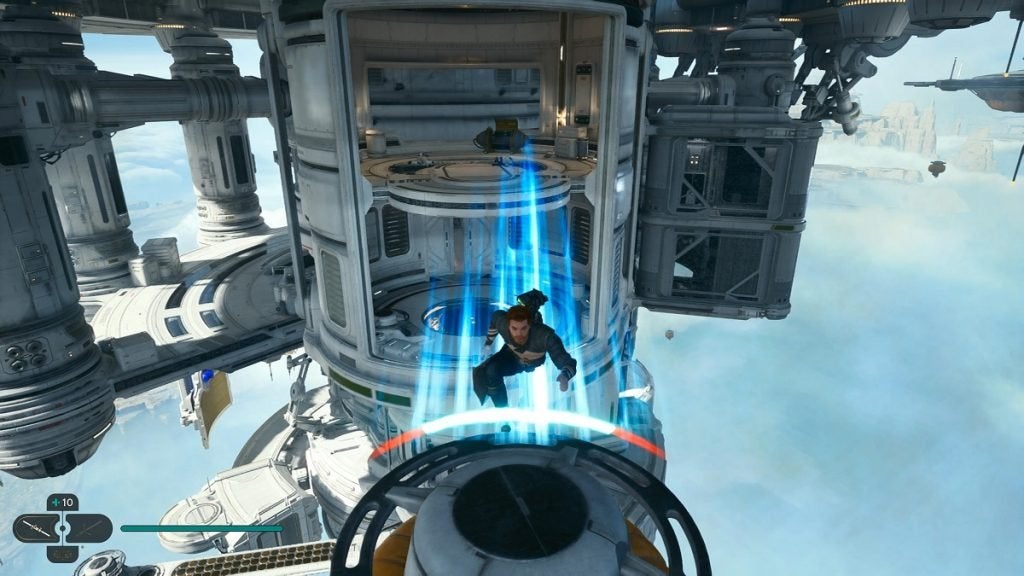
This Stim Canister upgrade is in the Assembly Staging in the Shattered Moon. To get here, fast travel to the Automated Forge. Pass through the yellow gate next to the meditation point. Continue moving forward and use the zipline ahead. This zipline will take you to the Assembly Staging area.
Once here, take the path on the right and continue onward. There will be a break on the railings on the right. Jump down, then climb onto the grates. Continue to the right from here.
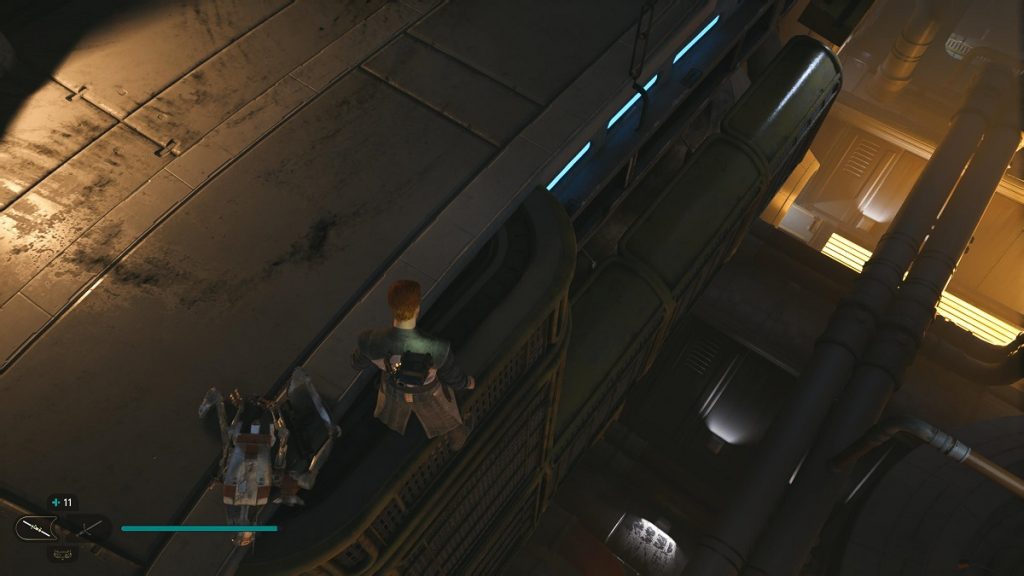
Continue navigating forward until you reach the zipline. While zipping, jump down onto the platform below instead of continuing to zip forward.
Enter the area here, look right, then look up to find a ledge you can zip to. Use the zipline here to get across. Be sure to double-jump before you hit the electrocuted area, otherwise, you’ll be sent back down to the ground. You’ll find the Stim Canister pod on the other side.
Stim Canister 11
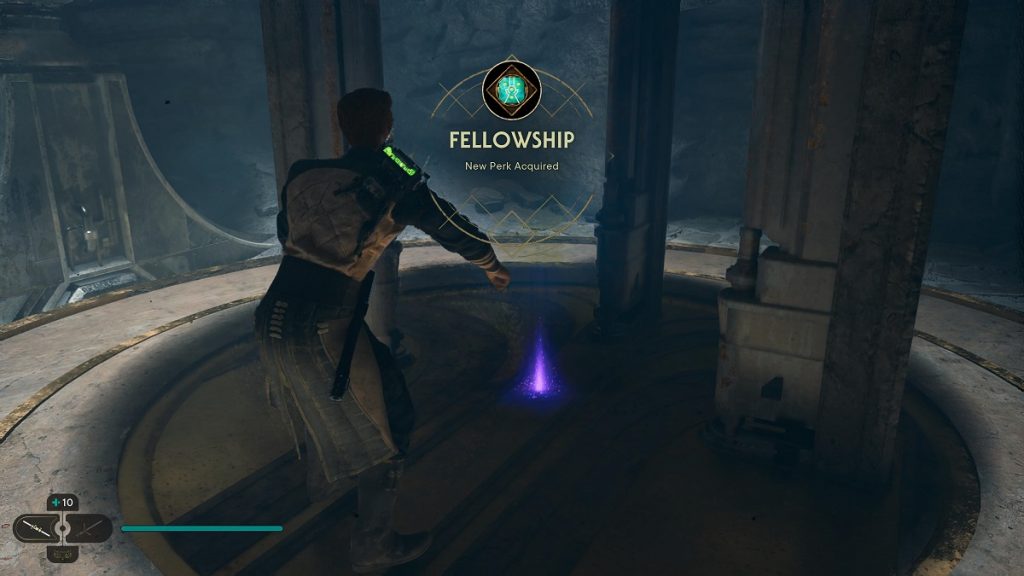
This final Stim Canister upgrade isn’t from a canister pod. Rather, it’s a perk you can equip that will increase the amount of Stim Canisters you have by one. It’s called the Fellowship Perk and you find it after completing the Chamber of Clarity, found in the Untamed Downs in Koboh. The location of this Jedi Chamber is marked on the image of the map below.
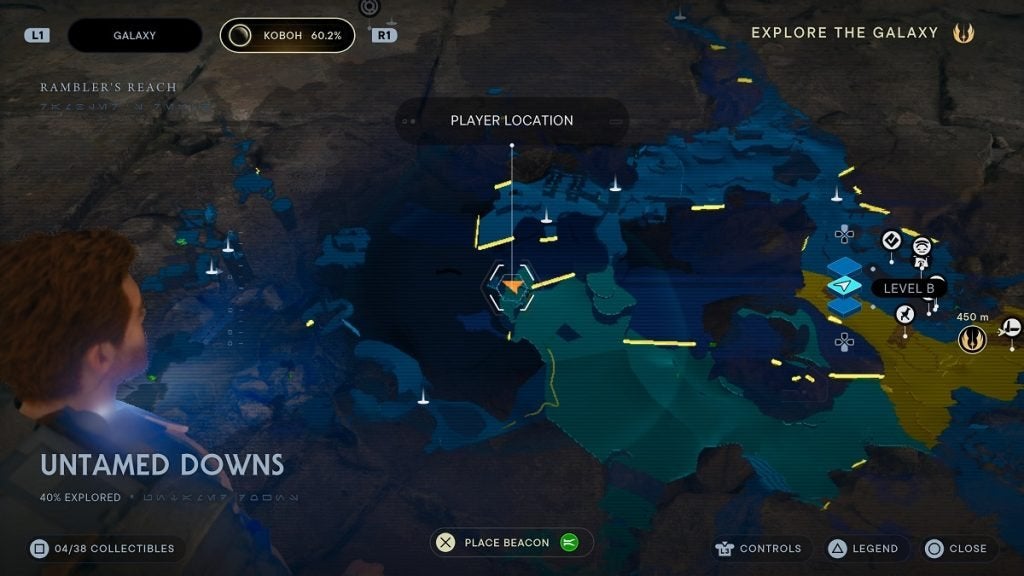
To get here, fast travel to the Boiling Bluff, then run to the Untamed Downs. Ride a mount, then head onward while sticking close to the rocks on the left. You’ll eventually spot a wall with vines situated high. You can jump onto the vines by jumping with your mount, then jumping off of your mount. Simply continue up from here and you’ll find the door to the Chamber of Clarity.