Table Of Contents
Leaving Balamb
Once you’ve finished in Balamb Garden, head over to the lobby and meet with Quistis. From here, proceed through the dialogue as normal. After the dialogue, follow Seifer to the car.
With your squad assembled in the car, drive through the World Map to Balamb Town. Little exploration can be done at this stage. Whilst you can control the car, you can’t leave it at this point in the game while on the way to the SeeD exam.

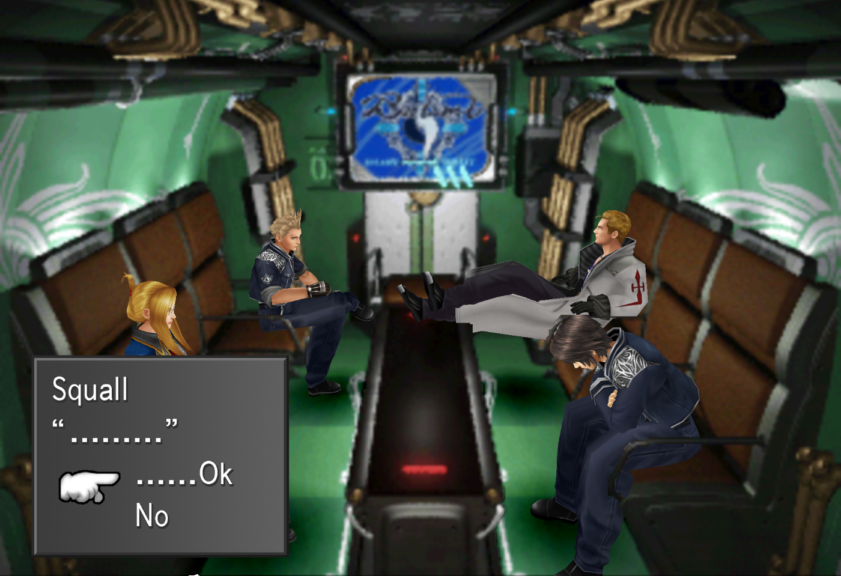
Once you reach Balamb Town, you must proceed through more dialogue before entering the vessel and heading for Dollet. On the way, Xu will give the squad a briefing of the mission at hand.
You’ll then be prompted to ask who to speak to. After this, Seifer will order you to look outside. Keep in mind that your conduct is being assessed here and making unnecessary conversation during the exam as well as refusing the order will result in small deductions to your final exam score here.
Your final exam score will determine your starting SeeD Rank. Note that it’s possible to increase your SeeD Rank throughout the game long after the Exam has finished.
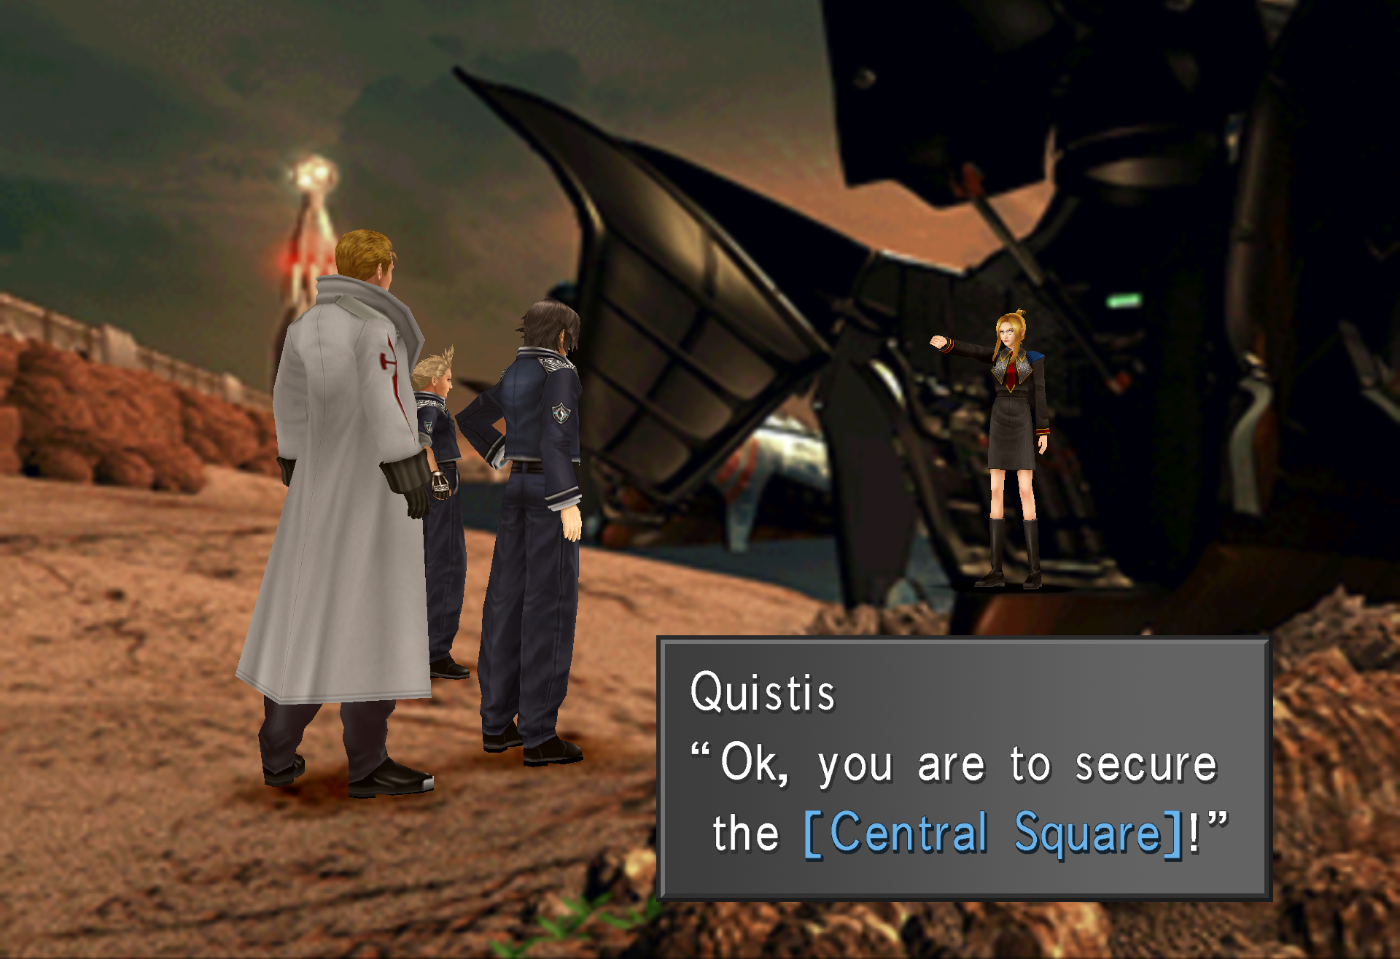
Dollet Central Square

Once you’ve landed on Lapin Beach, Quistis will order you to head the Central square. In this mission, you’ll encounter soldiers from Galbadia who cannot be carded. If you’re looking to minimize the EXP your characters get [click here link to low level run page]. Running from encounters here will serve to deduct your final exam score but note that you’re expected to retreat from at least one specific encounter later on.
Proceed by following Seifer across the beach and up the stairs. There are two Galbadian soldiers (G-Soldiers) past the Save Point but they shouldn’t pose a threat to your party.
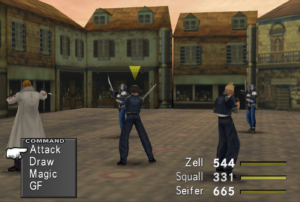
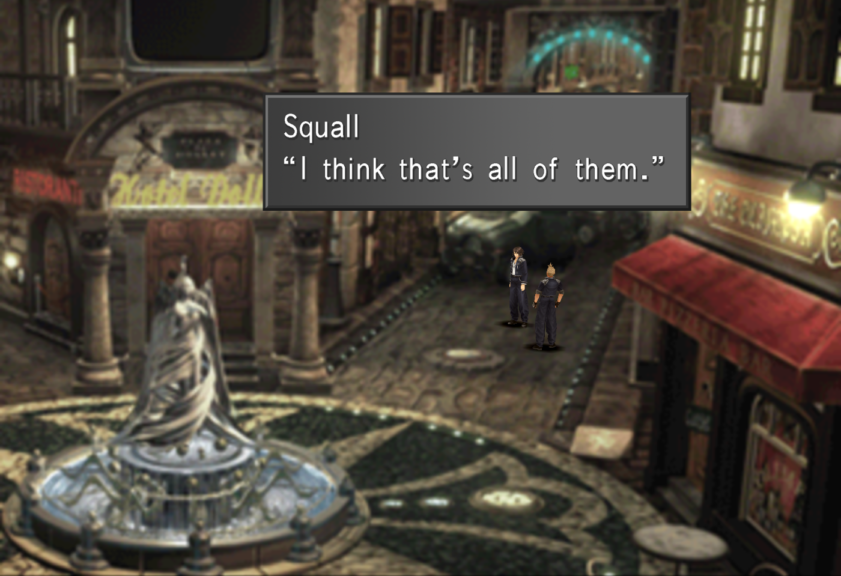
Follow Seifer up the road up to Central Square as instructed. You’ll encounter another pair of G-Soldiers on the way. Further ahead is Central Square. Here you’ll be ambushed by one G-Soldier.
After this, Seifer will give you the command to scout the area. You can’t currently head down the path on the left so head straight to the path on the right and fight the G-Solider there. Once defeated, head back to Seifer and talk to him.
The Communication Tower
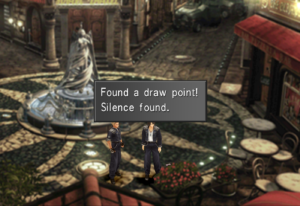
Once Squad B’s stand-by is complete, you can to head up the path to the Communication Tower. If you head up this path and then return to Central Square, you’ll find a draw point with Silence to the bottom right of the statue that wasn’t there before.
Along the path to the Tower, you’ll encounter G-Soldiers as random encounters. Continue to follow Seifer once you’ve crossed the bridge until you reach the stone steps there.
Here you will encounter an Anacondaur. This enemy is more difficult than the G-Soldiers you have been previously encountering but should still be relatively easy to beat, so long as you have a way of healing Darkness (and if your average party level is high, Poison.) Seifer can activate his limit break much more easily than the other party members which can be used to your advantage here.
You can also encounter Geezards on the mountain as well but these are very easy to defeat. Remember that like most other enemies, Anacondaurs and Geezards can be carded.
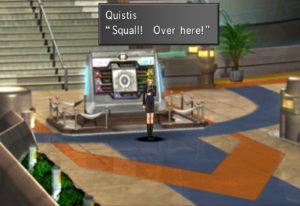
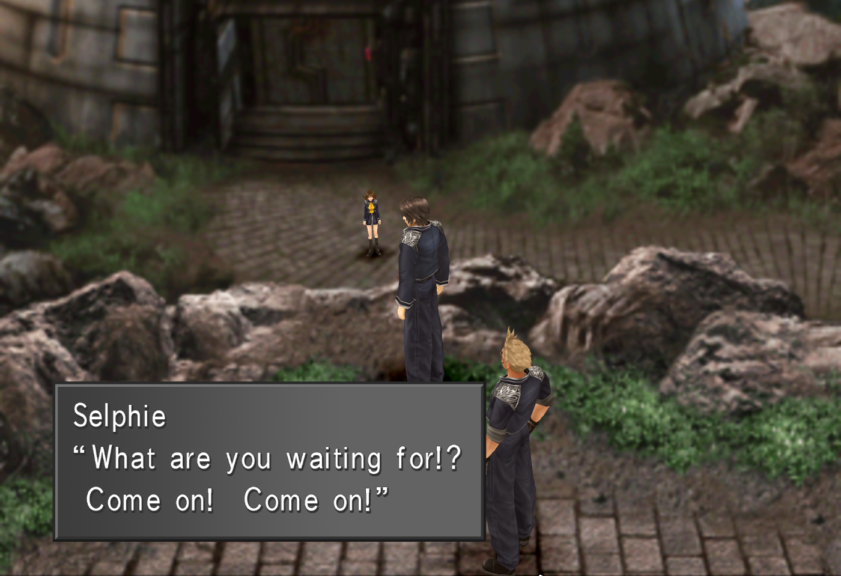
Once defeated, proceed onward. Seifer will run ahead and leave the party and you will meet up with the transfer student from earlier. This student is Selphie and will be a member of your party from this point forward. After her introduction, take the longer path that Seifer took around to the Tower’s entrance to the right. If you use Selphie’s shortcut here, you’ll have points deducted from your final exam score.
At the Communication Tower’s entrance, Selphie will remind you to set the characters’ GFs. Make sure that at least one character has the Draw command set for the oncoming boss battle if they don’t already.
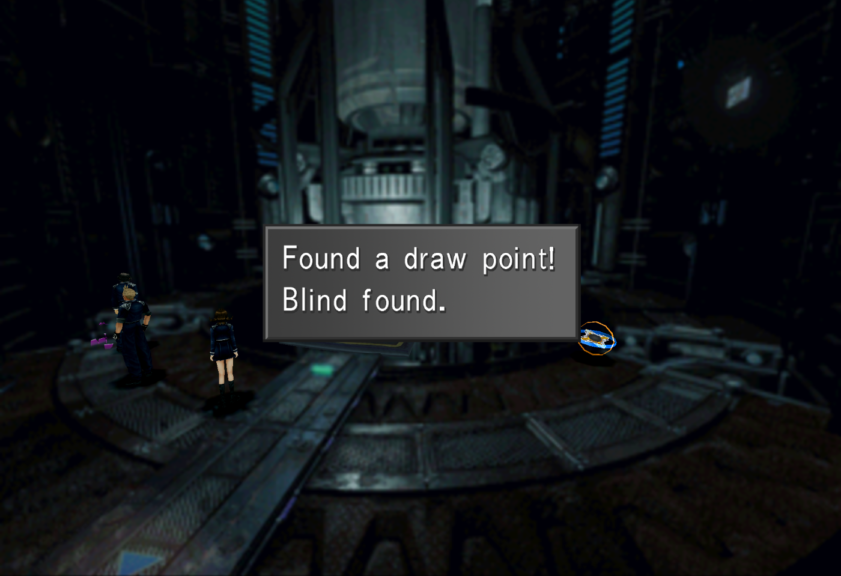
At the base of the tower, there is a Draw Point with Blind to the left, and a Save Point to the right. When you’re ready to proceed, head over to the lift and use the prompts to go up.
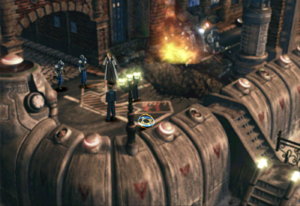
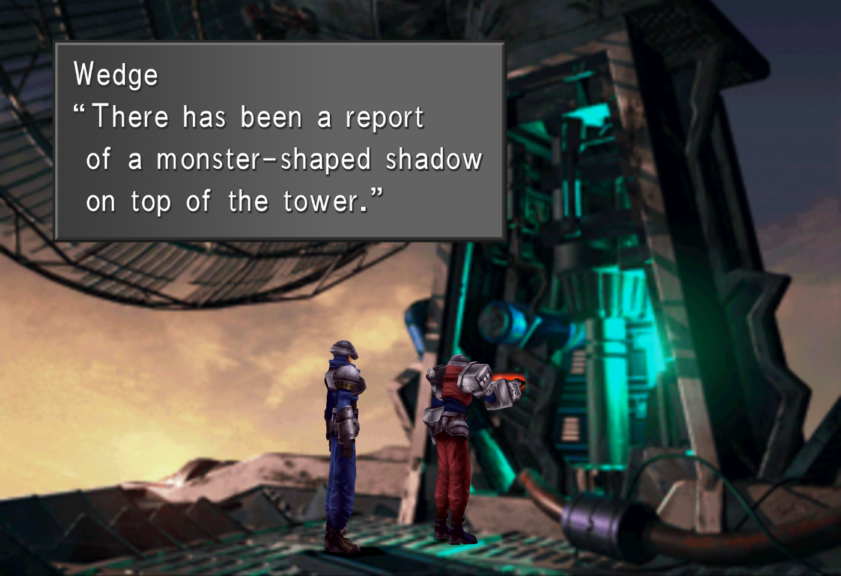
At the top of the tower, you’ll encounter two somewhat hapless Galbadian Soldiers named Biggs and Wedge. Note the “monster-shaped shadow” mentioned in their dialogue.
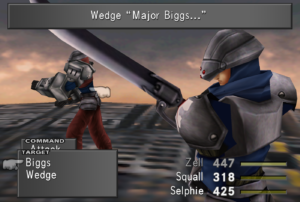

Boss: Biggs and Wedge
Level Range: 7-10
Max HP Range: 610-705 (Biggs), 551-640 (Wedge)
Draw: Esuna (Biggs), Cure (Wedge), Fire, Blizzard, Thunder (Both)
Drops: Elixir, Cottage
AP: 4
These two make for an easy fight. Biggs will initially start on his own, with Wedge joining later.
This fight will finish automatically if you don’t defeat both Biggs and Wedge after a set period of time. Therefore you can use this encounter to prepare your characters for the fight immediately after this one which is substantially harder.
You can also use this opportunity to stock up on Esuna which is a useful spell that can remove all almost negative status effects.
Regardless of if you defeat both Biggs and Wedge or not, after a certain period of time, the “monster-shaped shadow” will interrupt the battle and reveal itself as Elvoret.
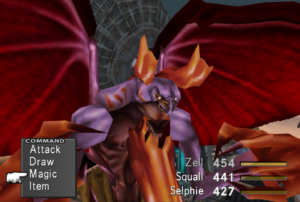
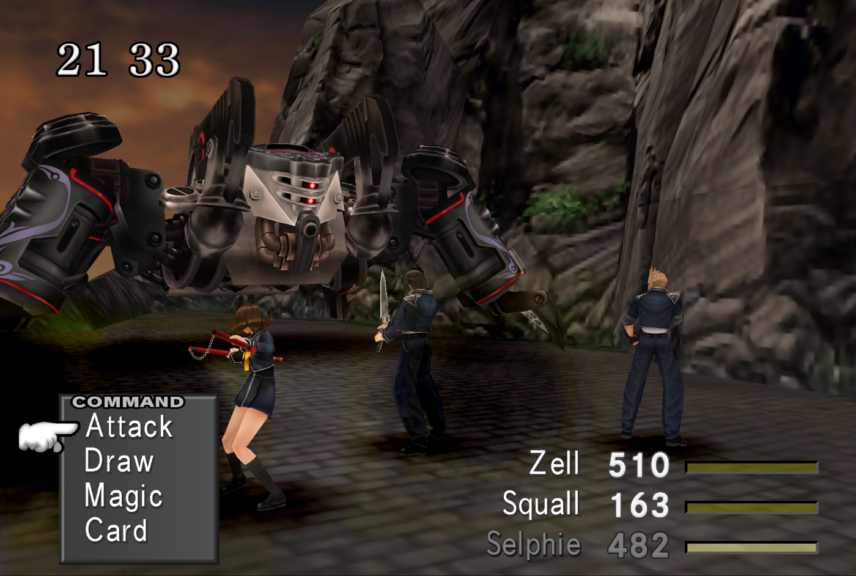
Boss: Elvoret
Level Range: 7-11
Max HP range: 2667-3300
Draw: Thunder, Cure, Double, Siren (GF)
Drops: G-Returner, Weapons Monthly March
AP: 10
Elvoret is likely to be the most challenging enemy you’ll have fought up until this point. Be sure to draw the GF Siren from it at the beginning of the fight.
Be wary of its Storm Breath command, which it performs after every 3 actions. This can inflict 150-200 damage on all of your characters at once. If you know Elvoret is about to use Storm Breath, then it can be prudent to wait with one character’s ATB gauge full so that they can queue their healing action as soon as Storm Breath begins to take place (assuming they had enough HP survive Storm Breath itself).
It will also use physical attacks and single-target magical attacks (namely Fire and Thunder) against the party.
Draw and cast Double on your characters so they can cast two spells in a single action. Double can be resistant to drawing so using your character with the highest Mag stat to draw can be helpful here. It’s worth stocking Double for future battles and junctioning as well at this stage.
With the Double status, your characters should be able to heal up relatively quickly as well by double casting Cure. Double casting offensive spells and using Limit Breaks are the fastest ways to defeat it, especially if Zell and Squall have a high Str stat.
You can also use Selphie’s Slots Limit break for a chance to use powerful magic, but be on the lookout for when Elvoret is about to use Storm Breath when you are cycling through the different slots.
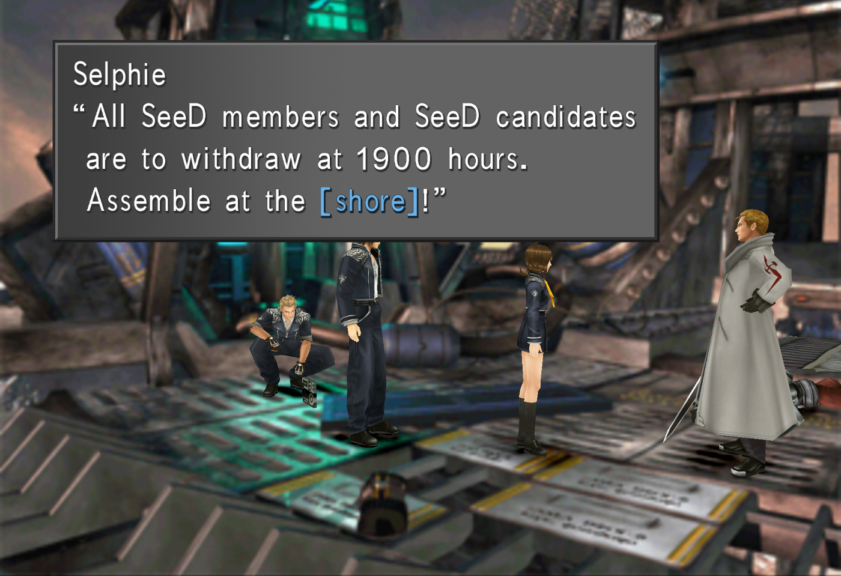
Once you’ve defeated Elvoret, Selphie will tell the party of the order to withdraw to the beach.
Back to the Beach and X-ATM092
Once the order has been passed on, you’ll have 30 minutes to return to the beach. The more time left on the clock when you get to the beach, the more points you get added to your SeeD score.
Head back down the tower. If you’re aiming to defeat the imminent optional boss, then consider using the Save Point again so that you can reattempt this area if needed.
After your party has left the tower, a monstrous robotic creature will drop down and pursue you. This is X-ATM092 and it will chase and attempt to battle your party all the way to the beach as they make their withdrawal.
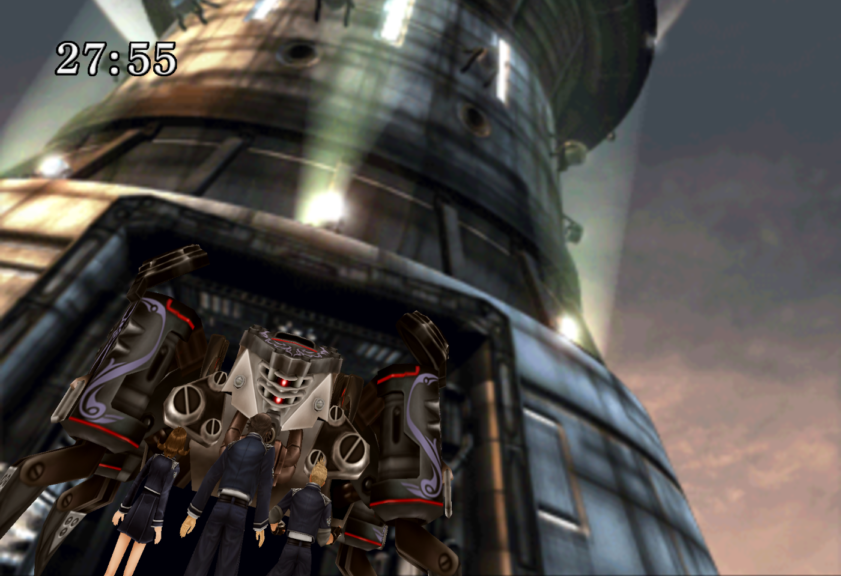
You must stun it first by inflicting enough damage before you can retreat from an encounter with it. It’s impossible to defeat X-ATM092 on your first encounter with it due to its ability to Self-repair infinitely.
If you decide to try and defeat it on a later encounter then be warned that the fight is both challenging and time-consuming. Defeating it, however, yields a large bonus for your SeeD score as well as providing 50 AP.
If you intend to defeat it, then it’s advised that you do so closer to the beach (such as on the bridge). You’ll have to contend with random encounters on the way back once it’s destroyed. This means defeating it nearer the beach will save you from getting into additional battles.
Optional Boss: X-ATM092
Level Range: 7-11
Max HP Range: 5,492-5,872
Draw: Fire, Blizzard, Cure, Protect
Drops: (One of the following) Power Wrist, Hypnocrown, Orihalcon or Force Armlet
AP: 50
X-ATM092 can be challenging here as it has high HP and you’re up against the clock. What’s more, it will self-repair to full HP when it loses 20% or more of its Max HP. On your first encounter with it outside of the communication tower, it can do this an infinite number of times and is therefore unbeatable.
However, on subsequent encounters, it can only do this 5 times. This means that if you can damage it enough to get through all 5 of its repair cycles in time, you can defeat it.
When it’s self-repairing, there is little point in attacking it as it will fully heal afterward (unless you’re attempting the AP exploit associated with it). Instead, you can use this time to draw Protect or heal your characters. If you have Selphie’s slots active, you can use X-ATM092’s self-repair time to cycle through the various magic. The most time-efficient option is to simply wait for it to self-repair before attacking it.
It mostly inflicts damage with single and multi-target physical attacks which can be mitigated with Protect. Look out for its Ray-bomb command which inflicts approximately 100 damage on all of your characters.
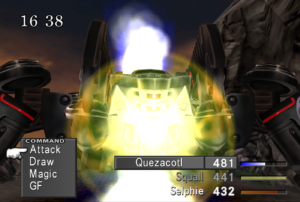
As X-ATM092 is weak against Thunder, using Quetzacotl’s Thunder Storm against it is effective but time-consuming. Casting Thunder-based magic with your strongest magic caster is also effective and if you stocked up on Double magic from Elvoret, you can use that here to double your damage output and cause damage quickly. As always, Squall and Zell’s Limit Breaks are effective here, especially if they have high Str.
Defeating X-ATM092 will give you 100 bonus points towards your Conduct in the SeeD exam.
If you’ve instead decided to retreat from it back to the beach, try to avoid any additional encounters with it where possible. Once you’ve made it to Central Square again, be sure to “talk” to the dog so that it moves out the way. If you don’t do this then you will deservedly get a deduction from your final score.
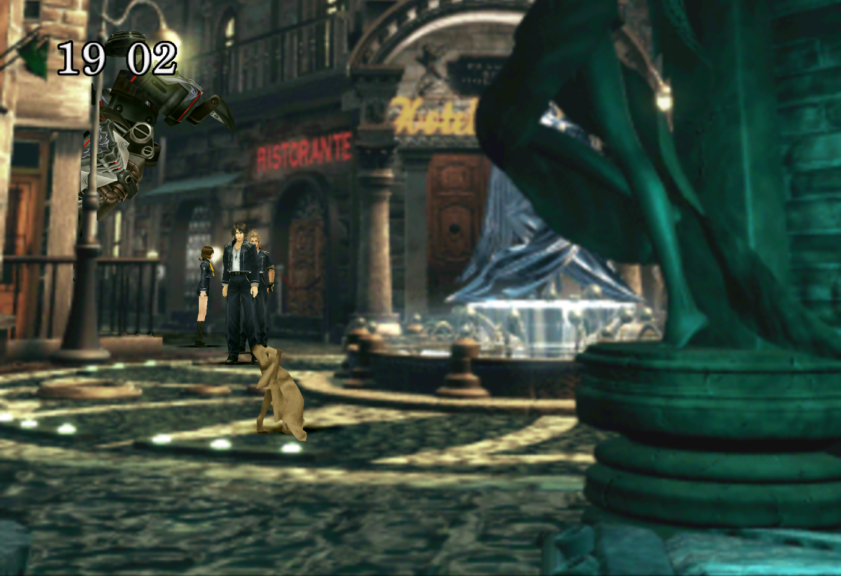
From here simply run back to the beach from the Central Square. Do not turn and hide in the pub. Doing so will result in a sizeable deduction in your final score. If you fled from X-ATM092 all the way to the Vessel, then you will be treated to a special FMV.
Regardless on what you chose to do, once you have reached the Vessel, You’ll have finished the SeeD Exam and you will set off back to Balamb town.