Table Of Contents
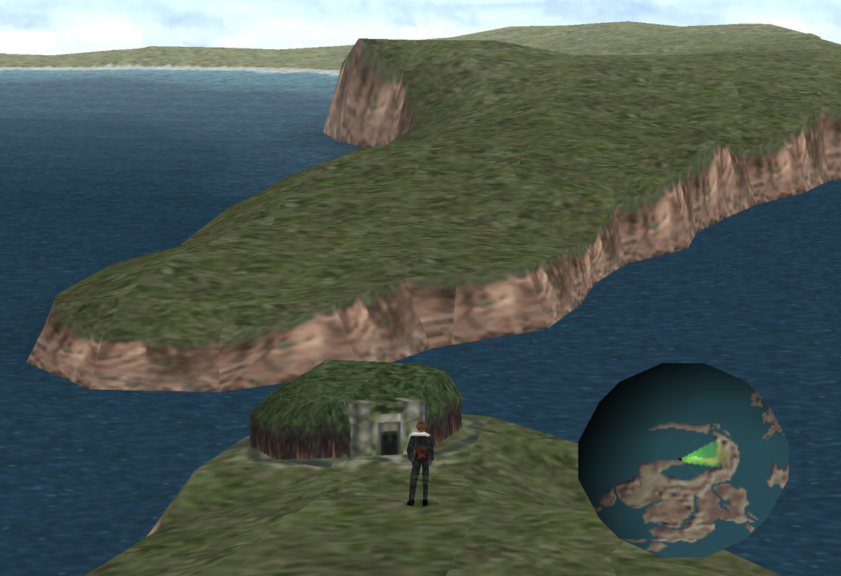
Traveling to the Tomb
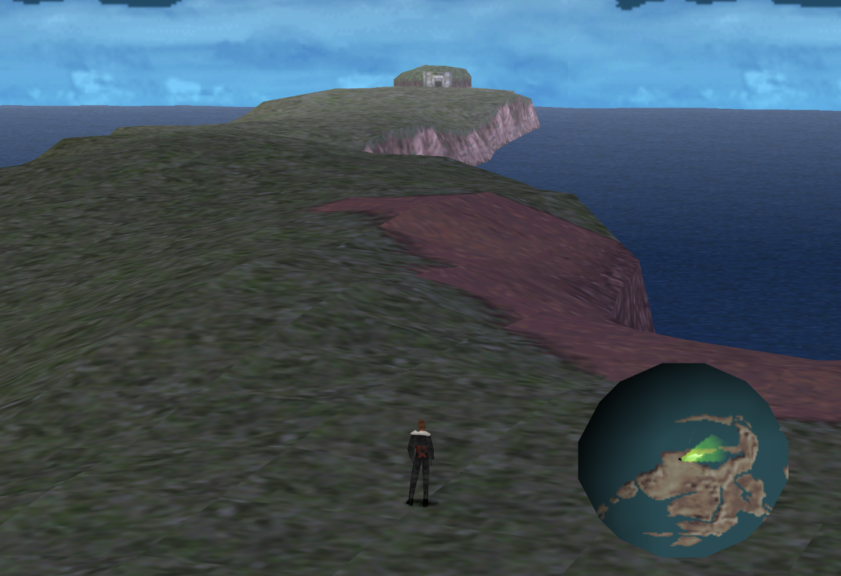
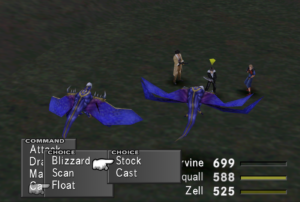
The trip to the Tomb is a fairly straightforward one. It’s at the end of the peninsula east of Deling city. If you’re making the journey on foot, you’re likely to encounter Thrustaevises if you haven’t already. These birdlike monsters can prove lucrative to fight. You can draw the magics Float and Scan from them, while their card can be refined into Shear Feathers. Shear Feathers can be refined into the magic Aero. All of these magics are very useful in the upcoming area.
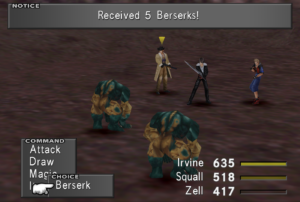
You can also face other enemies that you may have faced before in other areas of Galbadia including Wendigos. In the desert area on this peninsula, it’s possible to encounter them in pairs. They can yield Berserk from drawing it and their card can be refined into Steel Orbs which can ultimately be refined into Demis.
When you’re finished, proceed onward to the tomb.
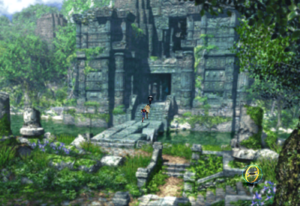
The Tomb
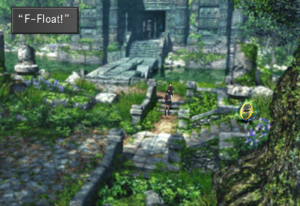
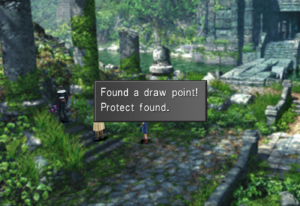
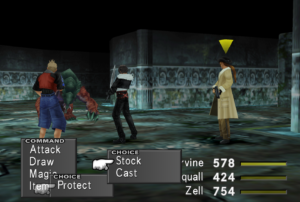
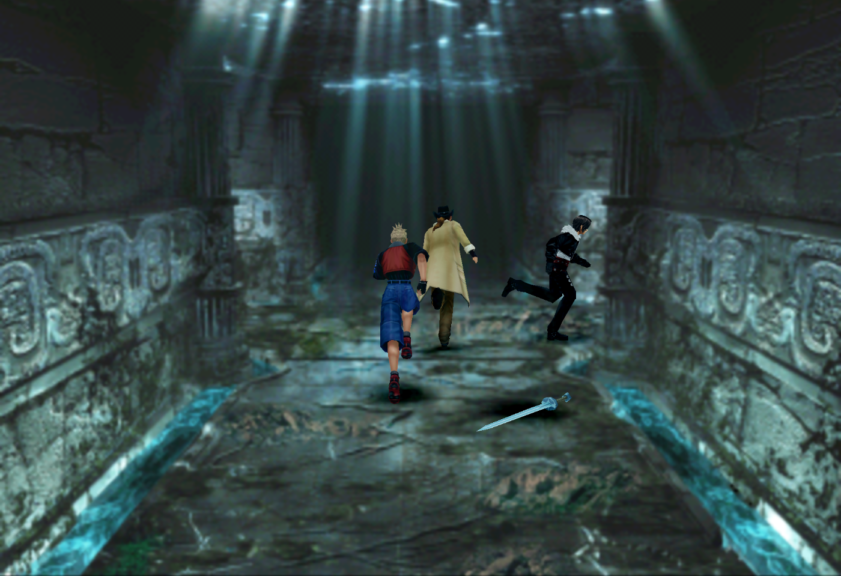
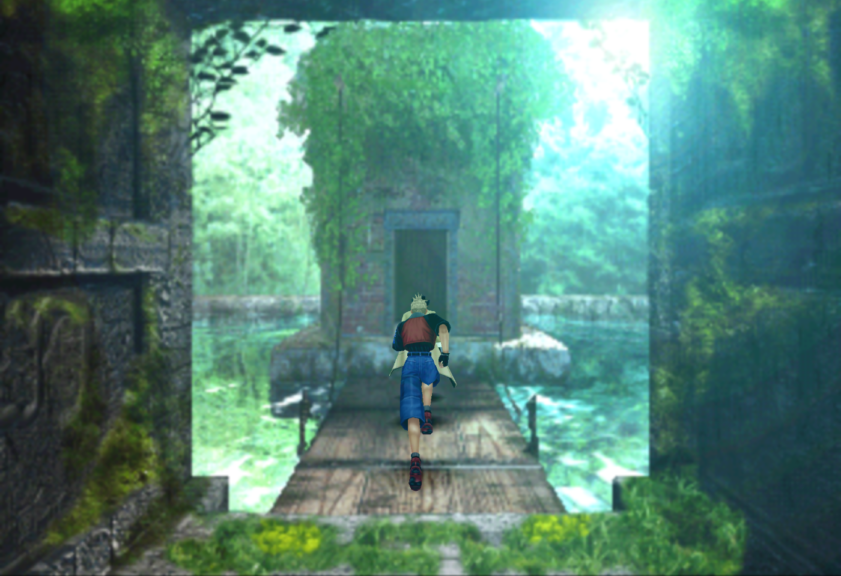
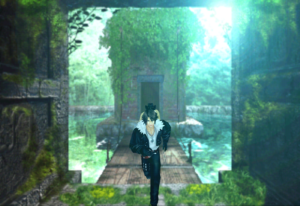
Once you’re at the tomb, two students shout “Float” as they run away, providing an additional hint if one were needed. Before you head in, you’ll likely notice a Save point and a draw point with the magic Protect.
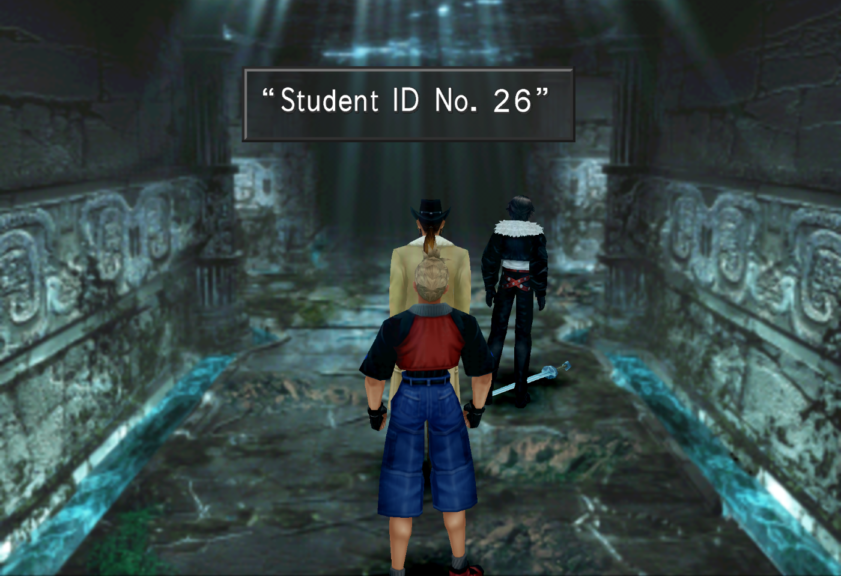
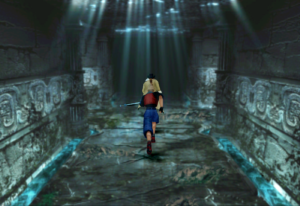
Enter the tomb with caution as it is something of a labyrinth. It is easy to become lost in here if you venture in uninitiated. This is because, unlike other field locations, your perspective will shift depending on which way you enter each section of the maze. What’s more, all parts of the maze are visually identical to other corresponding parts of the maze. With this in mind, walk forward until you find a sword. Inspecting this sword will show the unique Student ID Number needed to visit Caraway’s Mansion.
Note: Remember that this ID number is randomly generated and will likely differ from the one shown.
It’s possible to now exit the tomb and head back to Deling City. Exploring the rest of the maze is optional. However, the tomb holds a secret that’s very useful to your party. It’s recommended to fully explore it before leaving. Just make sure to prepare yourself to navigate and fight your way through the tomb!
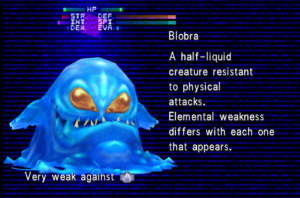
Expect to encounter Blobras, Armadodos, and potentially, Forbiddens. Blobras are all but impervious to physical attacks but will be very weak to one random element. Scan can be useful for finding out what element each respective Blobra is susceptible to. You can often slay them outright with one cast of the weakest elemental spell they’re weak against. If you wish to card them, consider draw-casting Shell on them to reduce the damage they take. You can refine 5 of their cards into a Rune Armlet which is a useful item for refining later on.
Armadodos can have Protect drawn from them. More pertinently, you can refine Armadodo cards into Dino Bones at a 1:1 ratio. Dino Bones can be refined into 20 Quakes a piece. Quakes make for a very useful magic to junction to STR at this stage. They can also be junctioned to Elem-Def-J to mitigate Earth-based damage which can be useful for the final boss of this tomb. Forbiddens are an undead opponent and, while they can be trickier than the average fight and yield useful items, they also rarely appear in this area. It’s entirely possible to complete this area without ever encountering them here. Like any other undead enemy, you can defeat them quickly with reviving magic and items such as Phoenix Down and Life.
Navigating the Tomb
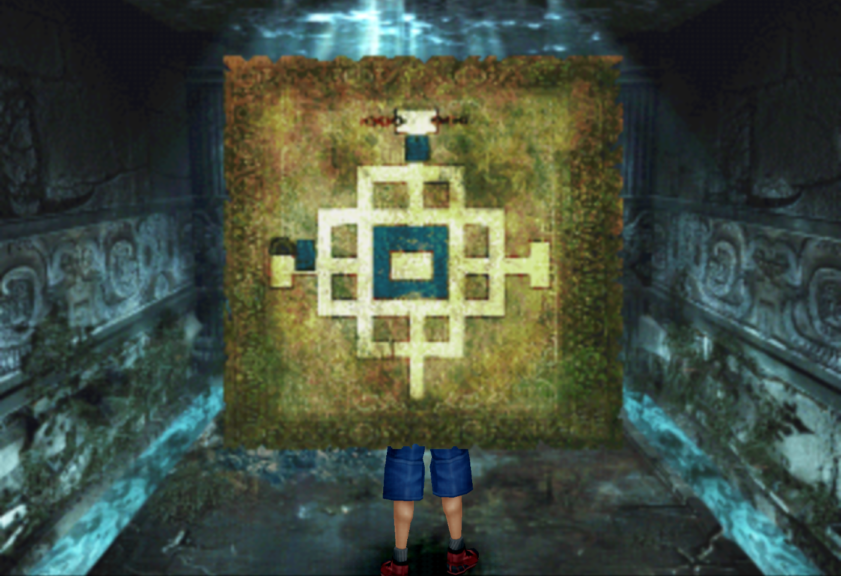
In order to yield all the benefits of the tomb, you must make it to all of the rooms at each of the cardinal points on the map. This guide will refer to the room on the right as the East room,the uppermost room (depicted with the chains) as the North Room, and the left-hand room (depicted with the arch/water wheel on the map) as the West Room. There is also a room in the center that holds the tomb’s secret.
The foolproof method of navigating this labyrinth is to head right at every crossroads you come across and otherwise simply follow corners and corridors when no other option is available. In this way, you will gradually head anti-clockwise to each room around the outer edge of the tomb. This means starting with the East room first. This is just as well, as it is currently the only room accessible to you.
The East Room
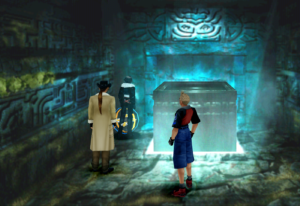
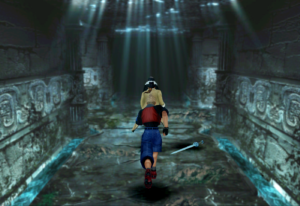
Before you head further into the maze, make sure you’re in the same area as the sword and make sure the sword is on the right side of the path (as shown in the screenshot below.) This indicates you’re facing the center which is the correct direction for this to work.
From here, head right at every crossroads including this one as shown. Where you cannot choose a path, simply follow the path around if it’s a corner, or straight on if it is a corridor. Do this until you reach the Mysterious Statue in the East Room. This Statue will come to life and attack!
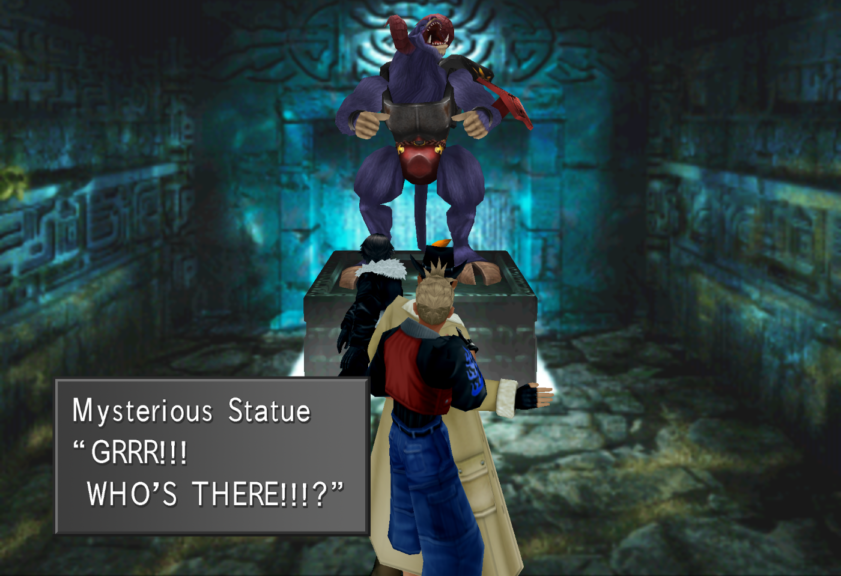
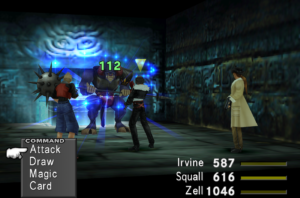

Optional Boss: Sacred
Level Range: 7-75
Max HP range: 1208-27218
Draw: Shell, Protect, Berserk, Life
Drops: G-Hi-Potion
AP: 20
Sacred is unlikely to prove too much of an issue to your party here and provides many useful magics to stock up on. In particular, Life is a useful magic at this early stage, both as a junction and as a spell to use in place of Phoenix Downs to revive your characters.
Draw casting Protect on your characters can help in this fight as Sacred is only able to attack physically here, although he doesn’t hit especially hard.
He will automatically heal himself for modest amounts of HP. To prevent him from healing, you must break his connection with the ground by casting Float on him.
With your characters protected and with him unable to heal, you are safe to whittle his health down quickly as you draw magic from him.
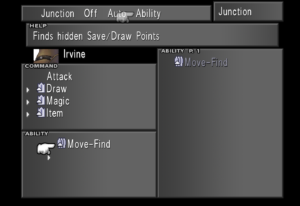
After this encounter, Sacred will retreat and the doors to the North Room and the West Room will now open. If you have Siren’s ability “Move-Find” ability set to one of your characters, you will notice that there is now a Save Point to the left of the plinth that Sacred was standing on.
When you are ready to proceed, head out the room and repeat the steps you took to get here to get to the next room i.e. take the right at every crossroads where you can and otherwise simply head forward and follow the path. This with take you to the North Room.
The North Room
The North Room appears as a sluice gate for the water that runs through and surrounds the tomb.
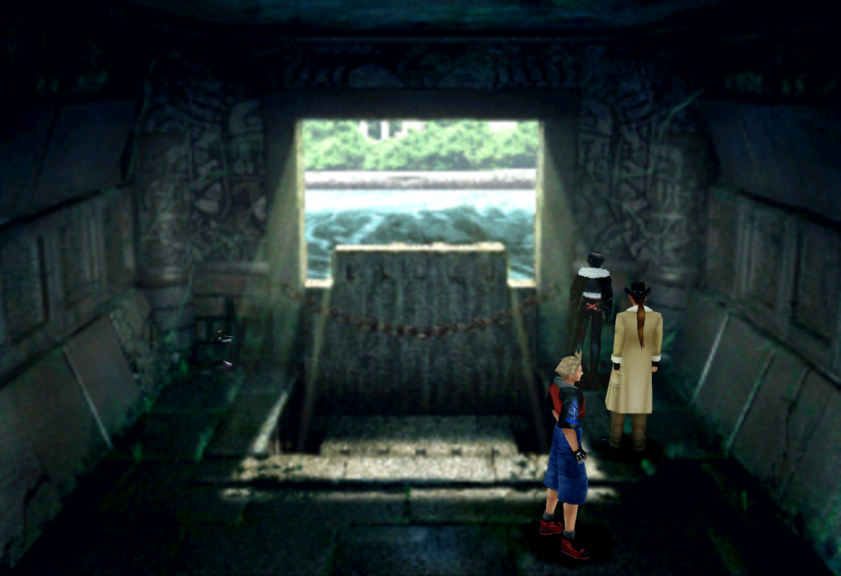
The draw point on the left side of the room holds more Float magic in case you didn’t obtain any before. Inspect the right side of the chain. This will open the sluice gate. This is the first step for accessing the central room. Once you’ve finished here, proceed to the West Room as you did with the East Room and North Room.
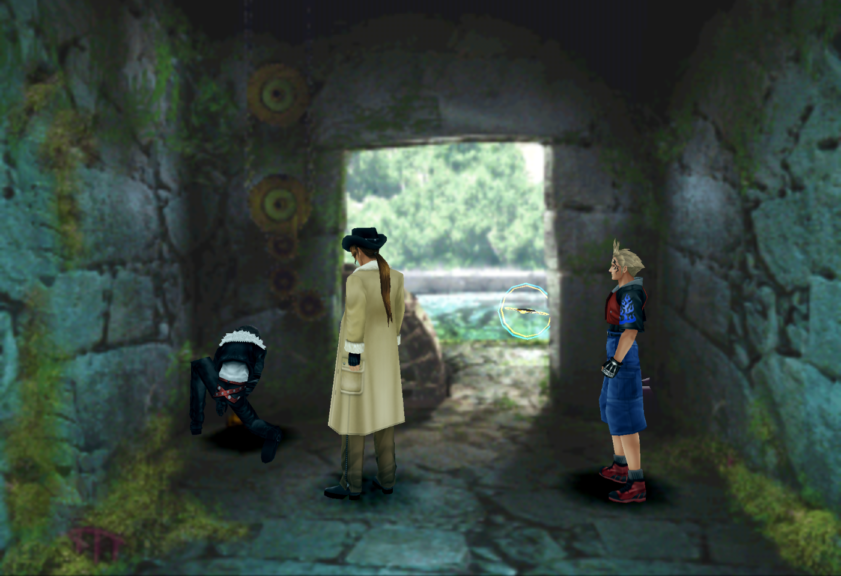
The West Room
The West Room holds another mechanism that appears as a series of gears. Inspect these gears to activate the draw bridge to the Central Room on your map. If you have the “Move-Find” ability set on one of your characters here, you can use the Save Point and the Draw Point with Cura.
When leaving this room, you can opt to temporarily leave the tomb as well by traveling in the same method as before i.e. picking right whenever you’re at a crossroads. By doing this, you can use the outside Save Point again. This could be useful if you don’t currently have access to the “Move-Find” ability. Leaving the Tomb here can prevent you from getting lost, as the journey to the central room from the Tomb’s entrance is a simple straight line forward.
Alternatively, you can attempt to navigate to the central room directly from the west room instead with the aid of the map. One direct route from the West Room to the Central Room would consist of the following:
- Head right at the first crossroads you come across after leaving the West Room
- Follow the corner to the left.
- Go straight on through the next crossroads
- Go left at the following set of crossroads.
This should take you directly in front of the Central Room with the draw bridge.
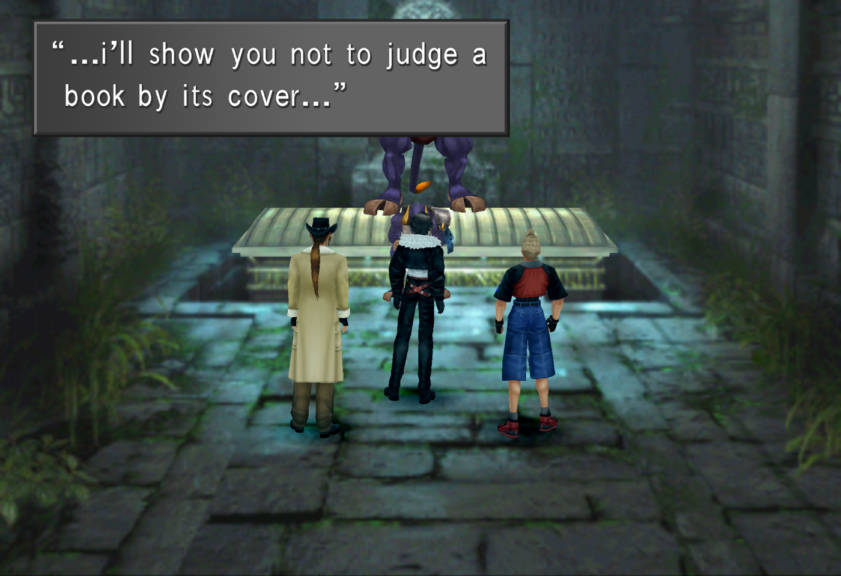
The Brothers
Make sure you ready your junctions and magic for battle here. When you’re ready, proceed across the draw bridge and into the room itself. You will find Sacred again in front of a large sarcophagus. He’ll be joined by his older but smaller brother, Minotaur. Minotaur seems impressed that you were able to defeat Sacred. However, he is itching to test your skills as well and now you must battle the both of them.
Optional Boss: Brothers
Level Range: 7-75 (Sacred and Minotaur)
Max HP range: 1208-27218 (Sacred), 1695-36375 (Minotaur)
Draw: Shell, Protect, Berserk (Sacred and Minotaur) Life (Sacred) Double (Minotaur)
Drops: G-Hi-Potion, G-Returner , Sacred’s Card
AP: 40
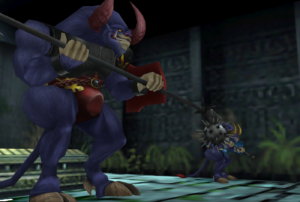
How difficult these two prove to be will depend on how you’ve managed to set up your characters with junctions at this relatively early stage.
Sacred will mostly use the same abilities as he did previously. Minotaur will be more of a threat, as he uses “Mower,” a physical attack that hits all of your party members. This shouldn’t be too damaging, especially if you use Protect on your characters.
Both brothers have useful magic to draw from them but beware of their joint attack “Mad Cow Special.” This can deal significant earth-based damage to all of your party at once. It’s recommended to quickly dispatch one of the brothers first to prevent them from doing it more times than necessary.
As well as the usual limit breaks, the brothers are Earth-based foes. This means they’re vulnerable to wind-based magic such as Aero. Depending on how you have set up your characters, you may be able to do more damage by Double casting Aero instead. Tornado will also do significant damage here to both Brothers, but make sure you can resupply yourself with the spell afterward as it is very useful to junction with. If your STR stat is high enough, then you bypass using magic entirely.
When you have defeated one of the brothers, you can then farm the remaining brother’s magic at a less urgent pace while chiseling away at his HP until they’re both defeated.
The Brothers’ Abilities
When you have defeated the Brothers, you obtain the pair as a single GF. After a short dialogue, you will also obtain Minotaur’s Card.
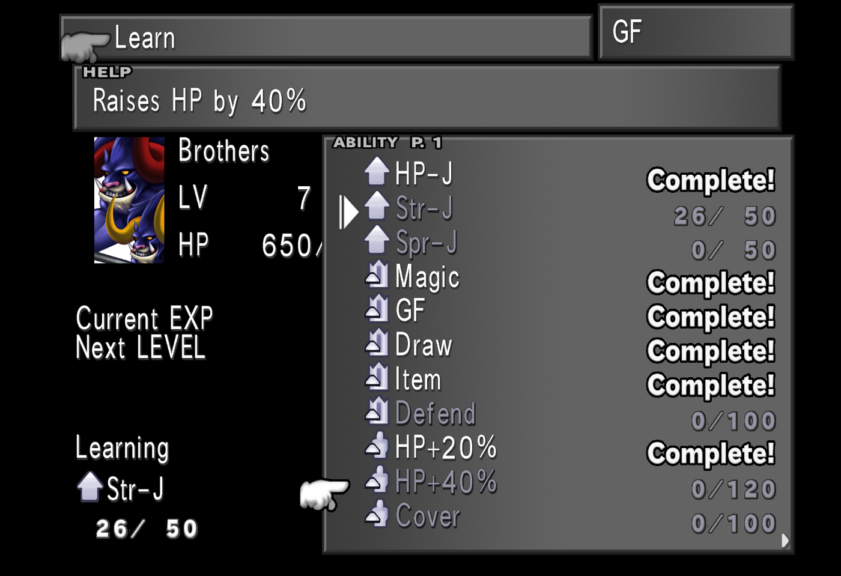
The Brothers have a myriad of useful abilities that serve to boost a character’s HP and protect them as well as additional Stat junction abilities to help your party improve their stats further (i.e. HP-J, Str-J, and Spr-J).
Learning “HP+40%” will allow you to go on to learn “HP+80%“. This ability almost doubles a character’s max HP. Additionally, “Cover” and “Defend” are very effective abilities against single-target attacks, especially when used together. “Defend” essentially serves as a blocking command ability and completely nullifies physical damage while halving magic and elemental damage for as long as the character is defending.
“Cover” is a character ability that, when set, means the character with the ability will automatically take damage from attacks in place of a character who is on low HP. When a character uses the defend command and has the “cover” ability set, they can take incoming damage and nullify it in place of a character with low HP from single-target attacks.
This can be useful for using a character’s limit break in certain circumstances. They can be left on low health as they are effectively impervious from single-target physical attacks (so long as the other character with “Cover” and “Defend” is not incapacitated in some way.)
Now that you have obtained all that you can from the Tomb, it’s time to leave.
Simply head in a straight line in the opposite direction you entered the central room to make your exit for the World Map. The final part of Disc 1 awaits…