Stashing Places: Dom Ruins (1), Dom Ruins (2), Dom Ruins (3)
Items: Miracle Drink, Seed of Speed, Blue Medicine, Dynamite, Herbs, Seed of Power, Blue Medicine, Resurrect Potion, Resurrect Potion, Mana Egg, Magic Lamp, Yellow Medicine, Blue Medicine
Equipment: Holy Mace, Shell Armor
Gold: 70G, 210G, 70G, 210G, 70G, 70G, 70G, 70G, 210G, 70G, 70G, 70G, 70G, 210G, 70G
Enemies: Dom Orc, Ent, Red Slime, Sand Diver, Vampire Bat, Vengeful Spirit
Boss: Ganymede
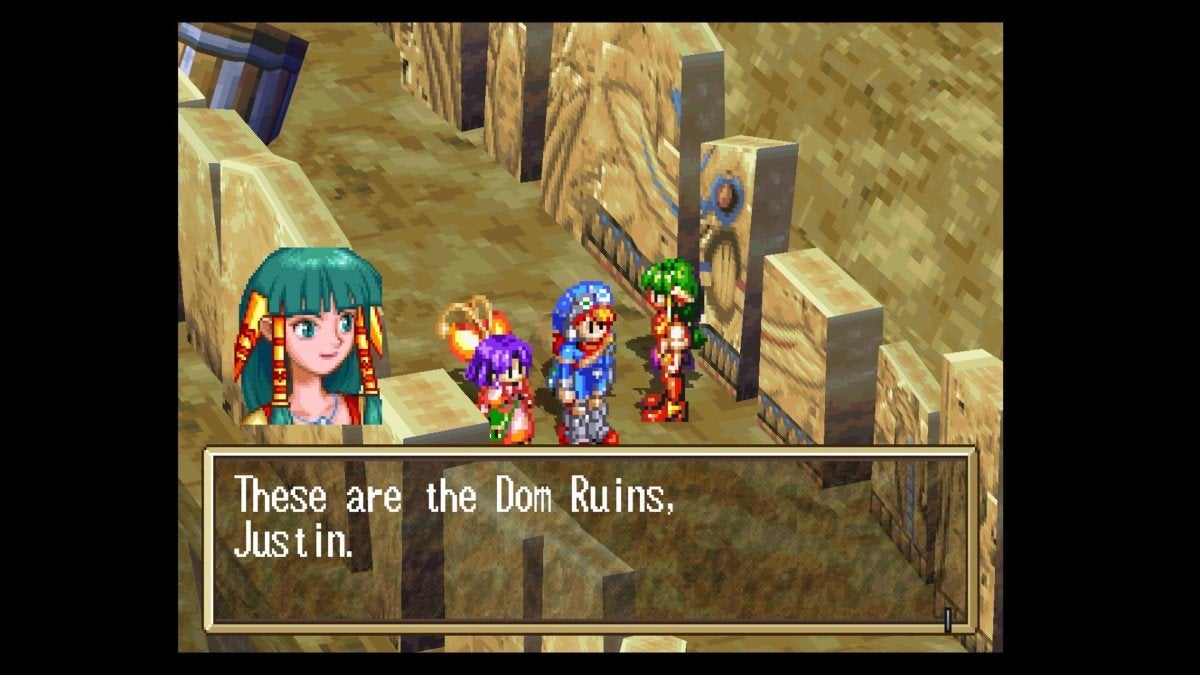
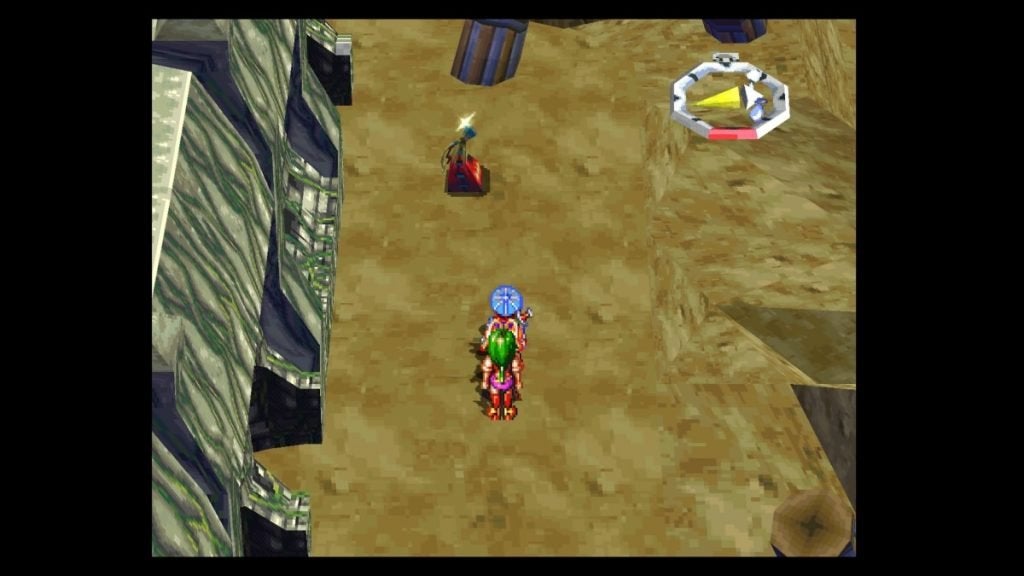
You won’t start in the Dom Ruins, but rather the Road to the Dom Ruins. The Ents here are hard to kill unless you attack them with one of two things: Justin’s Big Hatchet and Fire. They give fairly decent EXP, so fight all the ones you see, but make sure to stay healed since they can be quite dangerous.
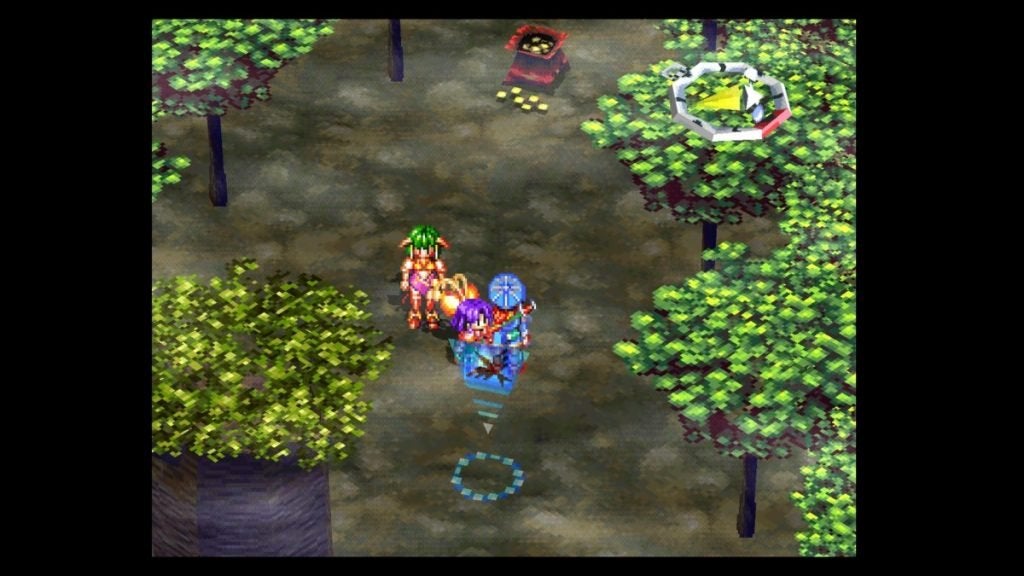
From the sign, check to the northeast to find 70G, then go back to the sign and move east, following the path as it turns southeast. You should see a large tree and a DungeonScope Icon to the southwest. Grab the 210G to the southwest of it.
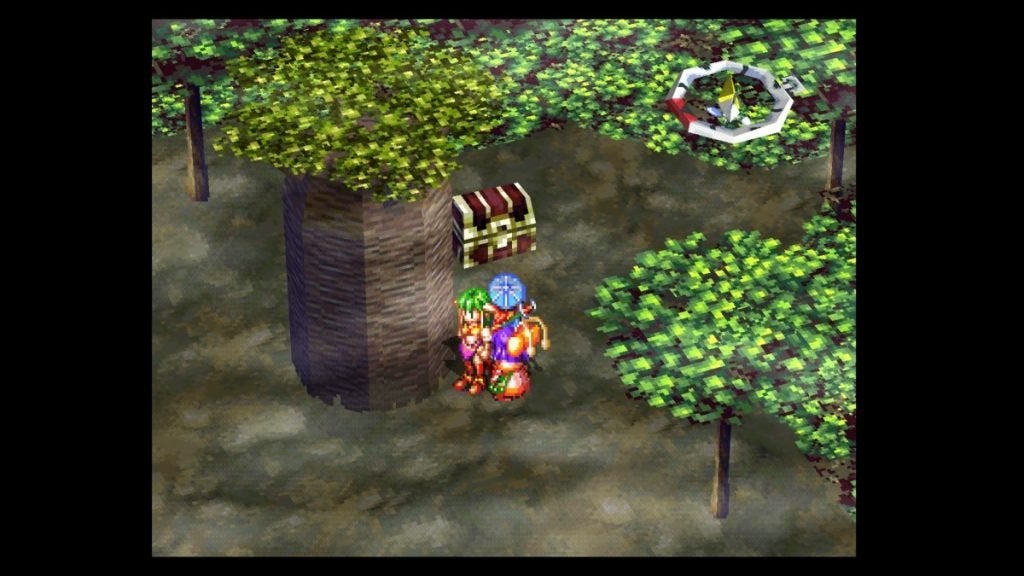
From the Icon, go east some more and follow the path to an open area. To the east-northeast there is another 70G, so grab it, then head south to another open area. Head north-northeast and follow this path to a dead-end with 210G, then make your way back to the open area and go southwest and south just a little, then head west at the fork to a DungeonScope Icon. Use it to see a chest. Open that chest for a Miracle Drink.
If you use the Icon again, you can see something to the northwest at a dead-end, so go west and follow along the northwest edge of the trees as it turns north and northeast, then go east-northeast until you reach a Seed of Speed.
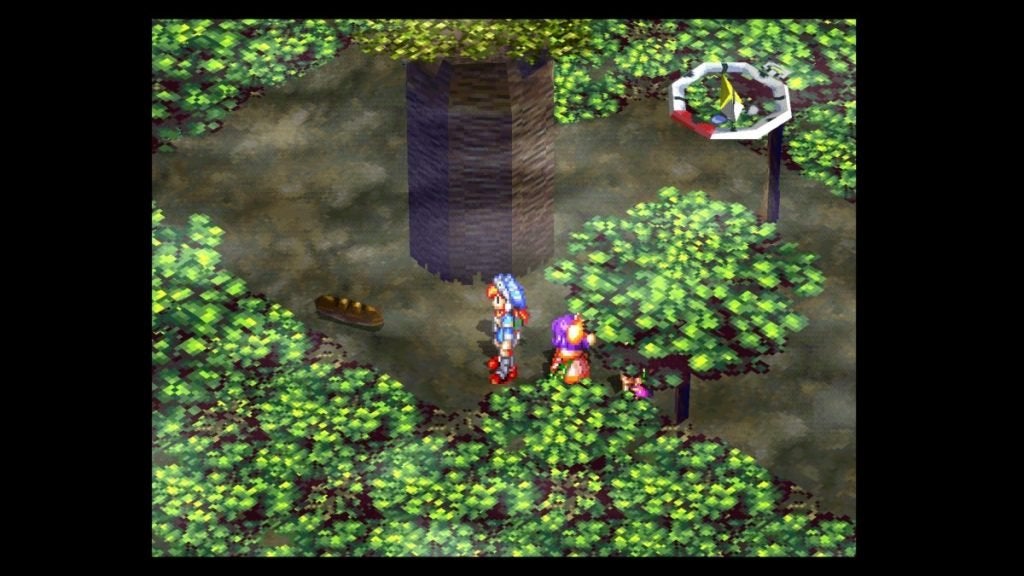
Head back west from here and you’ll reach another DungeonScope Icon. Head south along the wall here until you can see a bigger-trunked tree to your north. There’s 70G on the northern side of it. Head east and keep following along the wall to reach the Dom Ruins Vestibule.
Dom Ruins Vestibule
Cool, the actual ruins! Go east until you are on a bridge, then drop off either side to the south or north and grab the Blue Medicine underneath the bridge. Go north from the DungeonScope Icon until you reach 70G, then go northeast and follow along the wall until you reach a giant stone head and a wall with vines all over it to the east.
Grab the 70G here, then go south and follow along the wall until you reach a four-way fork with a DungeonScope Icon. Keep going south until you reach some Dynamite, then head west and down the hill to reach another 70G.
Climb back up the hill and back north back to the intersection with the DungeonScope Icon. To the west, you can finally reach that Save Point you saw earlier, so go ahead and use it.
This will substantially raise your Water Levels. When you run out of MP, go back to the Save Point, recover, and do it again. We strongly recommend taking the time to do it until all three of your party members are at Water level 8 so you get both Alheal and Healer, for those that can learn it. It’s easy to get Alheal at 5, but go ahead and be a trooper and wait it out to get to 8. It’ll be worth it!
Make your way east from the Save Point and follow the path, watching out for the Dom Orcs that try to ambush you from above. (Fight all the Dom Orcs you see. They can drop some Holy Maces, the only weapon that can hurt the Vengeful Spirits inside the Ruins. You’ll want at least one. You can find another fairly soon.)
Go past the aforementioned stone faces, being careful not to get hit by them, then head west at the fork to find some lowly Herbs. Turn around and head east, following the path to the first area inside the Dom Ruins.
Dom Ruins
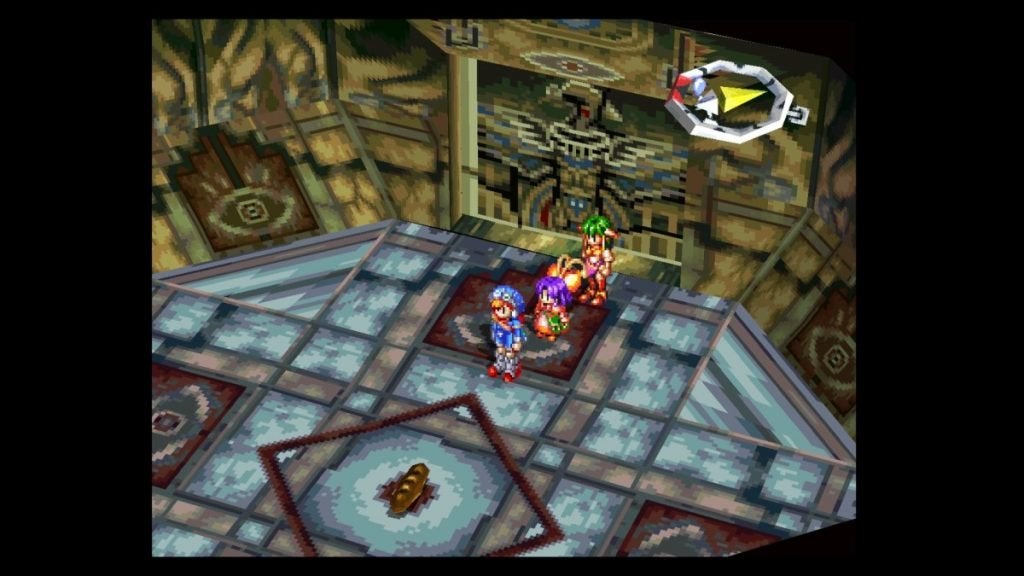
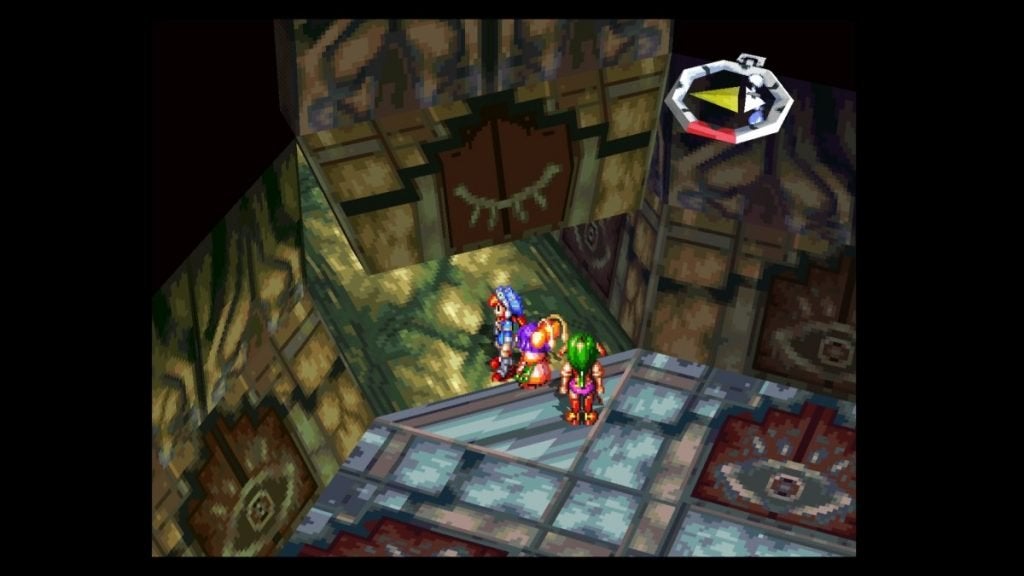
Follow the path until you reach a door. Press X to open it, then go outside. Whoa, what a sight! Climb up the rope here and go through the door, then move forward into the elevator room. Before using it, keep moving northwest through the doorway to another door.
In here, you’ll find those Vengeful Spirits we were talking about. Use Fire and the Holy Mace to take care of them. Grab the Seed of Power in the center of this room, then go back to the elevator.
Push the button beside the face to go down a floor, then head northeast and back out to the cliff. Grab the Blue Medicine out here, then go back inside and to the elevator room, taking the southwest path this time and following it to a fork. Go west down the stairs here and grab the Resurrect Potion, then move north into this room and grab the 210G in the center.
Go back south and past the forks, following the path to another room with 70G in the center. If you notice the pattern of the ruins, you’ve seen many open eyes looking at you. In this room, there’s a closed eye to the southeast. Examine the wall and it will arise, allowing you to grab a Holy Mace inside.
Go back to the center of the room and head northeast to another small room, then continue east to get back outside. Attempt to cross the bridge and it will break beneath you, letting you fall onto another ledge below. Grab the Resurrect Potion, then go through the nearby door.
There’s a Save Point here, so use it if you need to. Don’t go to the north just yet. It’s a shortcut back to the entrance of the Ruins. Instead, go west from the Save Point and follow the path to another elevator room, this time without a creepy face on the floor. Press the switch to go up, then head southwest and grab the 70G lying on the floor.
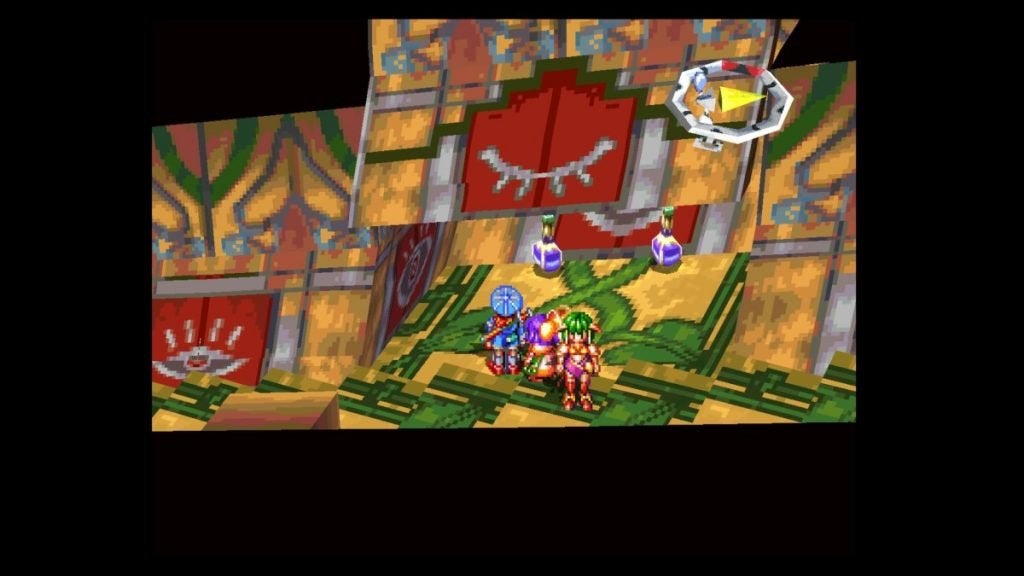
Follow the path east from here until you are back outside, yet again! Press the switch to make the platform with the cartoonish artwork move forward, then head back inside and go back down the elevator. Go east to be back outside… again… then go forward and press the switch to extend the platform just enough to reach the other side! Cross over and enter the second part of the Dom Ruins.
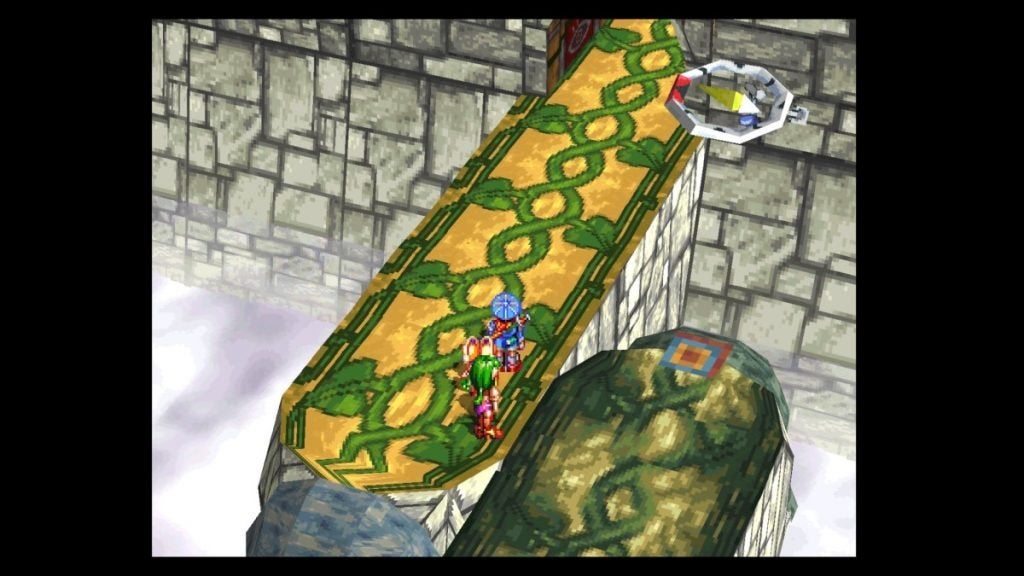
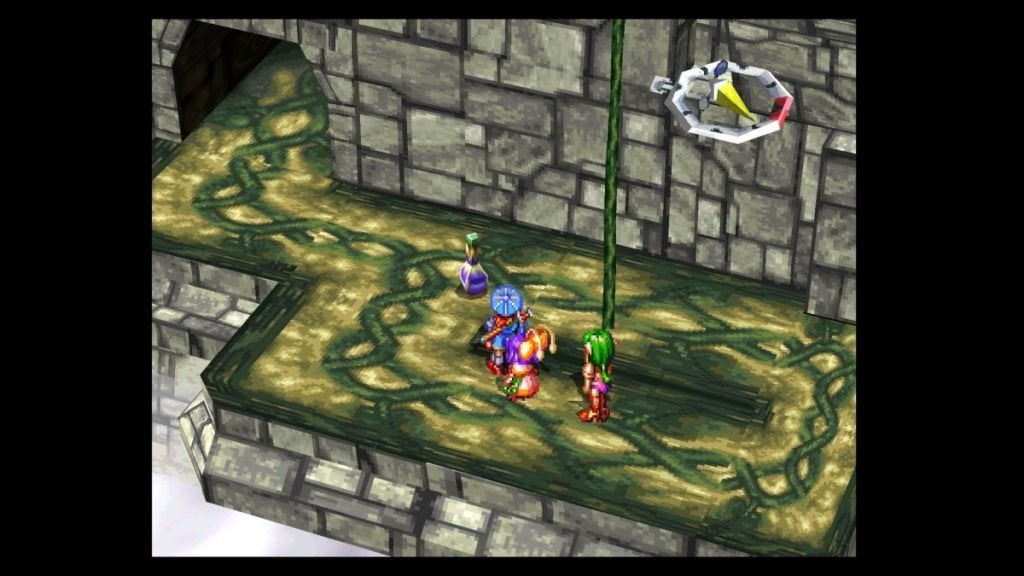
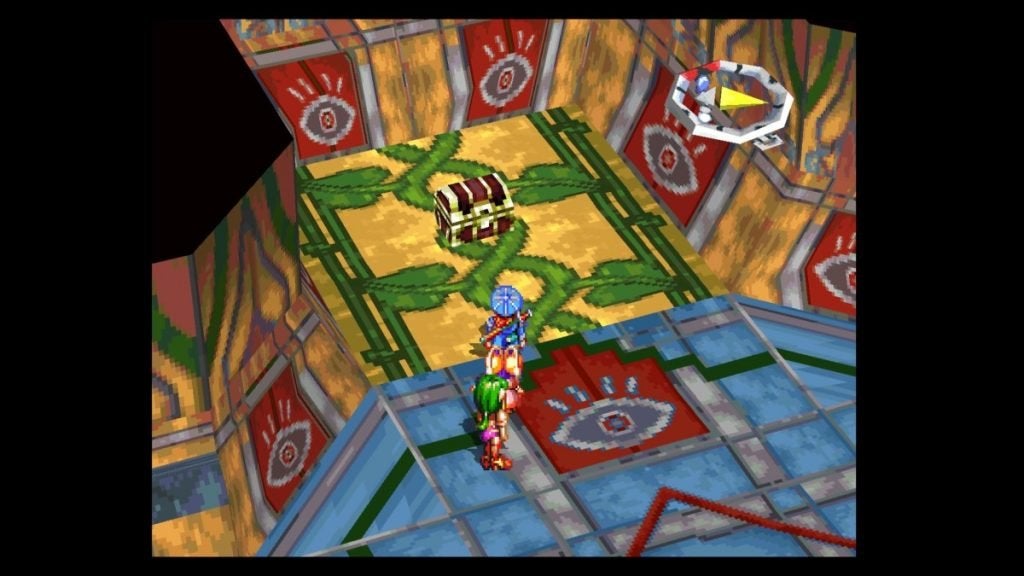
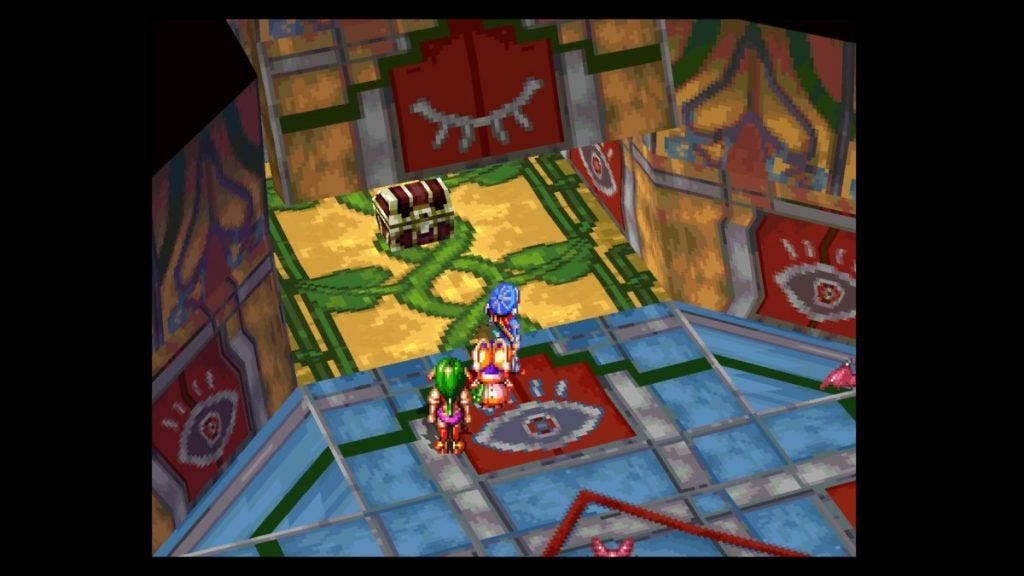
As usual, follow the path until you reach a fork. Go northeast into a room, then northwest from there until you’re back out on the cliffs. Go down the vine and head back inside through the path below, then go down a little. When you’re in the blue area, open the chest to the north to find a Mana Egg.
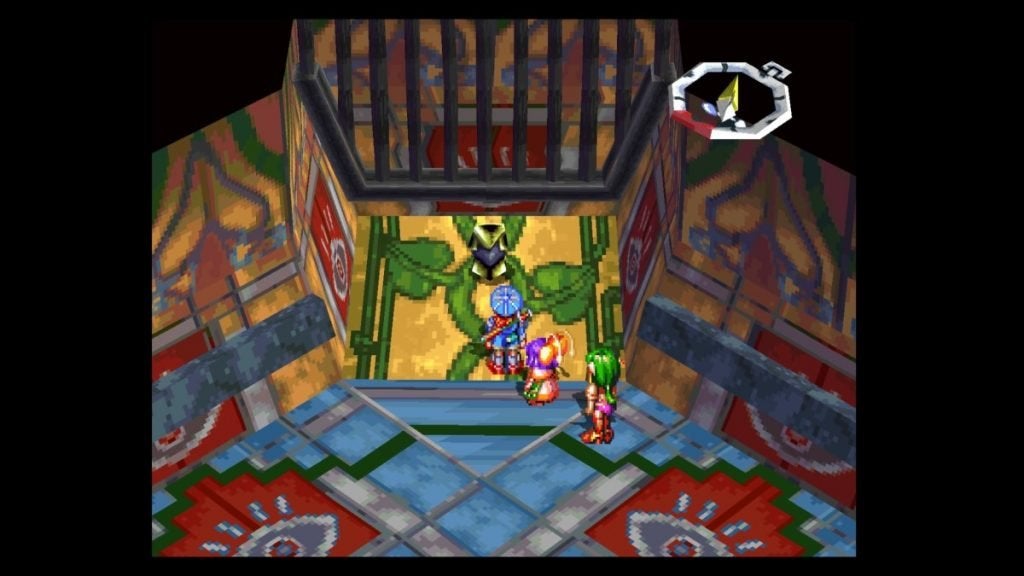
Head east and follow the path to 70G in the center of another room. Don’t go west from there. It takes you back to the beginning of this section of the Ruins. Go east instead into this jail area, where you’ll find some imprisoned Orcs.
Stand on the dot in the square in the middle of the room and press X. The cells will open, allowing the hungry orcs to feed! Take care of all of them, then go into the southeastern cell to find some Shell Armor.
From the jail room, head southwest back to the last fork, then make your way southwest and south to another elevator. Venture south first, following the path to another room where you can lure monsters toward the center and drop them into the big hole. There’s an obvious closed eye in this room to the east, so examine it to open a passage to a room with several minutes’ worth of monsters to either fight or lure to a long drop.
Take them out, then look to the south for another closed eye. Open this passage, then go to the center of the room and grab the 70G. There’s one more hidden passage to the west, and it contains a Magic Lamp inside: a nice item that’s worth a nice 3750G when sold!
Go back two rooms, then go southwest and west down the stairs. Don’t press the red switch on the souther wall! It turns the stairs into a ramp and you cannot go back up them. Instead, walk along the north side of the stairs and look for another closed eye. This secret passage has a Yellow Medicine on the left and a Blue Medicine on the right.
Pick them up, then move west and through this doorway to be outside once again. Grab the 210G on the edge to the south, then go through this new doorway. Here, follow the path east and north until you find a lonely 70G.
Now… If you didn’t listen to us and you just had to push the red button, then keep going north and drop off the ledge, then find your way back to the elevator by reading above where you first entered the second part of the Ruins. If you did listen to us, all you have to do is turn around and head back outside.
Go back through the other doorway and up the stairs to the room, then head northwest back to the elevator. Push the button to go down, then follow the path east to a Save Point and Stashing Place. Use them if you need to, then move on over to the east to find a… very large and intimidating shelled creature. He looks kind of happy to see us… but not the good kind of happy.
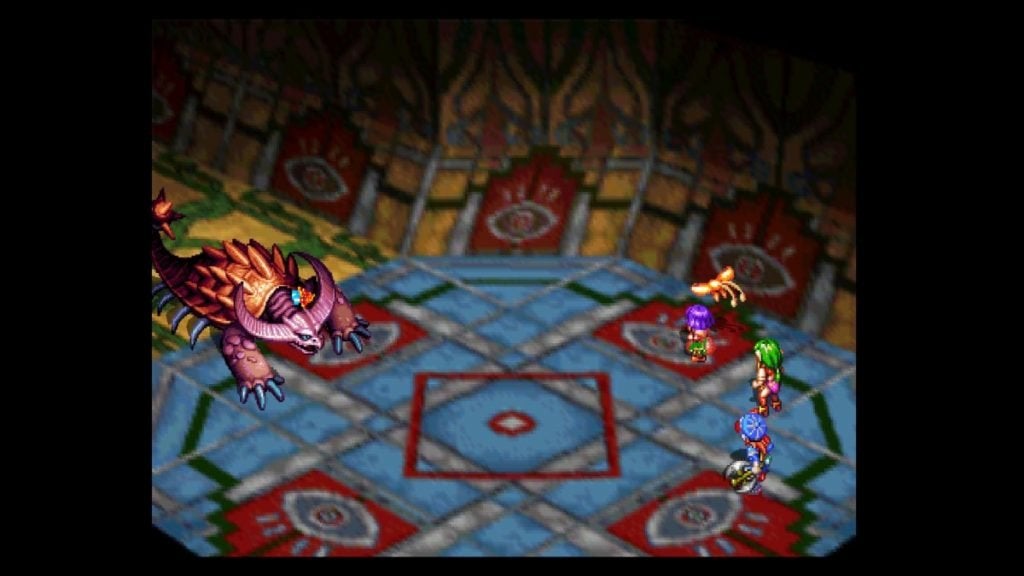

Ganymede
EXP: 1000
Gold: 2000
Items: Shell Armor
Even though there are two different parts of the body, they share the same HP. While they do get two attacks separate attacks, they’re not as dangerous as they look. If you use range attacks, the HP will be taken as a single amount from both targets.
After having to deal with Chang, this boss is a complete joke. He only has three attacks, but they are all dependent on you being near him, and they all do relatively minor damage. So stay away! Don’t bother having Sue buff your party with Diggin’. Just have her use Tremor or Puffy Kick, and have Feena use Burnflame and Burn!
The star of the battle is Justin. With Crackle in his possession, this boss becomes an absolute piece of cake. It’ll do around 200 damage per casting, making him your main damage dealer, so don’t even bother having him do anything else. If by some stroke of luck this guy gets some damage in on you, just have one of the girls cast Alheal to make it all better.
Here are the beast’s moves:
- Single attack: If you happen to be directly in his line of sight, he will suck you in closer first. Then its head will shoot out at you. If you’re not in that line, he just attacks the air and it looks ridiculous. Otherwise, it’s only minor damage if it connects.
- Rush attack: It will fly through the air in a line, nailing anyone directly in its path. However, it only inflicts minor damage.
- Beat attack: It’ll whip its tail at your party, but only if you’re close to him. Like the others, again, only minor damage.
Equip your newly-acquired Shell Armor on someone, then go forward into the Room of Illusion. Like before in the Sult Ruins, examine the glowing sphere and watch the story unfold.
Once you eventually regain control, leave this room and head back to the elevator. Go up, then move south and follow the path back outside, then around and back in, then follow this path and jump off of the ledge at the end.
Move west, back outside, across the platforms, and back to the first part of the Ruins. Follow the path, go through the elevator room, and finally back to the first Save Point inside the Ruins. Now, go north from here and jump off this ledge. Head west and follow this path back to the Vestibule.
Find your way back toward the entrance for a scene, then go on the north side of the stone pathway. Follow it west down the hill, then back up the hill and go southwest to get inside of the pathway again.
Head west back to the Road to the Dom Ruins, and after walking forward a little, you’ll have a few more scenes to watch. Eventually, you’ll regain control back at Feena’s House, and you need to find something called Sulfa Weed.
- Justin: Wind, Water
- Sue: Fire, Water, Earth
- Feena: Fire, Water
Get Fire for Sue, that way she has all but Wind, and can learn all of her special moves. Stock up on as much as you may need and put it in the Stashing Place, especially First Aid Kits! This is the last place in the game that you can buy them, and you won’t be able to get anything that heals better (for the entire party) until the middle of Disc 2. (Which would be the Crimson Potions. You will be able to buy Mikeroma Scrolls fairly soon, but they cost more than First Aid Kits, and only heal 50 HP for the party instead of 60.)
When you’re ready, head back to Feena’s house. To the south of her actual house is a fence. Examine it, and Justin will decide to take the fence down with one of his “board-splitting kicks”! Doing so lets you through to the Herb Mountains.