Stashing Places: End World (3), End World (6)
Items: Seed of Speed, Fruit of Agility, Orb of Silence, Bond of Trust
Equipment: Paperweight
Gold: 110G, 110G, 110G, 110G, 330G, 110G, 110G, 110G, 110G
Enemies: Clay Bird, Emerald Bird, Gas Cloud, Mist Wraith, Sonic Bat
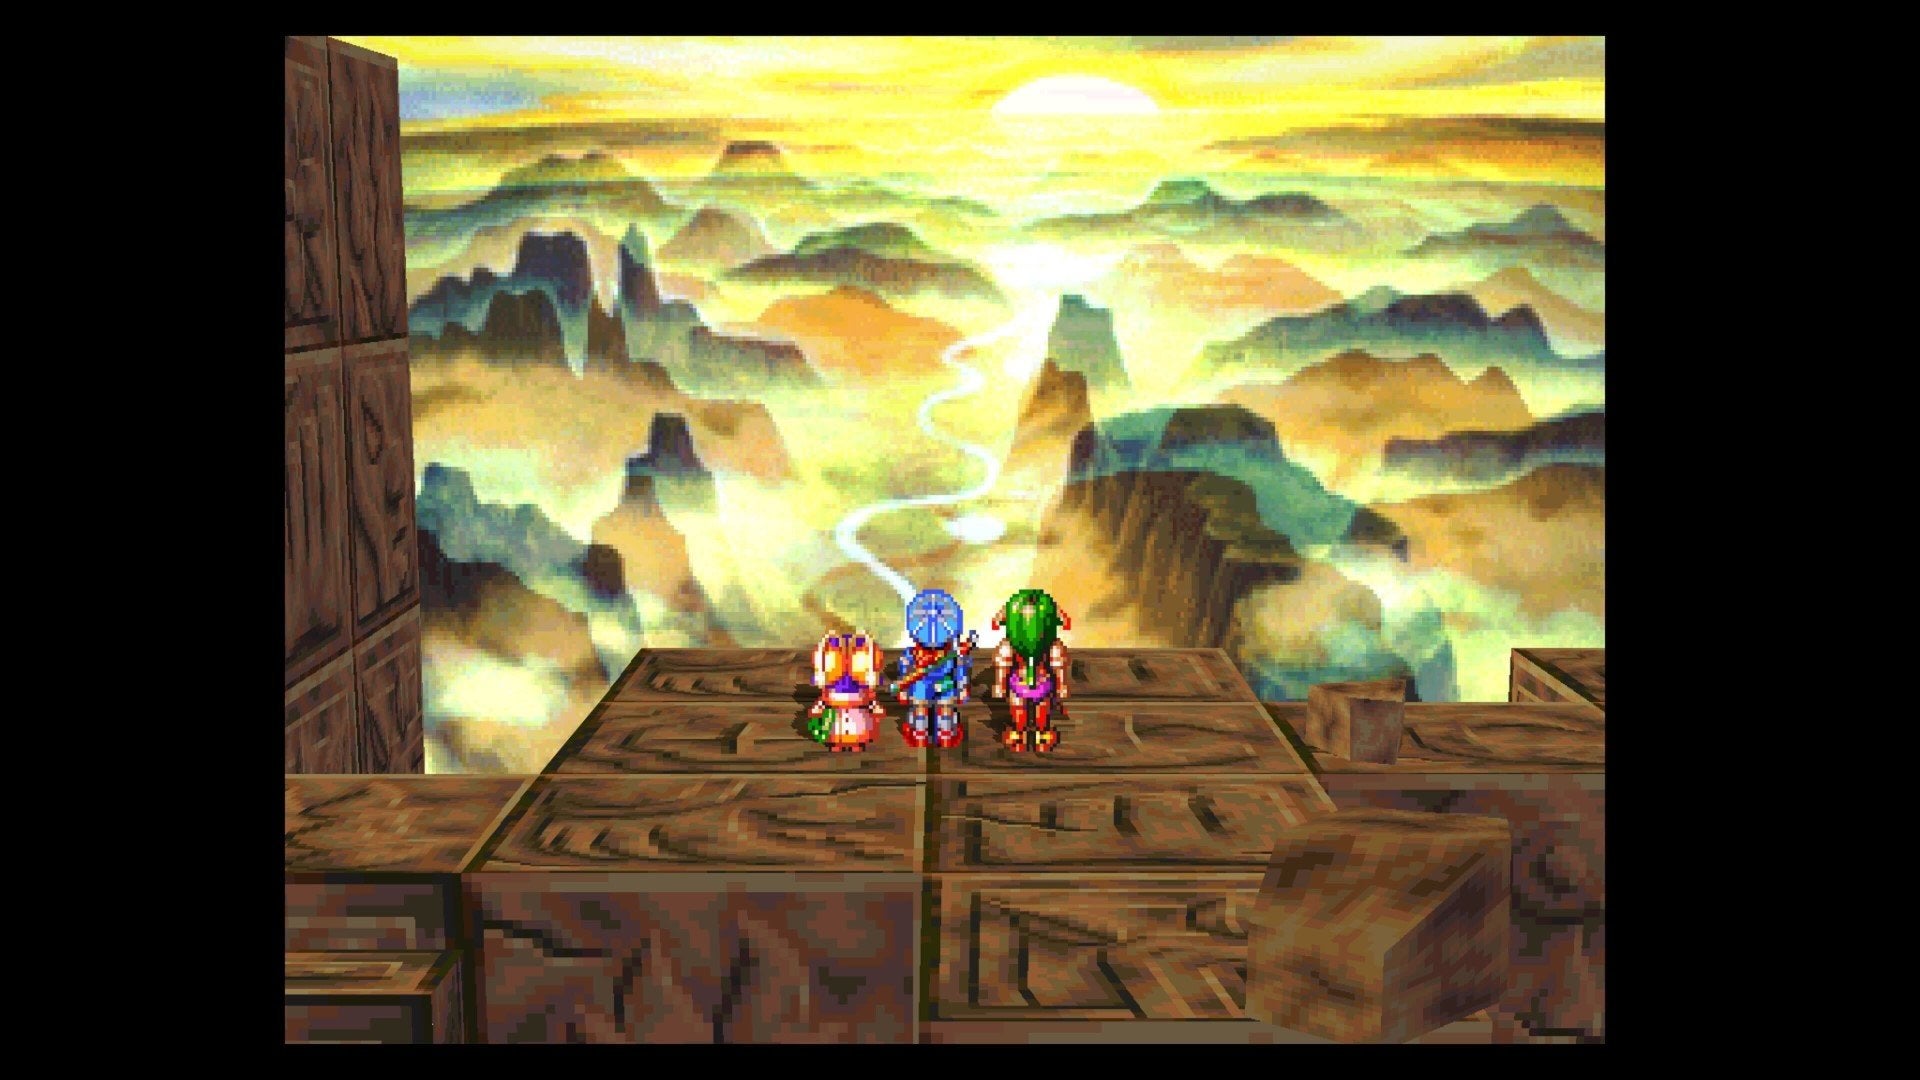
Finally, a place that’s easy to give directions to. Go up! First off, go south and bump into the block, retreating quickly before it smashes you. After it falls, keep going south until the edge so the stairs change direction. Make your way up the zigzagging stairs and grab the Seed of Speed to the south, watching out for the giant block that tries to crush you from above.

Go north and quickly grab the Fruit of Agility to your east before getting crushed, then move north and east into the little hole so the blocks around you shift and allow you to go up. Before you do, head north along the skinny edge and grab the 110G, then go back and take the northern lift to the second area of the End of the World.
Head south first and grab the 110G, then start to head back north, taking the western block up near the stairs. The stairs will drop, leaving you no choice but to use the block. Go south and pick up the Paperweight, then go back north and fall off to the west.
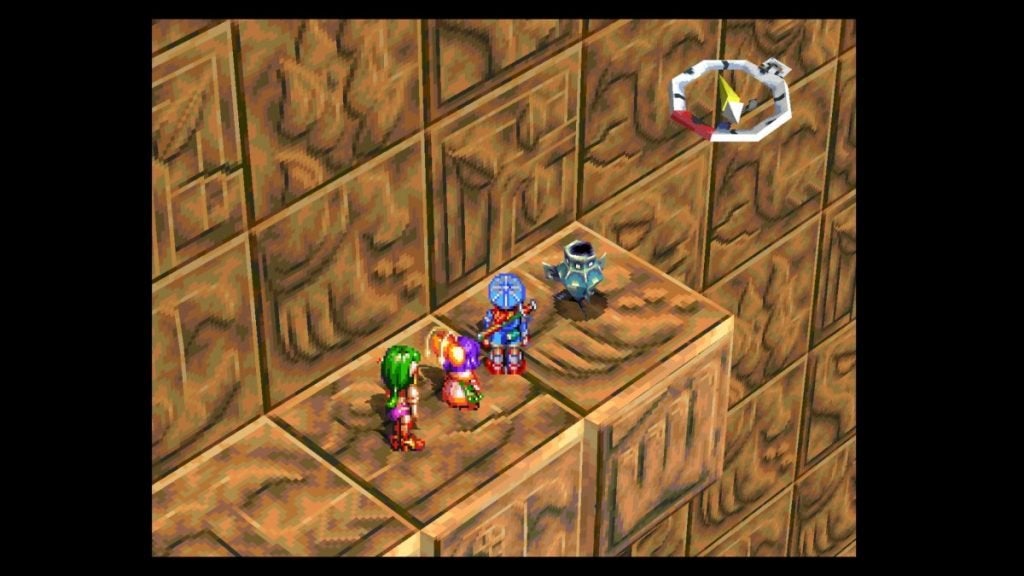
Walk north and down the stairs, then up the stairs and take the western block up. To the north is a chest. Approach it, then quickly retreat as it disappears, then go back and get the Orb of Silence out of the chest once it’s safe. Head south and up the stairs, then ride the block up. Grab the Gust Knife to the north.
Then, go back south, fall down, take the block back up, then go south and ride this block to the third area. Climb the stairs here to find a place to rest for another dinner scene.
Once it’s over, use the Stashing Place and Save Point if you need to, then move south. Push the button you come across, then go up via the block. Walk north while hugging the wall, then push the button here as well, quickly running west and onto the block that goes up here. Head all the way south and ride another block up, then go north, over the block that comes down, and grab the 110G on the other side.
Climb the stairs here to the fourth area of the End of the World. Take a few steps north, and you’ll see a big statue. Get close enough to where it starts moving toward you, then lure it under the shaking block so it will be crushed. Run north and on to another block going up, then head south.
You’ll see another statue, but it throws itself off… literally. Run away though, since it can still hit you. Continue south, then up on another block, then move north and grab the 110G. Examine the bird here. It will fly up, revealing a button. Step on the button it was sitting on to face a Clay Bird. After you take care of it, use the Action Icon to the north to go to the fifth area.
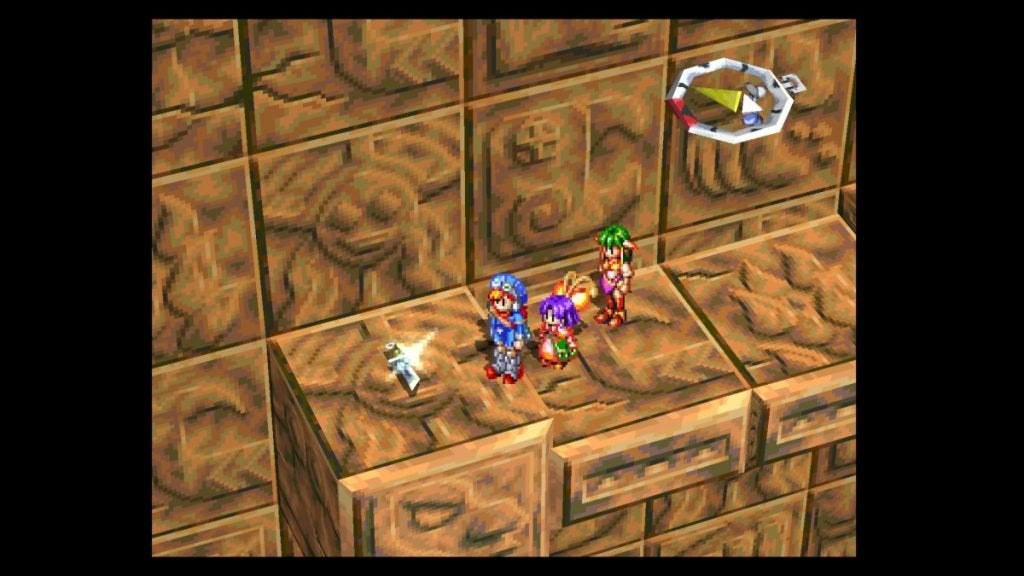
Head south and past the crushing blocks until you reach another chest. It’s the same trap as before, so try to avoid it. Grab the Bond of Trust out of it, then go back north and up the stairs that shifted. Push the button so you can continue up, then move south and take this block across.
Head south and drop down the hole in the ground, then drop off to the north and get the 330G there. Drop off again and make your way back up, then go south past the hole this time and go up to the sixth area of the End of the World. Here, you’ll set up camp once again. The next morning, as usual, use the Stashing Place and Save Point if you need to, then go north and push the button.
Continue north while avoiding the spotlights so you don’t get squished by the blocks, then use the block at the end and grab the 110G that’s waiting for you after you’re up there. Go south a little and you’ll see holes in both the wall and the ground. You can go in the wall if you want to fight a bunch of Sonic Bats, or you could just walk the skinny path to simply avoid the hole in the ground.
Whenever you’re done with that, go south and use the Action Icon to go to the seventh area. Head south and take the block up, then go north and grab 110G. Push the button here, then continue north to the next button, pushing it as well. Quickly run all the way south to see the curled upstairs, then run north and those will curl too, opening the wall and allowing you to fight the Emerald Bird that comes out, along with the Sonic Bats.
After you beat them, move south and drop off, then go north and up some stairs. Fight the Clay Bird that pops out of here, then grab the 110G on the ground. Once you have it, use the Action Icon as usual to go up to the eighth area of the End of the World.
Go north and on to another block, and after going up, stay against the wall as you head east, as a laser will come through and cut off the outer half of the walkway. Get to the other side, then take the block here up. Carefully move north, avoiding the mechanical arms until you get to the other side where 110G awaits. Make the arm come in and miss you, but hit the hole it’s supposed to. The platform will come down, so get on and use the Action Icon to take you to the ninth area.
Head north and fight the Birds here. This is the true test of the giant wall, but even then they’re not too tough. Focus on the two Emerald Birds first, having Feena and Sue use Burnflame/Puffy Fire on one of them while Justin works on them one by one with Midair Cut or Crackle.
Once they’re toast, push the button they were circling to drop the entire floor except the block you were on. After it goes up, follow the path up to the tenth area of the End of the World. Go north and up the stairs, and Feena will call it a day for another dinner event.
Afterward, watch the scenes that unfold, and you’ll regain control in Valley of the Flying Dragon.