
Stashing Places: Garlyle Base (Outside)
Gold: 80G, 80G, 80G, 80G, 80G, 80G, 80G
Items: Resurrect Potion, Ultra Drink, Miracle Drink, Crimson Potion
Equipment: Soldier’s Uniform, Officer’s Uniform, Army Saber, Army Boots, Army Darts, Officer’s Badge
Key Items: Master Key
Enemies: Private, Sergeant
Bosses: Saki, Nana, Mio
When you regain control, examine the hefty pipe near the toilet, then watch Sue’s terrific acting. Go southeast to the next cell to find Feena. You have to find a key to get this cell open, so head southeast again to another room. Go inside this room up here.
Clock the guard and pick up the Jail Key, then grab the Resurrect Potion beside it. Go to leave the room, and… You’ll wind up back in your cell. Watch the scene here, then you’ll regain control once again.
Grab the Jail Key, then go into the next room and free Sue and Feena. Go into the next room and head up the stairs to the Barracks. Use the Save Point here, then grab the Ultra Drink.

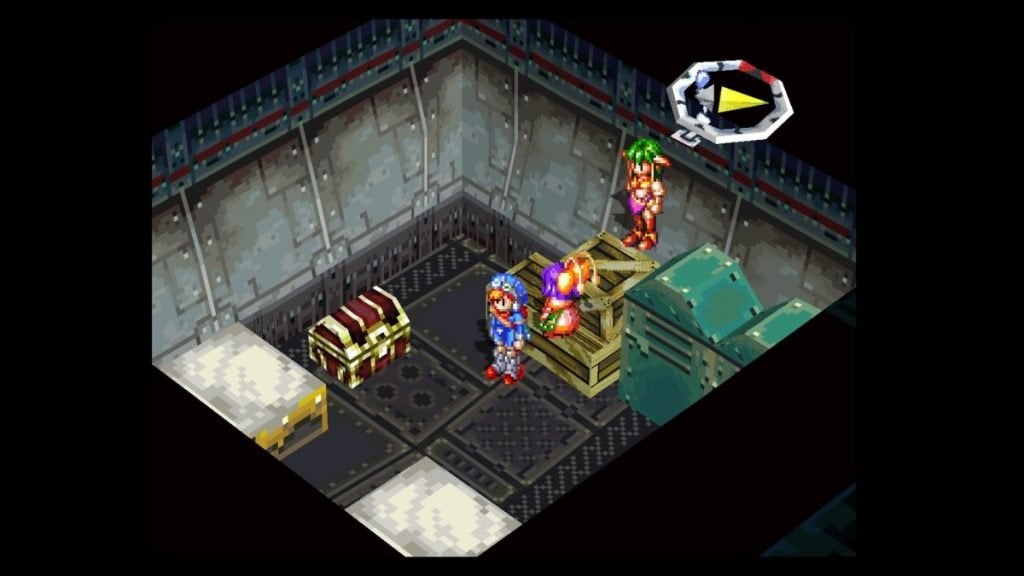
The door here is locked, so climb up the barrels and into the duct system. Crawl along the path. You can stop at each grating to hear some soldiers talk if you like, but either way, keep crawling and you’ll eventually come to the Warehouse.
Watch the scene here, then go around the outside of the grating into a different section of the ducts. In the next room, you’ll notice a door that needs a combination.
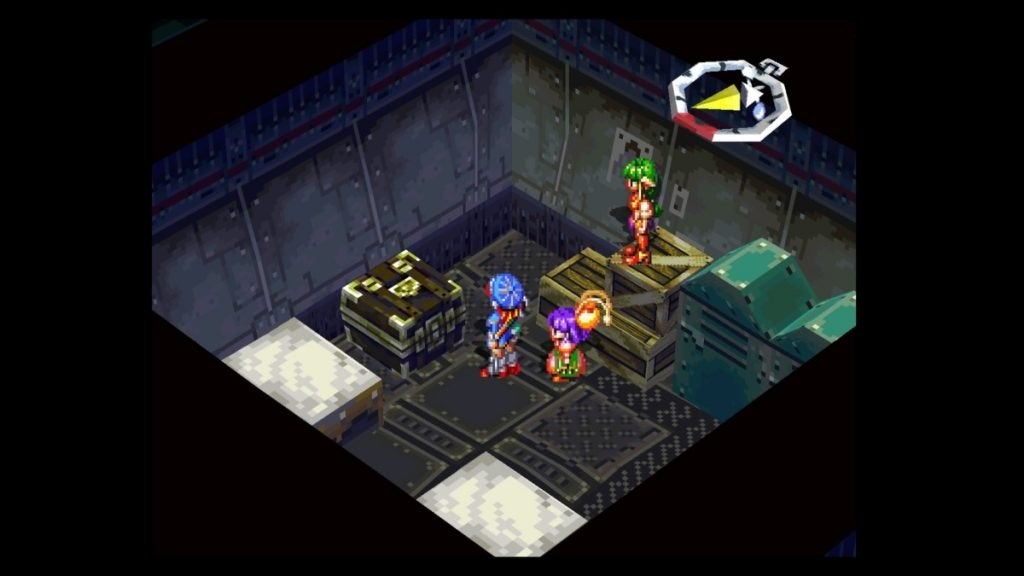
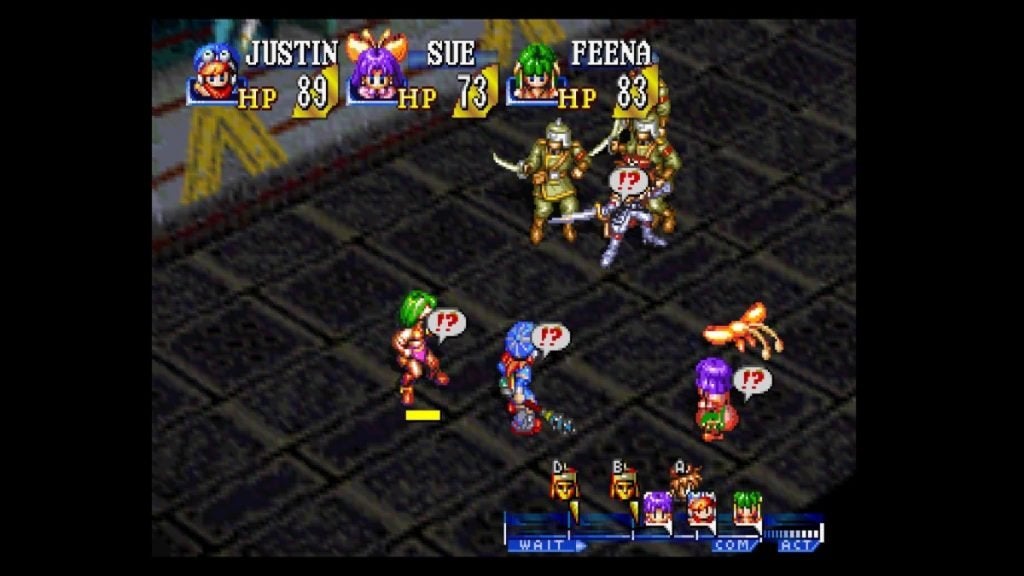
Go up the western barrels and boxes to enter this duct. Crawl west past the first fork (dead-end, though there is some conversation), taking the first path west into a room. Instead of listening to a conversation, a soldier will attack you! Fight him, and after he’s done, grab the Soldier’s Uniform from inside the chest.
Head back up and into the ducts and head south, checking every fork, even though some of them are closed. There’s an open duct on the east, and you’ll find a tidy soldier in here. Beat him up, then take his Officer’s Uniform out of his chest.
Go back into the ducts and continue south. Follow it as it turns east, then north, and at the next fork, go east into the Locker Room. Go forward for a hilarious surprise! You’ll also be given the code for the door, which is:
Right > Right > Left > Left > Down > Up > Down > Up
Crawl back into the main vents, then continue north some more to wind up in a room with a soldier. Fight him, then go through this door. You’ll be back in the room with the locked door! Enter the above code, as well as a quick scene calling out Justin’s escapades from the Locker Room.
Use the Save Point here, then go forward through the door and talk to the boy. Use the crank on the eastern side of the cage to lift the giant contraption. Watch another quick scene, then go south and back up to the barracks. As you start to leave the next room, you’ll run into Saki. This is the first of the three that you’ll fight.

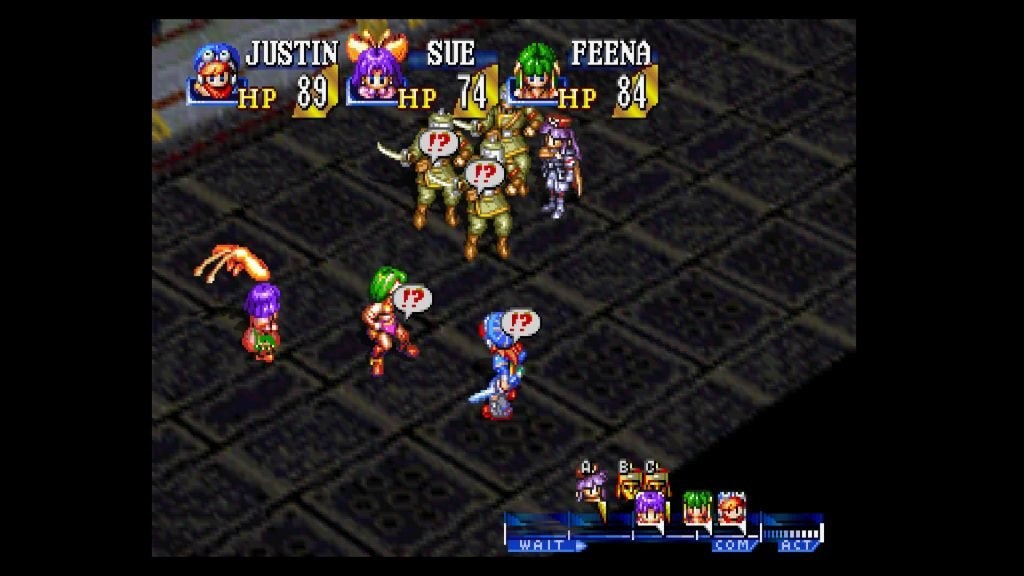
Boss: Saki (with Private x3)
EXP: 130
Gold: 300
Saki is quick and can be a pain, but she’s even worse having the three Privates attacking you as well.
Start with Burnflame from Feena / Tremor from Sue / Howl or Shockwave from Justin to knock the soldiers out, then focus on Saki herself.
Justin should be using Crackle and W-Break to deal the most damage. Feena should use Burnflame until she’s out of MP, followed by her Paralyze Whip / Knife Hurl. Sue should throw Puffy over and over until she’s out of SP, then should stick with critical attacks.
Luckily, Saki’s attacks aren’t too strong. You can easily go four rounds without even thinking about healing unless by bad luck she happens to use Power Lariat on the same person twice. If your HP falls below 40, have Feena or Sue cast Alheal while Justin keeps wailing away at her.
- Combo attack: A two-hit sword attack that inflicts minor damage. Cancel it if you can, but it’s not much to worry about.
- Slap Stick: An attack that will knock a close range of characters across the field for minor damage. It’s a pain when it interrupts your action, but other than that, it’s pretty weak.
- Power Lariat: A strong clothesline that inflicts medium damage. One of these isn’t too bad, but if she lands a second, it could be fatal. Be sure to heal after it lands.
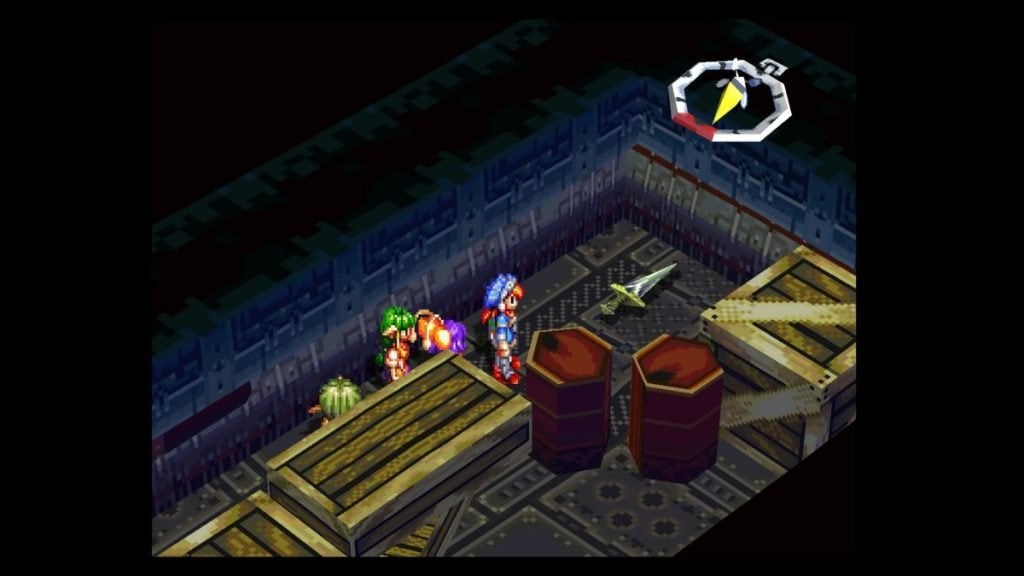
After she’s down, you’ll receive the Master Key! Move back north into the Warehouse to re-save and re-recover, then head back and go south into the hallway. It’s hard to see, but grab the 80G to the southwest of the door, then run south to find another 80G. Head east through this door, then move north, east, and south and grab the Army Saber lying on the ground.
Go back out to the hallway and start moving west. If you want to fight some soldiers, go in the first door to the north. Otherwise, head west some more and past the fork to the south. Keep going west, entering the next door to the north.
In this short hallway, the first door to the east has some soldiers to fight, the second door to the east is one that you have previously visited from the ducts, and the third door to the east has more soldiers to fight. The third door to the west is one that you have previously visited from the ducts, the second door to the west has some soldiers you can fight, along with a pair of Army Boots, and the first door to the west has more soldiers to fight.
Head back out to the hallway. The door to the south of you has the Save Point you saw when you first escaped. Use it, then head out of the room and run back east. Now, go south at the fork here, and you’ll run into the second of the three Sergeants: Nana.
Boss: Nana (with Private x3)
EXP: 130
Gold: 300
This battle is almost identical to the fight with Saki, except Nana has fewer HP and doesn’t deal nearly as much damage per hit.
Start off with Burnflame from Feena / Tremor from Sue / Howl or Shockwave from Justin to knock the soldiers out, then focus on Nana.
Justin should be using Crackle and W-Break to deal the most damage. Feena should use Burnflame until she’s out of MP, followed by her Paralyze Whip / Knife Hurl. Sue should throw Puffy over and over until she’s out of SP, then should stick with critical attacks.
Now for the differences. Nana has three attacks as well, but her special moves can hit multiple party members. The only one you need to worry about is Yo-Yo. If she hits you with it, heal afterward, and you should be perfectly fine.
- Single attack: A single sword attack that inflicts minor damage. It’s her second-strongest attack, but it’s nothing to worry about.
- Spinning Yo-Yo: A circular range attack that has a very large range, but hits for minor damage. This attack is a joke. She could hit you with it five or six times before you’d have to think about healing.
- Yo-Yo: A repeated yo-yo attack that hits targets in a fanned-out range in front of her, and it hits for medium damage. This usually connects with at least two of your party members each time, so be sure to use Alheal after getting hit with it, just to be safe.
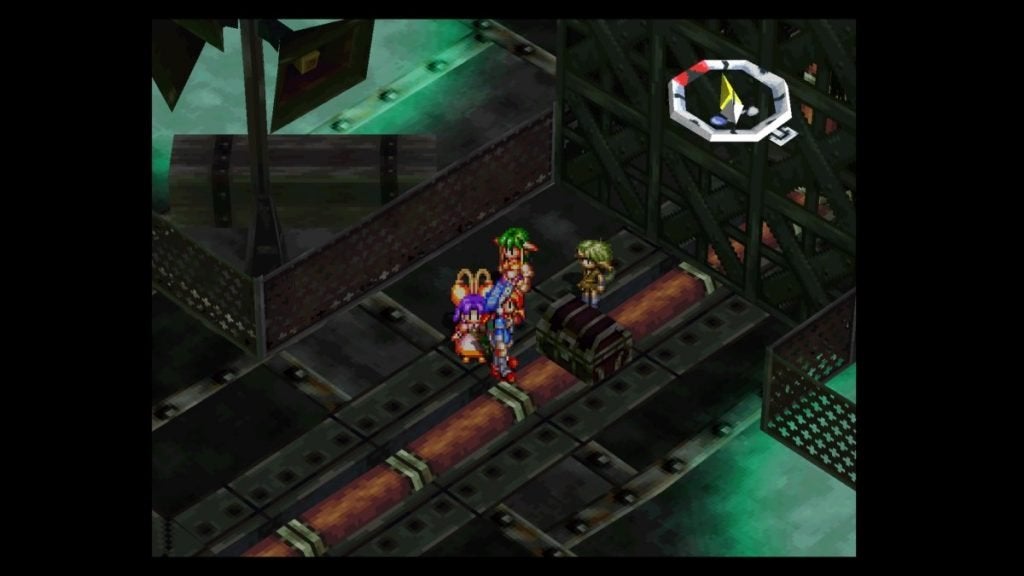
Head back north and west down the hallway and to the Save Point by the prison. Make sure to use it, since there won’t be another one before fighting the next boss. When you’re ready, come back and go up the southern stairs to the outside of the base. Grab the Miracle Drink out of the chest to your south, then walk west and north along the pipeline.
When two pipelines meet, go west and grab the 80G, then go back to the two main pipelines. Take a few steps north, then follow the eastern one to find some Army Darts in a chest.
Return to the two main pipelines and continue to follow them all the way north to another 80G. Move a bit east from this one and check to the north beside two crates to find the last 80G. Continue east, and you’ll run into the last of the three Sergeants: Mio.
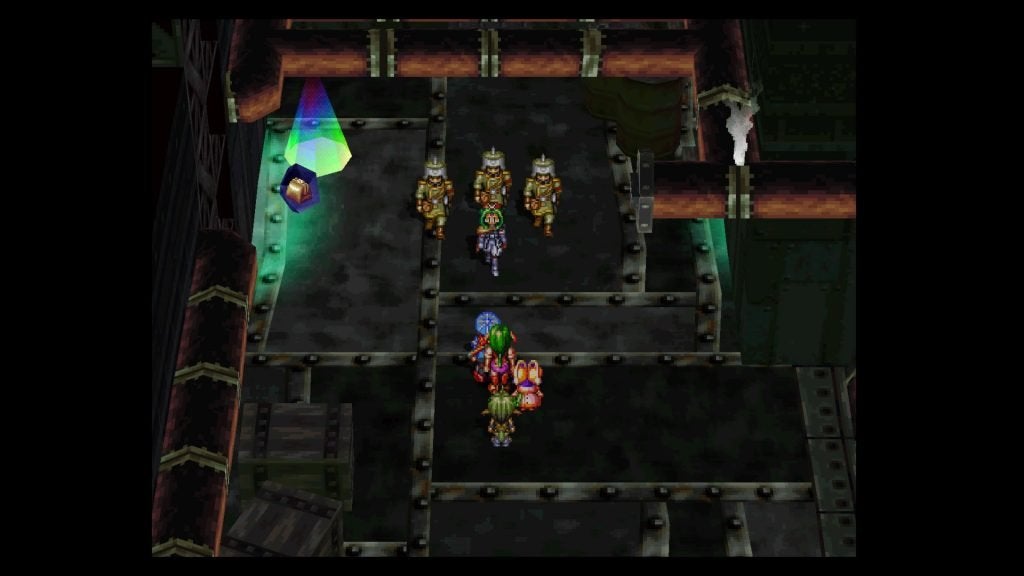
Boss: Mio (with Private x3)
EXP: 130
Gold: 300
Of the three, she may have the lowest HP, but she’s the only one you have to worry about outright murdering you. She has an attack — Balloon — that will inflict both Poison and Sleep on a range of party members, while another attack — Stun Gun — can inflict Paralysis on one character, as well as doing medium damage.
If you can keep from getting the status ailments, then you should be able to dispose of her quickly. However, if you are unlucky to have your party suffer from Sleep or Paralysis, you can be in trouble very quickly.
As with the last two, start off with Burnflame from Feena / Tremor from Sue / Howl or Shockwave from Justin to knock the soldiers out, then focus on Nana.
Justin should be using Crackle and W-Break to deal the most damage. Feena should use Burnflame until she’s out of MP, followed by her Paralyze Whip / Knife Hurl. Sue should throw Puffy over and over until she’s out of SP, then should stick with critical attacks.
Don’t bother using Cure to remove Poison. Just make sure to use Alheal constantly, especially if you start taking Stun Gun hits (and if Poison is already eating away at you at the same time.)
- Single attack: A single sword attack that inflicts minor damage. Nothing special.
- Balloon: A large-range attack that can inflict both Poison and Sleep on your party members. Keep her from using this at all costs. If your whole party falls asleep, it’ll be an uphill battle to stay healed while trying to deal damage the rest of the fight.
- Stun Gun: An electrical attack that deals medium damage, and can inflict Paralysis. Do your best to cancel it. Otherwise, Defend and heal afterward.
Use the Save Point and Stashing Place here if you need to, then head east and into the Military Train Switchyard. Go down this set of stairs to the ground, then move north and down these steps, then up the steps to the train, where you’ll make a quick escape.
The next morning, you’ll get a chance to ask some questions. As usual, choose all three in any order to continue. When you regain control, open the chest here for a Crimson Potion, then head northwest to the next cabin to fight a set of Privates. After they’re down, go forward a little more to face another set. Grab the 80G beside the fallen soldier, then proceed to the next cabin.
Fight the members of the Lightning Star Squad here, then get the 80G on the left side of the car. In the next cabin, fight the members of the Bloody Rose Squad, who happen to be a set of Sergeants rather than Privates, meaning that they’re a bit tougher. After you beat them, take on the members of the Desert Moon Squad. After you have finished all three squads, take the Officer’s Badge to the right of the last soldier you fought.
Finally, go forward to the engine room and watch the rest of the events unfold as you arrive in the West Misty Forest.