Gold: 170G, 170G, 170G, 170G, 170G, 170G, 510G
Items: Seed of Life, Health Weed
Equipment: Wind Charm
Key Items: Silver Key, Gold Key, Teleportation Orb
Enemies: Nyalmot, Mad Frog, Manta Ray, Hermit Crab
Bosses: Massacre Machine, Massacre Machine (2)
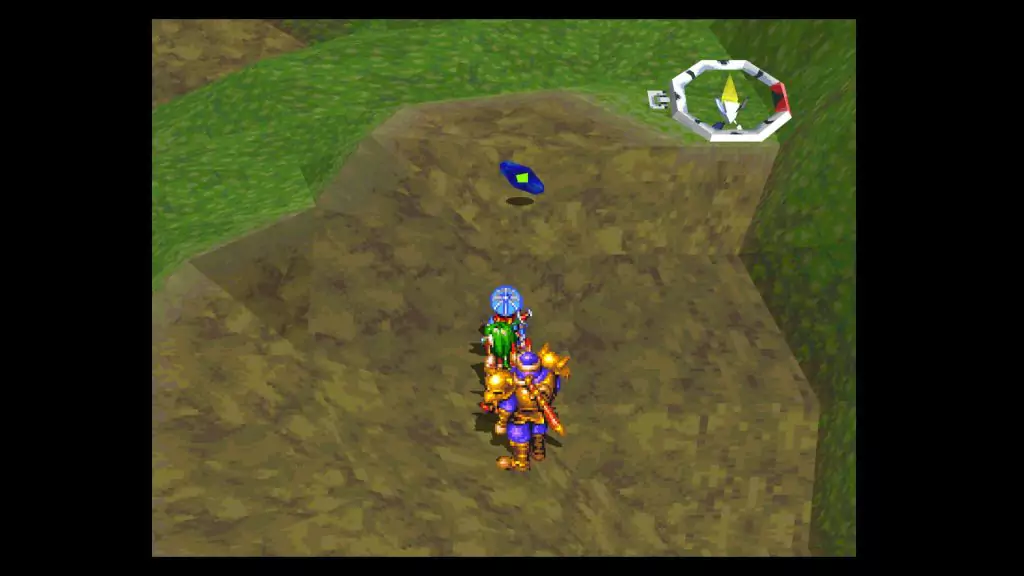
Grab the 170G as soon as you enter, then head southeast to find a Seed of Life.
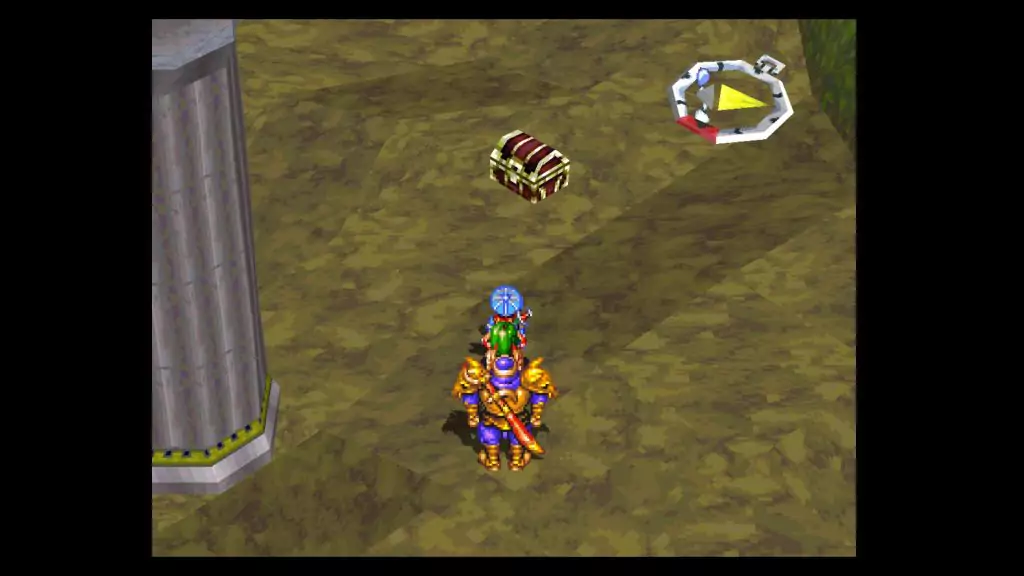
Head west a little to see the Shrine to the south. Go inside and grab the 170G by the broken pillar, then head back out, since we don’t have the Orb yet. Head west to come across 170G, then head southwest and follow the path to the Hill.
Use the Save Point here, then step on the eastern button. Cross the bridge that comes together, then run southeast until you reach a chest with a Silver Key inside.
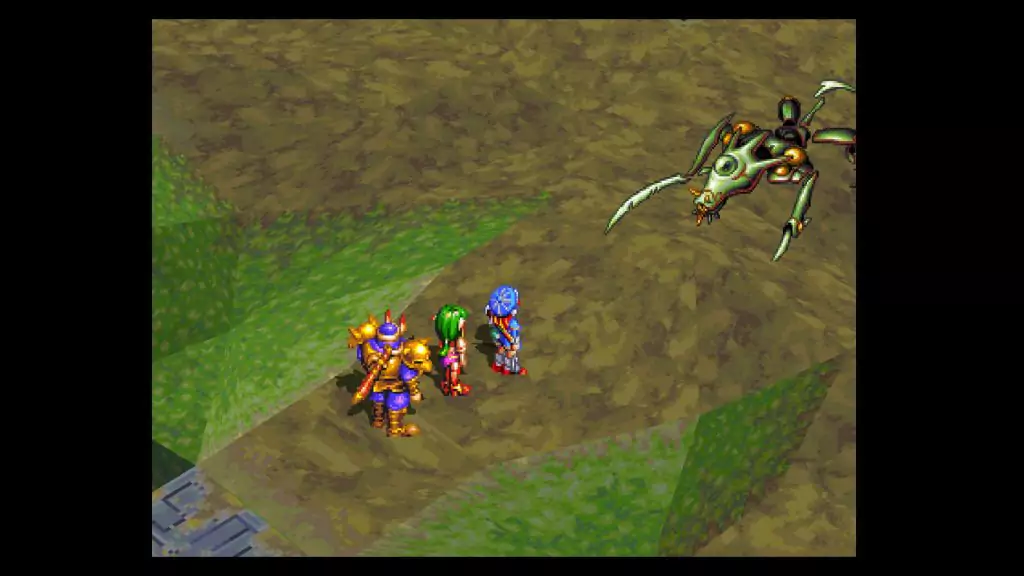
After you get it, all of the pillars will fall, letting loose some more monsters. There’s nothing else on this side of the bridge, so head back across to the Save Point. Use it, then open the big door to the south. Walk forward to take on the first of two Massacre Machines.


Boss: Massacre Machine
EXP: 1000
Gold: 2000
Just like the Ganymede and the Madragon, the Eye and the body are two targets with one set of HP.
Feena can’t deal much damage here, but rather than boosting attack so Justin inflicts more damage (the time wasted doesn’t make up the difference), have Feena cast Crackling, followed by Crackle.
Gadwin should start with Meteor Strike if he has it. If not, just attack normally with the Chain of Gems equipped. Justin should use Midair Cut each round for maximum damage and IP delays, followed by normal attacks.
While this machine does look frightening, each of his attacks are sadly weak and pathetic. You shouldn’t have to heal, but if for some reason you drop below 50 HP, have Feena throw an Alhealer out there.
- Burnflame: Fire attack on a range of party members for minor damage.
- Spin Cut: A circular range attack that only hits for minor damage.
- Hurricane Mixer: A direct-line flying attack that displaces your characters on the field, resulting in minor damage.
- Healer: It will restore its HP by 200. Try to cancel it so as to not prolong the fight.
After you defeat it, watch the scene back in Dight.
Back at the Hill, head back to the Save Point if you need to, then go back south and take the lift up. Head east while staying along the southern edge (or else, you’ll fall), and you’ll soon find 170G to your northeast.
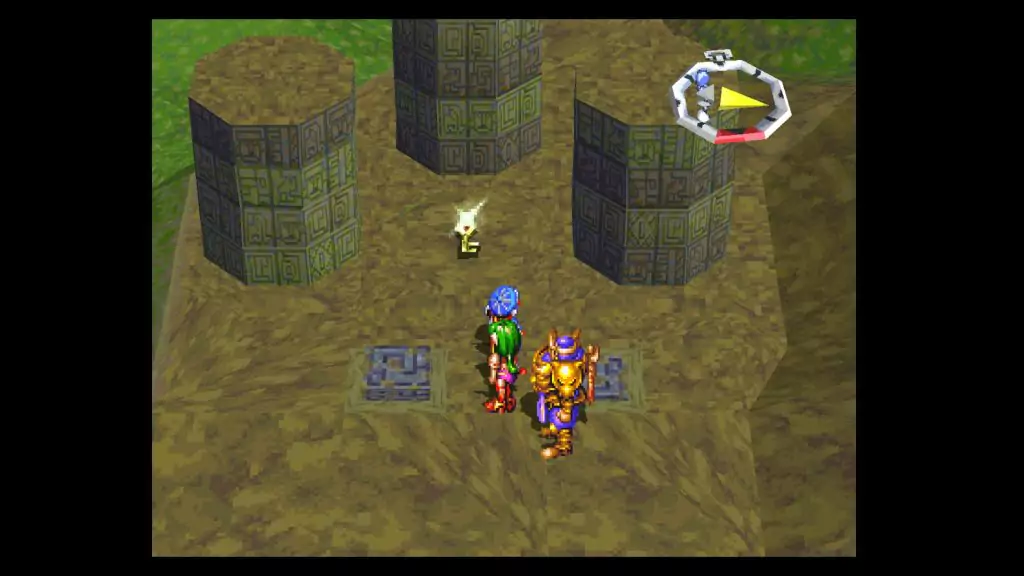
Move south from the money and take the next lift down. You’ll see two buttons and four pillars. The eastern button lowers three of the pillars with a bunch of Nyalmots, while the western button lowers some stairs to the west.
Push the western one, then climb the stairs to the west and press the button up here to lower the pillar with the Gold Key on it.
Make your way back to the Save Point, then push the western button. Cross the blocks and head south, then southwest. As you go along your way, a door will open, letting out some monsters. Take care of them, then go through the door and grab the Health Weed out of the chest.
Head south now, following the path until you reach a door. It will now open since you have the Gold Key. Take the lift up, then go up another lift to the southeast. Grab the 170G up here, then go back down and head south to another block bridge.
Stay in the middle of this one, and cross it as fast as you can, because it will narrow and drop you into a pit of monsters if you don’t hurry.
Run east-northeast from the bridge to find one last 170G, then head south down into a smaller area. Open a chest to the east for a Wind Charm in it, then go back south a little and make your way all the way north.
You should see a lift nearby. Take it up, then go forward to face the second Massacre Machine.
Boss: Massacre Machine (2)
EXP: 1200
Gold: 2000
Same as before, but with 200 HP more. Its moves are also just slightly different/powerful, but in any case, the same strategy is required…
Just like the Ganymede and the Madragon, the eye and the body are two targets with one set of HP.
Feena can’t deal much damage here, but rather than boosting attacks so Justin inflicts more damage (the time wasted doesn’t make up the difference), have Feena cast Crackling, followed by Crackle.
Gadwin should start with Meteor Strike if he has it. If not, just attack normally with the Chain of Gems equipped. Justin should use Midair Cut each round for maximum damage and IP delays, followed by normal attacks.
It’s a bit stronger than last time, so you may need to have Feena use an Alhealer in the latter portion of the fight.
- Single attack: A single attack that hits for minor to medium damage. (Only used while it’s standing.)
- Howlslash: Wind attack on all party members for medium damage.
- Full-Moon Cut: A circular range attack that hits for minor to medium damage.
- Body Slam: A direct-line flying attack that displaces your characters on the field, resulting in minor to medium damage.
- Healer: It will restore its HP by 200. Try to cancel it so as to not prolong the fight.
After the battle, head northeast and grab the 510G, then move west to four buttons. Step on the three in the row to see the heights they are at, then try to remember which switch corresponds to the block.
Jump on the fourth switch to move the switches around. Step on it again to stop them. Keep doing this until the three blocks form stairs, so when you push the fourth button, the big block will lower so you can climb to the top.
Climb up and grab the Teleportation Orb!
Make your way back to the Save Point, then head north and make your way back to the exit of the Mysterious Vanishing Shrine.
Dight Village
Make your way to Alma’s Clinic, where Gadwin will leave your party. Sue will rejoin, but only for a very short while. Leave Dight and go to the Mysterious Vanishing Shrine.
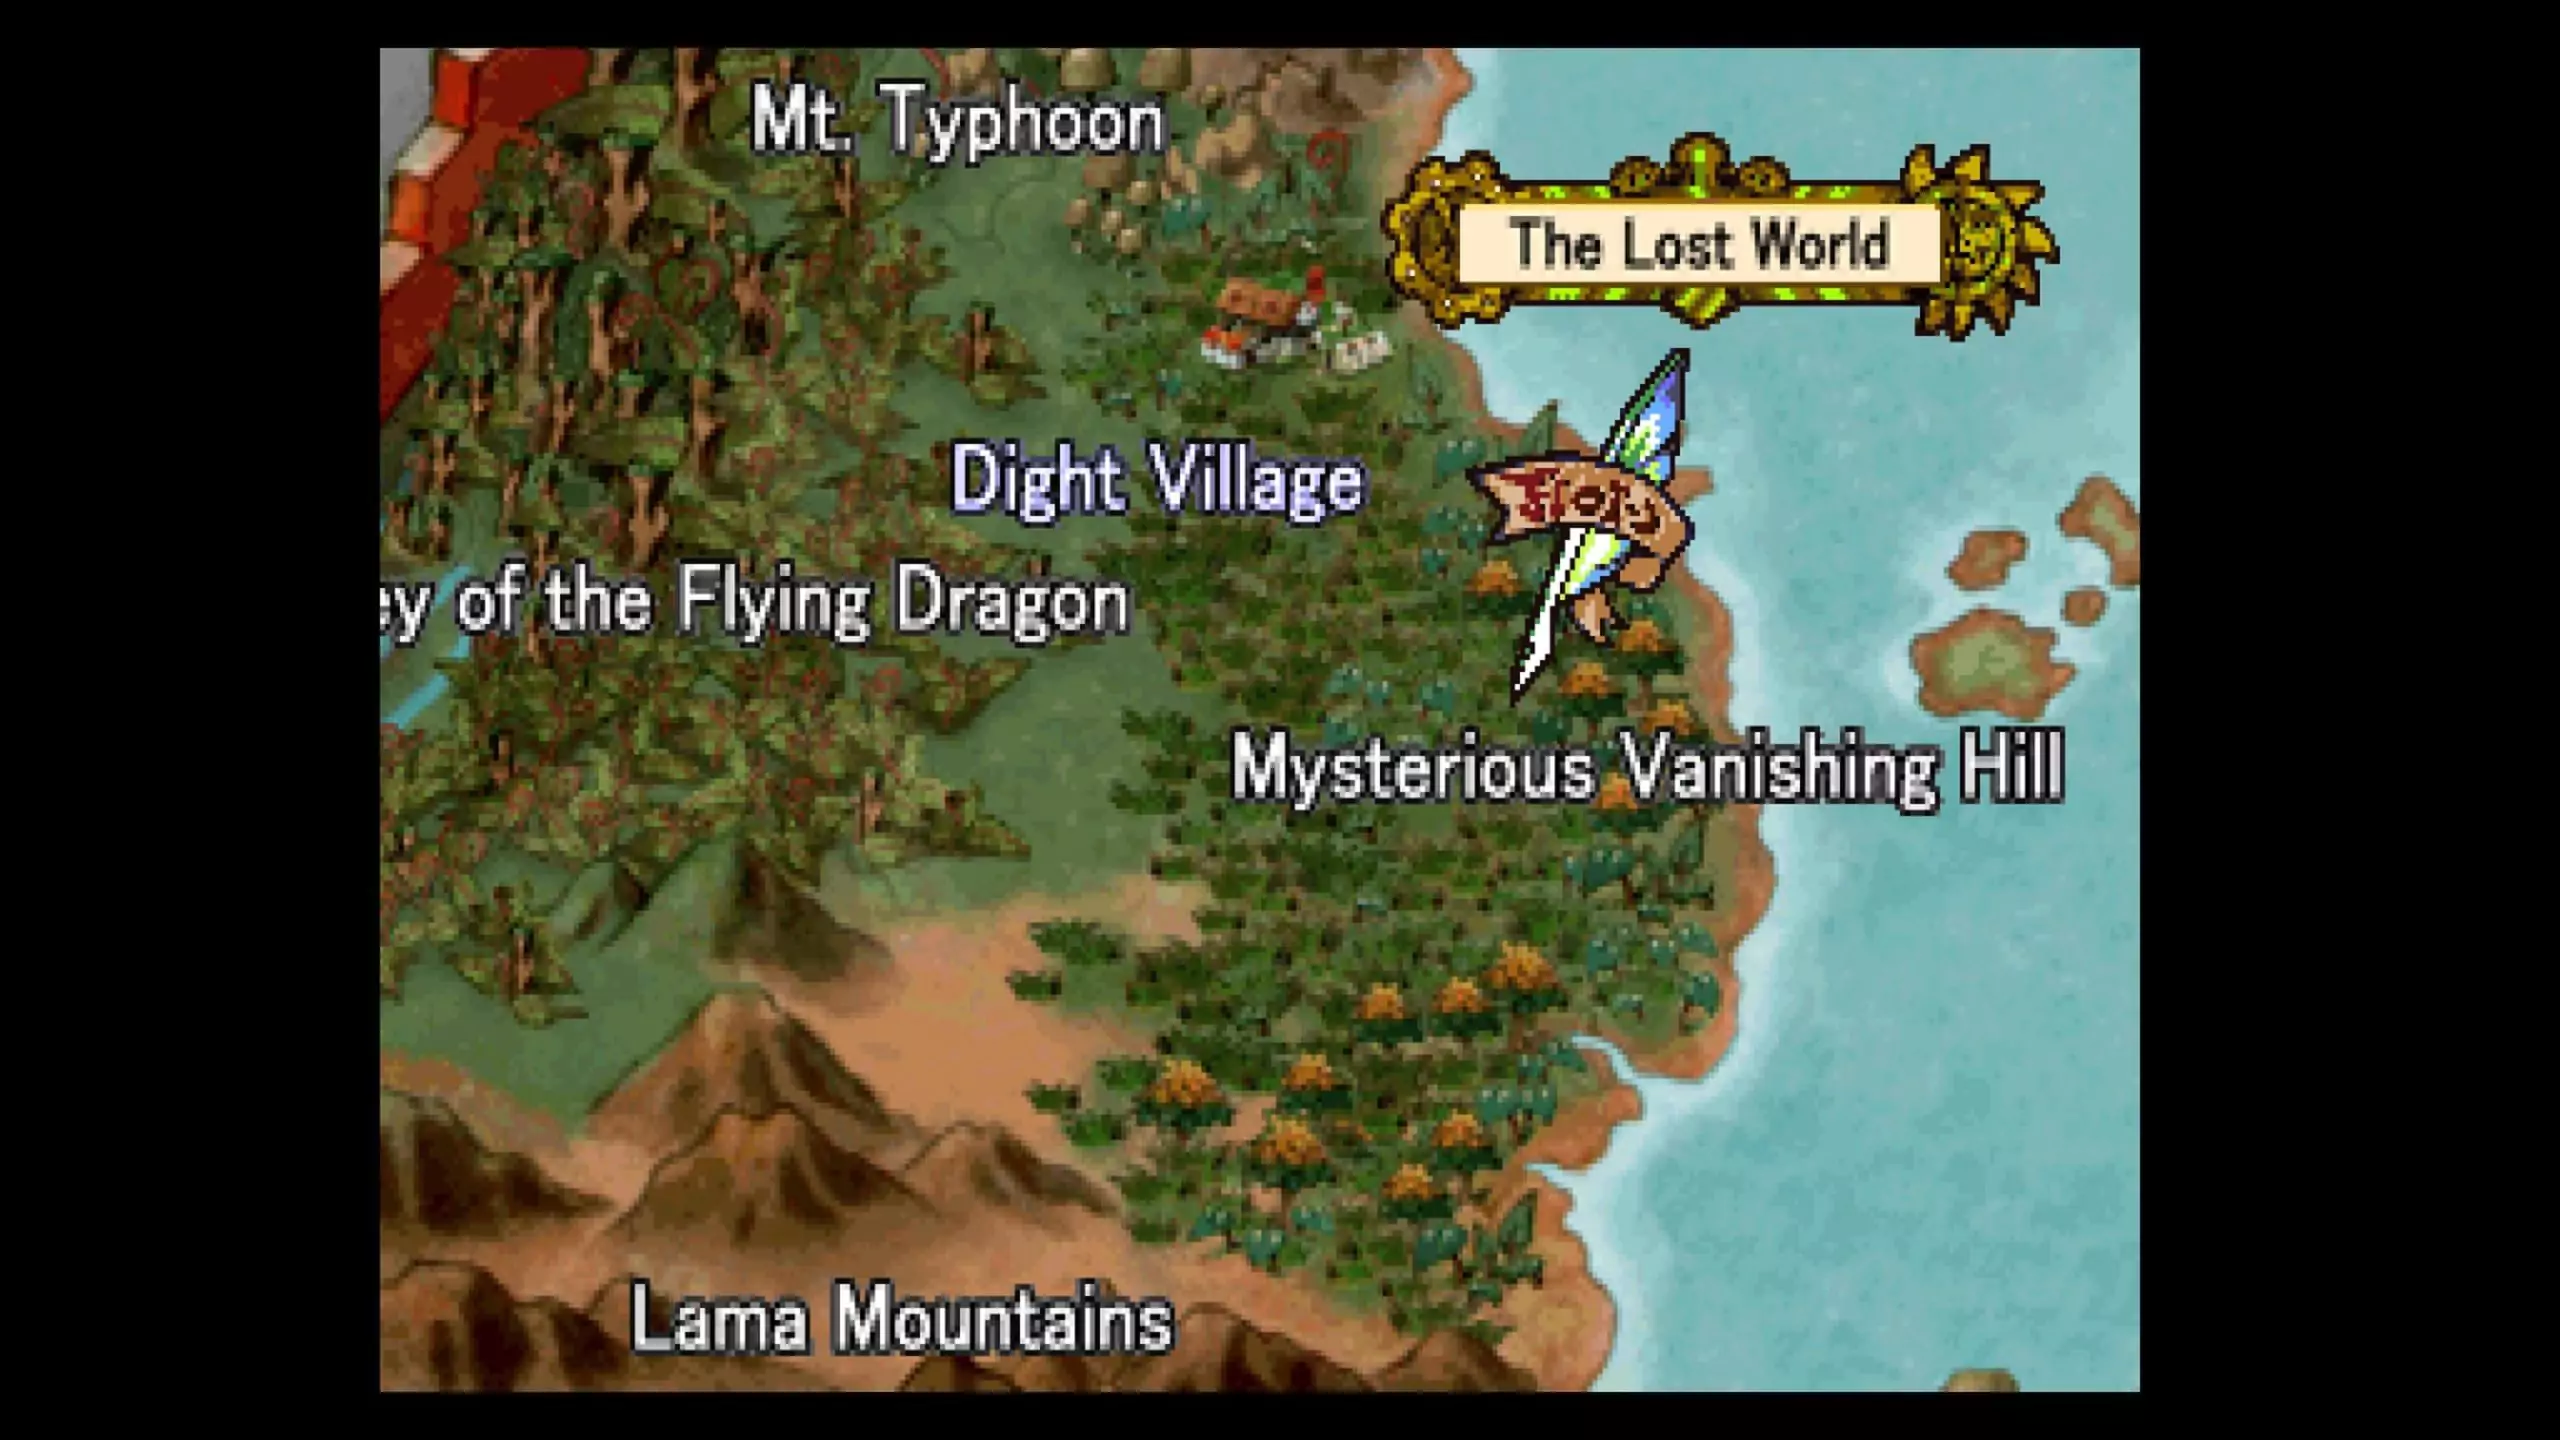
Mysterious Vanishing Hill
Go directly south into the Shrine, all the way to the end for a long scene, where Sue will leave your party. Afterward, head back to Dight.
Dight Village
Head to the Inn. Gadwin will tell you to meet him at his house in the Valley of the Flying Dragon. Do what you need to, then make your way back to the Valley of the Flying Dragon.