Stashing Places: Sea Dragon
- These stat-boosting items deliver a set amount of EXP (1/3 of Sue’s and Gadwin’s EXP earned, to be precise), so it will be much easier to use these items to get from levels 11-15 than it would from 1-5, which would only take an hour or so to do on your own. It’s all up to you. This is just my recommendation.
- The weapons are a no-brainer. The Throw and Sword EXP should go to Rapp. The Mace will go to your final party member, as it’s that person’s ONLY weapon. Just make sure to level them all up first.
- For the magic… Between Rapp and your final party member, you should compare their levels AT THAT TIME and see who needs what magic the most. It’ll be easy to level magic for each character when you first get them, so hang on to the items until then, as it would be a waste to use them early.
- If you do plan on trying to learn Feena’s last magic spell, which requires 99 Wind and 99 Water, you should definitely save Sue’s Wind and Water for that. Those last sets of levels are going to be grueling to earn, and these could easily save you many, many hours by using those at the very end to give you the boost up to 99.
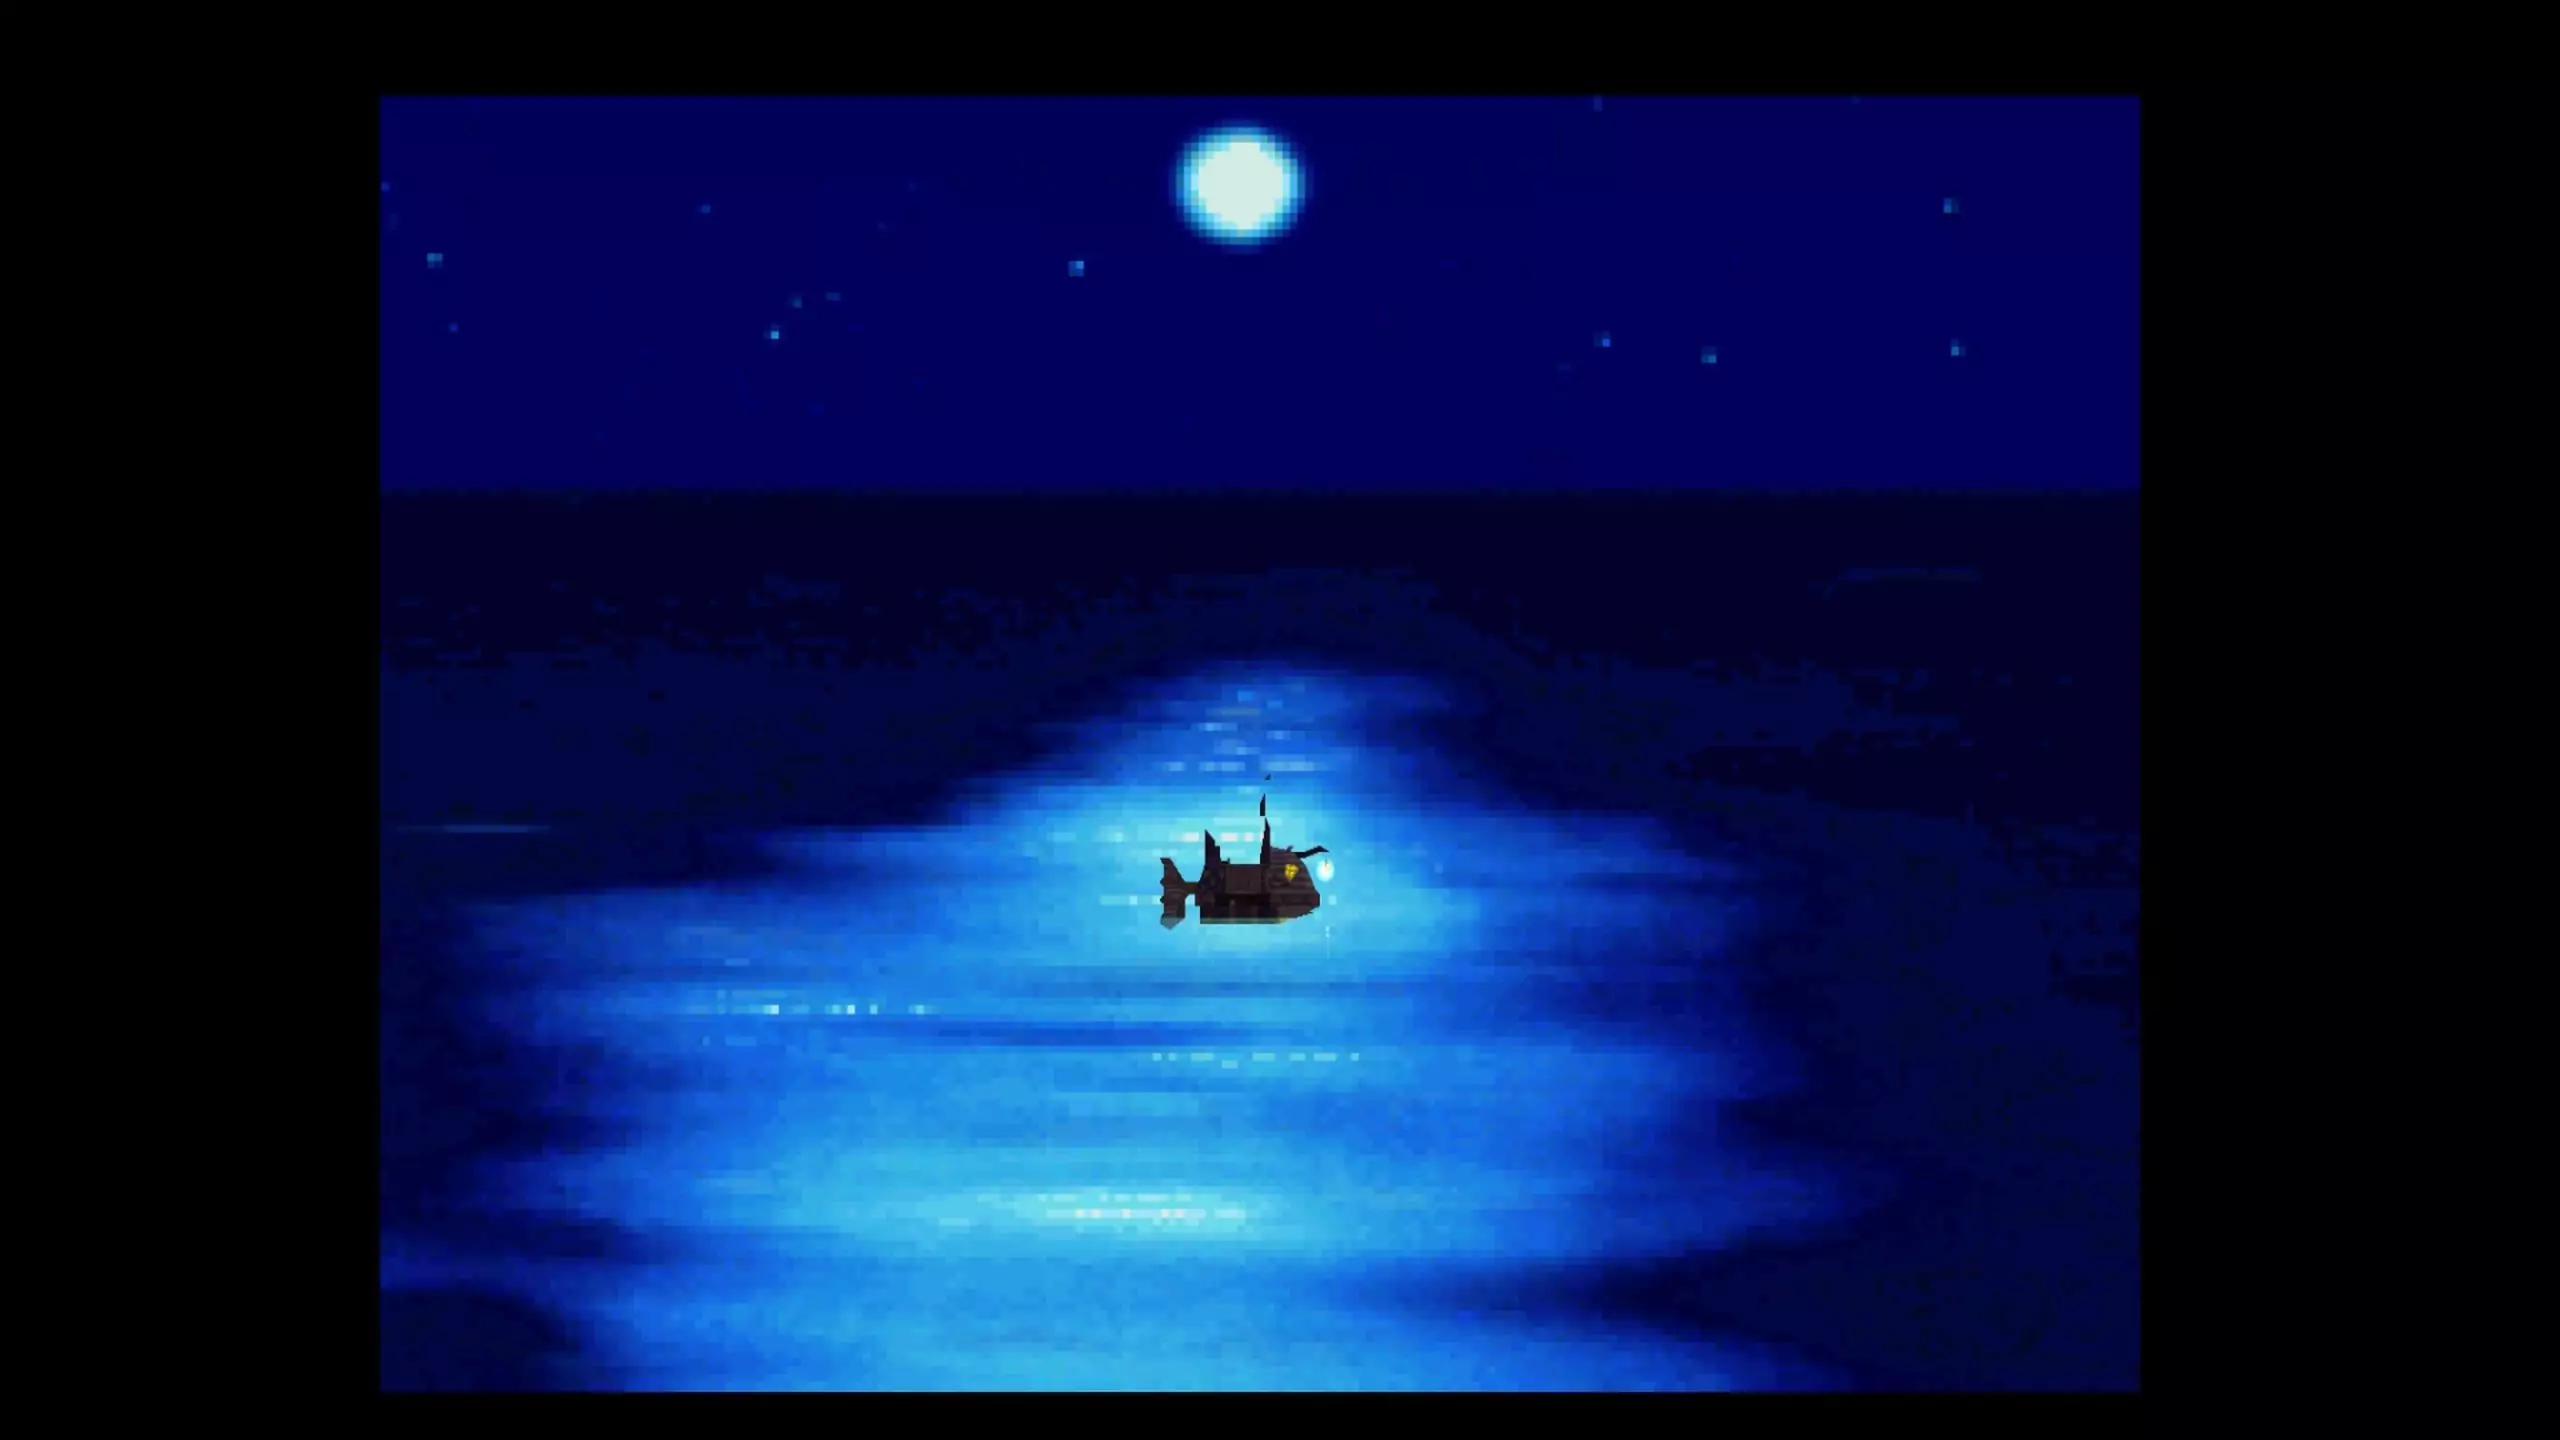
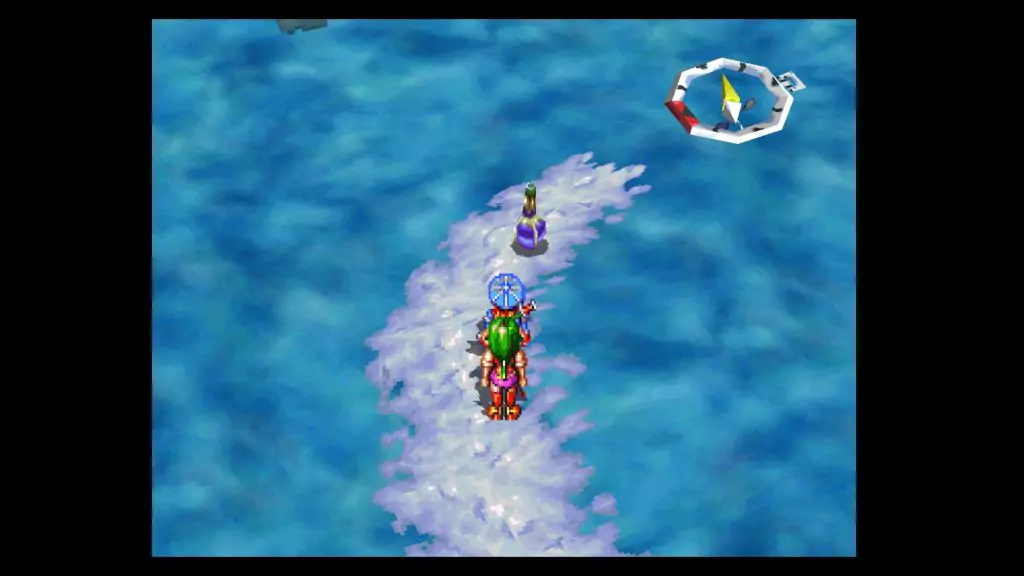
Here on the Sea Dragon, just go outside to be engaged in a long, heartwarming scene. Eventually, the tide will turn and you’ll land at the Pirate Island.
Pirate Island
Stashing Places: Sea Dragon
Items: Seed of Defense, Rainbow Weed, Tear Jewel, Fruit of Life, Rainbow Weed
Gold: 180G, 540G, 180G, 180G, 540G, 180G, 540G
Enemies: Toad King, Hippocamp
Bosses: Grinwhale, Lure
Justin’s Dragon Cut and Feena’s Fire Whip can help increase Weapon and Fire (and Earth for Justin) levels DRAMATICALLY after just a short time. My first Dragon Cut earned 64 Sword EXP and 32 EXP each of Fire and Earth! Other group magic should level nicely as well.
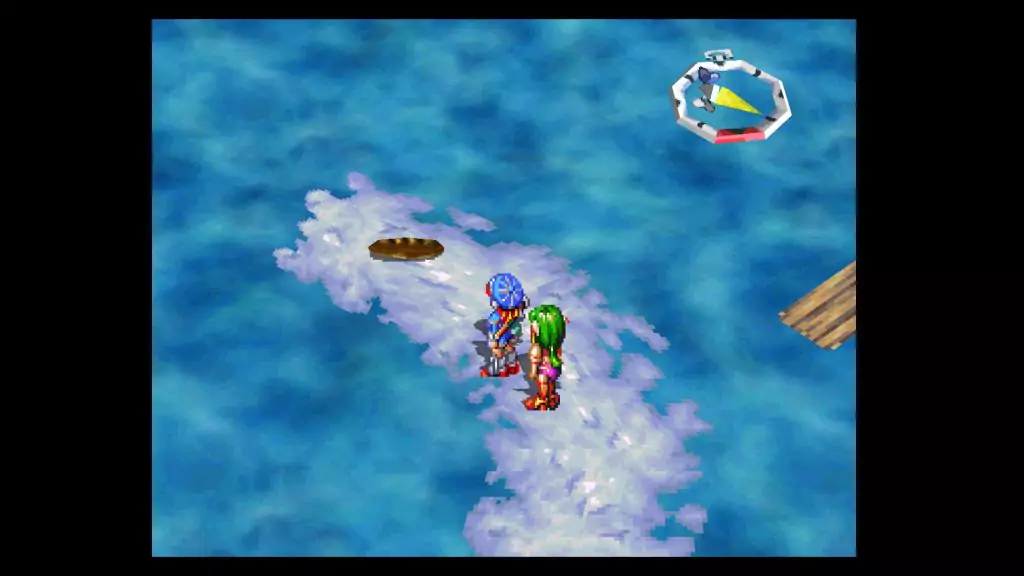
When you regain control, go back to the Sea Dragon and use the Save Point if you want, then head back outside. First off, head northeast past one fork, then turn north and northwest at the next to find 180G at a dead-end.
Go back to the fork and continue northeast and east past two more forks to end up at a DungeonScope Icon. Move south from it and follow the path to a Seed of Defense for Feena.
Return to the Icon and head north-northeast past two forks until you reach a fork that has two boards on the ground with Toads jumping all around on them.
Head west from there to a fork with a DungeonScope Icon on a board. Here, you’ll see a few items. Go west and south to find 540G, then head directly west-northwest from the Icon to 180G, then run east-northeast and west from the Icon to find some Rainbow Weed.
Head back to this very last fork where you branched off to pick up the Rainbow Weed, then head north, a little east, and north some more to yet another fork. Continue north, then turn west to come across another DungeonScope Icon, using it to scope out the area.
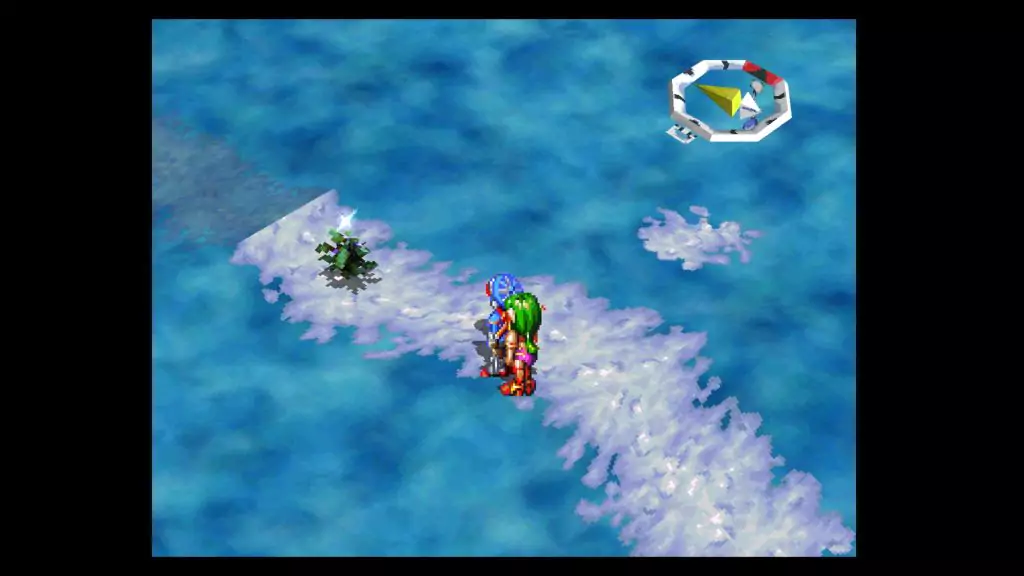
You’ll see some gold, so take a few steps back east, then head north to find another 180G. Return to the Icon and use it again. You should see a little jewel between the arrow and the west side of the compass. Go west a little, then head north and west to that jewel, which is a Tear Jewel.
Go back to the fork with the board (near the Icon) and cross the board to the west, then turn northwest and follow the path as it curves south and southwest to another fork. We’ll come back to the south path in a little bit (it’s your actual destination), so head west instead, running to another fork where an extra-long board lies.
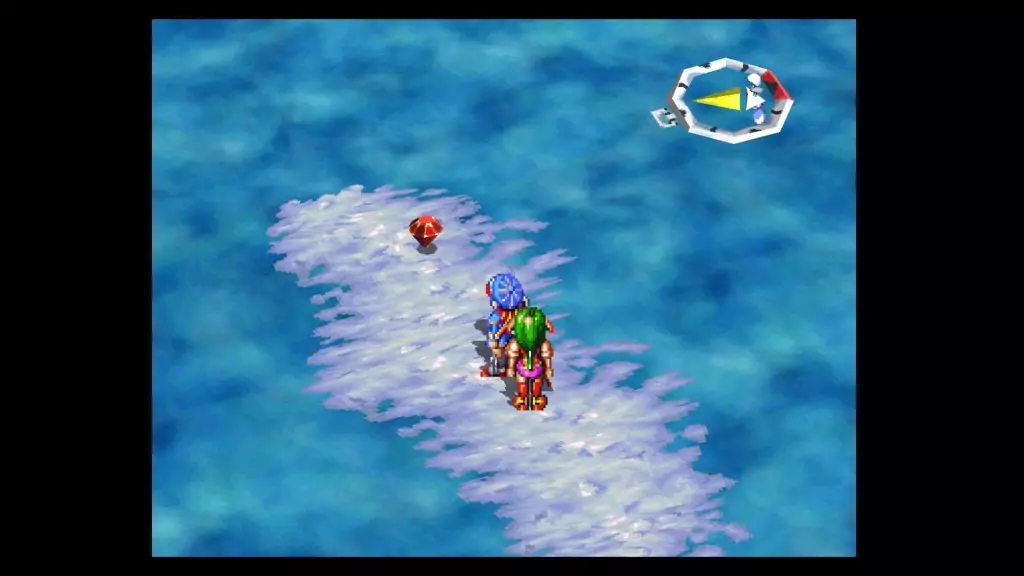
Move east to 540G, then turn around and head west. At the next fork, head southeast and east across the plank to a Fruit of Life.
Return to the DungeonScope on the board here, then head north to the fork. Make your way southwest and along the boards to… ANOTHER fork. Grab the 180G to the west, then go back a little and head south, following the path to a fork.
Continue south a little more, then turn east at this next fork. At the boards, go east-northeast and get another Rainbow Weed, then go back west to the (non-board) fork. Move south while following the path as it turns east to another lovely fork, then turn south. Cross the plank to the southwest, following this path to 540G. Head back and cross the plank again to be back at a fork.
Now, head southeast until you are back at the Sea Dragon. You’ll probably need to recover, so do so and save while you’re at it. When you’re ready, go back northwest to the planks.
Head north just a little, then turn west at this fork and continue to another fork. Head north while passing another fork, then keep going northwest to some more boards. Run northeast to another fork, then head north and northeast to another board, crossing it to your north. (Should see a piece of a door floating nearby now.)
Continue northeast and follow the path for a while, crossing some more boards, back to the fork I told you we’d come back to, with some tall spikes to your south.
Move south while watching out for the Toads that could ambush you from above, then keep moving along while you circle around the island until you can climb onto the tiny island itself.
Head west and talk to the girls, then enter the Pirate Hideout to take on one freaky-looking whale!
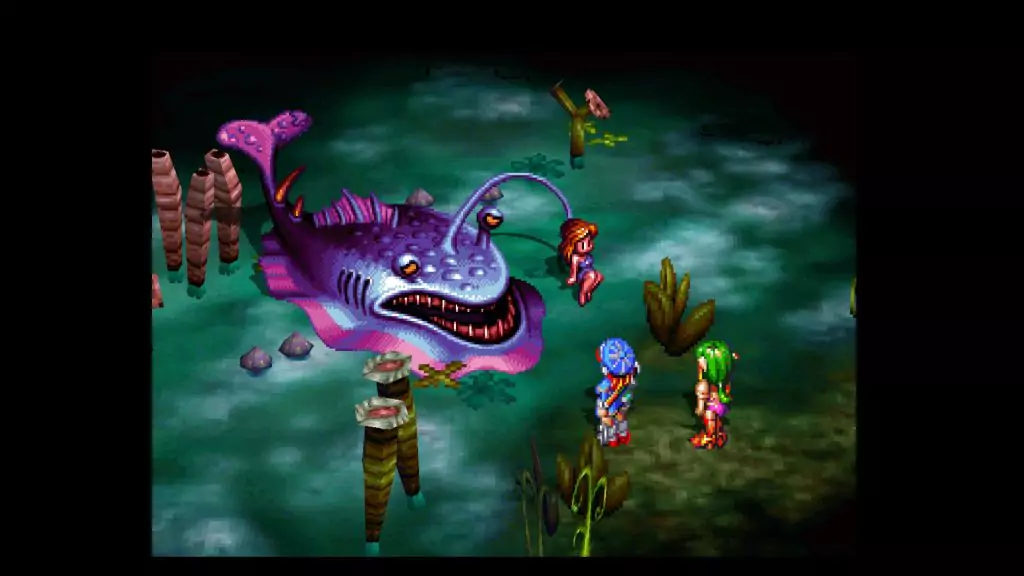

Boss: Grinwhale (with Lure)
EXP: 4400
Gold: 6000
Don’t pay any attention to the Lure. All it does it an Entice attack that inflicts minor to medium damage on Justin. He can take several those attacks, so don’t worry about it.
Instead, just focus on the Grinwhale. It’s tempting to use Dragon Cut, but Lotus Cut will be your move of choice here, as it’s weak to Fire. Once you’re out of SP, switch to the following in this order (if you have them): Zap All, Zap!, BOOM-POW!, Burnflare, BOOM!, then Burnflame.
Feena should follow a similar suit, starting with her Fire Whip, then following up with Burnflare and Burnflame. Shock is the only attack it has that should make you worry. Have Feena throw out an Alhealer afterward if he does use it, just to be safe.
- Entice: Used by the Lure, it only uses it against Justin, and for minor to medium damage. Electric Shock: A SHOCKING! (sorry) attack that inflicts medium damage to the party.
- Body Blow: A close-range attack that inflicts minor to medium damage to anyone standing near the blubberful beast.
- Spew: He chews up and spits out your entire party for minor damage.
Once all the scenes are over, the last half of your adventure will begin!
On to Virgin Forest on Disc 2!!!