Equipment: Heavy Shield, Fireproof Cape, Diana’s Amulet, Ice Blade, Medal of Yore, Godspeed Knife, Energy Charm
Items: Sonic Walnut, Expensive Jewel, All-Around Seed, All-Around Fruit
Gold: 230G, 690G, 230G, 230G, 690G, 230G, 230G, 230G
Key Items: Soldier’s Key, Soldier’s Soul, Soldier’s Soul, Soldier’s Soul, Soldier’s Soul
Enemies: Sand Man, Will-O’-Wisp, Cerberus, Wolfman, Spacetime Armor, Iron Giant
Optional Boss: Kung Fu Master
Because there is only one Save Point in the Graveyard (at the start), you’re going to need to take Potions with you to ensure that you’re in tip-top shape against the boss when you finally reach him. For healing, stick with ONLY your level 1 Heal, and make sure to stagger it evenly between Justin, Feena, and Rapp. It’ll be much easier to use Deep Blue Potions to recover 20 each of their MP than it will wasting tons of money and inventory on Crimson Potions. Getting at least 3-4 between everyone would be a safe bet.
While in here, you would do best after the first area to try to make do with only combo/critical attacks and the occasional level 2 or 3 spell when needed, since the Deep Blue Potion will recover ALL 3 levels of the MP that you’re using. Again, remember to save Level 1 for Healing. In that first area, feel free to go nuts. You can always go back to the Save Point and recover.
Having the Bone Splitter Ax and Shadow Sword equipped on Justin/Rapp/Milda should help for an easier time, as quite a few enemies will likely be defeated in one blow from them. Feena’s Binding Whip from the Castle of Dreams should also help in tying the enemies up, but be sure to bring both the Wrecking Ax and the Lightning Sword with Feena so that she can work on groups of enemies without using MP.
Prepare all that you need to, then leave Cafu and head back to the Zil Desert to be in the North Zil Desert. From the Save Point, head west to the wall, then go south along the western wall until you reach the Soldier’s Graveyard.
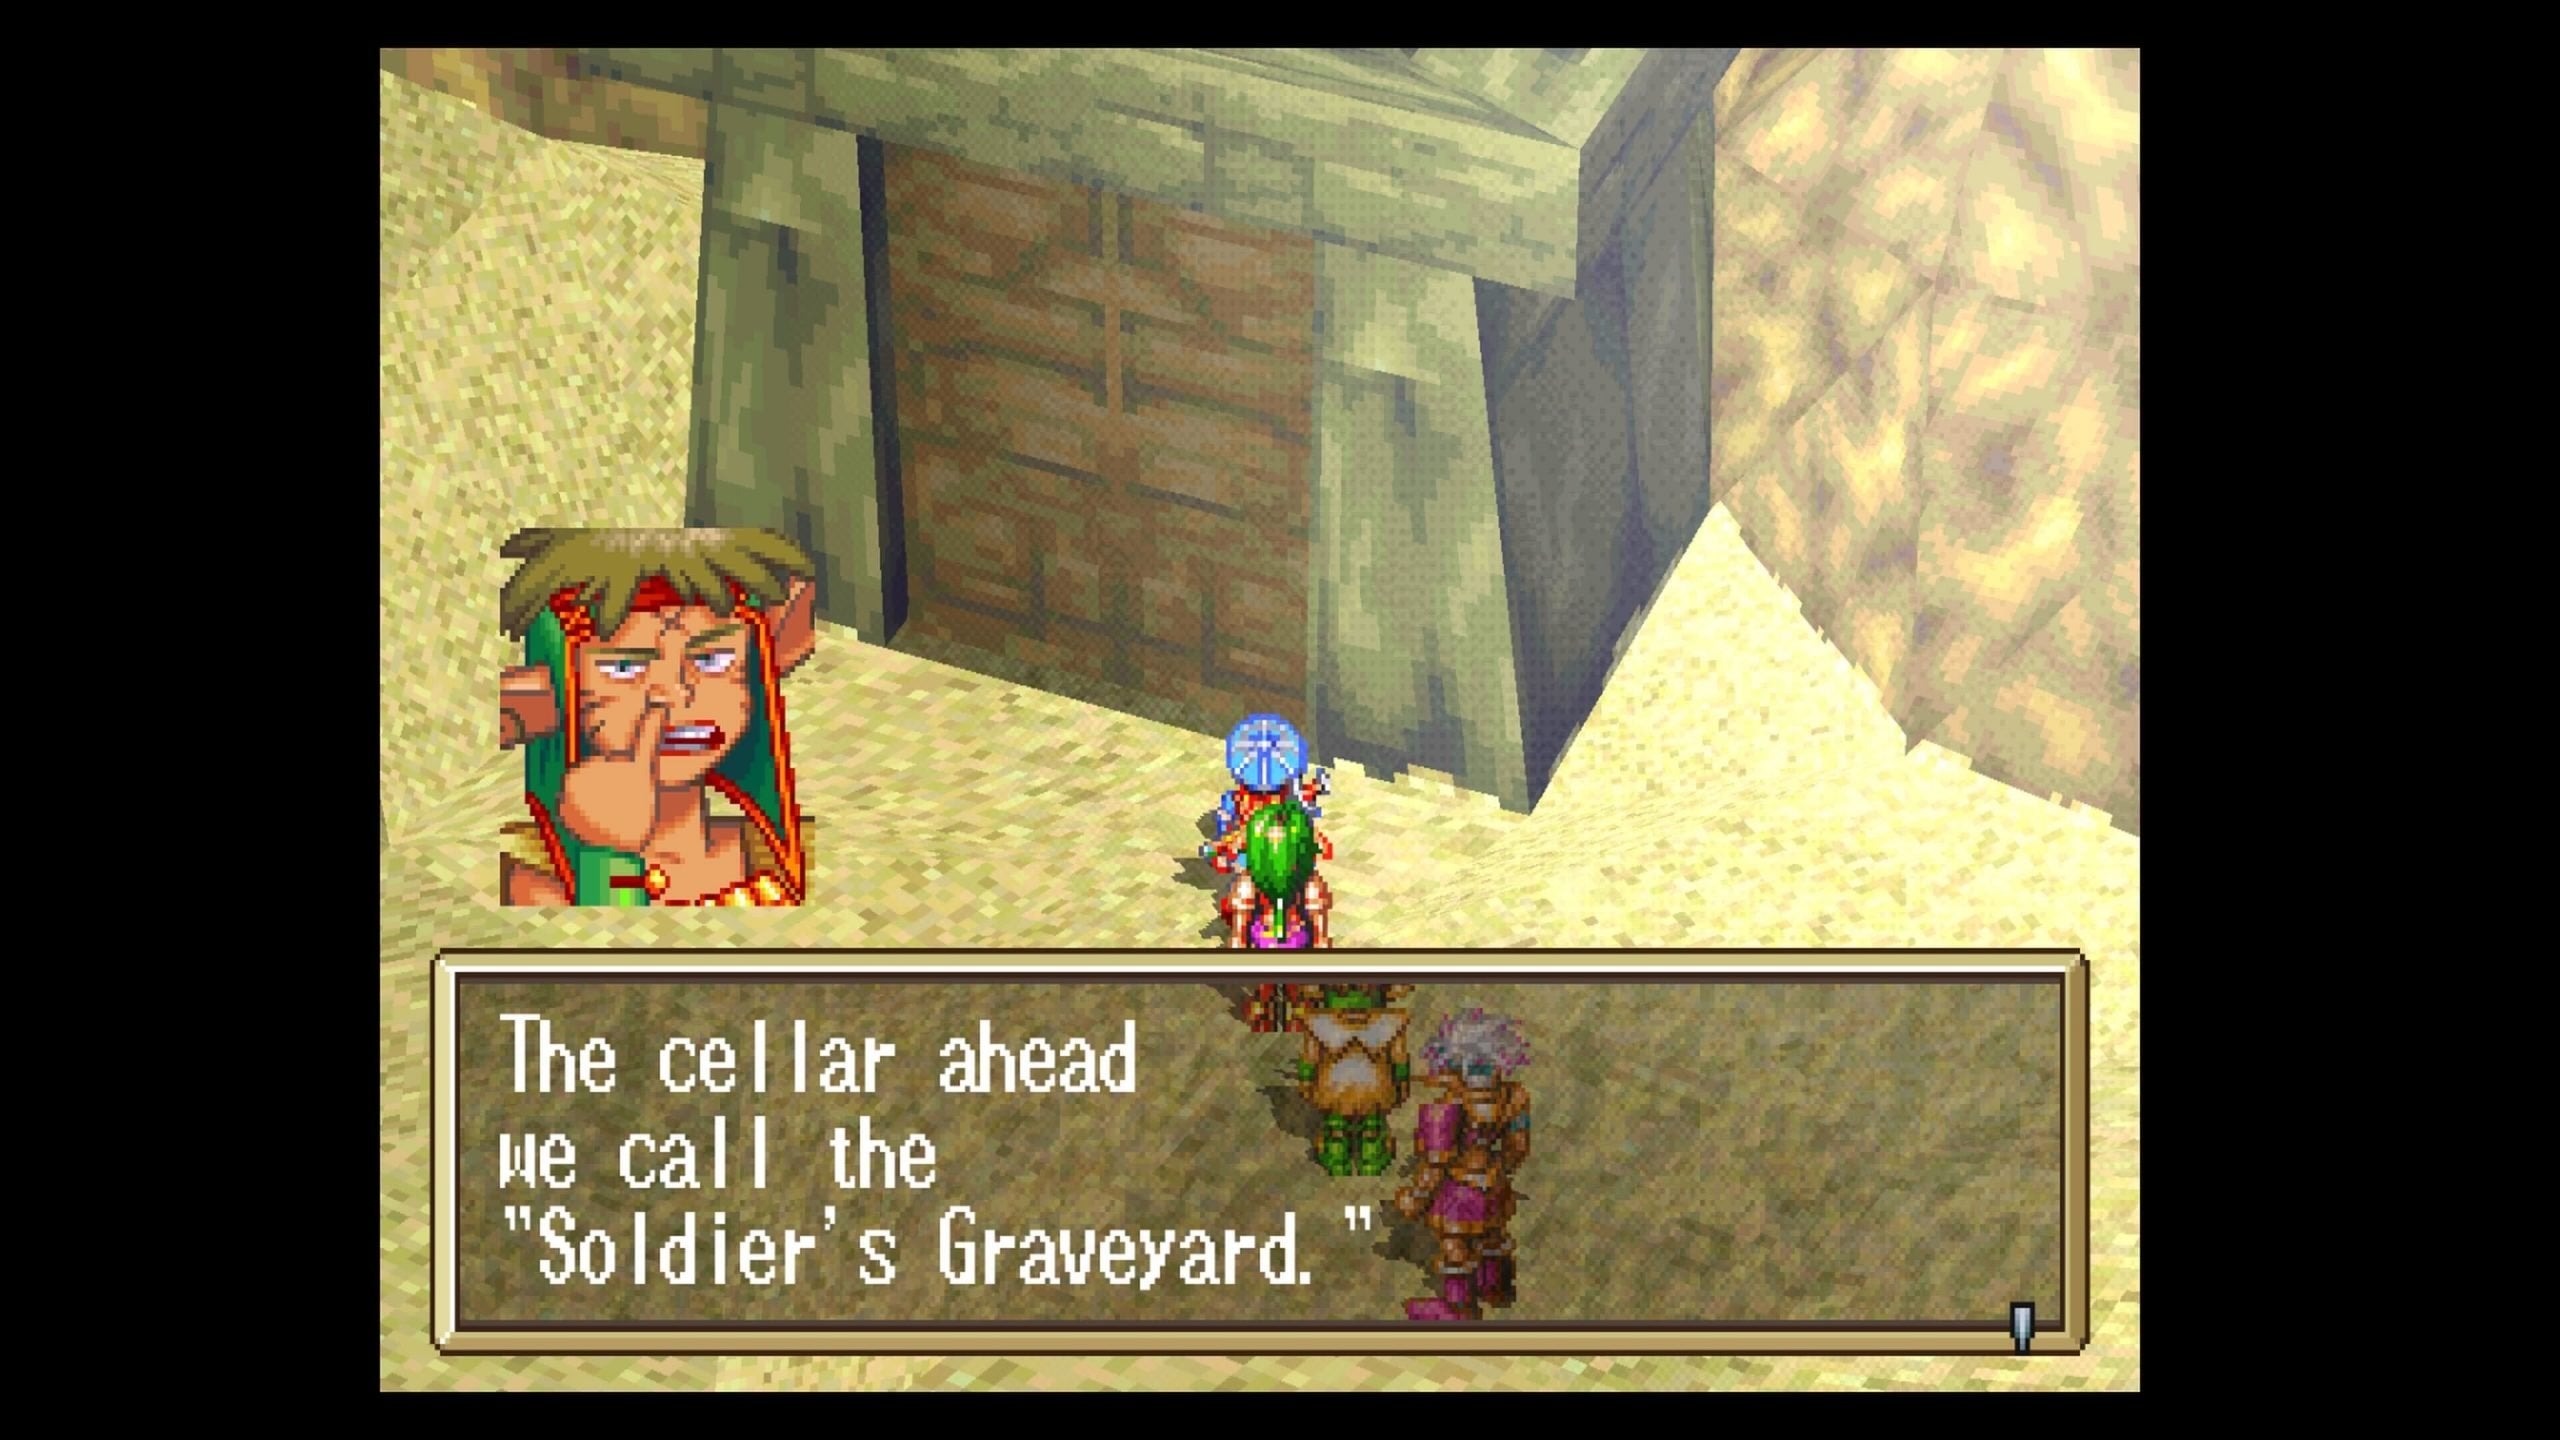
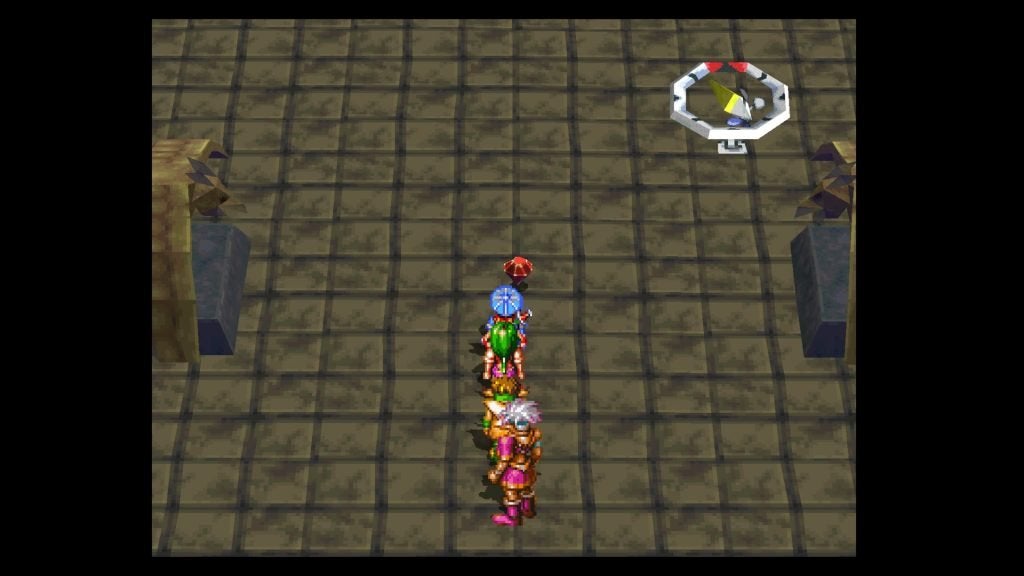
As you enter, you’ll be told that this is a Special Scenario, and it is not part of the story, as we’ve heard before. Use the Save Point here, which is the ONLY Save Point in this entire dungeon, not to mention it is big and somewhat difficult. As I stated above, conserve your SP and MP in here, using Heal only to recover, as well as Deep Blue Potions to recover your MP once each of your members has exhausted at least 20 MP per level. Finally, the compass doesn’t work in here. But it’s not really a problem if I’m helping you out, is it?
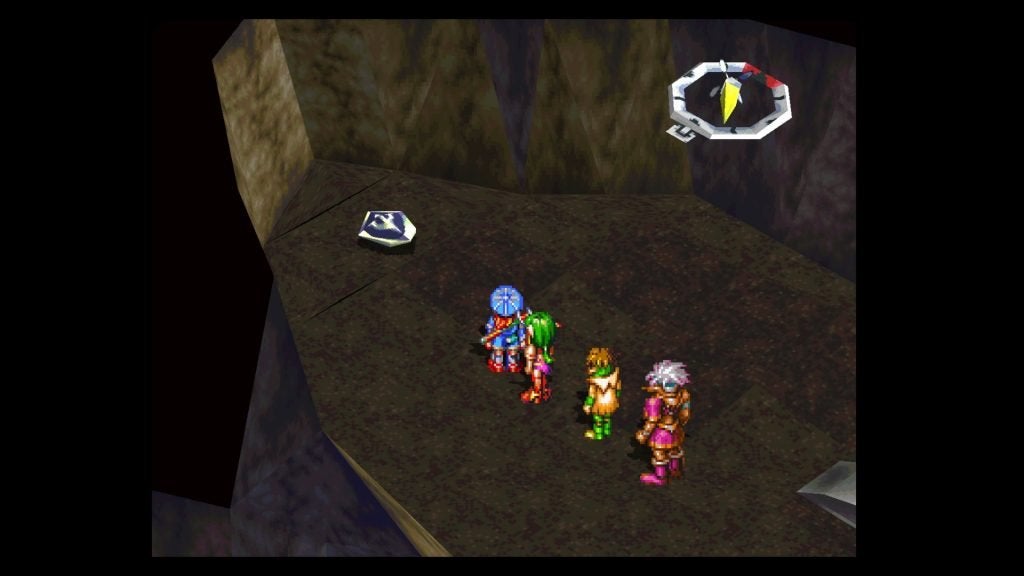
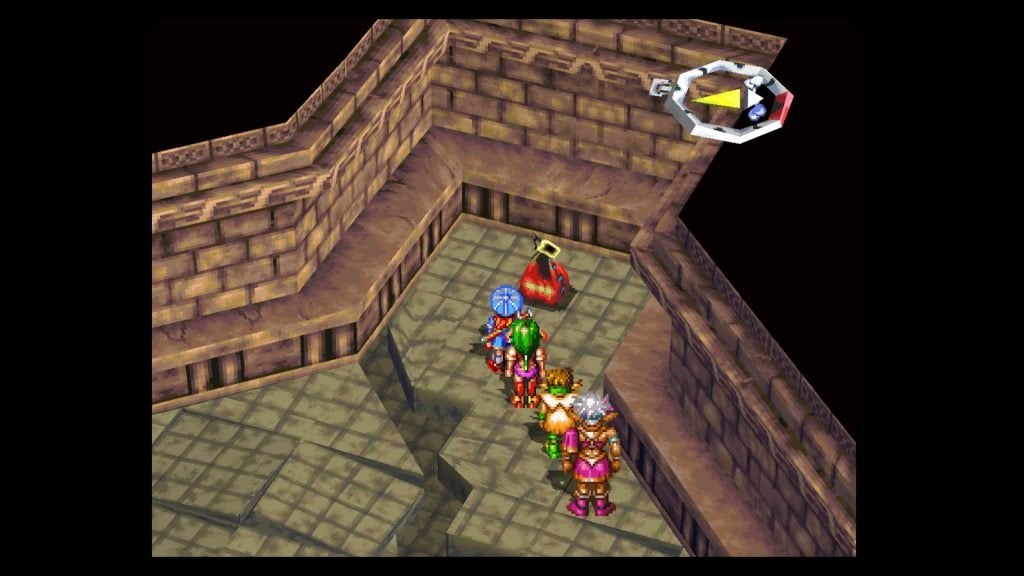
From the fork at this Save Point, head south to a fork. Continue south some more to find 230G, then return to the fork and head west and southwest. Follow the path for a while, and you’ll come to a springboard. Use it to jump to the other side where you’ll find a Heavy Shield. (Could put it on Rapp, but we prefer to keep his Lafa Flower Shield on.)
Jump back over and head back to the Save Point, being careful not to fall down on the way back. Once there, head west and down this path to a fork with a DungeonScope Icon. Take the southern path and follow it for a while until you reach 690G, then go back and head north to another fork. Move northeast to find a Sonic Walnut at the dead-end.
Return to the fork and head northwest and west to another fork. Run southwest and west to an open area/fork, then head northwest and north to 230G. Head south and southeast now. The entrance to B2 is on the eastern wall to the north there. If you need to recover one last time, do so at the Save Point, then make your way back here and head down to B2.
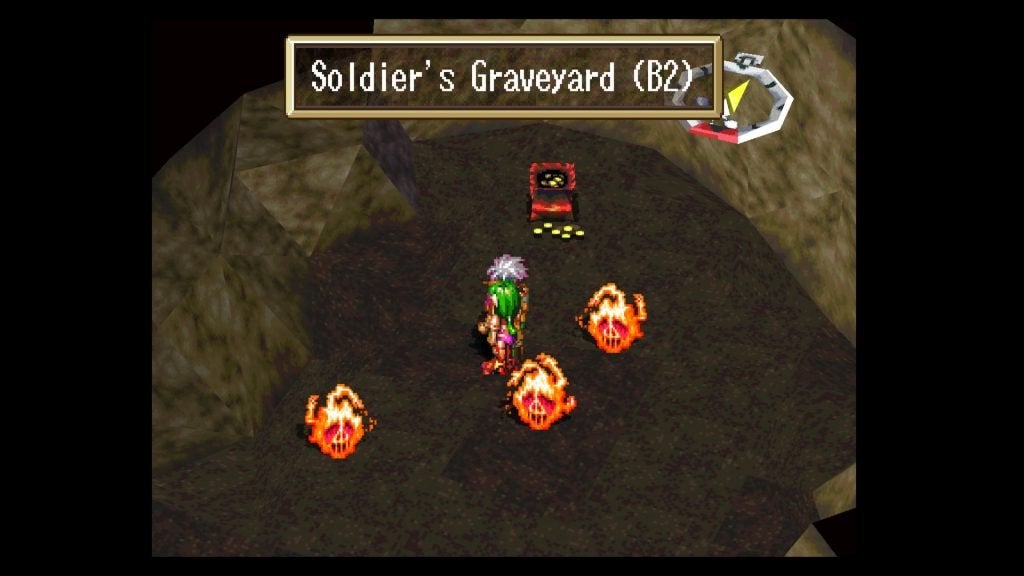
Head east-southeast and down to a fork. Go northeast, then southeast to another 230G, then return to the entrance to this floor. Go north and northwest, following this winding path to a fork. Head west and continue following this twisting path to another fork. Go southwest to 690G, as well as a few ambushing Will-O’Wisps.
After that, head back to the last fork, then back northwest to the one before that. At this fork, run north to a springboard where you can jump down to a lower area, then head east and follow the path to yet another fork.
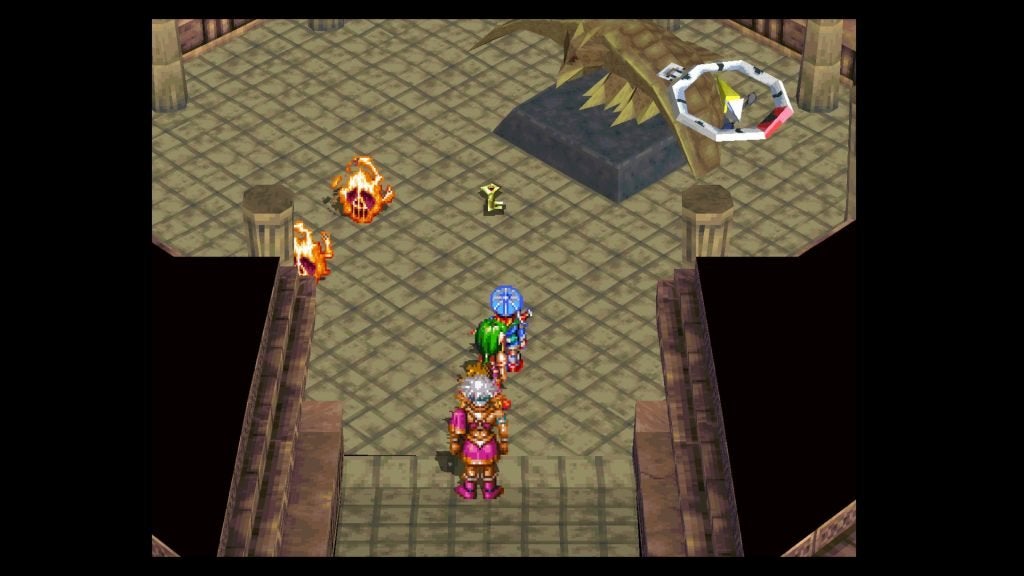
Move southeast, follow the path for a while, but be careful not to fall off the ledge to the west. Keep going to another fork, then go east-southeast and east to 230G. Go back and head west until you come to a different-looking area, where you can pick up a Fireproof Cape to the north.
It looks as like this is the end here, but continue north and examine the wall. It will lower, allowing you to continue down to B3.
There are going to be a lot of secrets here, so pay close attention. Down here at this fork, go northeast to a four-way fork. Continue northeast some more to a room.
Don’t fall through the weak areas of the floor, because you’ll fall to B4. Just rotate the screen and look out for the cut-out squares on the ground, and stay away from the edge.
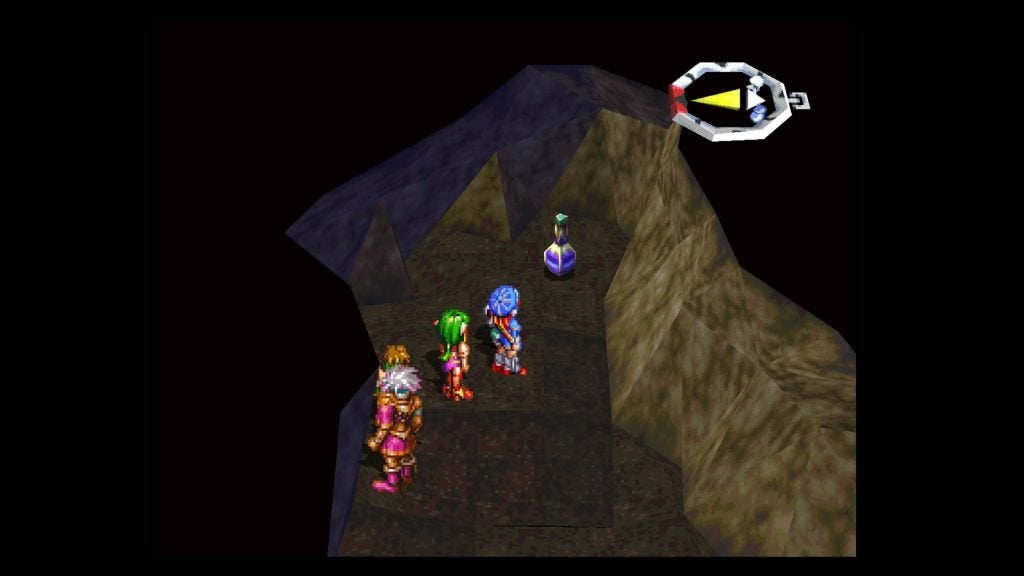
Pick up the 230G from the southeastern corner here, then return to the fork. Go northwest to find another springboard. Jump over, keeping in mind that you can’t jump back. Grab the Expensive Jewel on the western side, then fall to B4 West.
From where you land, head northwest and pick up another 230G, then take note of the door to the north. We’ll need a key to get through it, though, so take the eastern path to another room.
Check the southwestern wall here to make it disappear, then go southwest and pick up the Soldier’s Key, the Key to the big door from before.
Before unlocking it, head southwest into another room, where you then need to go west and down the stairs to B5.
Run into the eastern wall so it’ll disappear, then go east down to another room with several enemies and a Diana’s Amulet waiting for you. Go back to the last room and head north through this wall. Grab the All-Around Seed on the western side of this room, then return to the room once again.
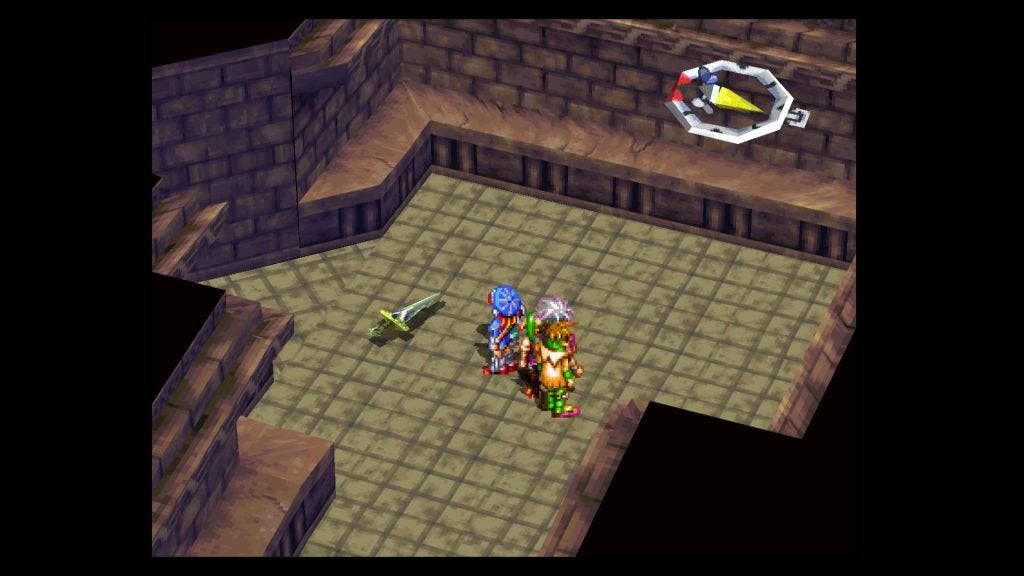
Run through the southwest wall and drop down, then follow the path around to the east. You’ll come to a small room with an Ice Blade. This will help a lot against the next boss, but not as a weapon. It casts Cold, and the boss is weak against it.
Go northwest up the ramp to drop down back into the room, then head west back to B4 West.
Also, make sure that no one has the Gil Sword equipped for the next battle. (If that’s all the person has equipped, make sure that they do NOT land the final blow on the boss, or there’s a chance you may not receive the item he drops. Yeah, glitches suck, we know.
In this room, go north to the big door we saw earlier. With the Key in hand, examine the door and go through it to B4 East. Walk north and the screen will shift, letting you know that a boss is forthcoming. Make sure you’re at 100% HP/SP/MP, then walk forward to meet the Kung Fu Master.
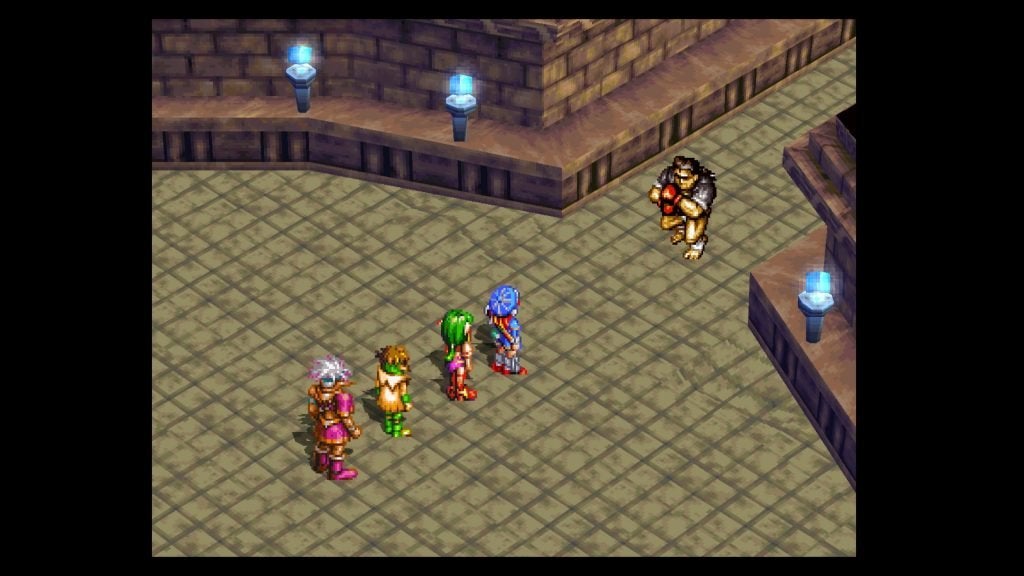

Kung Fu Master
EXP: 9800
Gold: 0
Items: Satisfaction Gem
Wow Chang, you’ve gotten STRONG! This should be your first battle with a palette-swapped boss, and for this one, he does use the same moves as Chang. He moves really fast, hits hard, and even recovers hundreds of HP regularly! But unlike most bosses, he has a major weakness that we can take advantage of: COLD.
Justin has Cold in his arsenal, and Milda should have the Ice Blade in her inventory, so have them both use Cold until the Kung Fu Master is at -7 WIT level. With his WIT at -7, the Kung Fu Master becomes much more manageable. But, there’s one slight issue. You should only do this at the beginning of the battle, since he constantly heals himself.
Later on in the battle, he can use Vanish, which will remove all of the buffs/debuffs on everyone — himself included — and you’ll be facing regular Kung Fu Master again, so you don’t want to waste TOO much time buffing.
With all that said, once he’s weakened, just throw everything you have at him. We like to have Justin use Midair Cut, Feena use Zap! Whip, Rapp use Demon Ball, and Milda use Milda Hit, followed by combo attacks.
However, in all the time that you’re debuffing him, he can (and will) hit you very hard. He has the same attacks that Chang did, so watch out for his Tornado Punch which can do major damage.
Spin Kick is also still just as annoying, doing medium damage to everyone in the range, and his combo attack will do in the medium damage range once the hits land.
Have Feena throw out either a Healer (for Tornado Punch or Spin Kick) or an Alhealer (Spin Kick) after he lands them to stay in tip-top shape.
- Combo attack: A three-hit combo that deals medium damage, if all three manage to land.
- Spin Kick: A spinning kick that hits a range around one of your party members that deals medium damage.
- Tornado: A hard punch (and stomp) that can do major damage when it connects.
- Vanish: He will remove all buffs and debuffs from both the party and himself. If it does happen, do not restart your Cold strategy, or he will regain most of his HP back that you managed to whittle down. Just stick Feena on Alhealer duty to help recover the increased damage he’s going to put out.
Phew, the hard part is over. Now we just have to make it out of here alive! But first: awesome treasure! After the battle, run through the wall on the west side of this large room to have it disappear, then continue west to another room. Search the northeastern wall to reveal another passage.
Go northeast up this ramp, then northwest down into another room. Get the Soldier’s Soul out of the chest here, then head back to the large room.
Now go to the eastern side of the room and through the wall to another room, then go through to the southeastern wall. Make your way through that path to another Soldier’s Soul, then return to the large room.
Head north past where the Kung Fu Master was, but don’t fall to the ramp below, or you’ll have to do some backtracking.
Go around the pit to the north side, then head all the way north to a Medal of Yore, which you can discard if you’re running low on room. In this big room, go through the eastern wall in the middle to make it disappear.
Continue east to an All-Around Fruit, then check the northwestern wall. It will disappear, so follow it to the end where the (arguably) best knife in the game, the Godspeed Knife, resides.
Go back to the last room and check the southeastern wall for another path, where you’ll find another Soldier’s Soul. Now head back to the large room.
Go to the middle of the western wall and pass through it to the last room with the fourth and final Soldier’s Soul.
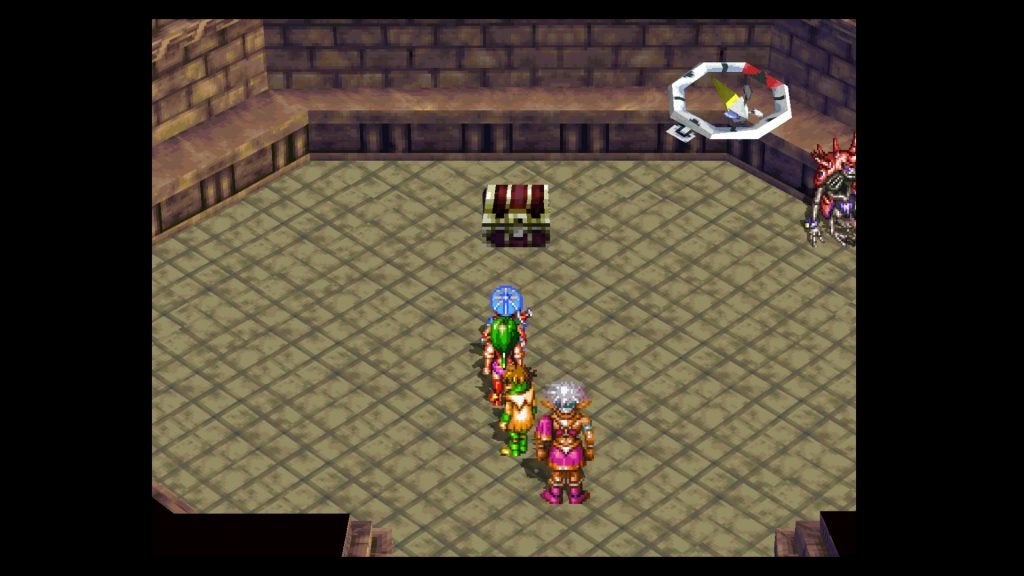
By having all four of these, we can now access the chest we couldn’t get to before! Return to the large room and head back south to where that chest is. Go south down the ramp and open the chest for the item we came all this way for. The Energy Charm.
When equipped, it reduces the SP needed for moves by half. All right! Justin’s name is written all over this, so I’ll be equipping this to him for the rest of the game.
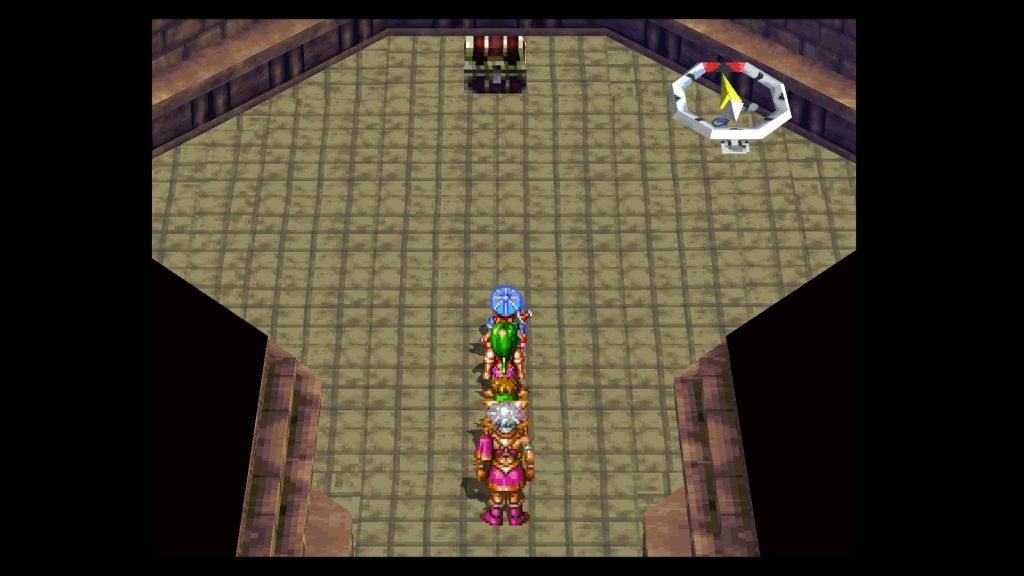
Now, to get out of here. Slide down the ramp to B5, then head south and west up the stairs to get to B4 West. Go north to the fork before the blue door we unlocked, then head east, then south up the ramp, then west up the stairs to B3.
Go northwest up to a room, then southwest to another room, where you can go up the stairs to B2 to the south. Run all the way south to get back to the dirt path, then head south and east along the dirt path to a fork.
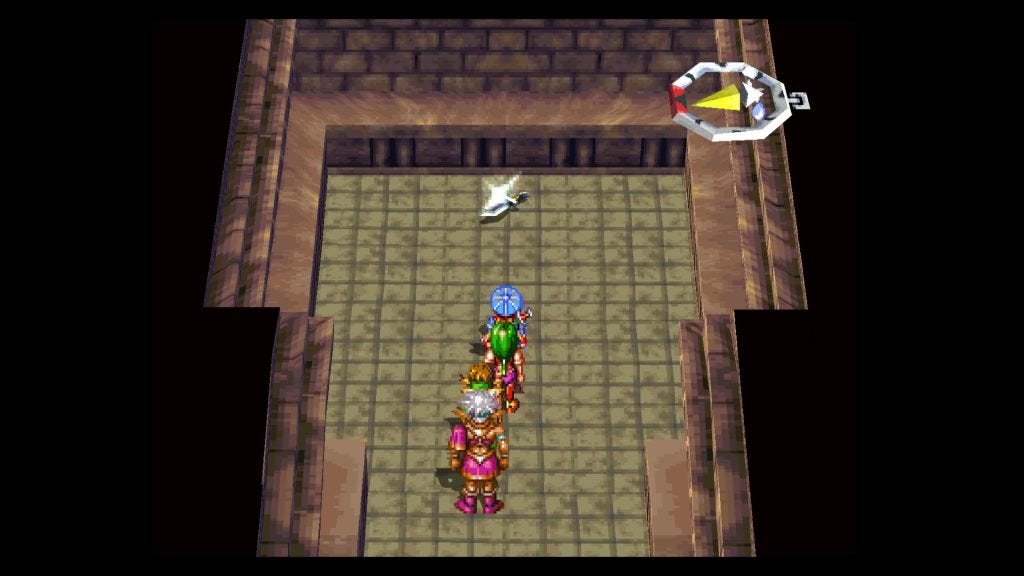
Go northeast, and drop off the ledge to the northwest when you come to it. Continue northwest to a fork, where you’ll go northwest some more, then west to B1. Go west-northwest and follow this path to a fork, then head east and northeast to another fork, where you’ll go east to another fork.
Head south and follow the path to the DungeonScope Icon, then go east and follow this path back to the four-way fork where the Save Point is.
Finally, we’re out! Use the Save Point and head out to the Zil Desert. Run northeast to get to the entrance to the Zil Desert to out of here.
Now that we’re done with the Special Stages, you can go back to Zil Padon and Laine Village and restock with what you want, buy what new weapons you want/can afford, and clear out your inventory.
Use the Stashing Place to stash all of the Key Items that you got at the Soldier’s Graveyard.
When that’s all said and done, let’s continue with the story, which would be the second visit to Laine Village if you’ve been following this guide.