
Stashing Places: Doom Warehouse
Gold: 210G, 210G, 210G, 210G, 210G, 210G, 630G, 210G, 210G, 210G, 210G, 210G, 210G, 210G, 210G, 210G
Items: Rescue Set, Bond of Trust, Seed of Running, Seed of Running, Vaccine, Vaccine
Equipment: Home Run Hammer, Plug Suit
Key Items: Gaia Sprout
Enemies: Elite Officer
Bosses: Milda, Gaia Battler, Right Hand, Left Hand
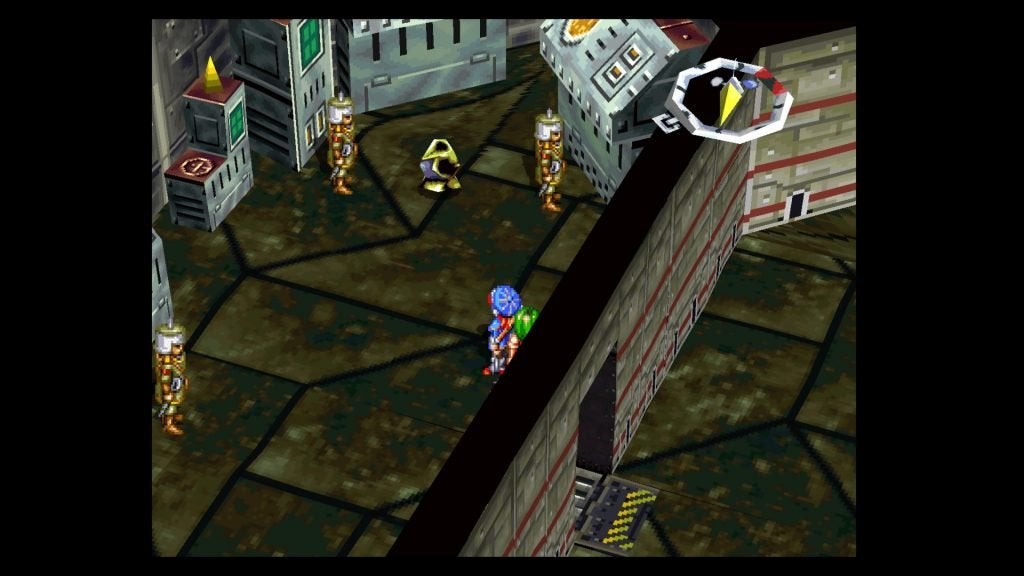
From the entrance, head east and look for 210G against the wall, then go back and head north directly into the Army Warehouse. You can save, recover, and stash in here if you want, but make sure to also grab the 210G in the northwestern corner.
Head back outside, then move west, north, and east along the Warehouse and grab the Rescue Set.
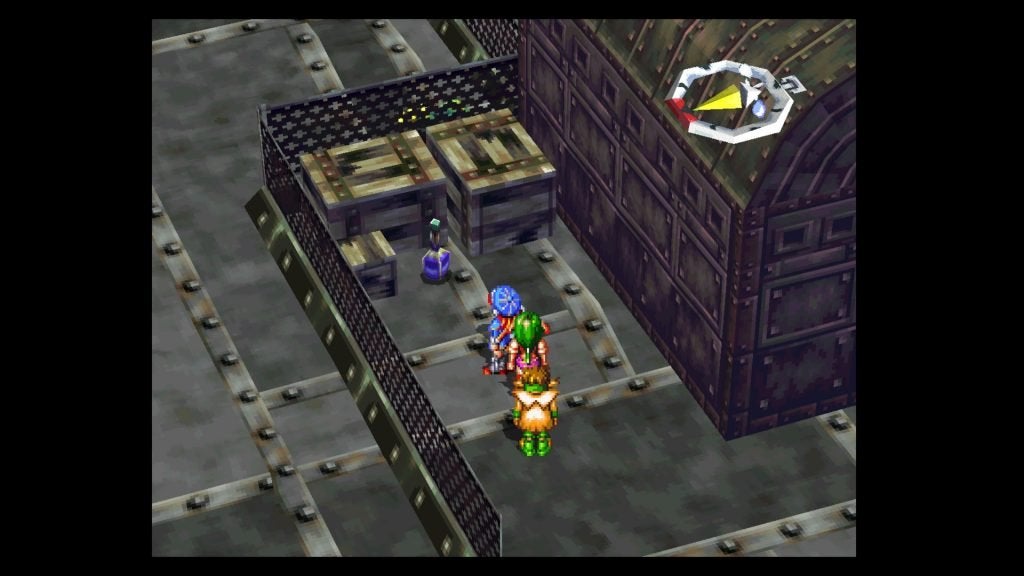
Head directly west to the wall, then run north along it to find 210G and another 210G right beside it between the building and the wall. Return to the north side of the building where you got the Rescue Set and head east, where you’ll run into your next obstacle.
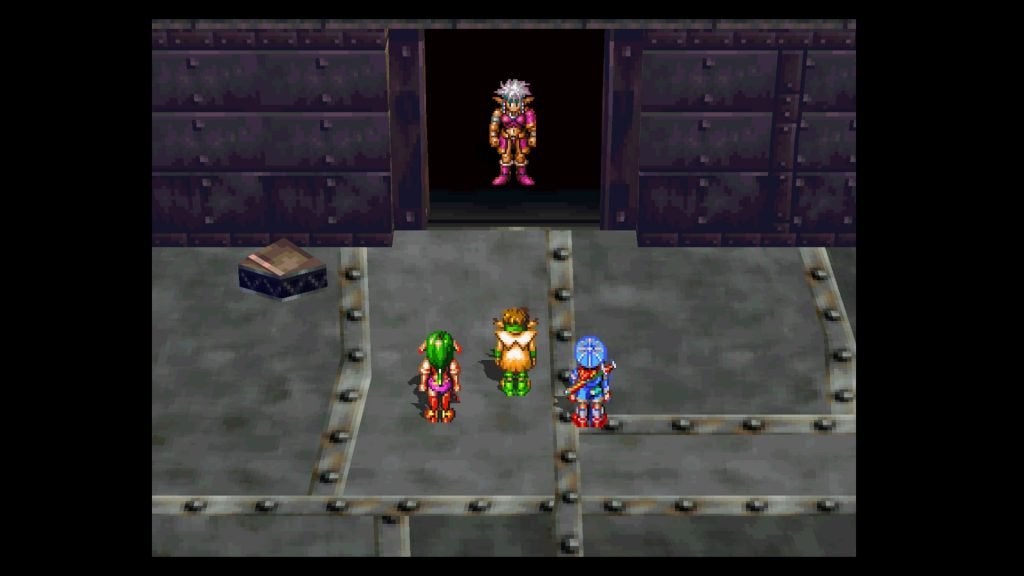

Milda
EXP: 2300
Gold: 0
This is just going to be a drawn-out physical brawl. Feena’s attack magic doesn’t come into play much here, as none of her spells (unless you’ve been over-leveling) can really do a significant amount of damage.
Instead, with the Chain of Gems equipped, have her just attack Milda normally with combos, as they should be doing over 200 damage each turn with 3 hits. (If you don’t have it, just have her use Crackling, followed by Knife Hurl, Crackle, and then combo attacks.)
As for Justin, just have him continuously hit her with V-Slashes — unless she’s close to acting, then switch to Midair Cuts for a higher critical rate.
Luckily, she’s not difficult and you likely won’t need to heal if you keep her IP delayed with Feena’s combo hits. Here are her moves.
- Single attack: She’ll hit one person with her axe for minor to medium damage.
- Drop Kick: She’ll lock on to one person and drop-kick them for medium damage.
- Milda Hit: She’ll hit someone many, many times for major damage. Try canceling this if you see it coming.
After the battle and some dialogue, Milda will join your party!
As we’re sure you’ve guessed, since she’s a good dozen or so levels higher than we are, and for the fact that she can’t use magic, she’s just a temporary party member. She’ll be of great use though. Be sure to increase her Mace level as much as you can to help benefit our final party member!
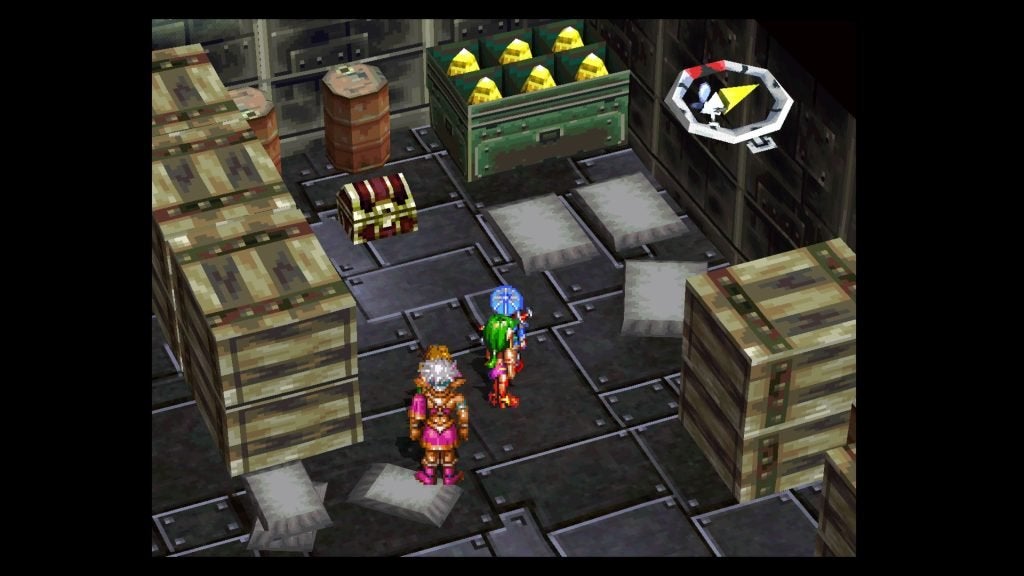
When you regain control, save and recover if you want, then leave the Warehouse. Head west, north, and east where you met Milda, then grab the 210G to the west beside the fence where you found the Rescue Set. Check to the east to find another Army Warehouse, where you’ll find a Bond of Trust in a chest in the northeastern corner.
Back outside, walk south from the door to the Army Warehouse and squeeze your way between the buildings here, and you’ll find a Seed of Running at a dead-end back there. Once you have it, head north and northwest to the 1st floor of the Tower of Doom.
Use the Save Point if you need to, then go through the eastern door. Enter the first door to your northwest and grab the 210G and the Vaccine.

Check out the Action Icon to the south to blast a hole in the wall, then go west and north through a door to a central walkway. Make your way around the walkway and through the northern door, then run north again through another door.
Walk southwest and go in the next door. Get the 630G and fight the soldier if you like, then head back out and continue south, past the stairs, into the next room. As usual, get the 210G, then leave and head back up the stairs we just passed.
You’ll be in another central room, so go around and take the southern path that leads to the western door. Note the infrared squares on the floor. If you step on one, soldiers will appear to get rid of you, so avoid them if you don’t want to fight. If you want that 210G in the southeast corner, you won’t have a choice.
In any case, head out the western door and follow this path to a room. Get the 210G beside the boxes, then use the Action Icon to break the computer in there.

Head back out and make your way back to the central room. By smashing that computer, you can now go through several new doors, so if you need to recover at the Save Point, take the southern path from the central room down the stairs.
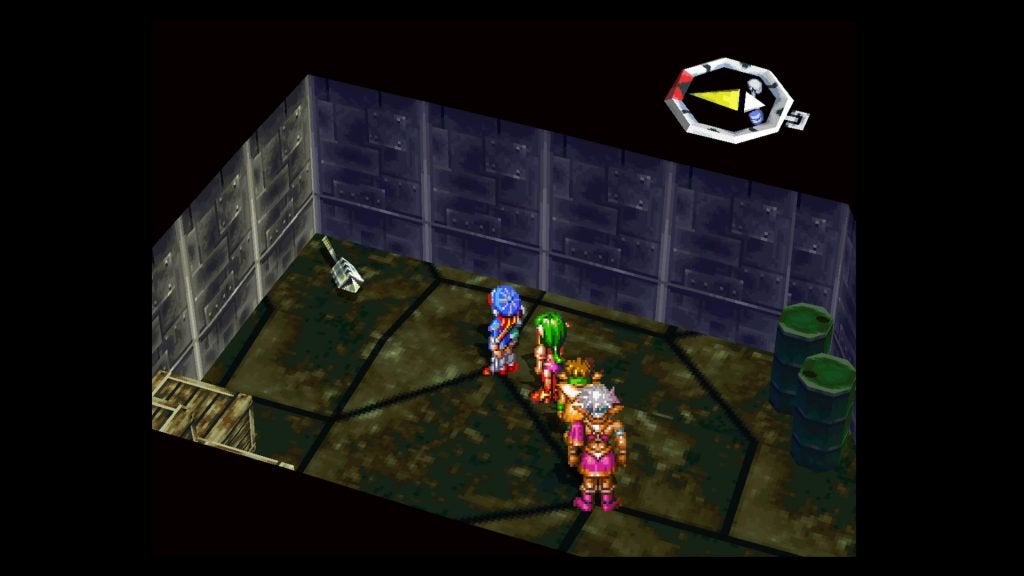
After recovering, go back up to the central room and take the eastern path. At the fork, head south and follow the path to a room with a Home Run Hammer in it. (Equip to Milda!)
Return to the fork and head north to another door. Go down the stairs here to get back to the first floor, then run east and southeast. Enter the little door to your southwest when you can and maneuver around the beams if you can. If not, just run through them for minor damage and retrieve the 210G in there.
After grabbing the gold, head through the door to your north and grab the Seed of Running, then break the computer in here as well. Go back to the hallway and move south through the big door.
Head southwest back to the first room. Go up the stairs to the second floor, then north to the central room, and then take the northern path up to the third floor.
Use the Save Point up here if you need to, then look at the glowing red buttons on the western wall. Turn them both off, then head south to the octagonal hallway. Run southeast and grab 210G, then head back and go south through the door.
Leave through the southern side, then head over to the west and northwest to find 210G. Head south and southwest and in the door you just passed to find some soldiers, as well as a Plug Suit — put this on Milda.
With it and an Officer’s Badge equipped, she can actually be almost as fast as the rest of your party.
Return to the hallway and head east and northeast to find 210G, then go south and southeast in the room we passed to find another 210G. Now, head back to the two red buttons that we turned off, and turn them both back on. Recover while you’re there.
Go back through the center area and south to the other side, then head through the middle door now to the south that it is accessible. On the eastern wall, turn off the two blue buttons, then head back through the central room and back to the northern side.
Visit the room on the western side to find 210G, and visit the room on the eastern side to find another Vaccine. That’s it for treasures, so head back to the far south and turn the blue buttons back on.
Now, you have a Boss battle coming up, so head back to the red button room to save and recover. When you’re ready, return to the blue button room and head up the stairs to the Laboratory. After a disturbing scene, you’ll have to take on a Gaia Battler.
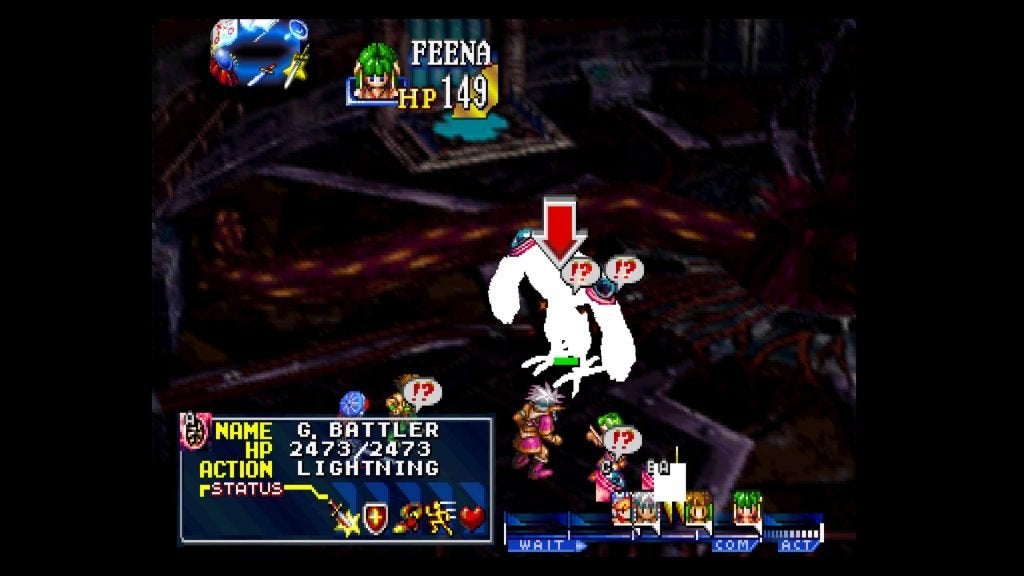
Gaia Battler (with Right Hand and Left Hand)
EXP: 5700
Gold: 7800
The Gaia Battler has three different parts, with different HP for each one. Each Hand has different strengths/weaknesses as well.
Physical attacks are ineffective against the Right Hand, so you’ll have to take it out with magic, whereas the Left Hand is weak against physical attacks, but magic will still at least do some damage. By looking at the attacks below, you’ll see that the Left Hand is the most dangerous, so we need to get rid of it first.
All against the Left Hand, have Justin use Midair Cut, have Feena use Crackling, have Rapp use Doppelganger, and have Milda use Milda hit, then combo attacks. After two rounds, that hand should be gone.
The Right Hand really isn’t anything special to worry about, so you can ignore it and turn your attention to the Battler itself.
Stick Feena on healing duty, using Cure and Alheal(er) when necessary while everyone else works on the body (and if she has a free turn, have Feena use Crackling). Milda should be wailing on it with physical attacks, while Rapp uses Doppelganger, then physical attacks.
Justin can actually (likely) take out the Right Hand while he’s working the body with Zap All, as it’ll do 700+ damage to it while doing 300+ damage to the body. Once you’re out of MP for Zap All, switch to Midair Cut on the body, followed by just Zap! if needed to finish it off.
- Single attack: Both hands can use this, but it only hits one person for minor damage.
- Poison Gas: The Battler itself will hit those around it with poison and minor damage.
- Ray Spread: Right Hand – Hits a range of party members for minor damage.
- Combination: Left Hand – A DEVASTATING combo attack on one party member that can easily kill them. Cancel it at all costs, and prepare to resurrect/heal if it lands.
- Lightning: The Battler itself has an attack that hits ALL party members for medium to major damage. Queue up an Alhealer once it hits, as everyone will need it afterward.
After the battle, you’ll receive the Gaia Sprout. Head out of the tower by going all the way north on the third floor, all the way south on the second floor, and out the door on the first floor. After that, leave the Tower of Doom and return to Cafu.
Cafu Village
Go up to the entrance for some dialogue, then you’ll be told to go to the Inn and have a meal. Do so for a dinner event, then leave the Inn and head northwest behind the Inn.
In the next area, talk with Feena, then head back to start fighting some Black Berets. Continue into the village and head northeast and north to fight one last battle. Watch the events unfold here… and you’ll eventually regain control.
Head back to the entrance and talk to the Elder, then rest at the Inn until the next day, enjoying another dinner scene all the while.
You can no longer enter the actual village of Cafu, but you can still come here to shop at the store and stay at the Inn if you like. Don’t bother wasting any more money here (unless it’s on Lafa Flower Shields). The next town has a ton of great stuff, and you’re going to be spending quite a bit of money to suit everyone to your liking.
We’re off to Laine. First stop is the Zil Desert on the way to Zil Padon.