Items: Mana Egg
Equipment: Confusion Charm, Klepp’s Sickle, Pirate’s Helmet, Hail Bow
Key Items: Warrior’s Spear
Gold: 130G, 130G, 130G, 130G, 390G, 130G, 390G, 130G, 130G
Enemies: Elite Klepp, Klepp Knight, Klepp Rider, Klepp Soldier, Lizard Rider, Mad Rider
Bosses: Serpent, Bad Head, Hot Head, Nice Head, Mean Head
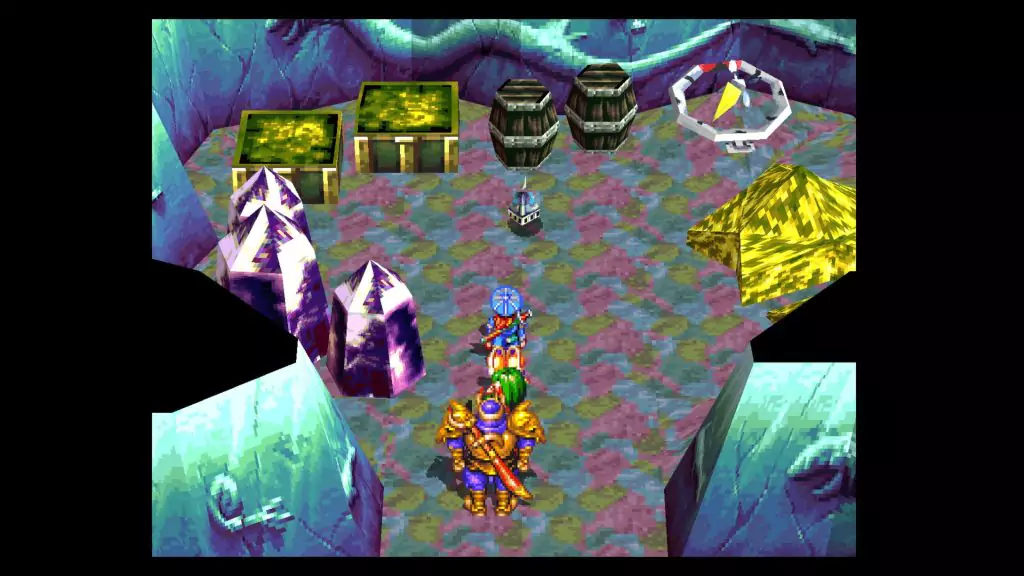
You’ll find a Save Point as soon as you enter, so use it. Head west-northwest into a room with some monsters hanging around. They won’t attack you, so go all the way northwest to find a Mana Egg.
Time to head back to Dight and use it! Here’s what we have now. We got Earth for Feena, leaving just Earth for Justin. (Why did we give it to Feena and not Justin? Well, to be fair, Justin’s 2nd strongest move can easily and quickly level up his Earth to high levels very, very quickly. Feena’s only move that can really do that is to her Fire with her Fire Whip.)
- Justin: Fire, Wind, Water
- Sue: Fire, Wind, Water, Earth
- Feena: Fire, Wind, Water, Earth
- Gadwin: Fire, Earth
Keep in mind that this is the ONLY time you can do this, because when you’re finished with the actual Tower, it will be destroyed and you won’t be able to come back to it. Again, this is just for fun. Don’t feel obligated to do so!
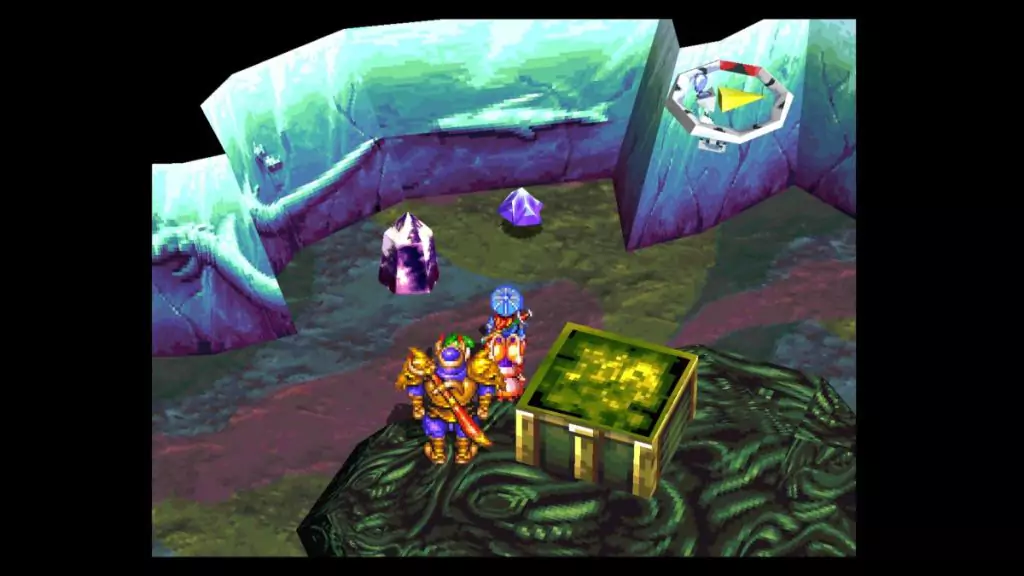
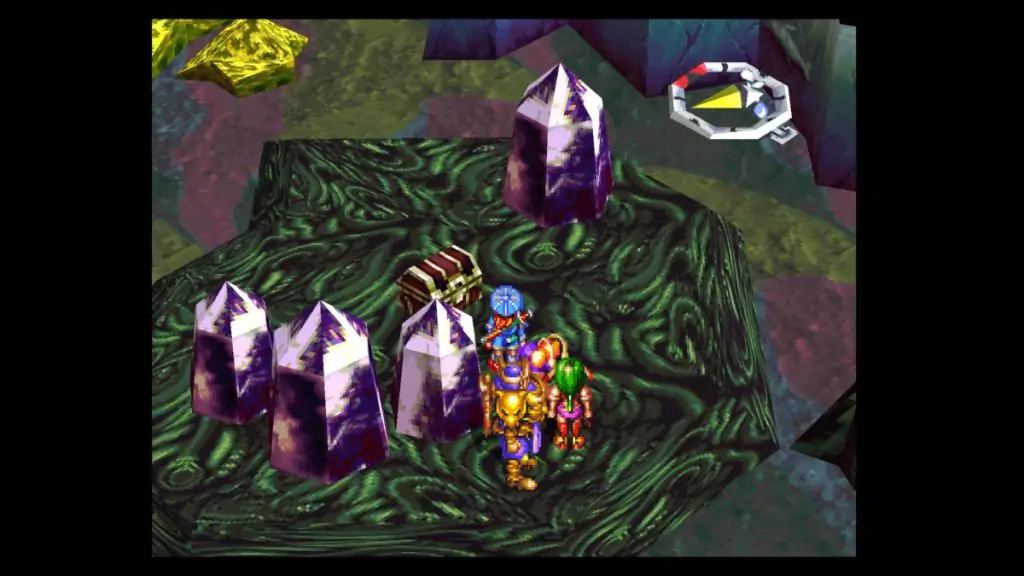
Back in Typhoon Tower, note that you CAN fight the monsters that are hanging in that first room to the west-northwest. Just rattle the barrels in the room so they’ll chase after you. It’s like this all over the tower, but you do need to do it here, as the monsters break some crystals and reveal a button that you will need to push.
With that being said, push the green button north of the box they were on to reveal some stairs going up. Go up these stairs and grab the 130G to your southeast. If you want, you could explore the next floor up, but it’s completely useless until we can move the bridge that is up there.
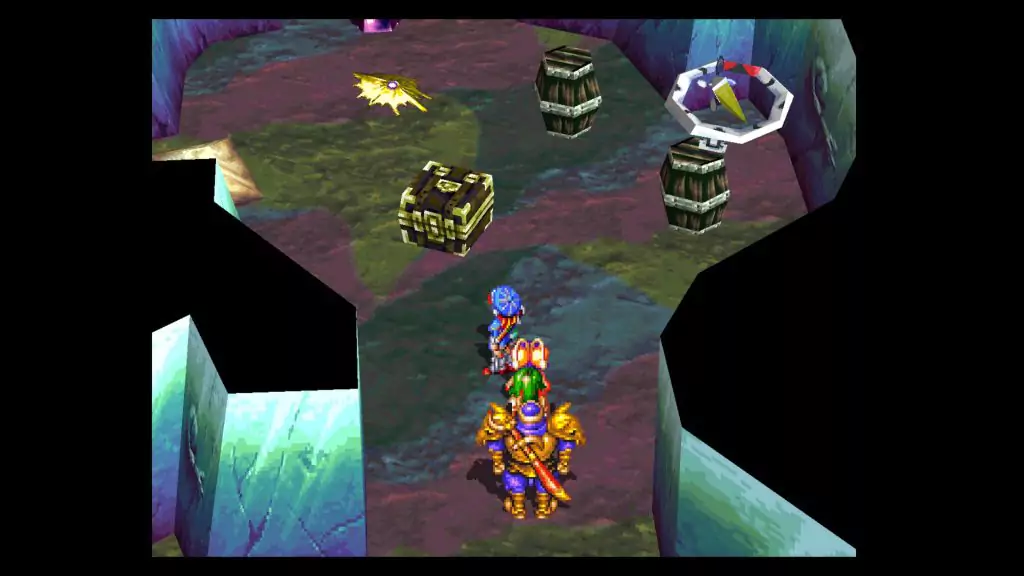
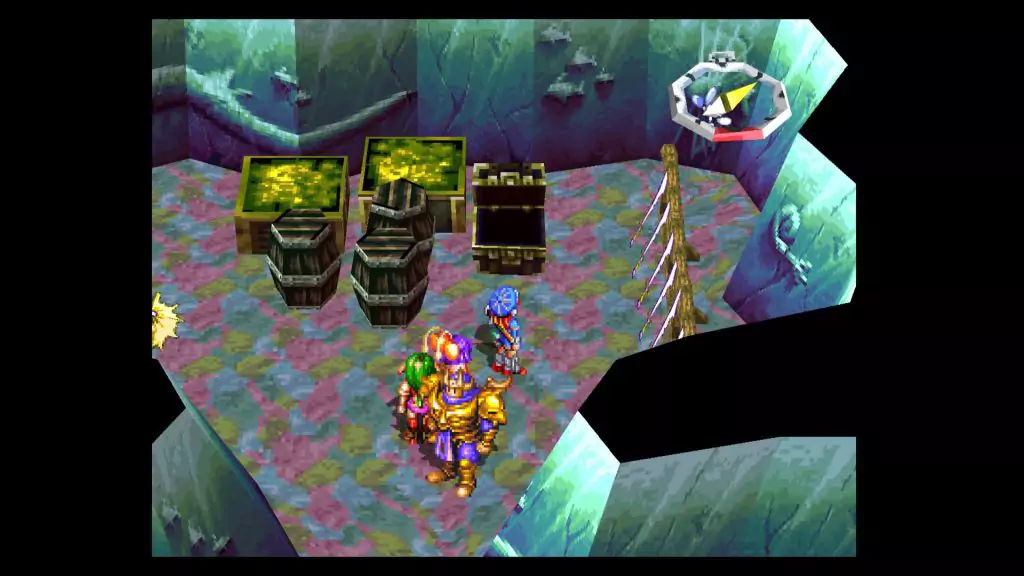
For now, head back to the Save Point and head northeast to a DungeonScope Icon, then into the room to the east. If you want, you can step on the red buttons around this place. They either drop enemies from the ceiling or attract monsters to you. In any case, go east onto the green platform and open the chest to find a Confusion Charm.
Move north from here to a purple button. Step on it to reveal some more stairs to the second floor, which we’ll ignore for the moment. Just walk north and into the green goo. You’ll slide down it, but because of the decline, you can’t get back up through it. Fight around down here if you want, then head all the way northwest to some stairs.
Climb them, then start moving west. You’ll see a rope that goes up to the second floor but don’t bother using it since it just has you go in a circle. Grab the 130G to the northwest of it, then go south close to a DungeonScope Icon.
To the west of here is another rope. Go down this one and start to head south into a room, then turn west and north into a little room with a Klepp’s Sickle in a chest.
Head south onto the green platform in the middle of the room and grab 130G. Rattling the barrels won’t lure the monsters down this time. You have to push the red button to get them. Anyway, head east and follow the path as it turns south toward the Save Point. Use it if you need to, then go back into the first eastern room.
Head back north up the green stairs/platform before the green goo, then take the stairs to the northeast that were formed when we pushed the purple button, and you’ll be in Typhoon Tower (2). Grab the 130G as you get up there, then step on both purple buttons to the north. Cross the newly-formed bridge to the west and step on the purple button here, then keep going west to a fork.
There will either be a path open to the north, or one open to the south. If it’s to the north, grab the Pirate’s Helmet on the ground and equip it to Justin.
If it’s to the south, go south and get the Hail Bow out of the chest. It’s a rather weak bow, but hey, it can cast Crackle!
To get the other fork to show up, go back east across the bridge and press the button furthest north once more. When you go back across the bridge, the other path should have appeared.
Go back out to the hallway and head west some more, taking the stairs down to the first floor, then running around in a circle and going back up the other set going opposite the way you came down. Go north into a room and grab the 390G in the northeast corner, then head east. (You can knock the swords off the rack here to “kill” the enemies and make them disappear.)
Follow the path to 130G, then go down the rope beside it to the first floor. Get the 390G to the southeast, then push the green button beside it to reveal more green stairs. Climb them up to the second floor, then push the button on the pedestal. Somewhere far, far away, that red bridge will finally rotate to where we want it!
Go back down the stairs, then climb back up the rope to the northwest. Head west, then turn south and go down the stairs. Go south and west down the stairs to the room where we found the Mana Egg, then head south and east back to the first Save Point.
Go back into the first eastern room, then go up the red stairs as you enter (climb the set that is further north, the ones you have to go west to go up). Up here, follow the path and grab 130G on the way, then keep going as you cross the red bridge to another 130G on the eastern side of the stairs. Use the Save Point, then head up the stairs to the Room of Rain.
As you go forward, you’ll see the Klepp King. Ah, such a feeble looking…. AHH!
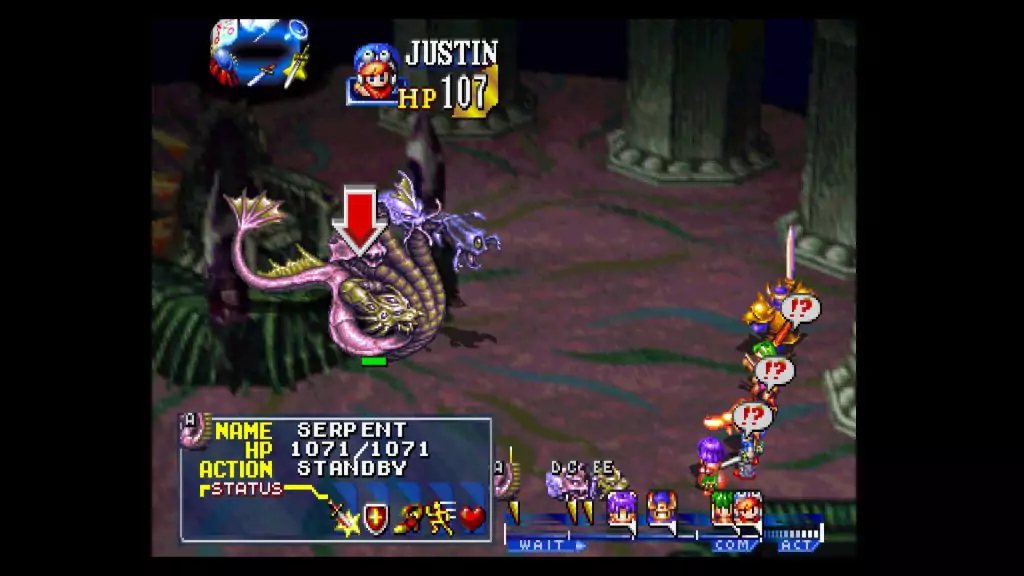

Boss: Serpent (with Bad Head, Hot Head, Nice Head, and Mean Head)
EXP: 2530
Gold: 2880
You can either attack the actual Serpent or just can attack each head individually. Because each head has a different attack, you’ll want to take them out as soon as possible. (Defeating the Serpent portion alone will end the battle, though, if you’re looking for a challenge.) Otherwise, start with the Nice Head. It’s a jerk and likes to heal all of its parts constantly with its Recover Gas.
After that, work on the Bad Head so that you don’t have to worry about being Paralyzed. Following it will be the Mean Head, which can inflict Move Block on you. Lastly, take out the Hot Head, which can’t do much other than hit you with a bit of weak fire.
As for attacks, start with your strongest ‘all’ or range attacks. Gadwin should start with Dragon Cut, followed by Flying Dragon Cut, BOOM-POW!, and BOOM!. Feena should use her Fire Whip, followed by Burnflare and Burnflame. Sue should use Puffy Fire, followed by Zap! or BOOM!. Justin should start with a Midair Cut on the Nice Head, followed by Crackling or Shockwave to damage the rest of the beast.
The only two moves you should worry about trying to cancel are Recover Gas (of course), and the Stun Gas. Can’t do much if all 4 characters become paralyzed, can you?
- Serpent: 4-Head Attack: A single attack that hits for medium damage. Even if some heads are gone, it will still use this attack and hit you with its stubs.
- Bad Head: Stun Gas: A ranged attack that hits for minor damage. Can inflict Paralysis. CANCEL THIS!
- Hot Head: Hot Gas: A ranged Fire attack that hits for minor to medium damage.
- Nice Head: Recover Gas: Heals all of its parts for 100 HP each. CANCEL THIS!
- Mean Head: Killer Bite: A single attack that inflicts minor damage. Can inflict Move Block.
After the battle, go south behind the throne and push the big purple button. The pillars and their tops will shift, forming a staircase for you. Ascend these stairs into the Room of Destiny. Examine the tablet a few times and make any choice you like up here, and when you regain control, climb to the top and grab the Warrior’s Spear. Afterward, watch the events unfold. When you finally regain control, make your way back to Dight Village.
Dight Village
Once you get back to Dight, follow the path on the ground to the beach. Talk to the Elder, then climb the rock and examine the hole in the ground. Climb back down for some more dialogue, then talk to Gadwin again to find out that you need to make your way to Gumbo Village. You’ll automatically be taken to the World Map.
Stop back in Dight and take care of business at the Weapons Store if you need to, then leave and enter the Lama Mountains.