
Stashing Places: Volcano (1)
Gold: 150G, 150G, 150G, 450G, 150G, 450G, 150G, 450G, 150G, 150G, 150G, 150G, 150G, 150G, 150G
Items: Health Weed, Mana Egg, Deep Blue Potion, Seed of Defense, Snooze Scroll, Health Weed
Equipment: Chain of Gems, Fire Charm, Dragon Scales, Confusion Charm
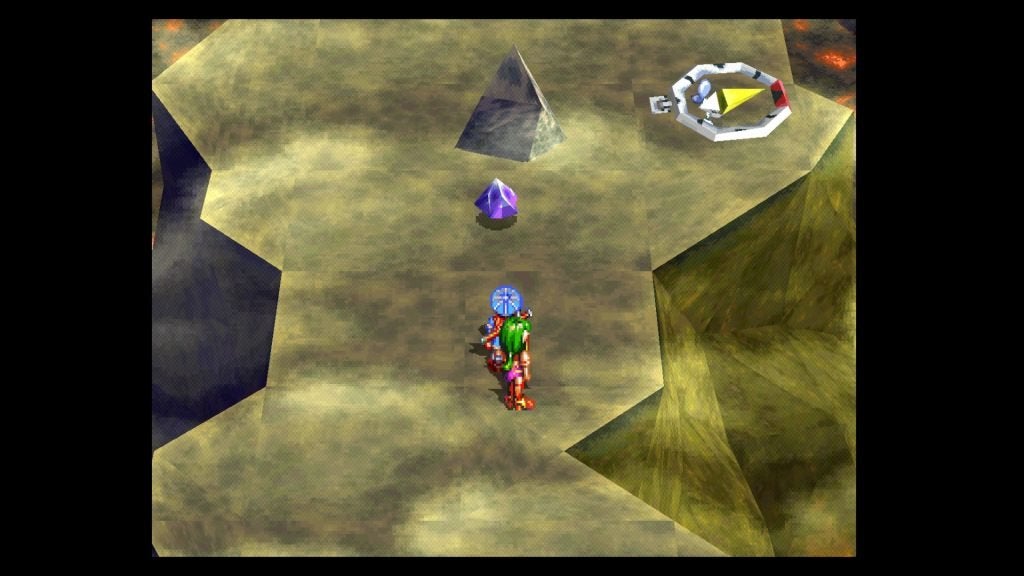
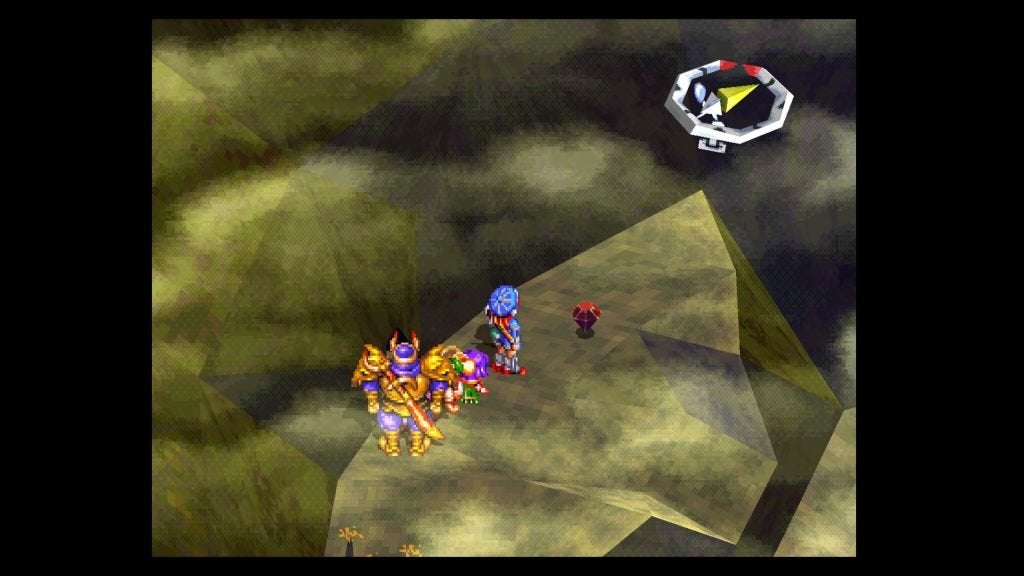
It’ll be a bit before Sue and Gadwin rejoin, but no worries. After you land, grab the Health Weed, then go northeast and use the Stashing Place and Save Point if you need to. Make sure Feena has the Azure Knife equipped since the enemies here are fire-based. (And soon, once you have some, make sure Justin and Sue have the Raincloud Staff equipped.)
Now, make your way south-southwest from the Stashing Place and follow the path here to the last Mana Egg in disc 1.
Return to the Stashing Place and head southwest, west, then southwest up a hill. Follow this path up to a chest containing a Deep Blue Potion.
Head back to the Save Point and go southeast, following the path as it turns northeast and north until you reach 150G. Cross the bridge to the northwest and grab the Seed of Defense to the southwest, feeding it to a defense-hungry Feena.
Make your way northeast and follow the path to a ledge. Drop off, then go south and southwest to a fork. To the south is 150G and another 150G side by side, just north of the aforementioned Save Point.
Recover if you need to, then head directly west-northwest, following the path as it turns north to another fork. Grab the 450G to the west, then go back and head north, then northwest to the second area of the Volcano.
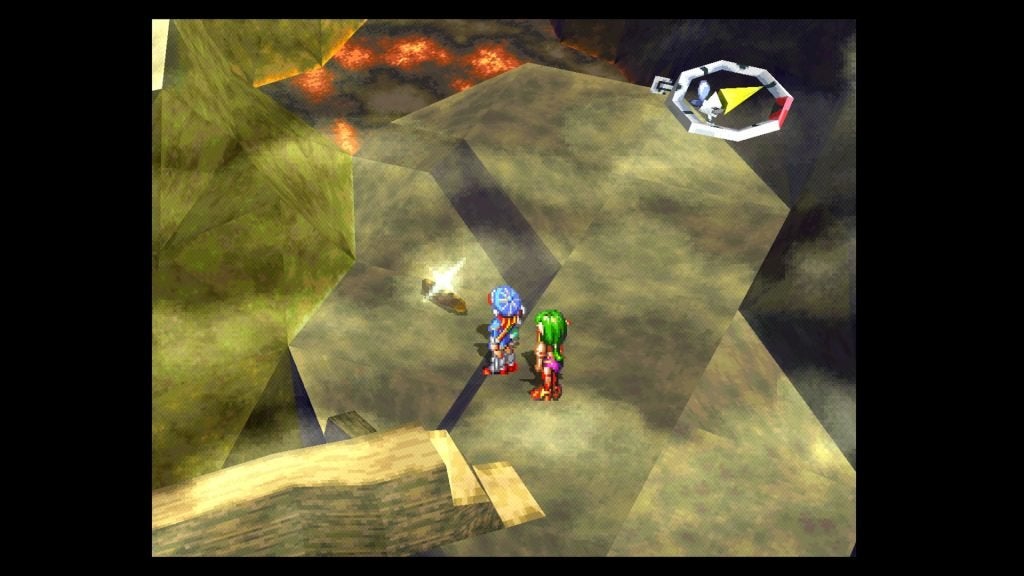
Move west and follow the path to a big boulder to your north. Go on the other side of it and use the Action Icon to make it roll downhill. Before we follow it, head north some more to a fork. Head northeast and get the Snooze Scroll, then go back to the fork and head northwest.
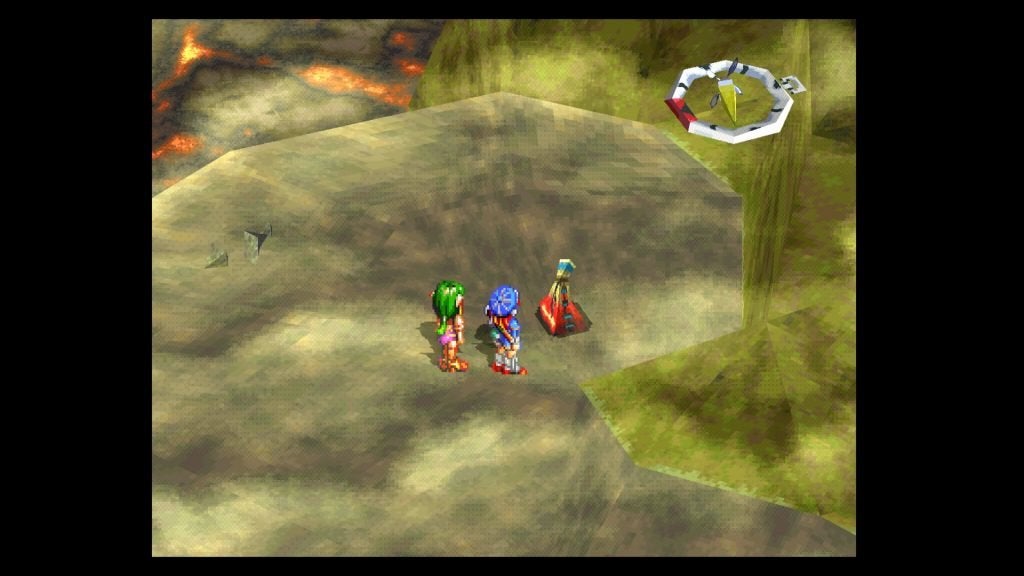
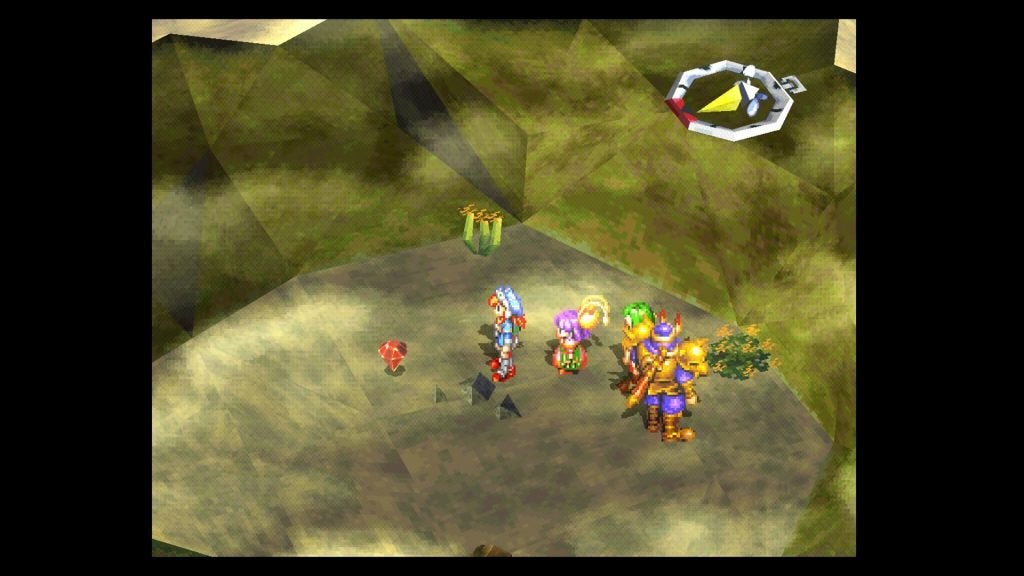
Grab the 150G, then head south and back down the hill. You’ll see that the boulder formed a bridge for you, so cross it and go under the bridge here. Follow the path to the next fork, where Gadwin and Sue will rejoin you!
Now, at this fork, move west to another fork, then continue southwest to find 450G at a dead-end. Make your way back east to the DungeonScope Icon to your southeast. Go south and past another fork here to get to the Base.
Go south and grab 150G, then head west for a while. At the next fork, head northwest up the steps and get the 450G there, then return to the fork and head south-southwest to 150G.
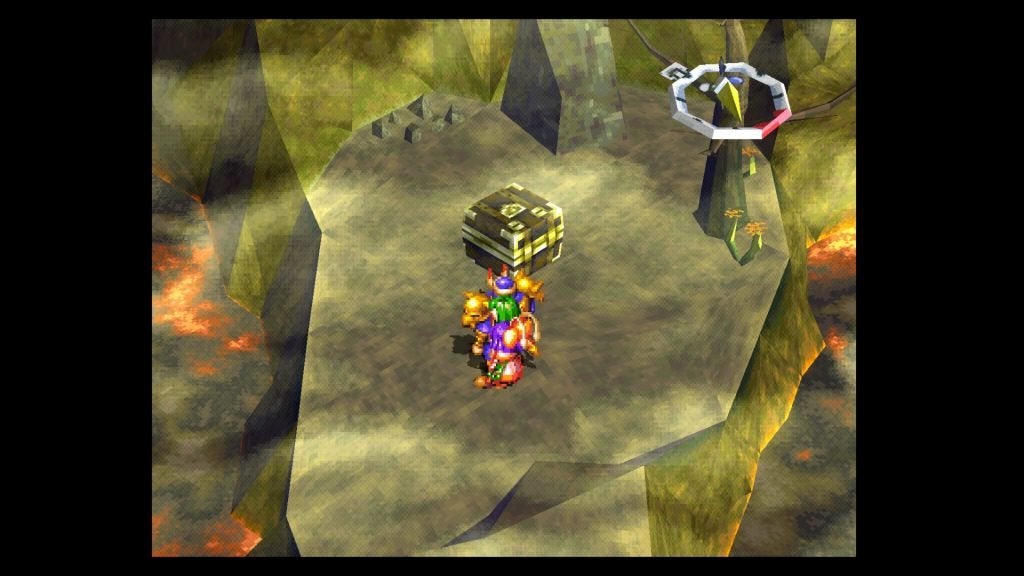
Go east a little to another fork, then go south and across the two bridges. Open the chest here to find a Chain of Gems. This is a great item. It lets you attack 3 times with a combo instead of 2! Put it on Gadwin for the time being, as it’ll be immensely helpful against the next boss.
Go back across the two bridges and head north and east to the fork. Head east and down the stairs, then get the 150G to the southeast. To the west is a rock that would make a lovely bridge, but it won’t fall so we’ll just have to wait. Go back up the steps, then go west, north, east, and north back up to the second area.
Use the DungeonScope Icon if you want, then go east to a fork. Head north, then west across the bridge you passed under earlier, taking the 150G along the way. When you get to the open area, get the 150G to the west-northwest, then head northeast, then north-northwest to a fork.
Cross the bridge to the west to be at yet another fork. It’s a dead-end to the north, so head south, then west at a clearing. It looks like a dead-end here, but if you search the northern wall, you’ll find an Action Icon.
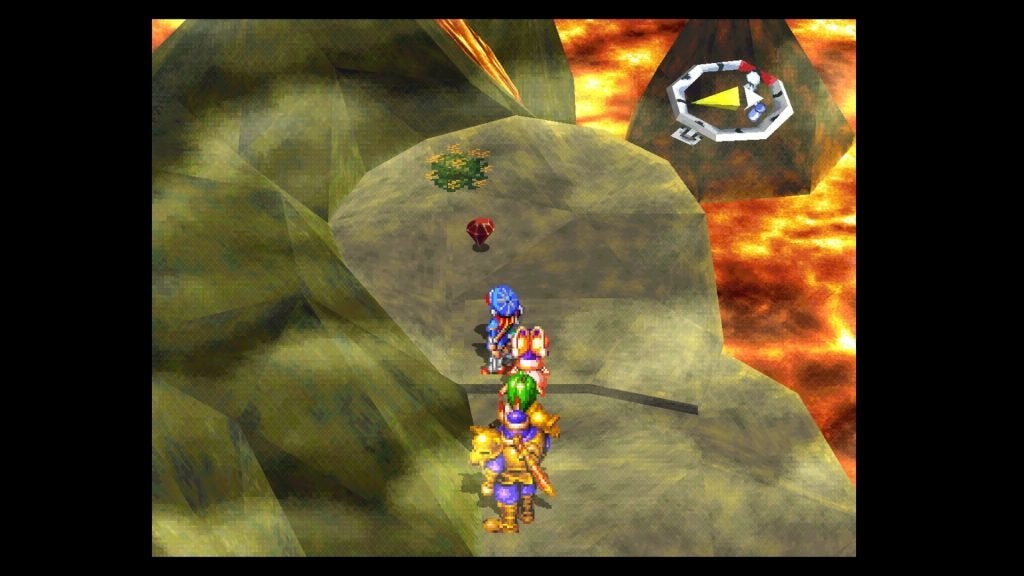
Use it, then crawl through the tunnel to the north and east to come out on the other side, where you will find a Fire Charm. Grab it, then drop off the ledge.
Cross the bridge to the east once again, then head northeast and follow the path to the Crater. Continue northeast along the path, picking up the 150G at the curve.
Go north to a fork, then turn east to another Action Icon. Use it to jump over, then keep moving northeast and north to some Dragon Scales. It’s another pretty useful accessory, preventing all damage below 10.
Head back to the fork, jumping your way there, then go west to another bridge. Cross it, then keep going to find 150G on the curve. You’ll find another Health Weed to the north of it. Keep going northeast to find another Save Point. Use it, then grab the 150G to the east of it.
Now, make sure that you’re ready for a fight. Equip the Dragon Killer on Gadwin (if you still have it), then check Justin’s weapon and Ice Slash progress. If he has Ice Slash, then equip the Dragon Bone Ax (if you have it), as it’ll do much more damage with Ice Slash than the weaker weapons. If you don’t have Ice Slash (or the Dragon Bone Ax for that matter), then equip the Raincloud Staff, as its Water base will help deal more damage.
When you’re ready, head south of the Save Point to battle the dragon.
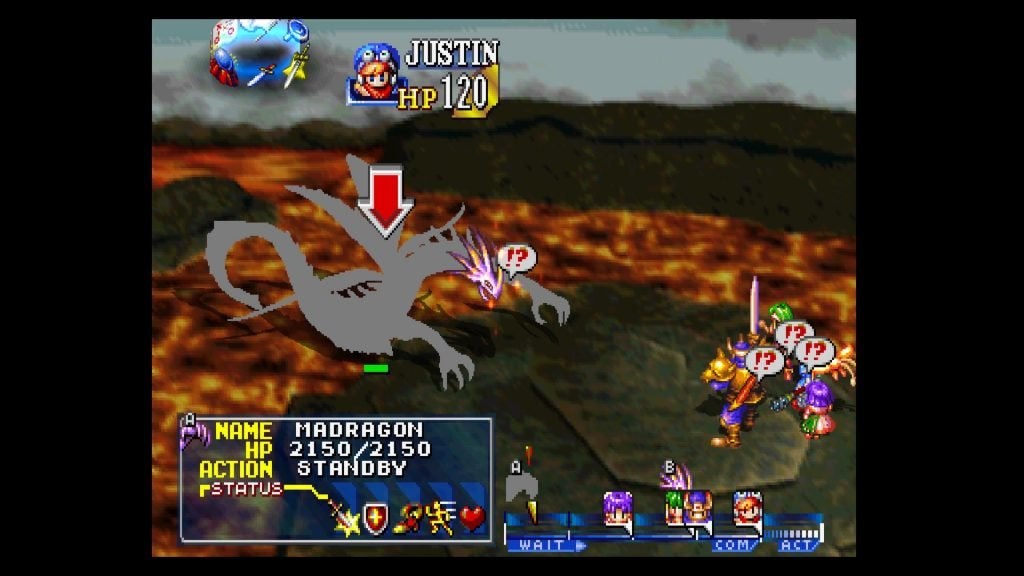

Boss: Madragon
EXP: 2900
Gold: 4500
Items: Burning Hot Whip (even though it doesn’t tell you)
Just like the Ganymede, its head and body are two targets sharing one set of HP. However, this boss is a bit strange, depending on what you have equipped. Its body is actually weaker to Water and Blizzard than the head is.
So with Justin, if he has the Raincloud Staff equipped (or if you use Ice Slash), he will actually do more damage to the body than he will against the head. If he doesn’t, then it doesn’t matter. Each damage is about the same.
For Justin, if you don’t have Ice Slash and the Dragon Bone Ax, but have the Raincloud Staff, then Justin’s Midair Cut to the body will do more damage than his Ice Slash will, so be sure to use that every turn, followed by Crackling, then regular attacks.
If you do have Ice Slash and the Dragon Bone Ax equipped, then definitely use Justin’s Ice Slash against the body to do an unholy amount of damage, followed by Crackling, then regular attacks.
For the rest, Gadwin should have the Chain of Gems equipped along with that Dragon Killer, so have him use Combo attacks to deal quite a bit of damage each turn. Feena and Sue should use Crackling until they’re out of MP, followed by normal attacks.
Depending on how well you’re able to keep the Madragon from attacking, you may need to pull Feena off of attacking and have her solely on healing duty with Alhealer and Alheal.
Each attack hits HARD, and if he gets 2 or 3 off in a row, say bye-bye to all but Gadwin.
Here are his attacks.
- Single attack: He’ll flail his claws about in front of him, and can hit a range of characters for minor to medium damage.
- Burn: Will hit a small range of characters for minor damage.
- Flame Breath: A range attack that is aimed directly in front of the Madragon, but fanned outward as it goes out. It will hit for medium to major damage.
- Howlslash: Will hit everyone for major damage. Try to cancel it, and definitely heal afterward. Don’t let it and Flame Breath hit at the same time.
- Healer: Heals himself for 100 HP. Not too bad, so don’t worry if he does it. You can do much more damage in 1 turn.
After the battle, head back and make your way down the Volcano. You’ll see a scene, then will automatically return to Gumbo Village. before actually going in Gumbo Village, leave it and head back to the Volcano for one last item. From the entrance, head north, then east and across a bridge to find a Confusion Charm.
Now you can leave the Volcano and head back to Gumbo for good.
Gumbo Village
Enter the village, then enjoy the long series of scenes before you regain control the next day, ready to take on the Twin Towers. Leave the Guest House and visit the Tool Shed if you need to.
We’re pretty sure you have a few Raincloud Staffs you can sell for a nice chunk of change. (If you don’t, but need money, then go back and get some more!) Keep in mind that the Twin Towers is kind of a long dungeon, so make sure that you’re completely prepared! (Don’t forget to get your last piece of magic! Justin, Sue, and Feena should now have them all!)
When you’re ready, head to the pier at the south end of the village.
Danda’s boat is the furthest southeast. Talk to him there and choose option 1 to depart toward the Twin Towers.