Stashing Places: Zil Ruins (1)
Gold: 270G, 270G, 270G, 270G, 810G, 270G, 270G, 810G, 270G, 270G, 270G, 810G, 270G, 270G, 270G, 270G, 270G, 270G, 270G, 270G, 810G, 270G, 270G, 270G, 270G, 270G, 270G, 270G, 270G, 810G
Items: All-Around Seed, Seed of Magic, Miracle Drink, Seed of Power, Seed of Defense, Resurrect Potion, Seed of Running, Seed of Power, Seed of Running, Mana Egg, Seed of Power, Seed of Speed, Revival Stone, Crimson Potion, Seed of Speed, Fruit of Magic
Equipment: Warp Shoes, Lightning Charm, Main Gauche, Counter Ring, Earth Charm, Demon Eye Stone
Key Items: Medal of Knowledge
Enemies: Bird Skull, Lich, Magic Head, Sphytaros, Warp Man
Bosses: Ruin Guard, Ax, Boomerang (2)
Also, here in the Zil Ruins, you’ll have two enemies that can drop Pretty Jewels: the Lich and Bird Skull. If you need cash, they’ll be an excellent source. Each Jewel can be sold for either 2500G, 5000G, or 10000G, depending on which one you get.
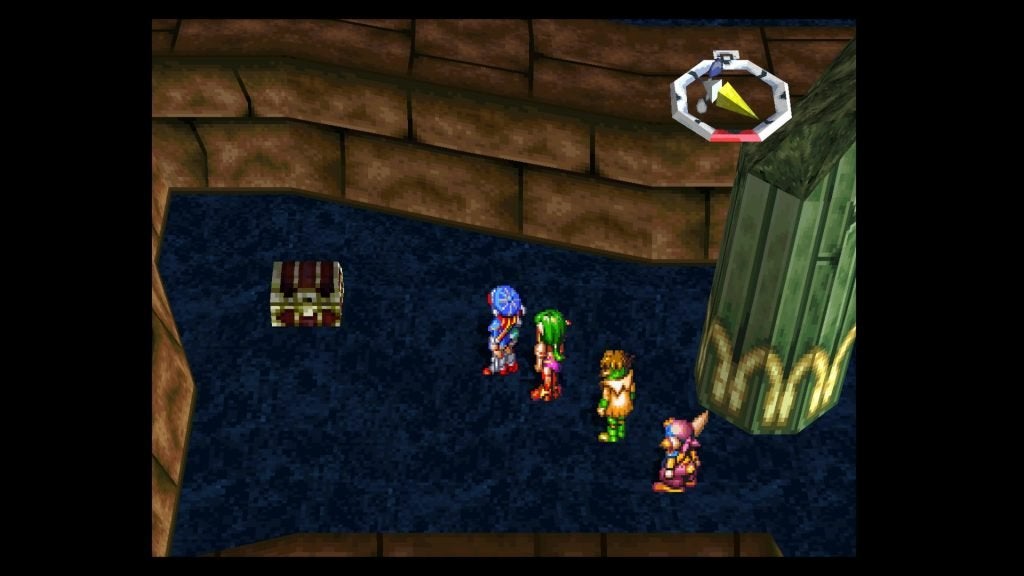
Ah, we love this dungeon. The music is incredible, and the story… Well, let’s get started.
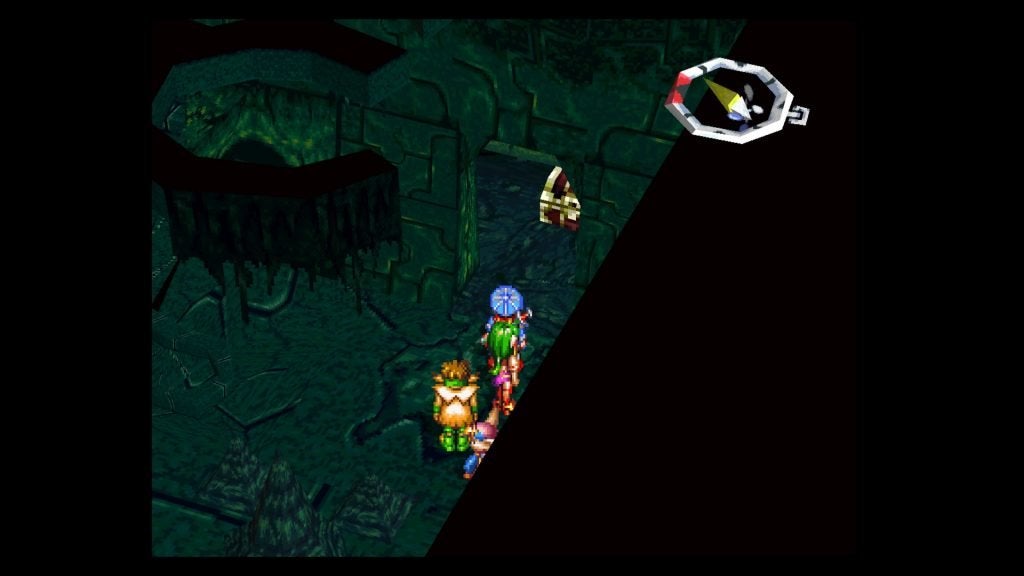
From the Save Point, head north-northeast to find a chest containing some Warp Shoes, then head back to the Save Point and head east to a DungeonScope Icon and 270G nearby.
Head southwest and follow along the wall as it goes south to come to another 270G. Continue south until you reach Zil Ruins 4. To your southwest is an All-Around Seed, so use that on someone (Feena).
Head east and pick up another 270G. Continue all the way south to the edge of the area to find 270G, then head back to Zil Ruins 1.
Make your way north back to the DungeonScope Icon, then head to the far east and onto a new stone path that is raised higher than the normal ground. At the first fork here, head east to find 810G on a loop, then go back and head north to come to another fork.
Head west and north to pick up the Seed of Magic, then go back and head northeast, following this path back to normal ground. Follow the stone path, but look for another 270G to your south. Head east along the path to Zil Ruins 2.
Before crossing the bridge, head north-northeast along the edge to find 270G. Head back and cross the bridge, then follow the path to a fork. Keep going east and fall when the bridge opens up, then head north and east to find a chest with a Lightning Charm.
Now make your way all the way west to find 810G, then head west a little more, looking to your south to find another 270G by a broken pillar. Return to the bridge that you fell through and head southwest and west through the other gap in the wall to find a chest with a Miracle Drink inside.
Continue southwest and west of it to find a Seed of Power, then head a few steps south, then east past both the stairs and the lower area to find another 270G. Keep moving all the way east until you hit the wall, then head north to find 270G near the corner.
Now, head back to the western wall on the northern side, then go down the stairs to the southeast. Examine the wall where the pink circle is to open a path to the other side. Pick up the Seed of Defense as you come out, then run to the southwest corner to find 810G.
Follow along the southern wall as you go west to find 270G to the north, then make your way to the far northeastern corner to find another 270G.
Head back to the west and look for the stairs to the north (the ones you originally came up). Go back on the other side and head east to find a similar set. Head down and check out the wall by the pink circle, then go to the other side and wait for the platform to come to you.
Once you’re on the first platform, wait for it to go to the pillar and get off there. Take the western platform next, then hop on the next one when it comes by, then get off at the next pillar. Go west and grab the 270G, then hop on the next platform that stops by to your west.
Wait for it to go north, and get on the platform on your east side, and it will take you to the next rock where you’ll see a DungeonScope Icon and a chest. The chest has the Main Gauche in it.
Get back on the last platform, then step on the one to the west to be on the one beside the main rock. Hop on to the next one to the west, then to the one further west. Be patient and wait for this one to go a pillar to the north, then get off and take the next northern platform.
After a wait, get on the next one to the west as well, where it will take you to land and a Save Point. Recover and save, then head west to Zil Ruins 1.
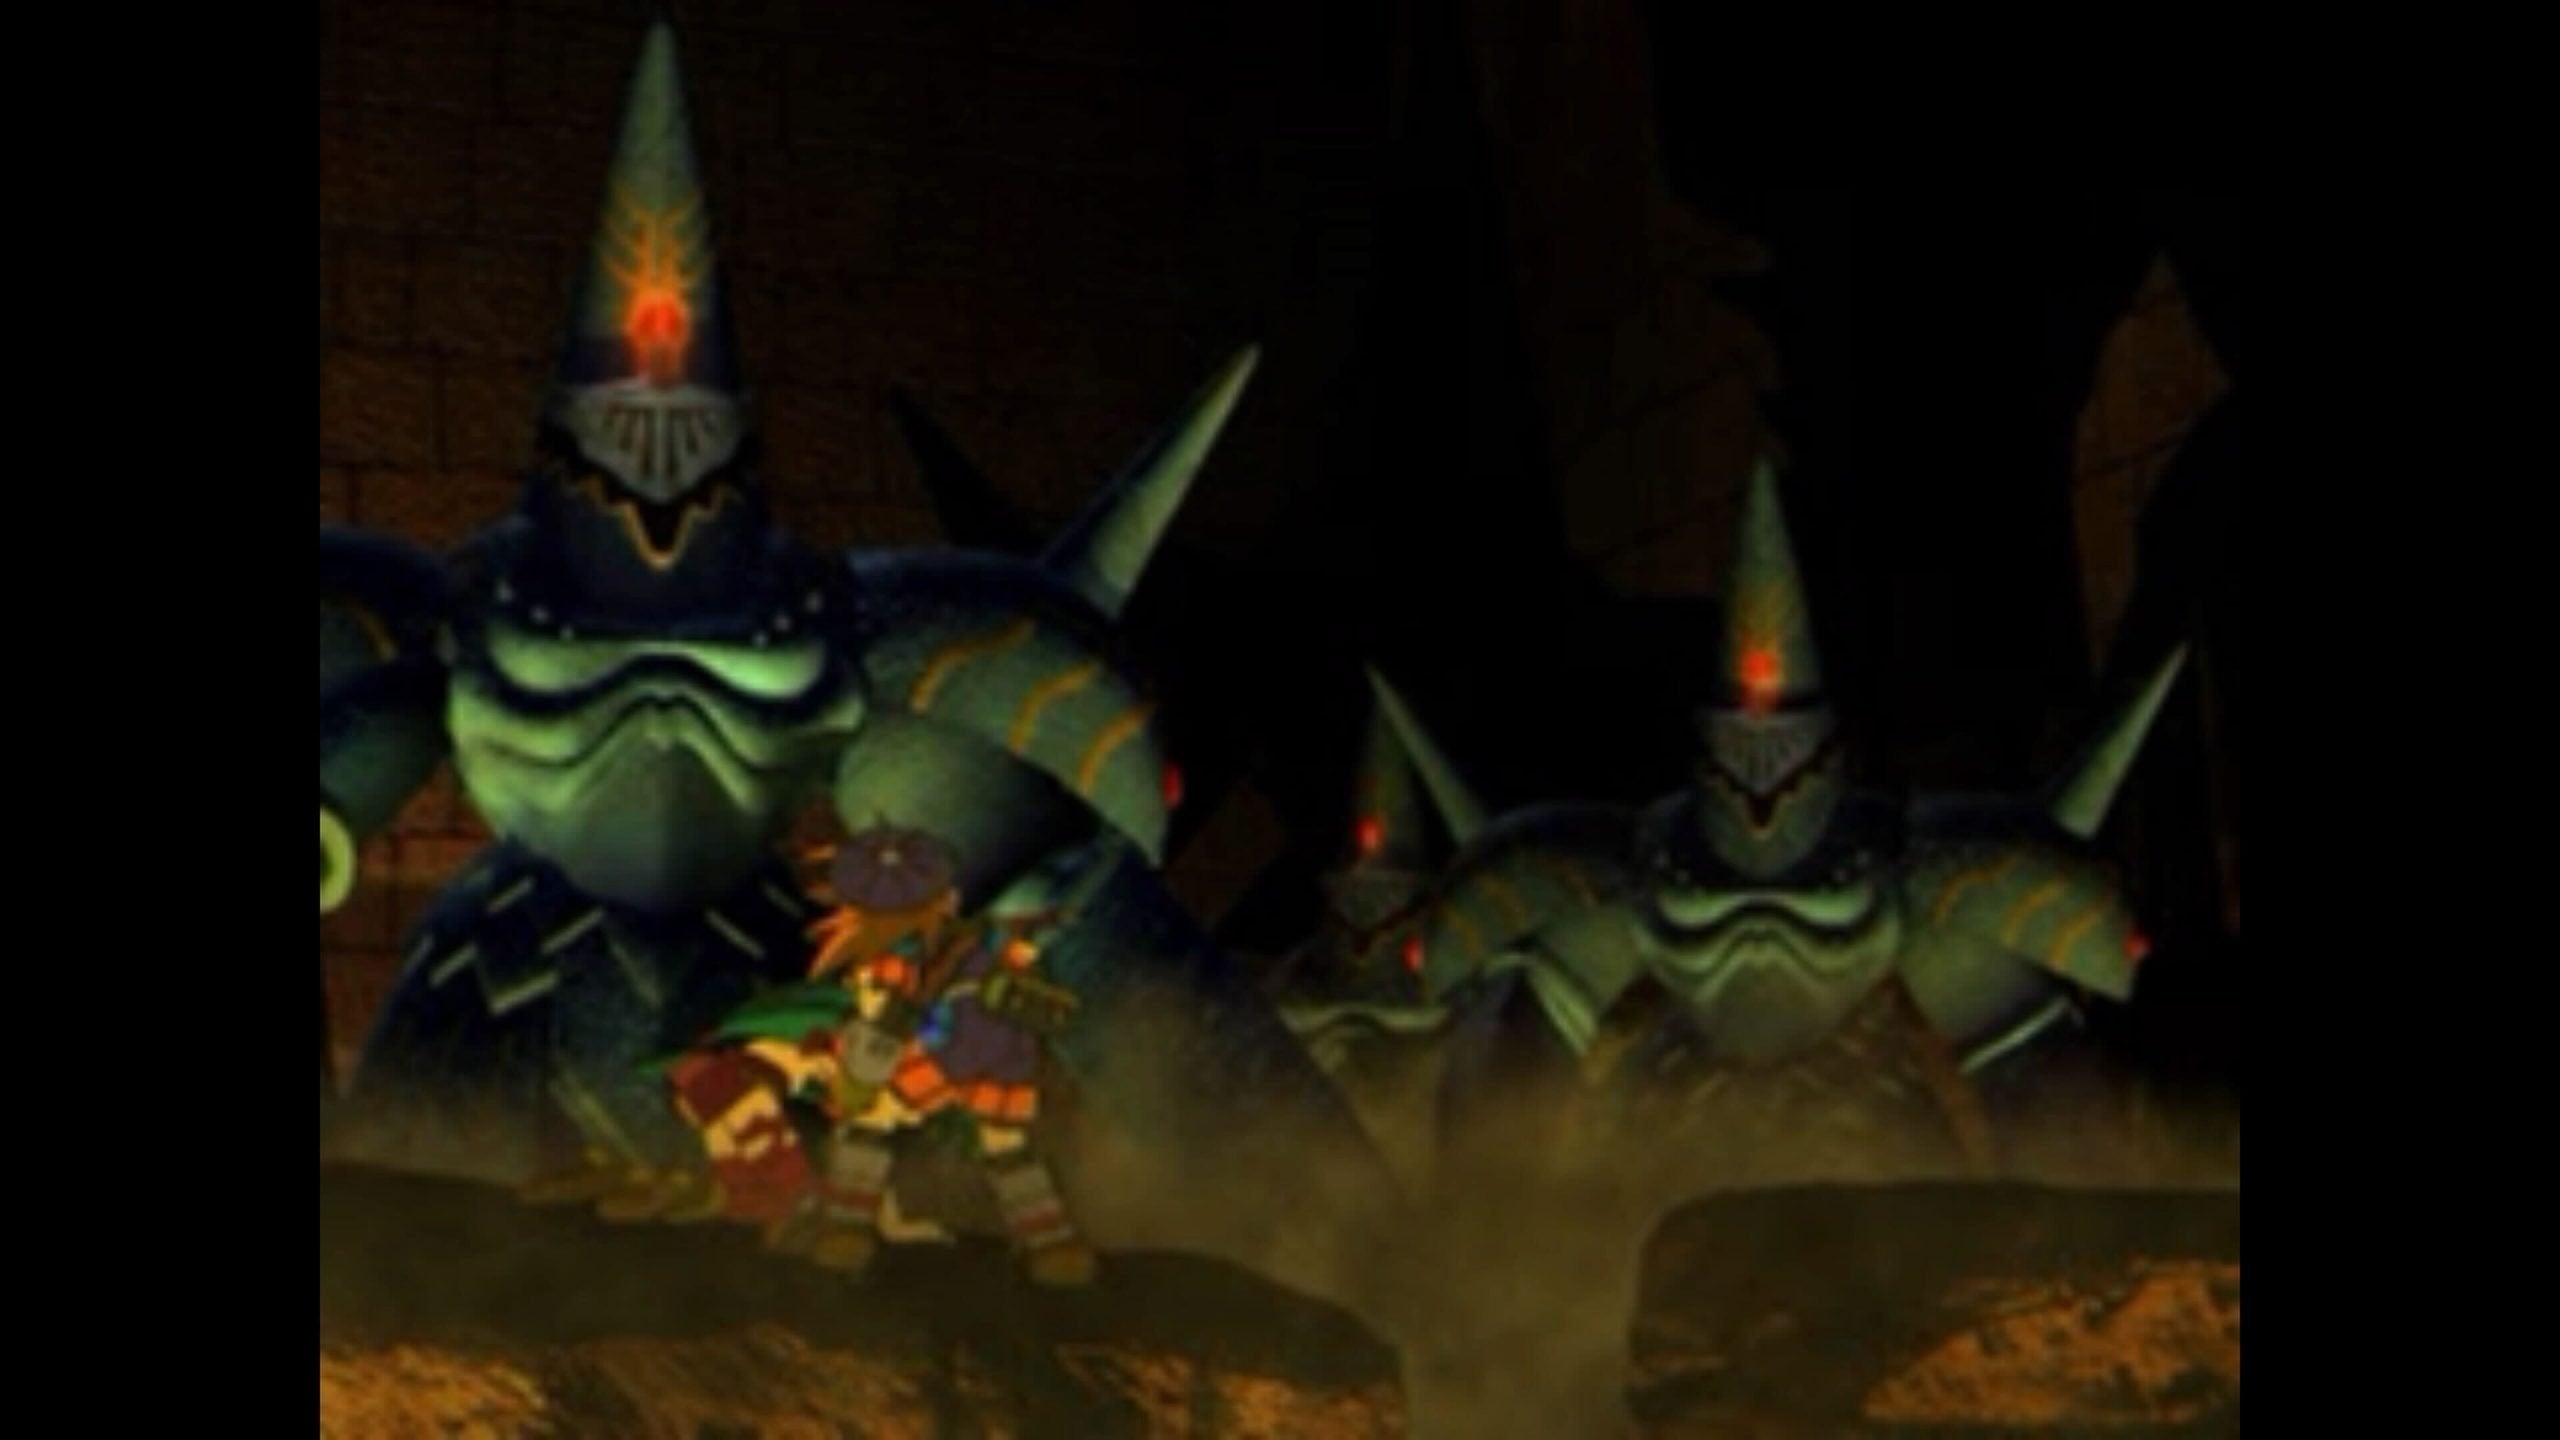
Pick up the Resurrect Potion as you move west, then keep going until you reach the Shrine to your south. Take a few steps forward and take on the Ruin Guard.
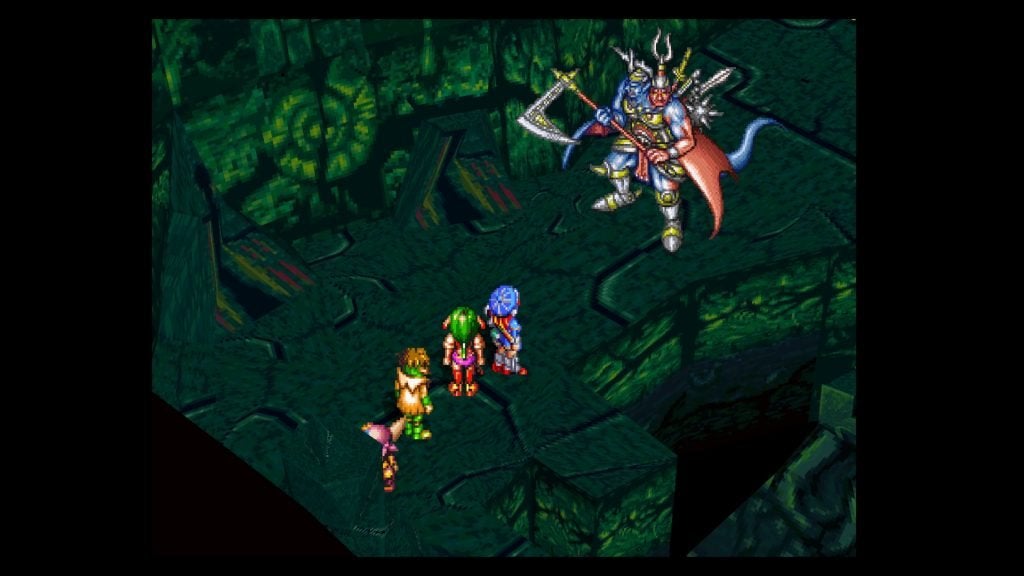

Ruin Guard (with Ax and Boomerang (2))
EXP: 7950
Gold: 5160
Items: Pretty Jewel and Thunder Arrow
As I said before, Guido is especially weak, so make sure to take care of him when you can. If I say it inflicts minor damage to your normal party, it’ll likely do medium damage to him, and if it’s medium to the others, it’s major to him. The only one you really need to worry about is Zap!. Just have Feena use Alhealer once it hits, then resume to beating on him.
Guido still proves a bit useful though. Have him start with 2 Mogay Bombs on the Ruin Guard to keep his IP from moving along too far. Once he’s out of SP, just have him use what items he does have for recovery amongst your party. If there’s nothing to do there, then combo away at the body with his inherent triple hit.
For everyone else, you can safely ignore both the Ax and Boomerang. Each of its attacks only do minor damage, and you’ll wind up wasting time if you just want to take them out one at a time. In either case, your strong(er) attacks that have range/all attributes to them should be able to be close to taking them out on their own. Justin’s move of choice for this battle? The Ruin Guard is weak to fire, so Justin should be using Lotus Cut for MAJOR damage on the body. Once he’s out of SP, switch to Gadzap, followed by BA-BOOM!, DragonZap, BOOM-POW!, and Zap All.
Rapp should use Fireball on the body as well (or Demon Ball, though Fireball will do almost as much damage while temporarily slowing the IP down of the other two), followed by BOOM-POW! and Zap All once he’s out of SP. Feena should avoid using her moves (except for Zap! Whip, once she’s out of Level 3 MP) and stick with magic. BA-BOOM! should do the most damage, followed by Zap! Whip, followed by DragonZap. If he’s not done after all of those, stick Feena on healing duty or use combo attacks if she’s not needed.
- Single attack: Used by the Ax, it will swing at one person, but hit those in its path for minor damage.
- Boomerang: Used by the Boomerang, it hits a single person for minor damage.
- Zap!: The only attack you have to worry about. The Ruin Guard himself will cast it and hit everyone in the range for medium to major damage.
- Healer: The Ruin Guard himself will cast Healer on his body for a measly 100 HP. You can pretty much let this go.
- Vanish: He will remove ALL buffs and debuffs from both the party and himself.
After the battle, go back a step or two and head south to find a Seed of Running, then make your way north and east, grabbing the 270G in the northeastern corner. From there, head south and check the eastern wall to uncover a secret chest. Take the Counter Ring out of it.
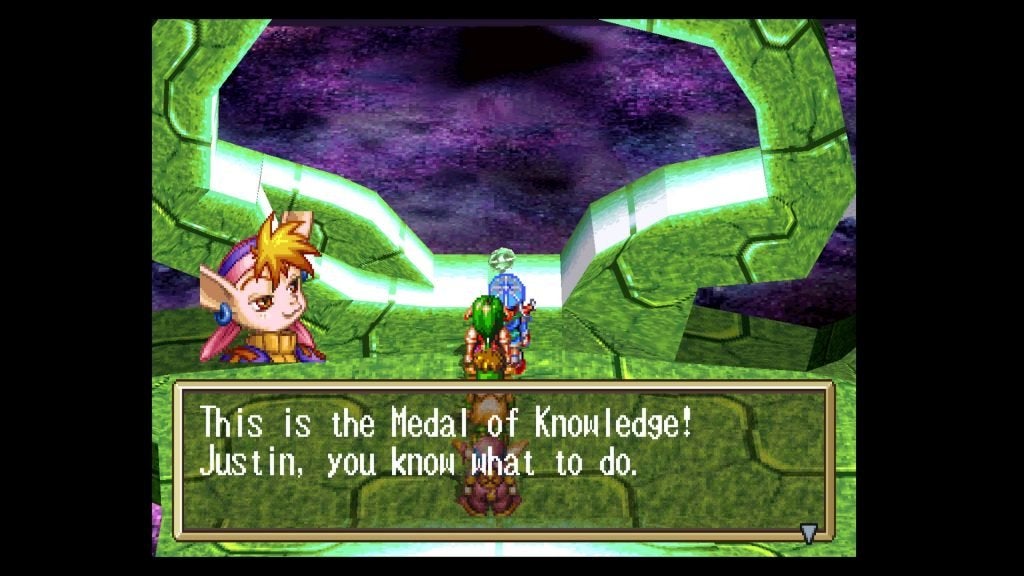
Go north and east to the second part of the Shrine. Grab the 270G to the south and east, then cross the light bridge and pick up another 270G to the south. Finally, take the Medal of Knowledge from the ledge.
Head back out of the Shrine, and make your way back to the Save Point.
After using the Save Point, approach the pillar where you would normally be able to board the platforms for a scene. When you regain control, head back toward the Shrine. Instead of entering the Shrine, you’ll jump off the western ledge. Grab the 270G here, then head into the cavern to the south to Underground Ruins 3.
Go down the stairs and use the Save Point, then follow the path to a fork. Take the upper path, as the lower leads to a dead end. From here, watch a few scenes until you regain control.
Just follow the path to the fourth area, then follow the stone path to a fork. Go south and grab the Seed of Power.
Go back and take the western path to another fork. Move west to grab another 270G, then go back and head south and along that path for a little while.
When you can, go down the stairs to the north, then grab the 810G to the northwest. To the east of the stairs is another Seed of Running, so grab it, then head south and grab the 270G there. Open the chest to the south and east from there for a useless Mana Egg.
Return to the stairs and climb back up to the stone path, then continue following the stone path to the west, where you’ll see another powerful scene.
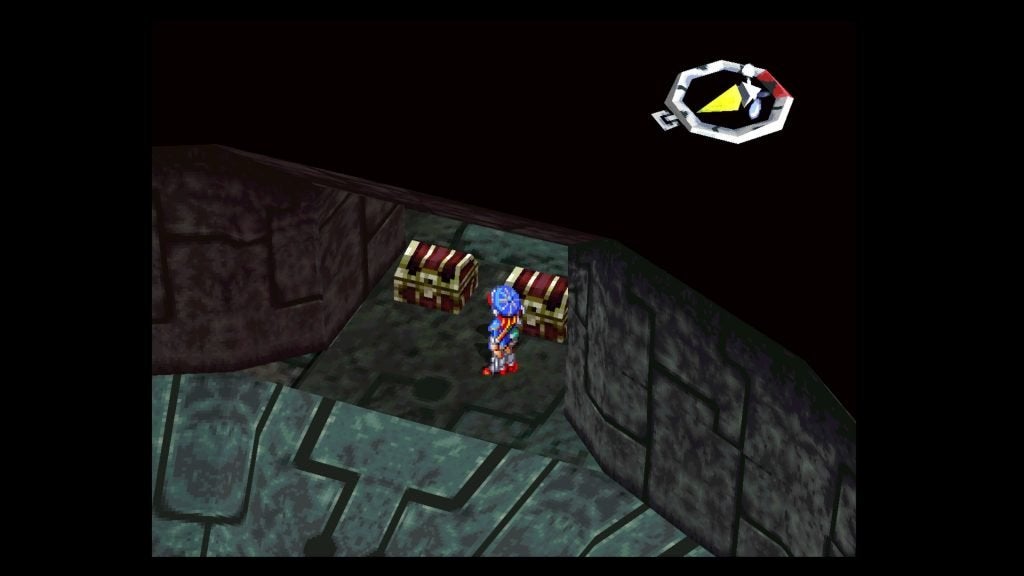
You will then gain control of Justin, alone. If you need room in your inventory, head south and southeast to use the Stashing Place. You’ll have 8 items to grab, though 4 of them can be used immediately. In any case, be sure to stash the Medal of Knowledge and the Mana Egg (if Justin had them).
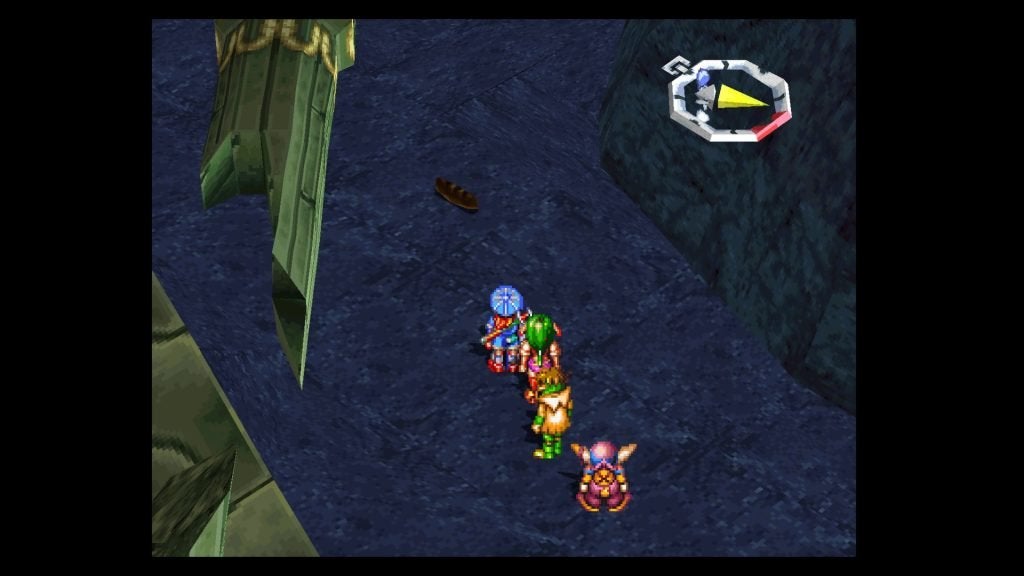
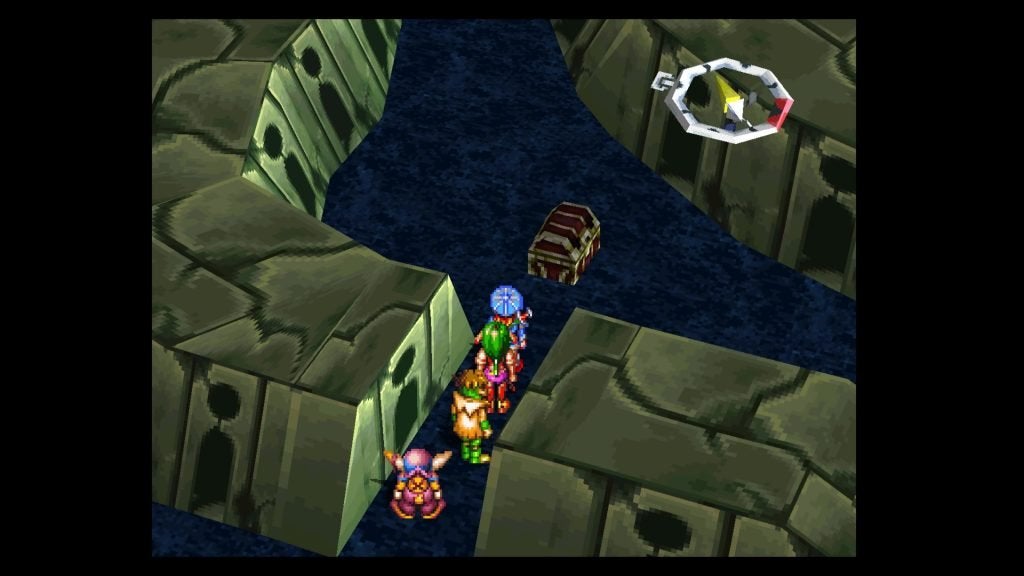
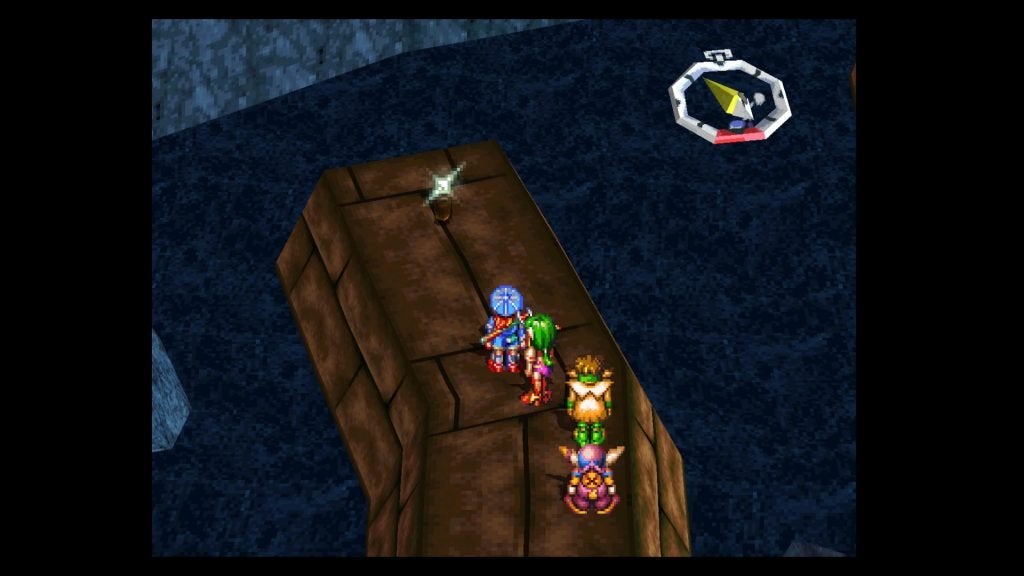
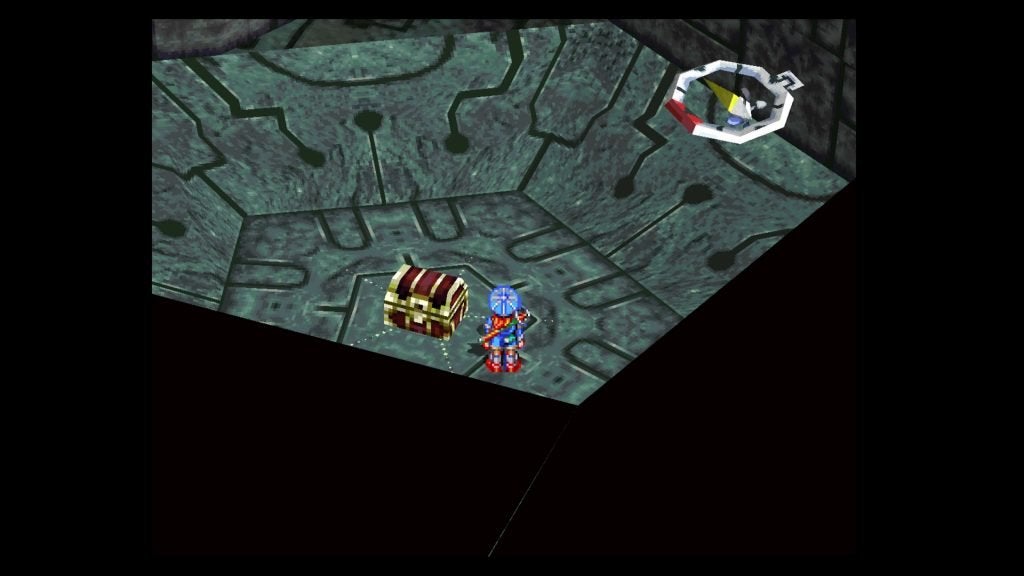
From the Save Point here, open the chest to the north to find another Seed of Power, then head west-southwest of the Save Point to find a Seed of Speed at the dead-end. Head directly northwest from the Save Point to find a Revival Stone between the large rock and the wall, then walk northeast along the wall and pick up the 270G between the next rock and the wall.
Finally, run east and pick up another 270G at the dead-end here. Return to the Save Point, use it, then head southeast into B2.
In this first room, head northeast and follow the path to a room with 270G. After you grab that, head southeast to another room containing 270G. To the southeast is a yellow gem, but it doesn’t do anything, so take the southwestern path to the next room.
In this room, open the two chests to the northwest to obtain an Earth Charm and a Crimson Potion.
Head southeast to the blue gem room. Continue southwest and northwest from here to find another Seed of Speed. Head back southeast, northeast, and northwest to the treasure chest room, then head southwest until you come to a room with 270G.
That’s it for treasures on this floor, so unless you want to see the purple gem to the southeast, head back northeast, take the northeastern path to the next room, then the northwestern path, then the southwestern path, then follow the next southwestern path to the stairs that go up to B1.
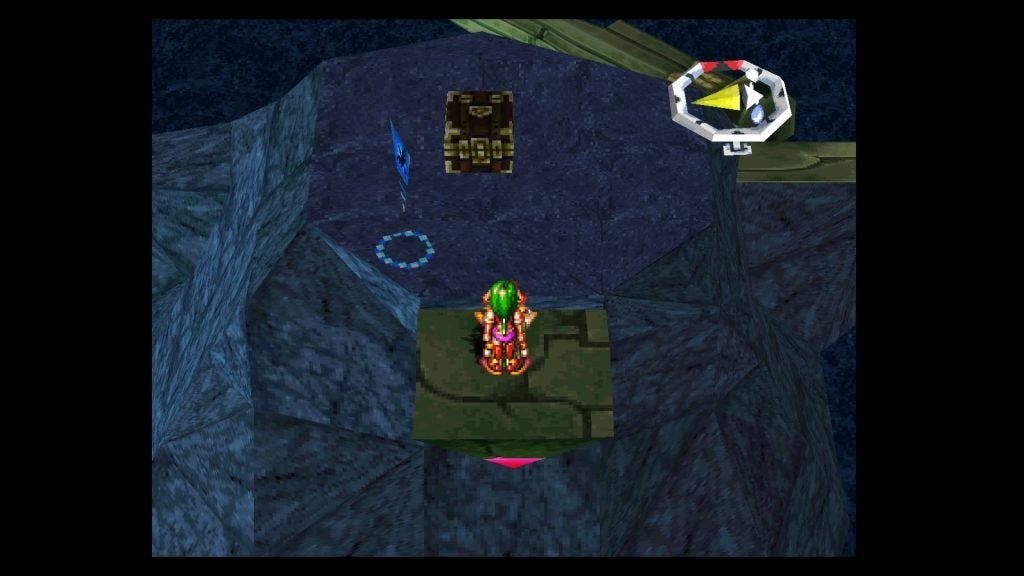
Head northeast and northwest to the next room with 270G, then continue northwest to the next room, which is a four-way fork. Head northeast first to find 270G and 810G beside each other (there’s an orange gem to the southeast if you want to look at it), then head back and take the southwestern path to find another Demon Eye Stone in a chest! (And southeast from it is a green gem.)
Return to the fork once more and head northwest to another fork. Head northeast to find a Fruit of Magic, then go southeast from here to the next room, where you should continue southeast to the stairs that go up to Underground Ruins 4.
Follow the path for a little bit for a quick scene, then examine the pink switch to activate the elevator. At the top, head all the way west to get outside for another scene, where Rapp and Guido will rejoin in your chase to the Grandeur!