
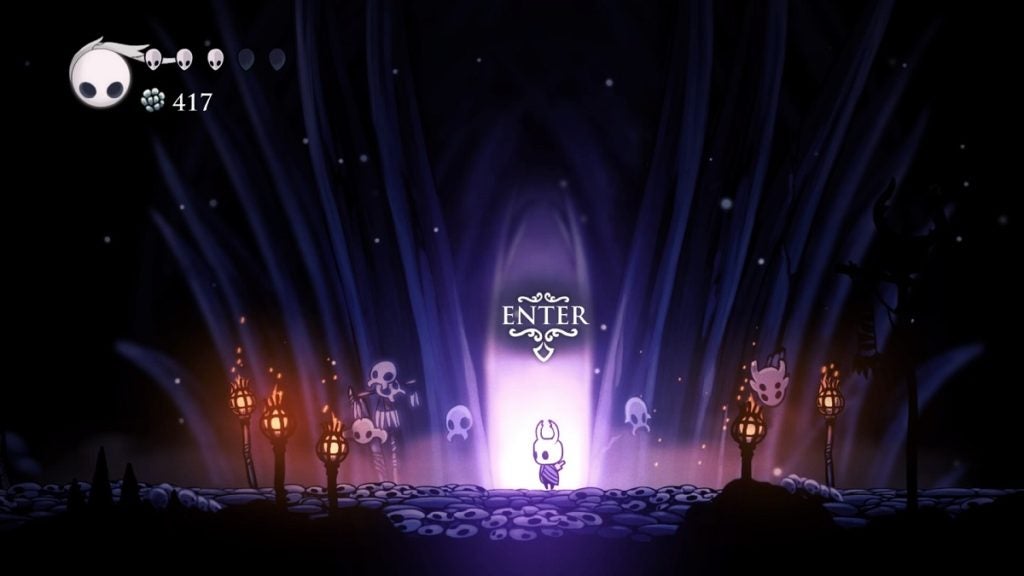
Once you jump into the well, you’ll have officially entered the underground kingdom of Hallownest. You begin at the Forgotten Crossroads where you’ll encounter many “firsts” in Hollow Knight.
Table Of Contents
Getting Your First Map
From the bottom of the well, head to the left and drop to the small opening. Defeat the enemy here and destroy the Geo cache. Head back up to the left once done. Press on and defeat the enemies along the way until you reach the next room.
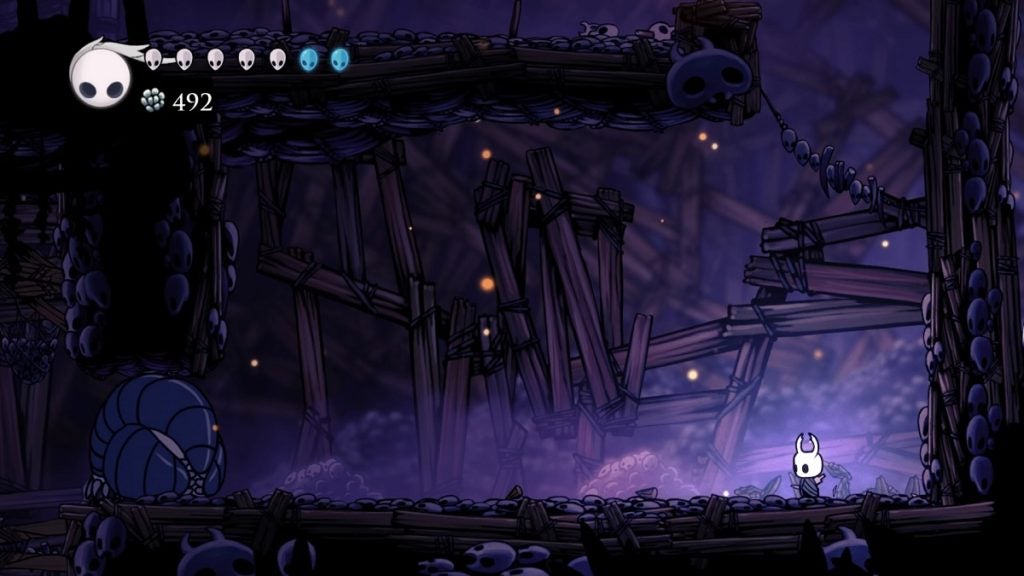
The next room is filled with hanging platforms, Crawlids, and Gruzzers. Before you go down, first proceed to the room on the left. Here you will meet a wallowing Grubfather. Any Grubs you find and rescue along your journey will make their way back here. Keep this place in mind.

Head back out and proceed to the bottom of this room. You can either avoid the enemies or kill them to gather Geo. You should find an opening on the ground once you reach the bottom. Jump into this opening.
As soon as you arrive at this room, you should be able to hear a humming. The source of this sound is Cornifer the Cartographer. He’s just on your bottom right. Approach and interact with Cornifer. He’ll sell you a map of the Forgotten Crossroads for 30 Geos. You should be able to afford it at this point. If not, head back to the room above to get enough Geo.
Cornifer will then direct you to his wife’s shop in Dirtmouth, but we’re going to ignore that for now. What you should do next is head to the area below Cornifer. Be sure to stick to the right side of this area. There’s a spike pit at the bottom of this room so be sure to watch out for that. Take the path to the right to head to the next room.
Heading Deeper Into the Forgotten Crossroads
There will be three Geo caches above you when you arrive at the next room. There’s also a breakable wall at the top right which hides one more Geo cache. Once you’ve extracted all the Geos, head back down and continue pressing on to the right.
As soon as you enter the area to the right, a gate will close shut behind you. You also can’t move forward until you defeat the Aspid Hunters in the room. There should only be three of them. Once defeated, you can enter the room on the top right to find a Hot Spring and a bench. A Hot Spring will replenish your Masks and your Soul gauge. The entrance below this will take you to the next room.
This next room is filled with centipede-like creatures called Goams. These creatures are more environmental obstacles than actual enemies since they’re impervious to any attacks. Continue right while avoiding these Goams to head to the next area.
This next room is still filled with a few Goams. navigate your way to the right while still avoiding the creatures. You can also find a Geo cache at the top right corner of this area but it is guarded by a singular Goam. Collect at your own risk. Otherwise, keep heading to the right.
The Stag Station
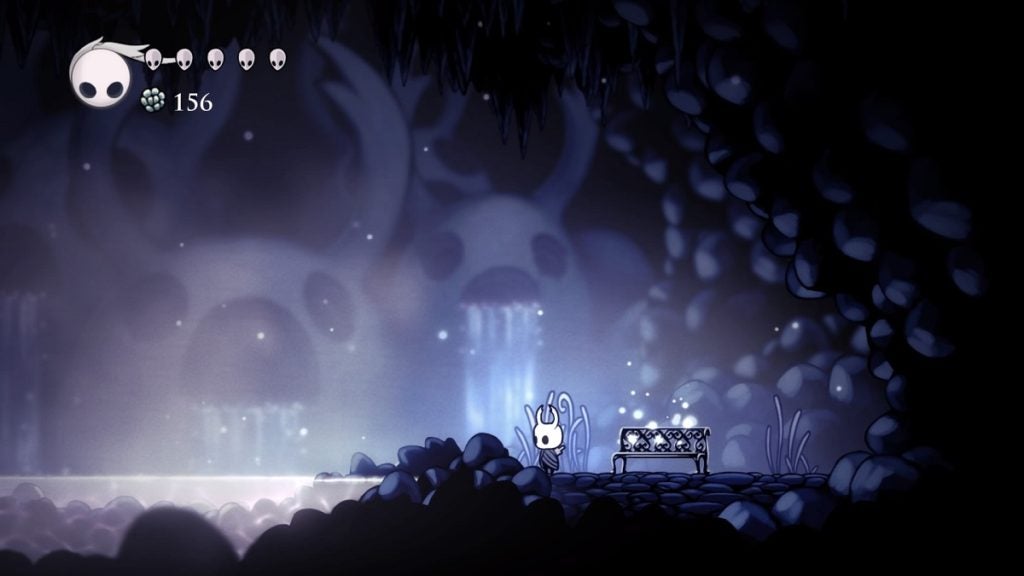
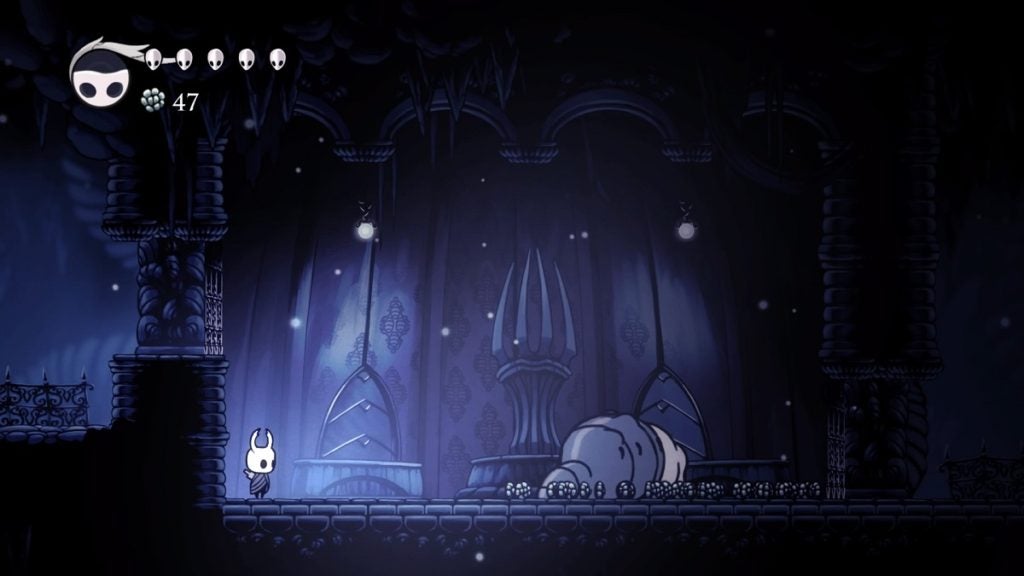
You will spot a signpost on your top right as soon as you enter the next room. Follow the direction this signpost is pointing. Once at the top, jump to the left platform and proceed. In this room, you will find a bench and your very first Stag Station.
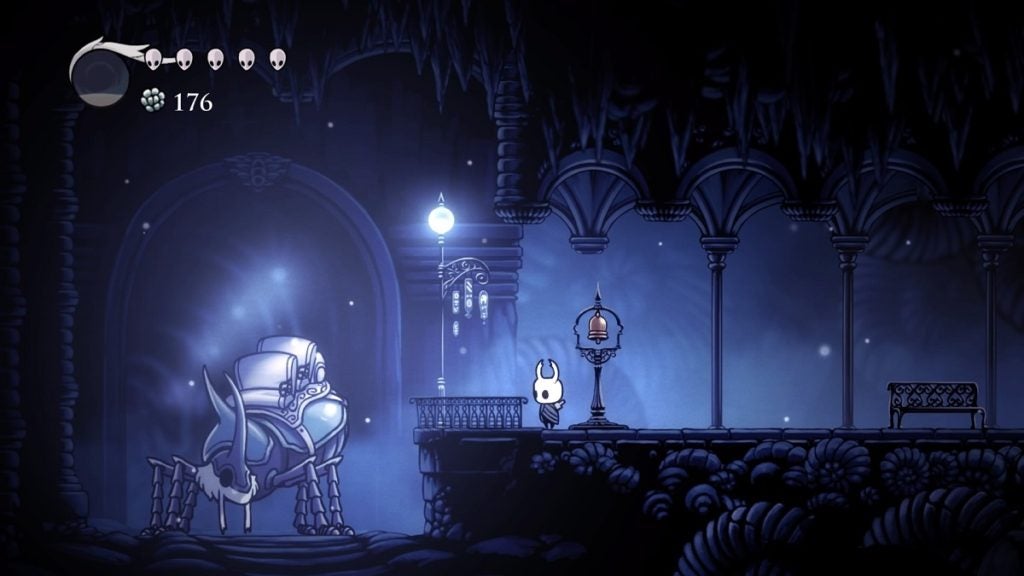
Interact with a toll machine here and it will ask you for 50 Geos. Select “Yes” and a bell will appear. Hit this bell with your Nail and a Stag will come running towards the station. The Stag functions as Hollow Knight‘s fast travel system.
For now, you can only travel to and from Dirtmouth. You can head to Dirtmouth from here if you want. You can visit Iselda’s shop there to purchase her wares. It’s recommended that you purchase the Quill (120 Geos), an item needed to update your map as you discover new areas, and the Wayward Compass charm (220 Geos), which will pinpoint your location on the map.
Once that business is taken care of, use the Stag Station once again to head back to the Forgotten Crossroads.
Moving Forward
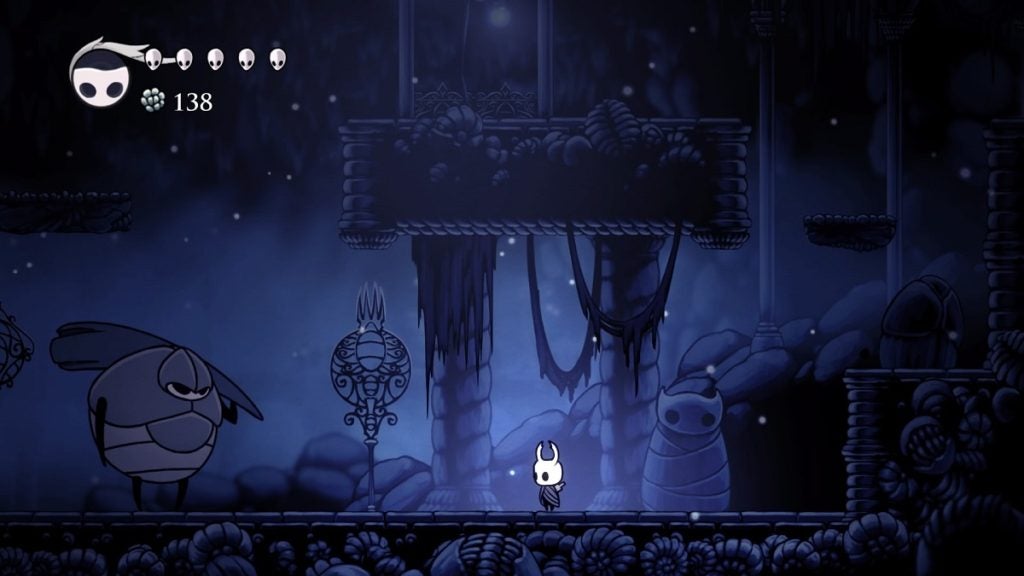
Once you arrive back at the Forgotten Crossroads, sit at the bench first before continuing on. Exit the Stag Station. Jump up to the platform on your top right and keep heading up. You will eventually find two entryways that are facing each other—one on the left, and one on the right.

For now, jump to the upper right then jump to the platform on your left. The wall in front of you is breakable. Behind this wall are two Aspid Hunters and a Grub. Defeat the Aspid Hunters and free the Grub by breaking the jar. Once done, head back down and take the path on the left.
There’s a Husk Guard waiting in the next room. This guy is a tougher enemy than anything you’ve faced so far. You can either fight him head-on or take the platforms above him to avoid him completely. If you do decide to fight him, take note that this enemy deals two Masks of damage. Hust Guards drop 45 Geos upon defeat.
Continue to the left beyond the Husks to reach the next area. In this next room, the path to the left is blocked by a closed gate. Jump up onto the floating platform instead and continue heading upwards. Once you’re on the upper level, proceed to the left and defeat the enemies before you. Keep heading to the left and be prepared for your very first boss fight.
The False Knight

The False Knight is slow and his attacks are telegraphed quite well. He’ll often slam his mace on the ground, bringing forth a shockwave that advances forward. You can easily tell when he’s about to do this attack as he telegraphs it by leaning slightly backward and bringing his mace overhead.
He’ll also occasionally leap around the arena. At times his leaps are regular, but sometimes he brings his mace down at you. Whenever he leaps in your direction, it’s best to walk towards his starting point so that you’ll be situated behind him when he lands, allowing you a couple of free hits.
Once you’ve hit the False Knight enough, he’ll stagger and fall on his chest. His real head will then be revealed. If you’ve taken damage so far, this is the best time to heal as he will stay on the ground for a substantial amount of time. Keep on hitting the head until the False Knight stands back up again.
After you’ve staggered him once, he’ll use a new move where he leaps to the center of the room and slams his mace on both sides, back and forth. During this, barrels will fall from the ceiling. You can avoid these barrels or hit them with your Nail.
His slams moving forward will then cause barrels to fall from above, so be sure to watch out for that too.
Keep attacking the False Knight until you stagger him three times. After which, he will slam his mace to the ground once more, causing it to shatter, and sending you and the False Knight to drop to the level below. The False Knight will land on his chest and reveal his head once more. Keep attacking the head to finally defeat the False Knight. He will drop 200 Geos and the City Crest, an item you’ll need later on.
There is a way for you to skip ending the fight with this boss. After you stagger him once, the gate on the left of the boss room will begin to weaken. You can then attack this area to create an opening, leaving the False Knight behind you.
After defeating (or escaping) the False Knight, you can then head to the exit on the left. There’s also a chest just above this exit which contains Geo.
The Ancestral Mound
Keep walking to the left and you’ll find a lever on the pathway below. Hitting this will open a door that leads to where Cornifer was. Above the area where the lever is is another path. This is the path you want to take. Keep heading upwards until you happen upon a structure that you can enter. Enter this structure to get to the Ancestral Mound.
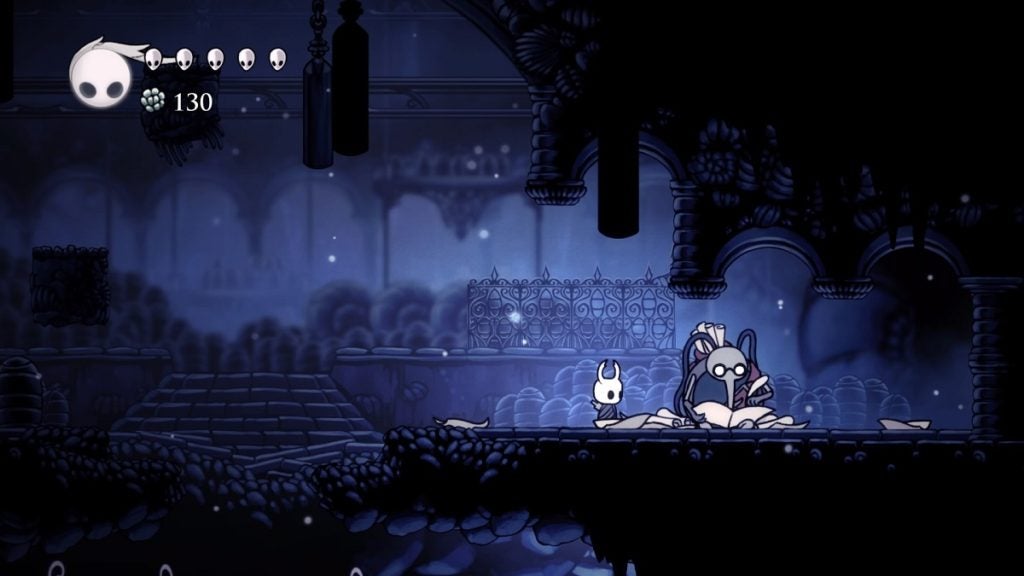
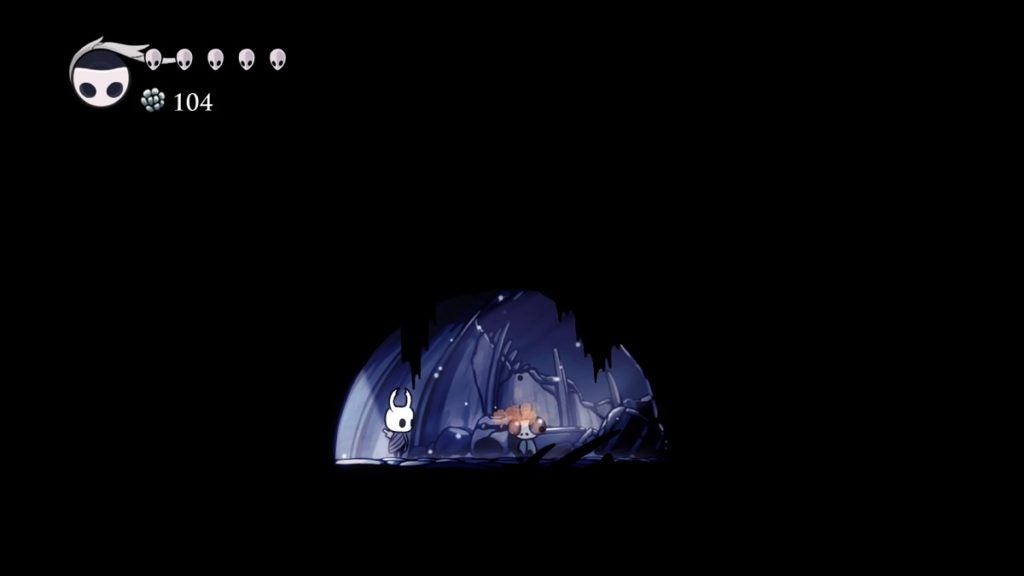
Inside you’ll find a bench and an NPC named Snail Shaman. Talk to this NPC after you rest at the bench. The Snail Shaman will offer to give you the Vengeful Spirit, your very first spell. Take it and you’ll be taken to another place, passed out.
Move the Knight to awaken. The Snail Shaman stands behind a gate and he’ll then ask you to rid the area of a “horrid great beast” before he opens the gate for you. After speaking with the Snail Shaman, continue walking to the right.
While you’re at it, practice using your newly acquired spell. Keep heading to the right and defeat any enemy you stumble upon. Once you hit a wall, head up, then head left, then head down. Proceed then to the left and you should arrive at an area with a spike pit and floating platforms.
Take the platforms and continue going up and then go to the left. Once you arrive at the area with one Baldur, you can either head to the left or head down. Head to the left first to acquire Soul from a Soul Totem. Continue further on this area and you should come across Geo caches and a Lifeblood Core.
Head back down, to the right, and then take the path down to face the “horrid great beast,” an Elder Baldur.
There’s no way of hitting this enemy with melee since it will curl into a ball where it becomes invulnerable when you get too close. Stay within distance and attack it with your spell instead. It will occasionally spit an orange blob at you. It will also spew little Baldurs which you can hit with your Nail. Doing so will fill up your Soul.
Hit the Elder Baldur with Vengeful Spirit four times to defeat it.
When you walk past the Elder Baldur’s room, jump to the ledge on the left first to acquire the Soul Catcher charm. After getting it, head down to speak with the Snail Shaman once again. After speaking with him, he will promptly open the gate for you.
Rescuing Sly and Defeating Gruz Mother
There are two more things you need to do in the Forgotten Crossroads before you should proceed, and that’s to defeat Gruz Mother and rescue Sly.
Exit the Ancestral Mounds and make your way back to the Forgotten Crossroads Stag Station.
Once you arrive at the Forgotten Crossroads Stag Station, exit to the left and head down to the opening in the ground. Keep heading down until you reach the bottom. From here, head to the right. Keep on going until you reach Gruz Mother’s boss room.

Gruz Mother will be snoozing when you first encounter her. Attacking her will begin the boss fight. This boss fight is relatively easy. She’ll remain in the air for the entirety of the fight. She will often slam against any surface in an effort to attack her enemy. She will also bounce around from the ceiling to the ground consecutively for a short period of time.
Keep attacking her with your Nail and Vengeful Spirit and you should eliminate her in no time. Be careful though. After she falls on the ground, her body will shake and will eventually erupt, releasing a swarm of Gruzzers. Stay back and wait for the Gruzzers to be released to avoid getting damaged. Deal with them as soon as they appear.
After that, the gate behind Gruz Mother will open. Continue on and head down, then head left. Dispatch any enemy along the way. You will eventually reach a small hut that can be entered. Enter the hut and interact with the NPC in it. This NPC is Sly. After interacting with him, you can simply leave him be and exit the hut.
From there, head to the left, jump onto the platform ahead of you, and destroy the wooden platform to have access to the area above. You can then return to the Stag Station from here. When you return to Dirtmouth, you can find Sly at his shop located just to the left of Elderbug.
That’s pretty much all there is to do in the Forgotten Crossroads for now. Return to Dirtmouth to take a gander at Sly’s wares at his shop. Sly sells all kinds of items, from Mask Shards and Vessel Fragments to keys and charms. However, the one you’ll want to purchase is the Lumafly Lanter. However, it costs 1,800 Geos. Be sure to save up for that and purchase it the moment you can afford it. You’ll need it for later.
Once you’ve done that, you can leave the Forgotten Crossroads behind you and head to the next level. Head back to the area with the hanging platforms just before the Grubfather’s room. On the left wall of this room, find the next opening below Grubfather’s room and continue moving forward. This path will lead you to Greenpath.