Final Fantasy VIII is menu-driven at its core and uses terminology that’s standard for most RPGs. It also uses some unique terminology of its own that appears frequently throughout the game.
Table Of Contents
Introduction
The main menu, simply referred to here as the Menu, can be accessed at almost any time outside of combat by pressing the Menu Button and can be closed with the Cancel button. If you’re unsure about what something does in the Menu, descriptions shown as “Help” are almost always displayed in the top-left corner.
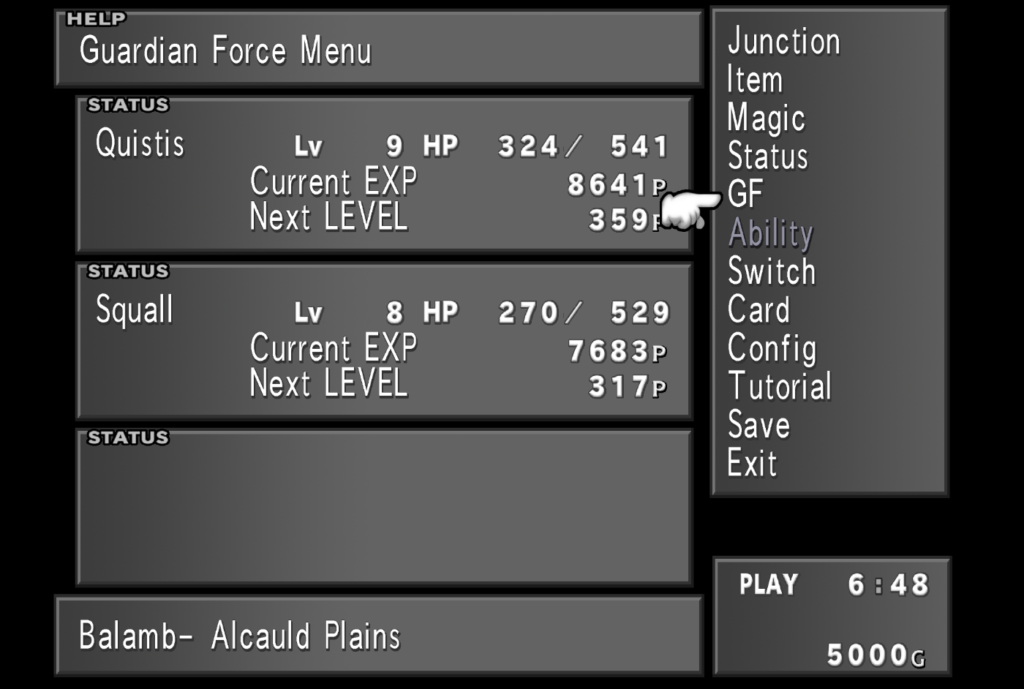
Junction
Junctioning (or “Junction” as it appears in the menu) is the game’s primary system of character progression. The core of the Junction System is assigning GFs to characters to allow them to use the abilities the GFs have learned, including Junction abilities. These Junction abilities allow magic to be set, or “junctioned,” to certain stats.
Item
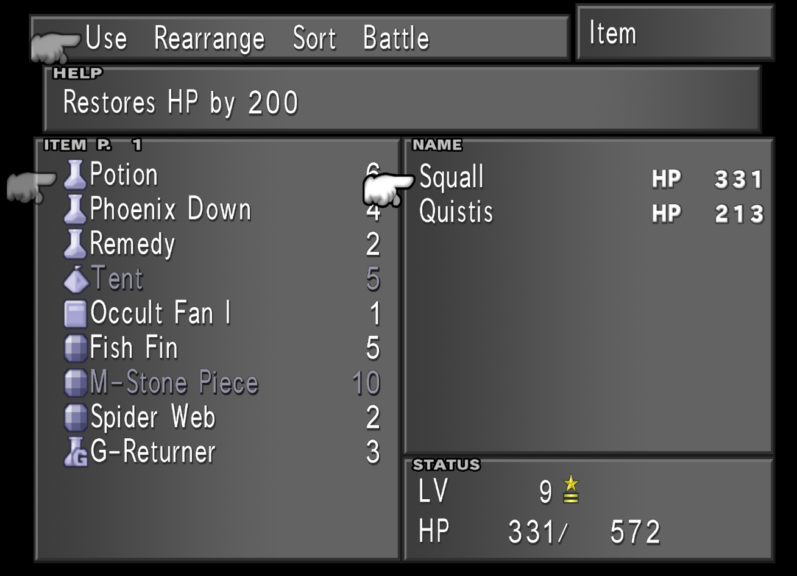
Items can be obtained throughout the game and have many different uses. “Item,” as the name suggests, allows you to sort and view all of the items you have acquired. It’s also possible to sort which items you can access with the Item command ability during combat.
Certain items can be used/consumed in the menu itself. Many items can also be refined into magic or other items using refining (RF) abilities, including certain consumable items. Keep that in mind when you are considering whether or not to use rarer items.
Magic
There is no MP or Mana in Final Fantasy VIII. Instead, Magic effectively acts as a consumable item that can also be equipped (or “junctioned”). “Magic” in the menu allows you to view and sort each of your characters’ stocked magic.
You can also exchange stocked magic between party members. You can even discard magic, although this isn’t recommended.
A character’s stocked magic can be cast in battle if you assign the Magic command ability to them.
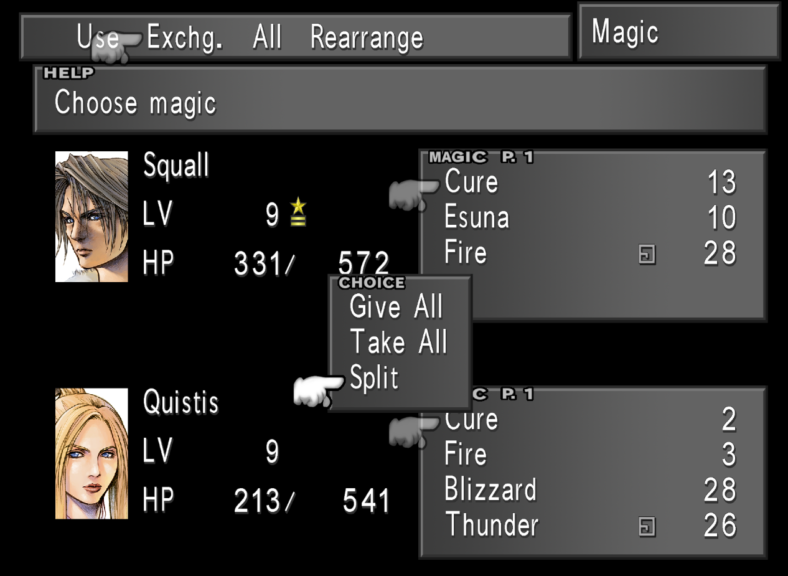
You can also use a character’s stocked magic to junction to each stat for an increase. Stocked Magic that’s currently being junctioned is shown by ![]() . Magic is primarily obtained through refining items and from drawing from enemies and draw points.
. Magic is primarily obtained through refining items and from drawing from enemies and draw points.
Status
The “Status” option allows you to review pertinent information on each of your characters.
A character’s status screen includes:
- Their current and max HP
- Their other Stats
- Their current level
- Their current amount of EXP and the EXP required for them to increase their level
- Their current weapon model
- The Command Abilities they currently have active
- The Character Abilities and Party Abilities they currently have active
- Any Status Effects currently afflicting them
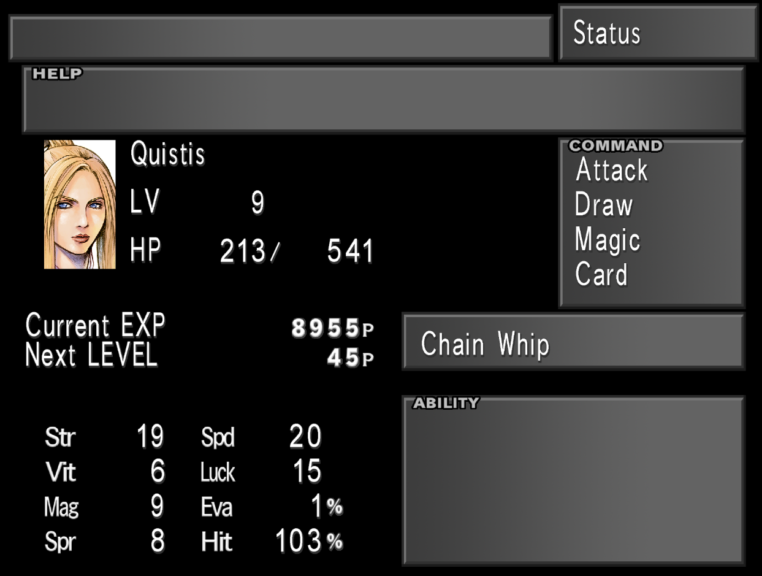
You also use the Confirm button to cycle through other information, namely:
- Their Elemental and Status Defenses
- What GFs they currently have junctioned, as well as their Compatibility
- Information on their respective Limit Break
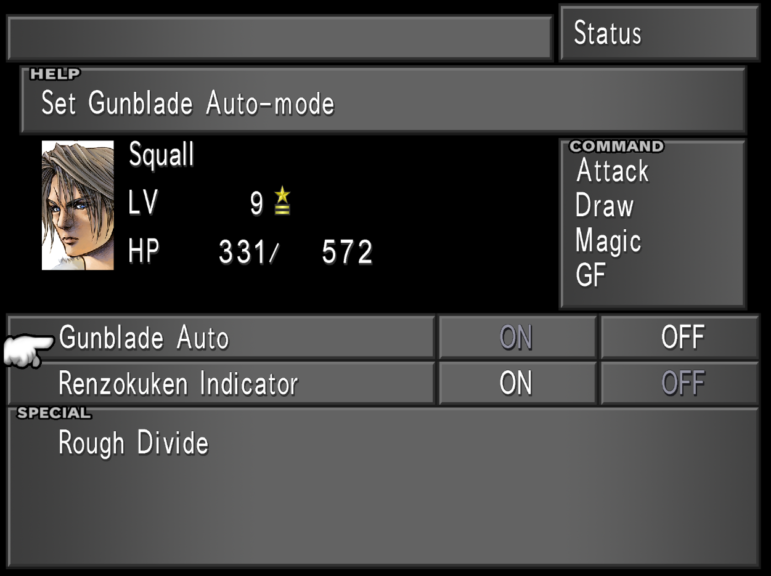
Certain Characters will have also settings associated with their Limit Break and it’s recommended you review these when possible.
GF
GF is short for Guardian Force which serves as the game’s Summons. They also serve an important role in character progression. Most abilities aren’t usable by default and must be “learned” by acquiring a certain amount of AP. Every time you defeat an enemy, you’re awarded AP. This goes towards a certain selected ability for every GF.
The “GF” option in the menu allows you to select what abilities each of your GFs learn as you accumulate AP. The current amount of AP accumulated towards that ability is shown to the right of it. Once an ability has been learned, it can then be used freely.
Keep in mind that once an ability is learned by a GF after combat, any additional AP from that battle is not carried over. If you anticipate getting a lot of AP from a single fight (such as with a boss fight), you’re advised to fully learn any abilities that are close to being learned beforehand to prevent yourself from wasting the AP.
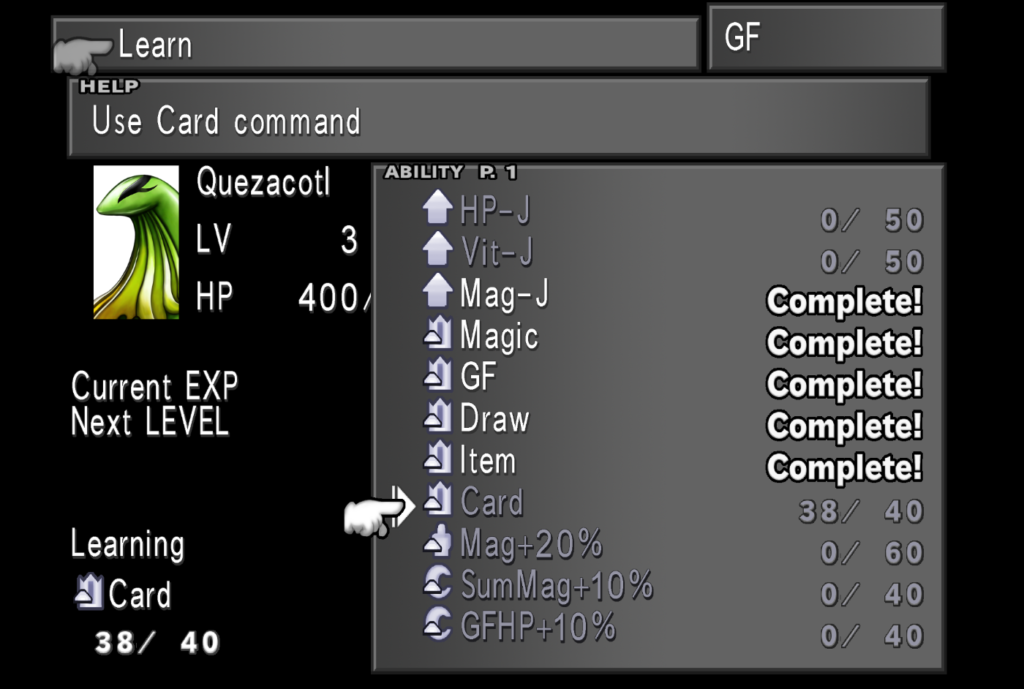
The game automatically assigns new abilities to be learned once you’ve finished learning one. However, it’s strongly recommended you choose and manually assign abilities yourself after learning every ability. This is because the abilities that are automatically assigned aren’t optimal and take up space for better abilities.
As a rule of thumb, prioritizing junction (J) and refining (RF) abilities for your GFs to learn first is generally a good place to start with any GF. GFs will also often have unique abilities that are worth learning early on as well (such as Quezacotl’s Card Mod).
Conversely, abilities that increase summon magic power and GF HP will become less and less useful as the game goes on. This is because, with the right junctions, you’ll be able to out-damage summons as you progress through the game. Therefore you’ll ideally be using the GF command ability less and less throughout the game.
You can remove unwanted abilities with Amnesia Greens to create more space. Do this with caution, however, as certain abilities can’t be relearned once removed.
Ability
The “Ability” option allows you to use any Menu Ability your GFs have learned. The GFs don’t have to be junctioned to a character for you to use their Menu Ability—it’s enough for the ability to have been learned. The vast majority of Menu abilities are Refining Abilities.
Refining abilities allow you to convert items you’ve obtained into other items or magic. Refining abilities are denoted by RF and, once selected, you’ll be shown all of the items you have acquired. All of the items that can be refined with the ability to be used will be highlighted. Once you select an item for refining, you’ll be shown a prompt where you can decide how many of the items you will refine and what you will get for it.
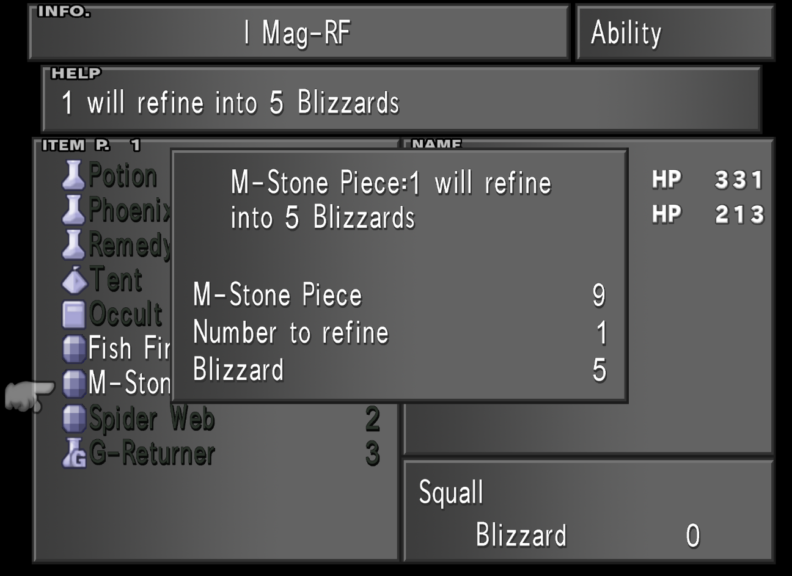
Refining items into Magic is almost always the most efficient way of acquiring stocked magic in bulk.
Switch
The “Switch” option on the menu allows you to change the current members of your Active Party by pressing “Switch Member.” This only works while on the World Map and if you have more than 3 party members present. Otherwise, it will be greyed out.
At certain points in the game, the “Switch” option screen will appear. Here you’ll have to choose certain party members for that part of the game specifically. Note that Squall will be a mandatory active member for most of the game.
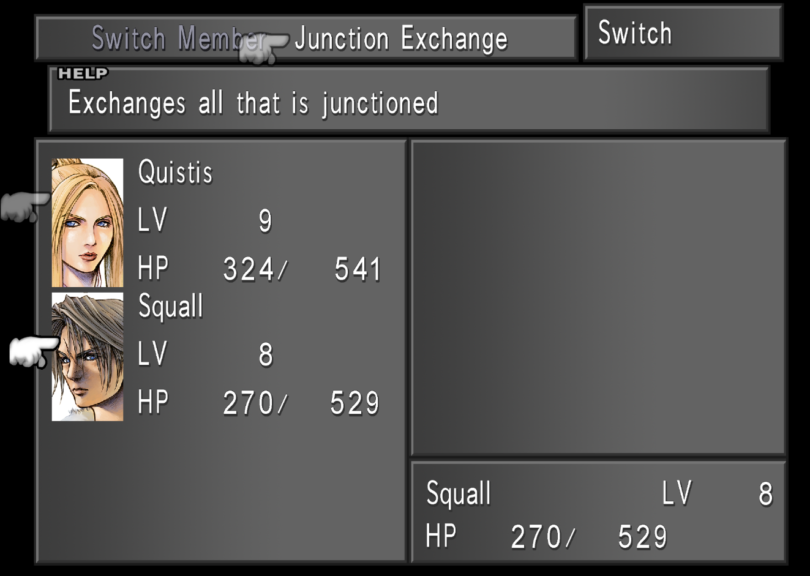
Pressing “Junction Exchange” will swap junctioned GFs, stocked magic, and abilities between two selected characters. This can be done provided you have at least 2 members in your party. This can be useful when wanting to quickly set up your characters.
Cards
The “Cards” Option will show you all of the Triple Triad cards you’ve obtained and how many of each card you have. If you have since lost or refined a card you previously obtained, you’ll still be able to view its information here.
For Monster and Boss Cards, the monsters you can obtain the respective card from will be displayed at the bottom of the screen.
For the unique GF and Player cards, the area of the character who currently owns the card will be shown at the bottom instead. If you currently own the card then the area will show as “Squall.”
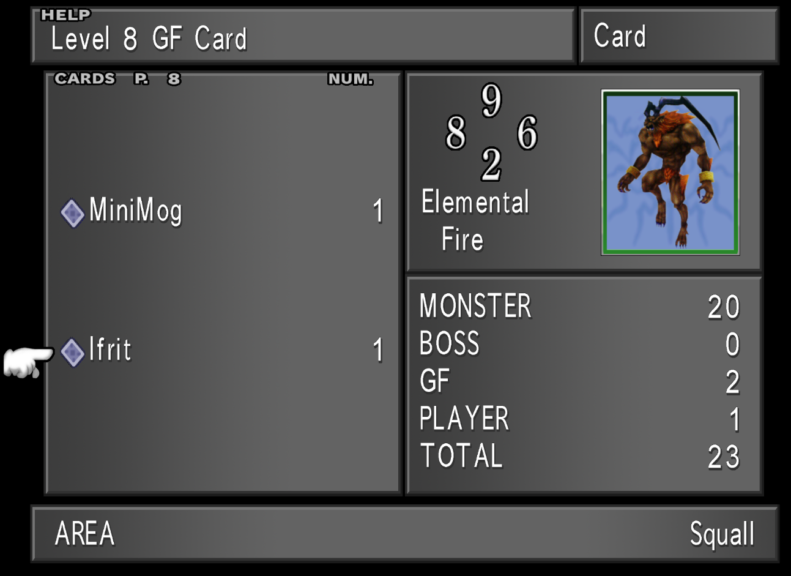
If you’ve refined a unique card, then you can only reobtain it if you complete at least one of 2 specific side quests, namely The Queen of Cards or The Card Club (CC) Quest.
Config
In the “Config” menu, you can adjust certain game settings.
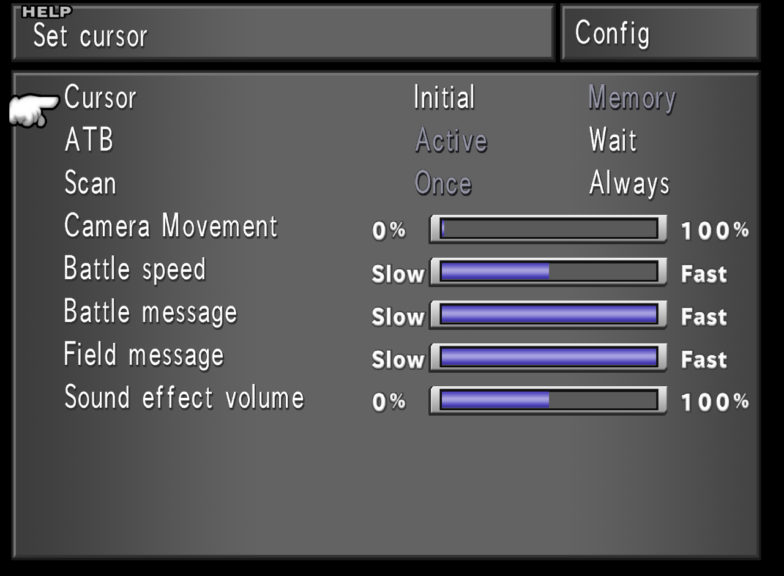
Most of these settings are related to Combat:
- Cursor – You can select whether the cursor in the battle menu starts from the topmost option (Initial) or from the option last chosen in each of the menus (Memory).
- ATB – stands for “Active Time Battle.” This option determines whether the battle is paused (Wait) or not (Active) when you’re cycling through submenus during combat. Note that in the first command menu, the battle won’t be paused regardless of what you select here. You must specifically be in a submenu (like when you use the “Magic” command, for example.)
- Scan – This refers to the magic spell “Scan” which gives you information on the targeted enemy when cast during combat. If you select “Once,” you’ll only see the full page of information on an enemy the first time you scan them. The following times you scan the same type of enemy you’ll get an abridged page. Selecting “Always” means you will always get the full page every time you scan an enemy.
- Camera Movement – This option determines how often the camera moves cinematically when certain abilities (such as drawing and casting Magic) are used in combat. If set to 0% then the camera won’t move when characters use these certain abilities and when set to 100%, the camera will always move with these abilities. Other abilities (such as the “GF” command ability) will always have cinematic camera movement regardless of what’s chosen here.
- Battle Speed – Battle Speed refers to the speed at which every combatant’s ATB bar fills up. Setting this at 100% will mean both your characters and the enemies you’re fighting will have less time between turns. This in conjunction with the “Active” setting can result in a more challenging experience. Conversely, at 0%, every combatant’s ATB fills at its slowest.
- Battle Message and Field Message – These refer to how long it takes for messages to be displayed and to remain displayed. At 100%, Messages are displayed very quickly and will only remain on screen for a very brief time. At 0%, Messages are shown very slowly and will remain on screen for a long time.
- Sound Effect Volume – This dictates the volume of the sound effects within the game.
Tutorial
The “Tutorial” option explains the basics of the in-game world as well as serves as the home for the SeeD Written Test which counts towards your SeeD Rank.
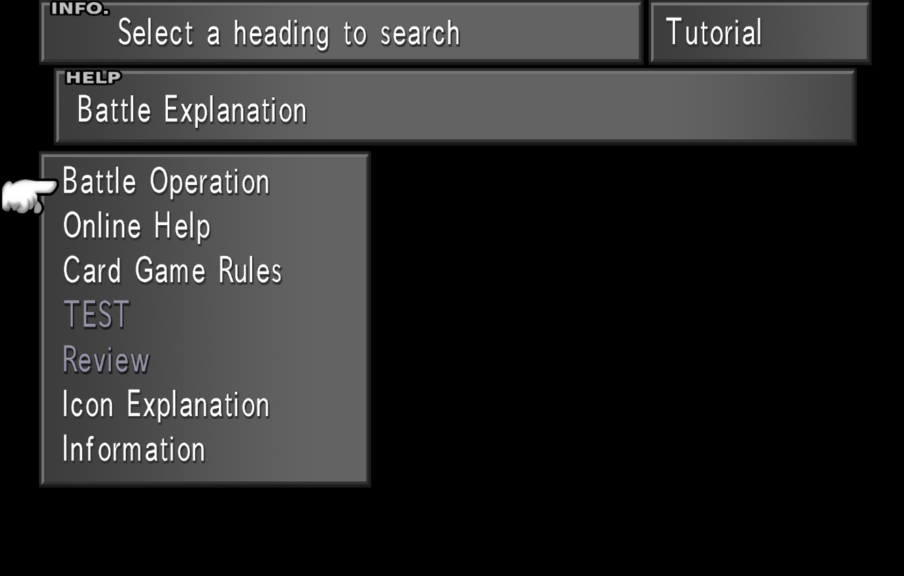
The options displayed are:
- Battle Operation – Gives a basic overview of combat and the ATB system.
- Online Help – Allows you to watch previous tutorials within the game. Contrary to the name, this option involves no actual online help.
- Card Game Rules – Explains the basics of Triple Triad and some of the different regional rules.
- TEST – This option becomes available early in the game. Here, you can take a Quiz that can improve your SeeD ranking.
- Review – Here you can re-take any test that you have previously passed.
- Icon Explanation – Explains all of the symbols used in the menu.
- Information – This option acts as a glossary of sorts and explains various terminology found throughout the game.
Note that there’s also an additional certificate that can be unlocked here after defeating a certain enemy in the game.
Save and Exit
The “Save” option allows you to save your progress on one of 2 “slots.” Each of these holds 30 “blocks.” Here, you can save on an unused block or overwrite an old block.
Note that you can only use this option when your party is at a Save Point on the Field Map. Conversely, you can use this option at any time on the World Map.
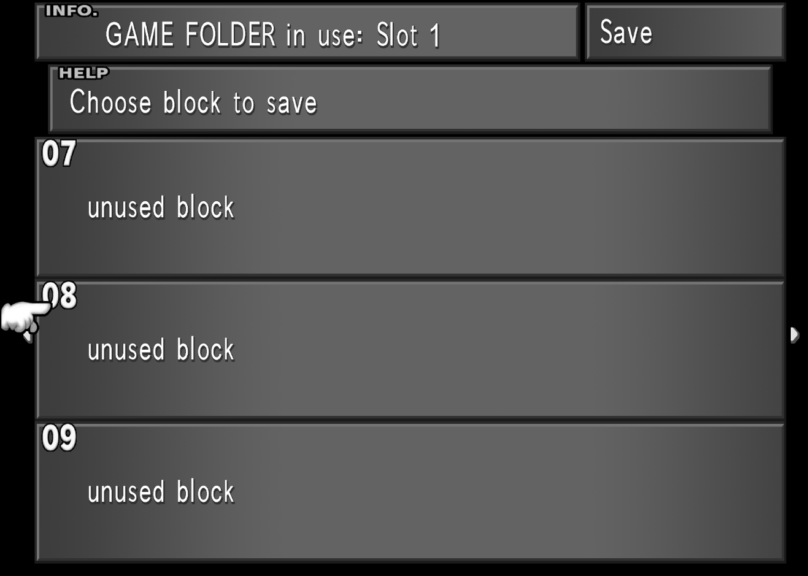
The “Exit” option will give you a prompt to close the game. If you pick “Yes”, you’ll be taken back to the Title Screen.


