![]() Key Takeaway
Key Takeaway
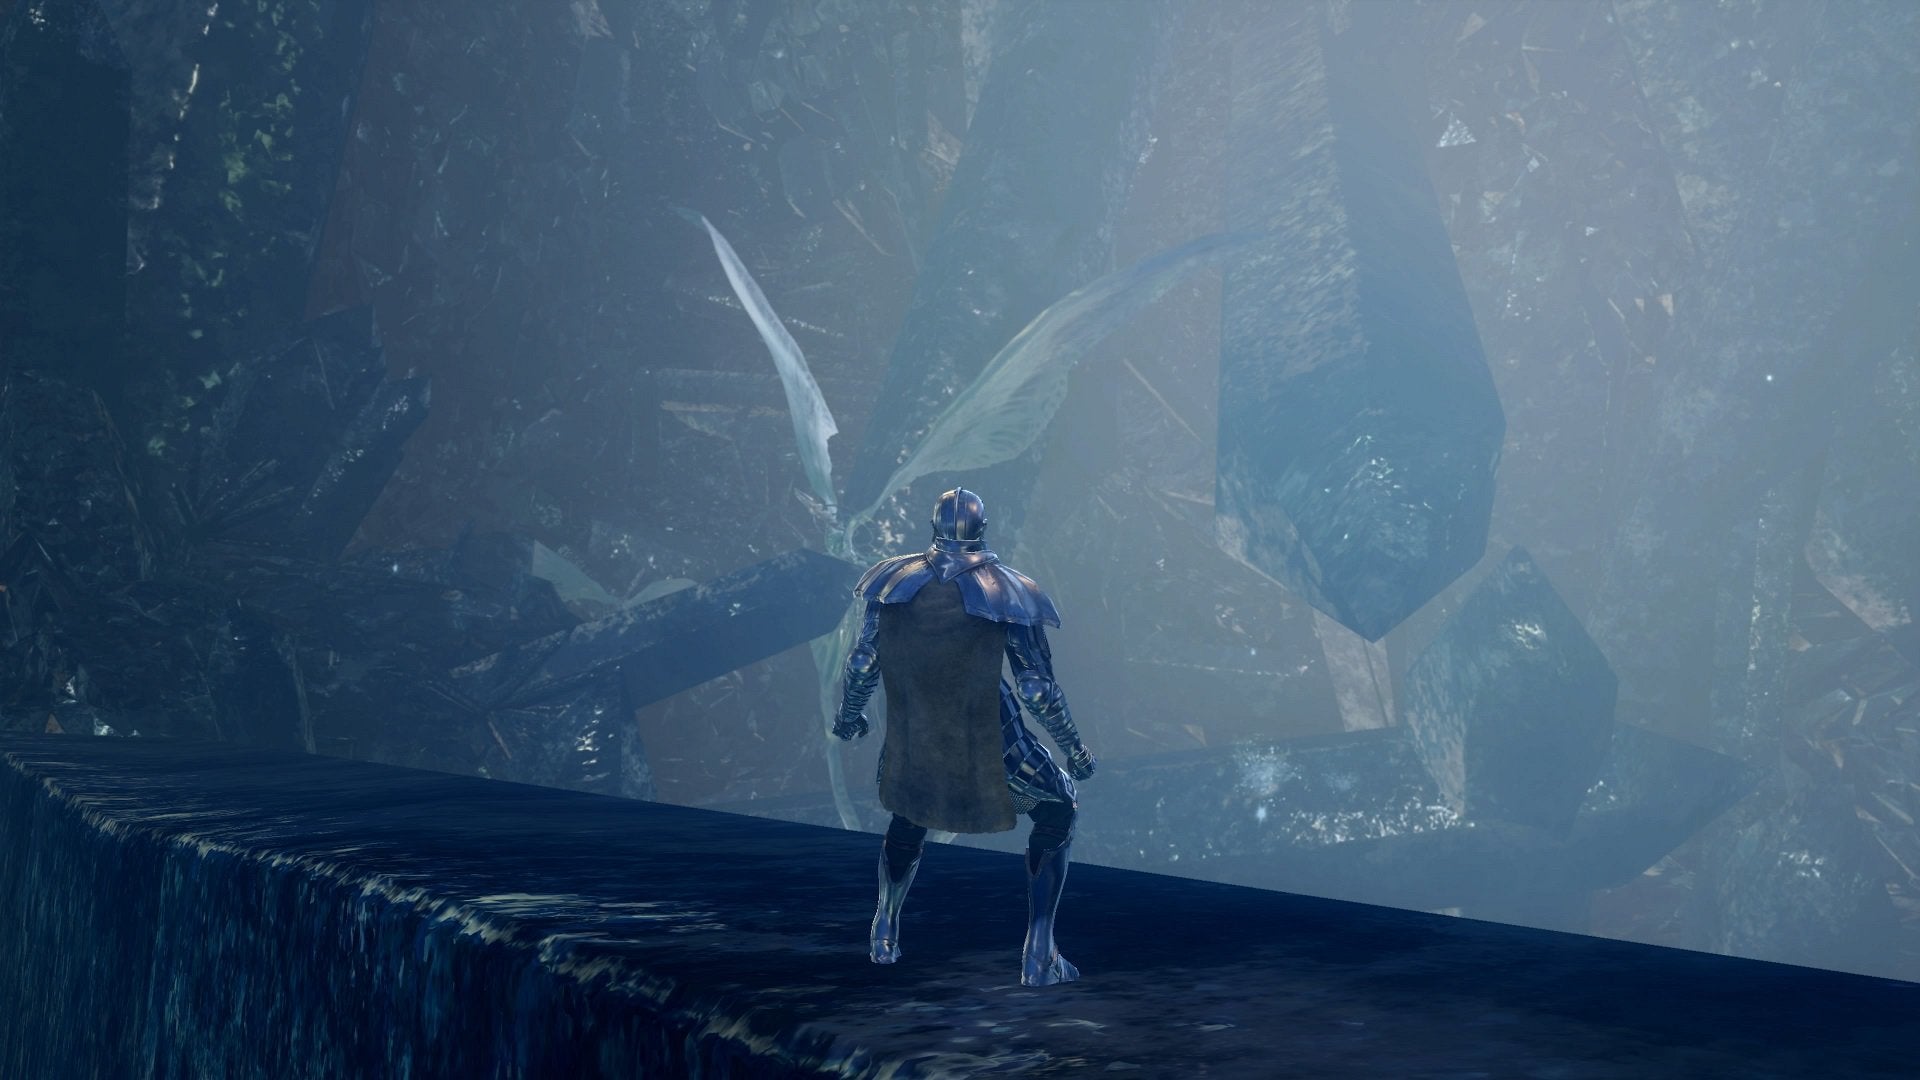
When you come across areas where there don’t seem to be any paths, keep your eye on the falling snow. These mark invisible paths you can use to get across.
The Crystal Cave is one of the most notorious areas in Dark Souls. Its most frustrating aspect is its invisible paths. Although they are marked by the presence of falling snow, spotting them and navigating the place is still tricky. Especially if you’re after this location’s loot!
Table Of Contents
Preparing for and Entering the Crystal Cave
Before you enter the Crystal Cave, it’s best to carry a ton of Prism Stones with you. This is an item you can place on the ground to mark a path. This item can be incredibly useful for navigating the Crystal Cave.
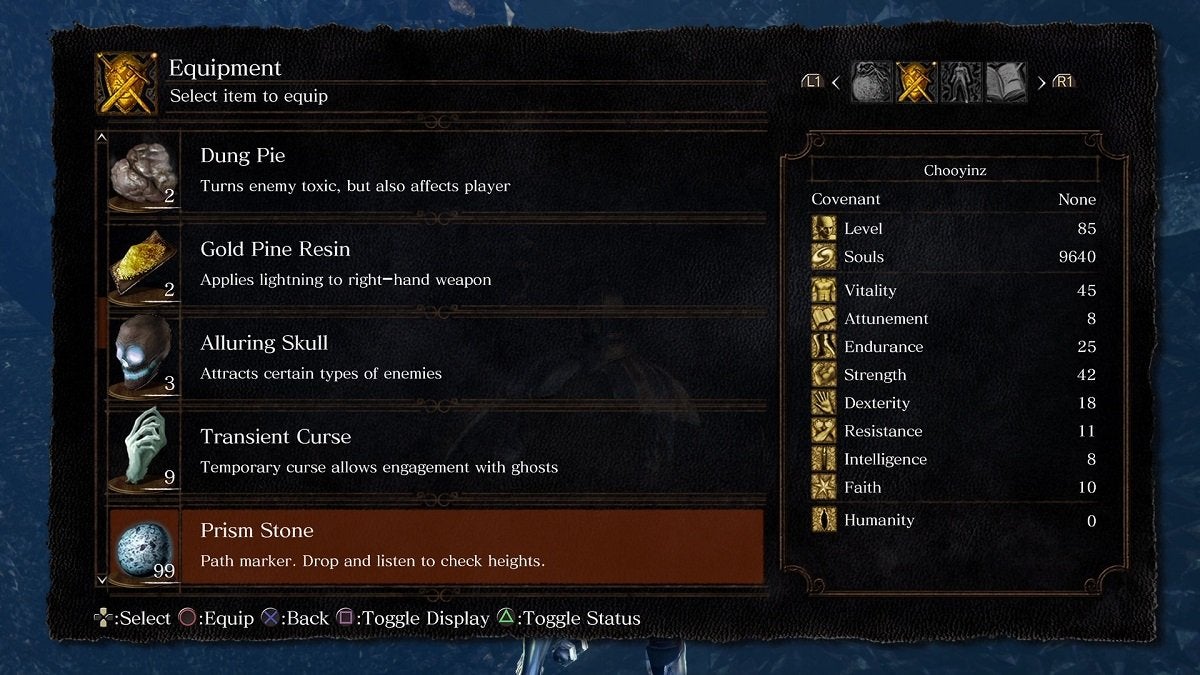
You can purchase one for only 10 Souls from the Female Undead Merchant, Patches, and Hawkeye Gough. Buy a lot.
When you enter the Crystal Cave, stay on the path you’re on until you encounter a Crystal Golem.
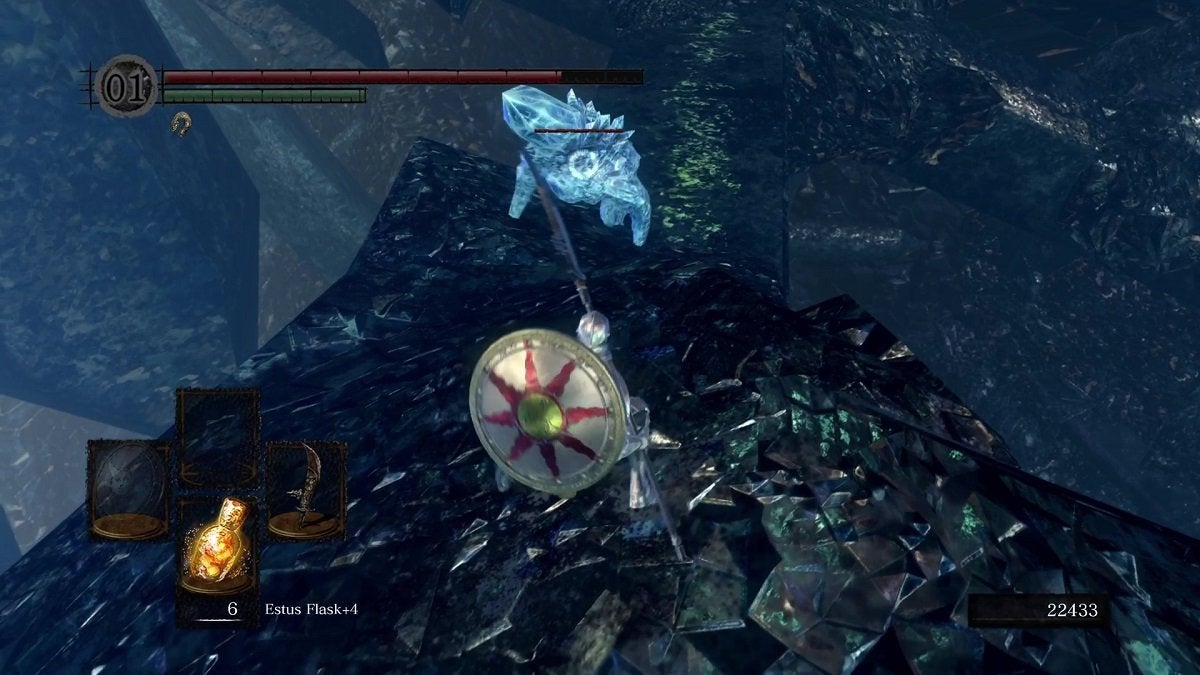
You can either deal with this enemy now or simply run past it.
Keep following the path down until you’re facing an empty cavern with snow falling in front of you. This is the first invisible path you’ll come across in this area.
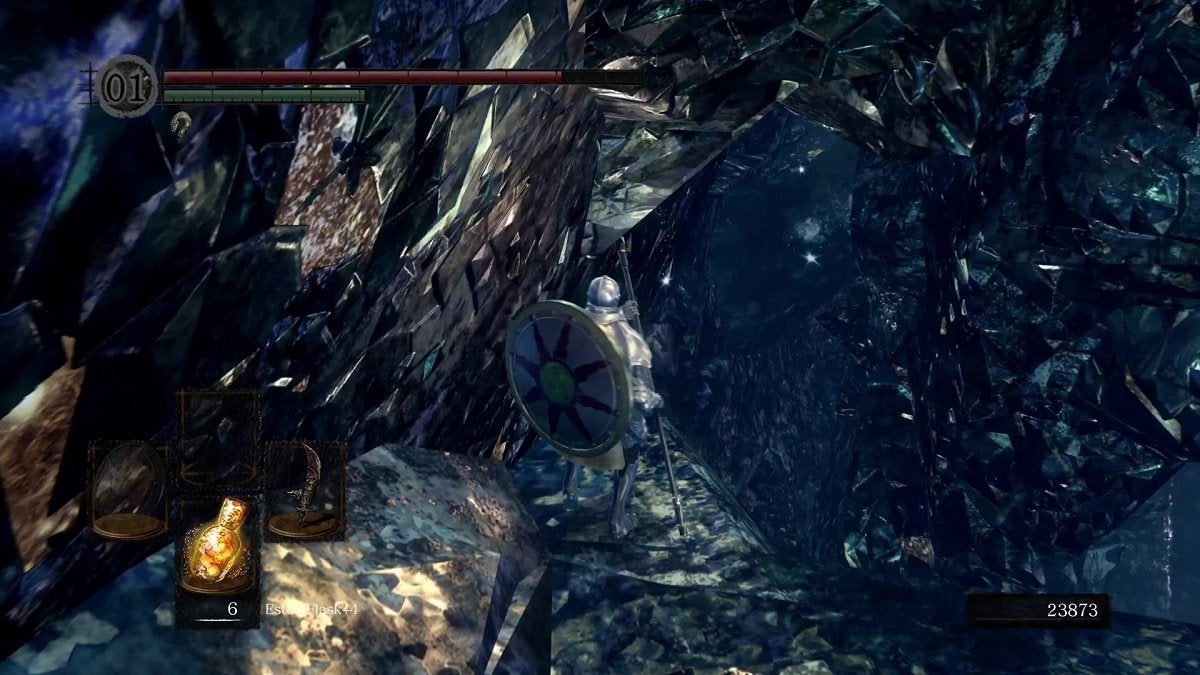
The invisible paths in the Crystal Cave are marked by falling snow. That said, walk forward and stay on the path where there are visible snowflakes.
The Three Crystal Lizards
Continue until you’re on solid, visible ground again. There’s a Humanity on the ground at the end of this path.
Slide down to the right and keep descending. Continue forward until you see falling snow again. Once you’re at the end of this solid path and see falling snow around you, make a left.
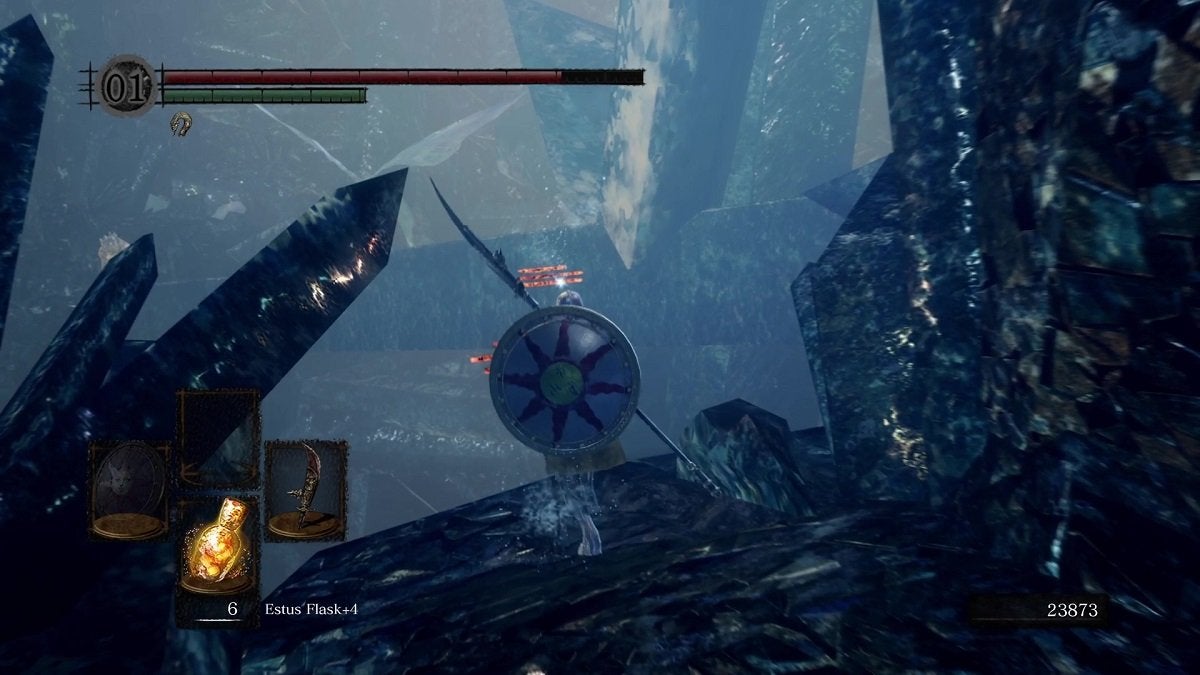
Walk towards the seemingly open air and follow the invisible path that’s marked by falling snow. The path here is a straight line so just keep heading straight onto the next crystal pillar ahead.
Once you’re on the crystal pillar, make a left and keep heading that way. Be careful of the Crystal Golem here. Lure it towards you and fight it at the end of this pillar. Afterward, continue forward.
When you’re about to reach the end of this pillar, your character will somewhat slide to the right. Don’t worry. Keep heading forward and strafe to the left if you have to in order to traverse this tricky terrain.
Once you make it to the other end, make a right. Then, walk towards the left of this area to find yet another set of falling snowflakes.
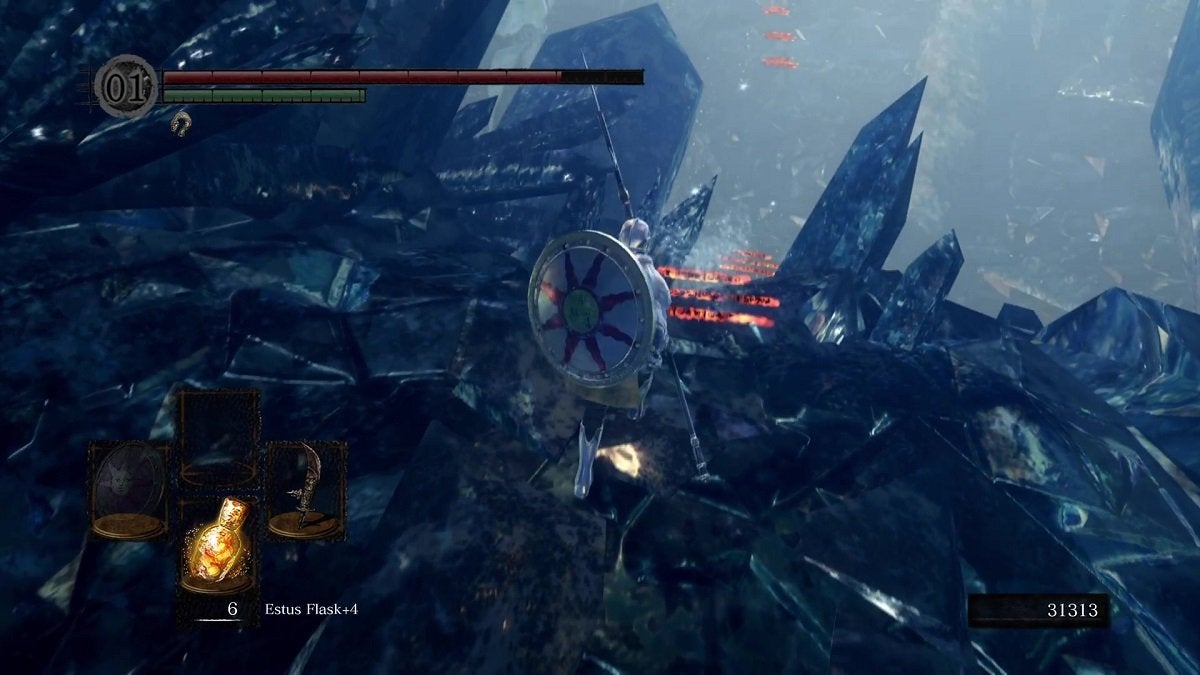
Walk forward and you will fall down. Don’t worry, you’ll land on an invisible path just a few feet down. As soon as you land, turn around and enter the small opening here to find three Crystal Lizards. Immediately kill them.
Crystal Lizard Trio Drops
If you manage to kill all three, you’ll receive a total of six Twinking Titanites. You’ll also have a chance of receiving the following:
- 42% of a Blue Titanite Chunk
- 25% of 2 Green Titanite Shards
- 8% of 2 Blue Titanite Chunks
Obtaining a Blue Titanite Chunk and Blue Titanite Slab
From where you killed the trio of Crystal Lizards, head forward and you’ll spot yet more falling snow. The path forward here is trickier than the other invisible paths.
This is the best time to use your Prism Stones. Be liberal in using them. You’ll need it for the trip back.
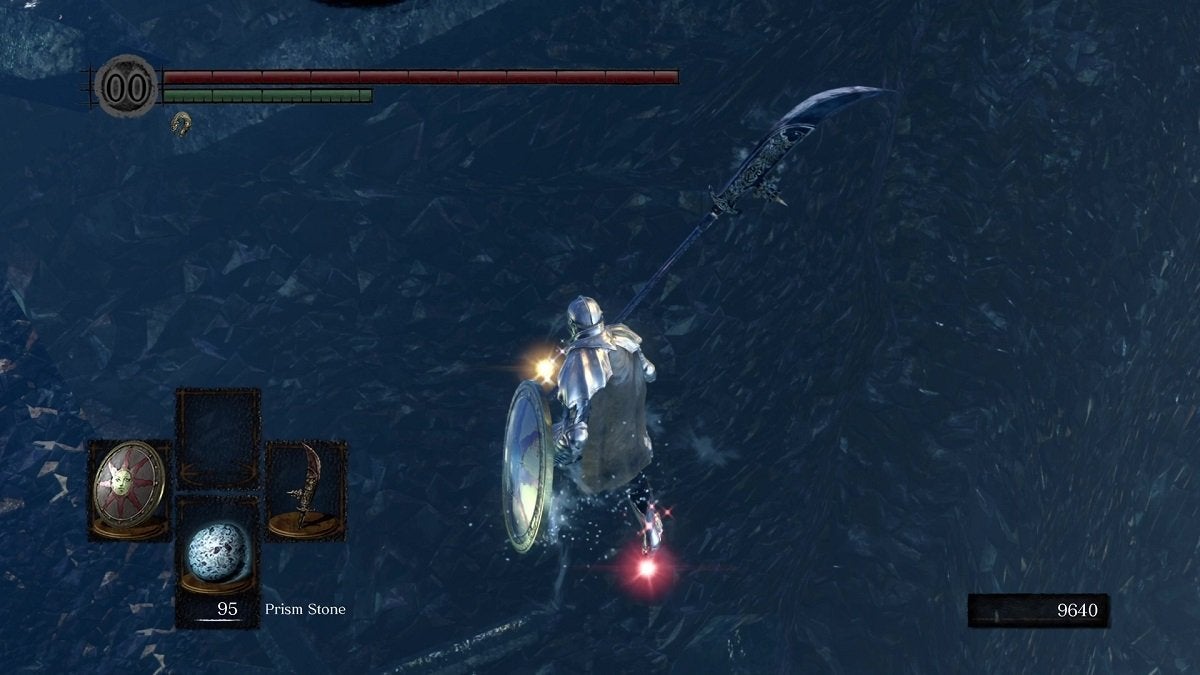
Keep your eye on your feet and pay attention to the falling snow. As soon as you notice that there is no more falling snow ahead, turn slightly to the right and you’ll find more falling snow.
After a few feet, you’ll again notice a lack of falling snow ahead of you, but more of them are on your left. Be very patient and keep your eyes on the falling snow.
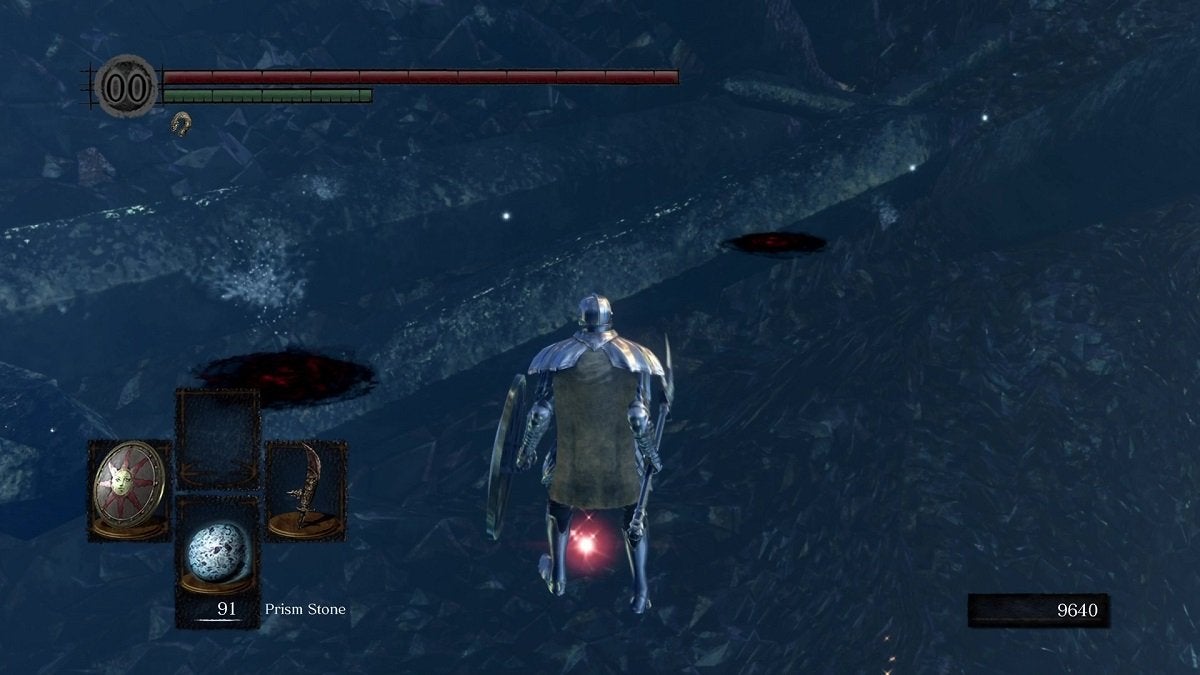
Keep going forward until you finally make it to the crystal pillar ahead.
Once you finally make it here, loot the corpse ahead to obtain a Blue Titanite Slab.
Return to the tunnel where you killed three Crystal Lizards. Continue to the other invisible path here. Look down and you’ll spot loot and a Golden Crystal Golem on the crystal pillar below.
You can drop down on this crystal pillar and pick up this loot to obtain a Blue Titanite Chunk. It’s up to you whether or not you want to kill the golden golem. It drops only 1,360 Souls upon defeat.
Heading to Seath the Scaleless’ Boss Room
With the loot picked up, run up to the right until you spot more falling snow. Make a right and walk in a straight line until you’re at a crystal pillar again. Here, make a right and head down. Again, be careful when sliding to the right.
Continue towards the lower invisible path. This time, continue running forward; this path is fairly linear. Keep heading straight until you’re on visible ground again.
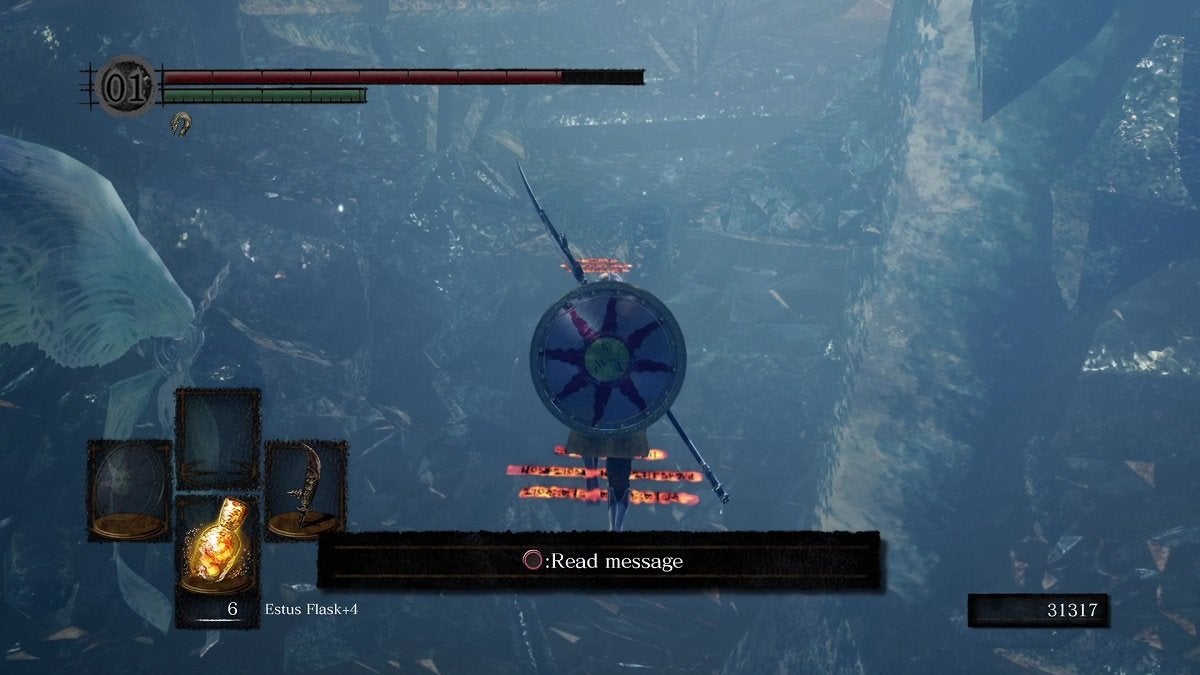
Keep heading forward and you’ll reach an open cavern with multiple Man-Eater Shells. Whether you want to kill all of them or not is up to you. Either way, go to the end of this path and you’ll arrive at Seath’s boss room. This boss room is the main reason to come to the Crystal Cave in Dark Souls. You need to slay Seath to progress further.
How to Beat Seath the Scaleless
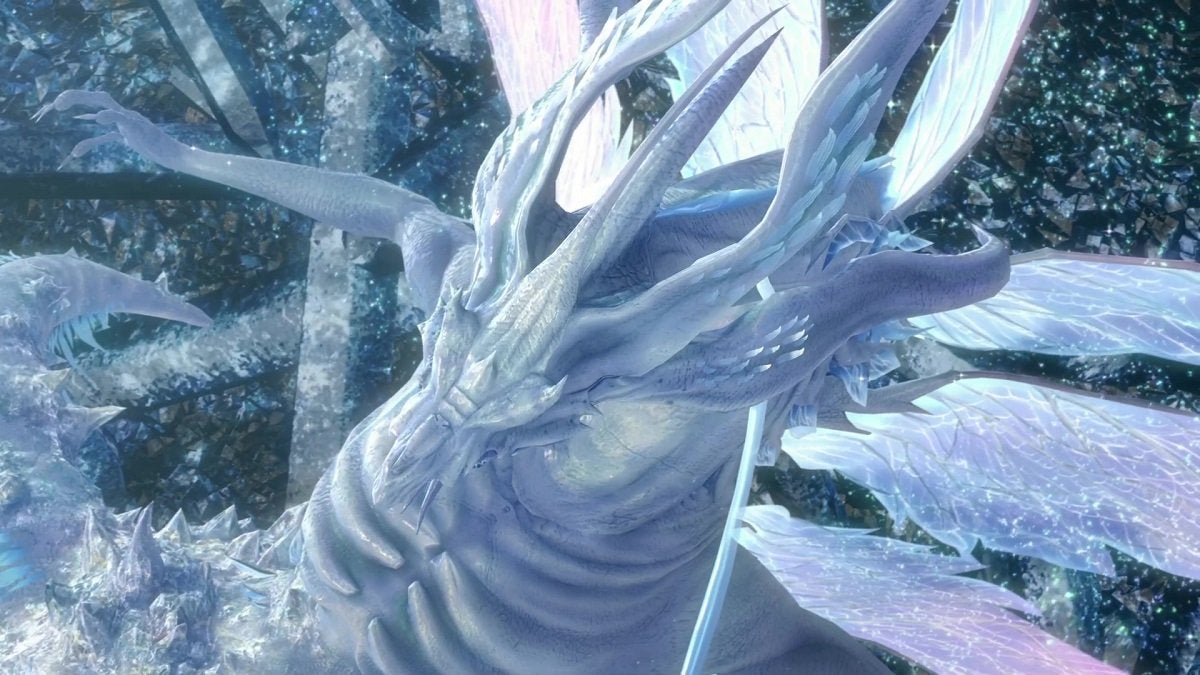
When the fight with Seath begins, turn around and run up to the glowing crystal here. Destroy this first. You won’t be able to kill Seath without destroying the crystal.
After that, face Seath. He’ll be easier to deal with now that he is no longer immortal. Watch out for his floor crystals, as they curse you. Immediately run away from them when they appear.
You can also cut off Seath’s tail before killing him to receive the Moonlight Greatsword.
Besides creating cursing crystals on the floor, Seath isn’t that tough. Simply stay behind him and you’ll take out this huge boss in no time.
A FromSoftware game isn’t a FromSoftware game without one or two—if not more—frustrating levels. The Crystal Cave is one of the few in Dark Souls, alongside the dreaded Blightown. Now that you know how to navigate it, retrieve your Lord Shard by killing Seath and immediately get out of this terrible place.


