![]() Key Takeaway
Key Takeaway
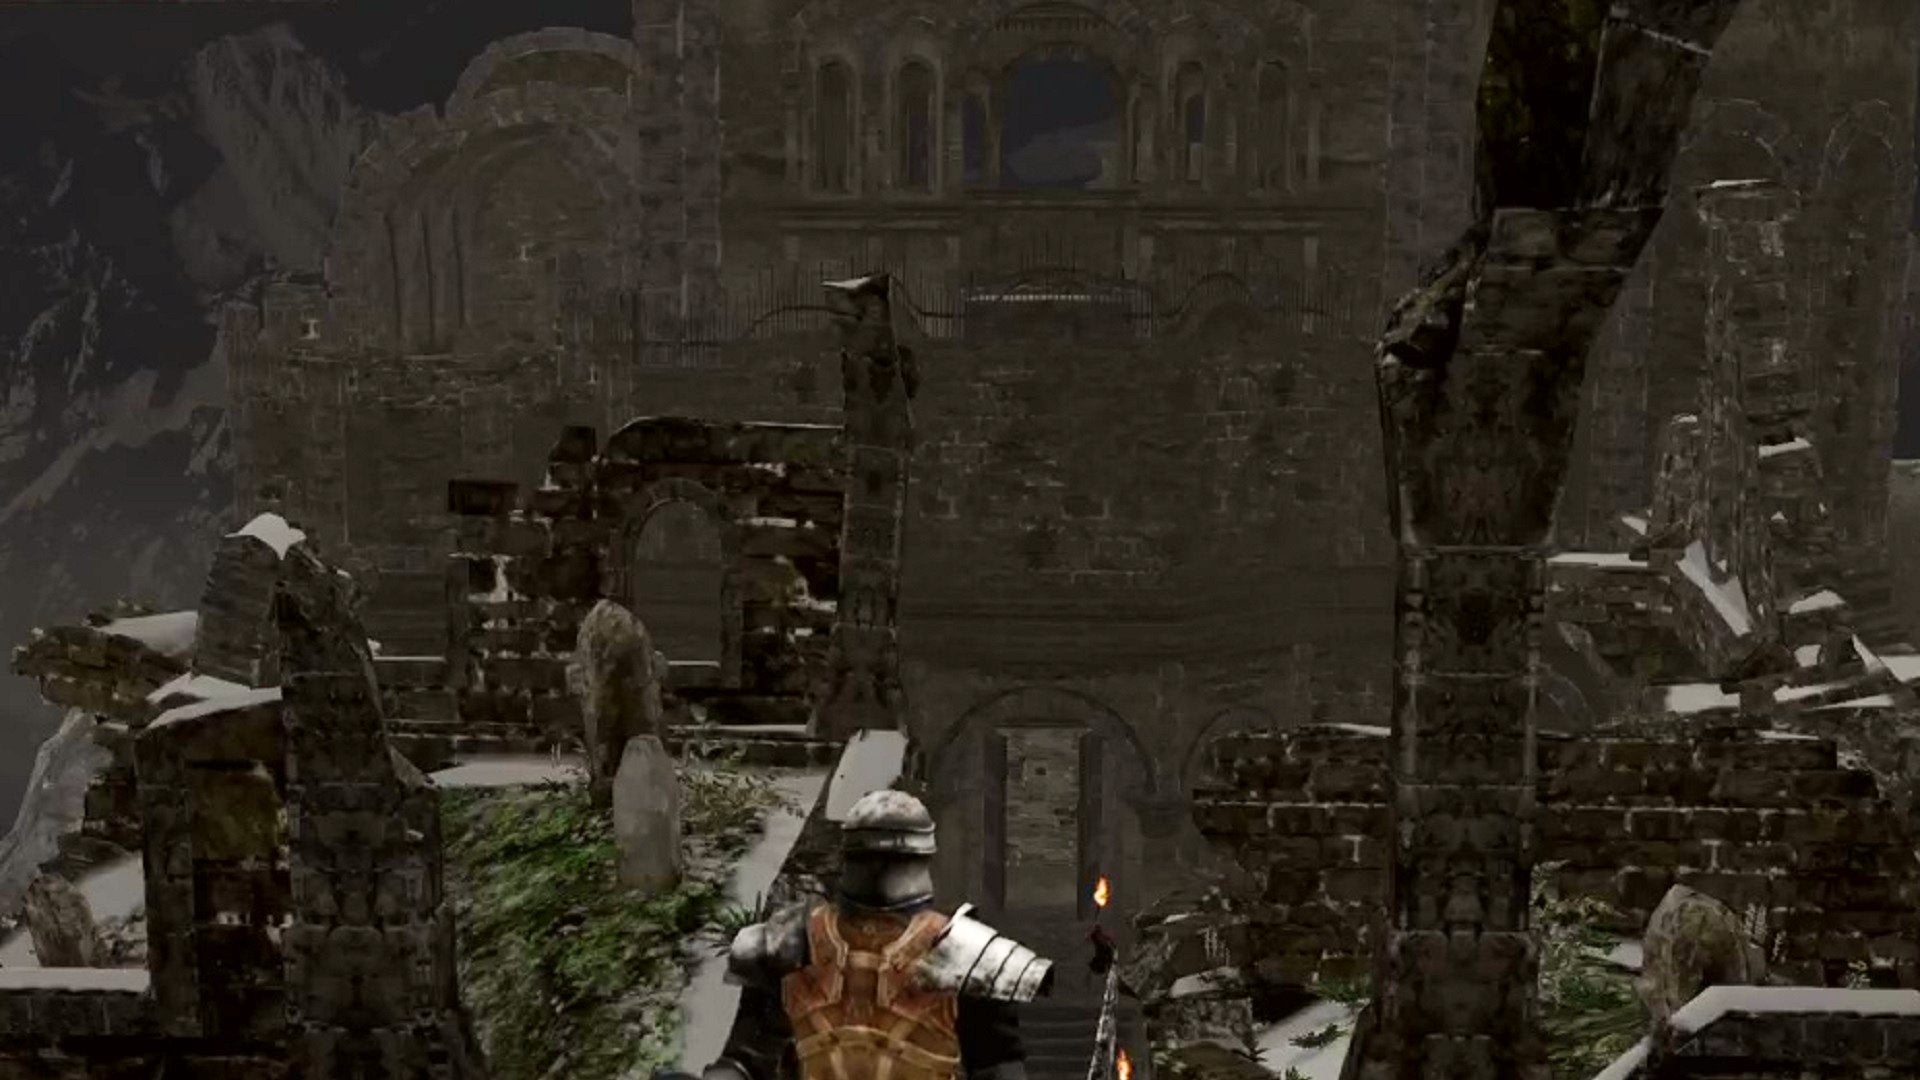
- Unlock the elevator shortcut between the Undead Parish and Firelink Shrine
- Ride the elevator, then hop off when you see a section of the structure you can land on
- Continue forward and make your way to the tower ahead
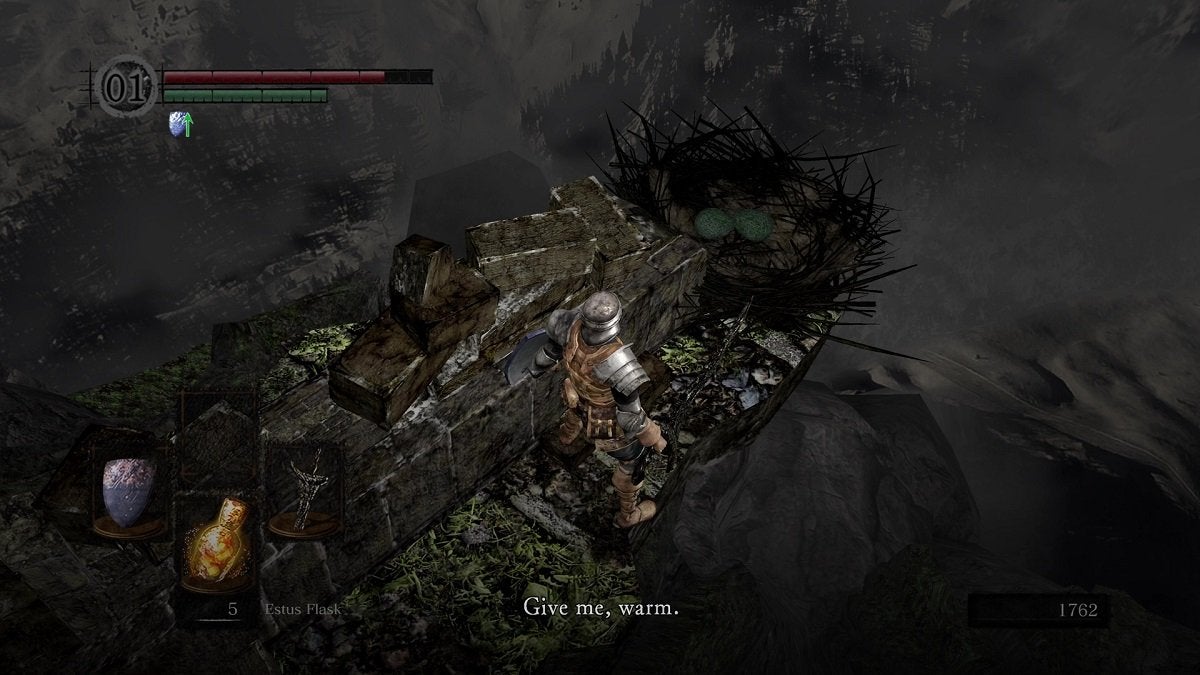
- Ascend until you find the giant crow’s nest
- Curl up in the nest and wait for the giant crow to snatch you up
It will bring you back to the Northern Undead Asylum. Afterward, explore thoroughly for some decent loot.
The Northern Undead Asylum is the very first area you explore in Dark Souls. However, you can return to this area later in the game. It will be worth your time and effort to do this. There are a handful of items here that will prove useful to you.
Table Of Contents
Preparing to Revisit the Northern Undead Asylum in Dark Souls
Remember the giant crow who snagged you and flew from the Northern Undead Asylum to Firelink Shrine? You can have that crow fly you back to the former location. In fact, that crow is still at Firelink Shrine.
Unlocking the Elevator Shortcut Between the Undead Parish and Firelink Shrine
To reach the area where the crow is located, you’ll first need to unlock the elevator shortcut between Firelink Shrine and Undead Parish. This elevator can only be unlocked from the Undead Parish end. That being said, if you haven’t yet, progress through the game until you make it to Undead Parish.
Work your way to the inside of the church. The elevator door is next to the staircase that leads to the second floor of the parish.
Look down as the elevator descends. You’ll find a decrepit section of the structure you can drop on just before the elevator reaches the bottom. If you fail, ride the elevator back up and try again.

Finding the Undead Asylum F2 West Key in Firelink Shrine
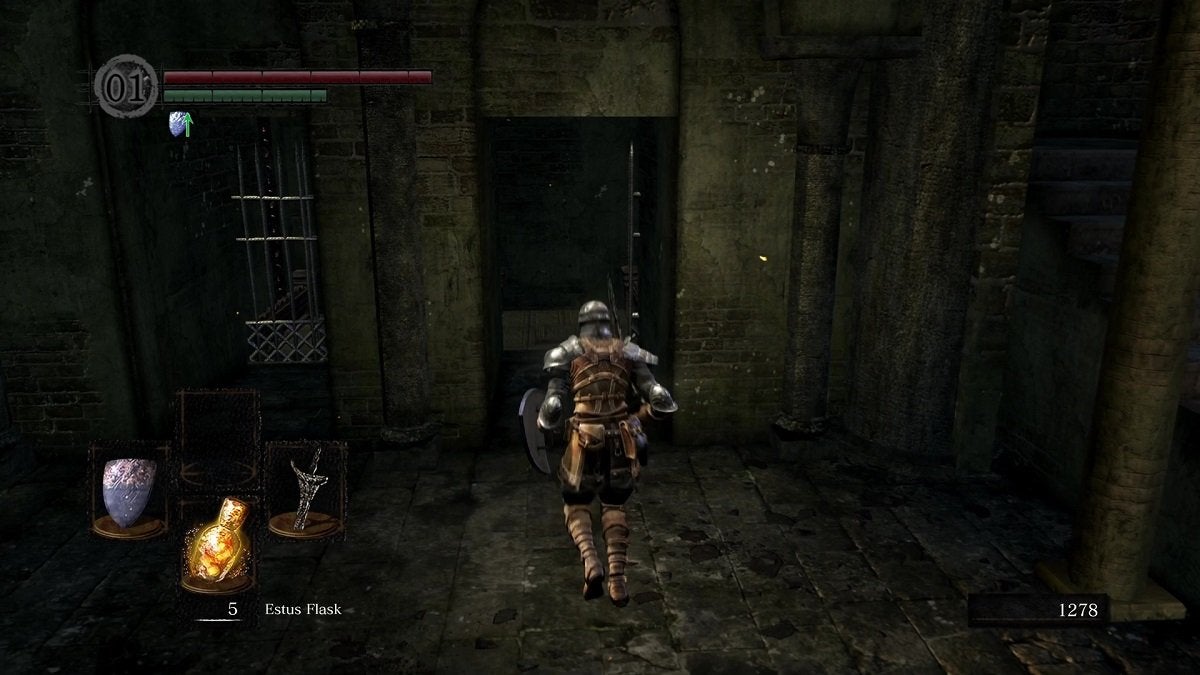
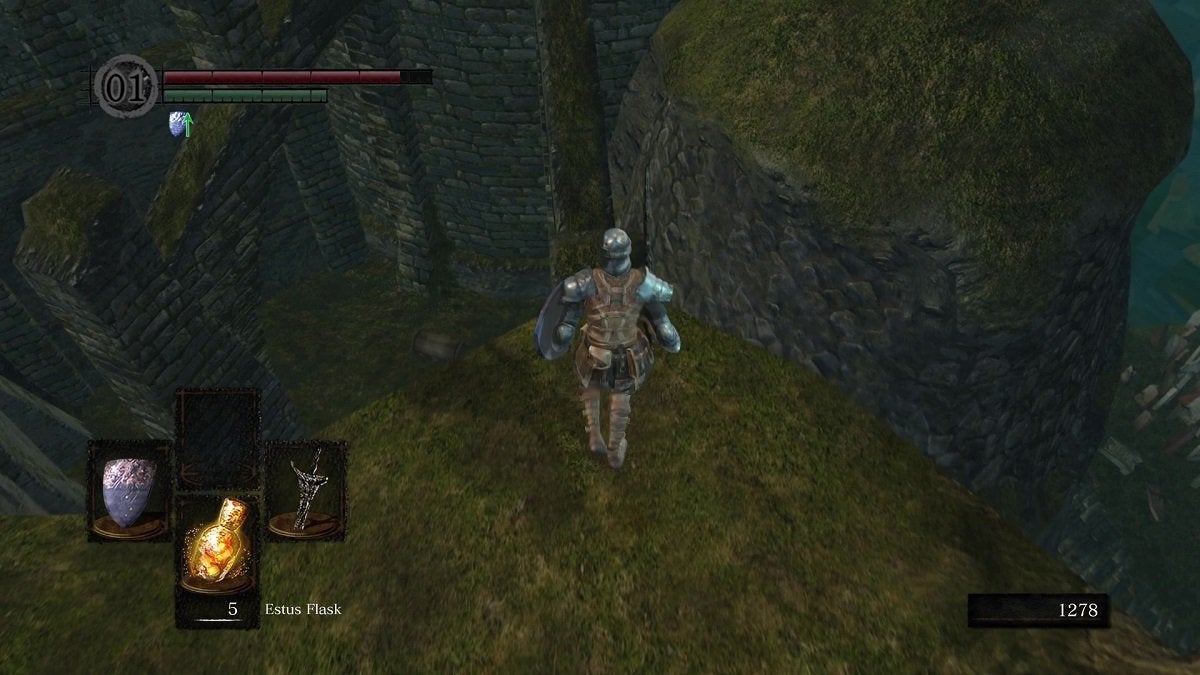
Once you successfully make it here, move forward while hugging the right wall, make a right, and then make a left once you reach the end of the cliff. The cliff you’re on positions you above the top of the pillar ahead. You can get on top of it by rolling towards it.
From here, walk forward to the hole in the tower. This will put you on a staircase. Start heading up. Once you’re at the top, look to your left and downwards. You’ll find a body on the roof below with some loot on it. Get down here and grab this item.
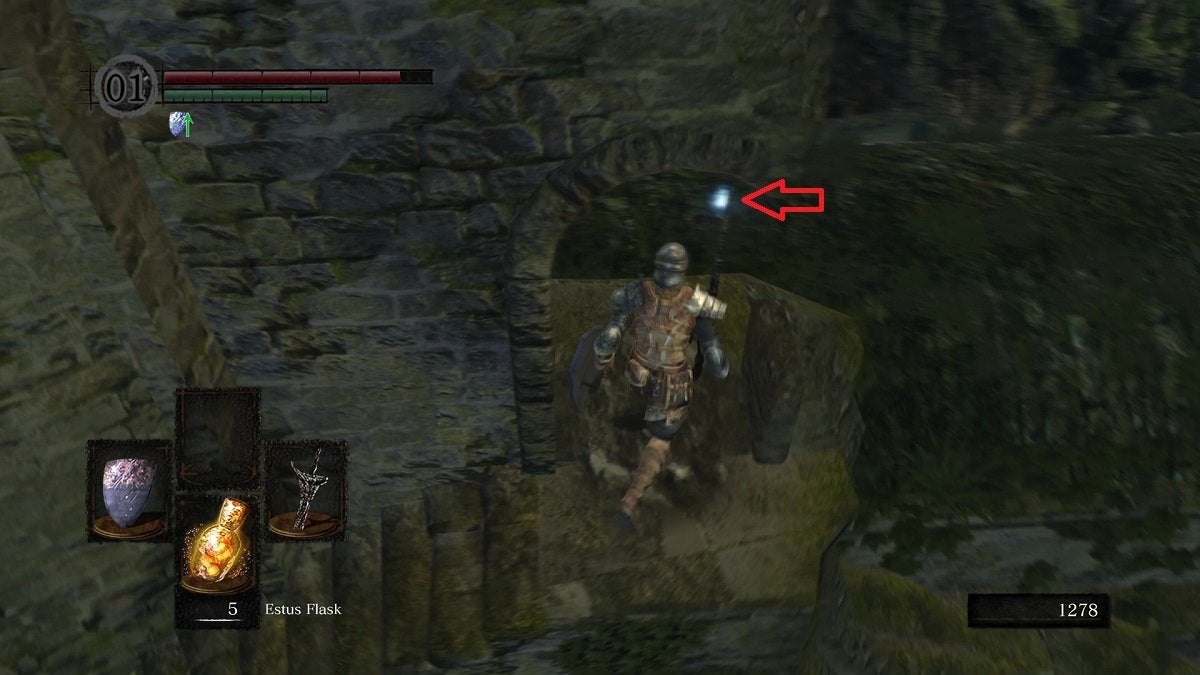
This item is the Undead Asylum F2 West Key. You’ll need this if you want to make the most out of your return to the Northern Undead Asylum in Dark Souls.
From the roof, look at one side of the structure you’re on and you’ll find a ledge with a body on it. You can get here by sprinting, and then jumping towards it.
Flying With the Giant Crow Again
You can return to the elevator from here. Do the same process as before and work your way to the staircase you were on before hopping on the roof. Only this time, keep ascending until you make it to the crow’s nest.

When you approach the nest, a prompt asks you to press the action button to “curl up like a ball.” Do exactly that and wait for a few seconds. A cutscene will eventually play. The giant crow will then take you back to the Northern Undead Asylum.
What to Do in the Northern Undead Asylum
Once you return to the Northern Undead Asylum, head down and you’ll see a handful of torch-wielding undead enemies. Deal with them first. From the top down, look to the graveyard on the left. Walk towards it and continue to the furthest edge of the cliff to find a small crow’s nest. This nest is home to Snuggly, this locale’s only NPC.
Trading With Snuggly
Snuggly trades items with you. To do so, drop an item while standing on the nest, then force a loading screen.
You can force a loading screen by doing any of the following actions:
- Quitting to the main menu and then resuming your adventure
- Jumping off the cliff
- Using a Homeward Bone
When the game reloads, a new item will be in the nest instead of the one you dropped.
Take note that Snuggly only accepts certain items. You’ll know Snuggly won’t accept it because she will complain when you drop an item that she deems unacceptable.
For reference, here’s every item Snuggly will take and the items you’ll receive for them.
| You Give | You Receive |
|---|---|
| Bloodred Moss Clump | Twinkling Titanite |
| Blooming Purple Moss Clump | 2 Twinkling Titanite |
| Cracked Red Eye Orb | 2 Purging Stone |
| Dung Pie | Demon Titanite |
| Egg Vermifuge | Dragon Scale |
| Humanity | Ring of Sacrifice |
| Pendant | Souvenir of Reprisal |
| Prism Stone | Demon Titanite |
| Purple Moss Clump | Twinkling Titanite |
| Pyromancy Flame | Red Titanite Chunk |
| Pyromancy Flame +15 | Red Titanite Slab |
| Ring of the Sun Princess | 2 Divine Blessing |
| Rubbish | Titanite Chunk |
| Sack | Demon's Great Hammer |
| Skull Lantern | Ring of Fog |
| Soul of Manus | Pursuers |
| Sunlight Maggot | Old Witch's Ring |
| Sunlight Medal | White Titanite Chunk |
| Twin Humanities | Rare Ring of Sacrifice |
| Xanthous Crown | Ring of Favor and Protection |
Beating the Stray Demon
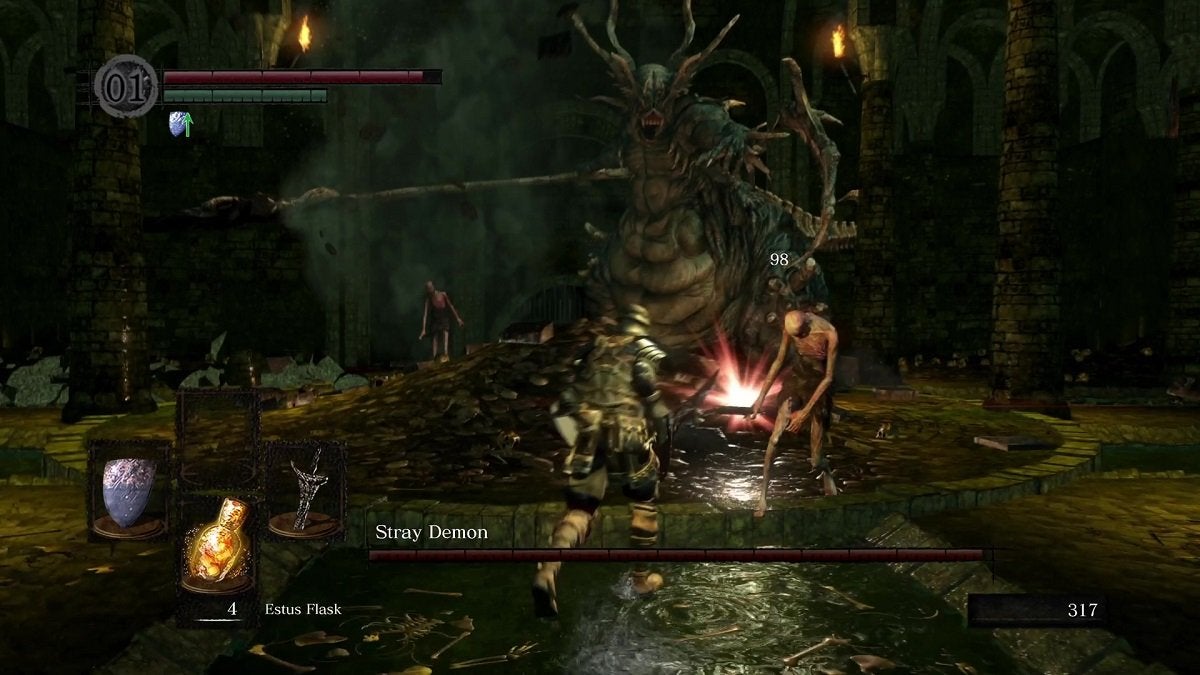
Return to the area where you fought the Asylum Demon. However, while here, do not walk in the center of the arena—at least, not yet. Instead, head to the right, enter the door, and rest at the bonfire ahead.
Once rested, return to the previous arena and walk to the center. It will cave in under you, sending you to the area below where you’ll come face-to-face with the Stray Demon.
The Stray Demon’s attack patterns mostly copy the Asylum Demon’s. However, the Stray Demon has more health and deals more damage. On top of that, its weapon slam attack now comes with an explosion at the end. Not only do you have to dodge this attack, but you also need to be far enough from the radius of the explosion to not receive damage.
The best strategy against this boss is to stay behind it. Attack it from the back until its HP drops to zero. Most of its attacks won’t be able to reach you from here. You only need to move away for a few moments when the Stray Demon hovers in the air or when you see the explosion attack coming.
When you defeat the Stray Demon, you’ll receive:
- 20,000 Souls
- 1 Humanity
- 1 Homeward Bone
- 1 Titanite Slab
For now, it’s best to use the Homeward Bone to return to the bonfire. It’s time to continue exploring the rest of the asylum.
Taking Out the Black Knight and the Hollowed Oscar of Astora
Upon returning to the bonfire, head to the door that leads you to the upper part of the asylum.
Up ahead, in place of the undead archer that was here when you first explored the asylum, there will be a Black Knight instead. Defeat it first to receive a Red Titanite Chunk. You’ll also have a 20% chance of receiving a Black Knight Greatsword and a 5% chance of receiving a Black Knight Shield.
Once done, continue up the asylum. Make your way back to where you met Oscar of Astora, the same guy who gave you your Estus Flasks. You’ll find that, unfortunately, he’s gone hollow. Put him out of his misery and you’ll receive the Crest Shield.

Getting the Rusted Iron Ring
From here, head up the staircase. Remember that there’s a boulder trap here. Be sure to roll out of the way when the boulder comes down. Once done, head back up and continue forward. Proceed towards the west wing and you’ll find two undead enemies guarding a gate. Dispatch them and then open the gate with the Undead Asylum F2 West Key.
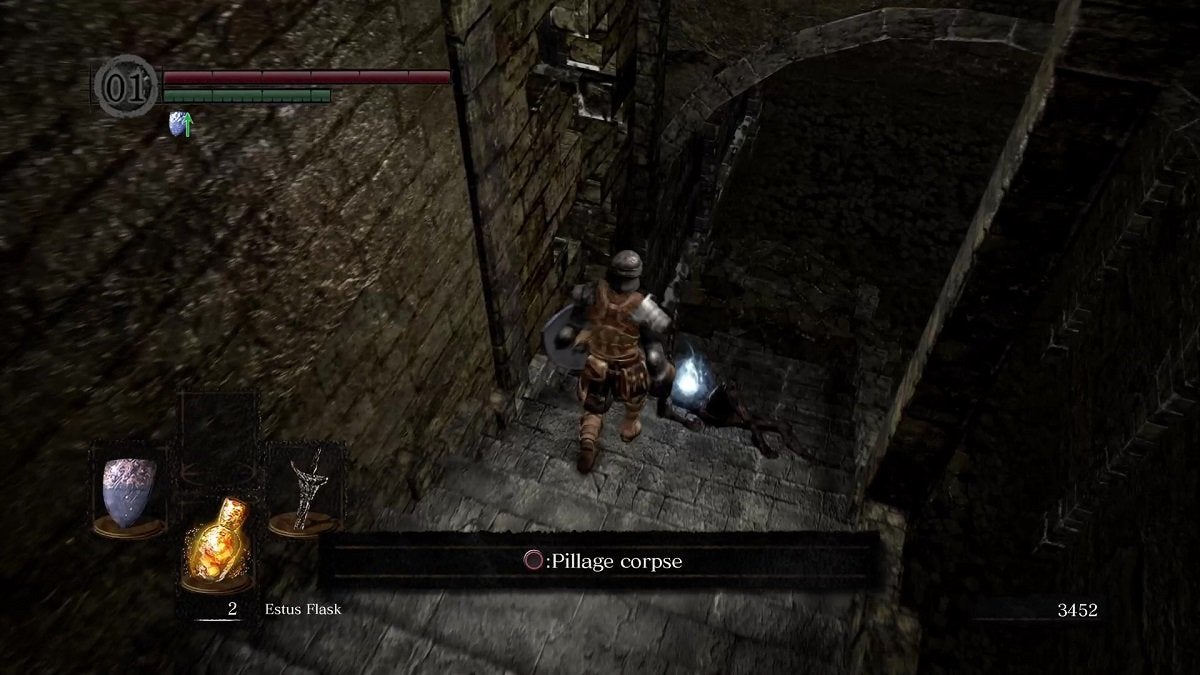
Head onwards and you’ll find a body near where the staircase breaks off. Loot the item on it to receive the Rusted Iron Ring.
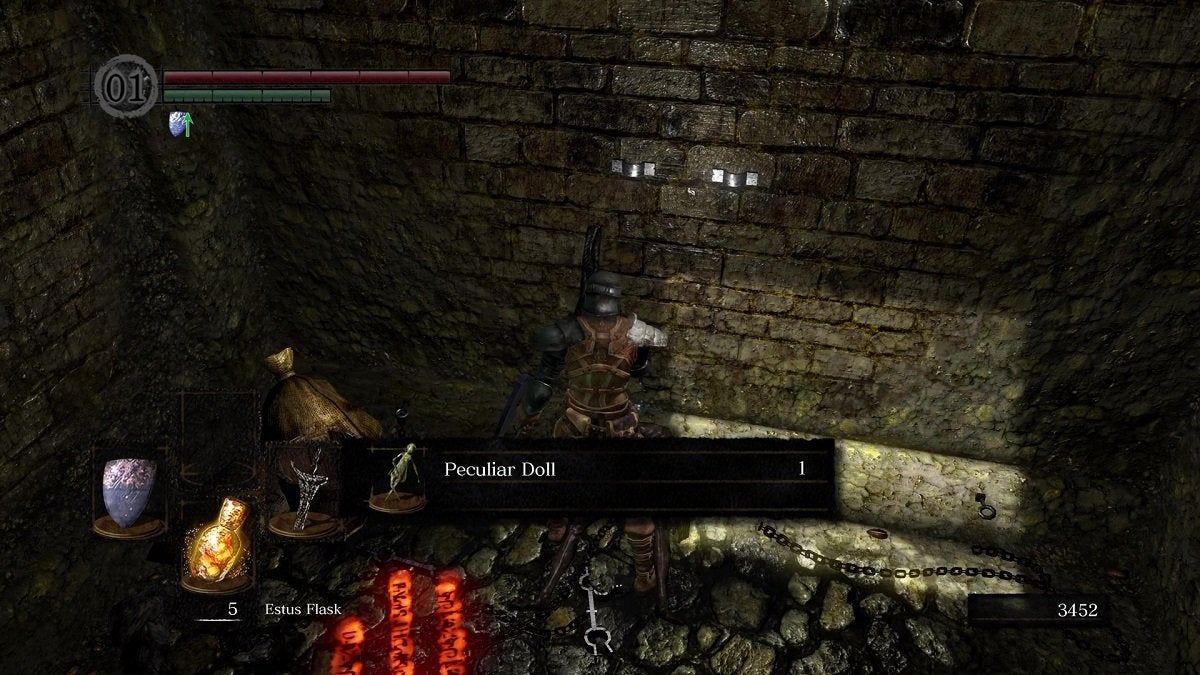
Picking Up the Peculiar Doll
From here, head down and return to the bottom floor. You can rest at the bonfire if you need to restore your health.
There’s one last thing to do while you’re here: return to the cell where you started the game. Head through the door behind the bonfire, use the ladder on the well to drop down, and make your way to your former cell.
You’ll find that a Black Knight is now guarding it. Defeat this foe and enter the cell to find the Peculiar Doll.
That’s everything there is to do on your return to the Northern Undead Asylum in Dark Souls. While there are no powerful weapons and rewards here like the Claymore, the items you get from this asylum will help you on your journey and unlock an optional location. To head back to Firelink Shrine, simply return to the area where the giant crow nabbed you and it will do the same once more.