![]() Key Takeaway
Key Takeaway
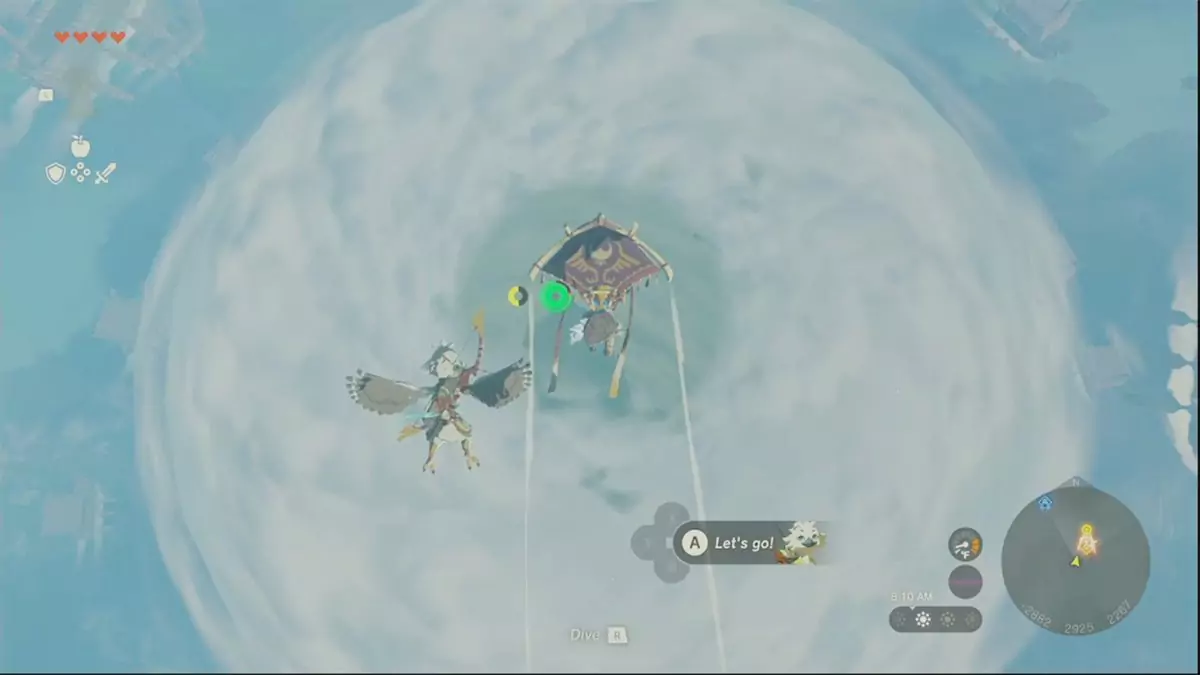
You can only activate the Wind Temple gears with Tulin’s help. If the young Rito warrior is with you, activate the terminal in the middle of the flying ship’s top floor. This marks the location of all five wind turbine locks on the dungeon map. Follow these quest markers and use Tulin’s gust power to unlock all five gears. Afterward, go back to the terminal in the middle of the flying ship’s top floor to confront the boss.
As for beating Colgera, the Wind Temple boss, you have to hit their three weak points until they all break. Colgera then enters phase two, which is similar to phase one—but the boss has a couple of new attacks. Take out the three weak points again and the boss goes down for good.
Although the Wind Temple isn’t the largest dungeon in The Legend of Zelda: Tears of the Kingdom, it can be a bit confusing at first. However, once you learn this dungeon’s gimmick, you’ll be able to clear through it with a little exploration and some help from Tulin.
Table Of Contents
Complete Wind Temple Guide – Zelda: Tears of the Kingdom Video Guide
Activate the Fast Travel Point in the Wind Temple (01:00 in the Video Guide)
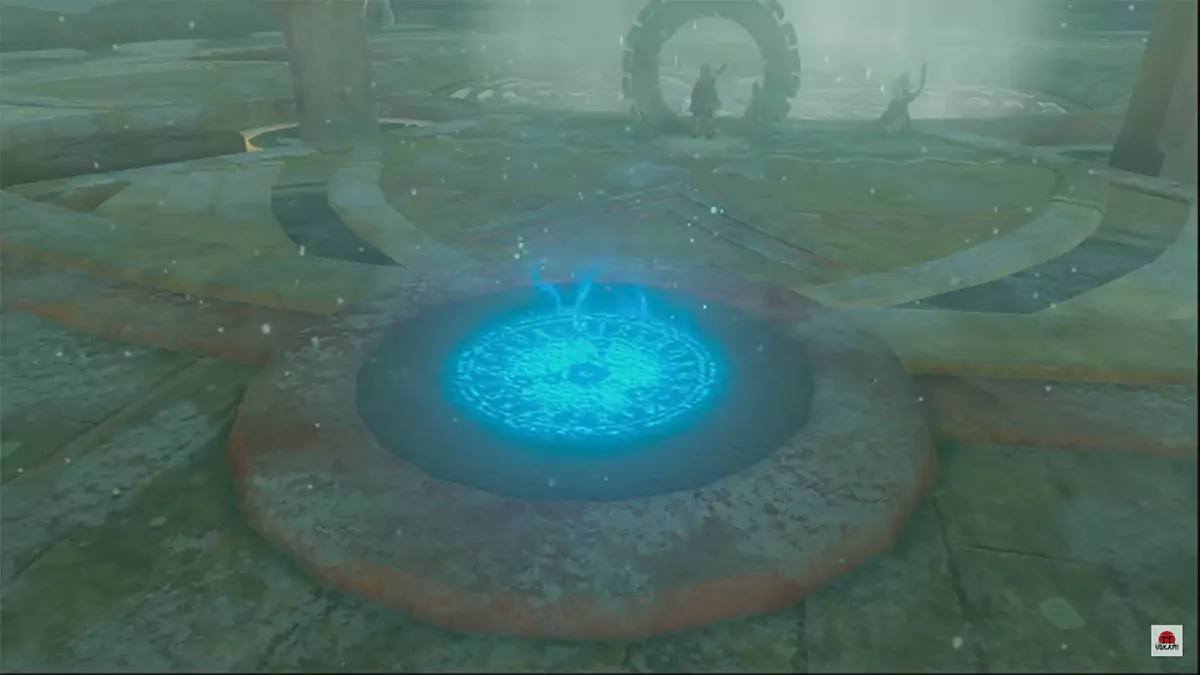
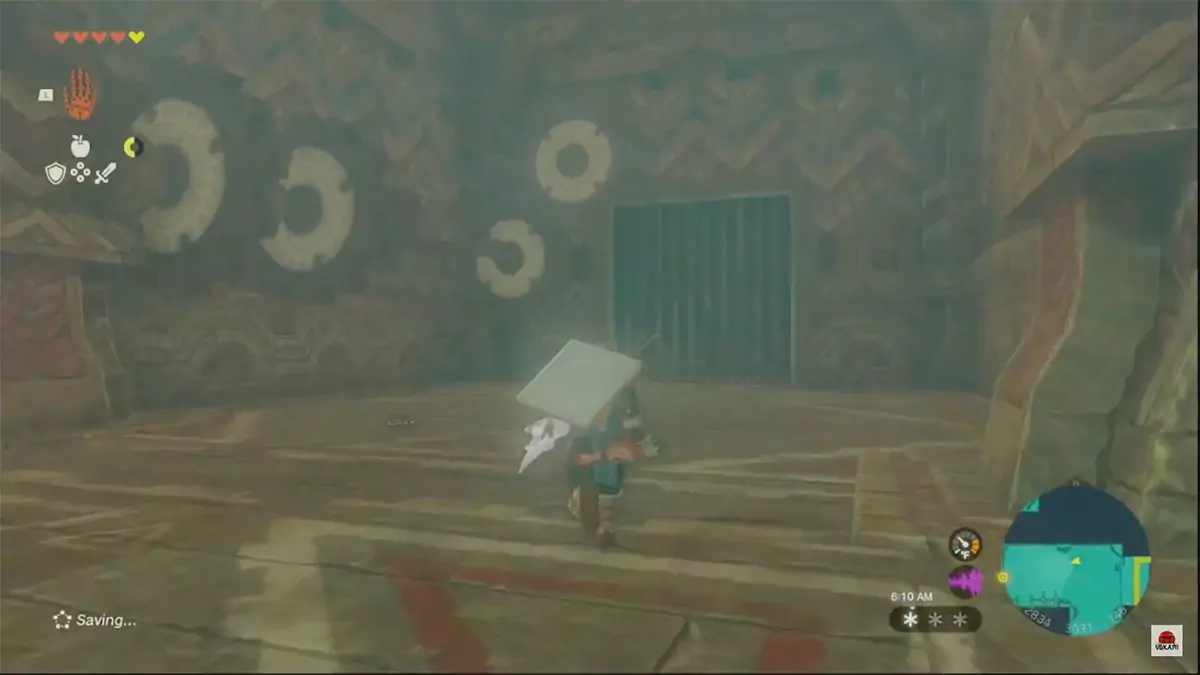
Before you start unlocking the Wind Temple gears, you should first activate the terminal close to them. This creates a fast travel point that allows you to warp back to the middle of the huge flying ship at any time: a great time saver. This is way more convenient than warping to Mayaumekis Shrine and ascending the flying ship Armada again.
Once you’ve activated this fast travel point, a short cutscene also plays and gives you straightforward instructions on what you need to do. Helpfully, the game also marks the location of all five wind turbines that unlock every gear on the dungeon map. Although getting to them takes some exploration and problem-solving.
How to Unlock the First Gear (02:29 in the Video Guide)
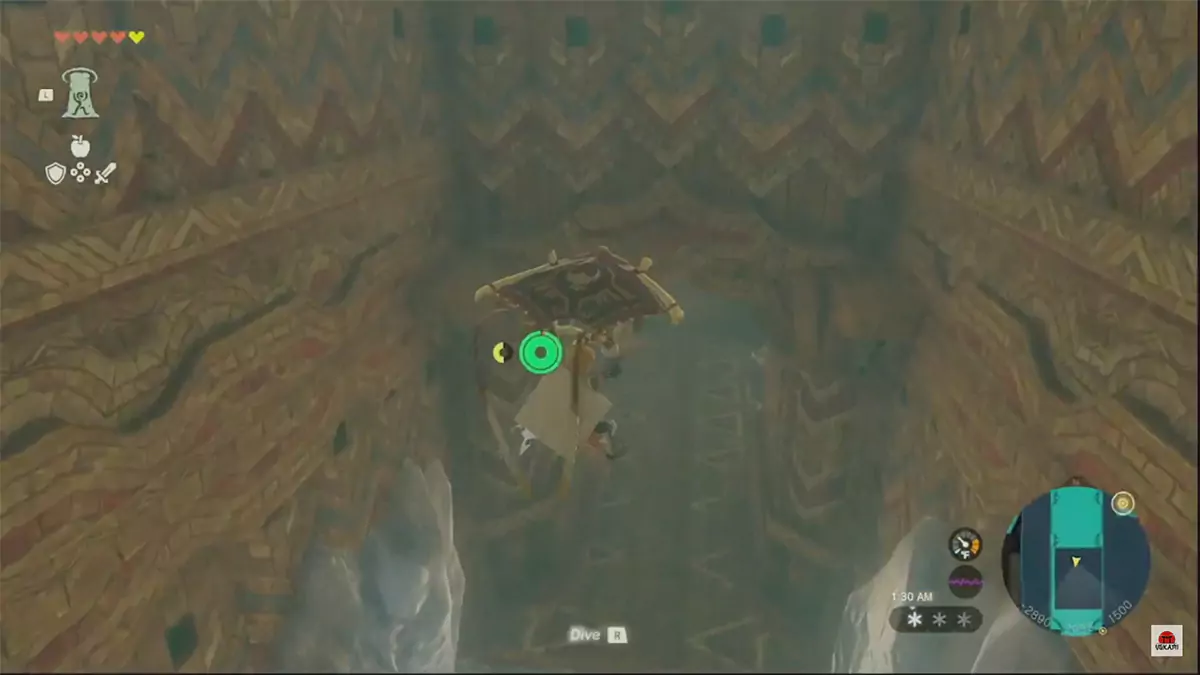
Use the updraft in the center of the ship to get a lift high above the deck. Then head north to a pair of large trap doors on top of a tower. You can open them by using Ultrahand.

Once you open one of the trapdoors, drop down it while facing north. You’ll need to avoid the red lasers here—though, with the help of the Paraglider, that shouldn’t be too difficult.
In the chamber near the bottom of the tower, you’ll find a motionless wind turbine. Speak to Tulin and ask him to use his gust power on it. When you do, the turbine activates and unlocks the first Wind Temple gear. One down, four to go! Make your way out of the tower and look to the south.
How to Unlock the Second Gear (04:04 in the Video Guide)
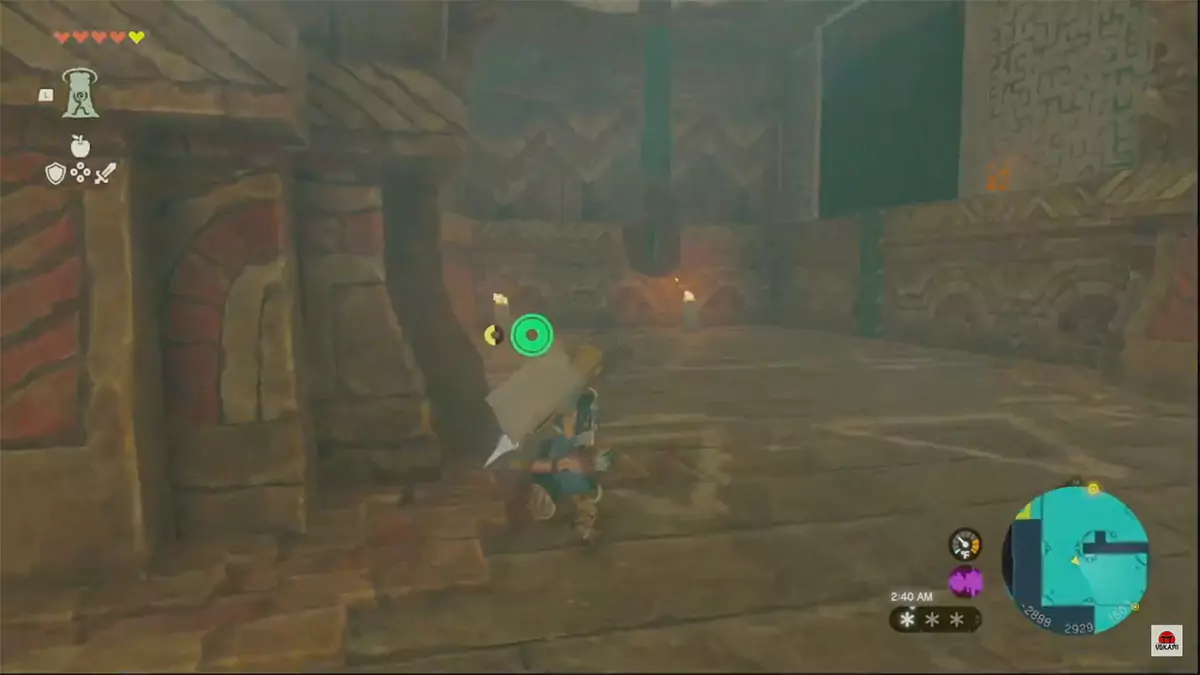
After unlocking the first gear, descend the south side of the tower and you’ll find yourself next to a gate with a broken lever.
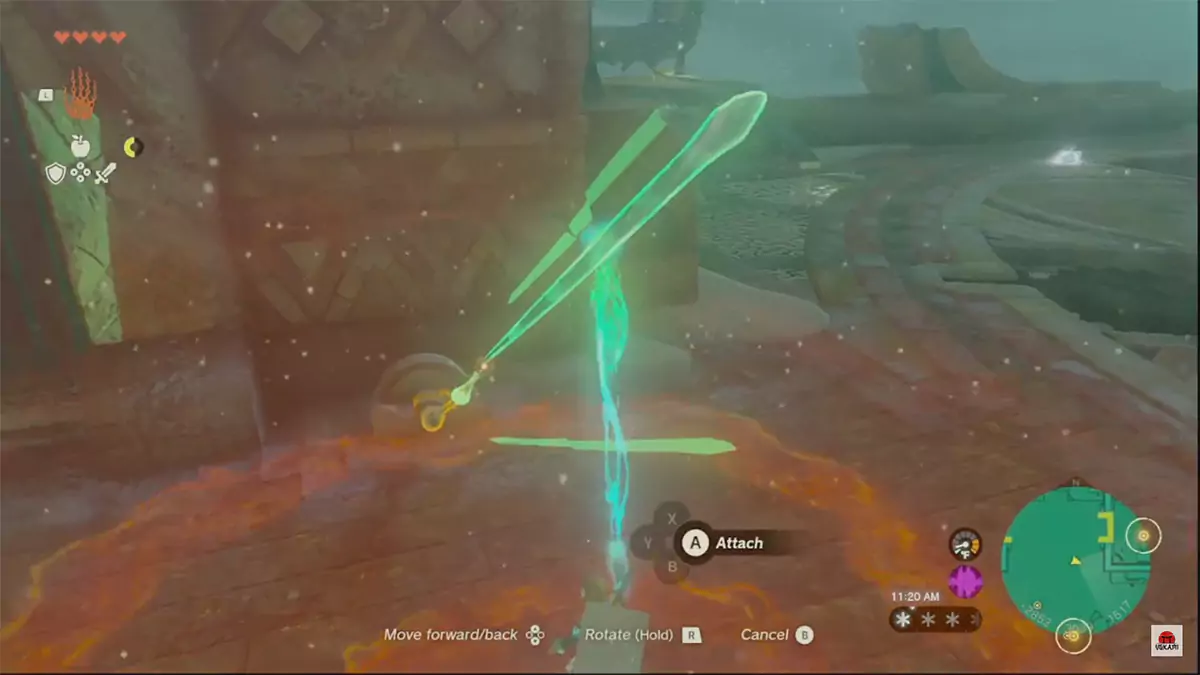
You need to repair this lever to get through the gate next to it. To do so, grab the nearby icicle with Ultrahand and attach one end to the top of the broken lever. Afterward, turn the lever to the left and the gate opens.
Just beyond the open gate is another wind turbine. Like before, get Tulin to use his gust power on it to unlock one of the Wind Temple gears. Two down, three to go!
How to Unlock the Third Gear (05:16 in the Video Guide)
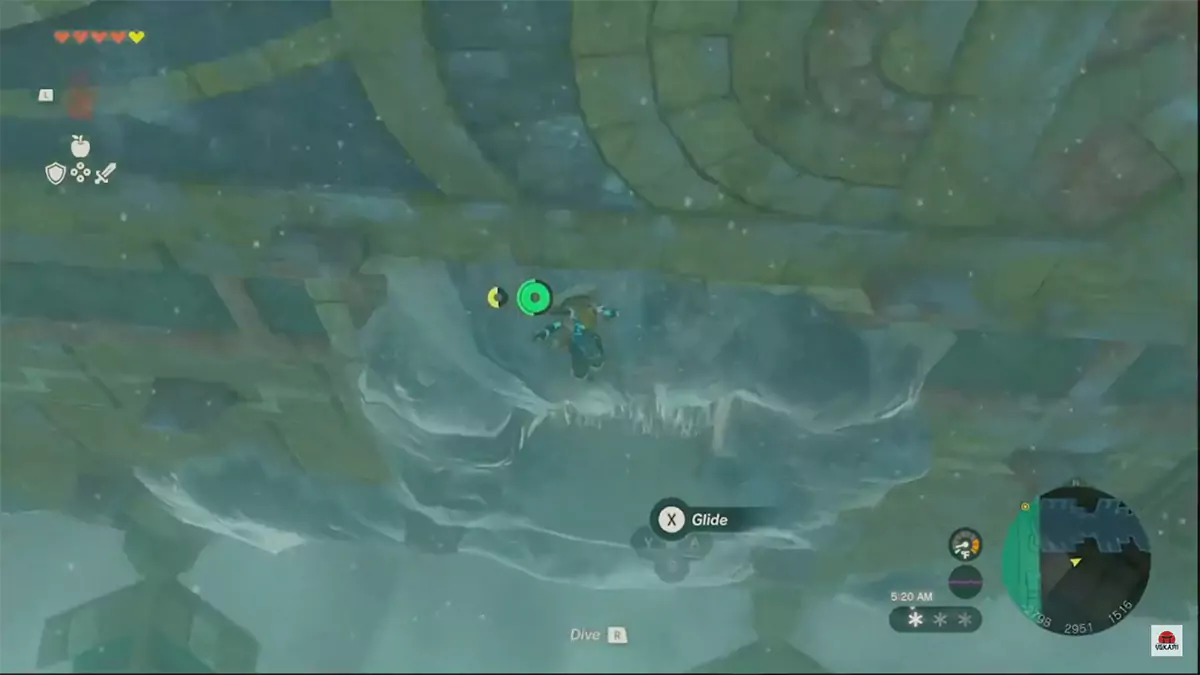
Get out of the room with the second wind turbine and head to the west edge of the ship. The remaining wind turbines are below deck, so you’ll have to descend into the ship’s belly. Leap off the ledge and glide to the underside of the dungeon.

Here, you’ll find an open area housing the third wind turbine. Though, there’s also a Zonai enemy here, so it’d be best to take it out before getting Tulin to activate the wind turbine. Three down and only two left!
How to Unlock the Fourth Gear (06:19 in the Video Guide)
Slightly west of the third wind turbine, you’ll see a stairway leading upwards. Leap and glide across the gap to reach it. Then, ascend the stairs to begin making your way to the fourth wind turbine.
When you reach the top of the stairs, you’ll find a ladder that you need to climb. Next, take out the Zonai enemy at the top of the ladder and then turn left around the corner. Head south down the long hallway (the opposite way from the red lasers) and you’ll reach a big gap in the floor.
The easiest way to cross this gap is to look up and use Ascension to reach the ledge above the gap. From there, glide across to get to the other side safely.
At the other end of the floorless hallway, to the left, there’s a Zonai enemy. Defeat it and then use Ascension to reach the floor above you. Now, go to the corridor to the west. Proceed south down the corridor until you reach a room with a gear in the ceiling. There’s a shaft attached to the bottom of this gear.
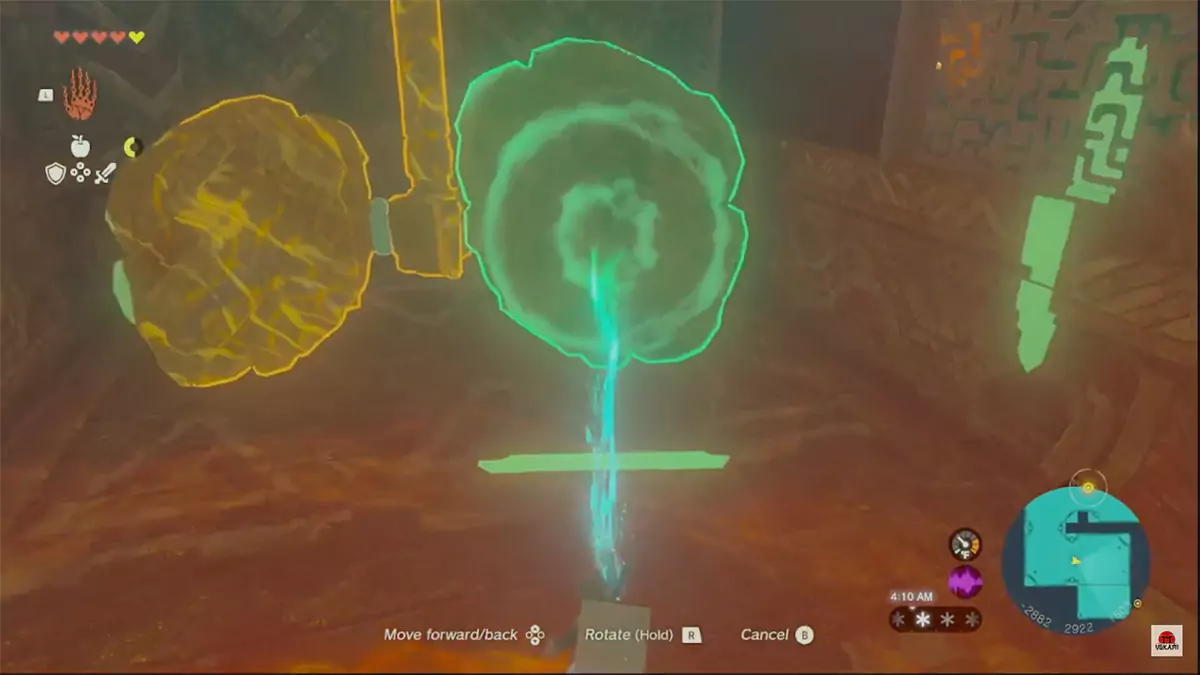
Next to the shaft, there’s also a closed gate. You need to spin the gear above you to open it. To do so, use Ultrahand to attach one or two bits of flat debris that you find nearby.
Make sure that the wide pieces of debris have one of their flat sides facing you, as they need to catch some wind—not unlike your Paraglider. At this point, you need to ask Tulin to use his gust power on the flat pieces of debris.
If done correctly, the gear above you begins turning and the gate nearby opens. Go through it, climb the two ladders beyond, and take out the Zonai enemy above. In the room with the Zonai enemy is the fourth wind turbine—you know what to do with it! Four down; one left.
How to Unlock the Fifth Gear (09:19 in the Video Guide)
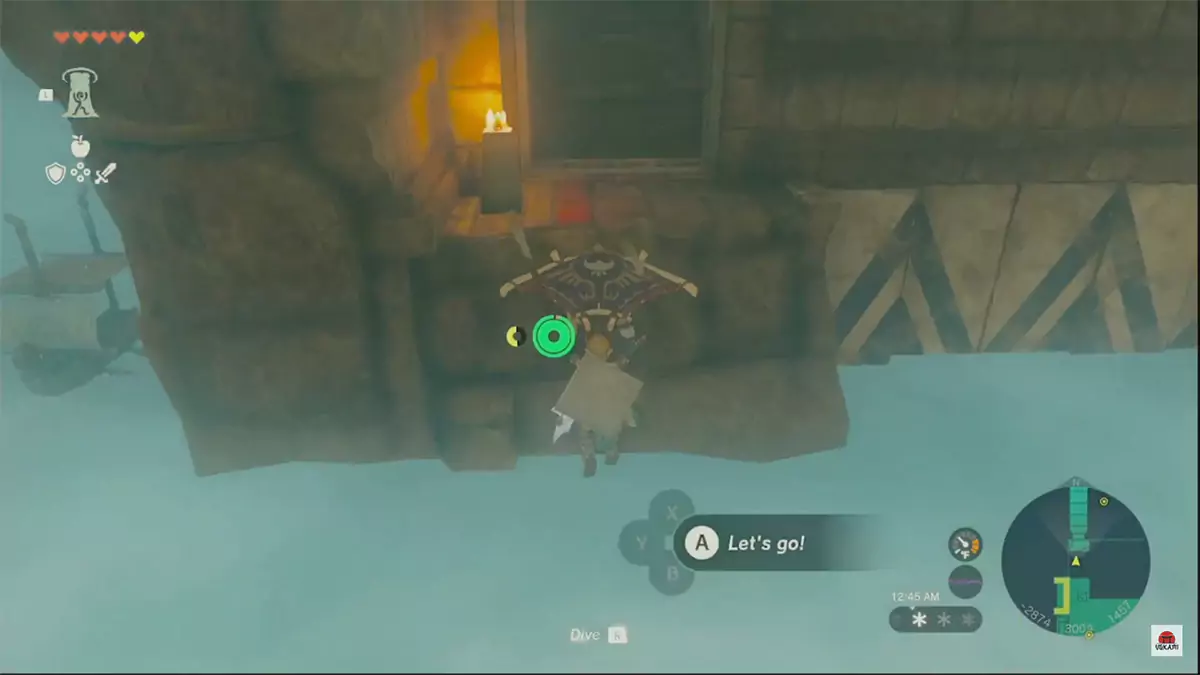
After powering up the fourth wind turbine, the closed gate next to you opens. Make your way back to the center of the Wind Temple and go to the eastern side of the ship. You must once more descend to enter a gap in the side of the ship’s hull. However, this time, look for an opening encrusted with ice.
There are icicles blocking your way in, although they’re easy to break with any attack—you don’t need fire here, so save your Flame Emitters and Fire Fruit.
Once you get through, turn north and go down the hallway. At the end of this hallway, you’ll find a device that’s rotating toward you. Use Recall on this device to make it spin the other way. Hop onto it to get to the other side of the hallway.
On the other side, you’ll find a Zonai enemy and some gears connected to a wall. However, not all of the gears are touching each other.
You need to connect the moving gears to the ones that aren’t moving. The easiest way to do this is to look up at one of the long icicles above you and shoot one down with an arrow. Next, use Ultrahand to attach one end of it to the moving gears and the other end to the stationary gears.
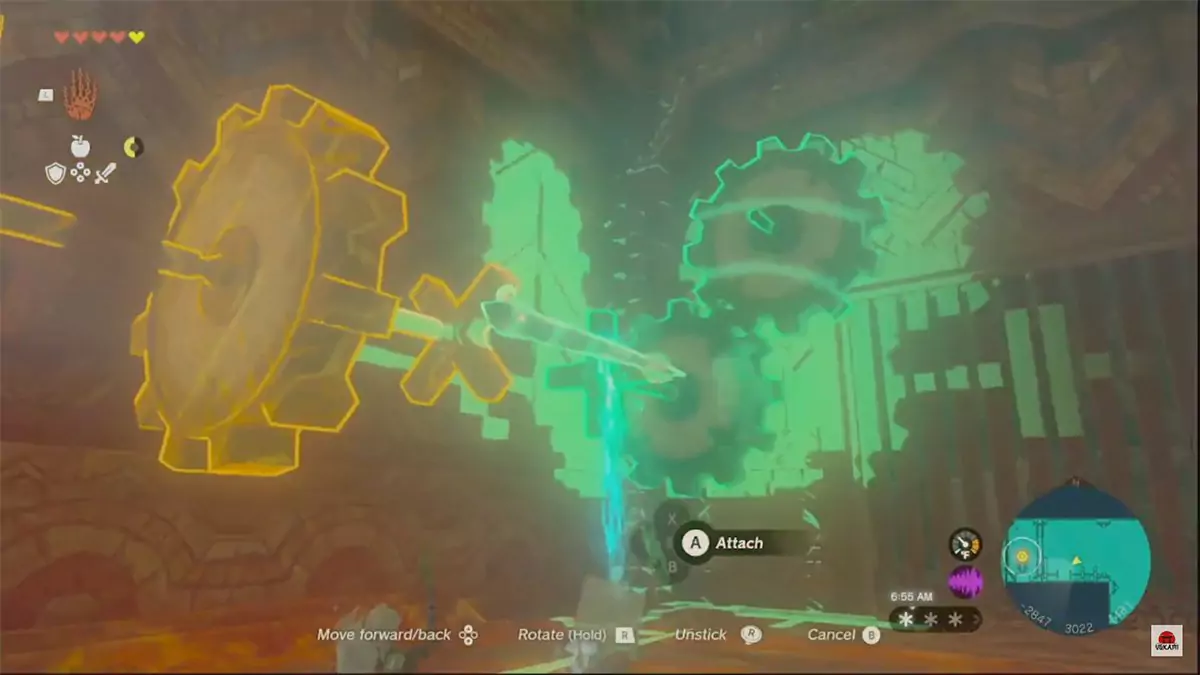
Once that’s done, the gate in the room opens—within which is the fifth and final wind turbine. Talk to Tulin and get him to do his thing. Afterward, head back to the top floor to face off against the Wind Temple’s boss: Colgera.
How to Beat Colgera, the Boss of the Wind Temple (12:14 in the Video Guide)

The boss of the Wind Temple has two phases. In phase one, they’ll attack by launching spikes from their back or charging at you. In phase two, they’ll do the same but also can summon tornadoes that hurt you if you make contact with them.
Colgera has three weak points along its lengthy body. They are exposed from underneath, however, if you’re patient, you can wait for Colgera to launch their back spikes at you. This attack makes Colgera’s weak point vulnerable from above. As such, you can perform plunging attacks to break clean through such a weak point in one powerful blow.
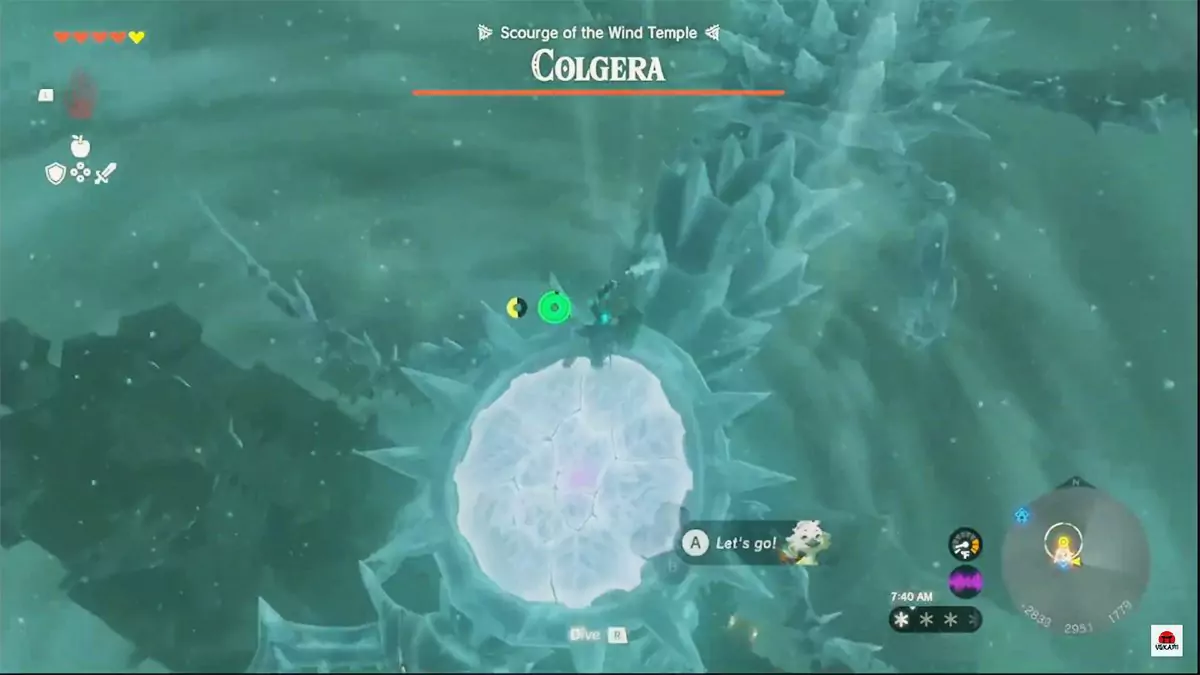
Alternatively, you can get underneath Colgera and use your bow and arrows to shoot the weak points directly. However, you’ll need to use three arrows per weak point to fully shatter each one.
To beat Colgera’s first phase, you must shatter all three weak points. Although phase two isn’t that different. Colgera regenerates its weak points, all three of which you must shatter again. The only difference now is that you have to avoid the tornadoes that the boss summons.
Rewards for Completing the Wind Temple (18:03 in the Video Guide)

After you defeat Colgera, the blizzards plaguing the region disappear. For your efforts, you also get a Heart Container, which increases your maximum health by one full Heart. On top of that, you also get a lore-rich cutscene as well as the ability to summon an avatar of Tulin.
About the Vow of Tulin, Sage of the Wind
At any point, you can go into your Key Items menu and activate the Vow of Tulin, Sage of the Wind. When you do, you’ll summon a spectral blue version of Tulin that comes with all the same powers! This can be helpful when you’re traveling across sky islands or need to cross big gaps.
What Happens After the Blizzards Stop?
For one, the main quest progresses a bit, as you’ve dealt with one of the four main phenomena that Purah asked you to look into. Though, there are some other world changes as well.
Firstly, since the sky is clearer, you can find Geoglyphs in the area more easily. Also, the Flight Range opens up, which can be a decent place to farm Rupees. There’s also the snow surfer questline that you can follow by heading to Selmie’s Shack to the north. Odds are that there’s much more to uncover as well; enjoy exploring the blizzard-free tundra!