![]() Key Takeaway
Key Takeaway
Here’s the quick and simple way to get through the Demon Ruins in Dark Souls if you only care about clearing the area and then moving on.
- Defeat the Ceaseless Discharge to clear the lower levels of the Demon Ruins of lava.
- Head down and keep descending until you make it to the Demon Firesage.
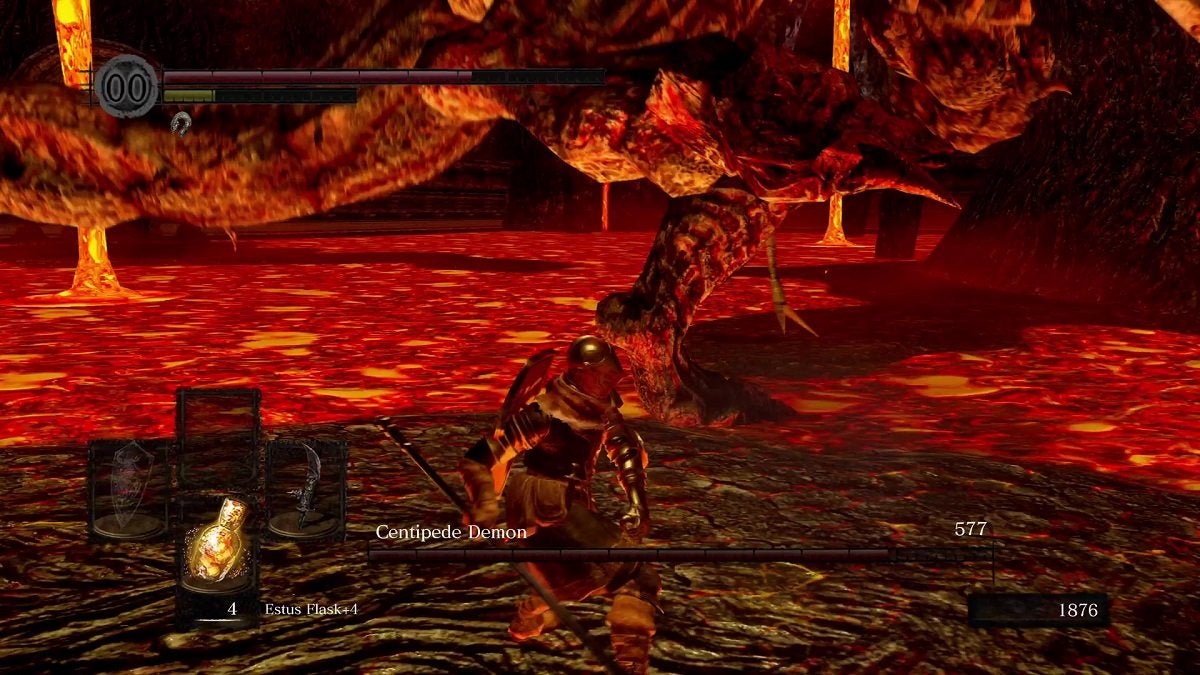
- Past the Demon Firesage’s boss room, you’ll find another fog gate. Enter it and defeat the Centipede Demon here.
- From the Centipede Demon’s boss room, walk forward and stay on the left to find a cave opening. Head inside it and you’ll be out of the Demon Ruins.
The Demon Ruins is a location you explore in Dark Souls, and this fiery pit is not an optional area. You’ll have to get through it to finish the game. The enemies here are tough and the environment is harsh. However, it’s nothing the prepared can’t handle.
Table Of Contents
Getting to the Demon Ruins
You get to the Demon Ruins in Dark Souls by starting from Quelaag’s Domain at the end of Blighttown. From the bonfire next to the Daughter of Chaos, head to the area where the staircases are located. There’s a broken hole in the wall here you can head through.
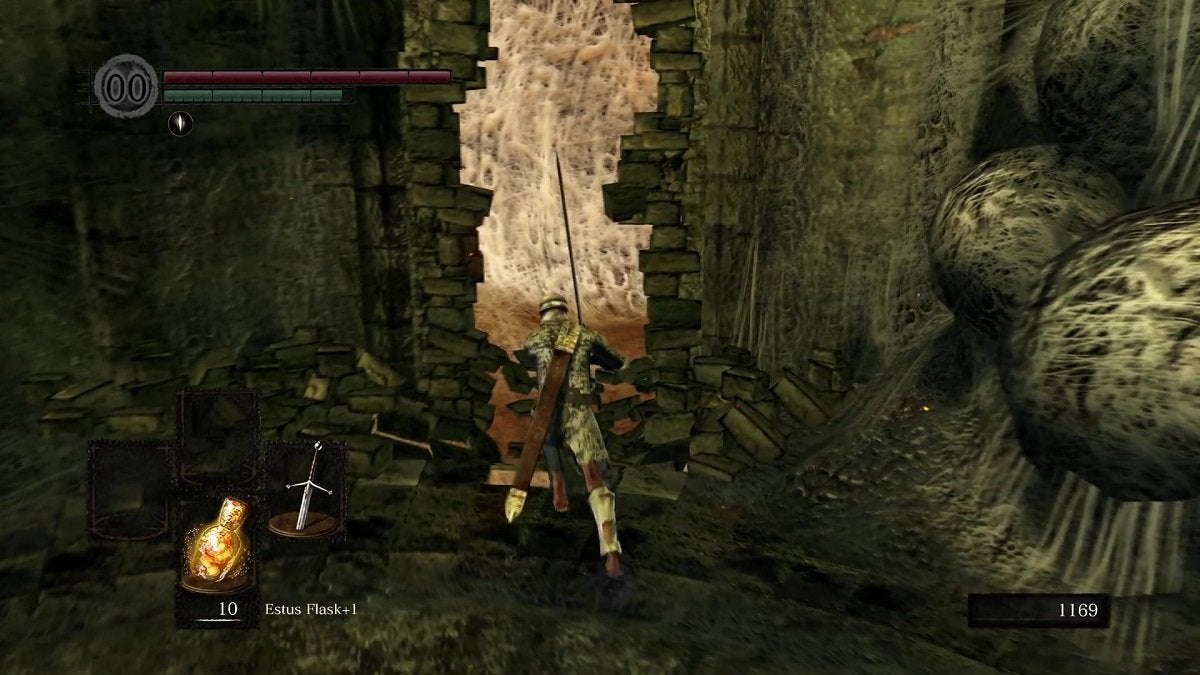
Proceed until you reach another bonfire. When you make it to that bonfire, you’ll arrive at the Demon Ruins.
Dealing With Ceaseless Discharge
When you first make it to the Demon Ruins, you’ll notice that the ground at the bottom of the cliff you’re on is filled with lava. You’ll first want to rid this area of lava to advance. The way to get rid of the lava at the bottom of the Demon Ruins is to defeat the boss known as Ceaseless Discharge.
Finding the Ceaseless Discharge
From the first bonfire in the Demon Ruins, continue forward and descend the slope ahead. Make a right turn when the path curves.
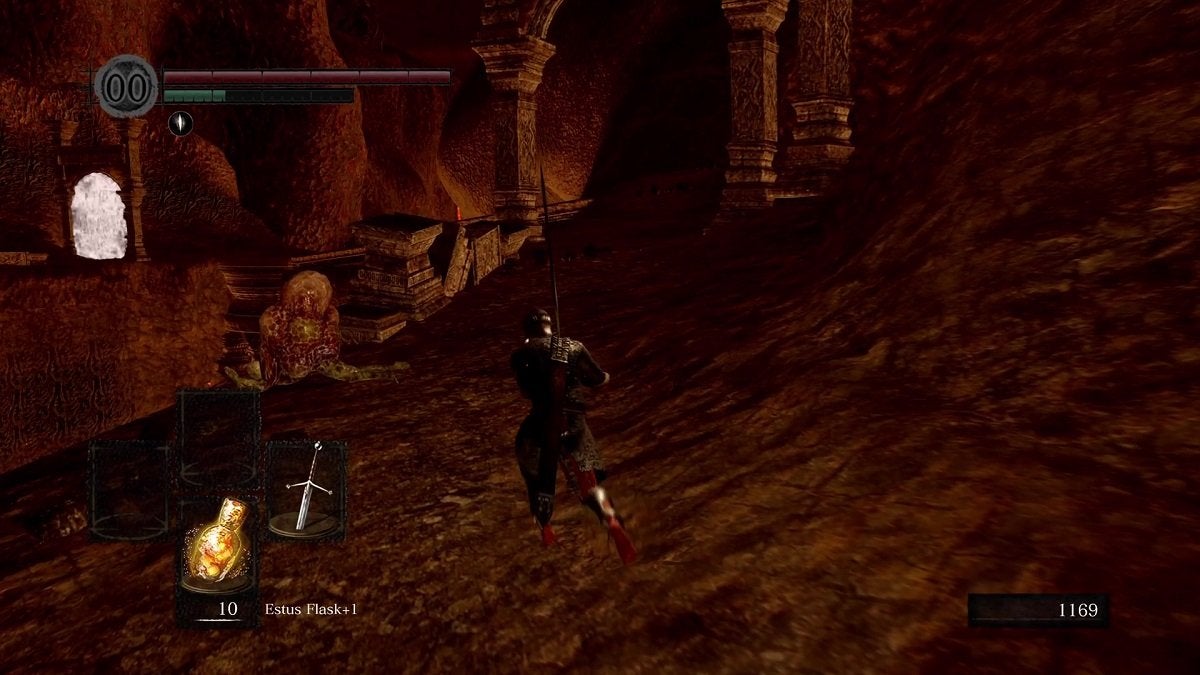
Continue forward, onto the bridge, and then past the fog gate.
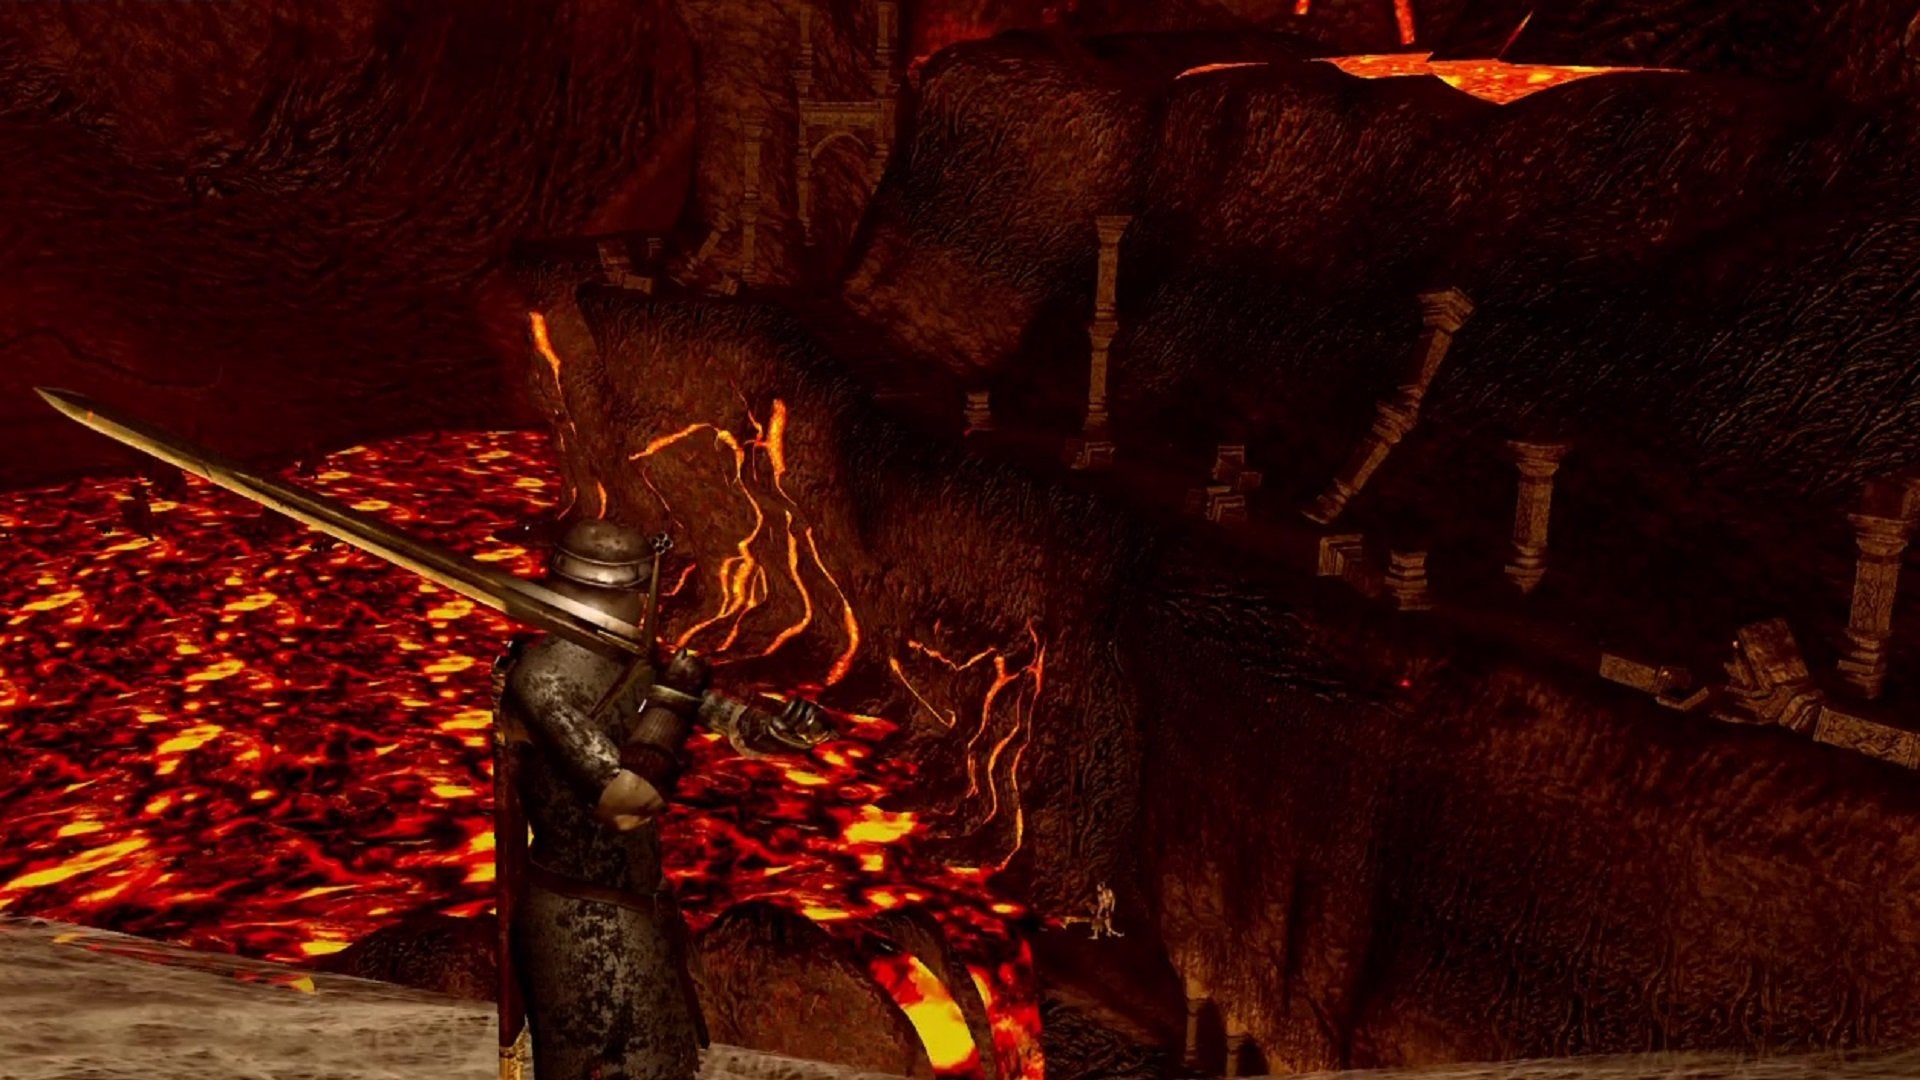
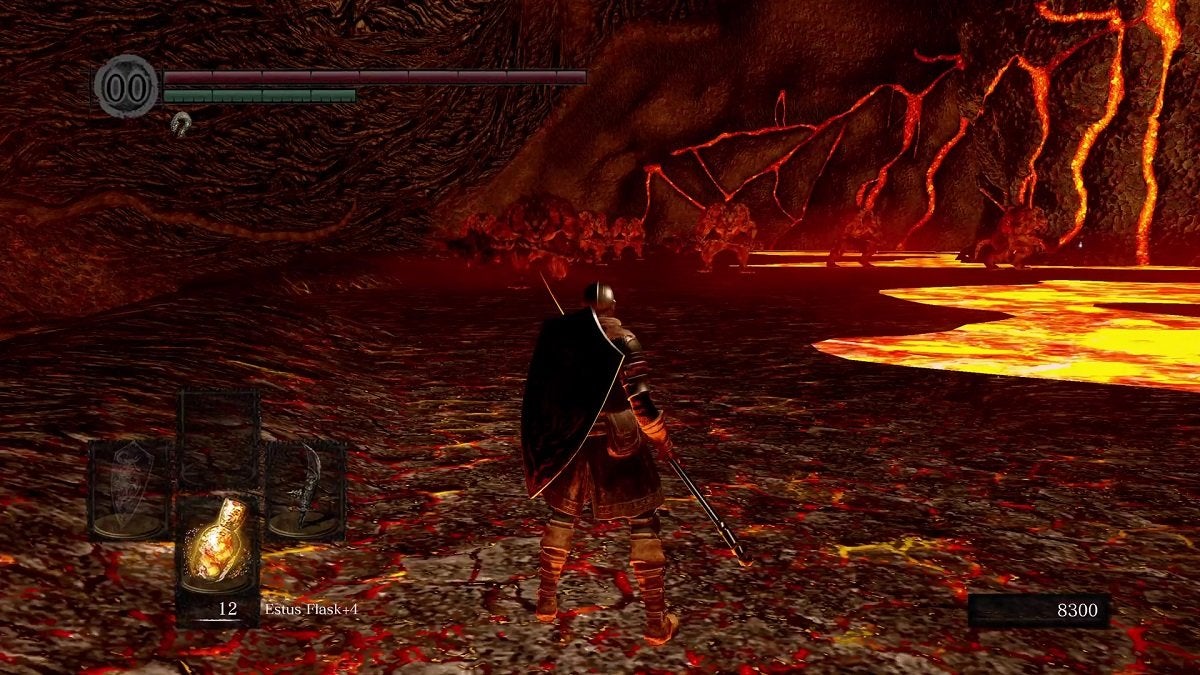
After walking past the fog, you’ll find a massive monster past the cliff on your left. This monster is the Ceaseless Discharge. It will not attack you…for now.
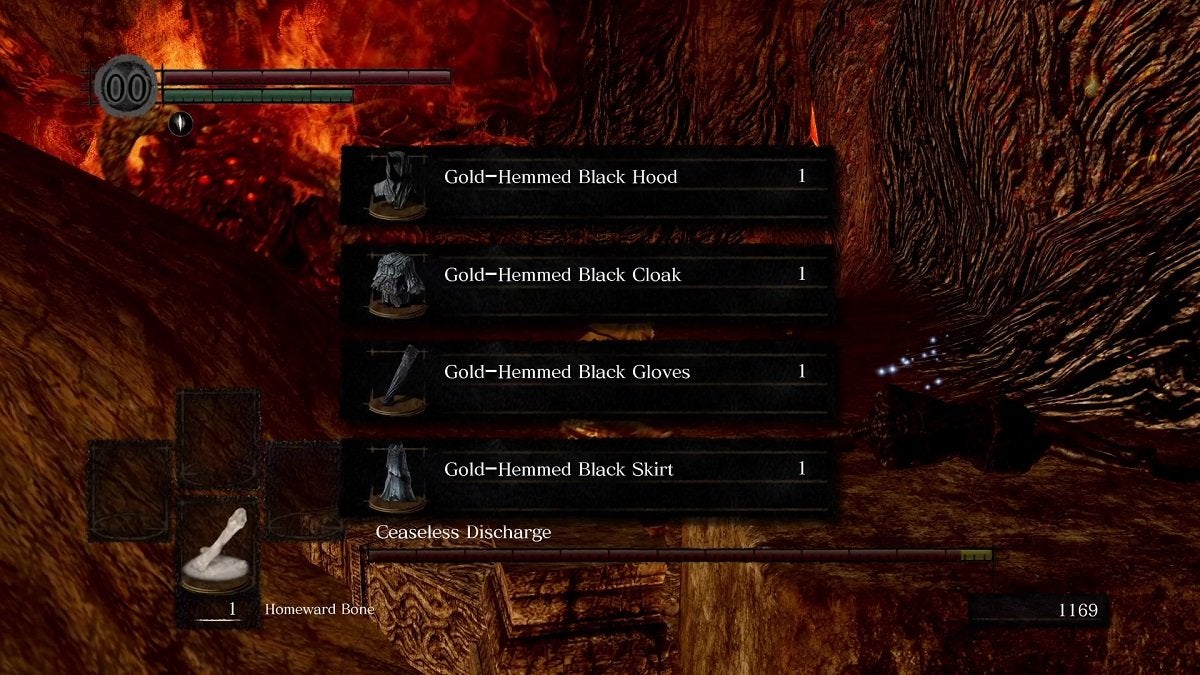
Keep going forward and you’ll find loot on a stone. This loot is the Gold-Hemmed Black Suit set. As soon as you pick this up, the Ceaseless Discharge becomes hostile and the boss fight begins.
Fighting the Ceaseless Discharge
You can fight the Ceaseless Discharge normally. His attacks are strong, but they are also slow. Get close to him, wait for him to slam his arm on the ground, dodge it, and keep attacking before he raises it again. Keep doing this until he falls.

Alternatively, you can also deal with him in a much simpler manner. After Ceaseless Discharge becomes aggressive, you should quickly run back to where the fog gate is stationed.
Once you make it to the fog gate, wait for Ceaseless Discharge to get to where you’re waiting. He will then slam his arm before you, but his reach won’t hit you if you’re close to the fog gate.
While here, Ceaseless Discharge won’t be able to raise this arm anymore. This is because he’s essentially clinging to this cliff at this point with his only arm. What you’ll need to do now is continue attacking this arm until his HP immediately depletes.
Once Ceaseless Discharge has perished, the lava below will dissipate.
Obtaining a Chaos Flame Ember
You can return to the first bonfire in the Demon Ruins after fighting the Ceaseless Discharge if you need to replenish your HP and Estus Flasks—in true Dark Souls fashion. Once done, head back down. Now, continue to the bottom area where the lava used to be.
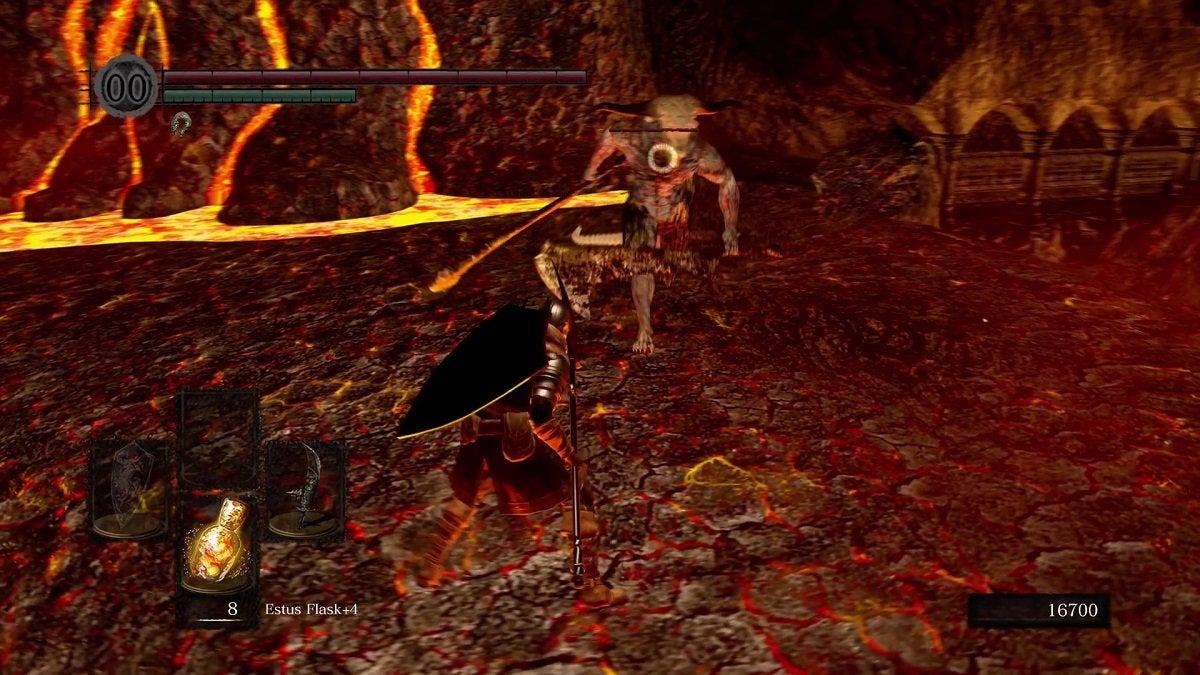
Once you make it down here, you’ll notice a couple of Taurus Demons ahead of you.
You can face them for Souls, Humanities, and a chance to obtain a Demon’s Greataxe. Make sure to fight them one at a time to make the encounters easier.
Behind the Taurus Demons, at the center of a lava pool, you’ll spot an item to loot. This item is the Chaos Flame Ember.
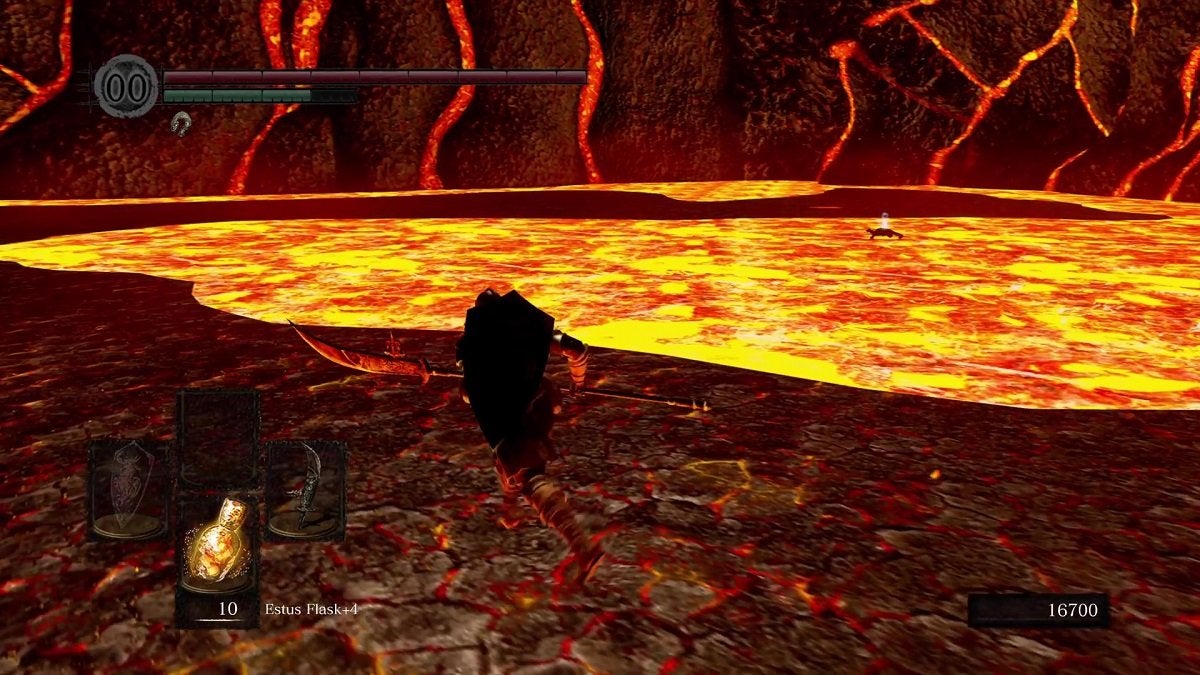
However, you’ll need some way of reducing the lava’s pure fire damage to get the Chaos Flame Ember safely.
You can equip the Flame Stoneplate Ring or cast the Flash Sweat spell to get to the Chaos Flame Ember safely. Otherwise, you can wear the Gold-Hemmed Black Suit. You have a very high chance of dying before you make it back to the ground, but you’ll obtain the ember.
You can also wait until later to get this item. You’ll receive the Orange Charred Ring after defeating the Centipede Demon later on in the Demon Ruins, which allows you to traverse lava while only taking minimal damage per tick.
Finding the Next Bonfire
With that out of the way, turn back and return to the area before the Taurus Demons. Instead of going up the slope, make a left and continue forward. You’ll eventually come across a Capra Demon here. Either deal with it or run past it.
Keep advancing to the ruins ahead. If you’re in you’re human form, Darkwraith Knight Kirk will invade you here. He’s not too tough aside from the fact that his rolls deal damage to you. Take him out as you see fit.
Once Kirk is out of the way, press onward and you’ll find more Capra Demons. Again, either fight or run past them. Once you’re at the end of this path, make a right and head down the staircase ahead.
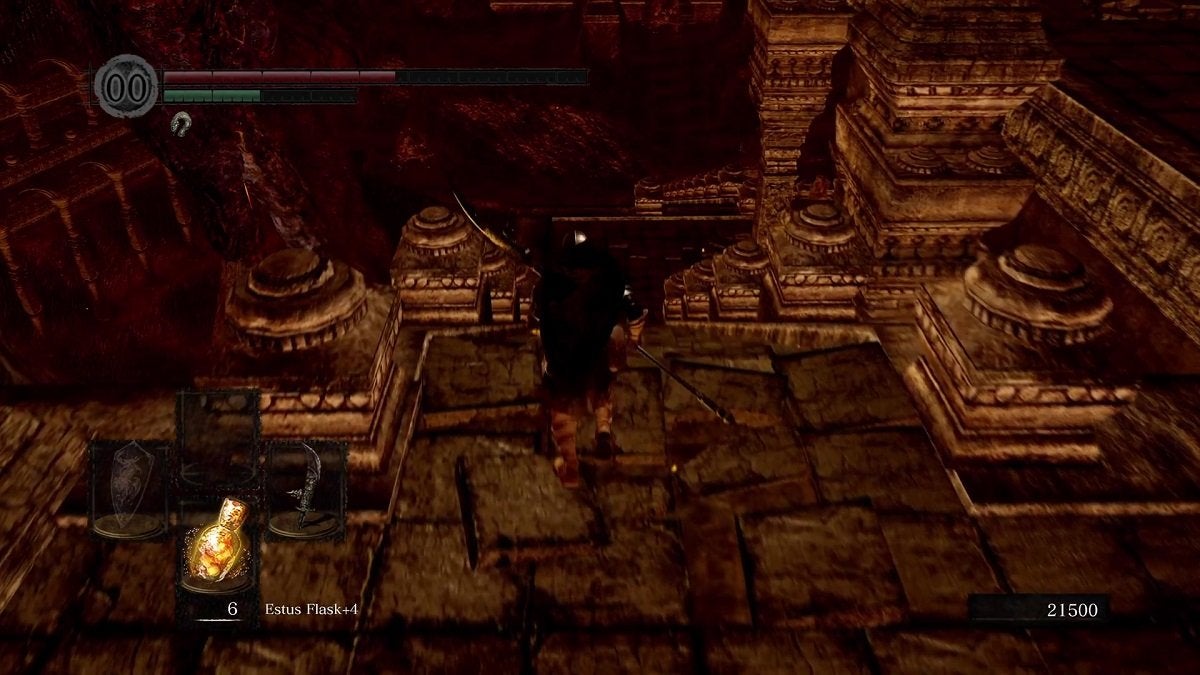
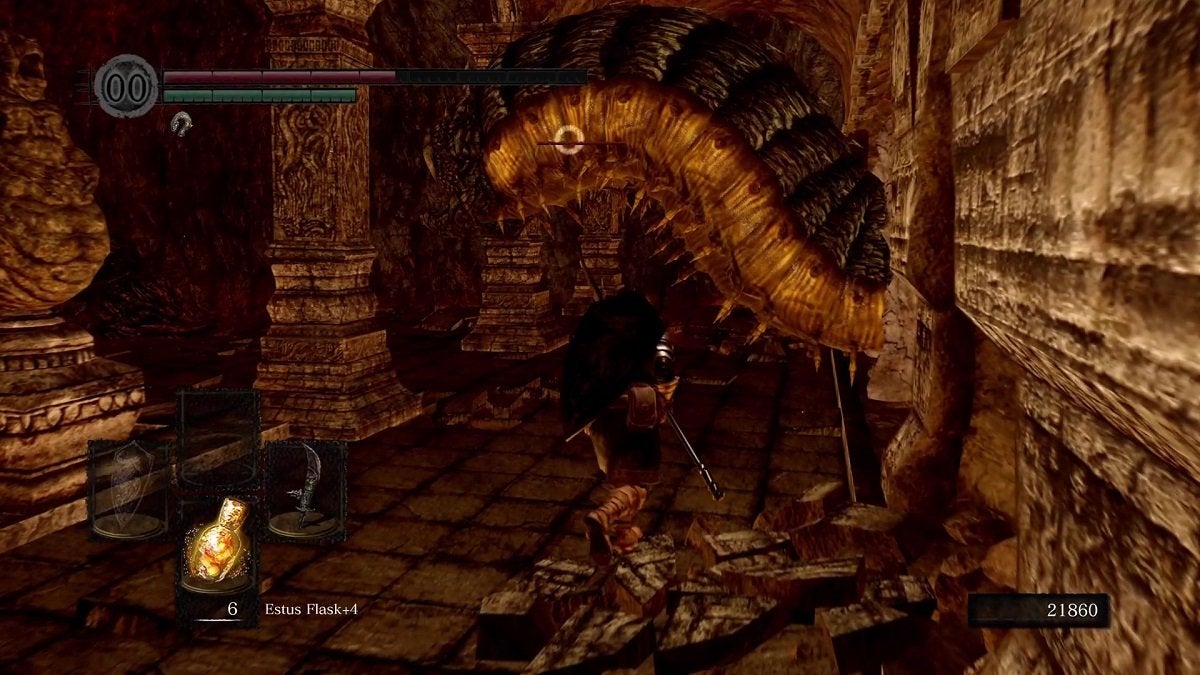
Make a hard right after descending the first staircase. Then, take a left at the end. Afterward, you’ll notice a massive worm protruding from the wall. Eliminate this worm to access the bonfire beyond.
An Alternate Route to Lost Izalith
After resting, return to where the staircases are found. Take the next staircases and head down. Deal with the Stone Demons here. Once you’re at the bottom, a Taurus Demon will approach you. Defeat this enemy before moving forward.
There’s also a Burrowing Rockworm on the right here. It’s up to you whether or not you want to tackle this enemy.
Head up and you’ll spot a fog gate up ahead. On the right, there’s a Capra Demon that’s guarding some Soul loot. You can pick it up now or ignore it.
Right before the fog gate, you’ll find a passage on the right. There are roots you can walk on here to get to the bottom floor. This leads to a door that only opens if you’re a level 2 Chaos servant. This path leads straight to the Lost Izalith.
This skips the Demon Firesage and Centipede Demon boss fights altogether. However, if you want to fight the latter boss for its Souls and to receive the Orange Charred Ring, take the regular route instead.
That being said, backtrack to the fog gate and prepare for a boss fight.
Fighting the Demon Firesage

In Dark Souls, the Demon Firesage is the second boss of the Demon Ruins. If this boss looks familiar to you, that’s because it resembles the Asylum Demon and the Stray Demon from the Northern Undead Asylum. Its attacks are similar to the Stray Demon in that some of its melee slams cause explosions.
If you’ve fought the Stray Demon, you’ll easily deal with this fiend. Simply stick to its back and keep attacking it from there. Its explosions won’t reach you if you stay behind it. The only time you should run away is when it hovers in the air before slamming down.
Once defeated, the Demon Firesage drops 20,000 Souls, a Demon’s Catalyst, and 1 Humanity.
After defeating this boss, proceed onward and you’ll be met with two sets of staircases. If you go up, you’ll be led to an elevator that goes back up to Quelaag’s Domain.
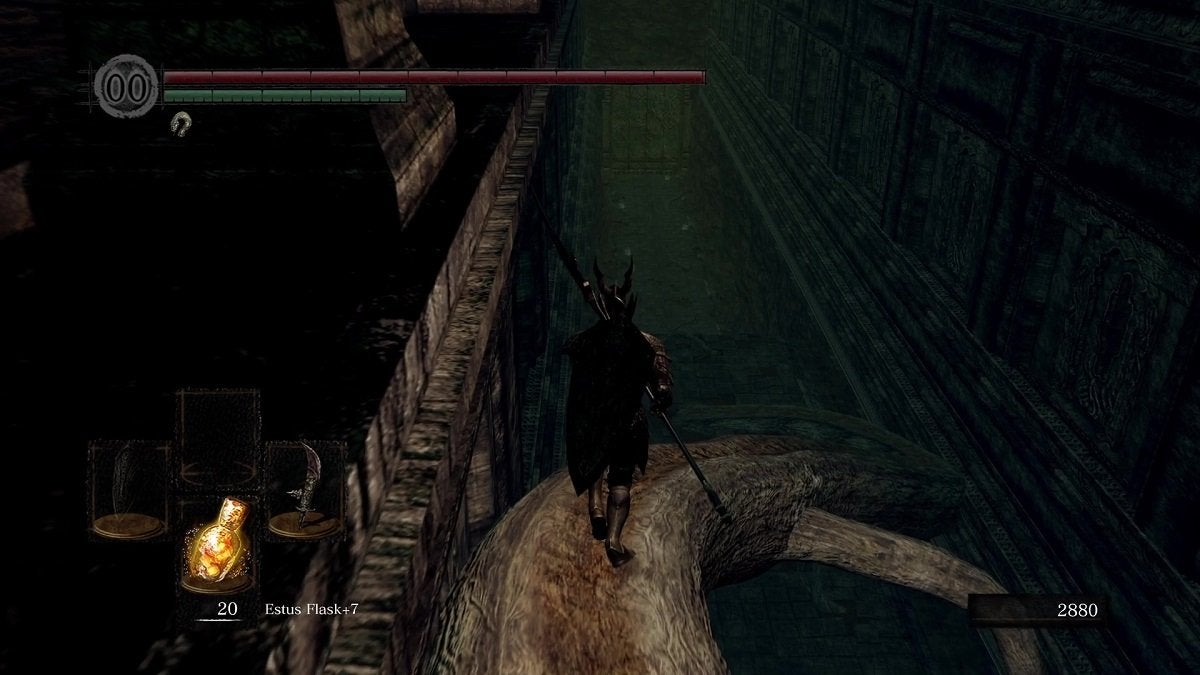
When you take the staircase that leads down, you’ll eventually arrive at another bonfire. From here, use the branches to get to the bottom. Head towards the fog gate to fight the area’s final boss: the Centipede Demon.
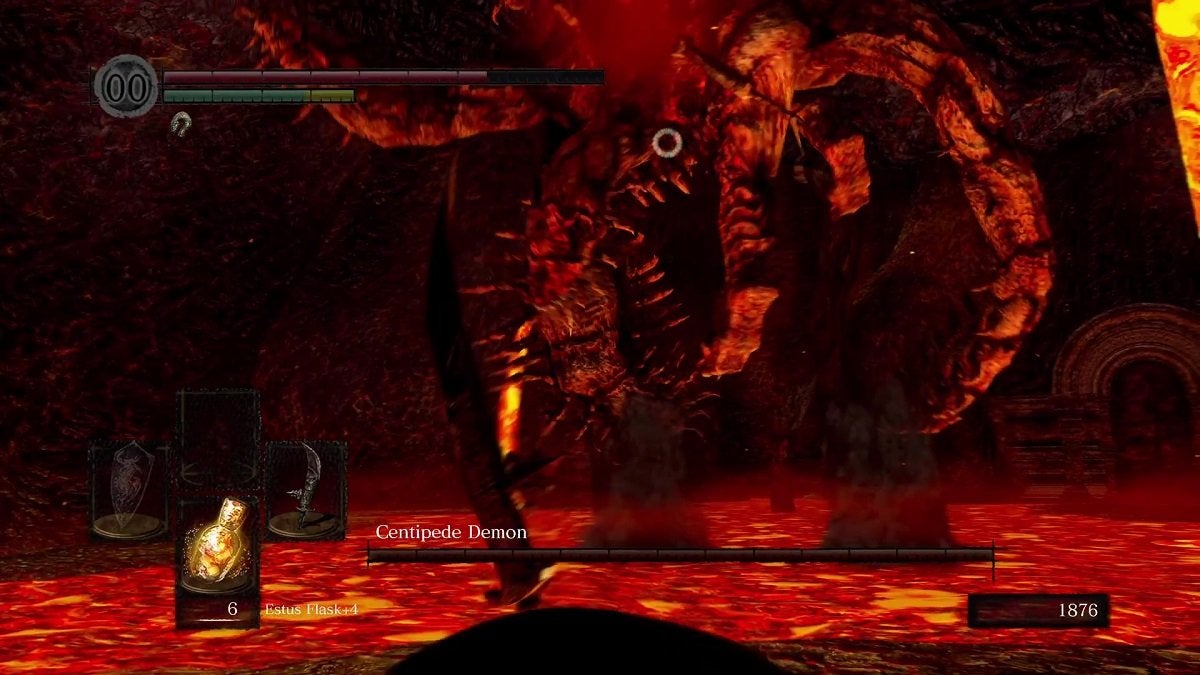
Centipede Demon
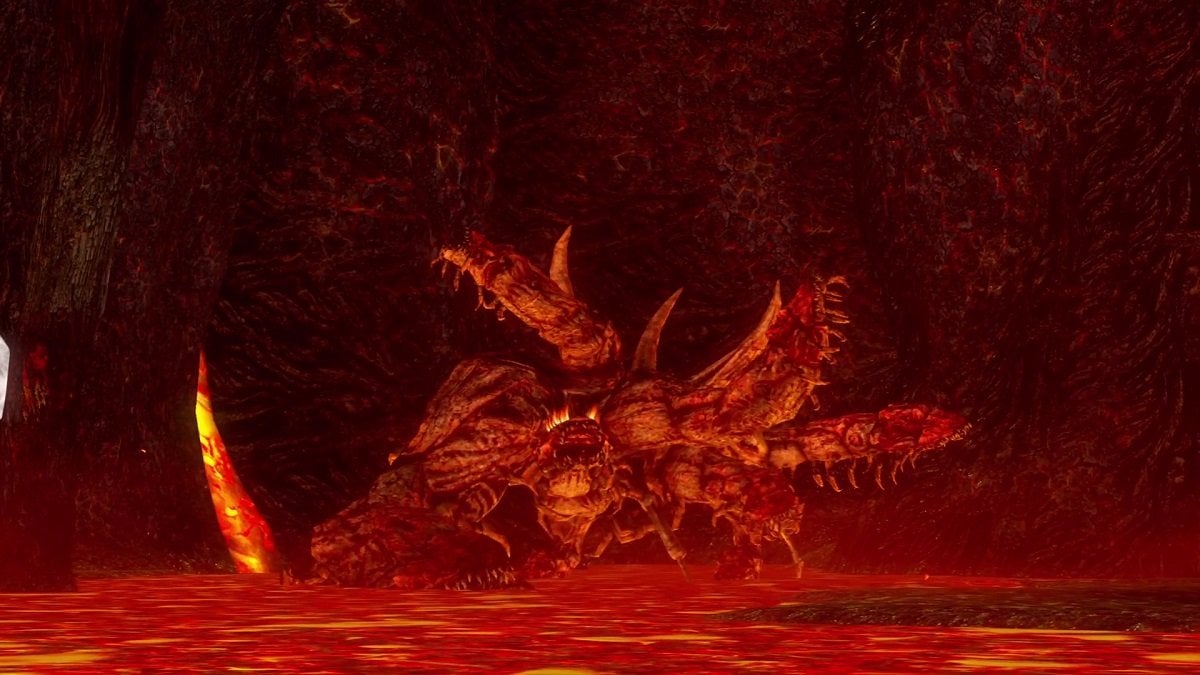
If you’re in your human form and have interacted with Solaire of Astora previously, you can summon him for this fight. You’ll find his sign on the left before the fog gate.
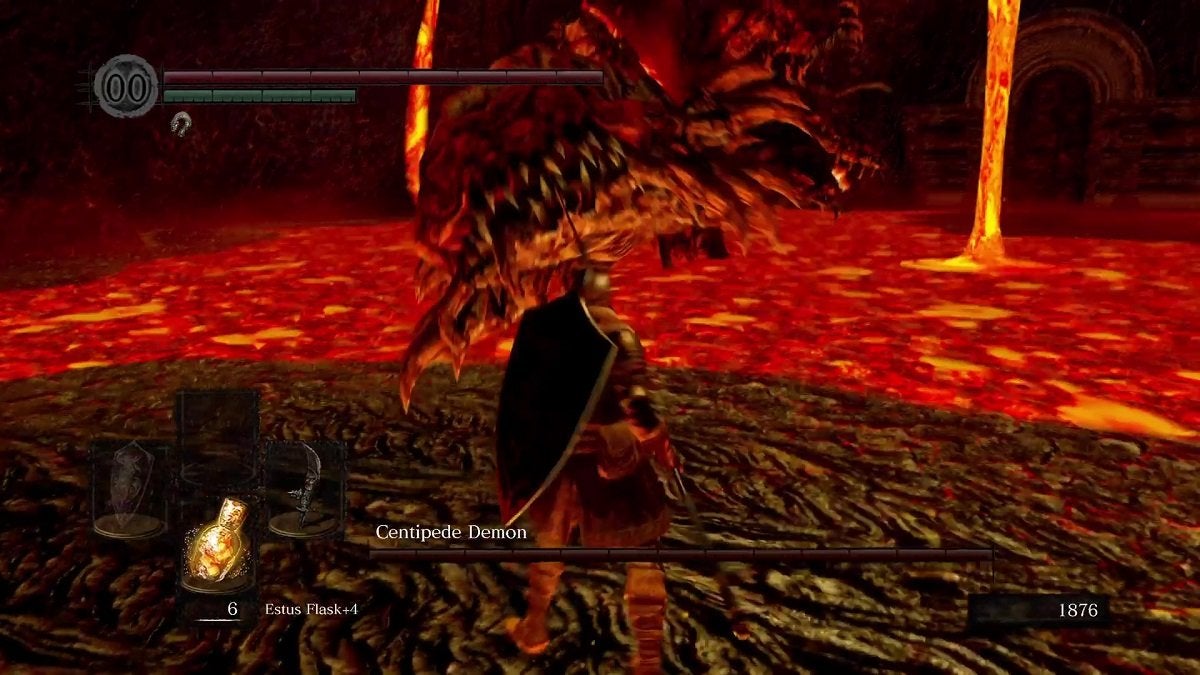
You’ll be restricted to the only solid ground near the fog gate during this fight. Never stand in the lava if you can help it. If any of the Centipede Demon’s attacks knock you into the lava, quickly roll or run back toward solid ground.
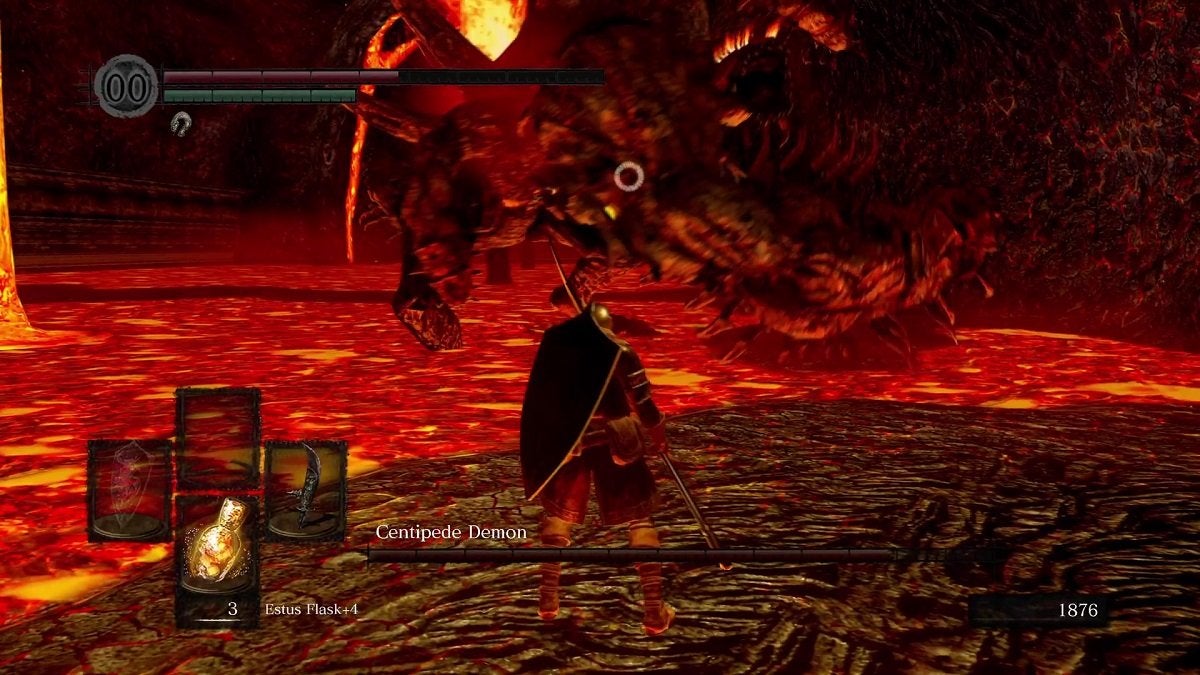
It’s best not to lock onto the boss during this fight. Keep your camera on him and focus on attacking its right, larger limb first. Not locking onto it will allow you to run and roll around more freely from the boss’ attacks on the limited ground that you have.
If the Centipede Demon is on solid ground, stay as close to its front as possible and land your attacks here. Most of its attacks won’t reach you while you’re basically beneath it.
That said, here are the boss’ attacks for which you’ll have to watch out.
Arm Thrust
The Centipede Demon will thrust its larger right limb forward at you. You can avoid this by dodging to the right or the left. Don’t block this attack. Land an attack on the limb after dodging.
Tail Slam
The Centipede Demon will jump in the air, turn around, and slam its tail on you. You can avoid this attack by dodging back or by running forward and rolling ahead so you’re positioned directly behind the Centipede Demon as it lands. However, this can be tough due to the layout of the arena. It’s best to simply roll backward and get away from the range of the tail.
Arm Swing
The Centipede Demon will bring its right arm over its left shoulder before swinging it at you. This attack is fairly slow. You can avoid it by rolling towards the boss.
Grab Attack
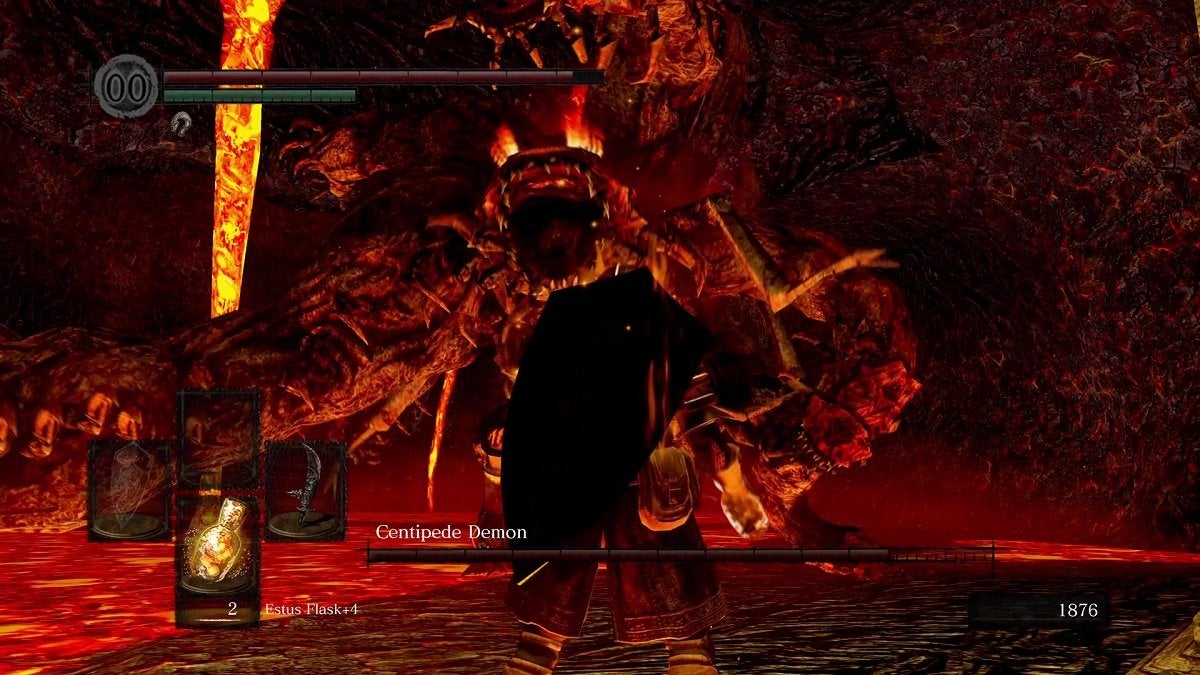
The Centipede Demon will also occasionally grab you. It begins this attack by screaming before hurling its left limb your way. You can avoid this by dodging forward. However, if it does catch you, rapidly press the light and strong attack buttons and it will let you go immediately.
High Jump Slam
The Centipede Demon will hop into the air, taking it out of view, before slamming back down to the ground. It’s hard to dodge this attack considering it’ll be hard to gauge its position. It’s best to keep your shield up during this to receive minimal damage.
Stomping Attack
You’ll see the Centipede Demon do this attack sometimes when you stay under it for too long. As soon as it raises a leg, run away from it.
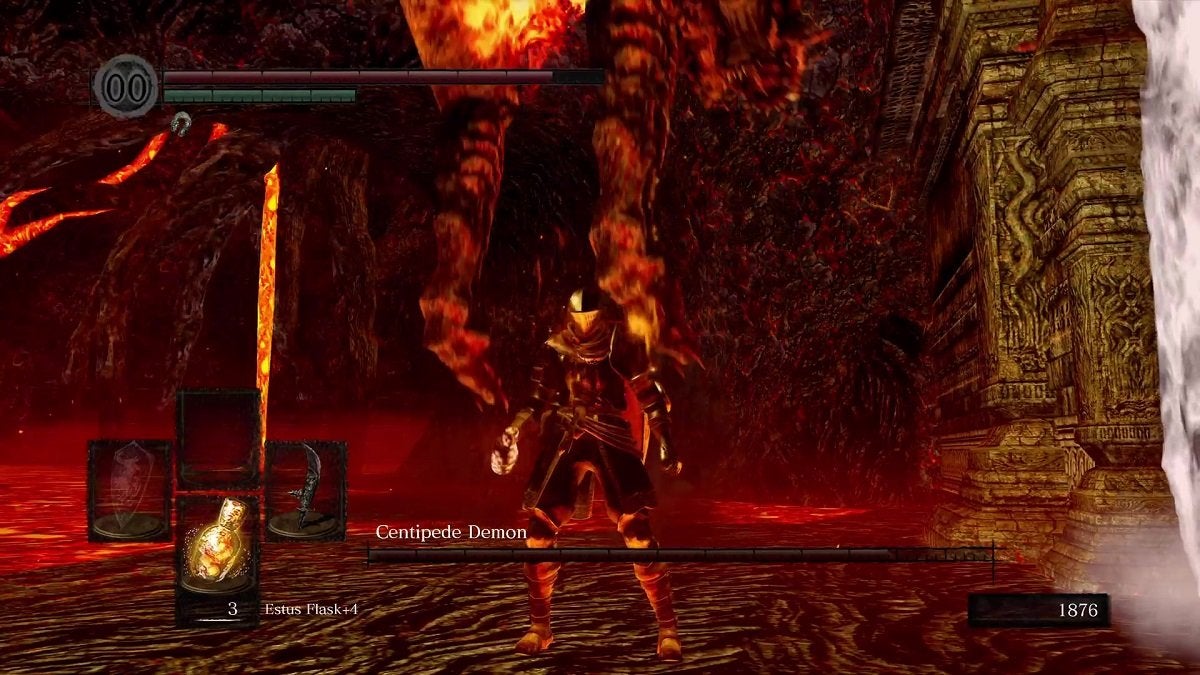
Centipede Demon Drops
Once defeated, the Centipede Demon will drop the following:
- 40,000 Souls
- 1 Humanity
- 1 Homeward Bone
- The Orange Charred Ring
As previously mentioned, the Orange Charred Ring allows you to walk on lava. You’ll still receive damage from the lava, but the damage per tick is significantly decreased. You’ll have to wear this if you’re to traverse the next level.
Simply stick to the left wall of this area and you’ll find a cave opening. Head through it and you’ll eventually reach Lost Izalith.
The Demon Ruins is a fairly difficult but fair level by Dark Souls standards. It’s nowhere as terrible as other levels such as Blighttown or the Crystal Cave, but the enemies here are tough and the final boss provides a bit of a challenge as well. Now that you’ve conquered it, prepare to face the next area head-on!