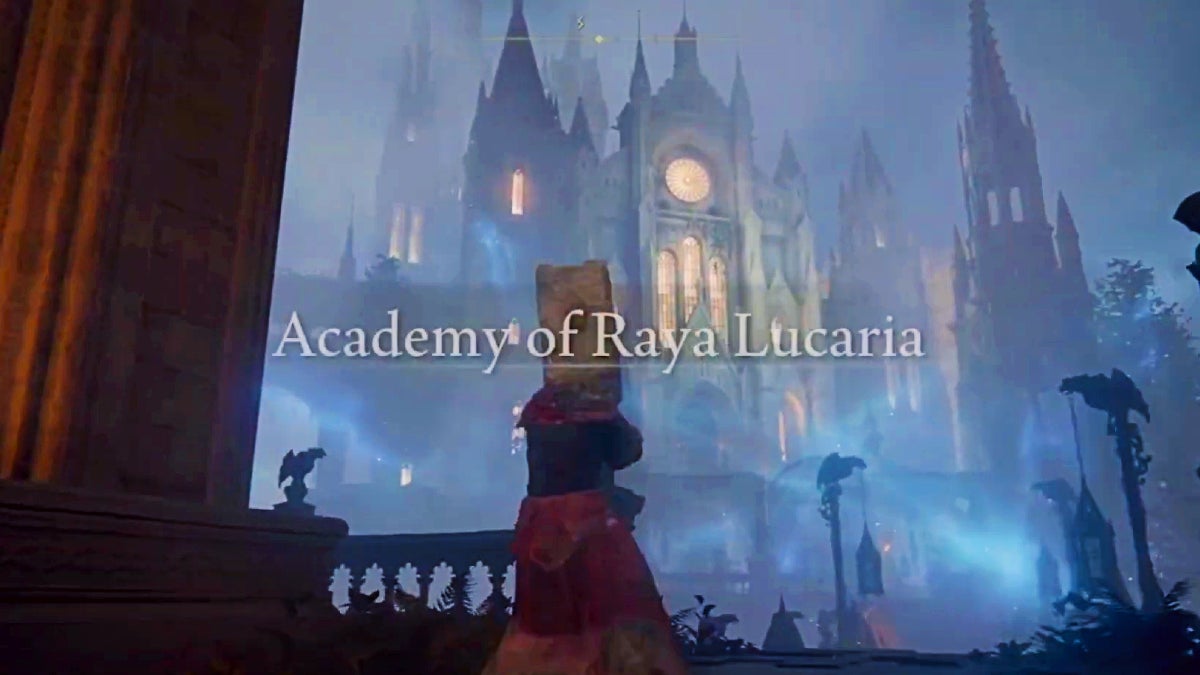
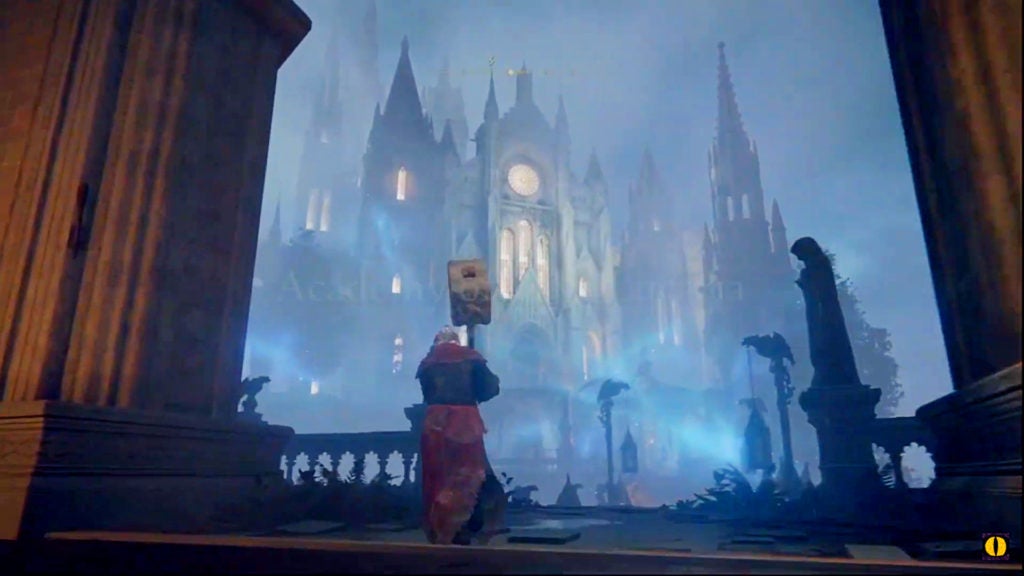
In Elden Ring, Raya Lucaria is a sorcery academy in the center of Liurnia of the Lakes. Inside, in addition to magic, you can find incredible loot. Be sure to explore thoroughly and defeat every enemy to find it all.
Table Of Contents
How to Get Into Raya Lucaria
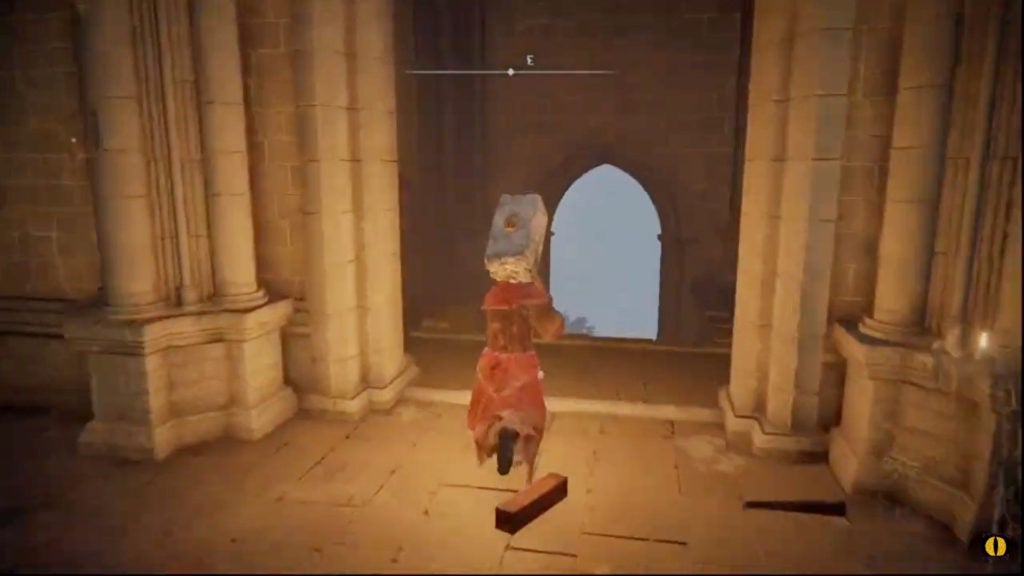
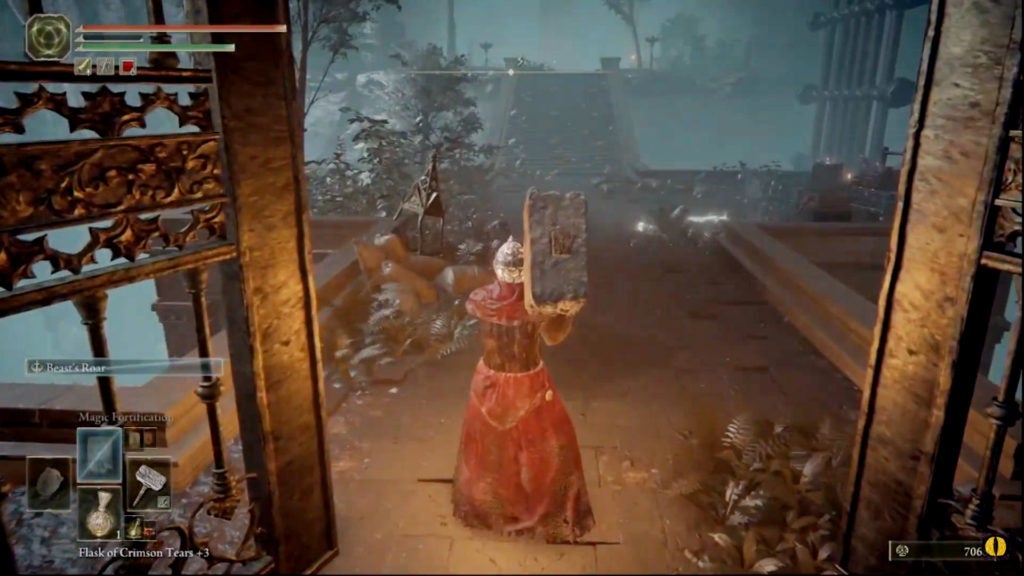
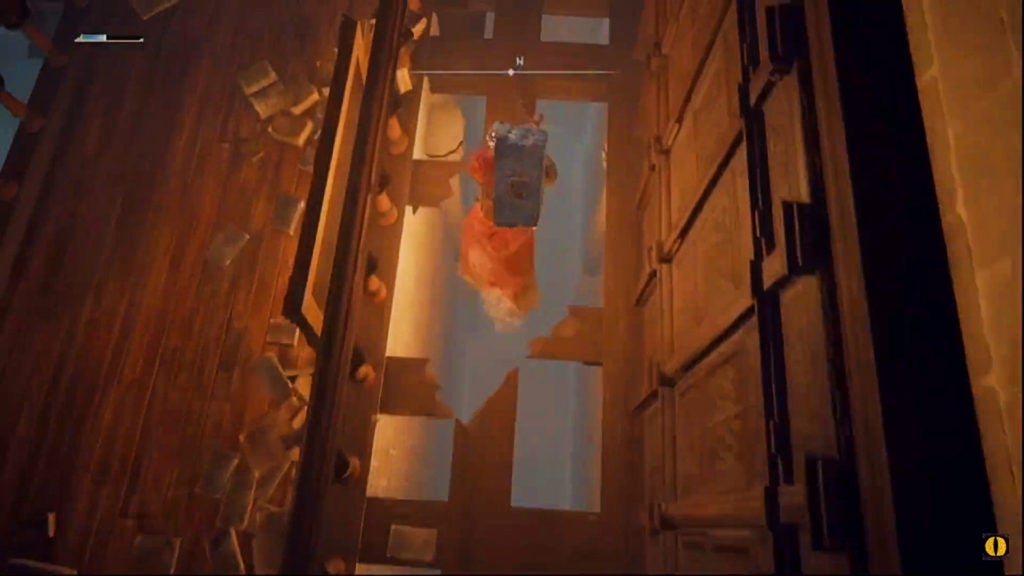
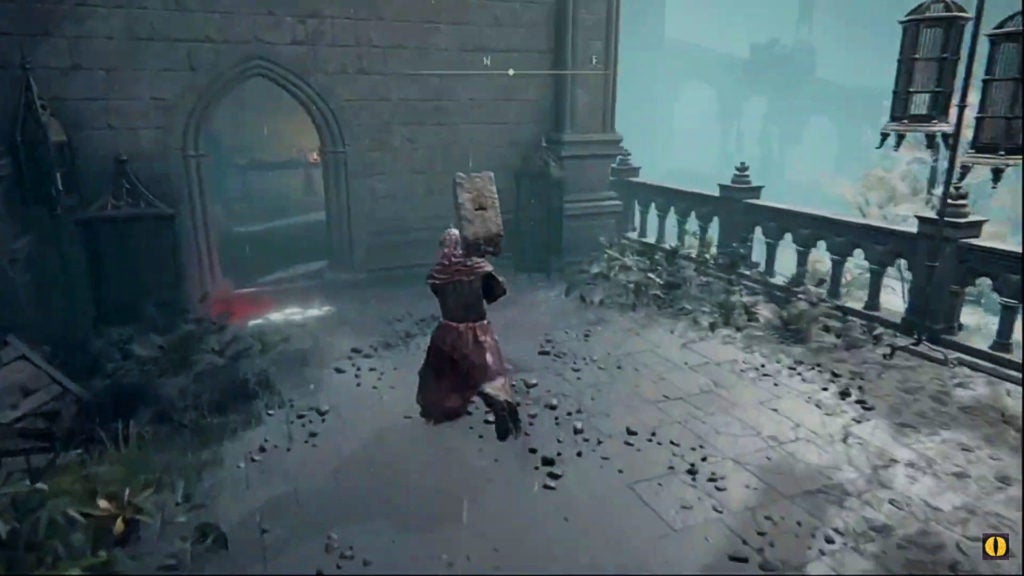
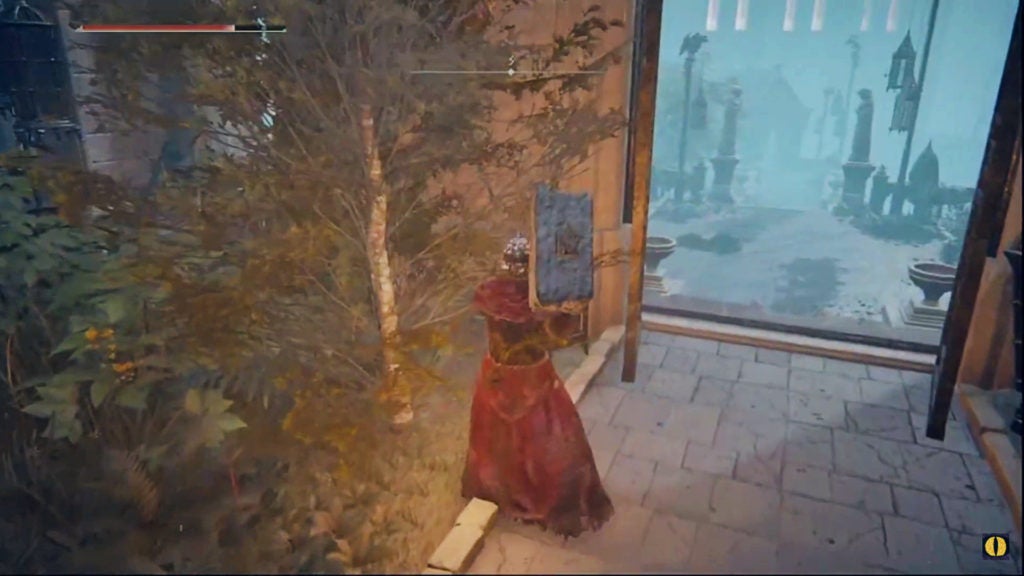
As you approach the academy from the south, you’ll find a sealed gate. To enter it, you’ll need an Academy Glintstone Key. To find a helpful hint to the location of such a key, loot the item that rests at the foot of the great door. This item will be a map that will directly tell you the place to search for the Academy Glintstone Key.
The Location of the Academy Glintstone Key
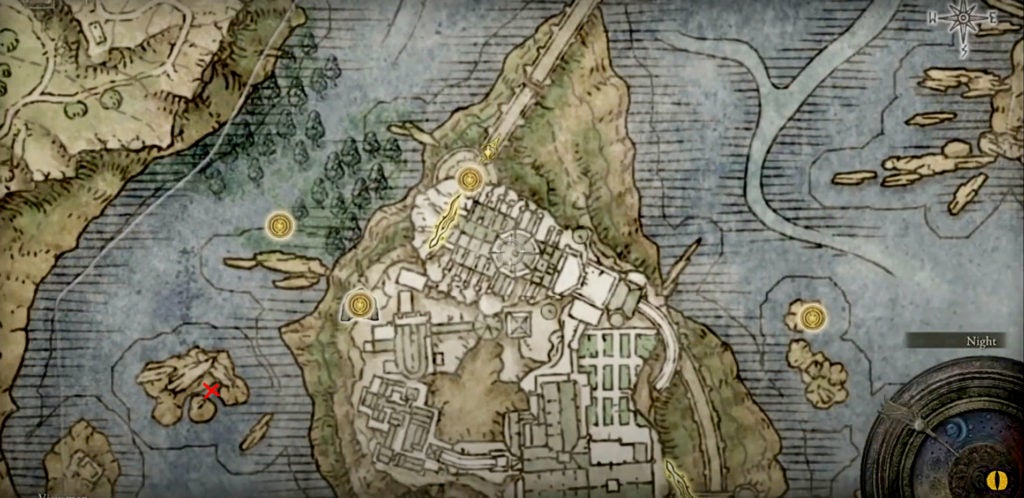
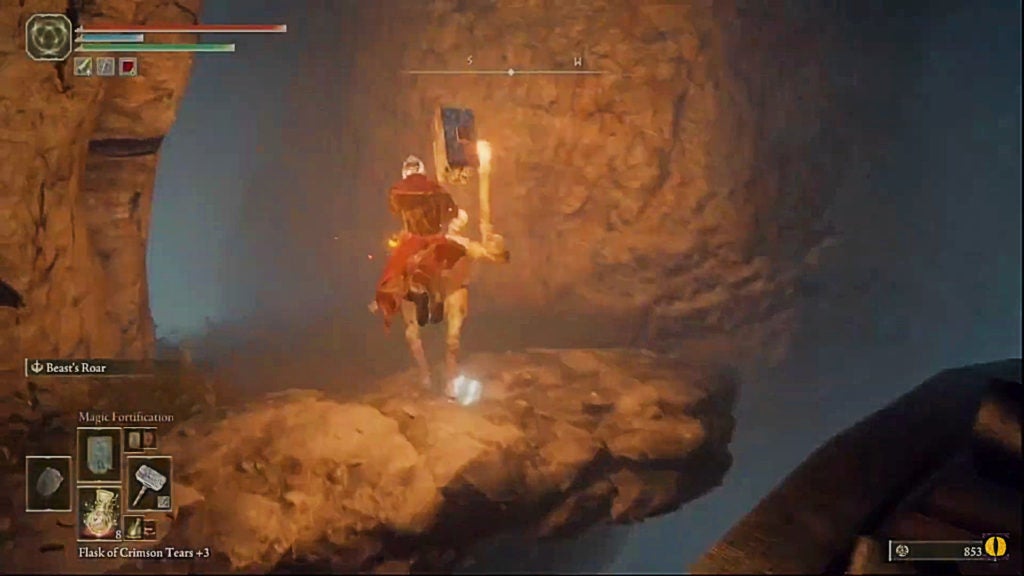
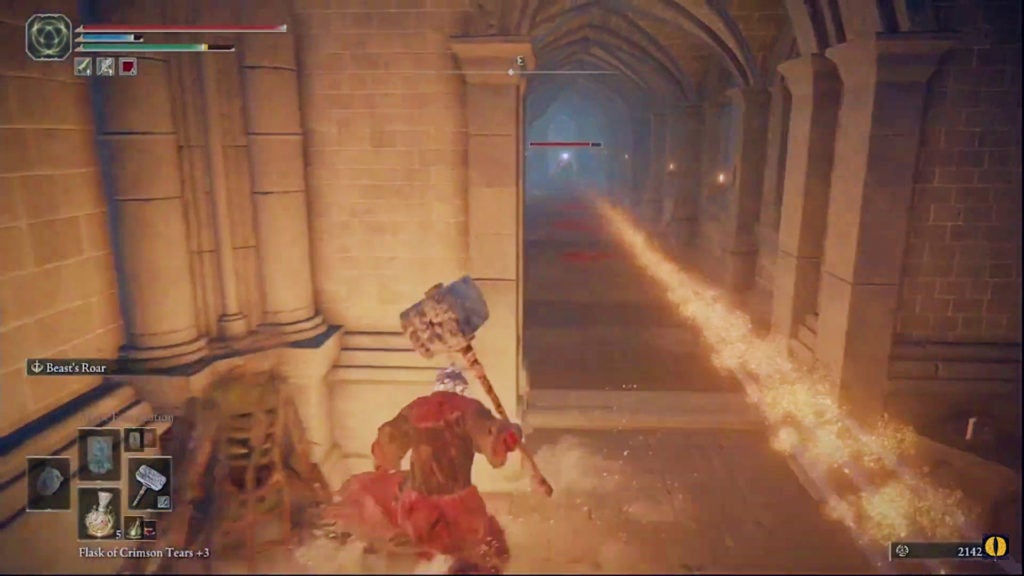
To the west of the academy, there is an island that will be hard to miss if you travel that way. Resting against the south of the island is Glintstone Dragon Smarag, a dragon that can breathe magical blue fire. The Academy Glintstone Key is on a corpse resting just behind where Smarag is sleeping.
If you sneak and approach the island from the correct direction, you can loot the key without waking the dragon. The glintstone dragon is facing southwest, so to avoid detection better, you should approach from the northeast. This will let you slip around Smarag’s tail and loot the corpse. Afterward, backtrack if you don’t want to fight a dragon. However, if you take down Glintstone Dragon Smarag, you’ll get 14,000 Runes and a Dragon Heart.
Northeast of Raya Lucaria
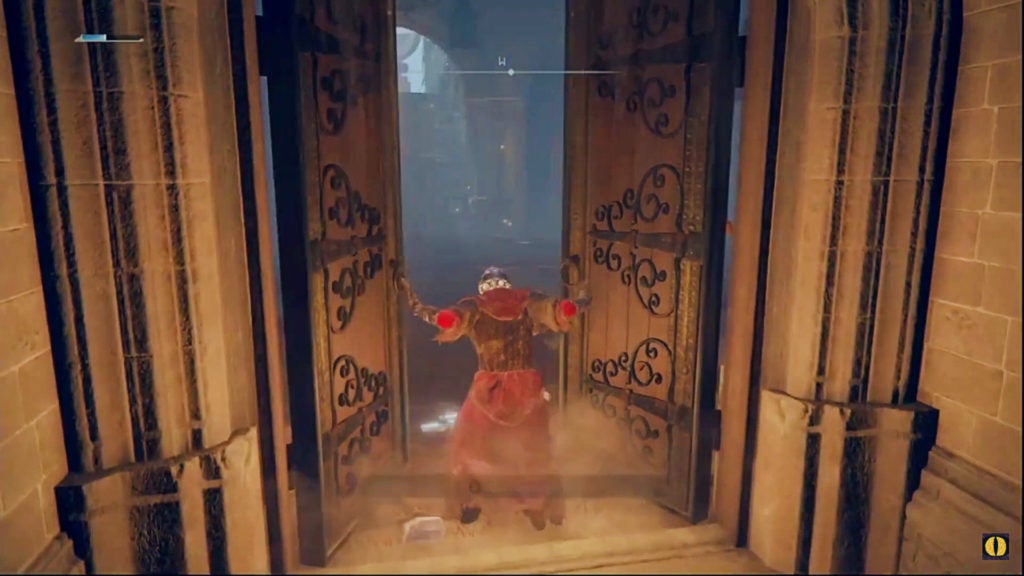
Now that you have the Academy Glintstone Key, you can pass through the gate at the south of Raya Lucaria. Doing so will bring you northwest to an area with the Main Academy Gate Site of Grace. From this spot, you can go southwest into a lift or go northeast to the Bellum Highway.
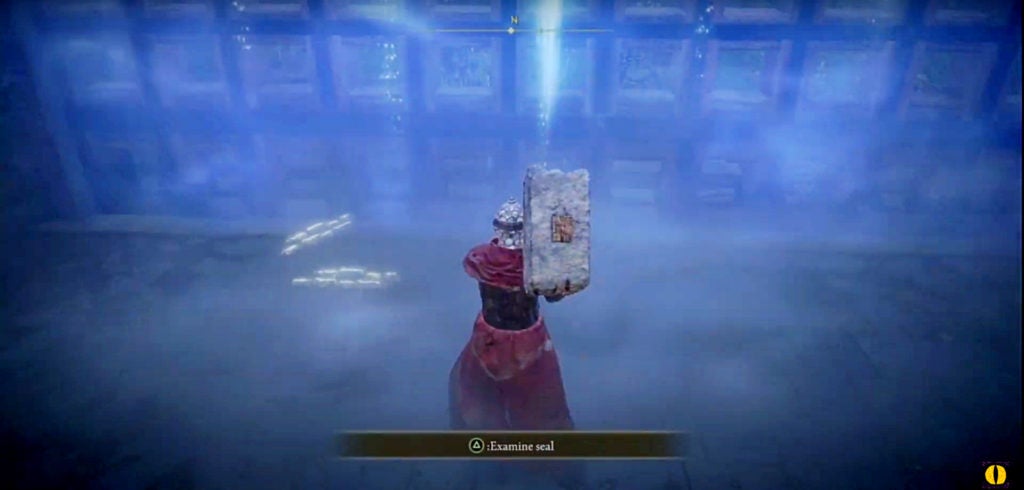
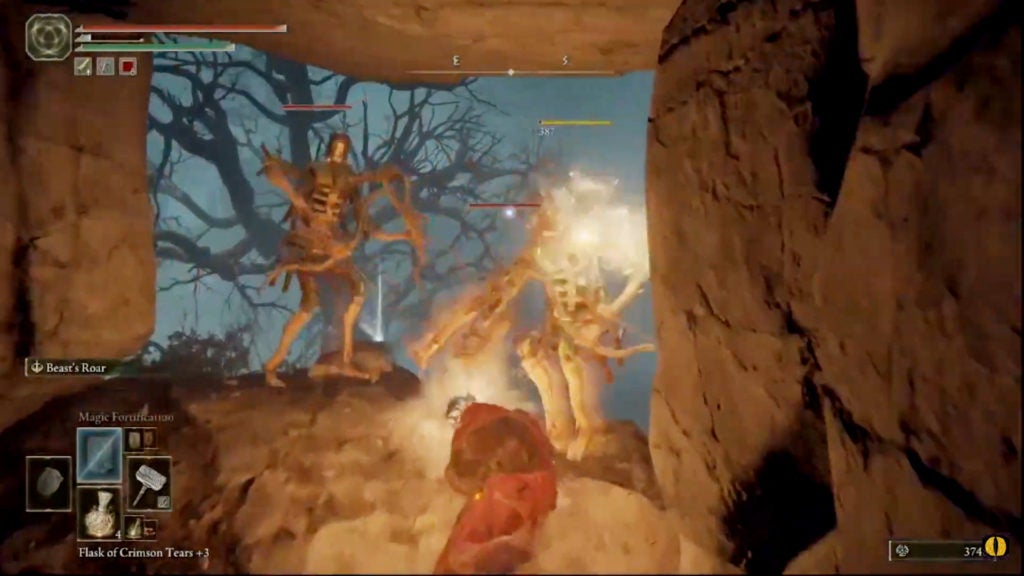
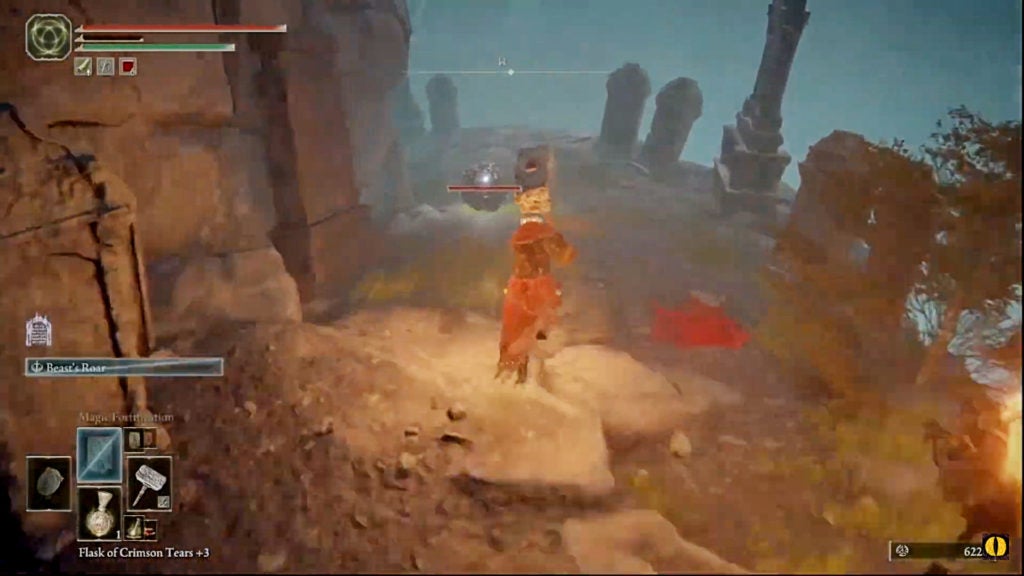
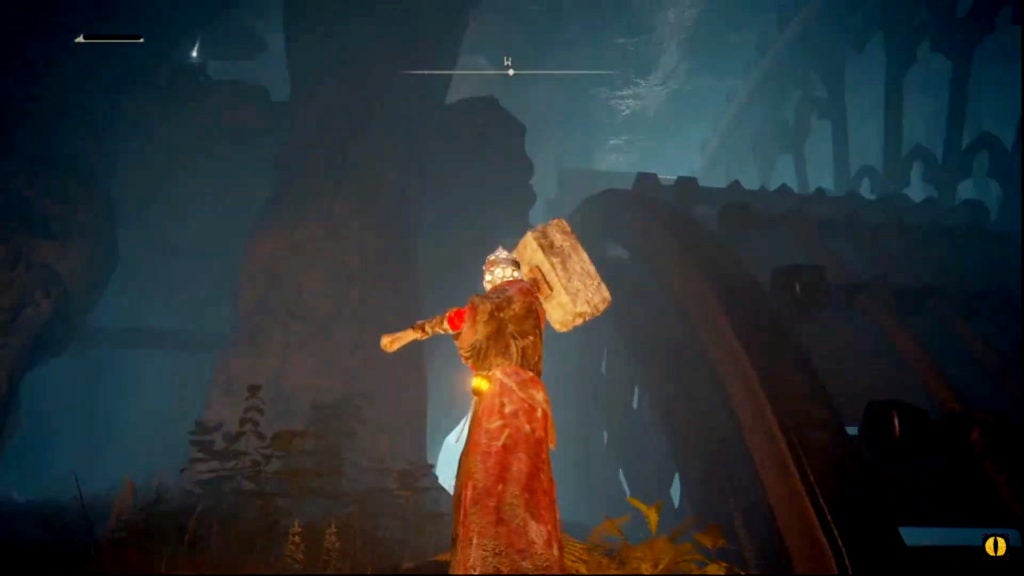
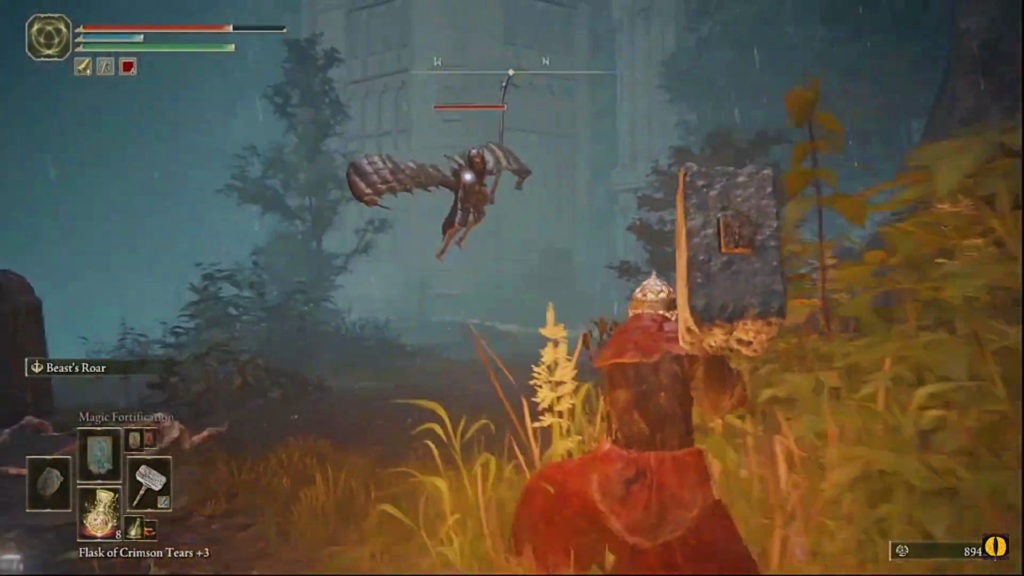
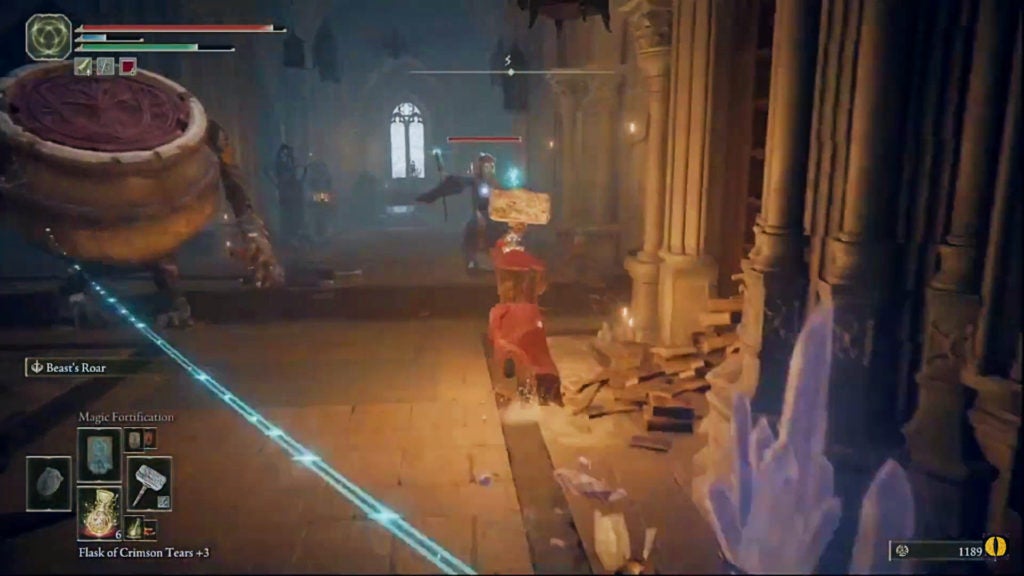
If you want to fight a field boss, the northern Liurnia of the Lakes appearance of the Night’s Cavalry can be found nearby. If you examine the seal northeast of the Main Academy Gate Site of Grace, you’ll be transported across the broken bridge to the east gate of the academy. Here, you’ll find the East Raya Lucaria Gate Site of Grace and a finger reader.
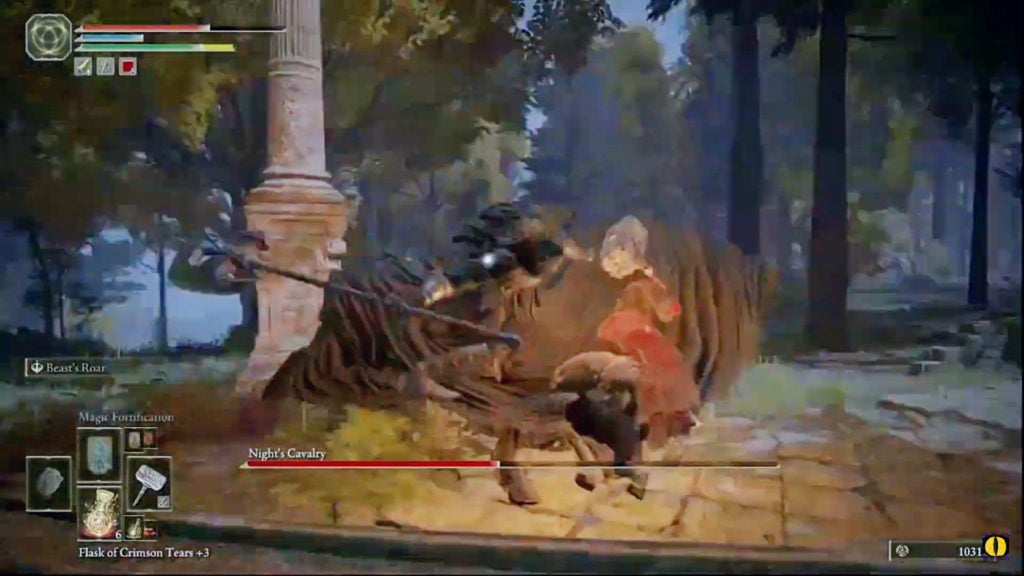
If it is nighttime and you go into the woods northeast of this Site of Grace, you’ll come across a knight and steed garbed in black. This Night’s Cavalry will be wielding a halberd, so be ready for attacks with a long reach. Although, if you defeat them, you’ll get 5,600 Runes, the Ash of War: Giant Hunt, and the Nightrider Glaive. The latter reward is the same weapon wielded by the boss and is a decent strength-oriented halberd.
Ascending the Lift Into Raya Lucaria
When you’ve finished checking around the main gate for loot and bosses, head south of the Main Academy Gate Site of Grace to find the lift. This elevator will take you up and into the starting area of the Raya Lucaria legacy dungeon. Most players tackle this area between level 50 to level 60, though being at a higher level will make things easier.
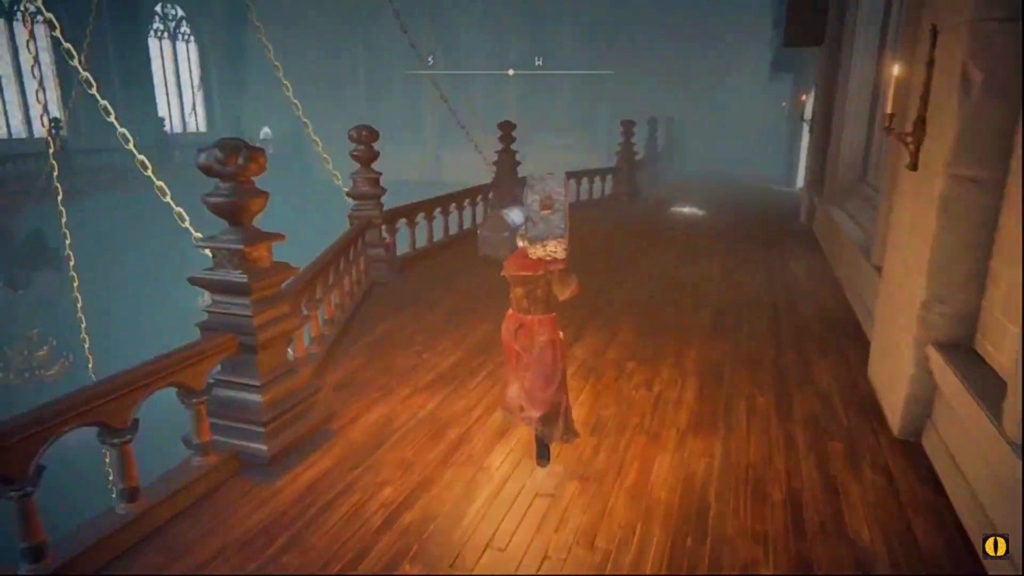
Getting From the Cuckoo Church to the Wooden Bridge
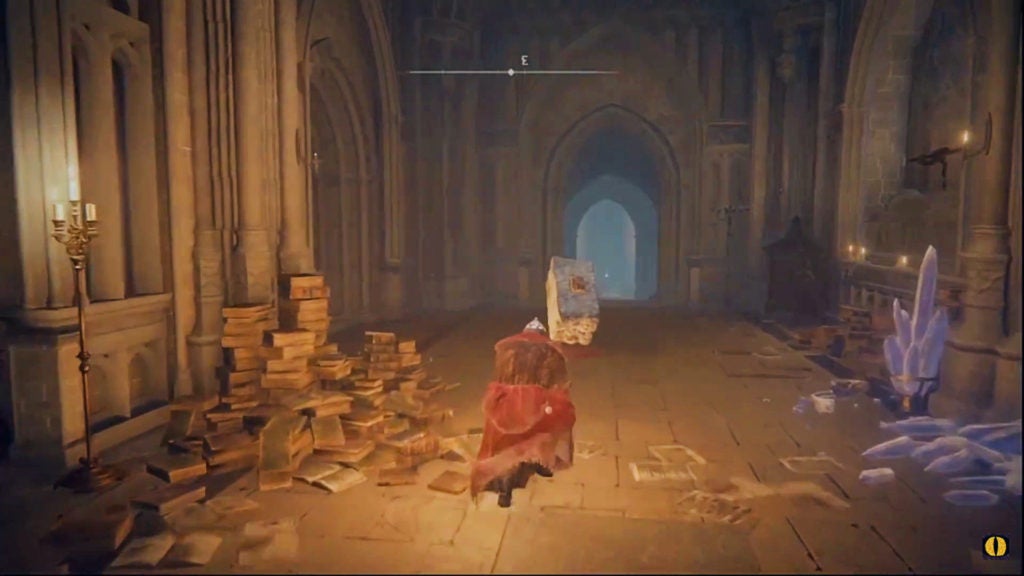
The first Site of Grace is within an upcoming building known as the Cuckoo Church. In the area leading to the stairs and door to the Cuckoo Church, you can loot a few minor goods from the area. These will be a few flowers and some Magic Grease—the latter of which will be pretty useless against enemies in Raya Lucaria.
After the small garden will be the stairs leading up to the door barring your progress. It will be guarded by two sorcerers who will cast spells at you as you approach. You’ll have to dodge, block, or parry their spells to get within striking range if you intend to use melee attacks.
After you take out this magical pair, you’ll be able to open the door to the Cuckoo Church. However, the perils of your journey are just beginning. You’ll need to be careful as there’s an ambush ahead.
Deal With the Marionette Soldier Ambush
Beyond the large doors leading to the Cuckoo Church, you’ll see a sorcerer in the distance. While this foe isn’t paying attention to their surroundings, there are others nearby who are. There are marionette soldiers attached to the roof of this room that will drop down as you get further into the Cuckoo Church.
There are a total of three marionette soldiers lying in wait: two on the left and one on the right. It’s recommended that you approach the sorcerer from the right and trigger the single marionette soldier to drop. Take out the lone soldier and then rush the sorcerer before they can unleash too many of their spells. Afterward, trigger and dispatch the two marionette soldiers on the left of the room to clear all enemies from the area.
Points of Interest in the Cuckoo Church
If you stand by the altar where the sorcerer was located and look up and to the west of the room, you’ll spot a ladder. Right now, you can’t reach it. However, it is a shortcut back here from later on in your travels. You’ll have to kick it down from above, so try and remember it for the future.
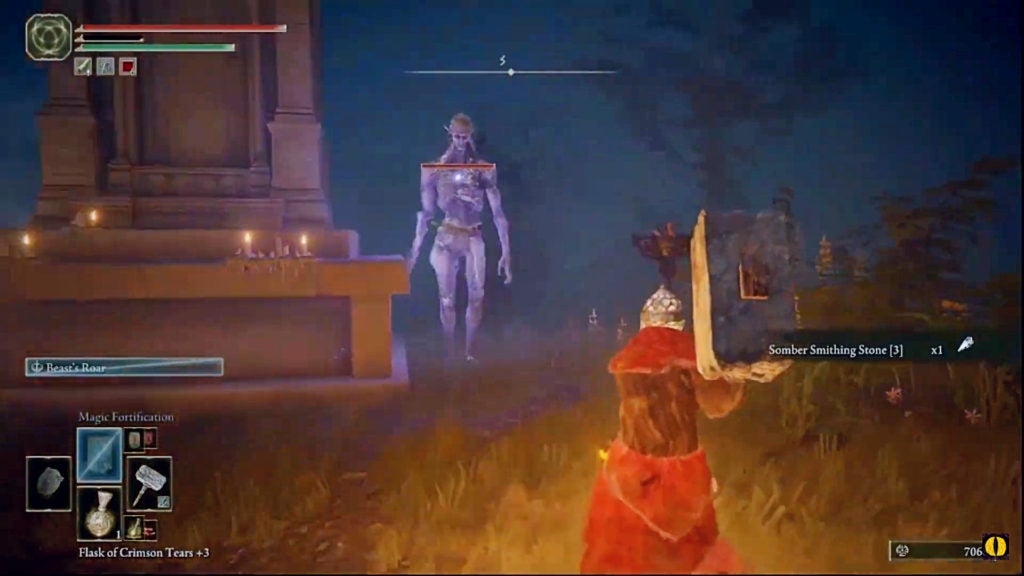
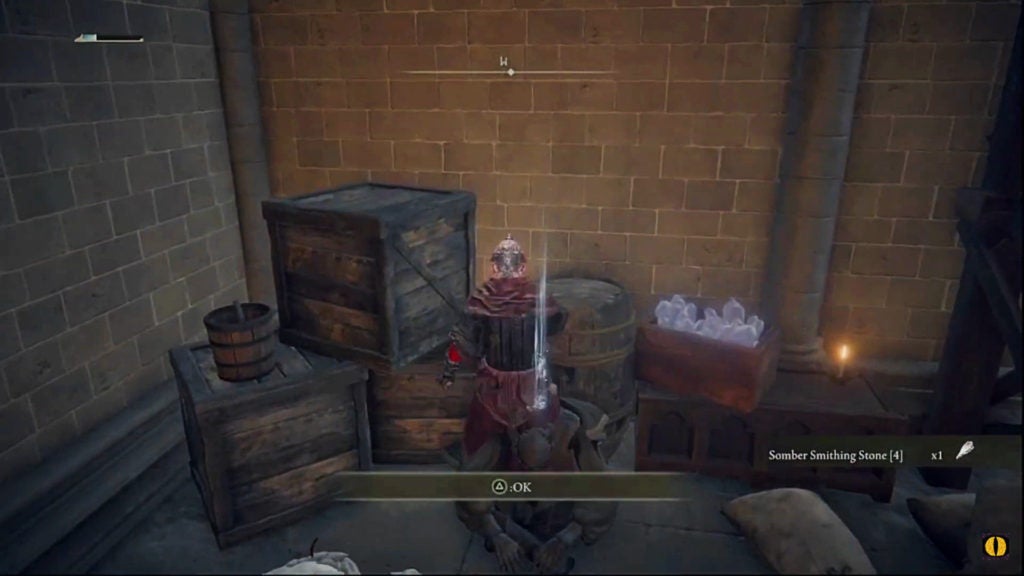
As for loot, you can find one Golden Rune [2] here as well as a Somber Smithing Stone [3]. The latter is located behind a wall that’s beyond the altar. When you’ve gathered these goods, it’s time to head to the Site of Grace. On the east side of the church, you’ll find a hallway. In this hallway, head north and you’ll spot the Church of the Cuckoo Site of Grace.
Even if you don’t need to rest, you should still touch the Site of Grace to activate it. Activating a Site of Grace will not respawn enemies—only resting at one will do that. Afterward, head south down the hallway until you find a doorway leading out of the church.
Getting to the Wooden Bridge
When you exit out of this doorway, you’ll notice progress lies to the north. However, there is some treasure to the south that you should grab first. There is a subtle path that leads under a ledge where you’ll find a corpse. On the body will be one Somber Smithing Stone [4]. After picking it up, proceed north—but do so cautiously. It’s recommended to use your auto-lock to target enemies hiding in the bushes.
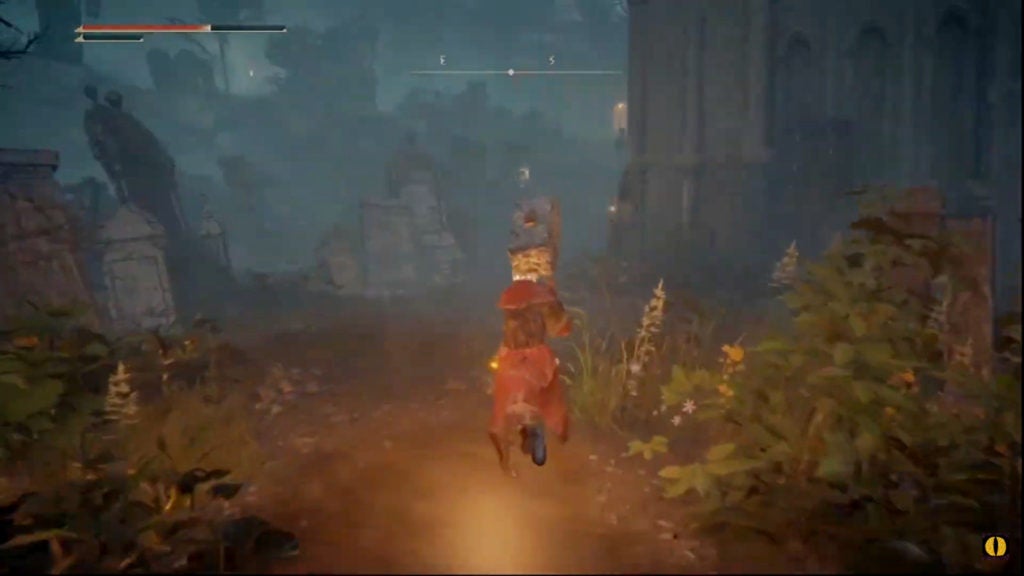
The graveyard to the north is full of glintstone zombies. While they are individually quite weak, there are many of them here. As such, you can get swarmed and overwhelmed if you are careless. The most notable of the zombies’ attacks is their grabbing move where they will bite you and drain some of your FP. Beyond the horde of glintstone zombies, you’ll find a bridge that will lead you deeper into Raya Lucaria.
The Alternate Path to Avoid the Wooden Bridge
However, on the other side of this bridge, there is an ambush. Crossing the bridge directly will force you to deal with multiple melee foes—including an agile zombie dog—as well as some ranged marionette soldiers. You shouldn’t take this path unless you’re vastly over-leveled for this region. Thankfully, there’s another way!
On the north side of the zombie-filled graveyard, you’ll find a subtle path leading below a ledge. After you’ve cleared the area of the minor loot, proceed this way instead of crossing the bridge. The sneaky trail will bring you to an inclining slope that will require you to make a jump.
Leap to the bottom of the inclining slope and make your way upwards. At the top of the slope, you’ll find the entrance to a short cave. This cave will lead you to a ledge housing a pair of marionette soldiers who will initially be facing the other way. These two would have shot a barrage of arrows at you if you had crossed the wooden bridge normally. Take them out and then loot the Marionette Soldier Ashes from the corpse on the ledge.
Afterward, you’ll need to drop down from the ledge and dispatch the zombies and the zombie dog nearby. However, when you do, you’ll be able to take a breather before continuing.
Getting From the Wooden Bridge to the Huge Lift
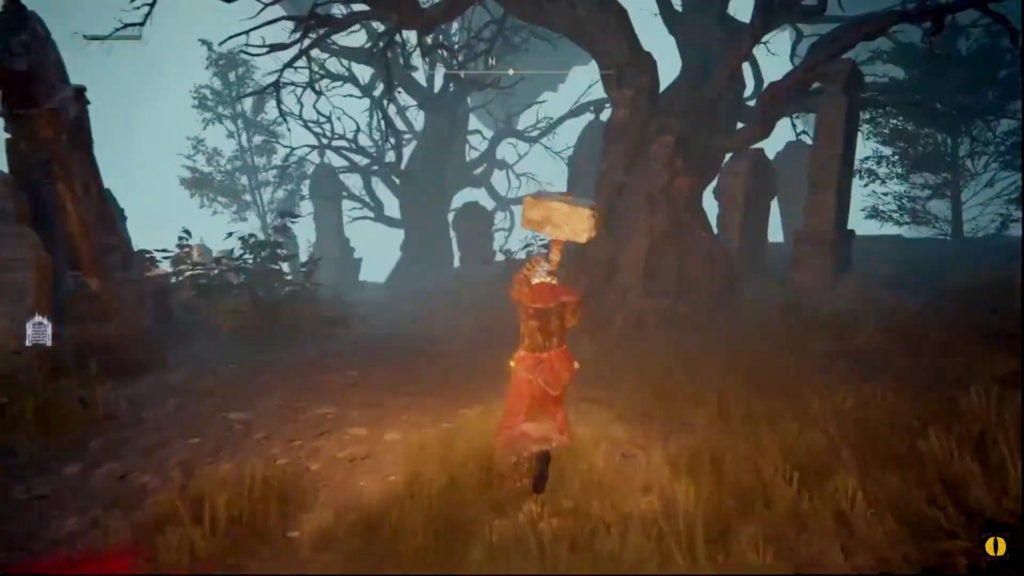
To the south is a foggy graveyard that leads uphill. This is the path you must take to get further into the legacy dungeon. However, like the previous graveyard, this one will be full of zombies. Additionally, some of them will be bigger and have more HP. And, unfortunately, there’s more, as at the top of the hill will be some zombie dogs ready to pounce.
The best approach here is to gradually clear the enemies out one at a time. To do so, approach slowly so that you can trigger individual foes to come forward and attack you. When you get the attention of an enemy, lead them away from other foes, and then take them out.
This will let you clear the zombies out of the graveyard in a safer manner than rushing through. Furthermore, this method will also let you loot the area in peace after you defeat all the fiends lurking nearby. When you reach the top of the hill, you’ll find a doorway leading inside. This is the progression path, however, be sure to look around the graveyard first for some treasure.
Find the Ash of War: Spectral Lance
From the doorway leading onward, turn north and you’ll find a small path that leads downwards. There is a zombie dog here, but no other enemies.
Keep going and you’ll soon spot a gray scarab beetle. Chase down this small insect and slay them to get the Ash of War: Spectral Lance.
Besides this Ash of War, the only other loot to be gathered here is a single Golden Rune [4]. When you’ve collected both, return to the doorway, but don’t enter it. There’s a better path laden with some cool armor.
Find the Carian Knight Armor Set
From the doorway, head to the west end of the graveyard to find a ledge overlooking a southern cliff with a few enemies. Drop down and take out the zombie in the shrubs to the west before proceeding to the tombstone on the ledge jutting upward.
You’ll need to dispatch three more zombies here, however, when you do, you can loot the item at the base of the tombstone. This will give you the full set of Carian Knight armor including the helm, chest piece, gauntlets, and greaves. Afterward, travel eastward to find a sloped path that leads up.
Around the bend of this rocky trail, you’ll find another upward path through an enemy-free cave. This will lead you back to the graveyard, though, before going that way, make sure to loot the Golden Rune [4] from the nearby corpse.
When you get back to the doorway that leads to progress, you’ll finally be ready to go through it. As you do, you’ll enter a hallway that will bring you to the boarding platform for the huge lift.
From here, you’ll be able to ascend higher and deeper into the legacy dungeon. However, as usual, you should check for loot before progressing. Beyond the lift boarding area, there are some stairs that lead to a small courtyard that you can explore.
Explore Around the Huge Lift
In this small courtyard, you’ll find one Somber Smithing Stone [3] on a statue as well as a purple portal nearby. When you approach this spot, a tall humanoid enemy with gray skin will emerge from the portal. The is an alabaster lord—an ancient yet relatively weak foe. They will begin to attack you with a straight sword and some purple magic.
Find the Gravity Well Sorcery
Although this foe can be dangerous, they don’t have any armor, which makes them vulnerable. If you hit them with enough damage of any kind, you can stagger them. As such, be aggressive and you should be able to chain-stagger this enemy and maybe even land a critical attack if they get knocked down. After the alabaster lord is defeated, you’ll get the Gravity Well sorcery as a reward.
Take the Lift Upwards
With that, you’ve collected all you can from this area. It’s now time to ascend the lift. Proceed back to the boarding area and wait for the next platform to rise.
As you ascend, make sure to face the south, as that is the direction your exit will be. After a few seconds of rising, you’ll reach your stop, so hop off the moving lift.
However, after you get off, take a look at your surroundings. There’s quite a lot to see and do around the huge lift, and you can see some of it from this spot. To the west, you can even see an item on a ledge above you and a potential way to get up there.
Find the Schoolhouse Classroom Site of Grace
However, before you begin searching for loot, you should rest at the nearby Site of Grace. Head south and proceed along the path to find a doorway that leads inside.
In this room, you’ll find the Schoolhouse Classroom Site of Grace among some purple crystals. There will also be a doorway leading southward that will take you deeper into the dungeon.
Find the Little Cave Above the Lift
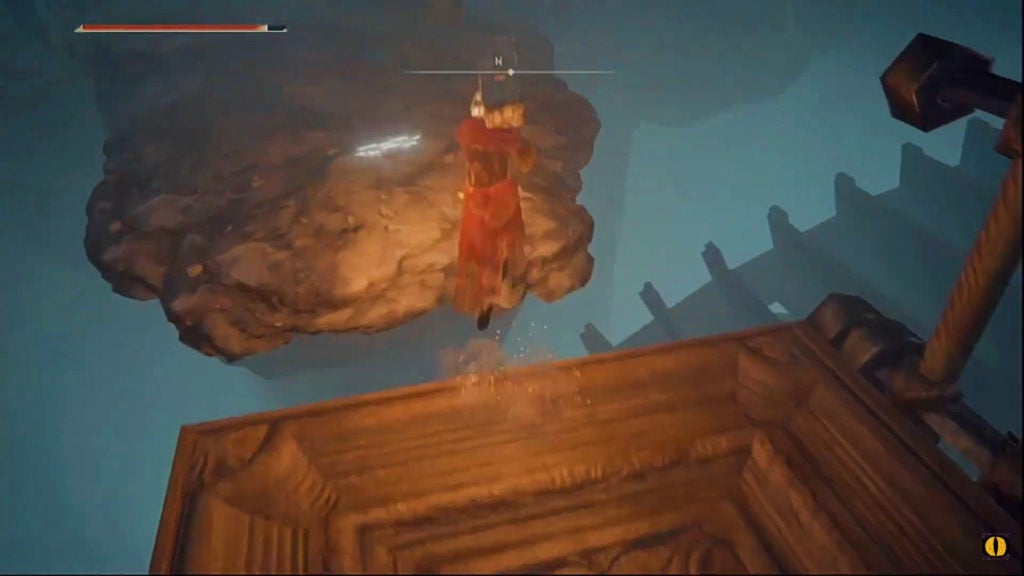
Backtrack out of the room with the Schoolhouse Classroom Site of Grace and go towards the lift. There’s some excellent loot at the bottom of the lift, however, you should grab the minor treasure above it first. Now, it’s time to jump back onto the lift. Be sure not to jump from too high or you’ll take some fall damage.
The moment you do so, turn to face the south. The platform will turn vertical, which will tip you onto the lift’s belt.
Run along the belt and you’ll see a southern ledge at the top of the belt’s path. There will be an aristocrat zombie holding a torch as if to welcome you. They aren’t actually friendly—their light is just helpful. Leap to this ledge and then take out the nicely-dressed corpse.
Although the trip up here will be fun and satisfying, there’s only one thing to loot. You’ll find a Golden Rune [4] on a corpse, which is the item you saw if you looked up and to the west after exiting the lift the first time.
Descending the Huge Lift to the Middle
Follow the path that leads downward and then find your way back to the boarding area of the lift. Before reaching the rising platforms, look west and you’ll find a corridor leading along a ledge next to the elevator.
At the end, you’ll find another aristocrat zombie with a torch. Take them out and then look north to find that the platforms of the lift are descending on this side. As such, you can ride them down. Mind the gap as you leap onto one of the moving platforms.
Keep facing north, as that’s the direction your first stop will appear as you go down. There are two stops overall: the middle and the bottom. You should check the middle level first, as that’s more efficient. When you see the jutting ledge of the middle stop approaching, jump onto it.
From this ledge, you’ll see a foggy graveyard to the north and a path to the east. There is no loot to the east; only another boarding area to get onto some rising platforms. As such, you should now go north into the misty cemetery.
Pick Up the Avionette Soldier Ashes

However, as you can probably guess by now, this graveyard will be full of enemies. There are a few large glintstone zombies as well as a flying avionette soldier. This fight can be hectic, however, you should focus on separating the avionette soldier from the zombies. This will let you take down the flying foe quicker and easier while being temporarily safe from the zombies.
Although the avionette soldier is fast, it doesn’t have much HP. This will let you dispatch it quickly if you time your attacks well. Afterward, you’ll need to take down the large glintstone zombies.
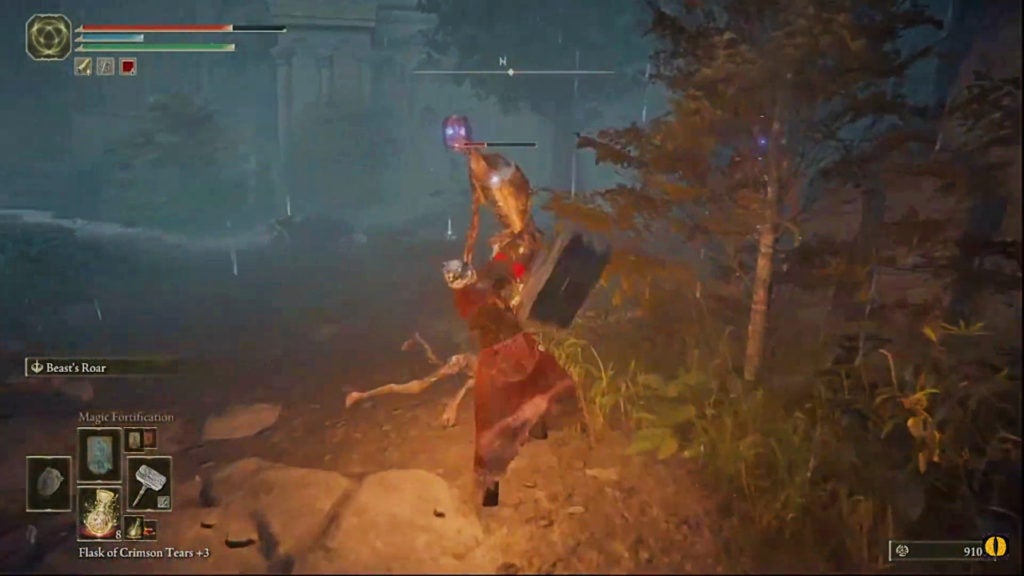
Since there’s a group of them, you’ll have to be careful and pick your times to attack carefully. Running and jumping attacks can be especially effective here. Afterward, you’ll be able to loot the items nearby when all foes are down. On the ground, you’ll find one Golden Rune [3] and the Avionette Soldier Ashes. Once those are collected, you can head back to the boarding area for the descending platforms. It’s time to head to the bottom of the lift.
Descending to the Bottom of the Lift
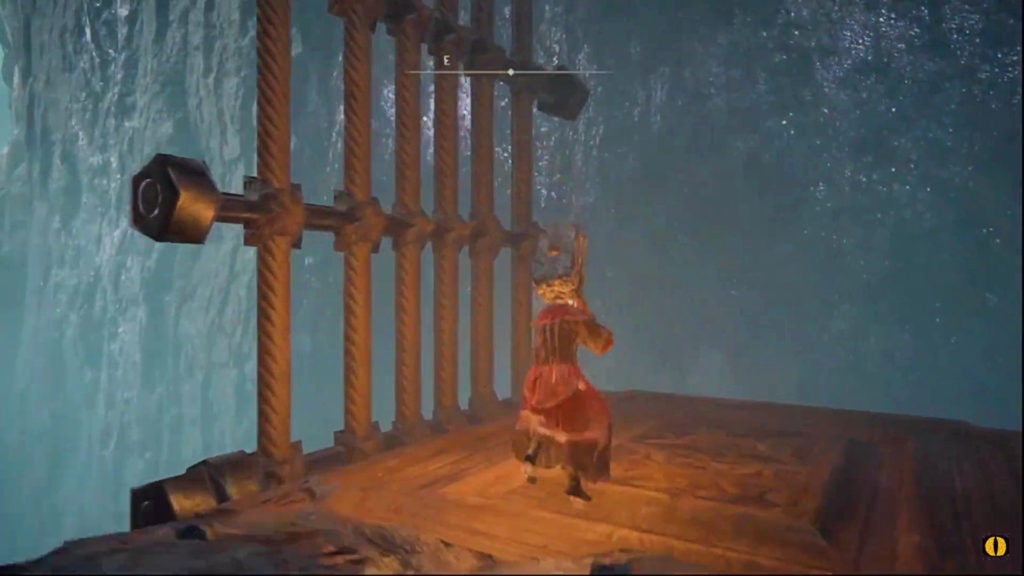
Jump onto one of the descending platforms and ride it all the way down. Although there is a spot where you can jump off and descend more gradually, staying on the platform until it flips isn’t a bad option either.
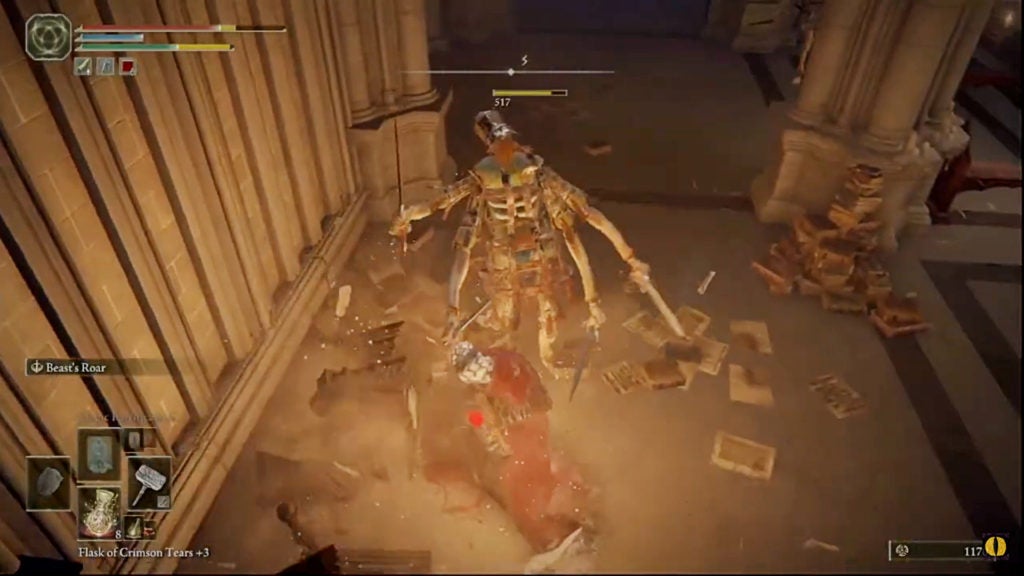
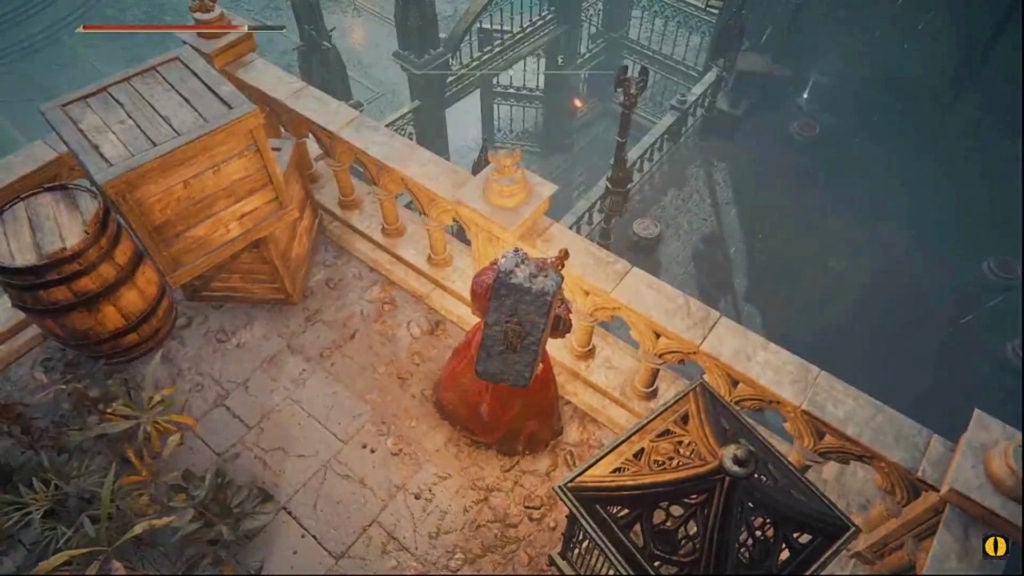
At the base of the elevator, you’ll get dropped to the crystal-crusted area below the huge lift. The drop won’t be enough for you to take damage, however, you are certainly not safe here. There is a pendulum statue enemy nearby who will immediately attack you if they see you, so get ready for a fierce fight.
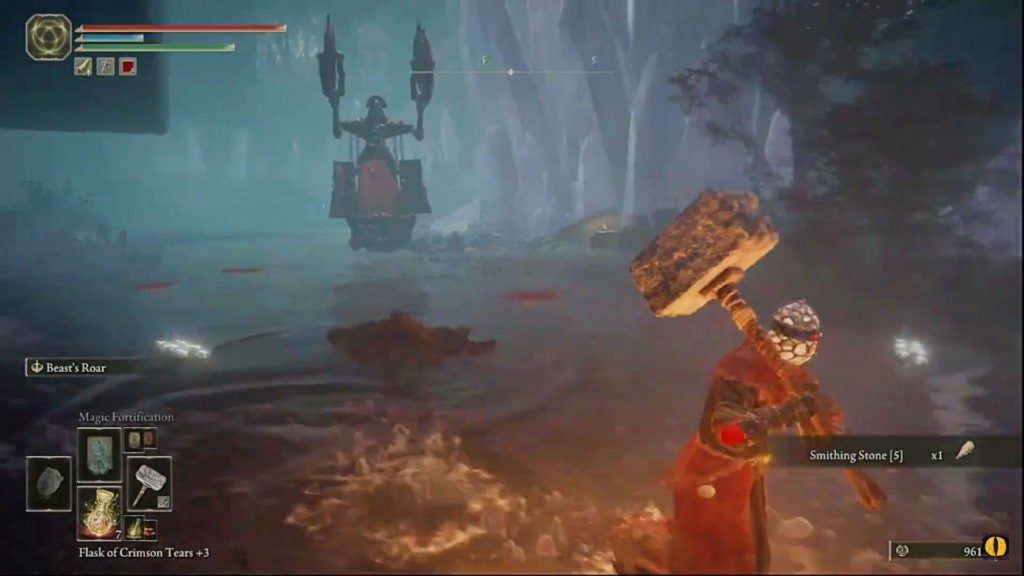
This particular pendulum statue is equipped with a rotating saw on each arm. In addition to causing bleed build-up if they hit you, these saws can act as high-powered wheels that can propel the pendulum statue forwards and backward very quickly. As such, you should stay away from both the front and back of this adversary.
Despite having fast forwards and backward movement, the pendulum statue turns quite slowly. You can use this to your advantage by only attacking them from their flanks. This will allow you to get a hit or two on the enemy before they turn towards you. Keep staying to either their left or right and you’ll be able to take them down eventually.
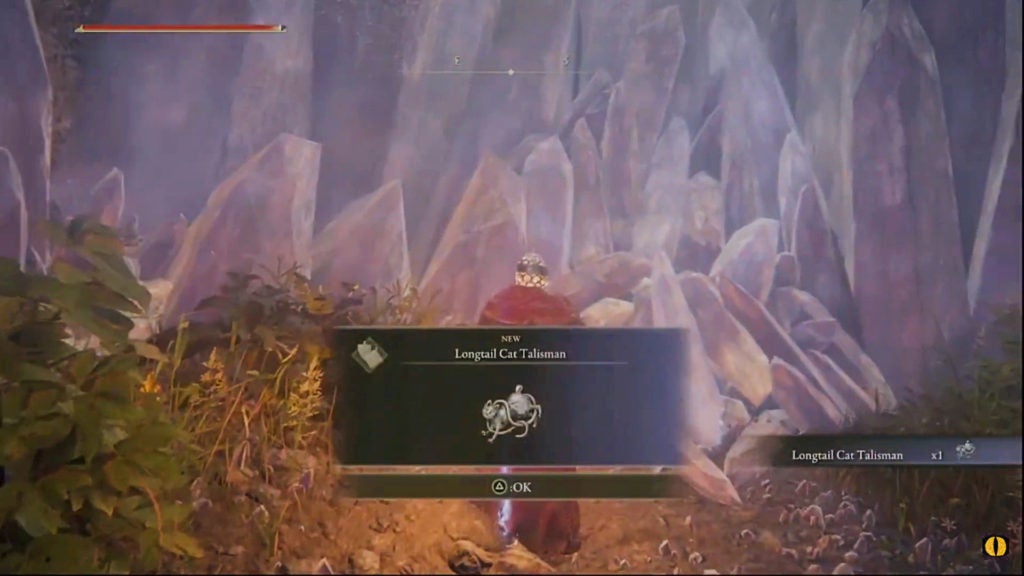
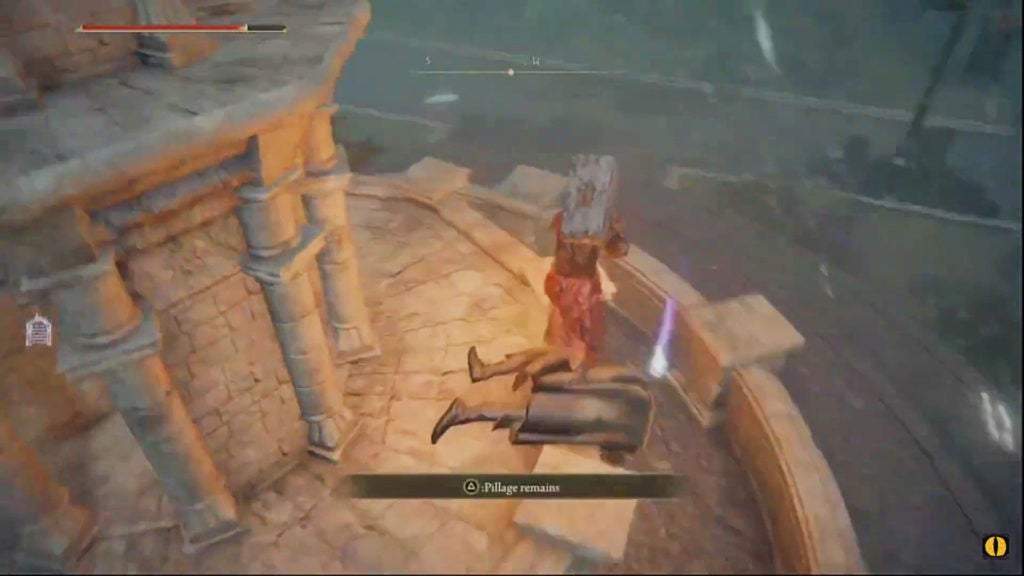
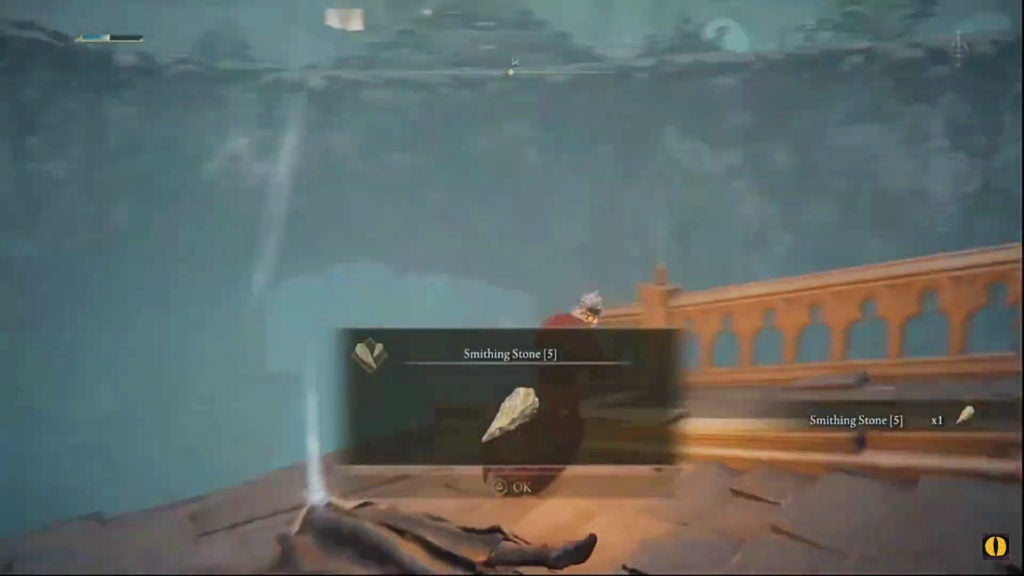
When the coast is clear, you’ll be able to loot the treasure-rich zone under the huge lift. Here’s a list of what you can find down here:
- 1 Smithing Stone [5]
- Many Glintstone Fireflies
- The Longtail Cat Talisman
After you’ve grabbed the above-mentioned items, head to the northwest corner of the pit and leap up the stacks of purple crystals there to reach an elevated area with a little shrine.
At the base of this shrine, you’ll find one Lost Ashes of War, which you can use to duplicate one of your favorite Ashes of War. After grabbing it, head back down into the pit below the huge lift.
Return to the Schoolhouse Classroom Site of Grace
On the eastern side of the pit under the huge lift, you’ll find a corridor. This is a linear path free of enemies that will lead you to a boarding area for some ascending platforms. There’s nothing left down here to loot, so you can ride a platform back up to the top. When you reach the Schoolhouse Classroom Site of Grace once more, rest there to set your spawn point before proceeding further into Raya Lucaria.
Getting From the Huge Lift to the Red Wolf of Radagon Boss Fight
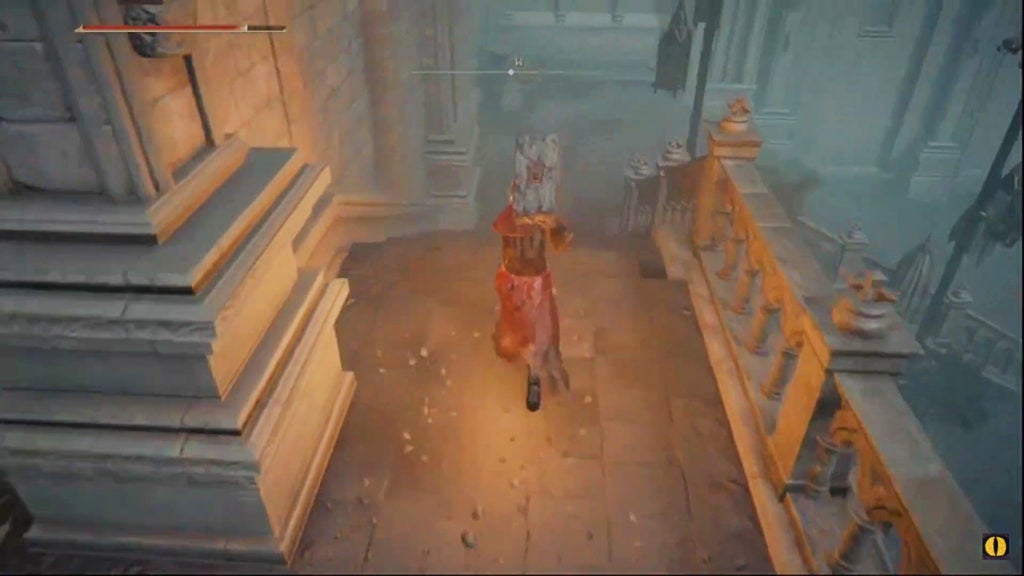
Head through the doorway further into the dungeon, but do so while sneaking! There’s a warden enemy in white robes who is crossing the hall and heading to the west. You can sneak up on them from behind to deliver a critical attack, which can potentially take them out in one hit if your weapon is powerful enough.
If you defeat the warden quickly, you’ll have a good chance of avoiding the sorcerers further west down the hallway. Westward will lead you deeper into the legacy dungeon, however, there is a lot of great loot to the east. Head through the hallway that leads eastward to find it.
Find Loot in the Eastern Room and Beyond
In the room beyond, you’ll first spot the item on a corpse in plain sight. This is the Conspectus Scroll, which will be useful if you want to learn new sorceries. Next, there’s a chest to the south that holds the Glintstone Craftman’s Cookbook [5].
Lastly, there’s a hidden path through a bookshelf in the northeast of the room. If you attack the northeastern bookshelf that the dead aristocrat’s body is pointing towards, you’ll open the way.
Beyond, you’ll find a balcony with a corpse holding one Smithing Stone [4]. Furthermore, under the north side of the balcony, there is a path below that you can drop down to.
Follow the path until you reach a ledge with some Trina’s Lilies. There will be a pile of rocks on the west that you can climb to reach a path that runs along the cliff face.

Proceed on this path while being careful. There’s a gap that you’ll need to jump across. However, when you do, you’ll be able to find the Olivinus Glintstone Crown on a corpse shortly afterward. From there, follow the path while hugging the wall and you’ll be led back to the area between the huge lift and the Schoolhouse Classroom Site of Grace.
Get the Ritual Pot From the Crowded Room
When ready, head back into the hallway beyond the Schoolhouse Classroom Site of Grace. If you didn’t rest, you’ll see the body of the warden you dispatched earlier. Just a bit further, you’ll come across a pair of sorcerers: one on either side of the hallway. You can sneak past them, however, they can make the next part more difficult. As such, it’s best to take them out now.
Try to land a critical attack on the first one and finish them off quickly. This will let you fight the other one with fewer issues. Afterward, keep heading west down the hallway. Just around the bend, you’ll find a room with four sorcerers and a large living jar enemy.
It’s recommended to lure at least a couple of the sorcerers out of the room to defeat them. When you’ve thinned the numbers enough, fight the living jar and remaining sorcerers until they are beaten. Afterward, loot the chest in the south of the room for a Ritual Pot.
In the east of the room, you’ll find a door that does not open from this way. This is a way back from a later part of the dungeon, so remember it for later. However, progress lies through the eastern doorway and up the stairs.
Find the Hidden Path Before the Red Wolf of Radagon Boss
As you ascend up the stairs to the west, you’ll find yourself in a room with three sorcerers and one warden. Be careful, as one of the sorcerers is on the stairs above you and will shoot spells at you as you enter the room. You’ll want to run up the stairs and take them out first. Following that, the warden and another sorcerer will be likely to attack you at this point.
When you finish dealing with all the enemies here, you can loot a Furcalling Finger Remedy from the balcony to the west. Afterward, head up the stairs and pause in the room above. Down the hallway, you’ll see the golden fog gate that indicates a boss room.
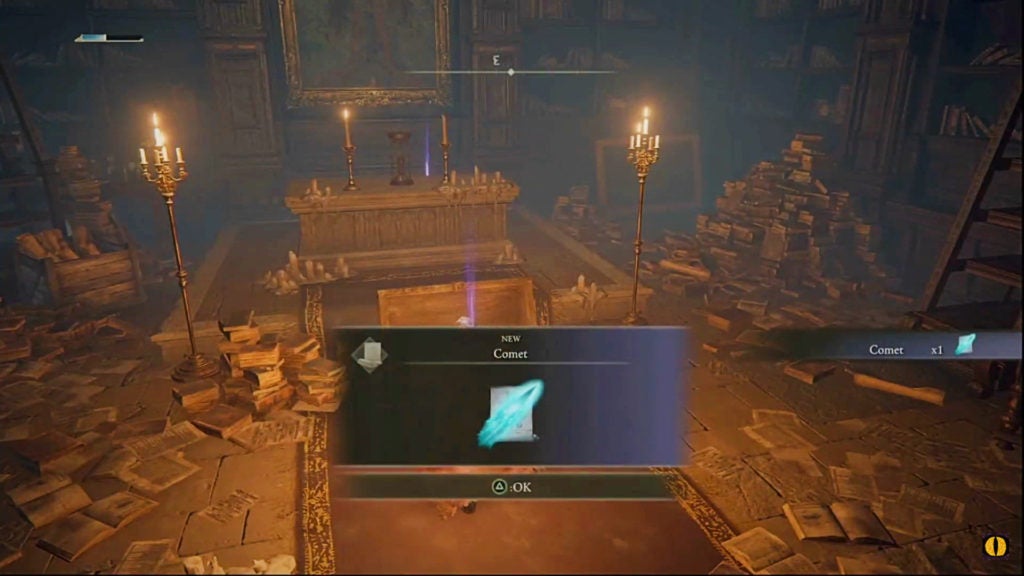
Before entering it, turn to your north and attack the bookshelf in the corner of the room. This will reveal a path through a slim hallway that leads to treasure. This corridor will lead you into a room free from enemies that has a chest on the east side. Open it to get the Comet spell.
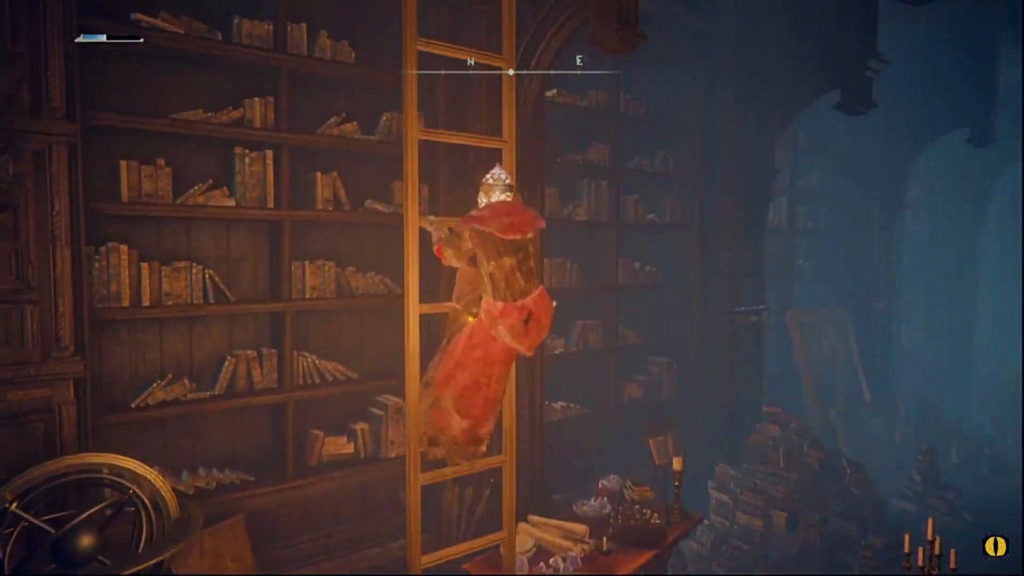
Beyond the small altar that’s behind the chest, you can find a Stonesword Key on a corpse. However, that’s not all this room has to offer. On the north side of the room, near the sole entrance, you’ll find a ladder leading upwards.
When above, you’ll find no items, but another path. Head to the east side of the room and jump over the banister to find a hole to drop down through.
This will bring you to a slim corridor with only a hole in the floor. You’ll need to head downwards once more to progress. When you do, you’ll be in another book-filled room, although this one will have a mass of purple crystals at its south end.
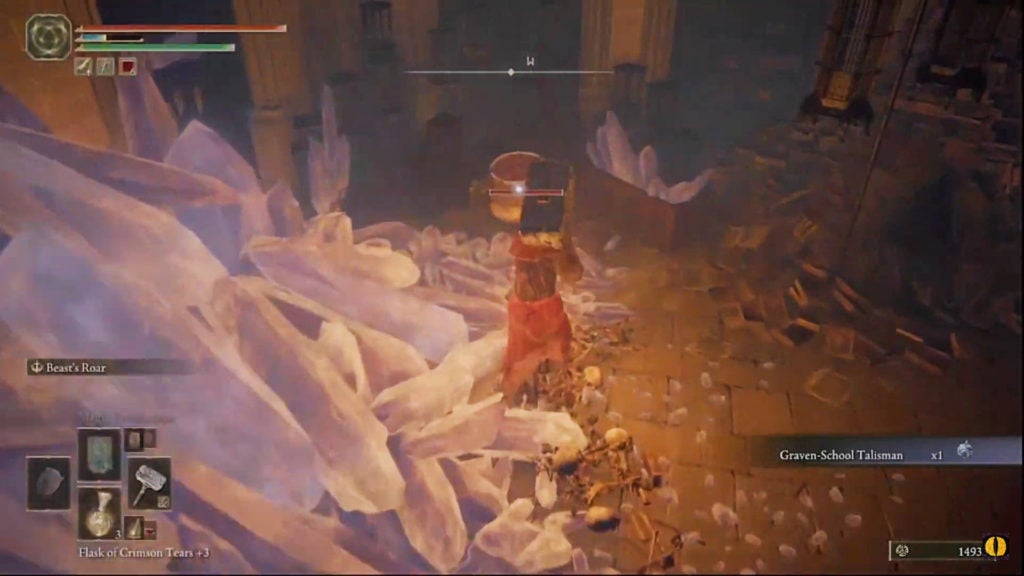
Find the Graven-School Talisman and the Way Back
The item resting on the mass of crystals will be the Graven-School Talisman. However, be careful when you loot it, as this will trigger all the small living jar enemies in the room to attack. They aren’t very strong, but there are a lot of them and they can swarm you.
After you’ve dealt with the horde of little jars, find the doorway on the west side of this room. This will lead you to a door, which you can open to find your way back to the room that once held the large living jar and four sorcerers. Furthermore, if you need to heal HP and restore FP, you can easily make your way back to the Schoolhouse Classroom Site of Grace from here.
At this point, you’ve explored everywhere you can prior to the Red Wolf of Radagon boss fight. When you’re prepared, head back up the stairs towards the golden fog gate. Just be warned: the Red Wolf of Radagon is no simple beast and can cast spells with their howls.
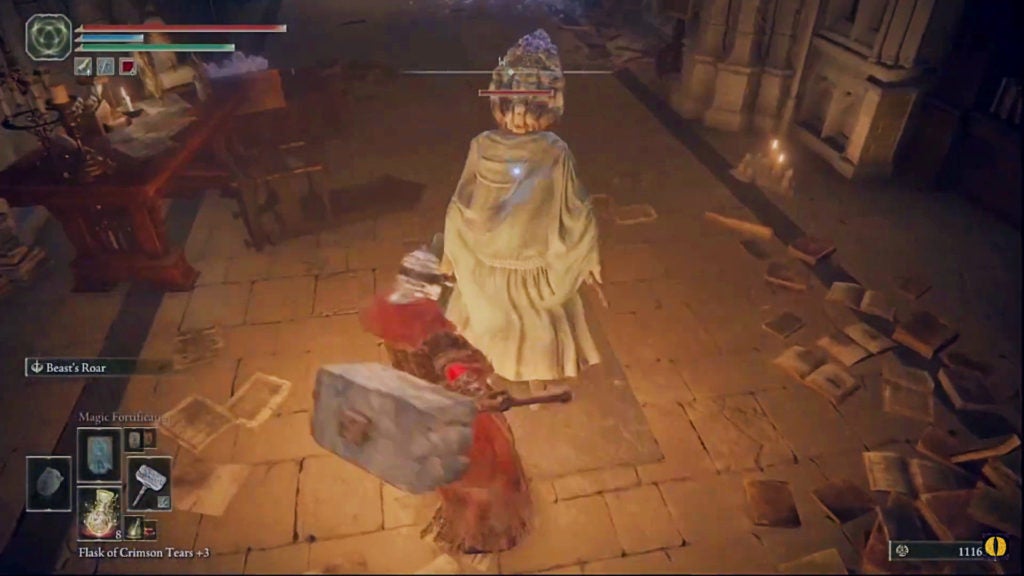
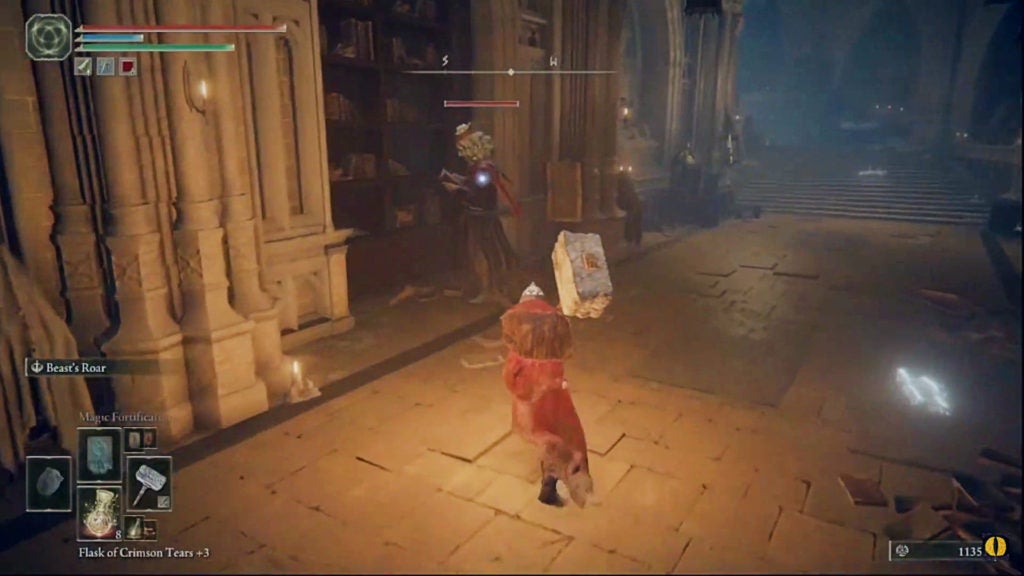
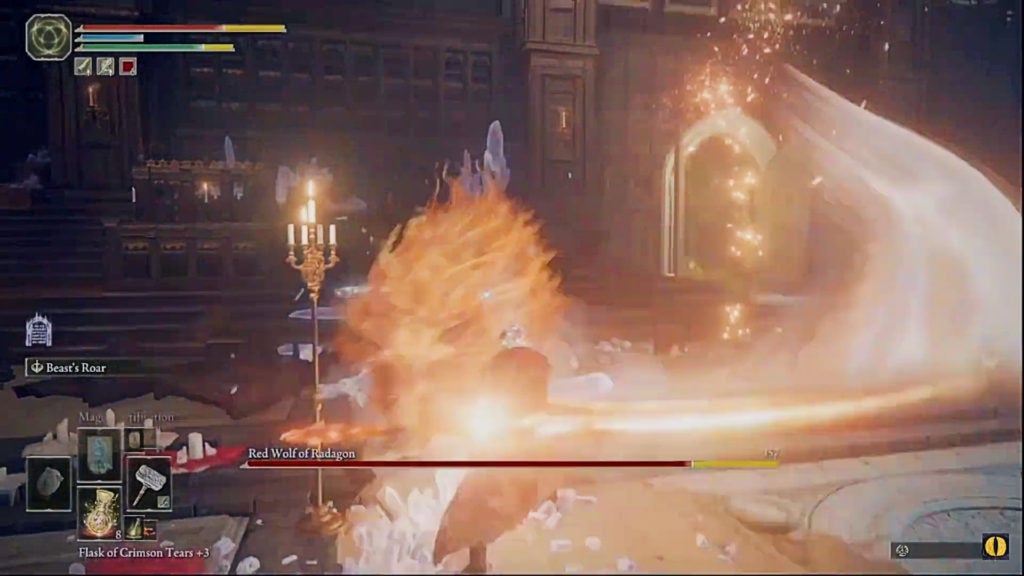
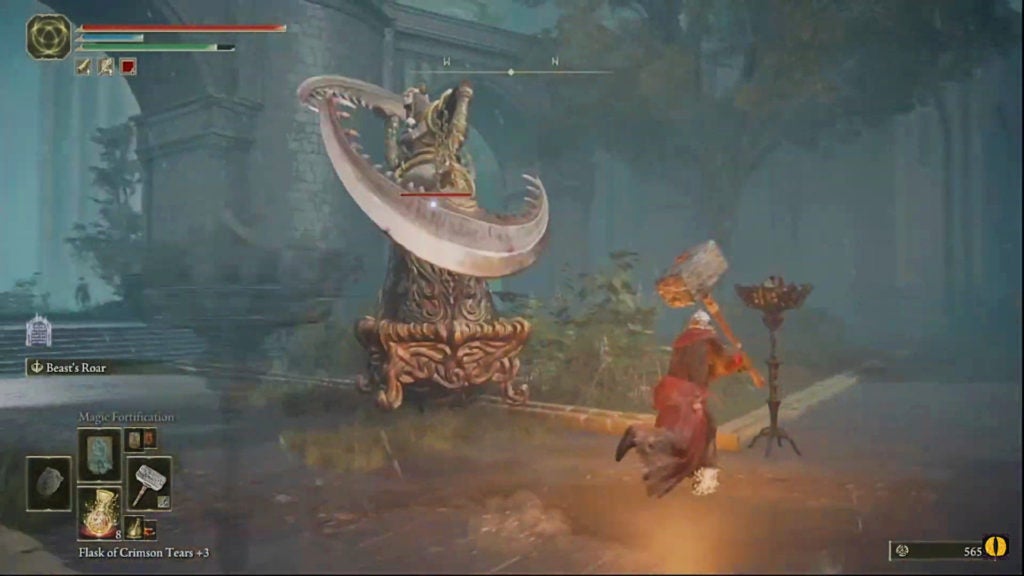
How to Beat the Red Wolf of Radagon
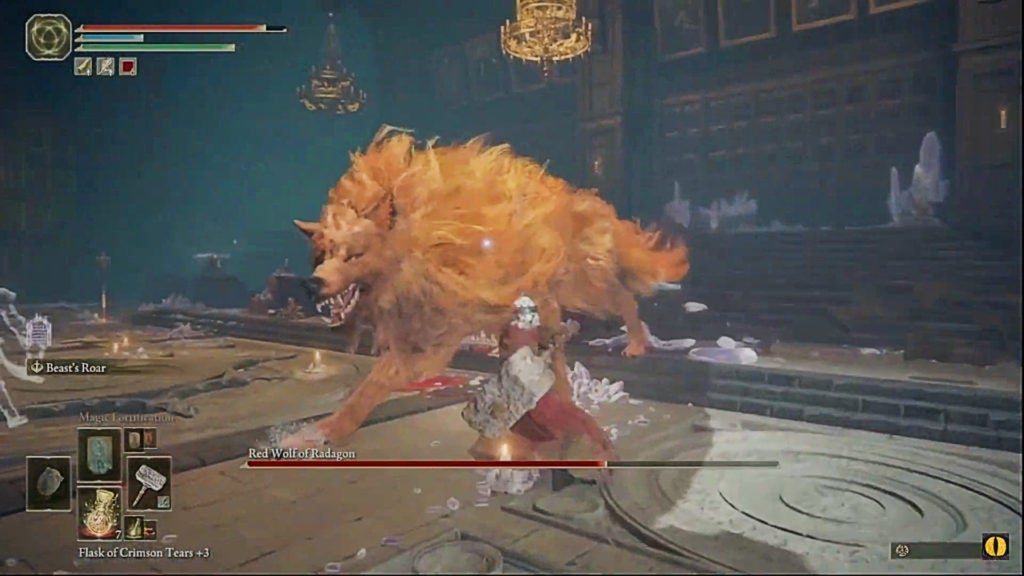
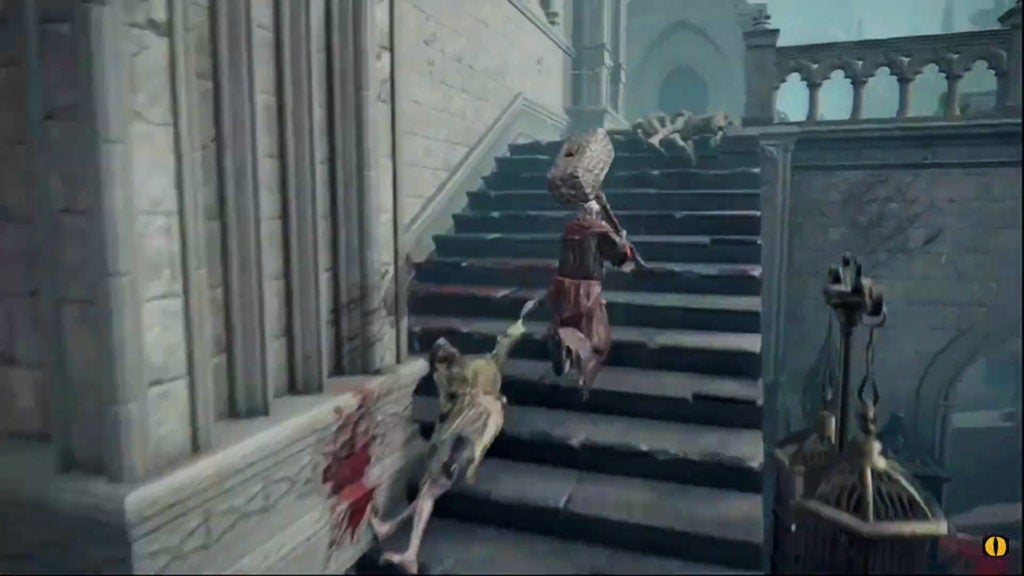
Faster and more ferocious than any other wolf in Elden Ring, the Red Wolf of Radagon will attack with swift and strong bite attacks. The delays after such attacks are short, allowing the boss to jump back and reset their position. As such, this foe can hit pretty hard while also evading some of your assaults. You’ll have to learn their attacks and find the best windows for your counterattacks.
The Red Wolf of Radagon will sometimes do a three-bite combo. After the third bite, you’ll have time to hit them once or twice. The same can be said for their lunging bite, which they will sometimes perform from mid-range. These are the most common non-magical melee attacks where you can get some relatively easy hits in.
Though, this red wolf also knows how to cast a few spells that you will need to deal with somehow. In addition to being able to cast spells, this great canine is quite good at timing their attacks so that their spells and melee attacks overlap in a way that’s hard to dodge both.
The Red Wolf of Radagon’s Sorcery

The most common sorcery that the red wolf will cast is what looks like a variant of the Greatblade Phalanx sorcery. The wolf will howl to cast the spell, which will create three blue symbols in the air. After a few moments, the symbols will each shoot out a fast-moving sword made of blue light. While the homing of these projectiles is somewhat low, their speed and quantity make them tricky to avoid.
Furthermore, while you’re busy dealing with the blue swords, the red wolf will be waiting to strike at the worst possible time. Just as you’re dodging the phalanx, the boss will often do a lunging bite attack that can be difficult to see coming.
As the boss casts this spell from a distance, you won’t usually be able to catch up to them for an attack before the blue blades strike. As such, you should spend the duration of this attack healing or buffing while the boss casts the spell and then dodging the incoming assault.
The Red Wolf of Radagon’s Incantation
The incantation that the Red Wolf of Radagon will use is one that summons a sword made of yellow light. Colored like most incantations, this blade of energy will be wielded in the wolf’s mouth. Usually, the boss will do two horizontal sweeps in front of itself before then leaping into the air to perform a mighty downward slam.
Although unexpected at first, this attack is fairly easy to dodge. Evading the first two sweeps will be like dodging the same from an enemy wielding a greatsword. Dodging twice in a row at the right time can allow you to avoid all damage from the dual swipes—even at close-range.
As for the third attack—the big slam—you’ll need to wait for a bit before dodging. The delay between the second slash and the impact of the slam is about two seconds. Unfortunately, you’ll always have to evade this attack blindly, as the camera will not be able to track the wolf as they leap high into the air above you. As such, learning the timing is crucial.
However, if you dodge all three strikes successfully, you’ll have an opening for a couple of counterattacks. Conversely, if you are hurt and need to heal, the delay after this attack is a great time to do so.
Speculation About the Red Wolf of Radagon’s Incantation Sword Attack
This attack appears to be an incantation variant of the Carian Greatsword sorcery and other blade-summoning spells. Since the color of the attack is yellow instead of blue, this maneuver comes across as being from a divine source instead of a magical one.
Furthermore, in regards to the nature of this attack, this red wolf probably learned its spellcasting from Radagon himself. Radagon, the second Elden Lord, learned how to effectively cast many sorceries and incantations.
As such, it stands to reason that he would teach his favorite wolf to cast both as well. Interestingly, there does not currently seem to be an incantation version of this attack that can be learned by the player. This may mean that it is a skill unique to those who have learned spellcasting from Radagon himself.
The Red Wolf of Radagon’s Weaknesses
This boss does not seem to be that susceptible to any individual type of damage. They appear to lose more HP from slash-damage (physical) attacks, though not by much. With that said, the greatest weakness of the Red Wolf of Radagon is its low overall defenses and low maximum HP.
There is no great single weakness, but the wolf also doesn’t have many high type-resistances. The only type of damage that the wolf resists to a noteworthy extent is magic-type damage—like many other foes in Raya Lucaria. Furthermore, bleeding attacks and frost attacks aren’t very effective either, so such methods should be avoided.
As for the beast’s maximum HP—it’s probably lower than yours on New Game. New Game+ is a different story, but, in your first encounter with this red wolf, its max HP will only be around 1,000. With this in mind, more aggressive builds can probably damage-race this boss and forego most defensive tactics.
The Rewards for Beating the Red Wolf of Radagon
- 1 Memory Stone
- 14,000 Runes
- The Debate Parlor Site of Grace
After you’ve slain the Red Wolf of Radagon, you’ll be able to progress deeper into Raya Lucaria. However, the next part involves a lot of roof-hopping, so you’ll need to hone skills besides combat tactics. On a related note, now would be a great time to equip the Longtail Cat talisman that you found under the huge lift, as it negates non-lethal fall damage. Just keep in mind that it won’t save you from a fall into out-of-boundary areas.
Explore the Area Between the Debate Parlor and the Boulder Trap
As you head north out of the debate parlor and into the next outdoor area of Raya Lucaria, you’ll have many places to explore. The way deeper into the legacy dungeon is to the northeast and up the curving ramp. However, before dealing with the ramp and the boulder trap upon it, you should explore everywhere else first.
Find the Radagon Icon Talisman
Just as you exit the debate parlor, turn east and follow the wall on your right to a corner with a railing. This will lead you to a hard-to-see little path that will bring you to a powerful talisman. Since this path loops back into the debate parlor, it’s the best route to explore first.
Leap over the railing to the walkway below and follow it to a ladder. When you ascend the ladder, you’ll be able to walk up some stairs and spot a broken window. From here, you can jump through the opening to get into the upper parts of the debate parlor.
You’ll see two ways that you can go: to the north wall of the room or to the south. Head south to find a corpse with five Crystal Buds and then go north to find a chest. Within the chest, you’ll find the Radagon Icon. This talisman will reduce the casting time for all sorceries and incantations, making it an excellent tool for spellcasters.
Find the Cracked Pot On the Way Down
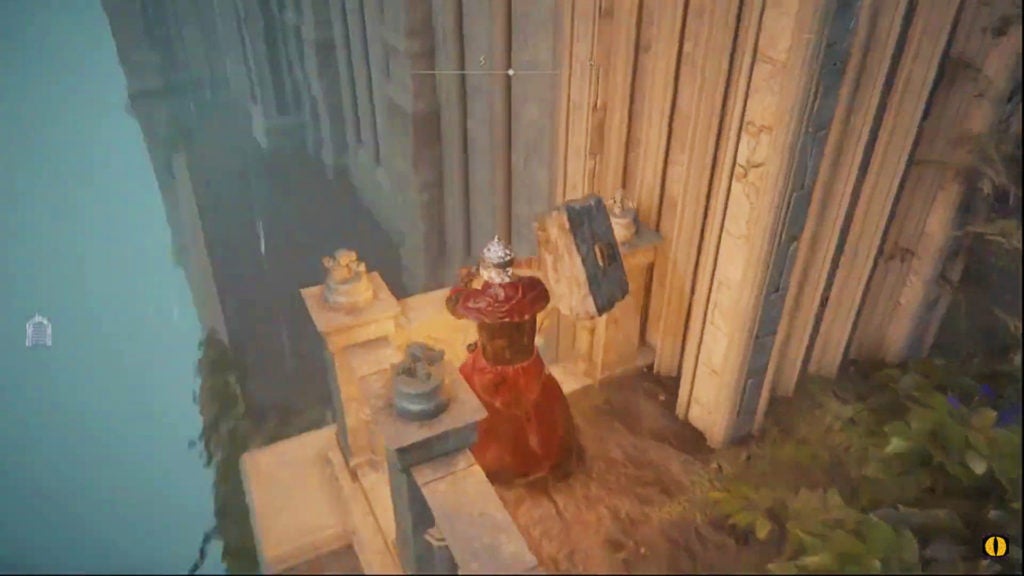
After looting the valuable talisman, head past the chest to an open doorway that will lead you outside. However, be cautious, as there are enemies just outside this doorway. There will be one warden and one sorcerer in this elevated area. When you dispatch them, you’ll be able to loot one Golden Rune [4] from the area next to the sorcerer.
To the east, you’ll be able to look over a railing and spot a way down. There are a couple of items here, though, there is also a small group of enemies. Firstly, there is a sorcerer who is facing away from you and can be easily stealth-attacked. Next, you’ll have to take out the small swarm of little living jar enemies.
When you clear the area, you’ll be able to pick up the items on the ground. In addition to the enemy drops, you’ll be able to find one Cracked Pot and three Living Jar Shards.
Find the Stonesword Key On the Fountain
Go west from this area and you’ll find some stairs leading down in the corner by the railing overlooking the rest of the decrepit terrace. From here, make your way to the fountain in the center of the open area. Upon its higher tier, on the north side, you’ll find a Stonesword Key on a corpse.
It’s recommended that you stay south of the fountain, if possible. As there is a pendulum statue lurking north of the fountain that will notice you if you travel too far north in this area. For now, avoid this tough enemy and explore the ramp of rubble to the west of the fountain.
Find the Glintstone Whetblade
As you ascend the ramp of rubble, you’ll be assaulted by two sorcerers on a higher area and many aristocrat zombies. It’s recommended for you to run straight to the sorcerers and take them out quickly, as they are the biggest threats. Afterward, clear out the lowly zombies one by one until the coast is clear. There is a door behind where the sorcerers are, but it’s locked from this side; it’s a path back from further in the dungeon.
To the west of this door, there will be a railing that you can hop over to get to another area, but don’t worry about that for now. Backtrack down the stairs and then ascend some to the south to find another raised area with a sorcerer and some more aristocrat zombies. Here, you’ll be able to loot one Golden Rune [2].
Now that the immediate vicinity is clear of foes, head into the open doorway that lies to the north in a wall just below where the duo of sorcerers was located.
Within the small room beyond, you’ll find a corpse leaning over a railing. On this carcass will be the Glintstone Whetblade—an important item for build customization. This key item will allow you to choose either the Magic or Frost affinities for weapons that you customize with an Ash of War. As such, intelligence builds of all kinds will find the Glintestone Whetblade useful.
Finish Looting the Area Around the Fountain
It’s time to head back to the area with the locked door and the two (now dead) sorcerers. The railing to the west overlooks a path that you can take. Leap over it and then take out the two sorcerers down here: one ahead of you and one behind.

Head back west and around the corner. Here, you’ll find a dead body with a Golden Rune [3] on it. At this point, you now just have the open areas between the academy’s buildings and the large ramp left to explore before taking to the rooftops. This dead body with the Golden Rune [3] marks the railing you must jump over to explore the rooftops of Raya Lucaria, but more on that a bit later.
To the east, past the sorcerer that attacks from behind, you’ll find a door that you can open to create a shortcut.
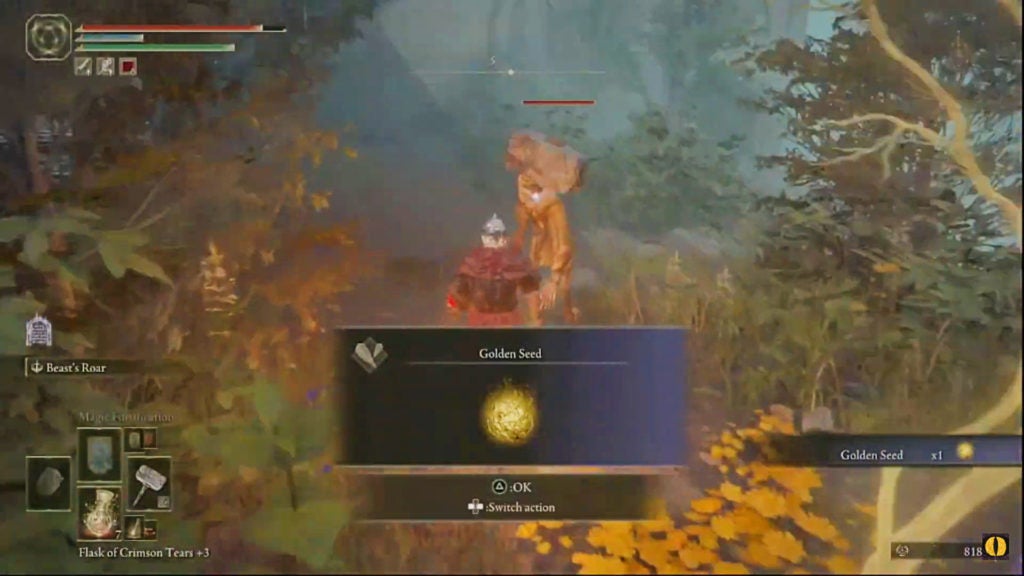
Find the Golden Seed
The shortcut you recently unlocked will lead you to the area just west of the fountain. From here, go north and you’ll find some great loot. Although, before gathering the goods, you should take out the pendulum statue that patrols this area. Don’t worry too much about finding them, as they’re quite good at finding you…
Thankfully, this area is mostly free from threats, so you should be able to take down the tough enemy eventually. After you beat the death machine, head west and under the arches above some vegetation. Here, you’ll find one Golden Seed.
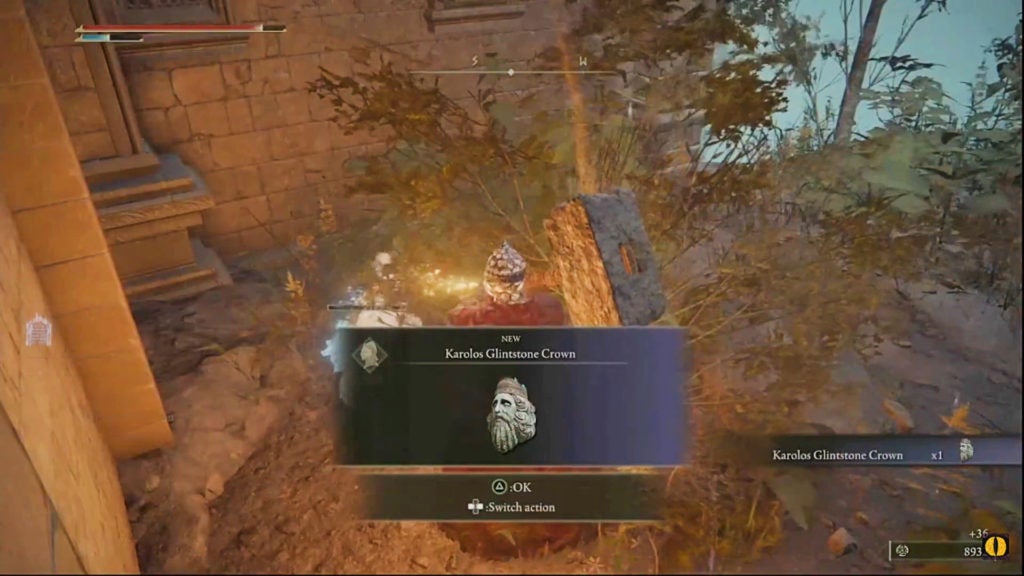
Find the Karolos Glintstone Crown
From where you found the Golden Seed, go southwest until you reach a wide ledge with an aristocrat looking off into the distance. In the shrubbery of this area’s southwest corner, you’ll find a small crystal-covered crab. Slaying this small crustacean will give you the Karolos Glintstone Crown.
Beware the Big Crabs
After gathering the Golden Seed and Karolos Glintstone Crown, there’s not much left to loot. Northwest from the position of the small luminous yellow plant, you can find a Golden Rune [4] on a corpse through a small nook. However, this path will take you through a spot that may trigger a giant white crab to rise up from the ground.
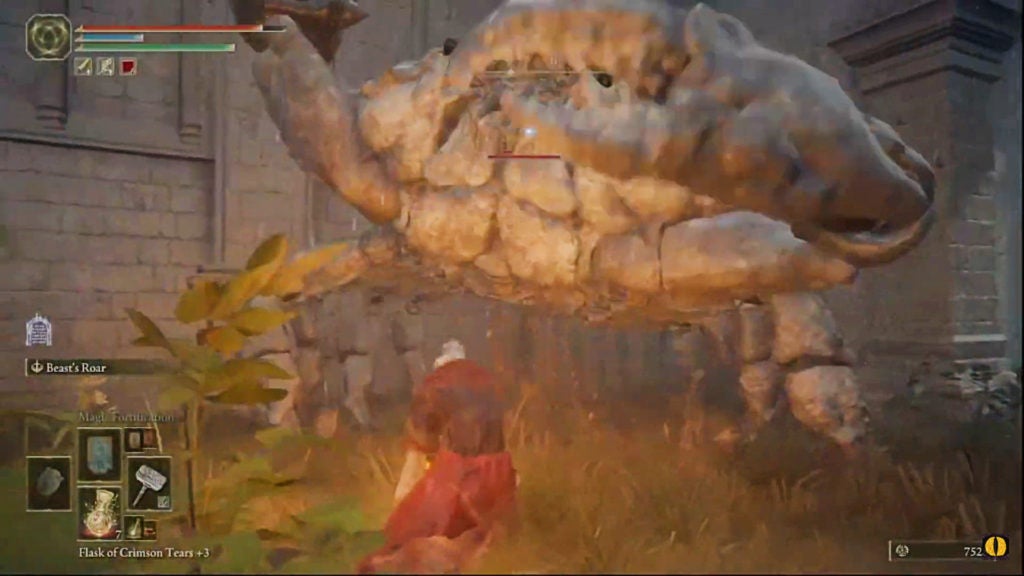
These foes can not only hit pretty hard, but the ones in Raya Lucaria will shoot out a mist that increases sleep build-up. Besides the one between you and the Golden Rune [4], there’s another one located almost under the big ramp. Neither of them drops anything particularly noteworthy.
However, these crustaceans could be useful in another way. If you’re having a hard time taking out the pendulum statue, try recruiting some crabs to aid you. Although you can’t technically form an alliance with these large crabs, their attacks can do damage to other enemies. As such, you can somewhat easily trick them into hitting the big and slow pendulum statue.
After exploring around the fountain, get ready to hop a railing. You’ve cleared this area of loot, so it’s now time to take a detour. The rooftops nearby are the beginning of a precarious path laden with a few rare treasures.
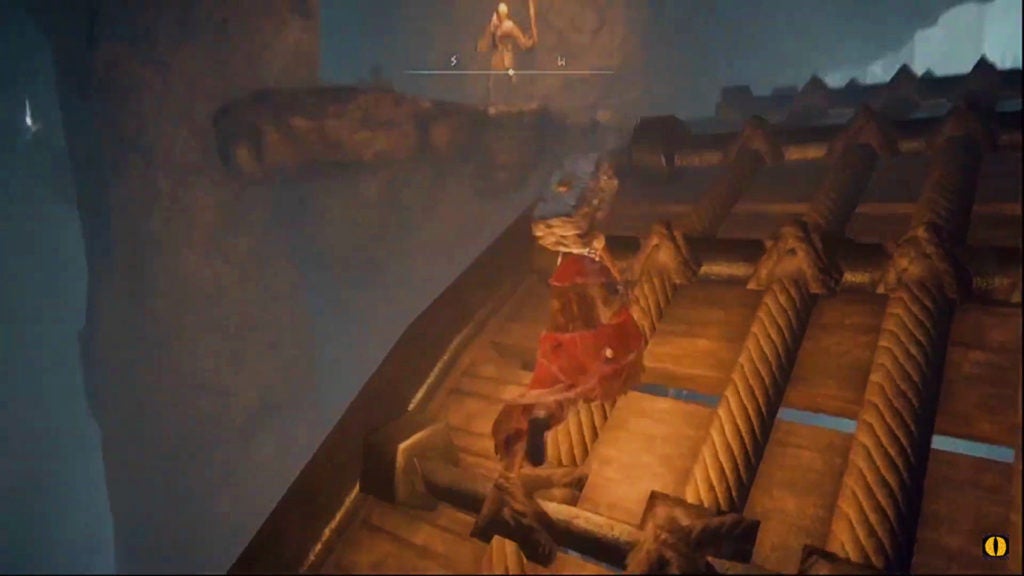
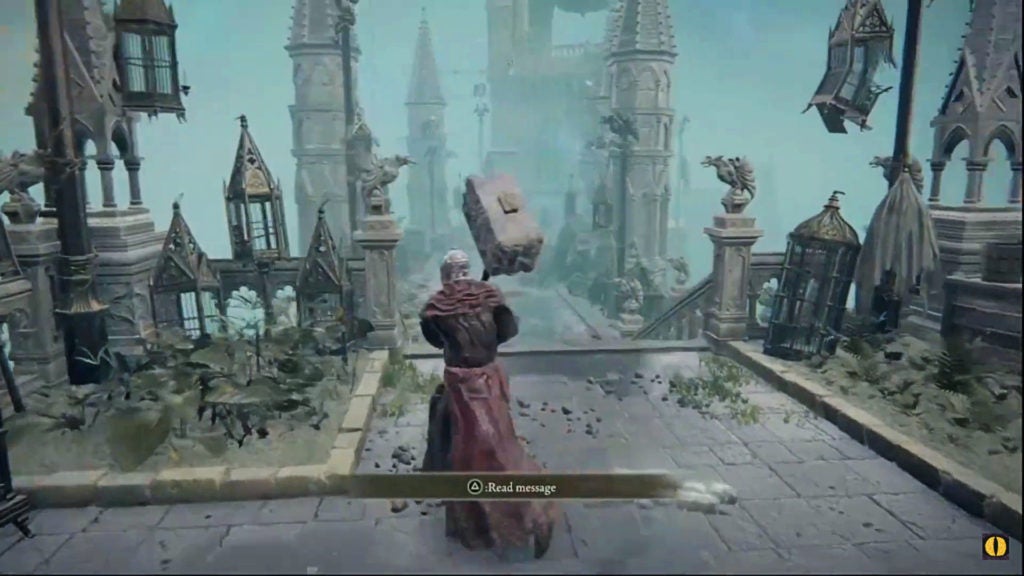
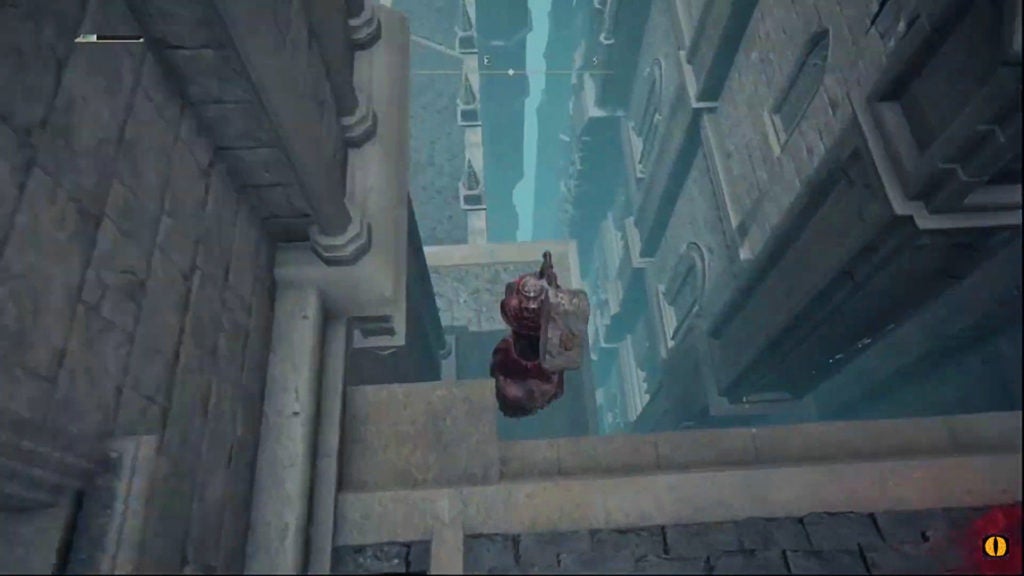
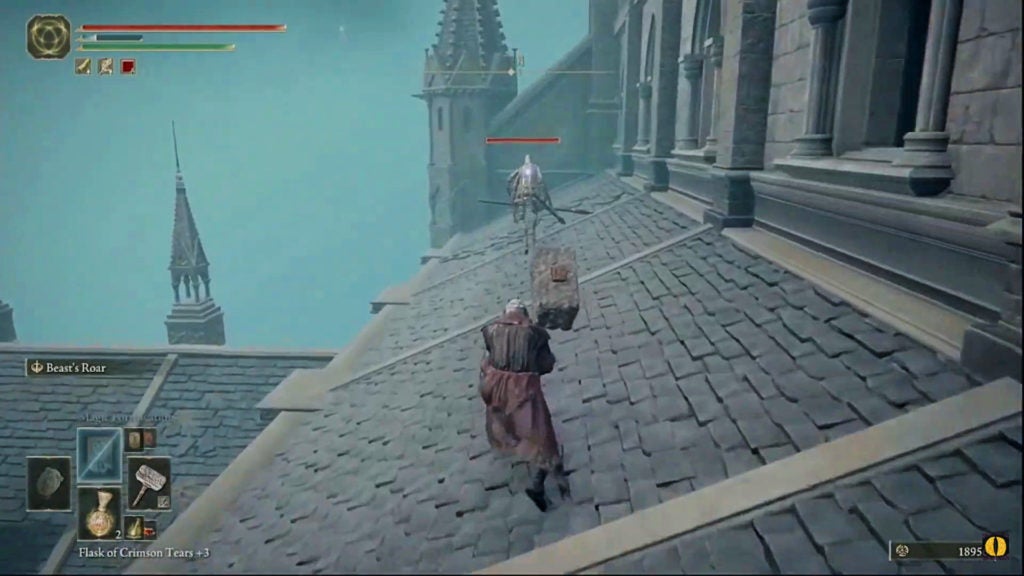
Hop Across Rooftops to Find Rare Treasures
First, head back up the rubble ramp to the area with the locked door where two sorcerers spawn. Jump over the railing to the west when you’re ready to proceed on a dangerous treasure hunt. From there, go back to the ledge around the corner to the south and hop another railing. Though, make sure you don’t have many Runes on you, as death can happen along this path unexpectedly thanks to the many ledges and annoying enemies.
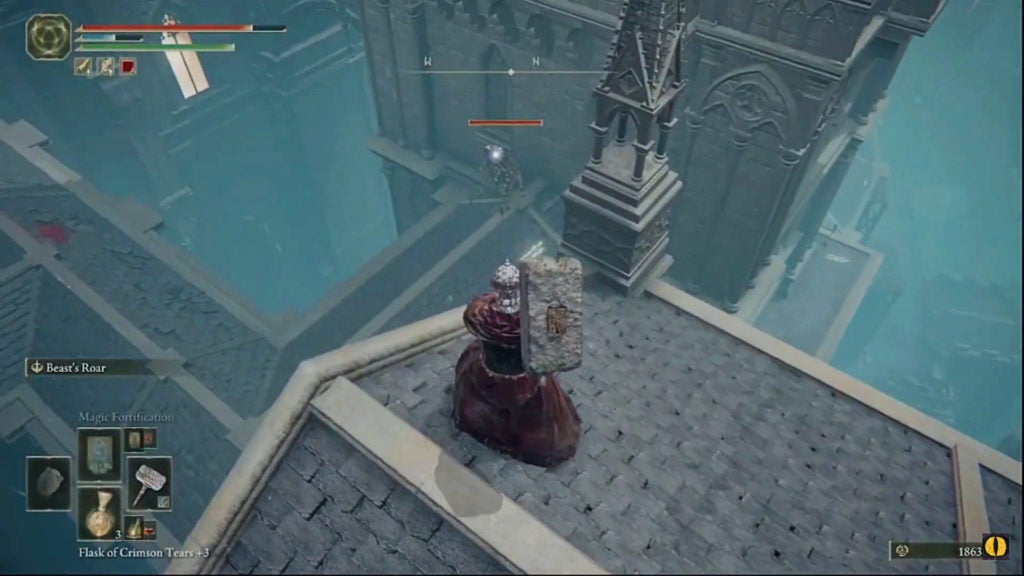
After dropping down, head south along the rooftops.
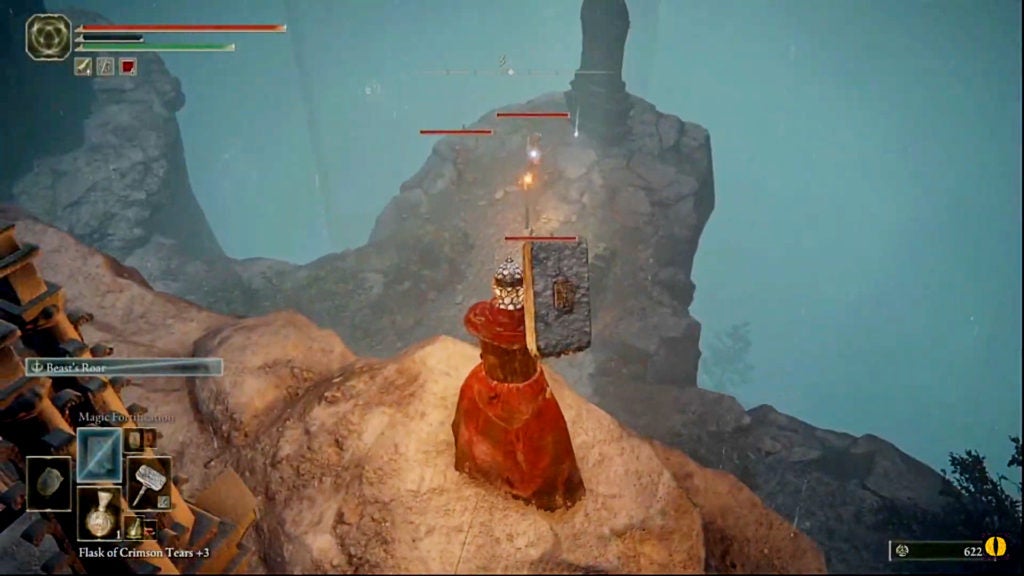
Around the bend, you’ll encounter a pair of marionette soldier enemies. One will attack with melee weapons while the other will shoot you from afar. The combined attacks, frenzied movements of the soldiers, and the nearby instant-death drops make this spot dangerous.
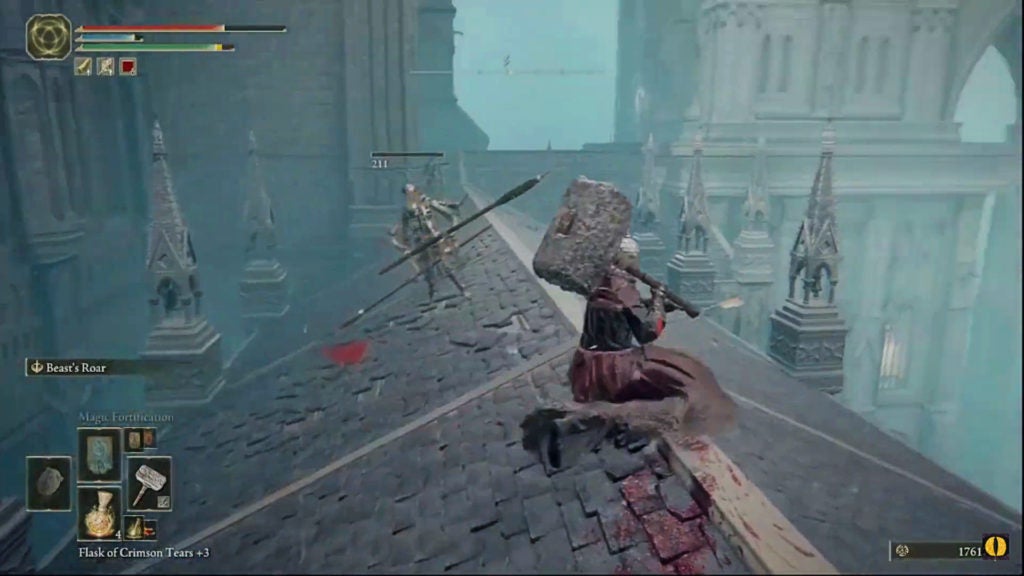
Neither enemy has very much HP, however, as in similar situations, you should take down the ranged enemy first. After you defeat these mechanized foes, you’ll be able to loot the minor treasure before moving on.
On the building to the west, you’ll find a ladder. Though, before climbing this ladder, check the area just to the south to loot a Golden Rune [4] from a corpse. Afterward, ascend the ladder to the next area.

Deal With the Airborne Ambush
At the top of the ladder, you’ll find a linear path that looks safe. However, there’s an ambush lying in wait, so tread carefully.
Along this path, three avionette soldiers will swoop down from their perches atop some polls. From a distance, they will look like statues, however, you can use your auto-lock to find them easily. Ranged attacks can be useful here to take out these weak yet fast enemies safely.
There is also a twin-mask sorcerer here who will cast some powerful sorceries at you. Take them out and then head down the path to the structure at the end. There are no doors here, although you can walk around the sides of the building to find a corpse on the western corner.
Find the Imbued Sword Key
From the body, you can loot five Meteor Bolts. Over the ledge to the west, you can spot a roof that you can drop down to safely. From here, you’ll need to do some minor platforming.
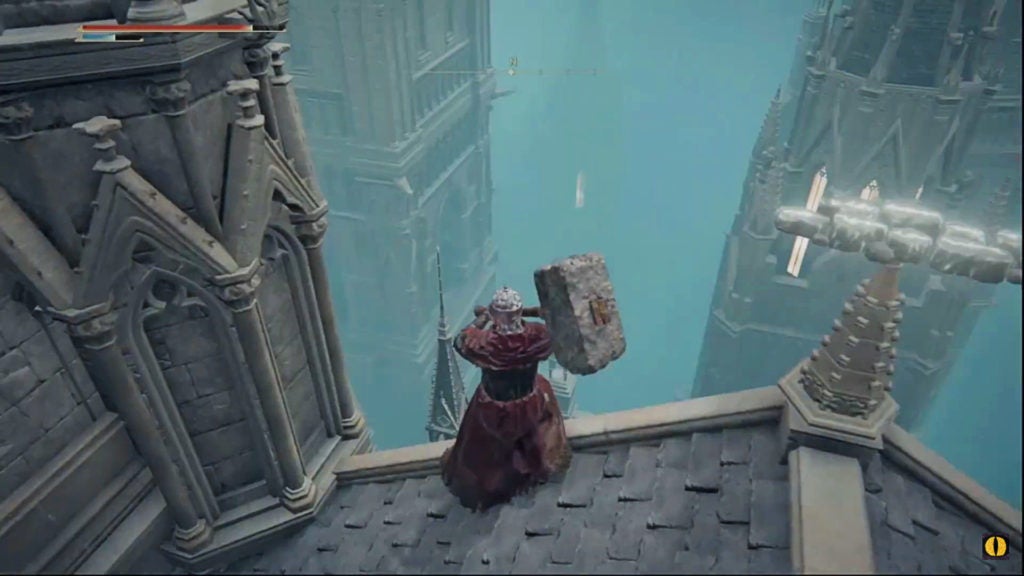
Look carefully and you’ll be able to find the rooftops where you’ll need to drop down. Keep heading north and west in this manner until you reach a spot overlooking some marionette soldiers guarding the area.
To the northwest, you’ll spot a stationary marionette lying in wait. It’s recommended to use some ranged attacks to take them out before dropping down to the west. Afterward, take out the other marionette soldier guarding this area in any way you see fit. Just be careful of the ledges.
When you go as west as you can, you’ll find a small rooftop with a body holding a Golden Rune [4]. That’s all the loot in this direction, so backtrack to the spot where the stationary marionette was lurking. Near their dead body, you can look over the ledge to the east to find a path leading to a small tower with an item. Drop down here and walk over to it carefully.
There are thankfully no enemies nearby, so you can walk up to the corpse that lies in the tower to the east and loot a very rare treasure: an Imbued Sword Key.
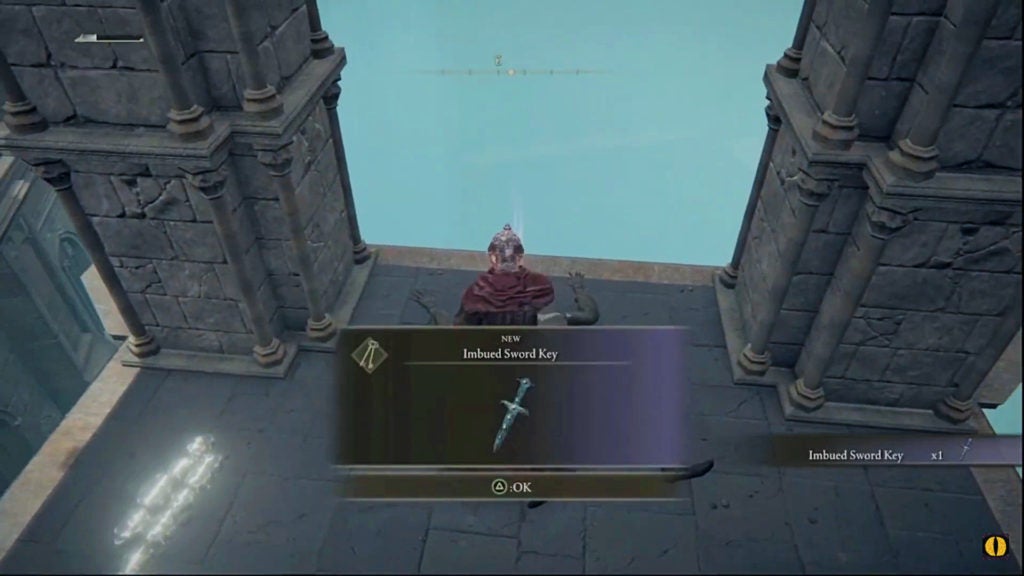
There are only a handful of Imbued Sword Keys in the entire game, so be sure to grab this key item while in Raya Lucaria! You’ll need three Imbued Sword Keys to open all of the teleporters in another area within Liurnia of the Lakes known as the Four Belfries.
Find Some Smithing Stones [3] Nearby
After picking up the valuable key, turn northward and you’ll notice a ledge across a gap.
On this adjacent building’s ledge, you can find two Smithng Stones [3] on the other side. However, after getting these upgrade items, you’ll have to jump back across the gap to the spot where you found the Imbued Sword Key.
Find a Somber Smithing Stone [4] Below
Afterward, head northwest and you’ll find a ladder that will lead you downwards.
When you descend the ladder, you’ll only find a room nearby with an item and some small white crabs. The item will be one Smithing Stone [4].
After looting it, head back up the ladder and then leap from the ledge to the large building that lies northward.
Find Another Academy Glintstone Key
This curved roof will almost entirely encircle the upper area of this large building (which is actually the Cuckoo Church). On this rooftop, there will be a marionette soldier on patrol. It is recommended to take them down quickly, as there are a couple of other enemies that can annoy you nearby.
Along both the west and east sides of this roof, you will also be attacked by a single avionette soldier that will swoop down. After you take out the flying pests, check the rooftop to the northwest to find two units of Magic Grease. Afterward, turn east towards the building and you’ll find windows that you can enter.
When you do, watch your step! As the inside of this rooftop is all wooden ceiling beams. Turn south and you’ll see a corpse with an item on it. Head there carefully, but, thankfully, there’s little need to worry about an ambush here.
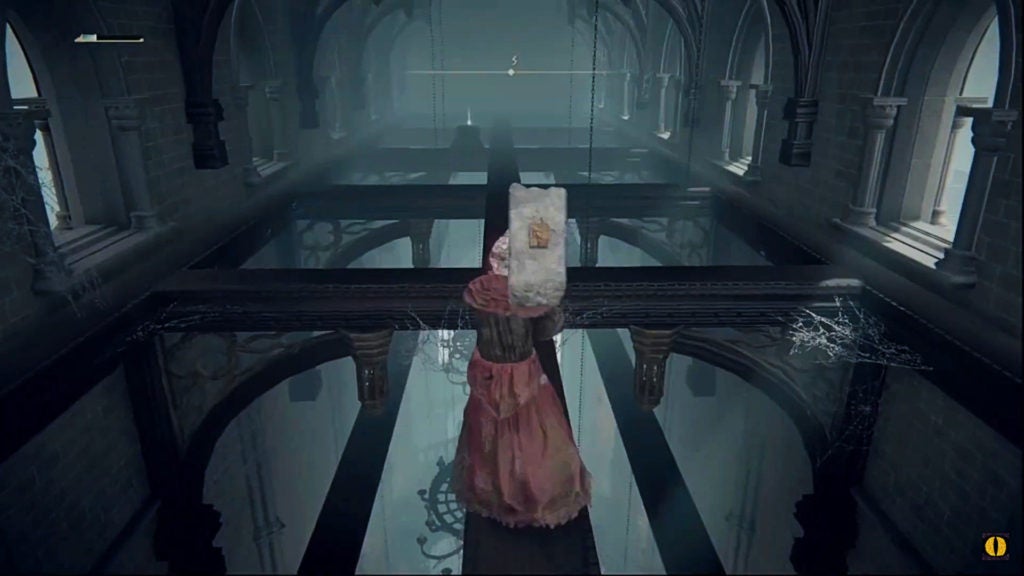
The item on the corpse is a Golden Run [3], however, there is a greater treasure below it. If you look down at this point, you’ll see a dead body on a chandelier holding an item.
If you drop down carefully, you can land on this chandelier. To do so, simply walk off the side of the beam you’re standing on very slowly. This should let you drop onto the chandelier below and loot the corpse. The item upon it is another Academy Glintstone Key, which you can give to Thops in another area of the game to progress his quest.
Unlock the Shortcut to the Cuckoo Church
Furthermore, from here, you can drop down to find an area with a few enemies, a shortcut, and some more loot.
From the chandelier with the Academy Glintstone Key, drop down from the south side to land on a walkway below. This will bring you to the upper area of the Cuckoo Church’s interior. However, be on guard, as the moment you touch down, you’ll be attacked by a nearby warden. Furthermore, there will be another warden and a sorcerer nearby who will also attack you as you walk around.
When the coast is clear, inspect the inner ledges of this upper area for a ladder. You can kick it down to unlock a shortcut from the bottom of the Cuckoo Church to this upper area.
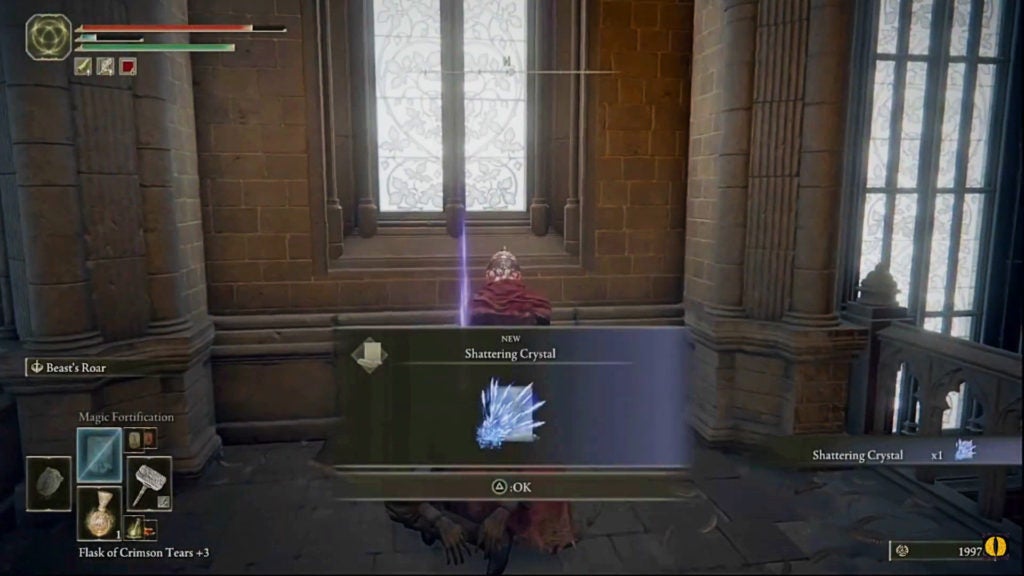
Find the Shattering Crystal Sorcery
Just north of the ladder will be a corpse holding the Shattering Crystal sorcery. This is a great spell for those who are building up their sorcery collection, so be sure to grab it while you’re here!
Find the Twinsage Glintstone Crown
After picking up the sorcery, head across the bridge to the east. The southeasternmost of the two exits on this side of the upper area will lead you outside. Travel the linear path to a nook occupied by a marionette soldier and a small crab covered in blue crystals. Take out the aggressive marionette before also dispatching the unique crab to get the Twinsage Glintstone Crown.

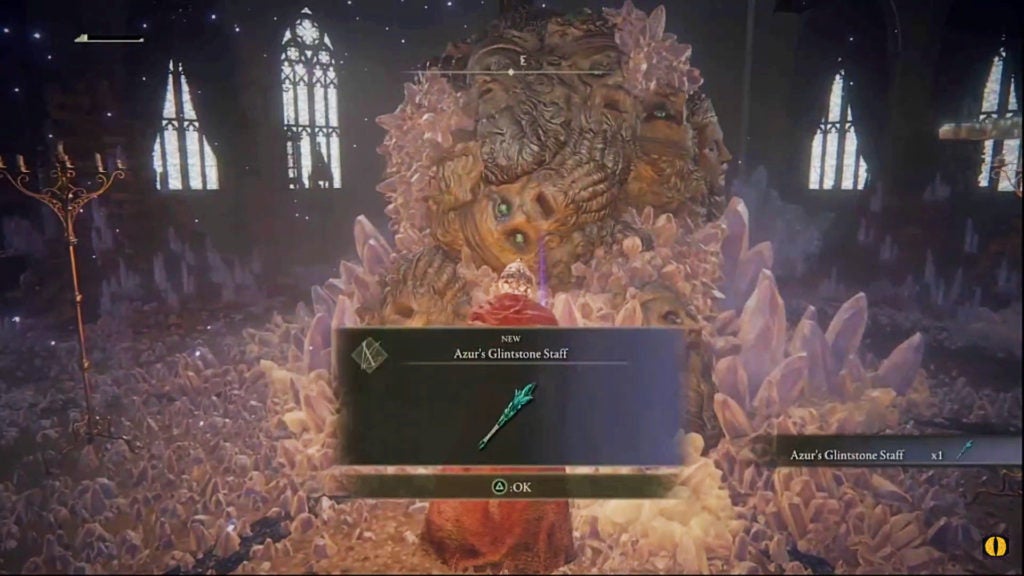
Find the Azur’s Glintstone Staff
The last passage where you can find loot is located in the northeasternmost passage from the Cuckoo Church’s upper area. Here, you’ll find a narrow corridor that has a humanoid enemy at the end. This foe possesses a crossbow that shoots flaming bolts and they also wield a rapier.
Take them out either using ranged or melee attacks—your choice. However, it can be easier to lure them closer with a ranged attack so that they come into melee range. Afterward, the path to the room at the far end of this hallway will be clear. In said room, you’ll find many purple crystals, a weird ball of stone faces, and the Azur’s Glintstone Staff.
With that, you’ve finally gathered all possible loot from the rooftop-hopping detour. It’s now time to deal with the boulder trap and go deeper into Raya Lucaria.
How to Get Past the Boulder Trap
Head back to the fountain area and then go east to find some support beams connecting the middle of the ramp to the cliff face just below you. You’ll need to drop down to either the middle or southern support beam, as the northern one is broken.
Carefully walk to the main body of the ramp. But be wary: the moment you jump past the railings, huge boulders will begin to spawn and descend from the top. Thankfully, by the support beams, you’re relatively safe, as the boulder’s path is confined to within the railings.
Find Some Crystal Darts
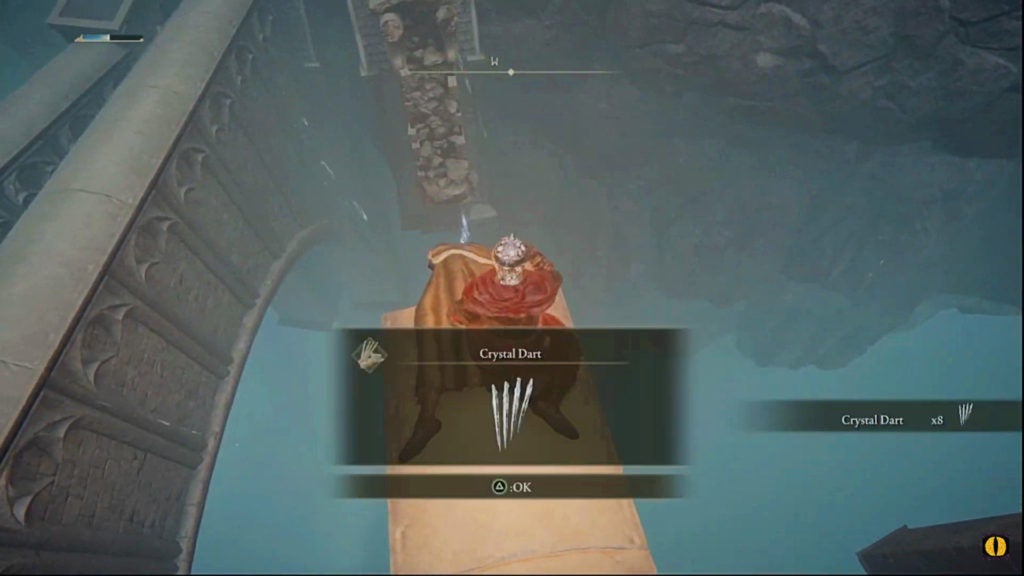
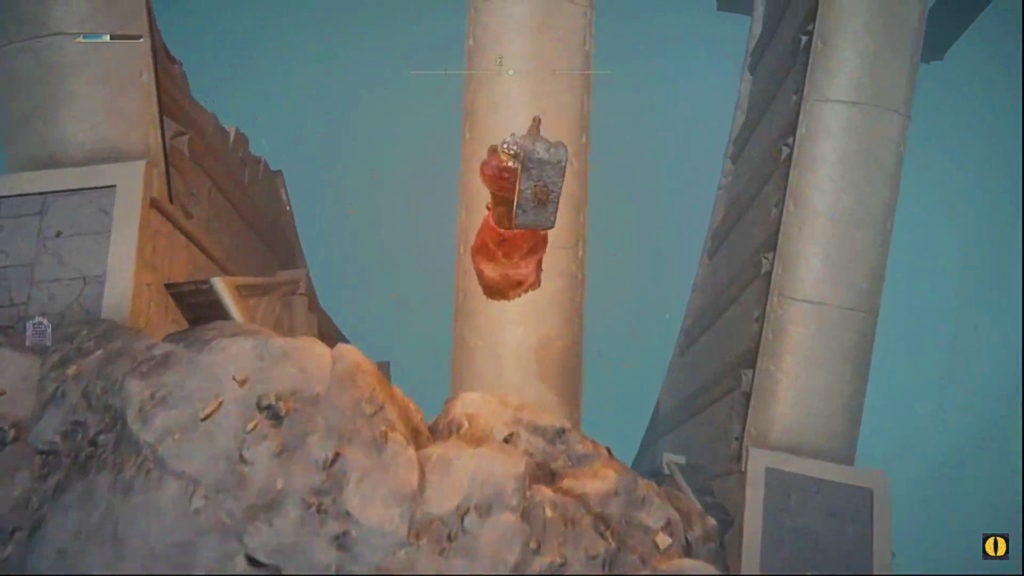
The item on the corpse resting on the broken support beam is a cluster of eight Crystal Darts. Not the most valuable of loot, however, it’s pretty easy to grab while you wait for a boulder to pass. A better bit of treasure is located at the bottom of the ramp, which is the most dangerous place along this curving path.
Find the Smithing Stone [5] On the Ramp
You’ll have to be careful with your timing here if you want to both get the upgrade material and live. Immediately after a boulder passes, hop over the railing and sprint down the ramp. This will bring you to a dead body holding a Smithing Stone [5].
Ascending the Ramp
After looting the corpse, begin running back up the ramp, but hug the left railing as you do so. The left railing is the inside curve of the gently winding ramp. Due to the physics of the boulder’s descent, this means that there are a few more safe spots along the left side around the middle of the ramp.
However, these safe spots are far and few in between. Furthermore, as you get higher up the ramp, it’ll be harder to avoid the massive rolling rock. It will do a fair amount of damage if it hits you, but not enough to one-shot most builds. However, you will definitely want to be at full HP while scaling this obstacle.
Along the ascending path, there is another corpse, but this one is only holding a single Furcalling Finger Remedy. As such, it doesn’t seem worth getting in such a dangerous place. However, it’s there if you want it.
Keep running upwards until you enter the open doorway there. Only when you are in the carpeted room beyond will you be safe from the boulders.
Find the Teleporter to the Church of Vows
In the safe room beyond the boulder ramp, you’ll see three potential directions—albeit only two of them are currently traversable. There is a locked door to the south that is a way back from a further part in this legacy dungeon. The west doorway leads you towards Raya Lucaria’s main boss, who is not too far away now.
However, before heading west, check the north doorway to find a teleporter in the airy room beyond. This teleporter will bring you to the Church of Vows, where you can perform a couple of useful tasks. Be warned that there is no way to teleport back from the Church of Vows to this spot. As such, to return to Raya Lucaria, you’ll need to warp to a Site of Grace from the aforementioned church.
If you’ve killed any non-hostile NPCs, whether on purpose or by accident, the statue in the Church of Vows will allow you to respawn them if you have at least one Celestial Dew in your inventory. Furthermore, you can find the Gold Sewing Needle and Golden Tailoring Tools, both of which allow for the alteration of demi-god boss armor.
On top of this, you can also speak to Miriel, Pastor of Vows, who is a giant tortoise. You can speak to them for a lot of lore about Rennala and Radagon in addition to buying some sorceries and incantations. If you have scrolls, you can give them to Miriel to unlock more spells to purchase.
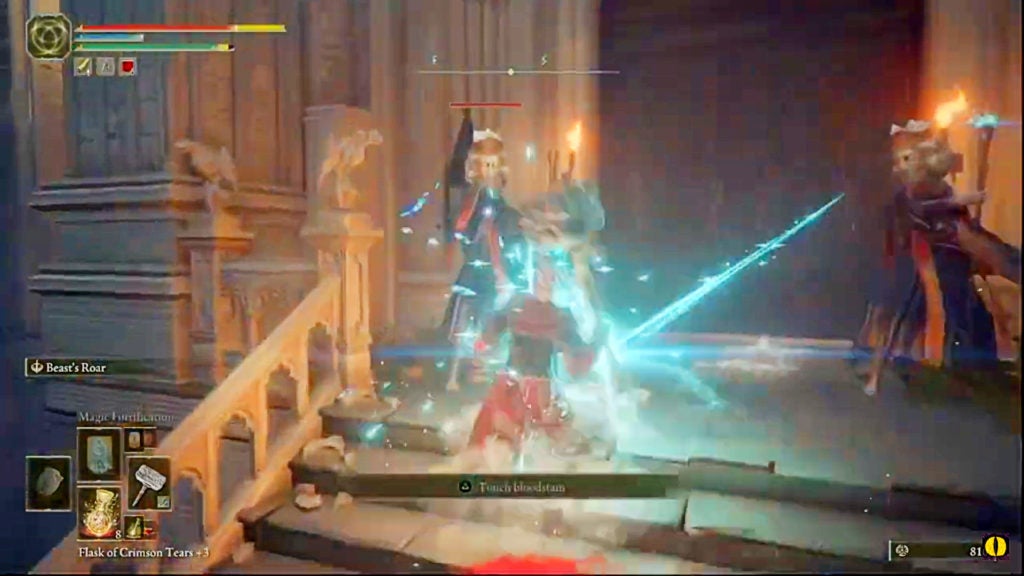
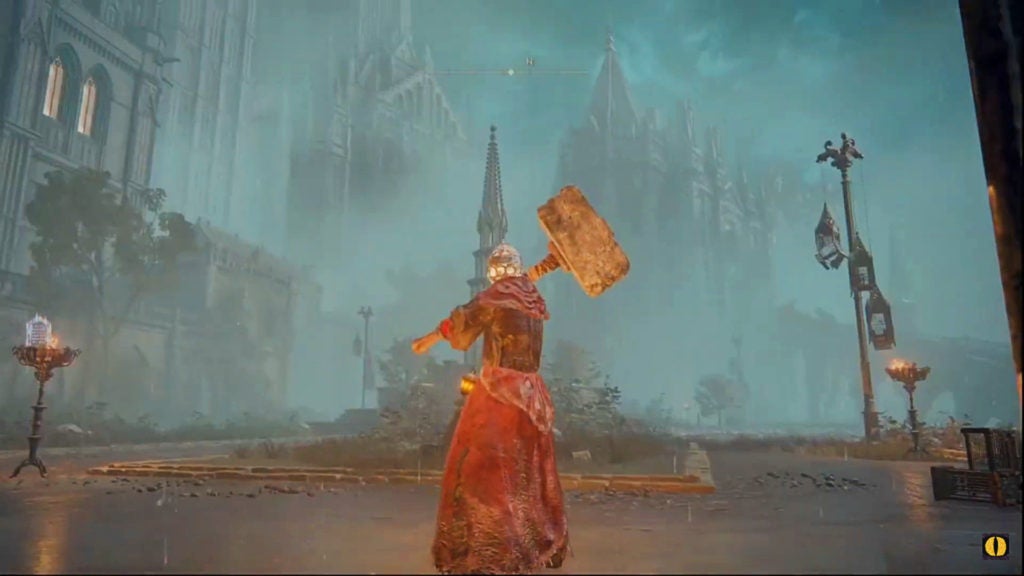
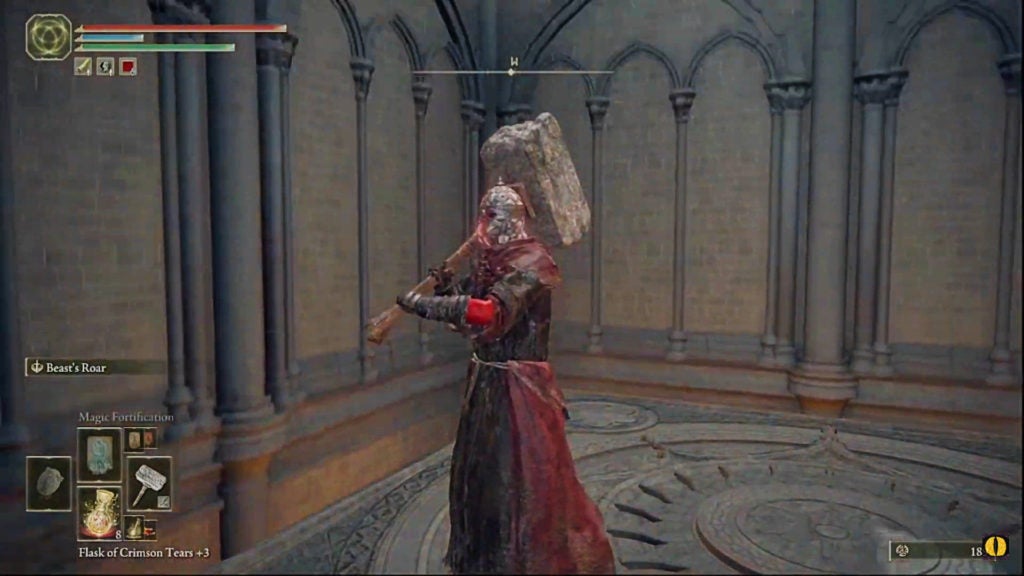
How to Beat Moongrum, Carian Knight
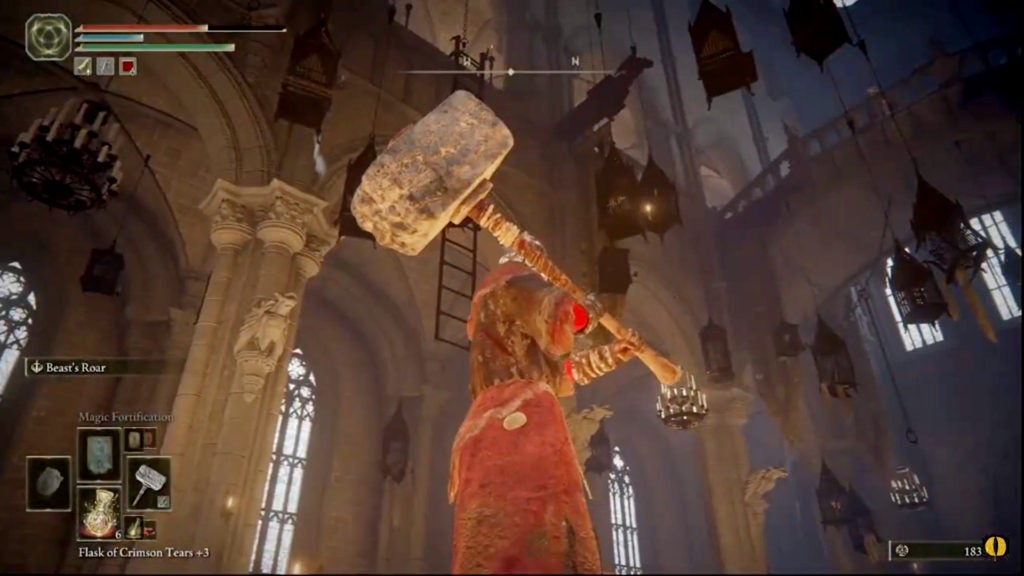
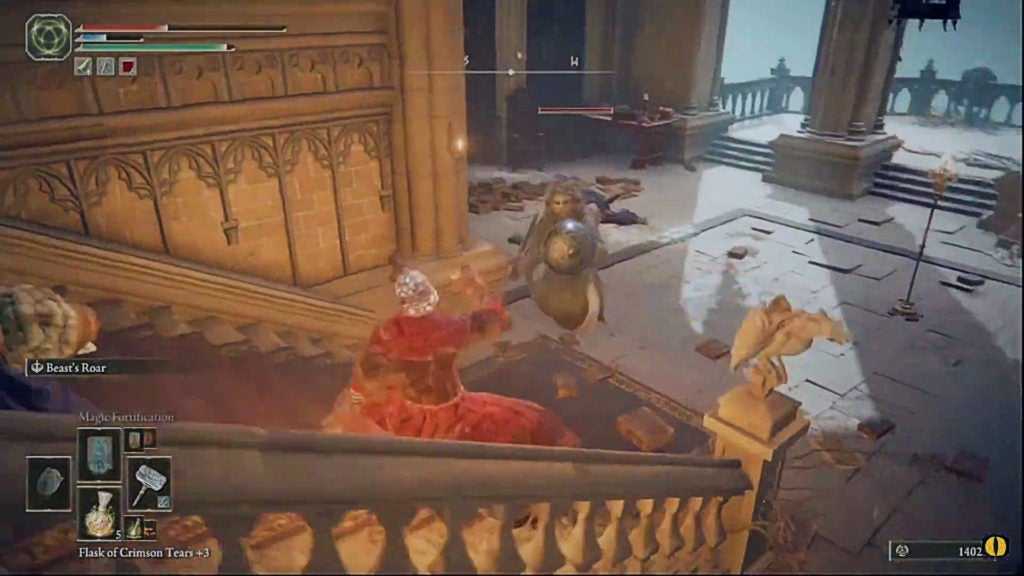
Through the west doorway leading out of the safe room beyond the boulder ramp, you’ll find a hostile NPC. This is Moongrum, Carian Knight, who will use sword, shield, and sorcery to try and defeat you.
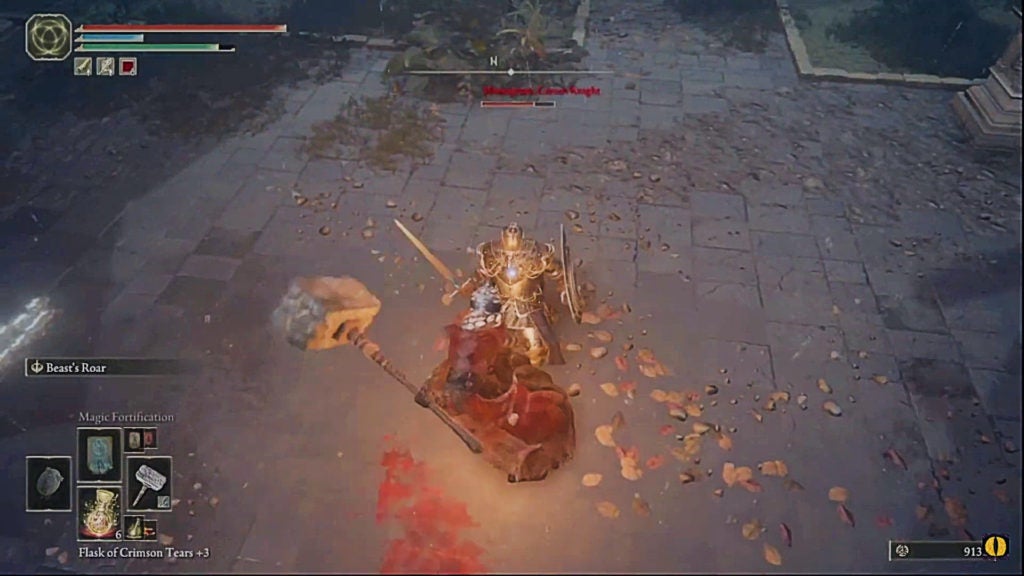
The most dangerous attacks Moongrum can perform are definitely his sorcery spells. This Carian Knight uses sorceries that summon large magical blades. The thrusting variant of this type of spell is particularly quick and hard to see coming.
While Moongrum can do decent damage with his straight sword and block adequately with his medium shield, you can fairly easily overpower him in melee combat. He does not have much stamina and his shield seems to have a somewhat low guard boost stat. As such, hitting Moongrum with strong attacks and jumping attacks when he blocks will let you break his guard pretty easily.
Keep up the pressure so that the knight can’t cast his spells or heal (he has one Crimson Flask with which to recover HP). An aggressive approach can let you defeat this human foe quickly and without taking too much damage. If you have the poise to win damage-trades against Moongrum’s straight sword, use that to your advantage liberally.
Open the Shortcut to the Lift That Leads to the Grand Library
After you defeat Moongrum, Carian Knight, you’ll get his shield: the Carian Knight’s Shield. Furthermore, you’ll now have access to the lift that leads up towards the final area of Raya Lucaria. Before ascending it, however, you should unlock a nearby shortcut so that you can get back here easily.
If you look southward, you’ll find an open metal gate. Through it will be an area with one sorcerer and a few aristocrat zombies. Take them out and loot the Golden Rune [4] from behind the sorcerer’s location.
When you’ve done that, continue heading south down the walkway until you enter a hallway. At the end of this hallway, you’ll find a door that you can open. Beyond, you’ll find the spot above the rubble ramp that leads to a familiar drop-down path. This path is the one that led you to the treacherous rooftop route you’ve already traversed.
More importantly, opening this door gives you a pretty quick way to get from the Debate Parlor Site of Grace to the lift ascending to the grand library. When you’re ready, head back to the area just outside where you fought Moongrum. There’s yet another sneaky path that will lead you to some loot—albeit that which is pretty well-guarded.
Find the Glintstone Scarab
Next to where you defeated the sorcerer just south of where you beat Moongrum, you’ll find a railing to the east that you can jump over. There’s a subtle path here that will lead you to a nearby room with many large windows.
In this room, you’ll find a door and a ladder. Opening the door will bring you to the carpeted room connecting the courtyard where you defeated Moongrum and the hallway that leads to the Church of Vows teleporter.
After opening the door, head up the ladder to come face to face with the enemies who repeatedly threw massive boulders at you. It’s time for revenge!
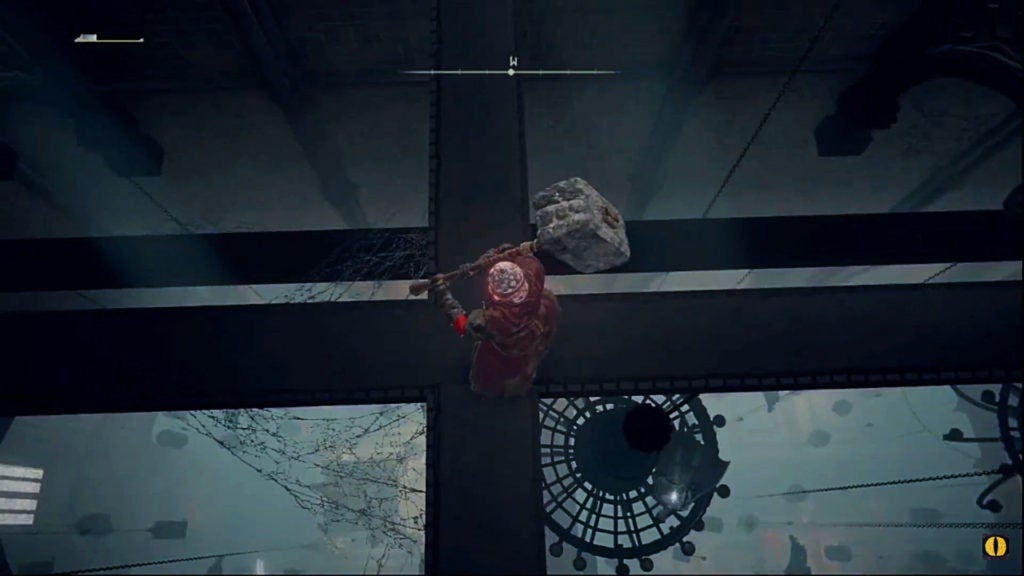
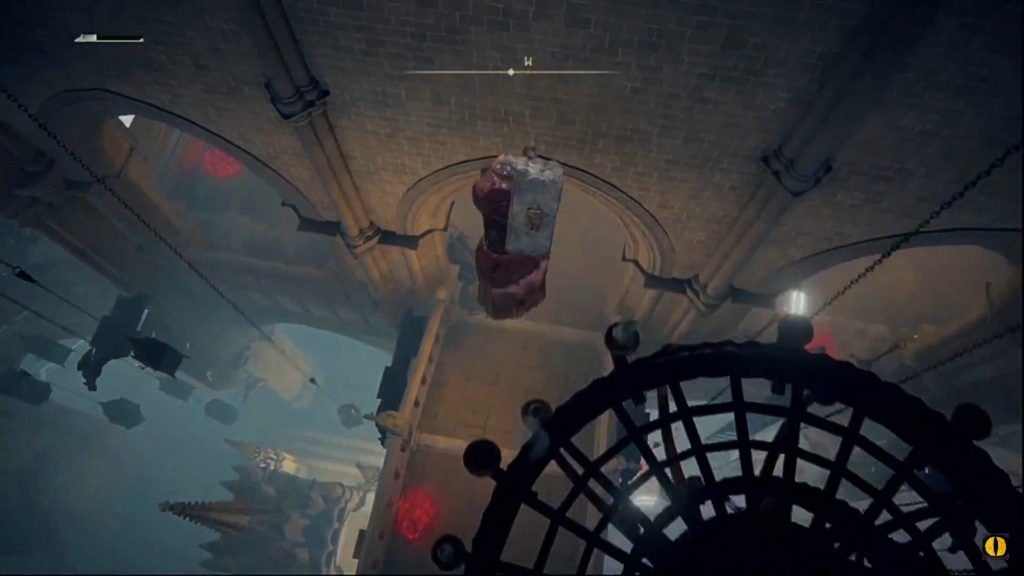
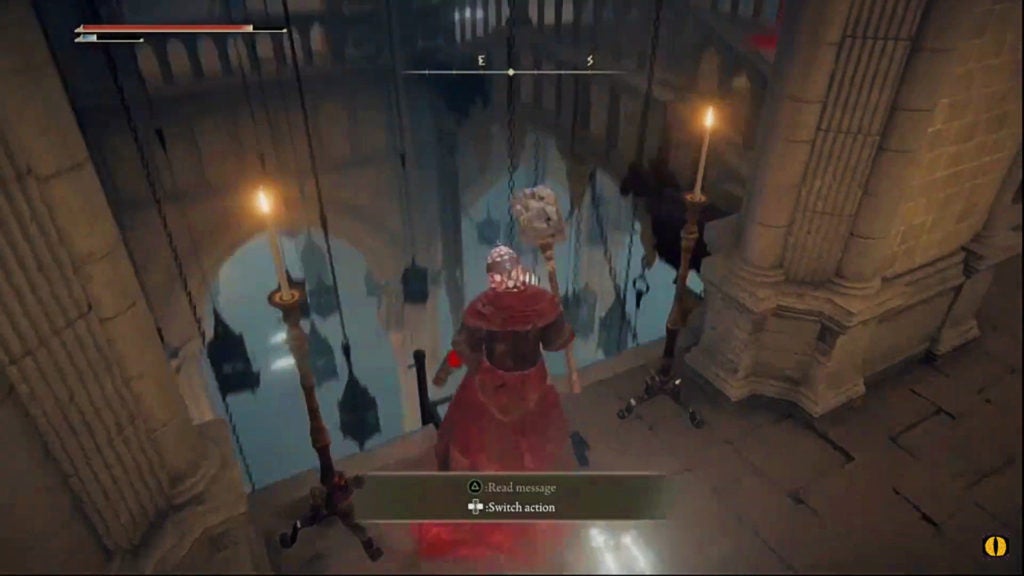
In this upper area, there will be three sorcerers and one pumpkinhead enemy. Two of the sorcerers are flanking the pumpkinhead, however, the third is just behind the ladder you ascended. As you begin your attack, take out the sorcerer behind you first before engaging the others.
It’s recommended to slay the sorcerers first. These foes in particular do not respawn. And, as such, no more boulders will be dropped onto the ramp below.
Taking out the pumpkinhead can be tricky in this relatively confined area. However, if you draw them over to the ladder hatch, you can trick the burly foe into falling down the hole. This won’t kill them, but it will get them out of your way.
After dealing with all the threats, explore the upper area to find a chest holding the Glintstone Scarab helm. North of the chest, you’ll also find an open doorway leading to a balcony. Drop down from this balcony to find a Golden Rune [7] on a corpse below. From the rooftop below the balcony, you can jump down to the area with the teleporter that leads to the Church of Vows.
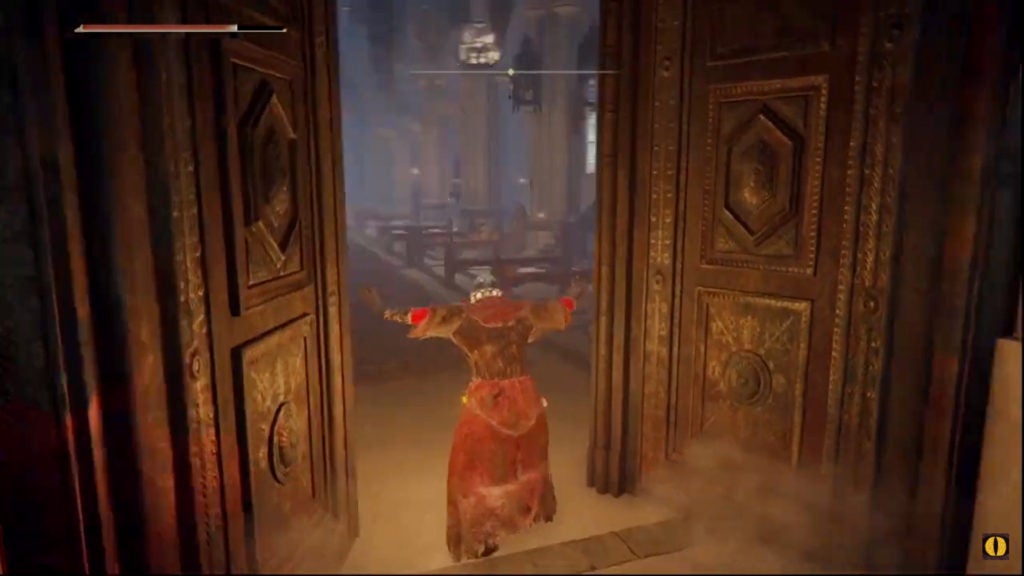
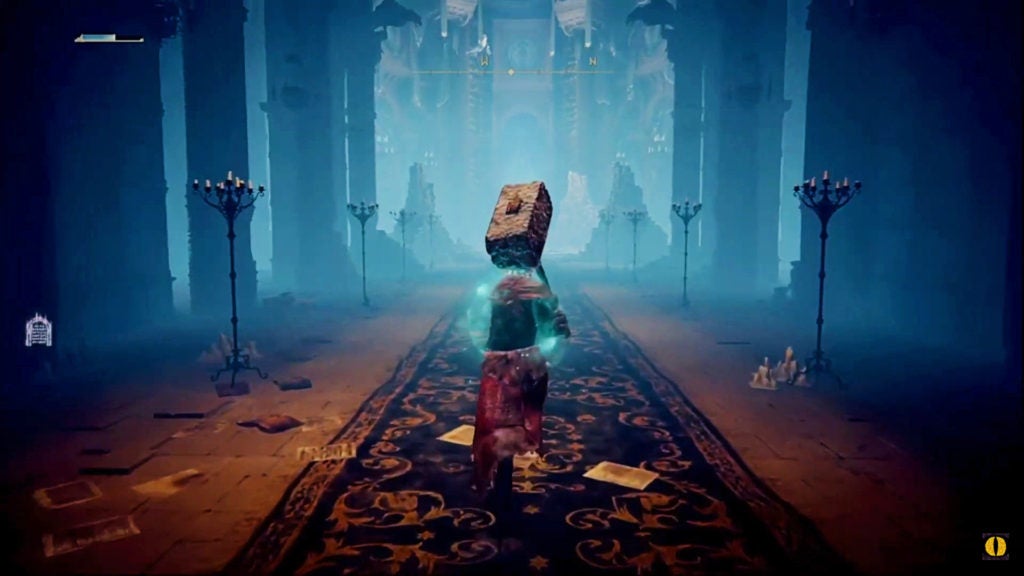
Head-Up to the Grand Library and Fight a Demi-God
After grabbing that last bit of loot, you’ll have gathered 99% of the treasure in Raya Lucaria! Now all that’s left to do is challenge this legacy dungeon’s main boss: Rennala, Queen of the Full Moon. When you’re ready, head to the lift in the courtyard where you defeated Moongrum, Carian Knight.
When you reach the top of the lift, you’ll only find a large pair of doors leading west into the grand library. It is past these doors that you’ll have to defeat Rennala, Queen of the Full Moon.
As you’d expect, this boss will cast a lot of sorceries at you. The variety of which can be daunting and unexpected. If you have any spells, items, or skills that reduce magic-type damage, now’s the time to consider using them.
Furthermore, this legendary encounter will be split into two separate phases—the first of which will require you to deal with a unique gimmick. Remember that you can always come back here later if you want to level up a bit more first.