Elden Ring’s illusory wall feature is something that has fascinated and frustrated players since the days of FromSoftware’s Demon’s Souls. There are a lot of them in this game, most of them hiding some of the game’s most prominent secrets.
Table Of Contents
Illusory Walls in Liurnia
Liurnia contains a lot of illusory walls. Fitting, since the region itself is home to the capital of magic in the Lands Between.
Academy Crystal Cave Illusory Wall
Progress through the cave until you reach the area that contains a room guarded by a bigger and stronger mage. Before this room is an illusory wall to the left. This wall hides the Crystal Staff.
Academy of Raya Lucaria Illusory Walls
There are three illusory walls in Raya Lucaria. You’ll find the first one to the right of the entrance after entering the Church of the Cuckoo, the first structure you enter when you arrive at the Academy. You’ll find a Rune Arc beyond this illusory wall.
The second illusory wall is to the left when you enter the hallway after the Schoolhouse Classroom Site of Grace. Inside it, you’ll find a Smithing Stone [4] and the Olivinus Glinststone Crown.
The third and final illusory wall in Raya Lucaria is found outside the Red Wolf of Radagon’s boss room. From the Debate Parlor Site of Grace, take the western exit and look over to the empty bookshelf on the right, the one that’s closest to the stairs. Strike it to reveal the hidden path.
Along this path, you’ll find the Comet sorcery, the Graven-School Talisman, and a Stonesword Key.
Black Knife Catacombs Illusory Wall
There’s a section in this catacomb that has large blade traps. You can ride two of these blades up to get to the upper section of the catacomb. At the end of this path is an illusory wall that leads to a boss room. You can fight a Black Knife Assassin here who’ll drop the Assassin’s Cerulean Dagger Talisman and the Black Knifeprint upon defeat.
Kingsrealm Ruins Illusory Walls
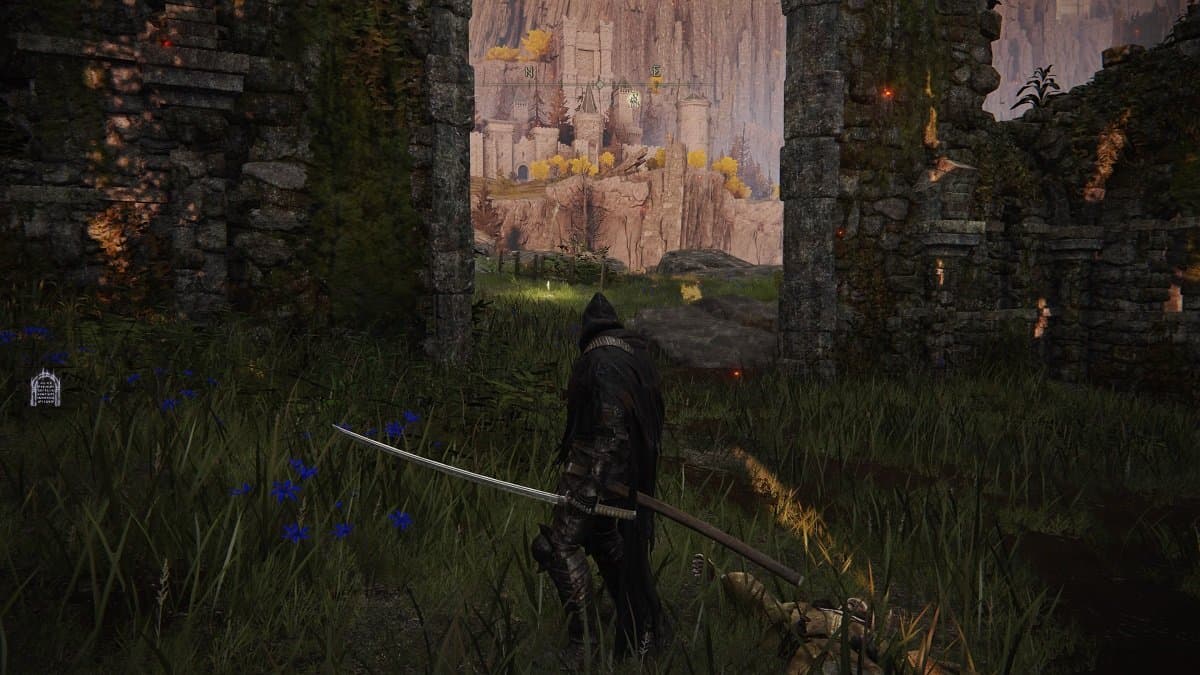
There are two illusory walls in Kingsrealm Ruins in Liurnia. The first one is to the northern wall, which leads to the path to Caria Manor.
The second one is on the eastern side of the ruins. This leads to an underground area where you’ll fight a Royal Revenant. Once defeated, you can access a room at the end that hides a chest that contains the Frozen Needle thrusting sword.
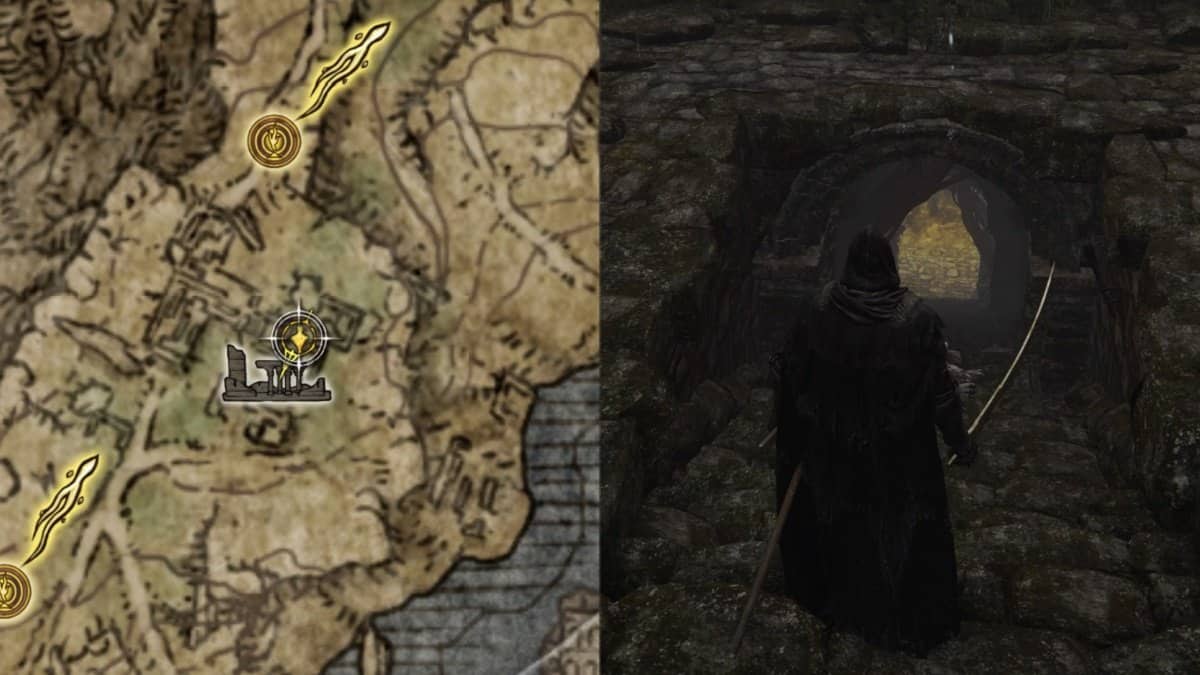
Road’s End Catacomb Illusory Walls
There are a total of five illusory walls in Road’s End Catacomb alone.
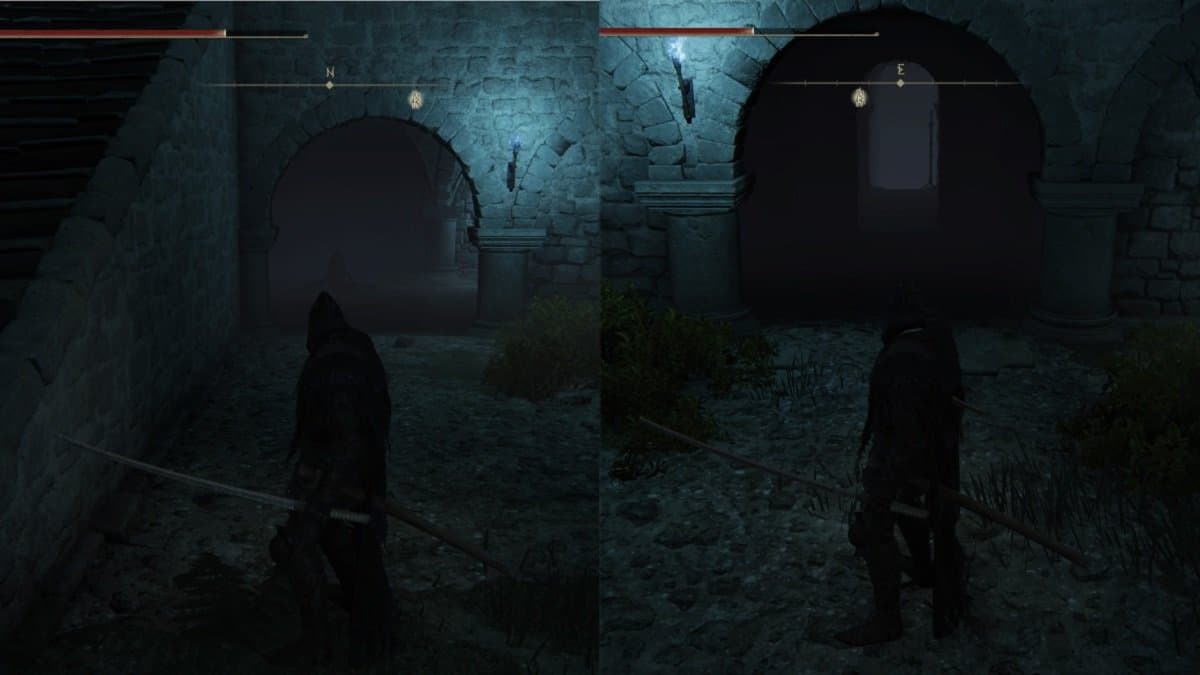
You’ll find the first two under the lever. One is the left archway on the northern wall and the other is the center archway on the eastern wall. Both of these lead to the boss room.
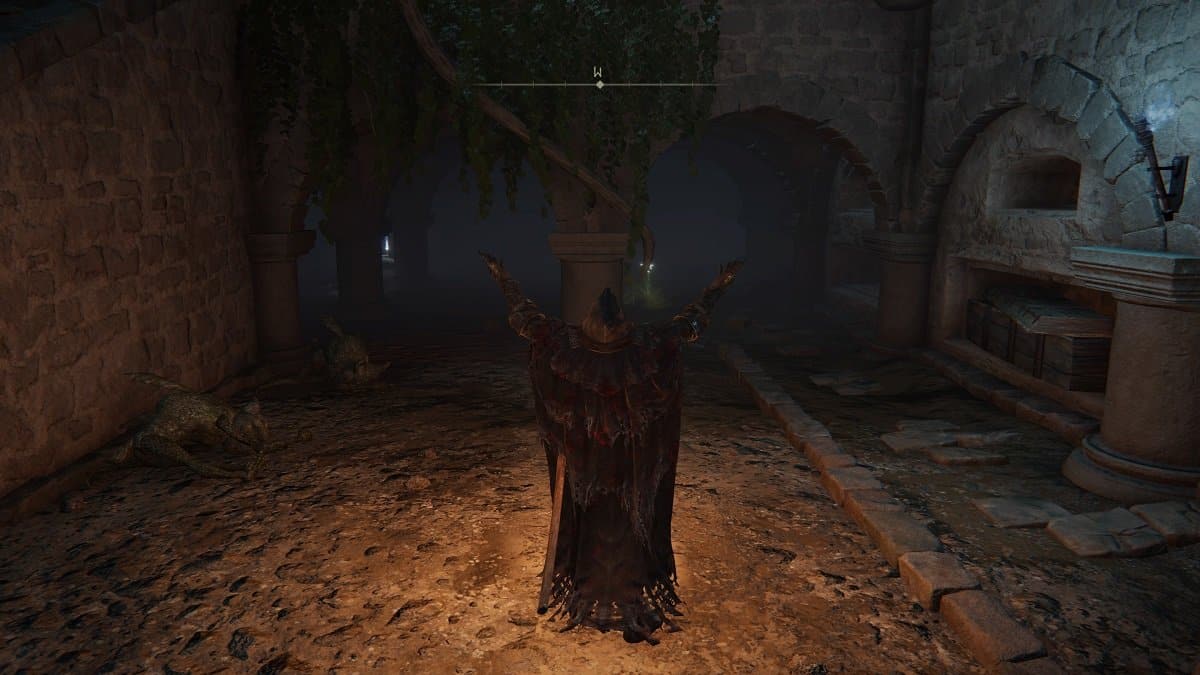
The third and fourth illusory walls are placed beside each other. From where the lever is, head one more level down by taking the flight of stairs ahead. Make a hard left, and you’ll find two archways. Both of these are illusory walls. You’ll find a Grave Gloveworth [3] and the Watchdog’s Staff here.
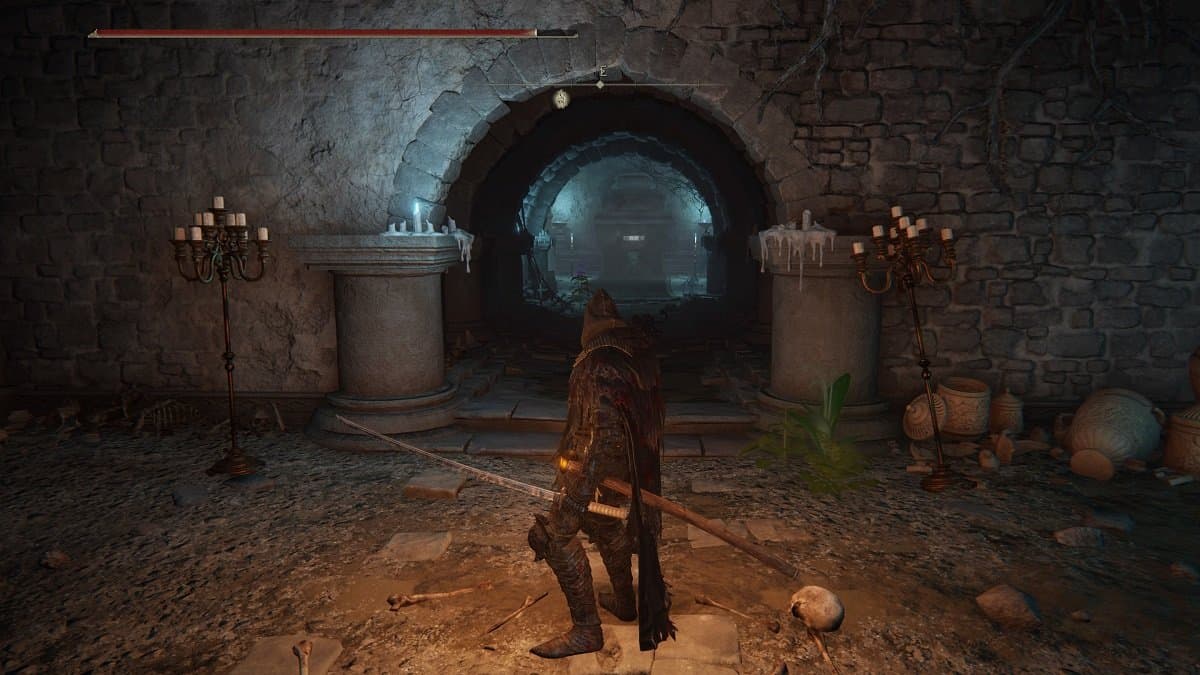
From here, head east until you reach a dead end. At the end of this path is the catacomb’s last illusory wall. This leads to a chapel that has a chest containing the Raya Lucaria Soldier Spirit Ashes.
Three Sisters Illusory Walls
There’s an illusory wall on the ground, in the ruins between Ranni’s Rise and Renna’s Rise. This leads to an underground room that contains Seluvis’ puppets.
In the southern-most section of this area, you’ll find another illusory wall that contains a puppet that looks like Sorceress Sellen. This is a place you can visit to progress her questline.
Moonfolk Ruins Illusory Wall
The illusory wall in Moonfolk Ruins is on the ground, leading to an underground room. You’ll find a Somber Smithing Stone (8) in this hidden area.
Illusory Walls in Caelid
There are only two areas in Caelid that hide illusory walls. However, you can find multiple of them in both areas.
Caelid Catacombs Illusory Walls
There are two illusory walls in Caelid Catacombs. For the first one, progress forward until you arrive at the staircase on the left that descends to another scarlet rot swamp. Once you get to the bottom, make a hard right, and hit the wall to the far right corner of this area to reveal the hidden path. Behind it, you’ll find two Grave Gloveworts [5] and the Miranda Sprout Spirit Ashes
Progress onward until you reach the gate to the boss room. From here, turn around and hit the column to break the illusory wall and find the lever that opens the gate.
Sellia Hideaway Illusory Walls
The first illusory wall in Sellia Hideaway is the massive boulder behind the biggest tombstone in this area. Strike it to reveal the entrance to Sellia Hideaway.

Continue onward until you reach the corpse on the ground that Golden Rune [3]. Strike the wall behind it to dispel the area’s second illusory wall.
The wall at the end of this area is also an illusory wall. Hit it to reveal the path forward.

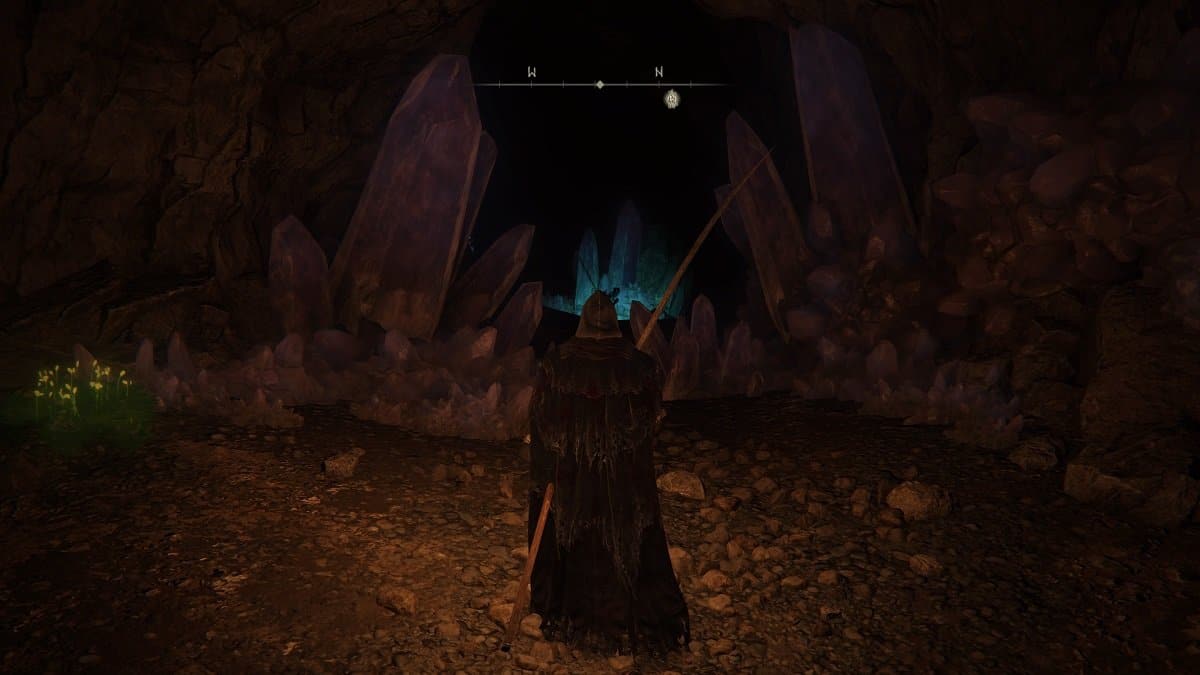
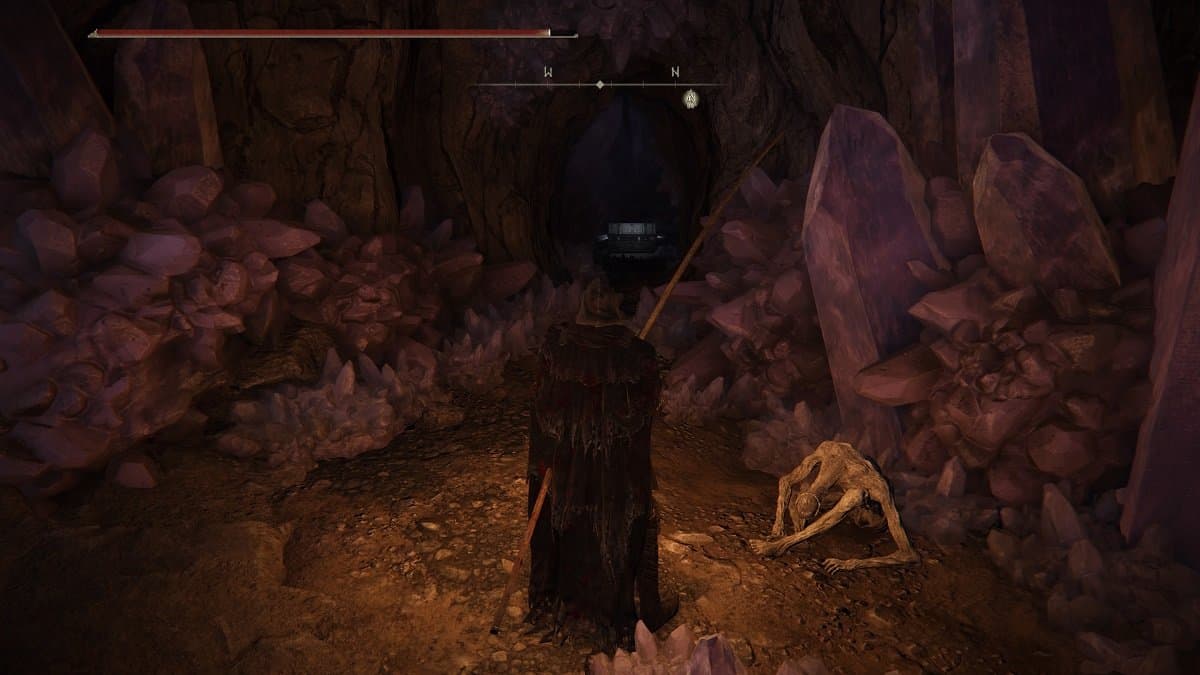
Progress further until you come across the Stake of Marika. Follow this path until you exit into a wide cavern that’s filled with crystals. Immediately head to the right while sticking closely to the wall until you find a corpse on the ground that holds Preserving Boluses. Strike the wall behind him to reveal the area’s last illusory wall.
Inside it, you’ll find a chest that contains the Crystal Spear.
Illusory Walls in Mt. Gelmir
There are only two illusory walls in Mt. Gelmir, and you can find both of them in Volcano Manor.
Volcano Manor Illusory Walls
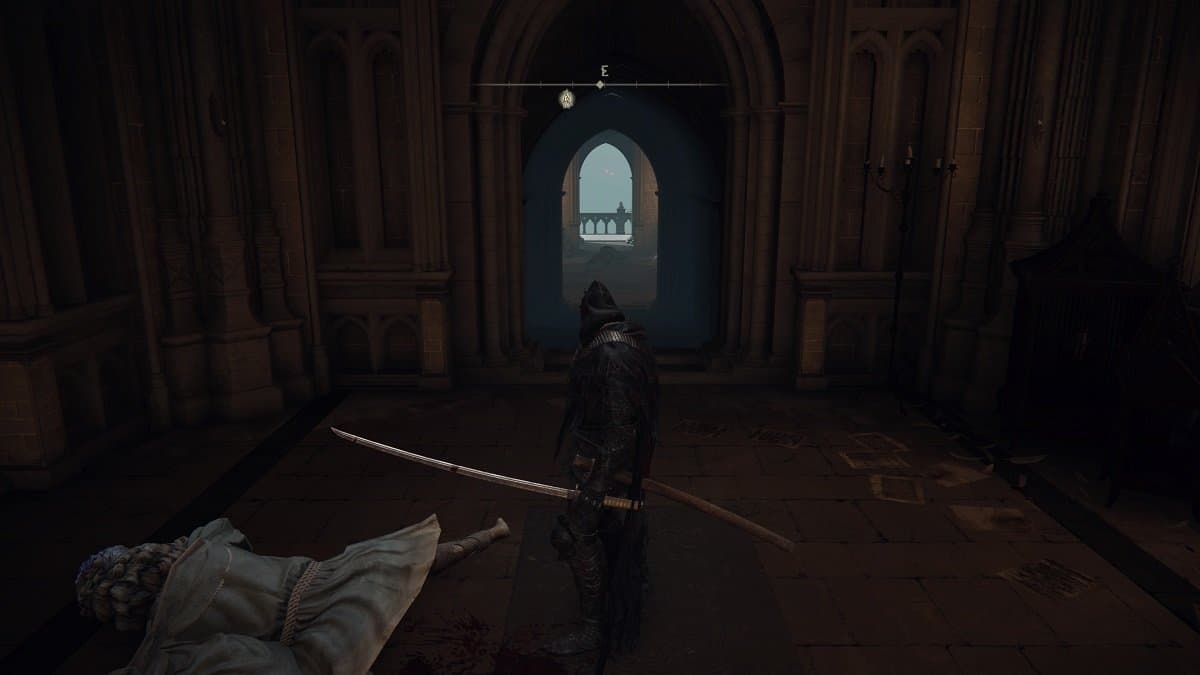
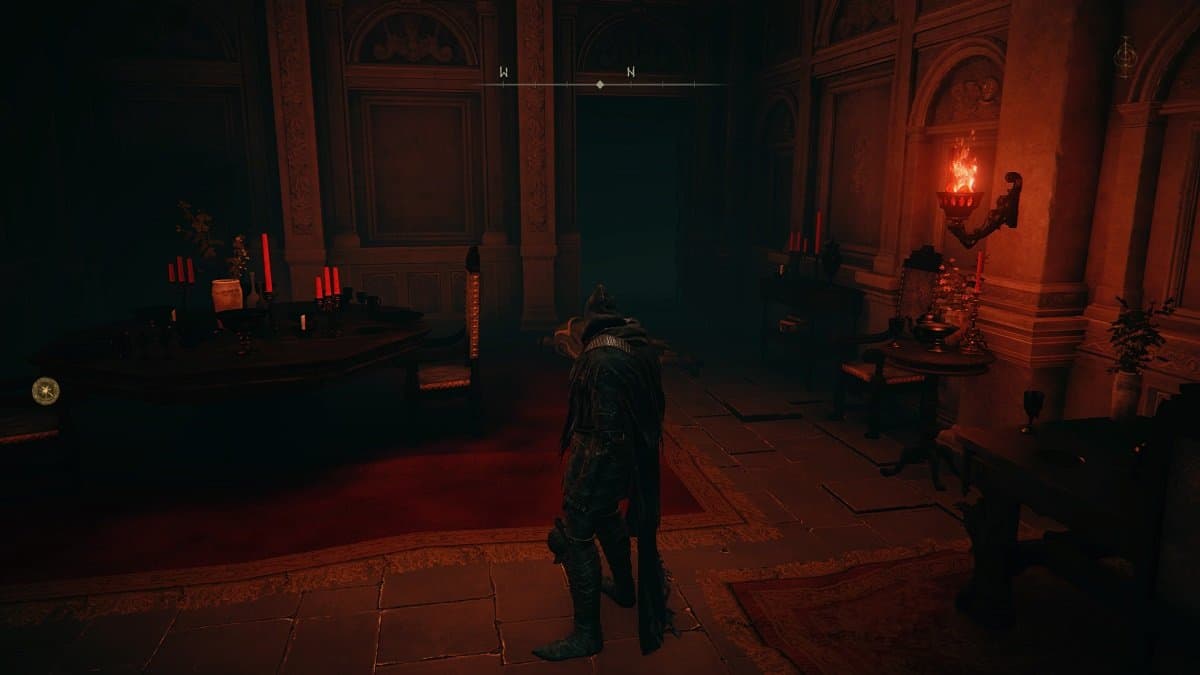
From the Site of Grace, head to the western hallway and take the first door on the right. The right wall on the back, behind the corpse laying on the ground, is an illusory wall. Since you can’t attack here, you can dispel it by dodging into it.
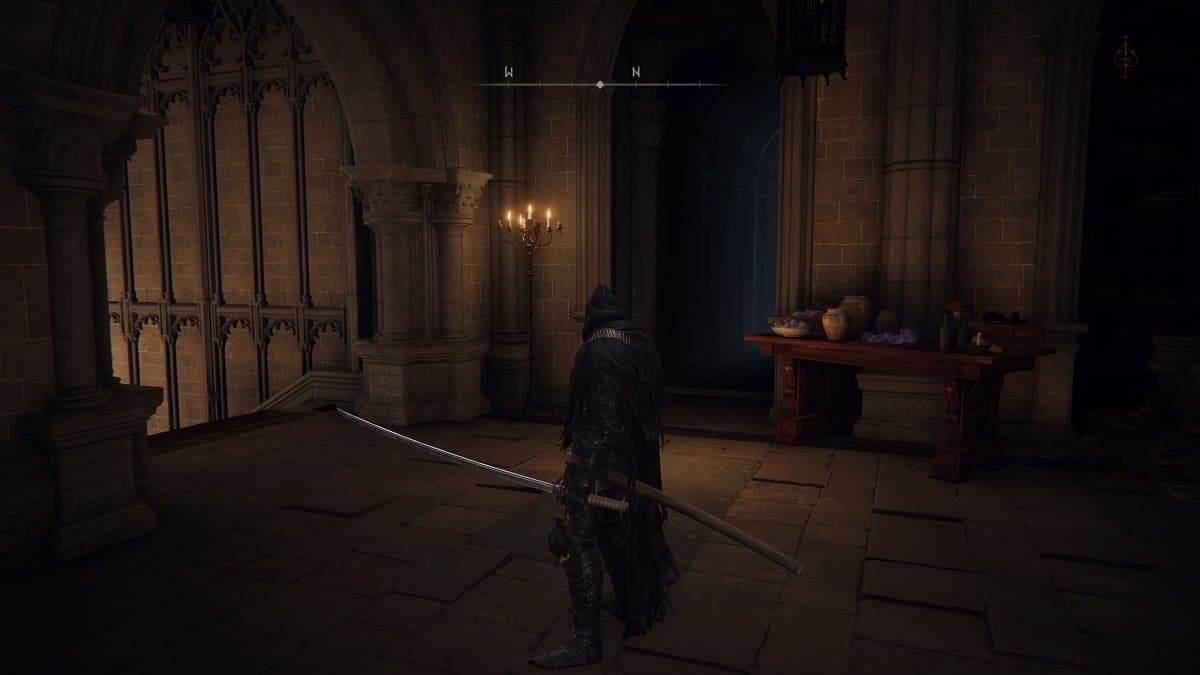
Follow the path from here and you’ll arrive at a room that has three Snail Serpents circling a wooden pillar. Take the path to their left until you reach a dead end. To the left of the wall at the end of this path there is an illusory wall. Striking it opens a path back to the manor.
Illusory Walls in Altus Plateau
The Altus Plateau, like Liurnia, also contains a lot of illusory walls. Some of these hide something as minor as consumables, while one hides an entrance to a whole new region.
Auriza Side Tomb Illusory Wall
From the Site of Grace, continue down until you reach the area that has four small living jars. To the northwest corner of this room is a window you can jump into. Proceed forward from here, and you’ll find yourself in a chapel. On the left side of this area is an archway that’s blocked by a wall. Strike it to dispel the illusion.
Frenzied Flame Proscription Illusory Wall
Face the southeastern wall and strike the third archway from the left to reveal a hidden path. Beyond this wall is a chest that holds a Rune Arc. Behind this chest is another illusory wall that unlocks a pathway to the Deeproot Depths.
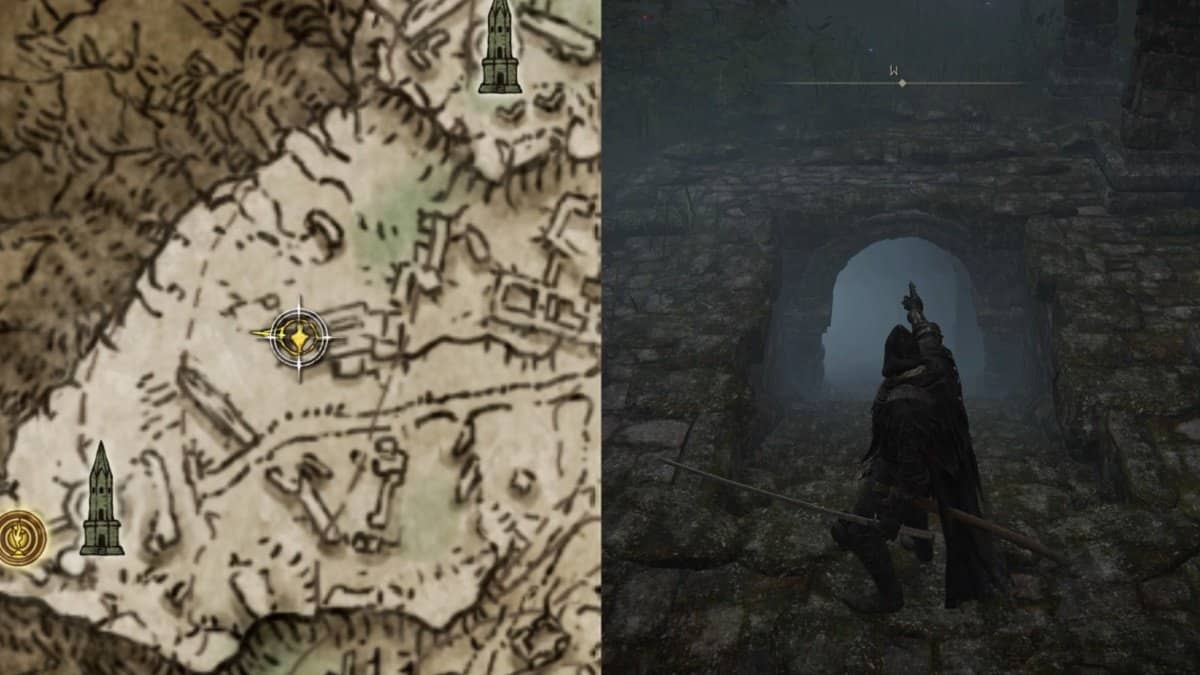
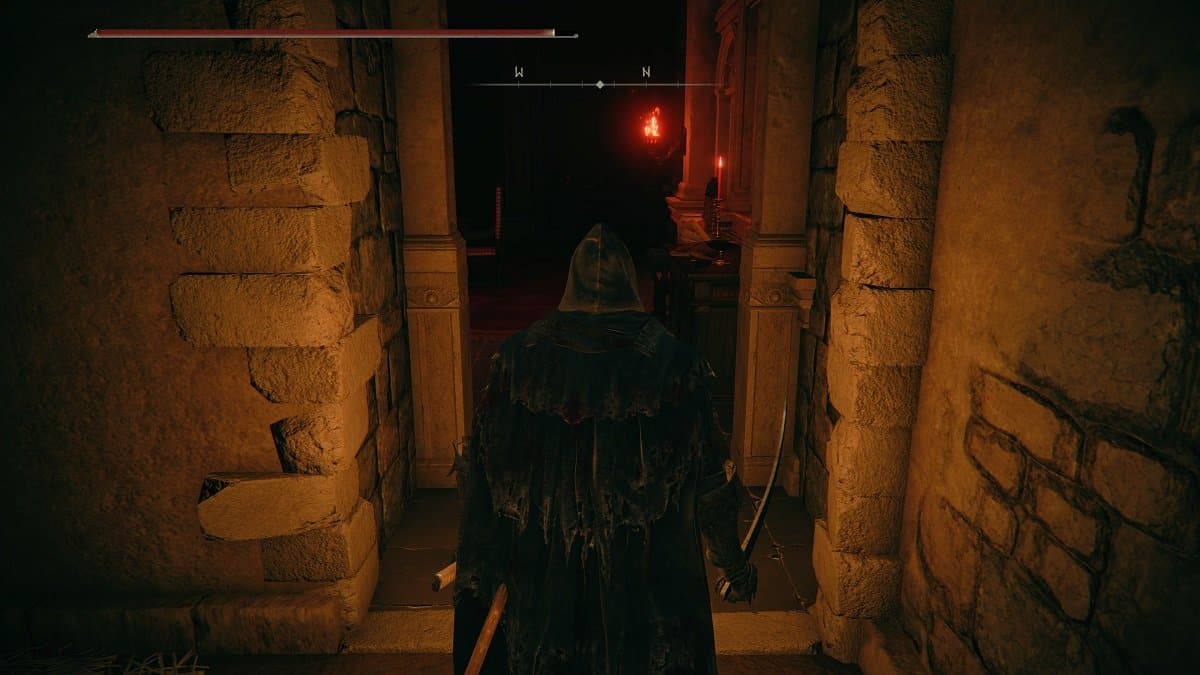
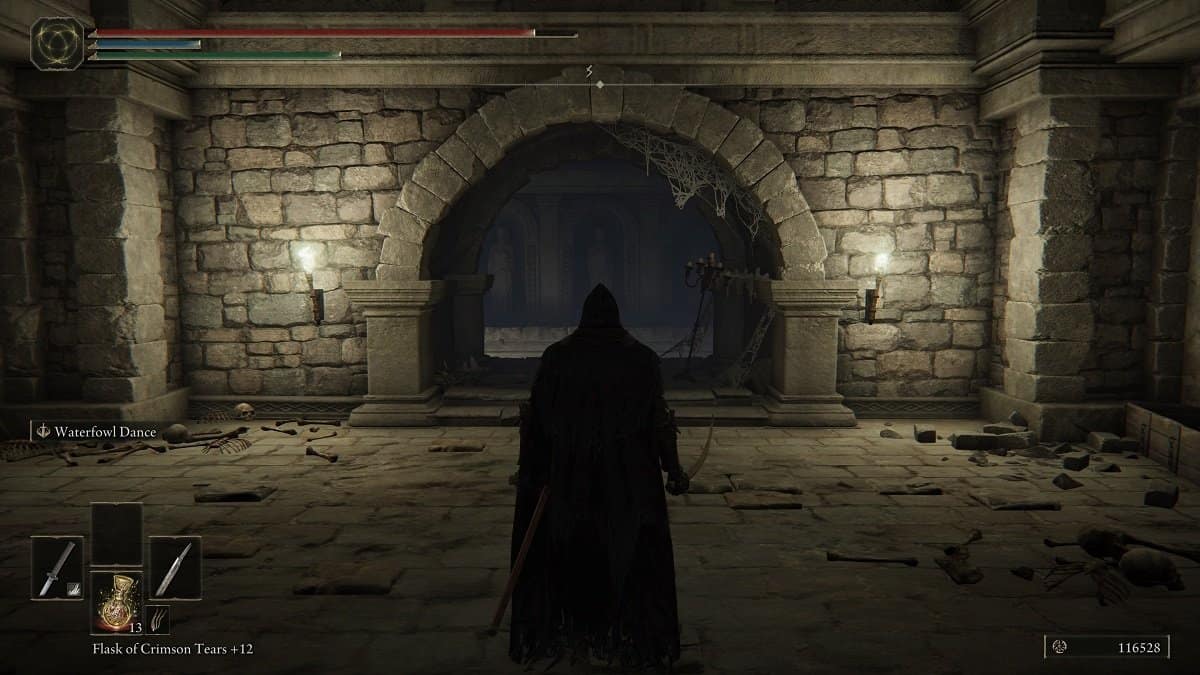
Leyndell Catacombs Illusory Walls
From the Leyndell Catacombs Site of Grace, take the stairs up to the left, then take the elevator to the right. Once you reach the top, move forward to arrive at a room with spirit enemies that seem to respawn after you kill them.
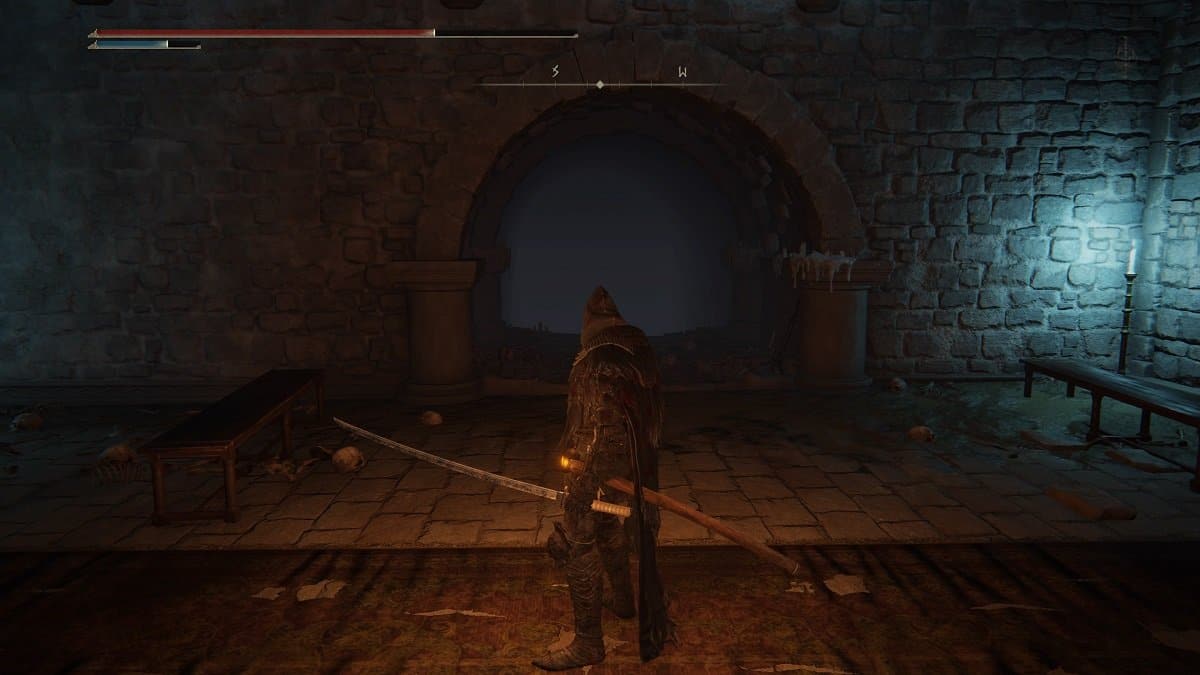
To the right of the staircase here are two archways. Strike either of them to dispel the illusory walls.
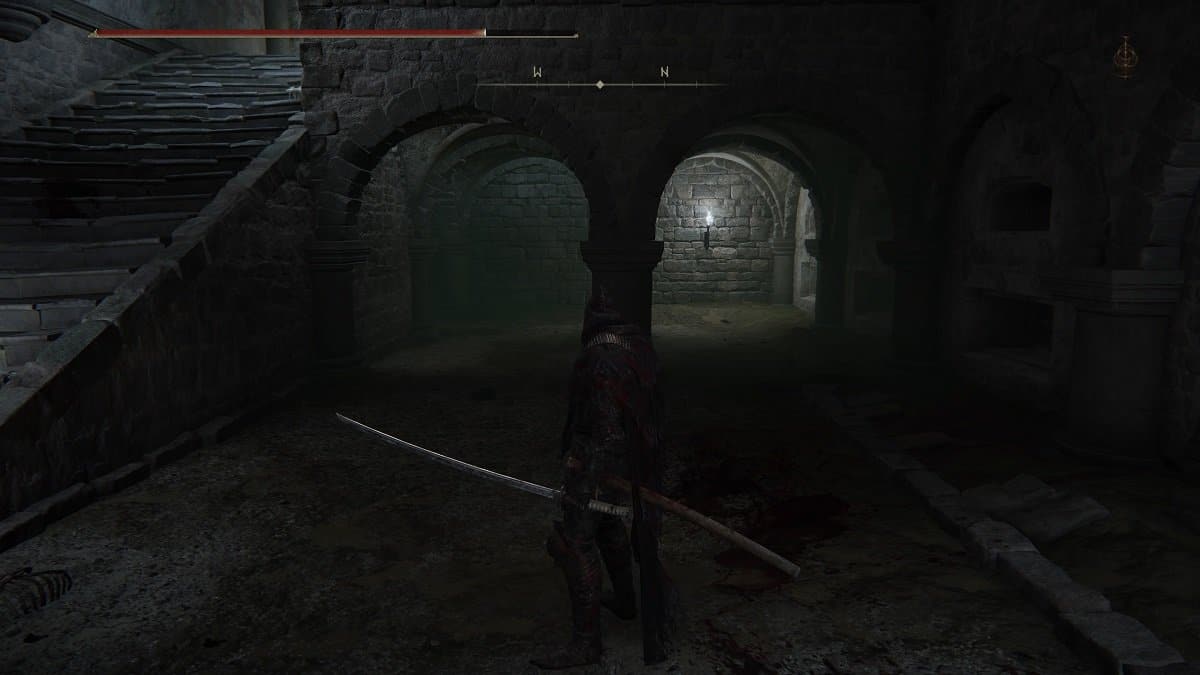
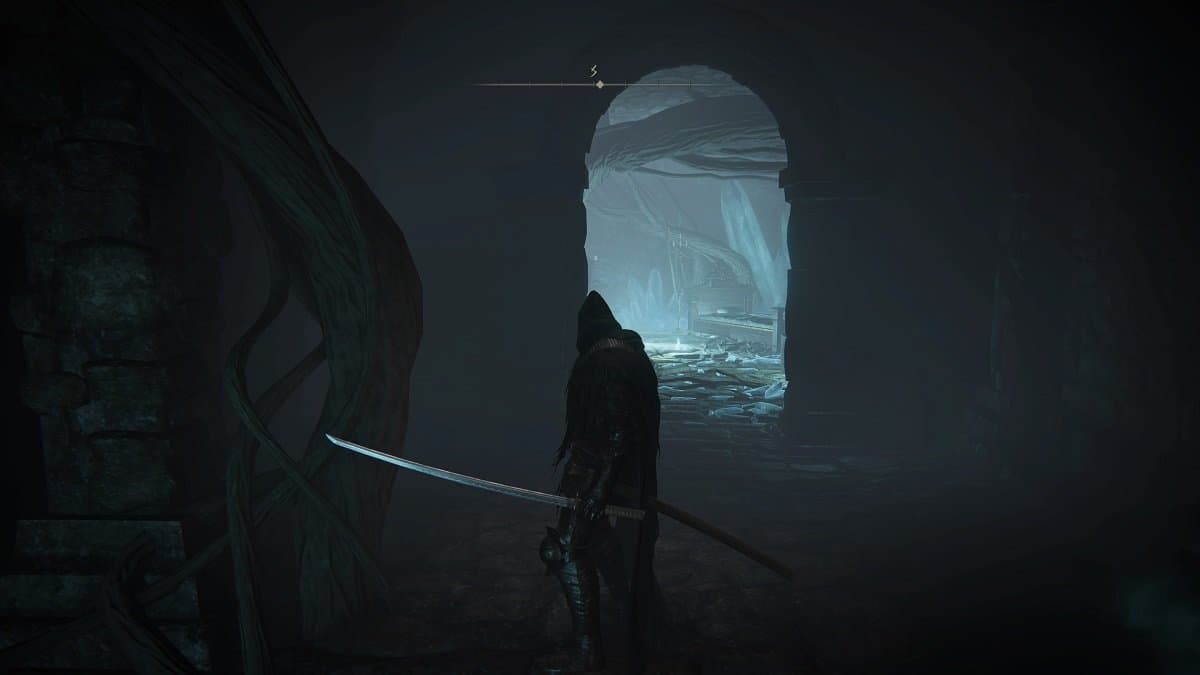
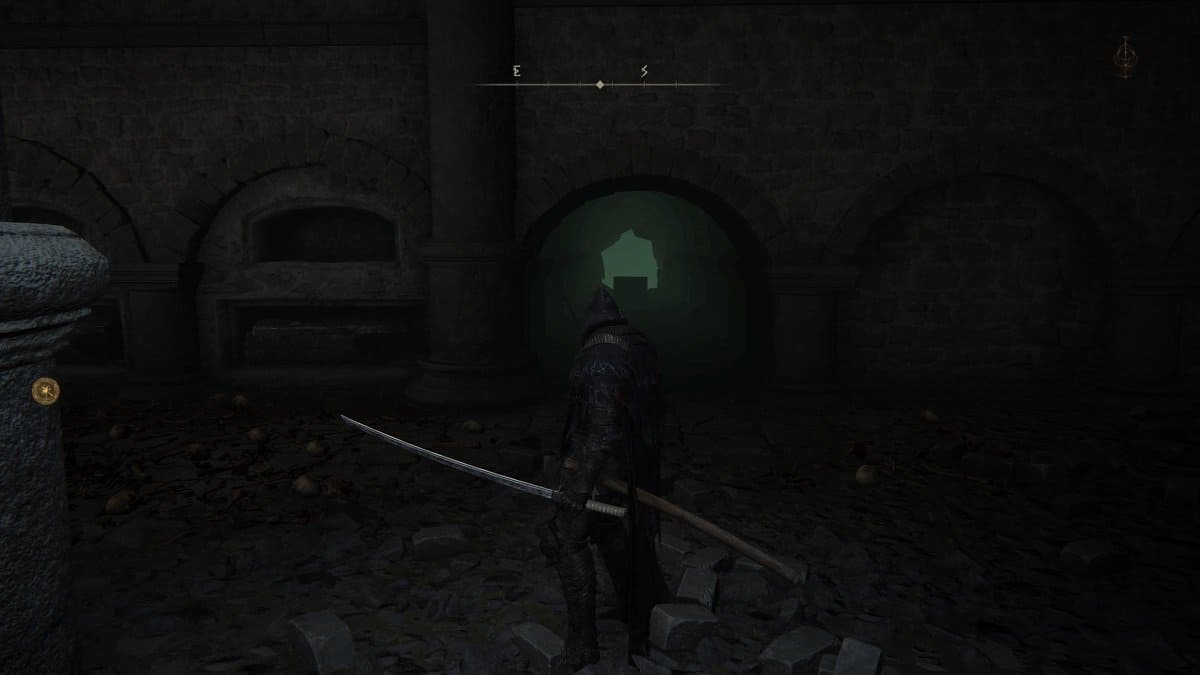
To the far left of this corner is another illusory wall. Behind it is a Spiricaller Snail that’s responsible for all the spirits in the area. Defeat the snail to get rid of the spirits. You can also loot the Haligdrake Talisman +1 here.
Mirage Rise Illusory Wall
This illusory wall is more of a rock, really. It’s part of the Mirage Rise puzzle you’ll need to solve to unlock the entrance to the tower. This rock is found southeast of the Bower of Bounty Site of Grace. Strike it to dispel the illusion and reveal the seal.
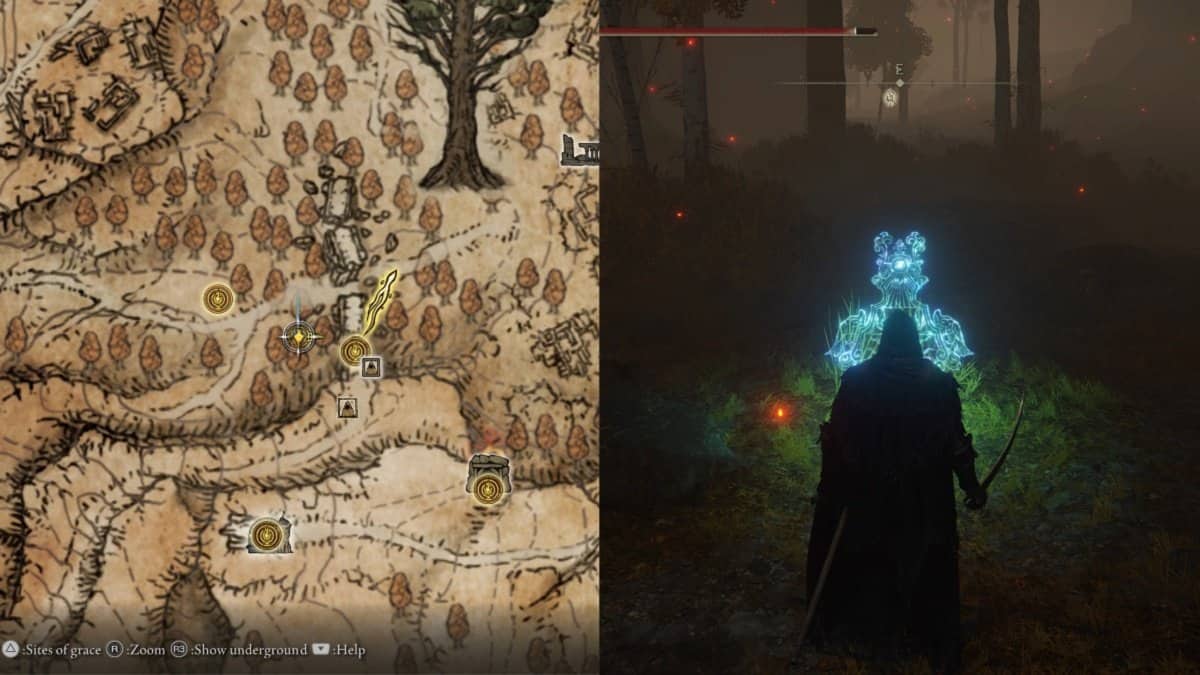
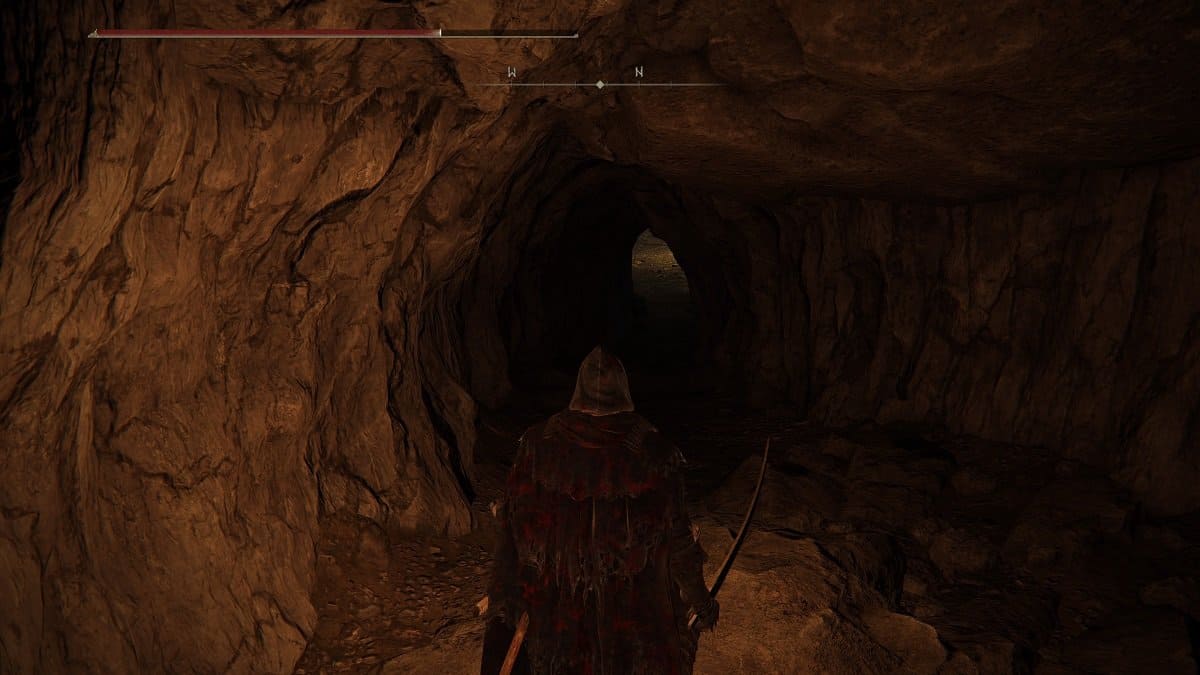
Sage’s Cave Illusory Walls
This cave is littered will illusory walls. From the Site of Grace, proceed onwards and you’ll be blocked by your first illusory wall. Dispel it to progress further. Head south and onto the top of a waterfall, and you’ll find another illusory wall to the right.

Continue heading down and you’ll find another illusory wall to the left, with two lit braziers behind it. Dispel this and you’ll be met by skeletons. Defeat them and you’ll find four chests ahead. They contain a Silver-Pickled Fowl Foot, the Black Hood headpiece, the Candletree Wooden Shield, and a Nascent Butterfly.
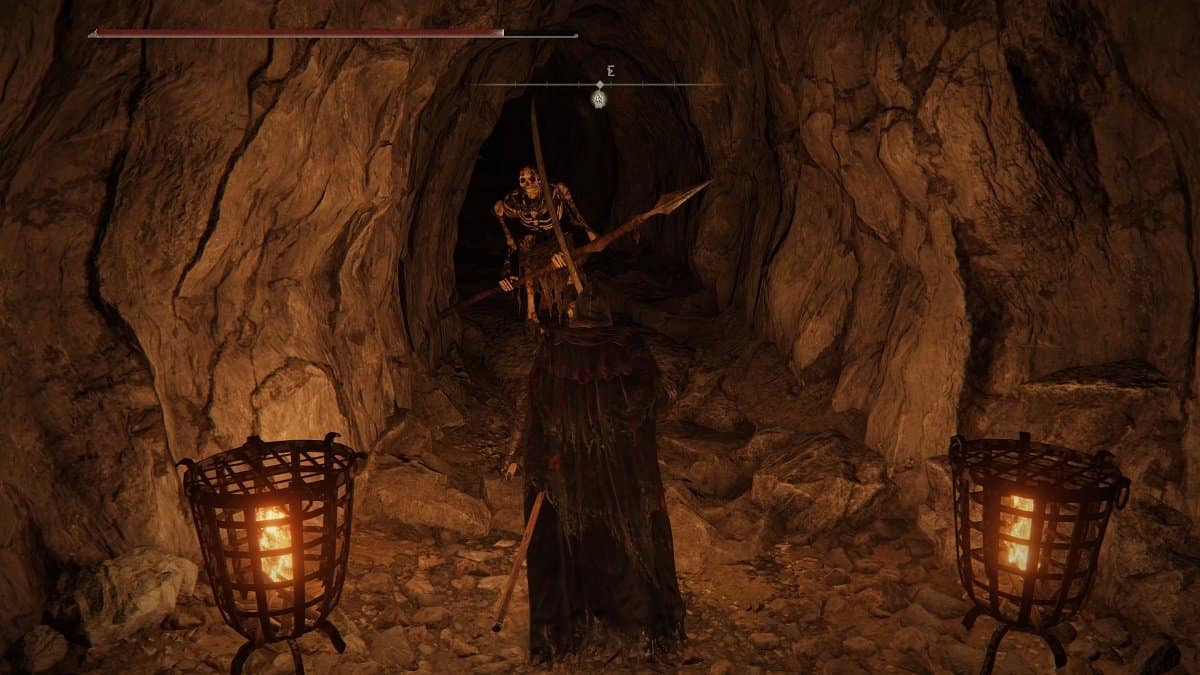
Continue onward until you reach an area that has a campfire and a couple of skeletons lurking about. To the north, there’s a skeleton that’s facing a wall. This wall is illusory. Strike it to find a chest that contains a Stonesword Key.
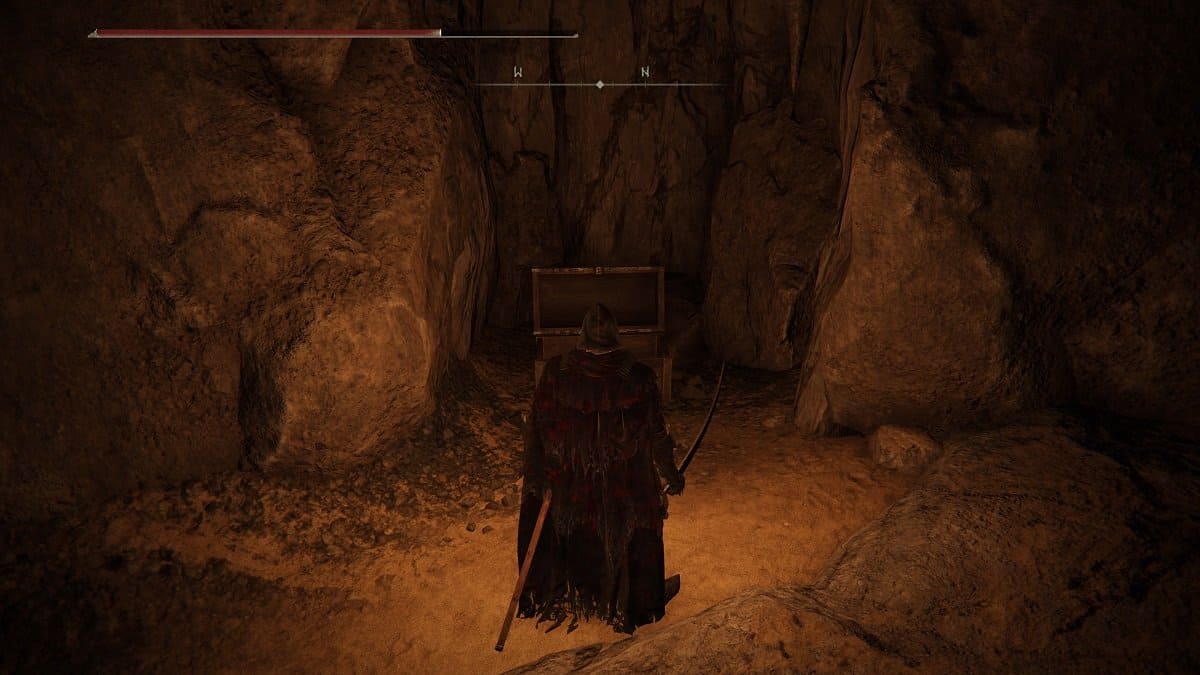
Proceed until you reach the cavern where the waterfall is. Jump over the ledge ahead and enter the opening to the left. This is another illusory wall that leads to a small room that has two chests. This contains the Raptor’s Black Feathers and the Skeletal Mask.
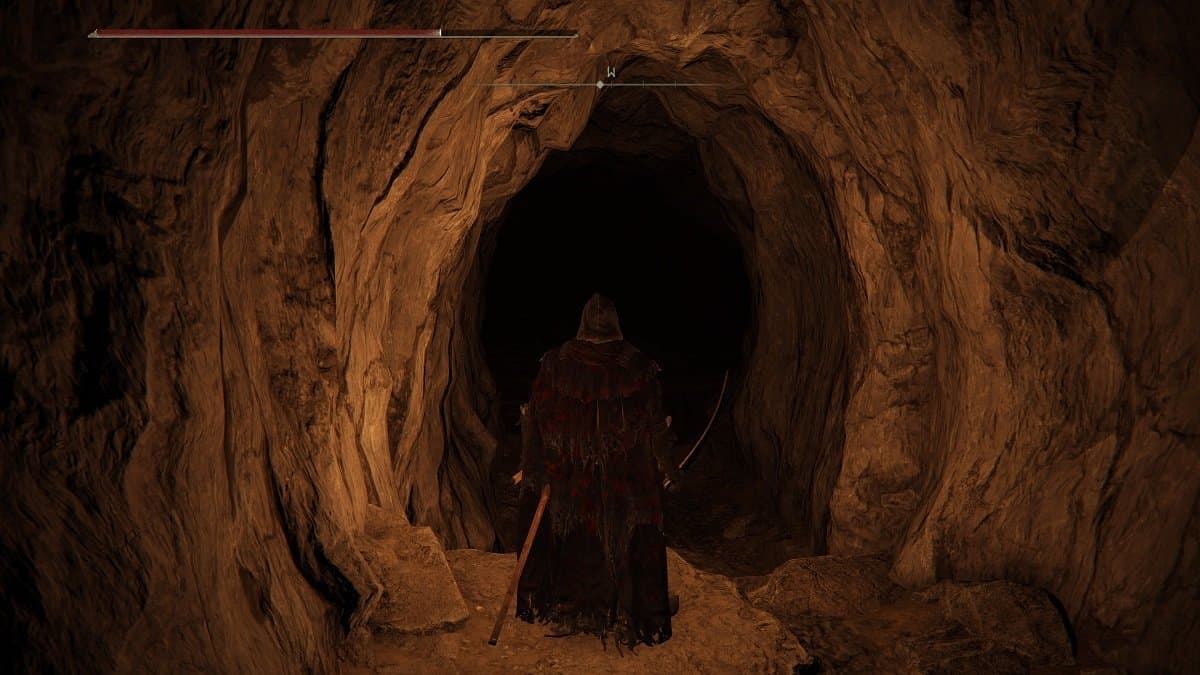
To the northwest of the chests is another illusory wall. This leads to a boss room where you’ll find Necromancer Garris. Defeat him and you’ll receive the Family Heads flail.
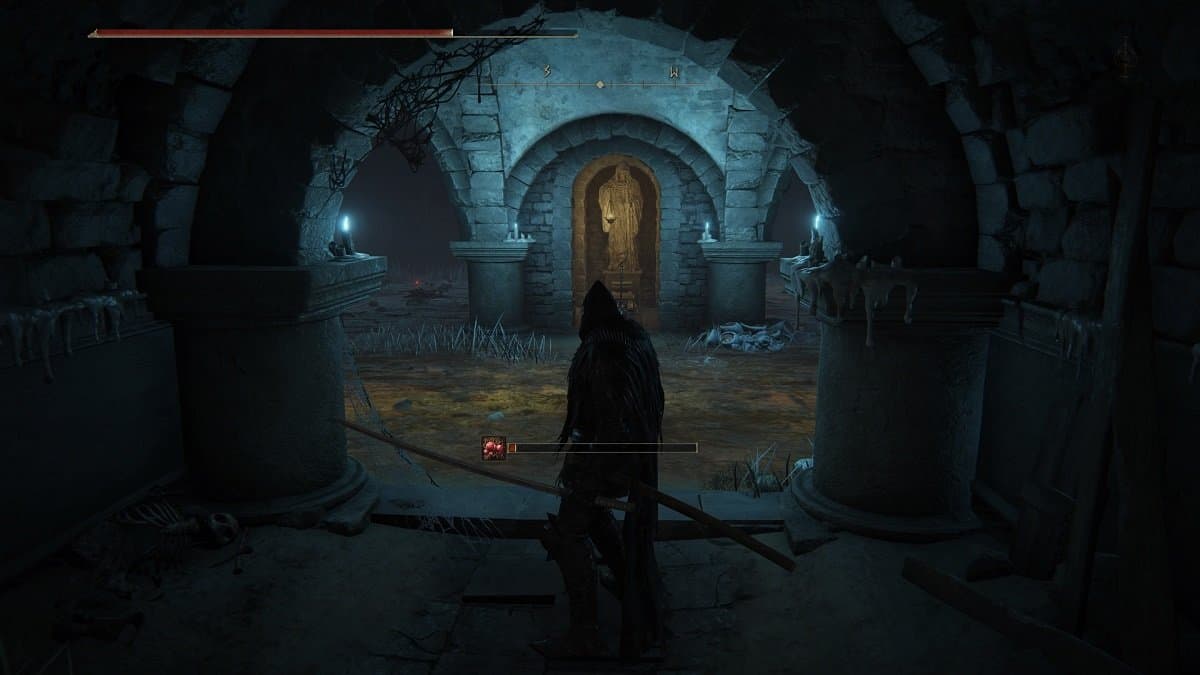
Sainted Hero’s Grave Illusory Wall
From the Site of Grace, keep heading onward until you reach an area where two Wraith Callers are waiting for you at the top of the stairs. Behind them, there’s a Grave Violet on the ground, in front of a wall. This wall is illusory.
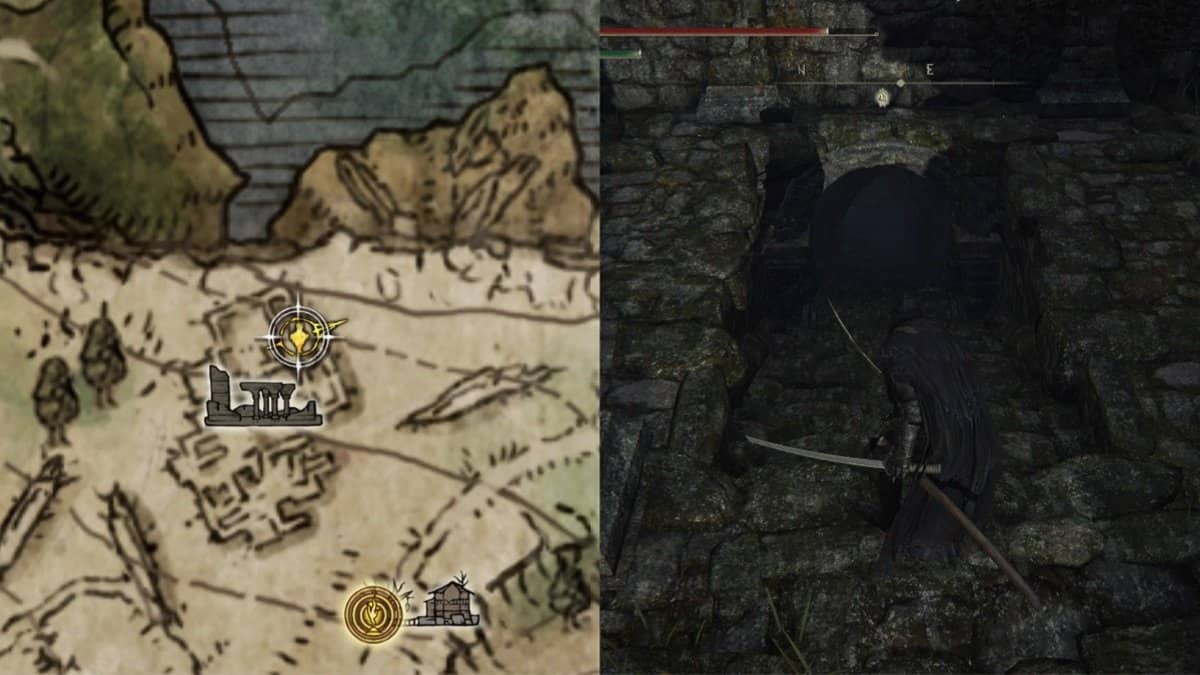
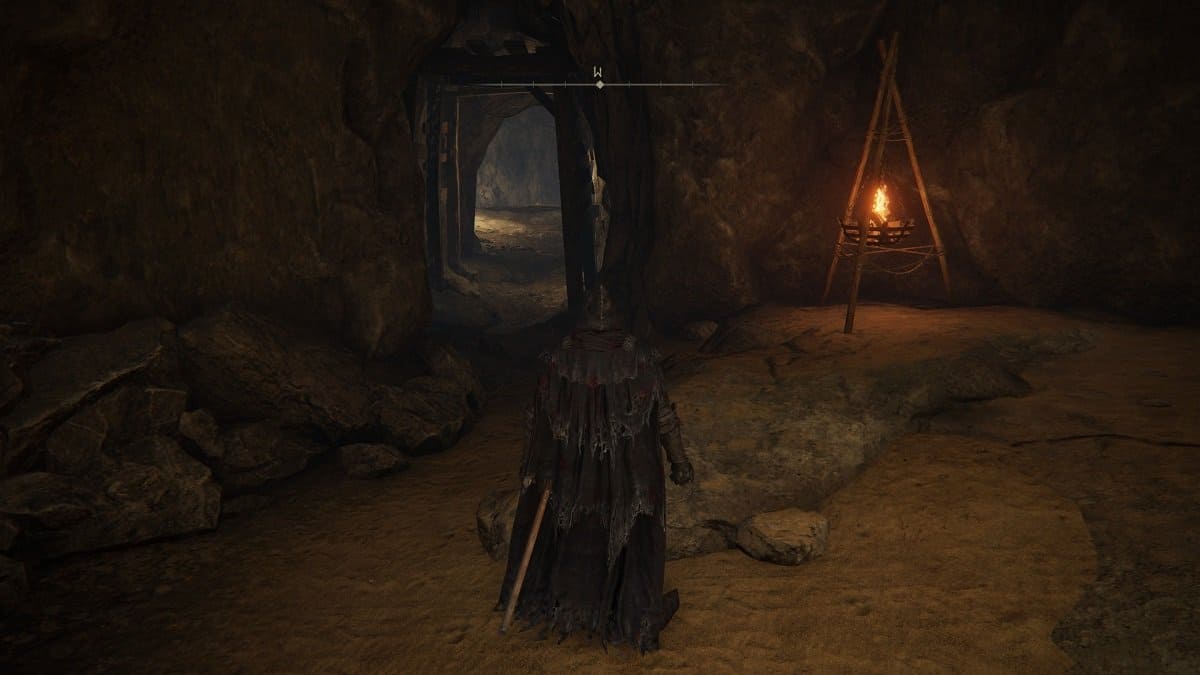
Sealed Tunnel Illusory Walls
From the Sealed Tunnel Site of Grace, you’ll immediately stumble upon your first illusory wall by heading west, to the left of the tripod cauldron.
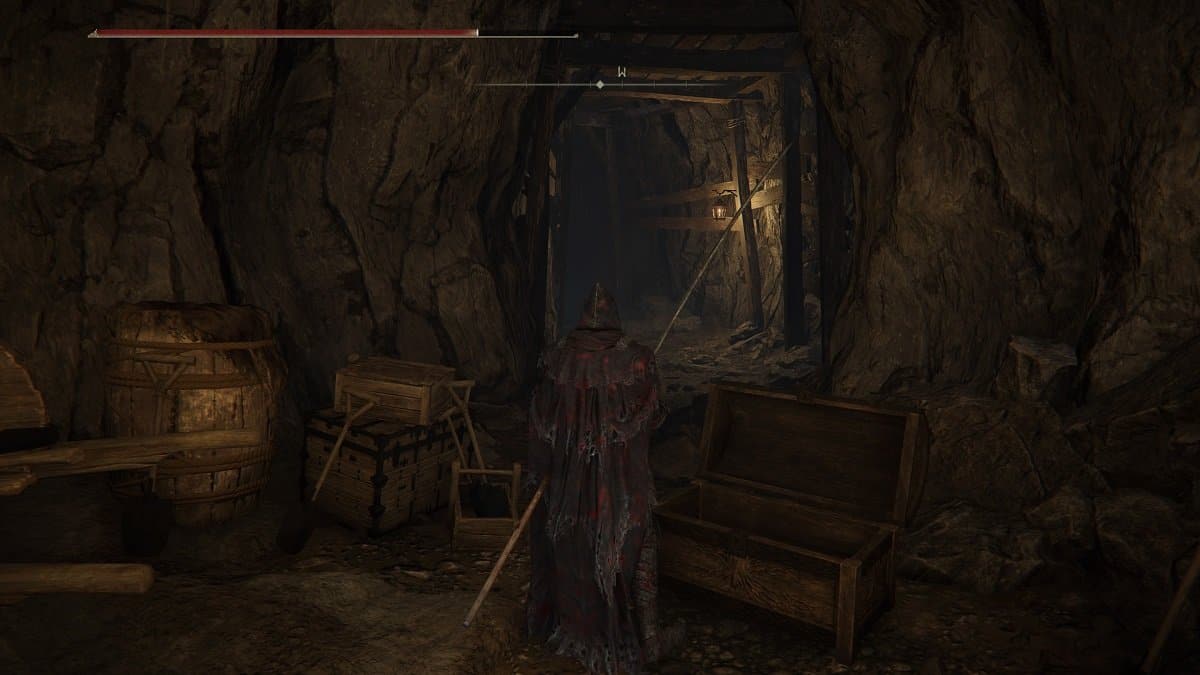
Head onwards and stick to the path on the right. You’ll then find a chest that contains the Smithing-Stone Miner’s Bell Bearing [2]. Behind this chest is an illusory wall.
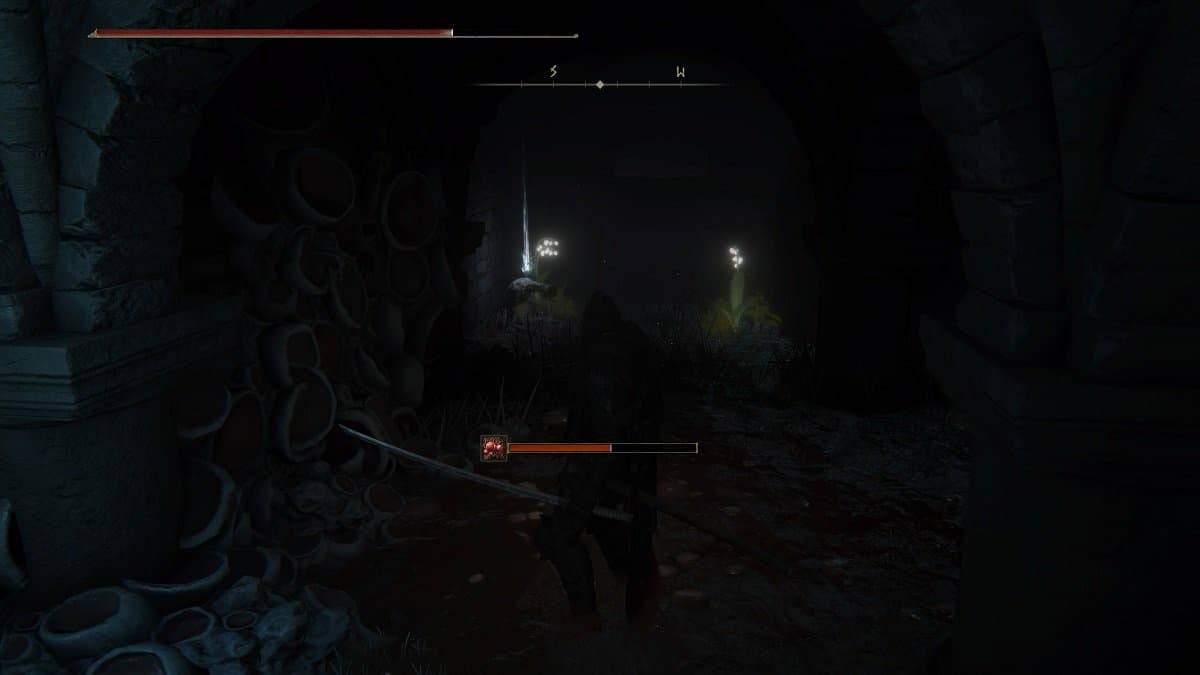
Continue onward and ride the elevator down. Proceed forward and you’ll find another illusory wall that’s blocking your path. Continue forward and you’ll find yet another behind a sat corpse.
Progress further until you arrive at an area with Abnormal Stone Clusters. These are little clumped-up balls that explode after a few seconds of you getting close to them. At the end of this room, behind a bunch of crates, is the area’s final illusory wall.
Illusory Walls in Mountaintops Of The Giants
From here, the illusory walls in Elden Ring get few and far between. There are only a total of two illusory walls in the Mountaintops of the Giants.
Giants-Conquering Hero’s Grave Illusory Wall
From the Site of Grace, take the hallway to the left until you come across a Fire Monk. To the right, you’ll find a wall that has two archways. The one on the left is an illusory wall.
Giants’ Mountaintop Catacombs Illusory Wall
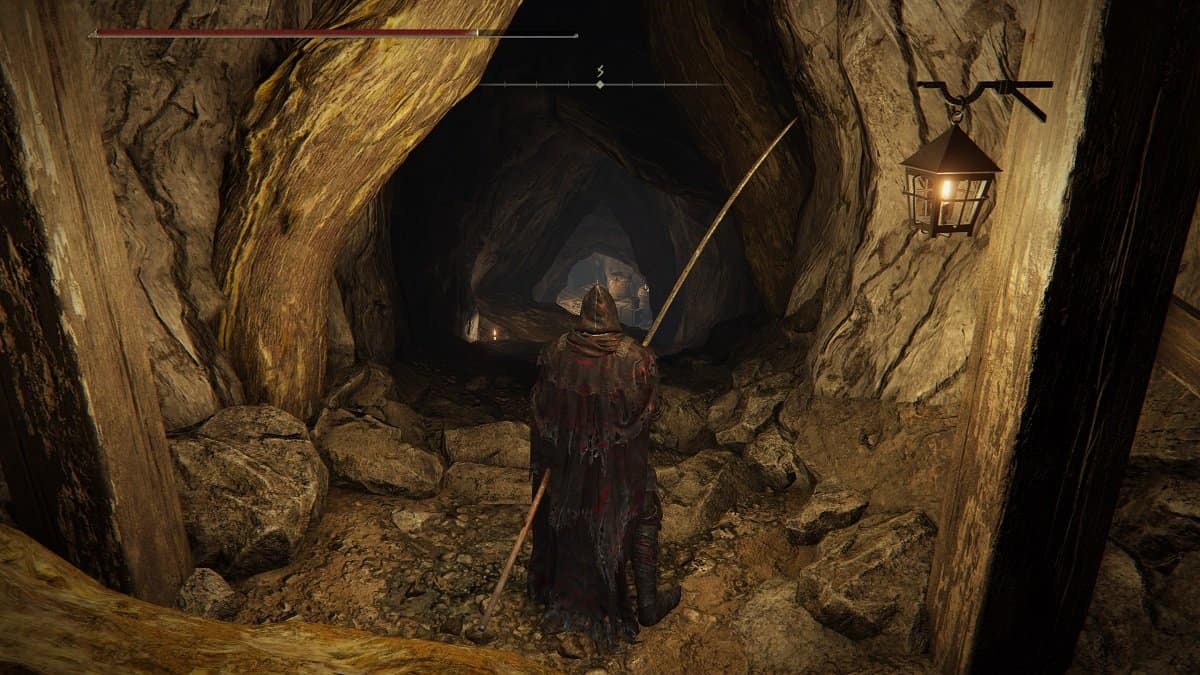
The lone illusory wall in the Giants’ Mountaintop Catacombs is situated between the two frost pillars at the lower part of the catacomb.
From the Site of Grace, continue forward until you reach the elevator. Once you make it to the bottom, stand on the center panel to send it back up before getting off. Once it settles, you can ride the elevator again to head further down.
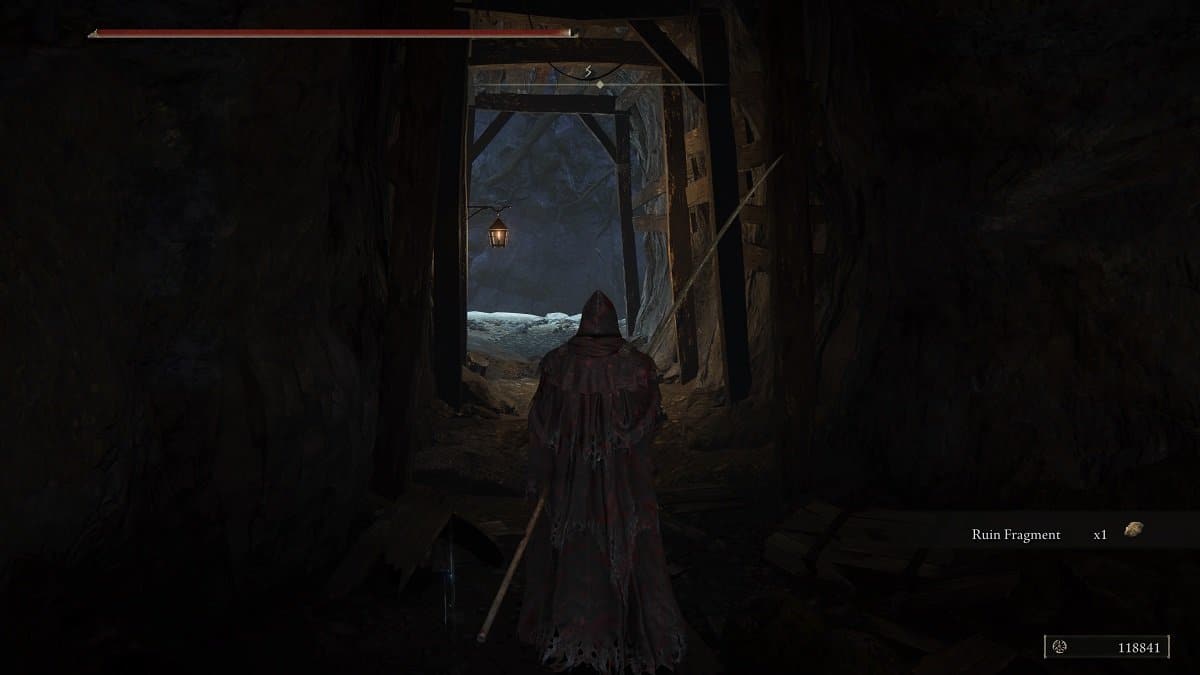
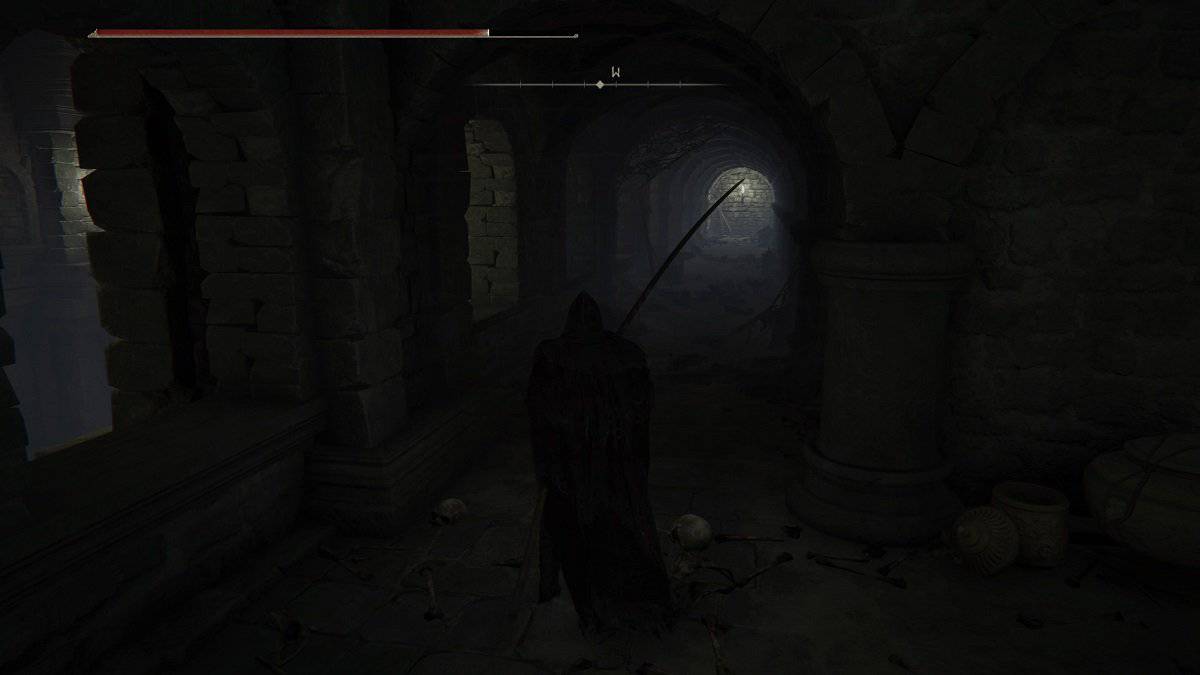
Continue onward from here until you reach a hallway that has a pillar at the end that spews frost. You can make this pillar retract by hitting it with an arrow or any other projectile.
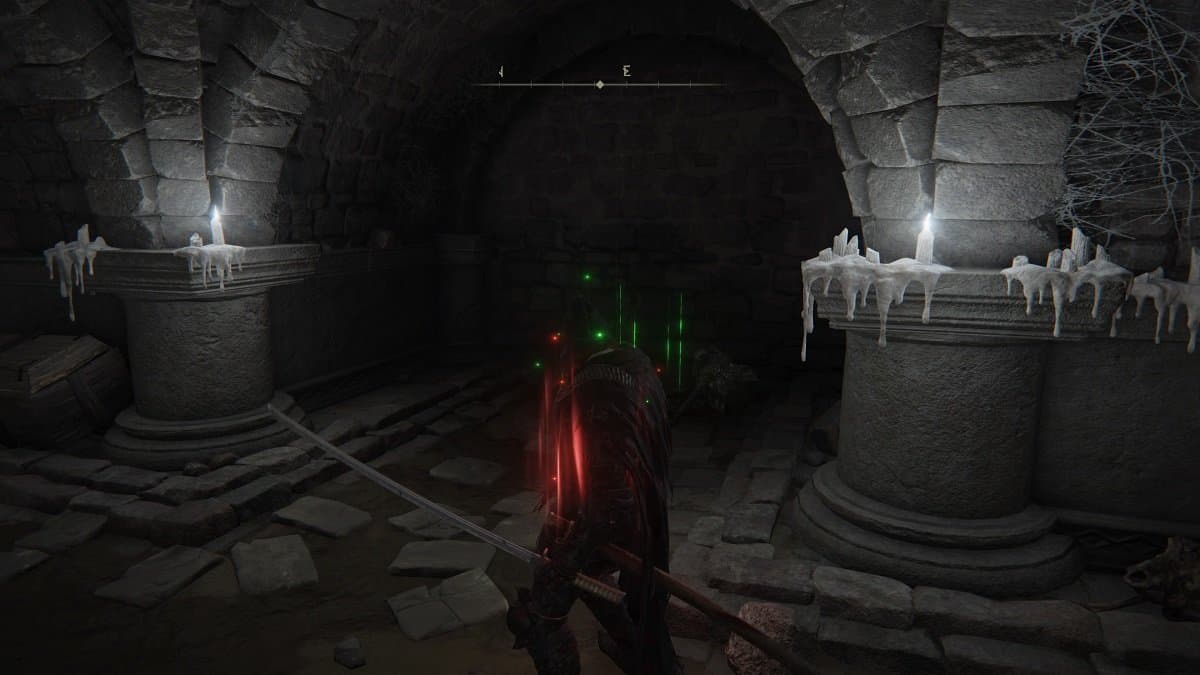
Behind it is another pillar that functions similarly. Send it down just as you did the previous one. To the right side of this hallway, you’ll find a wall between two lit candles. This is an illusory wall. Dispel it to find a Ghost Glovewort [7].
Illusory Walls in Consecrated Snowfield
There’s only one illusory wall in the Consecrated Snowfield, and you can immediately access it in the first area of the region.
Hidden Path to the Haligtree Illusory Wall
From the central area of the Hidden Path to the Haligtree, there’s a broken ledge you can fall down from. This will have you land on invisible ground. From here, look to the south to find an opening. Walk towards it. There’s an invisible path from where you are to this area that will allow you to get to it safely.
From here, head to the right and strike the wall behind the Grave Gloveworth (9) to dispel the illusory wall. Behind it is a chest that contains the Silver Scarab Talisman.