
![]() Key Takeaway
Key Takeaway
You’ll find the Notorious Mark, Ahriman, in The Imperial Province of Rosaria. This airborne adversary is in the southern part of the Sorrowise area—about halfway between Glaidemond Abbey and Riddock’s Jump.
Ahriman is the first Notorious Mark you’ll meet in Final Fantasy 16—before you even unlock the Hunt Board. This demonic eye in the sky patrols the Sorrowise area of Rosaria and is waiting for its next victim. Little does it know that the next one it meets is its vanquisher!
Table Of Contents
Where to Find Ahriman
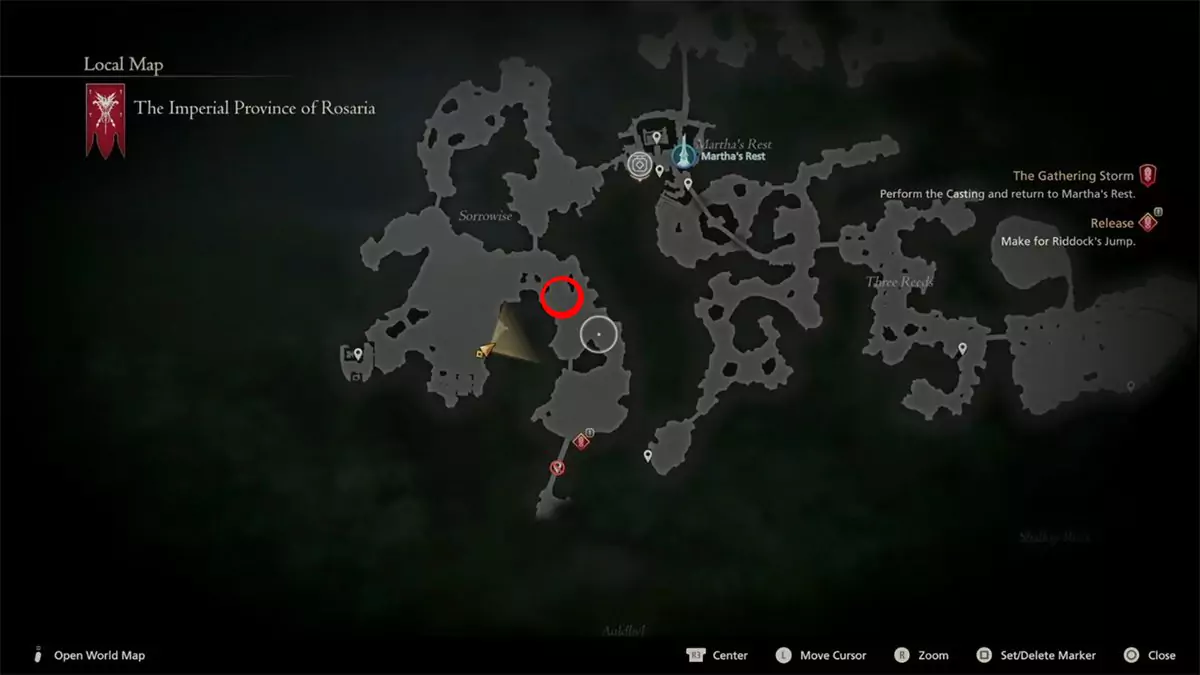
Ahriman is floating about the southern part of the Sorrowise area—which is southwest of Martha’s Rest in The Imperial Province of Rosaria. Don’t worry about tracking it down, as you’ll most likely encounter this Notorious Mark while doing the main quest called “The Gathering Storm.”
During this main quest, you must travel from Glaidemond Abbey to Riddock’s Jump. The only way to get from the former to the latter is to tread through Ahriman’s aggro range (shown as a red circle in the above image). As you run along the main road, your path is likely to cross with that of the flying fiend.
How to Beat Ahriman

Ahriman almost exclusively uses ranged attacks—some of which can be devastating if they hit you. On top of that, the maneuverable monster continuously moves away from you and teleports. This can make it hard to both dodge the fiend’s attacks and close in to deal damage to it. Focus on getting close to Ahriman and unleashing your abilities to defeat it.
Here are all of Ahriman’s attacks (in order of potential danger) and how to deal with them:
- Doom: When Ahriman casts the Doom spell on you, you’ll see four blue orbs appear around Clive. When all of these orbs disappear, a large red ring spawns around your position. Get out of this ring as soon as you can! If you don’t, you’ll get hit by Ahriman’s strongest attack and take huge damage.
- Quaga: Ahriman can also cast Quaga, a strong earth spell. After being cast, this spell starts causing cracks in the ground to appear—which foreshadow where spiky stones will erupt. Don’t stand over any of these cracks and you’ll be fine.
- Dual Energy Orbs: One of the more annoying of Ahriman’s attacks is the energy orbs it frequently launches. The orbs home in on you, which can make dodging them tricky. We recommend waiting until the orbs are close to you before dodging.
- Eye Laser: This straightforward attack is pretty quick, so be on your toes to avoid it! The only warning you’ll have is Ahriman charging its eye before the laser shoots out of it. You’ll see a red glow when this attack is charging. Thankfully, the beam doesn’t do much damage.
- Energy AoE: Ahriman also has a small area of effect attack that’s not much of a threat. It emits a red and black energy sphere around its body. It has a short range, so it’s not something you need to worry much about.
- Melee: The fiend’s spindly limbs—on occasion—lash out at you. However, Ahriman has pitiful physical prowess and these strikes do next to no damage.
When doing the Ahriman hunt, keep moving toward the flying foe as much as possible. It teleports and moves away constantly, so you’ll have to keep closing the distance to land big hits on the monster.
Using Clive’s magic attacks and Torgal’s commands help chip away at Ahriman’s large health bar—but won’t be enough to take down the terror on their own. Make use of them as you’re moving towards Ahriman to make the fight go by quicker.
Rewards for the Ahriman Hunt
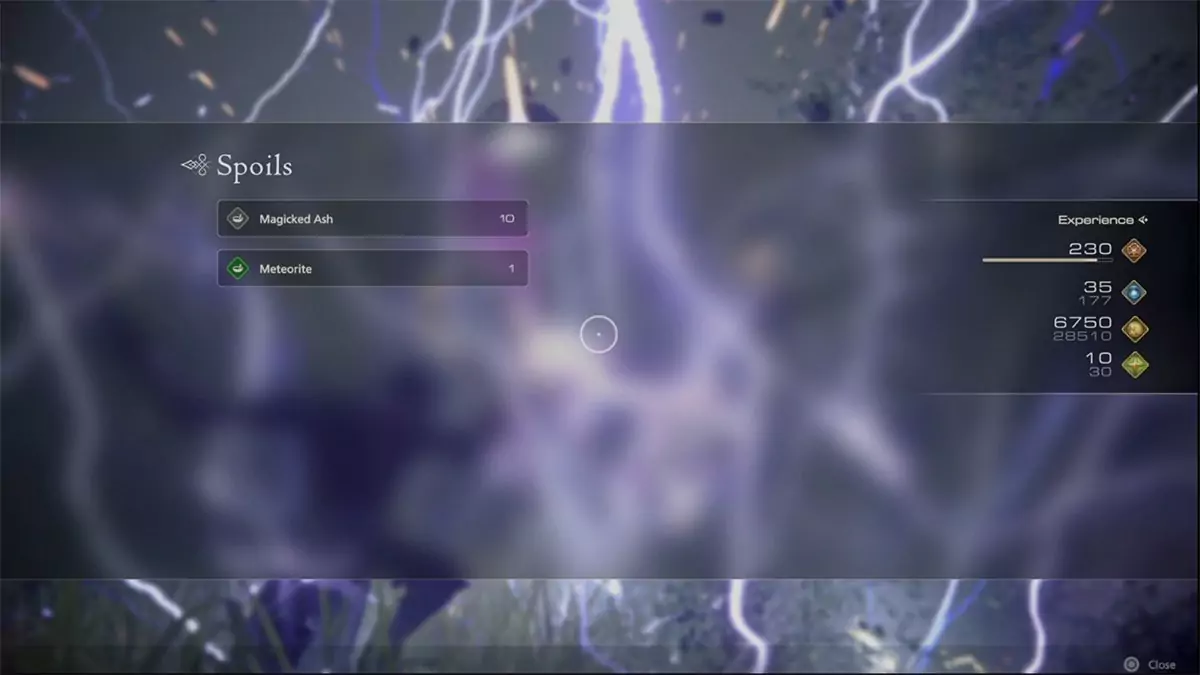
After annihilating Ahriman, you’ll get some rewards! Here’s the loot that this fierce foe drops:
- 230 Experience
- 35 Ability Points
- 6,750 Gil
- 10 Renown
- 10 Magicked Ash
- 1 Meteorite
We hope that defeating Ahriman whets your appetite for battle, as there are a lot more hunts in FF16. After returning to the Hideaway—following the completion of The Gathering Storm quest—the Hunt Board gets unlocked. Here, with Nektar the Moogle’s help (kupo!), you can progressively unlock more hunts that feature unique and powerful monsters. Gear up and get ready for greater adversaries!