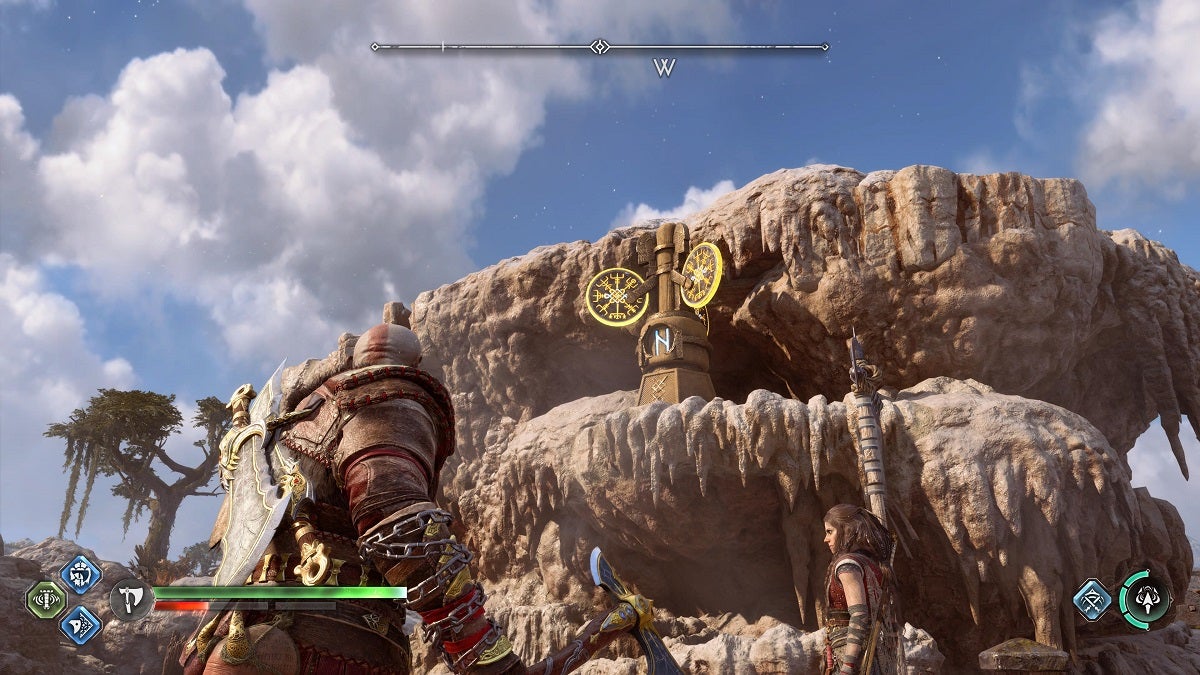
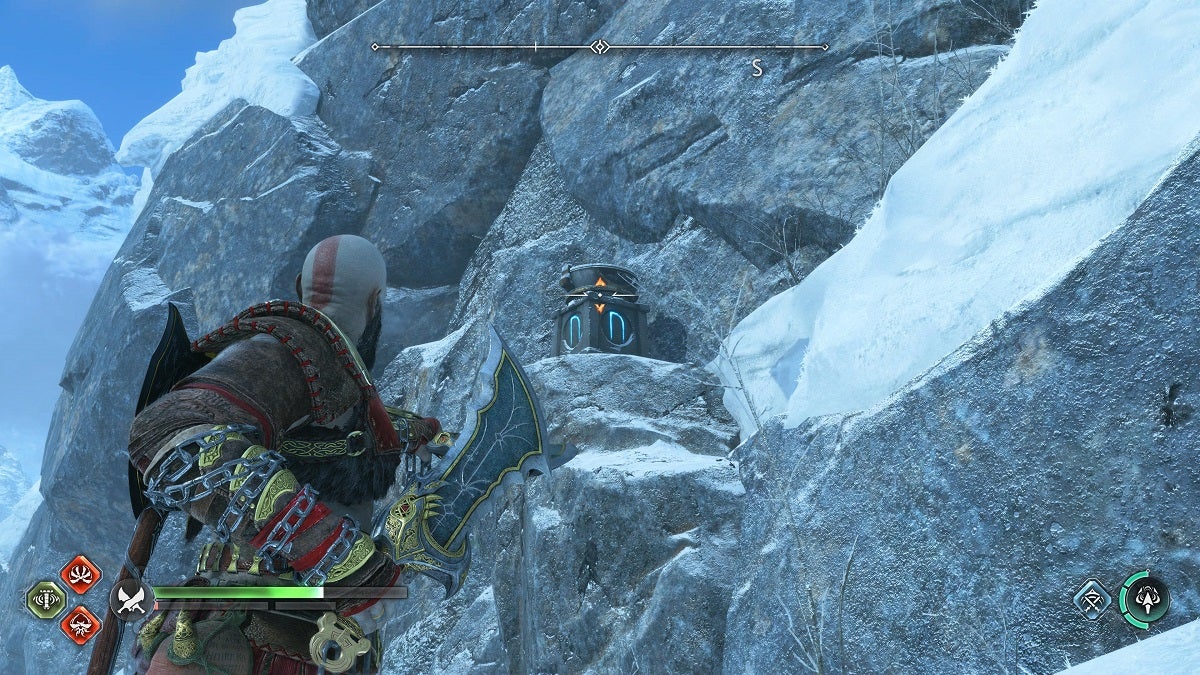
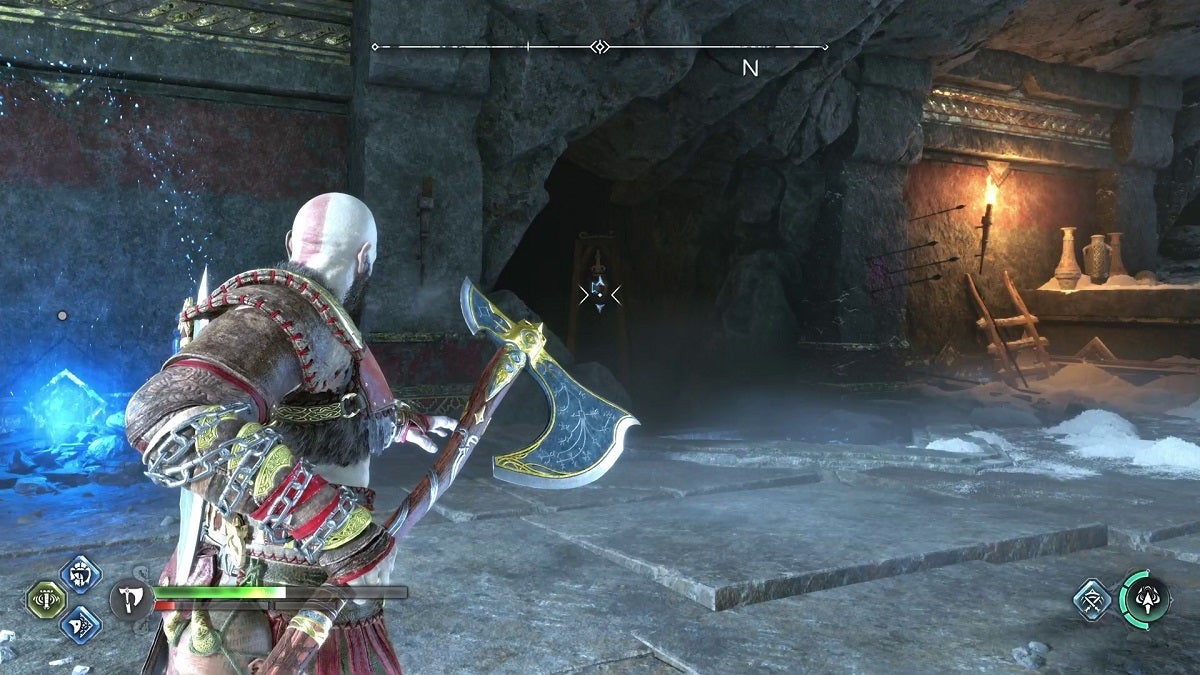
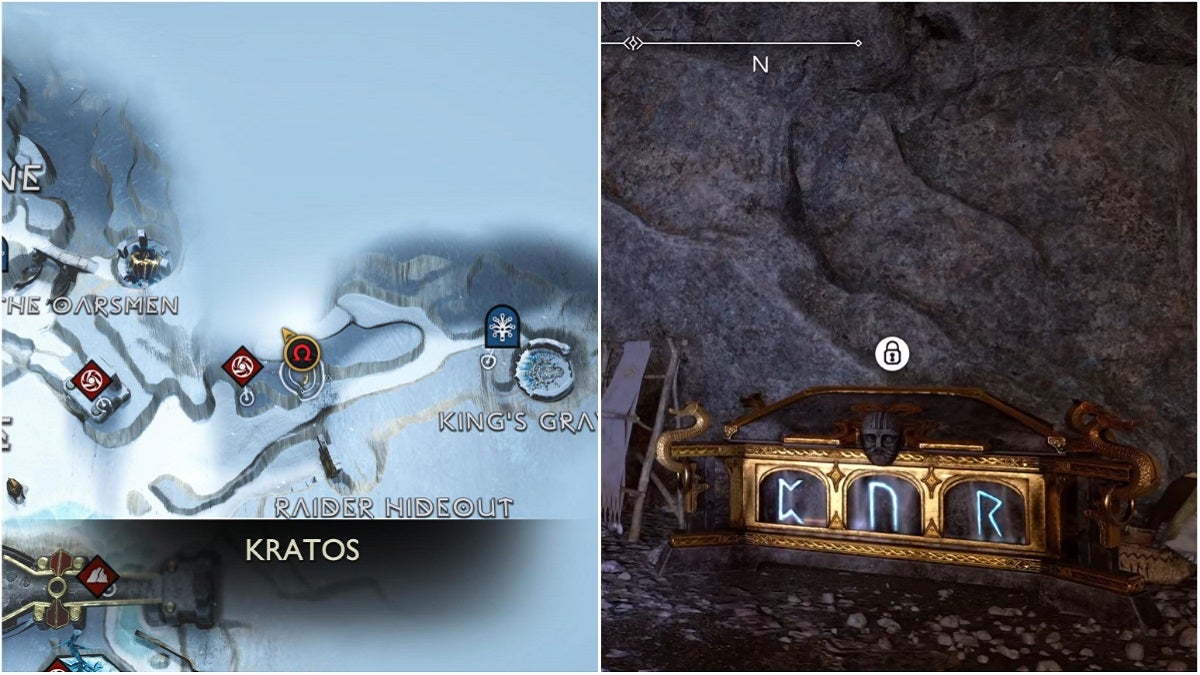
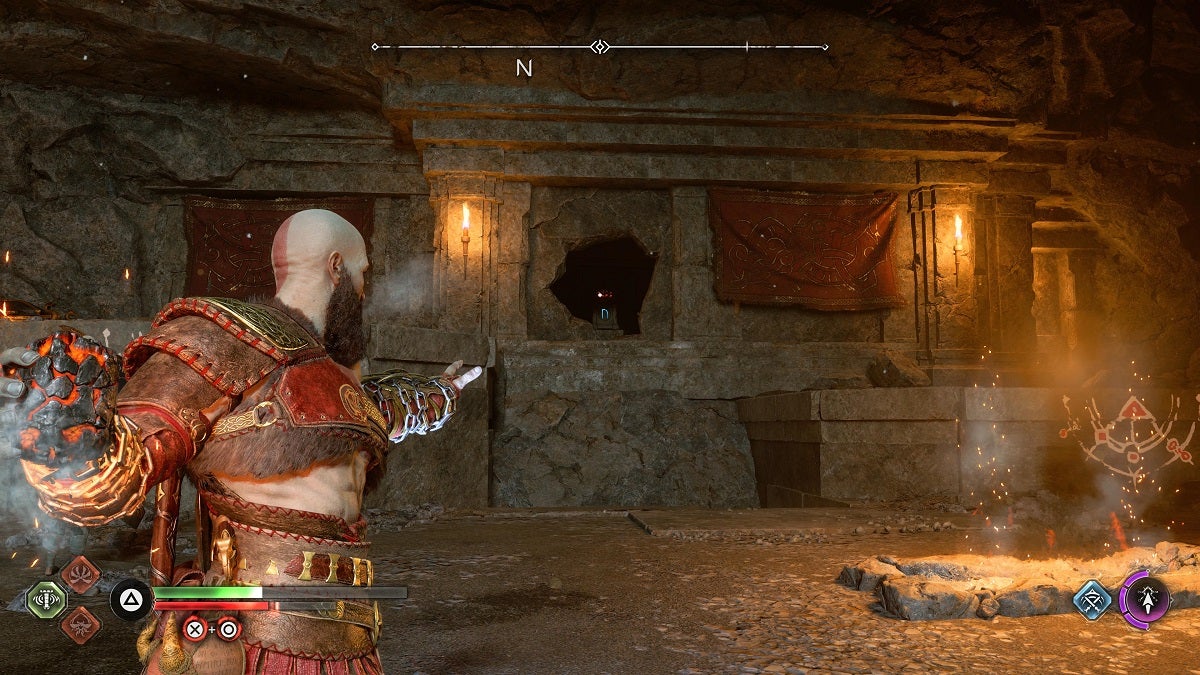
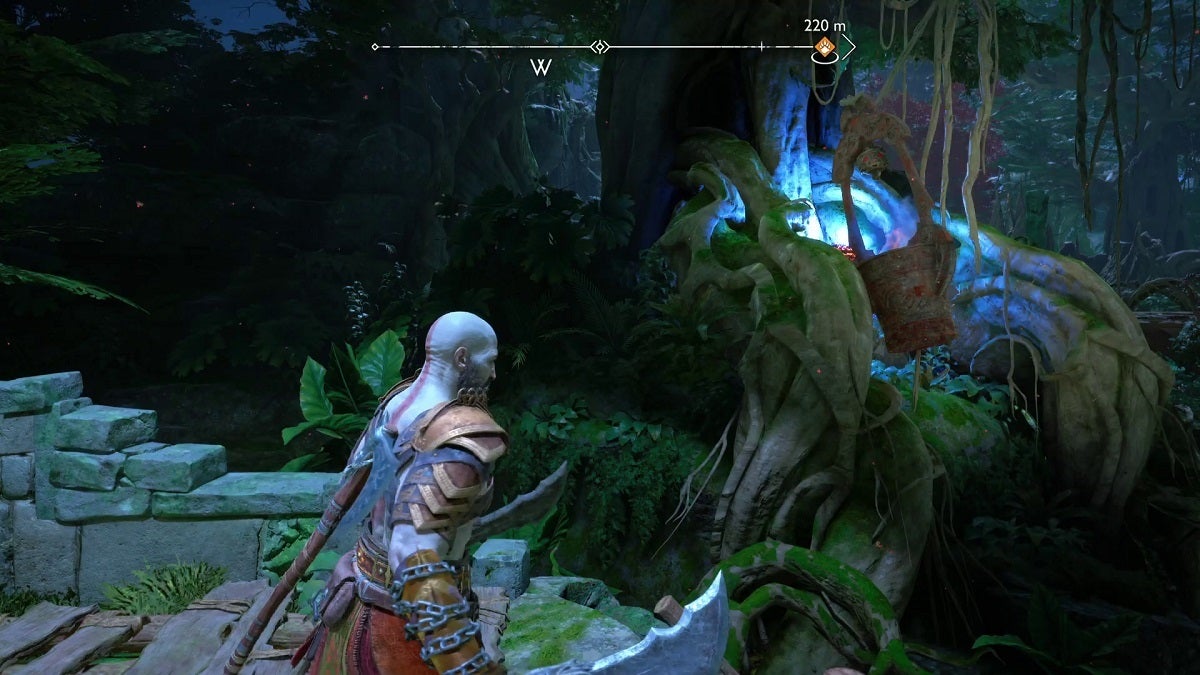
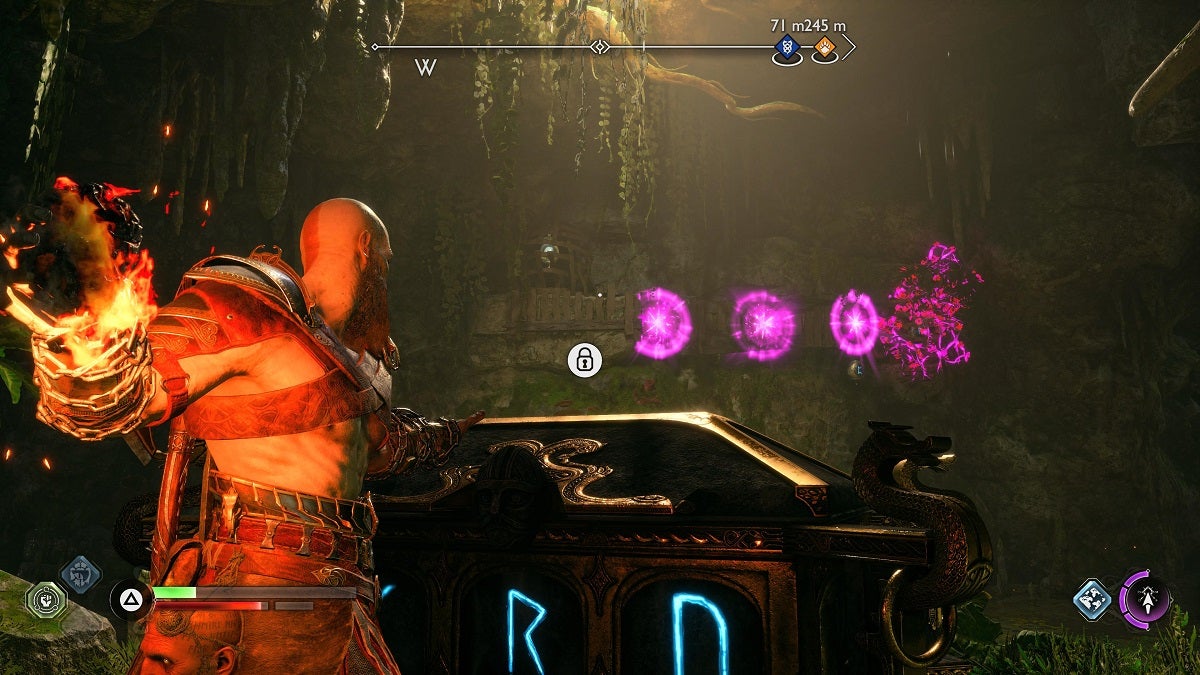
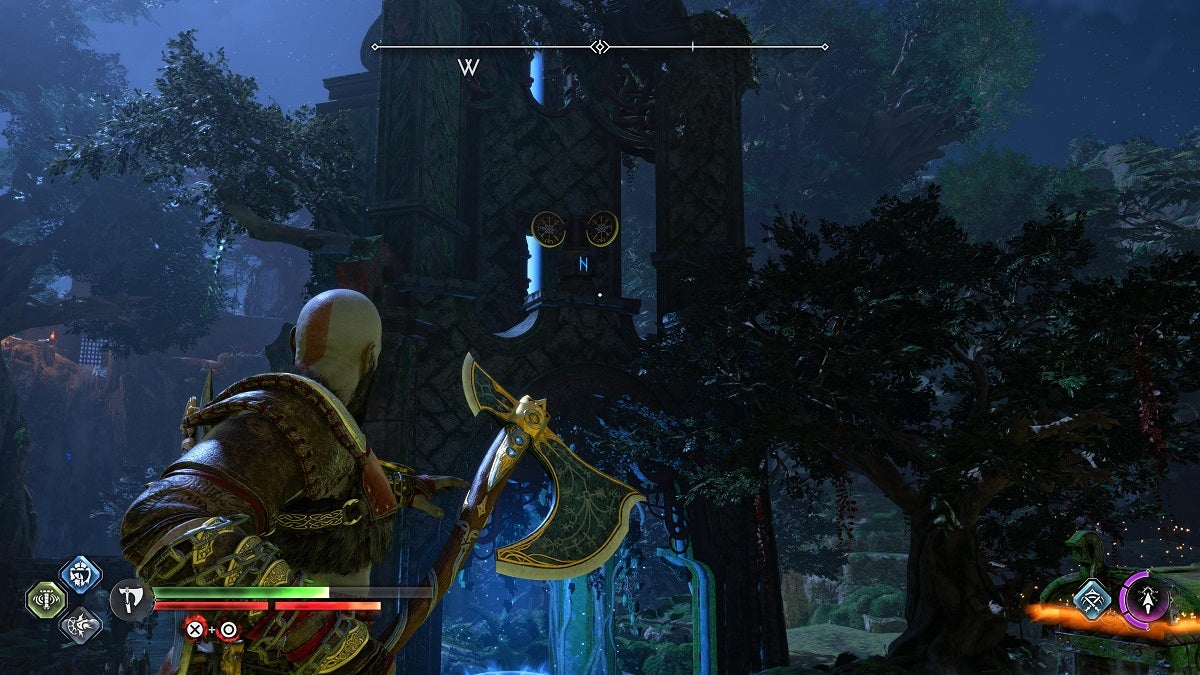
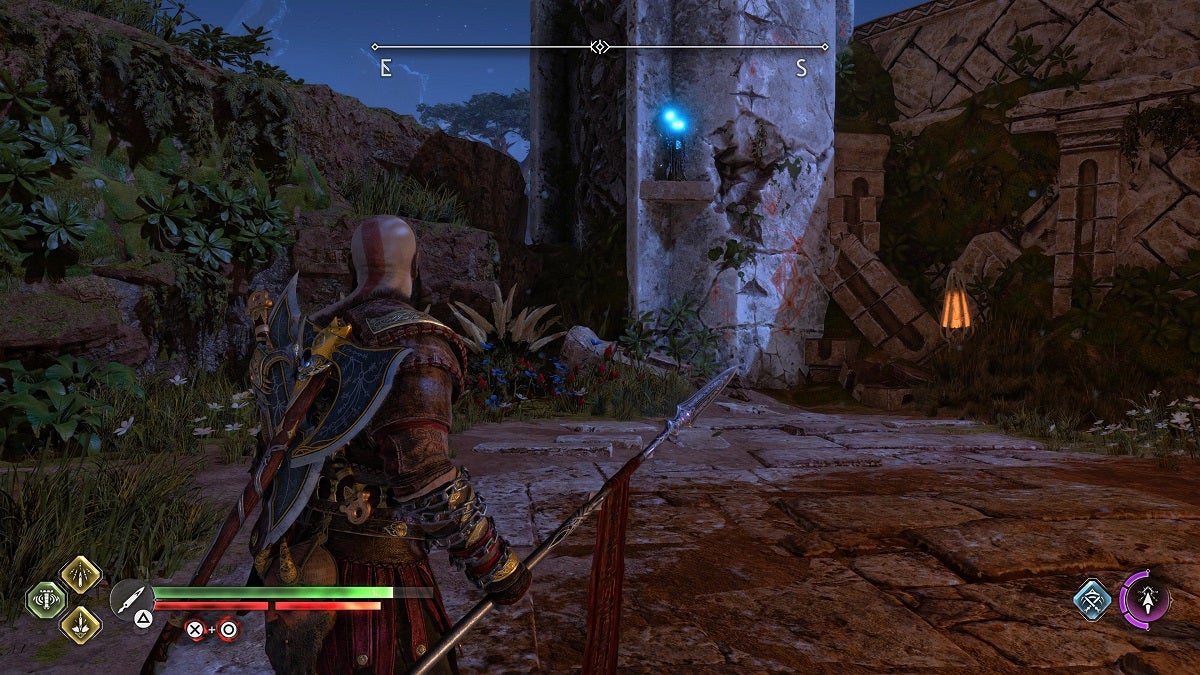
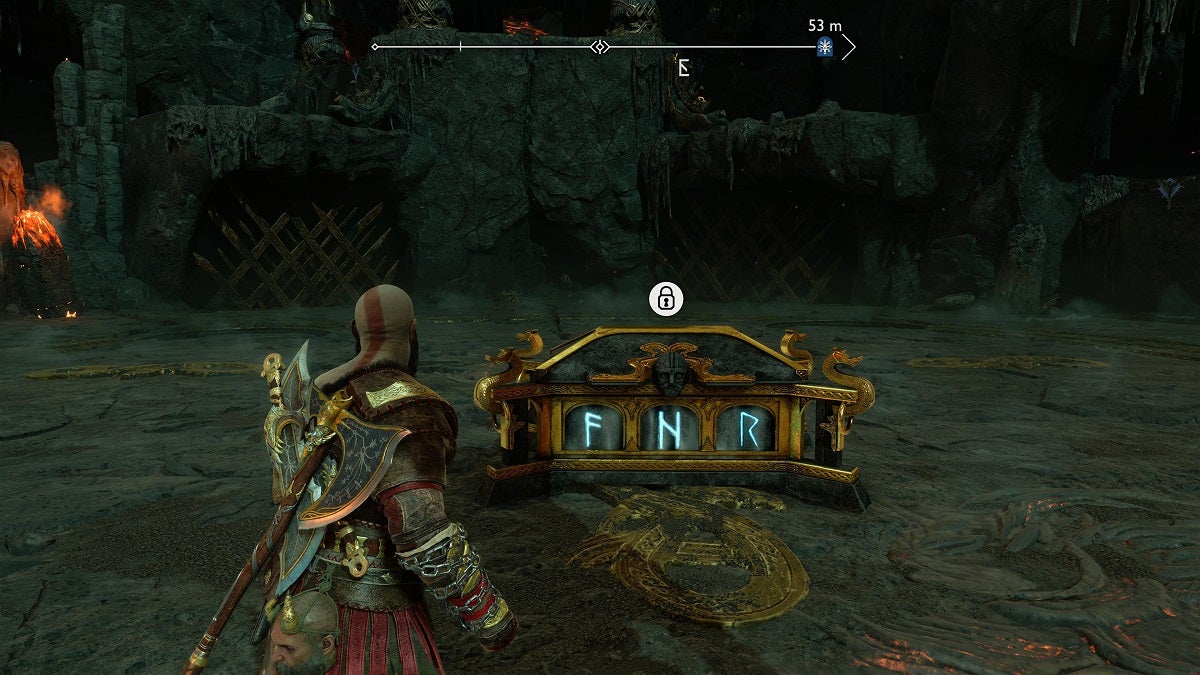
Puzzle-solving is a huge part of the gameplay loop of God of War Ragnarök. Almost equally as huge is opening and punching chests open to collect loot. Combine both mechanics and you get the Nornir Chest.
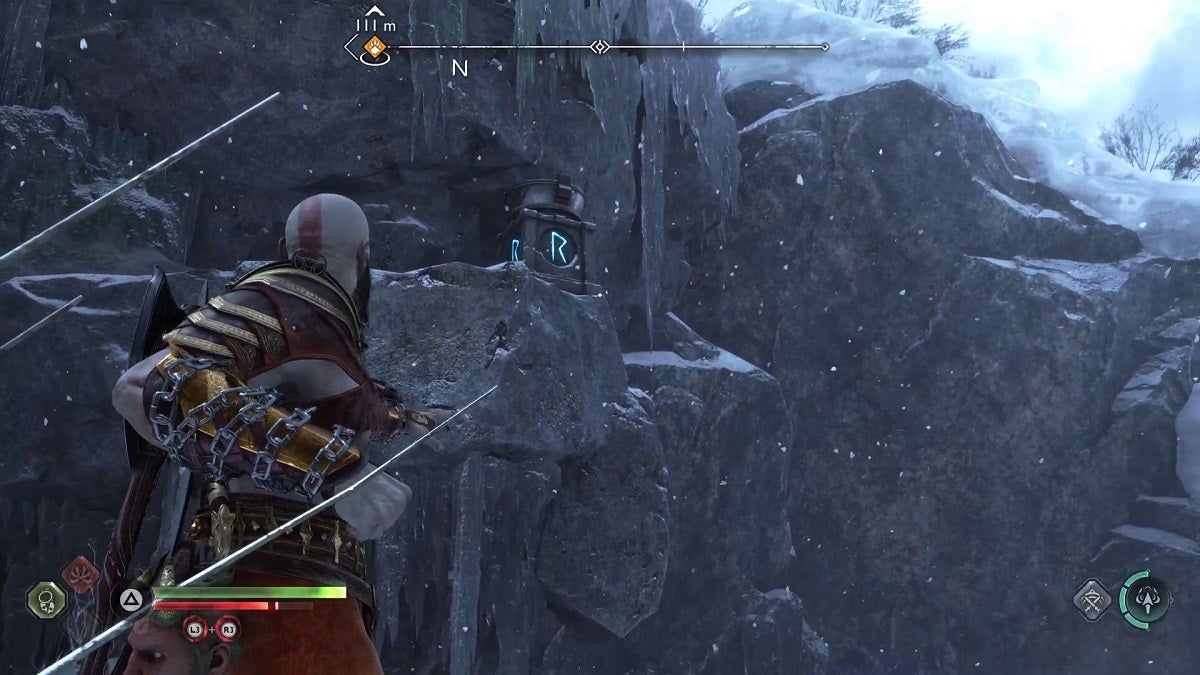
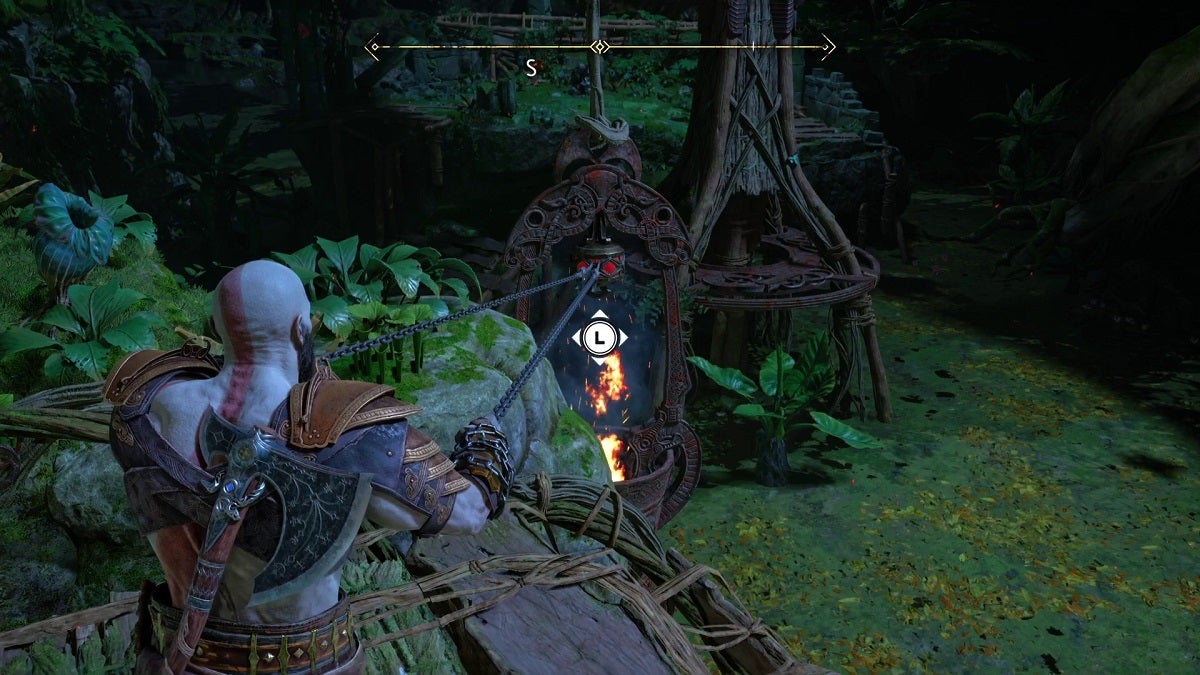
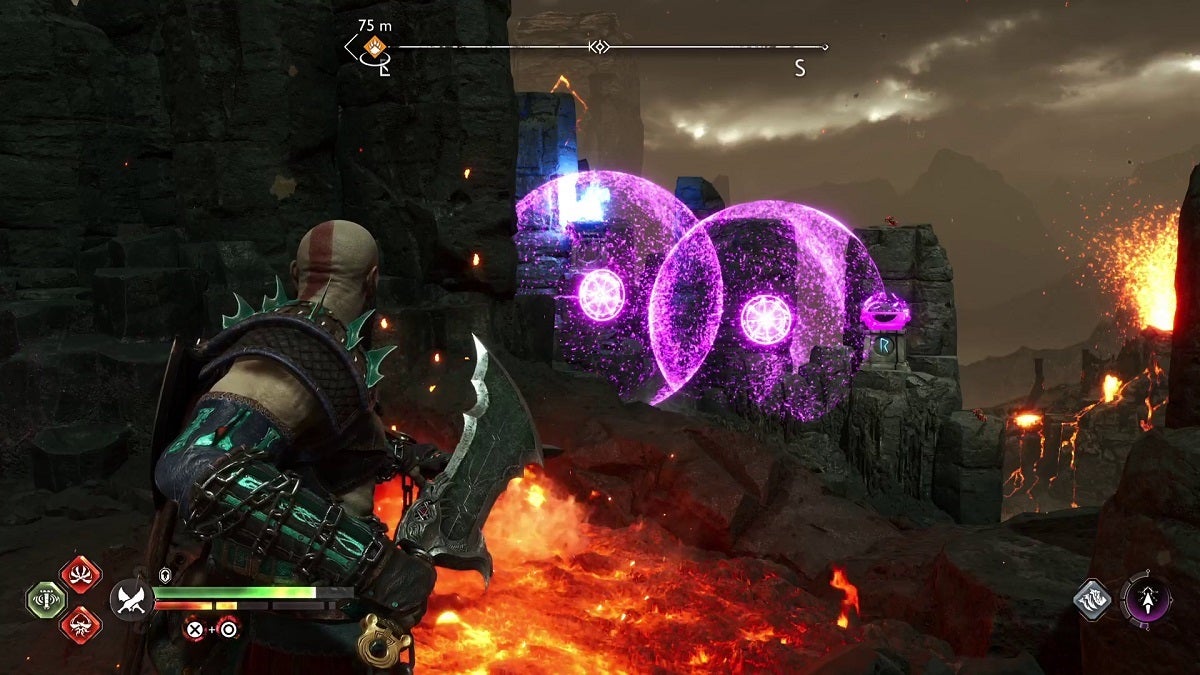
Nornir Chests aren’t easy to open. They require ringing three bells, flipping three turnstiles, lighting three braziers, or breaking three totems for them to open, making opening them a puzzle on their own. It’s always worthwhile opening these since they reward Idunn Apples or Horn of the Blood Mead, which increases HP and Rage, respectively.
There are 35 Nornir Chests in God of War Ragnarök, but you’ll only need 15 for Iddun Apples and another 15 for Horn of the Blood Mead. This means you’ll only need to open 30 of these to reach maximum HP and Rage. Opening the five extra chests will grant you Hacksilver and Enchantments instead.
Table Of Contents
Every Nornir Chest in Svartalfheim
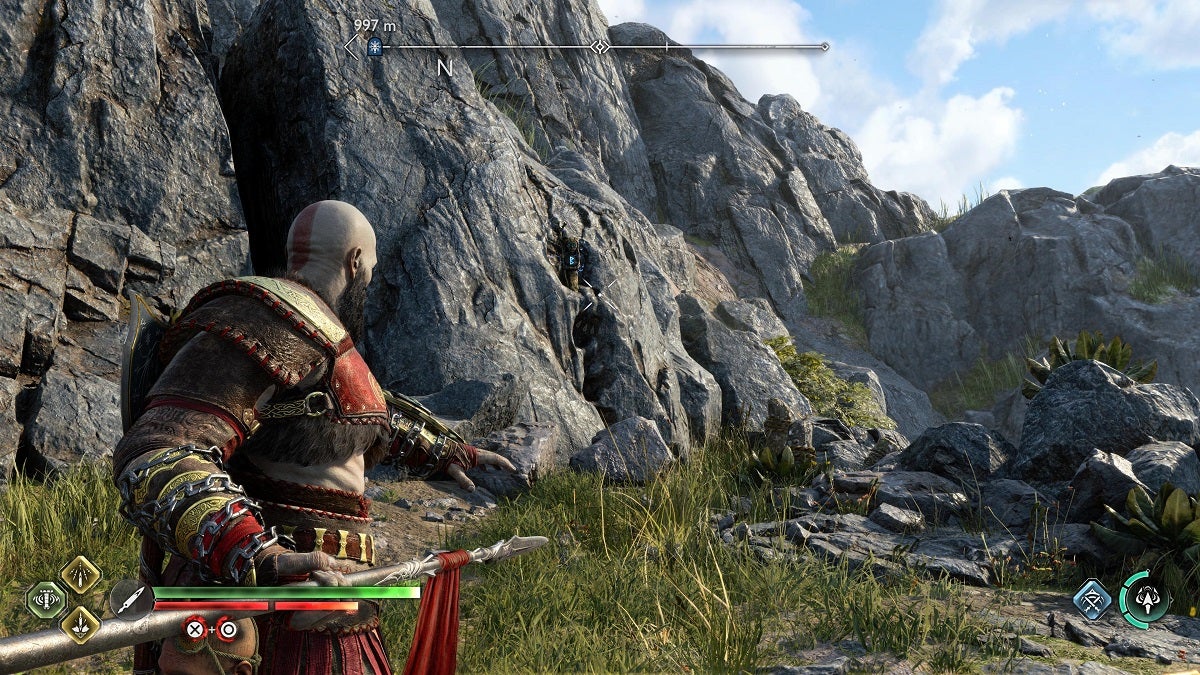
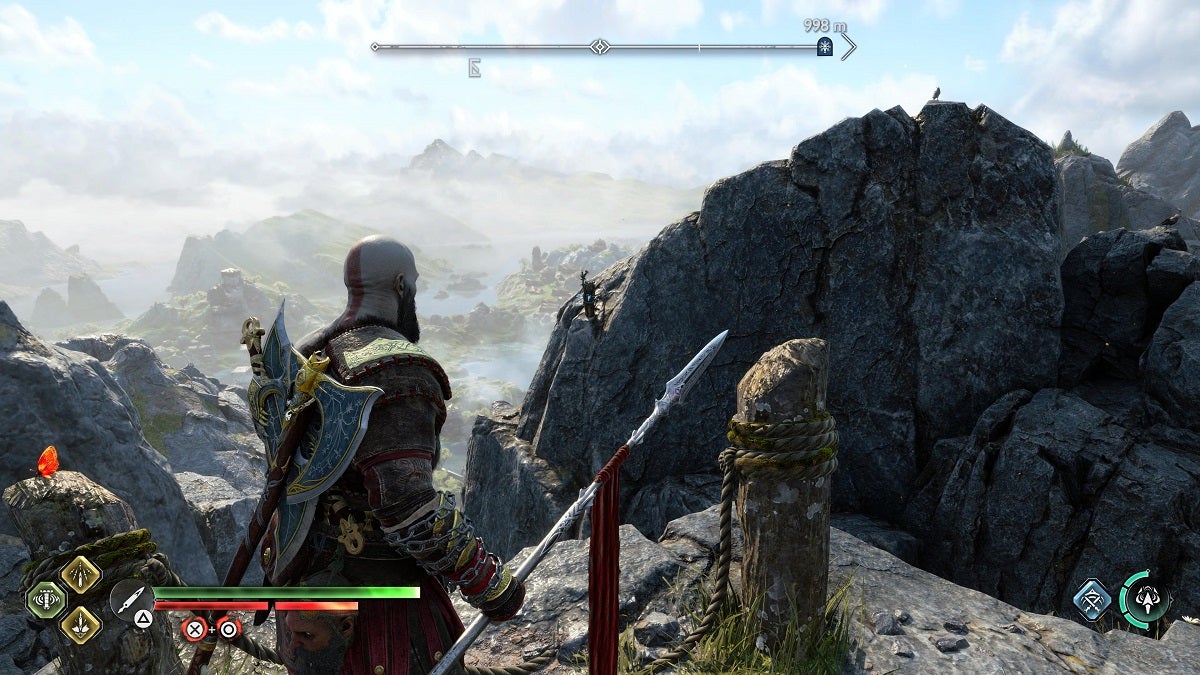
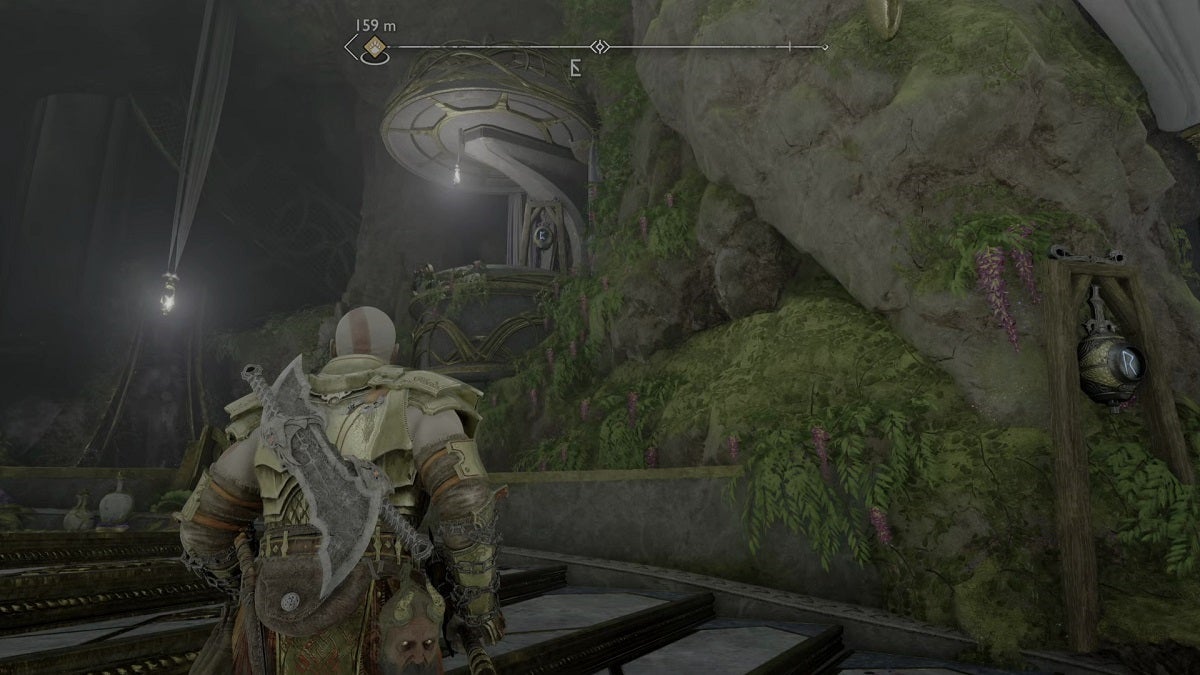
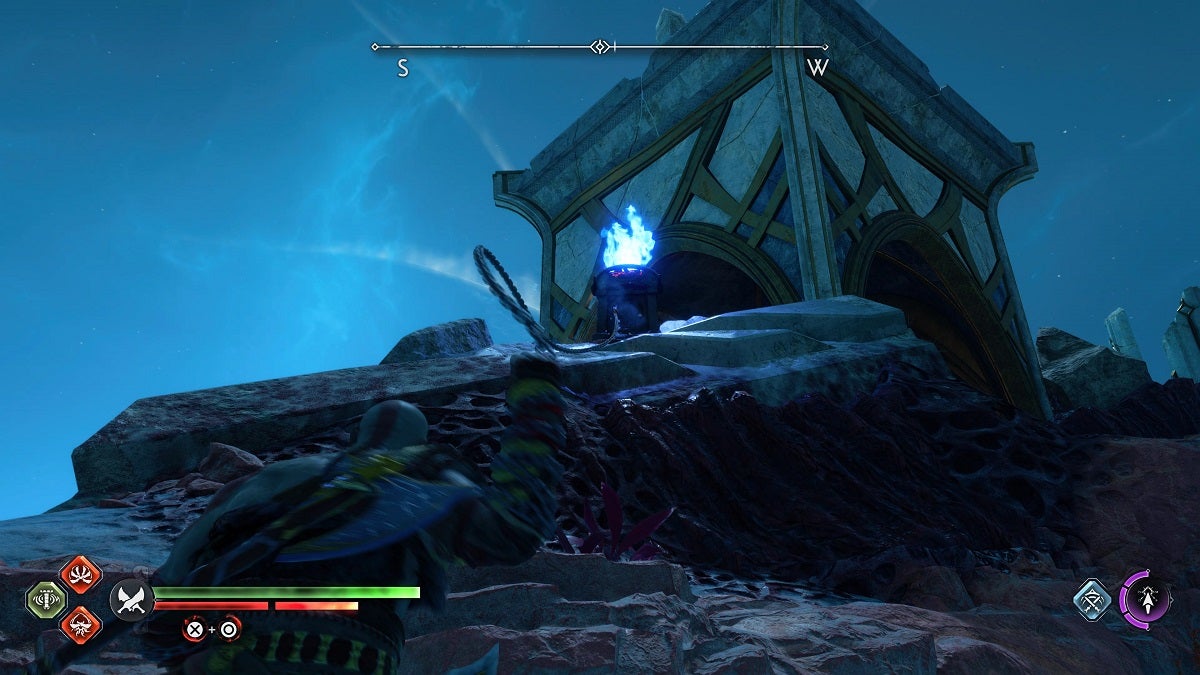
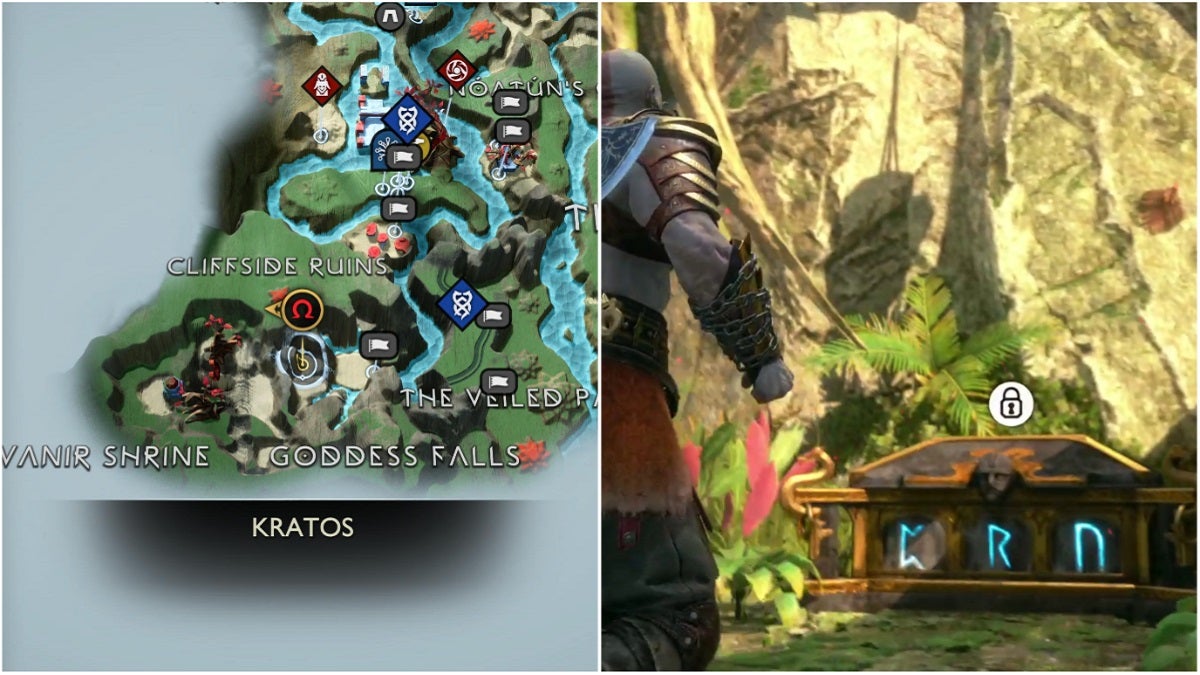
The first realm you’ll explore in God of War Ragnarök, aside from your first few hours in Midgard, is Svartalfheim. There are over 10 Nornir Chests in this realm. Pay attention to the prerequisites of these chests. If it mentions an item you don’t have yet, come back later. You’ll acquire the necessary items via the main story quest later in the game.
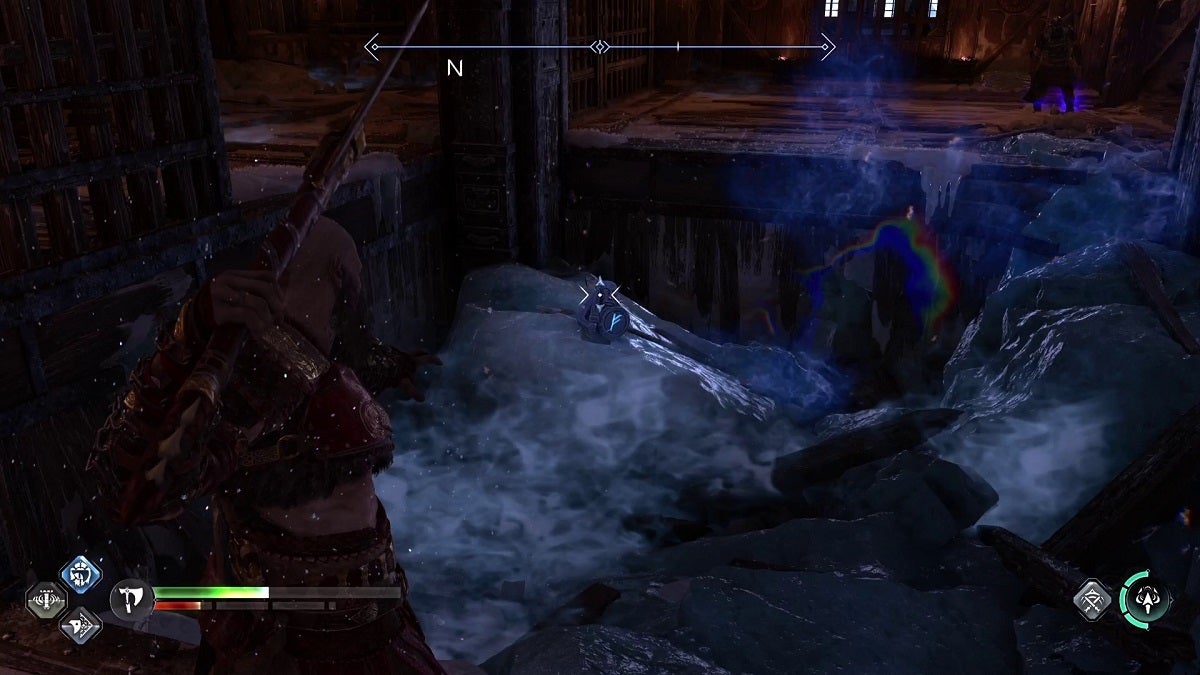
Aurvangar Wetlands
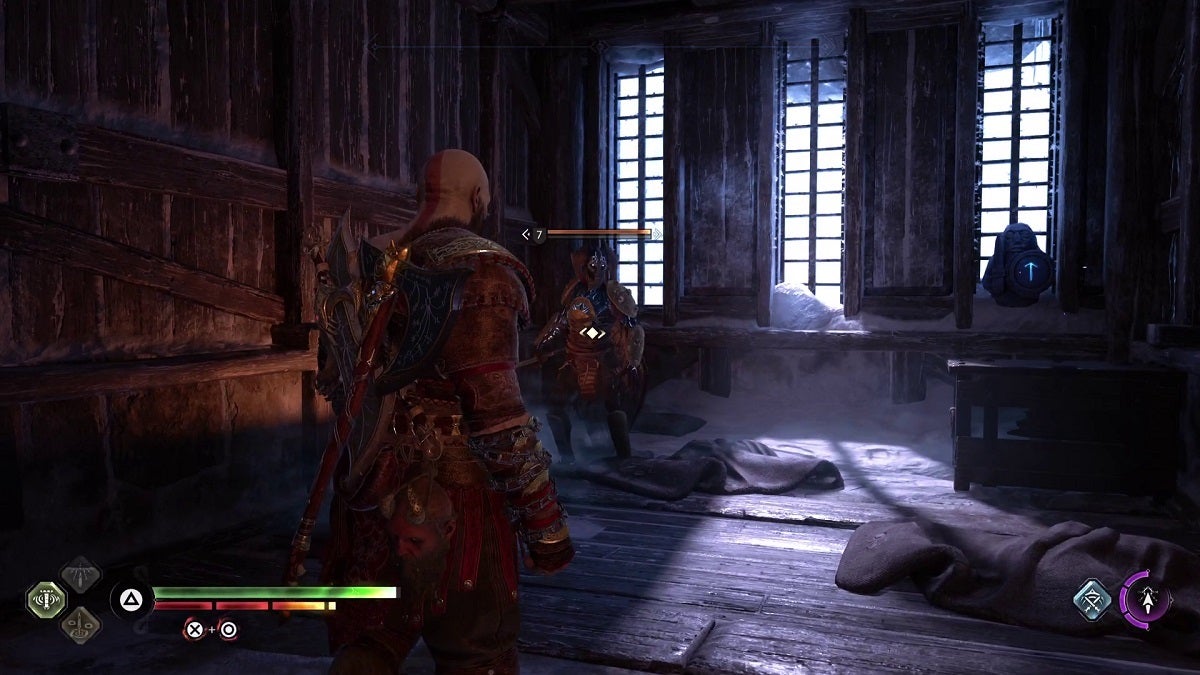
Prerequisites: None
The first Nornir Chest in the Aurvangar Wetlands is one of the first you’ll come across in the game. You’ll need to destroy three seals to open this chest.
The first seal is located to the right of the chest.
To find the second one, look over to the chest and you’ll see it on top of an islet.
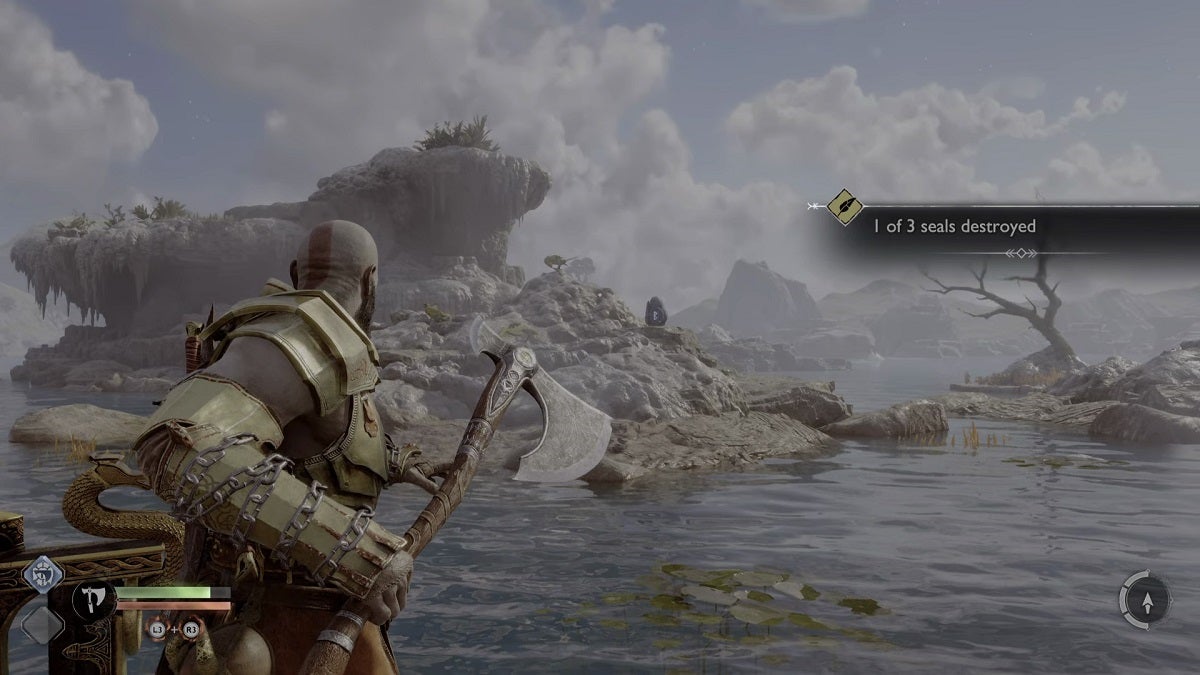
To get to the third one, head to the left and freeze the geyser at the base of the upper ground across the chest. Zip over to this area and you’ll find the third seal next to a tree.
Northern Aurvangar Wetlands
Prerequisites: None
Head to the northern section of the Aurvangar Wetlands to get to the second Nornir Chest in this region. You can get to this boat dock by rowing the boat under a short bridge.
You’ll need to turn three turnstiles to open this Nornir Chest. The first one is located behind a geyser to the west. You don’t need to freeze the geyser to turn the turnstile. However, you can freeze the geyser to see if you’ve turned it to the correct rune.
Continue forward and stop before jumping over a gap. Look to the lower left to see the next turnstile.
Make your way back to the Nornir Chest and keep heading east until you see a wooden structure you can latch onto with your blades. Zip to it to get to the upper area. Look to the upper right and you’ll see the final turnstile.
Dragon Beach

Prerequisites: None
This Nornir Chest is opened by destroying three seals. The first one is behind the geyser behind the Nornir Chest.
The second one is located behind a grate next to a geyser on the southern corner of the beach. Go around to the right to get a proper angle on the seal.
The last seal is behind the geyser on the western corner of the beach, in between the two boat docks.
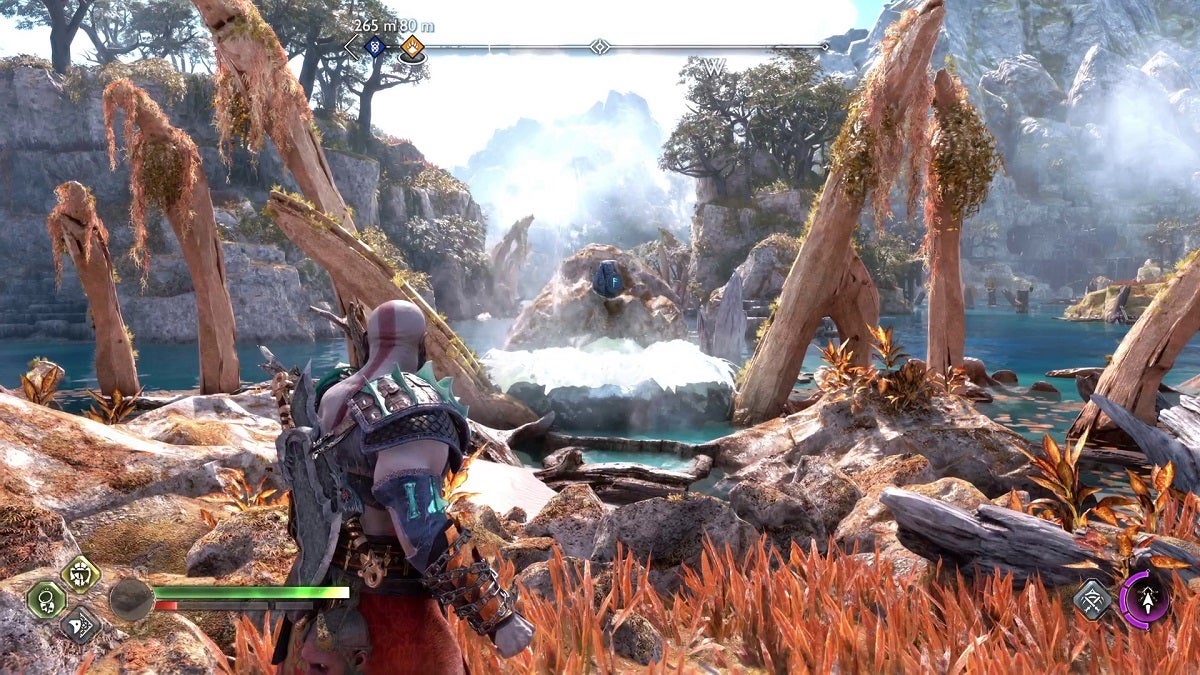
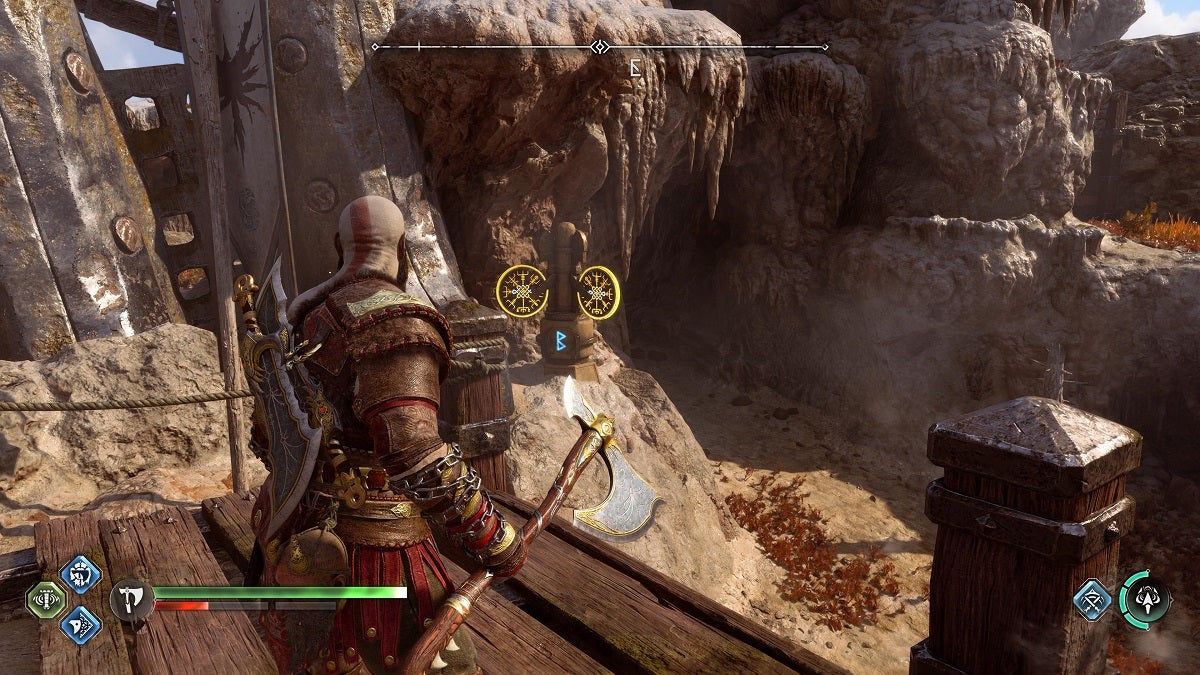
Radsvinn’s Rig
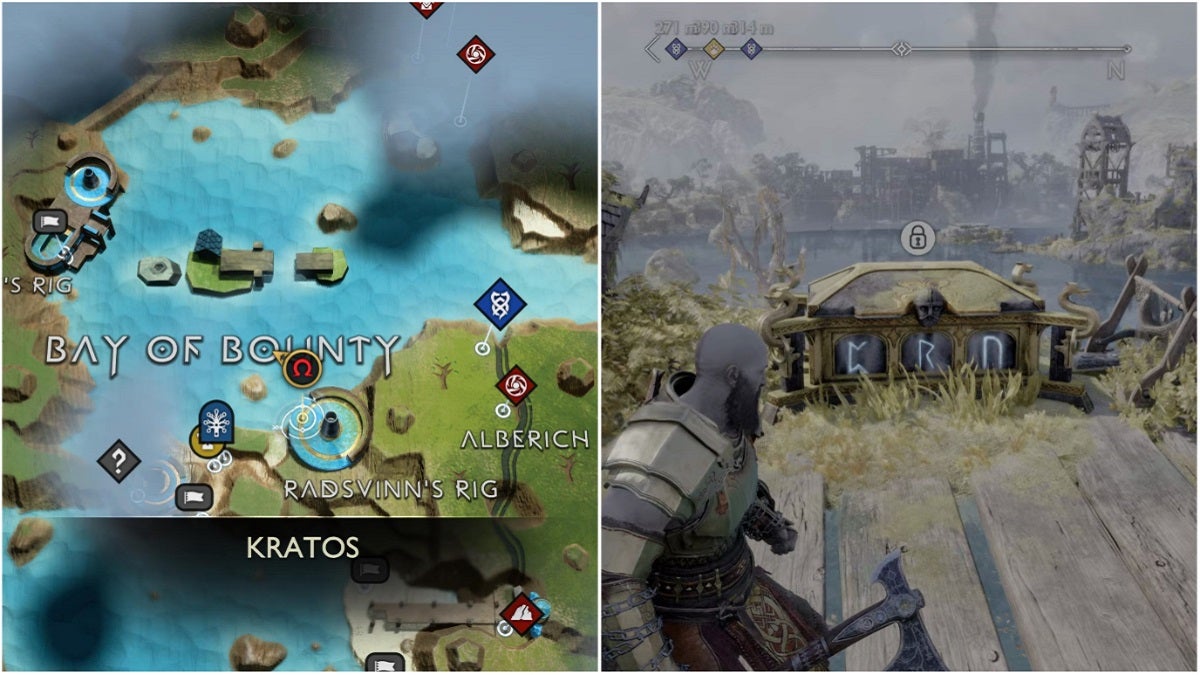
Prerequisites: Sonic Arrows
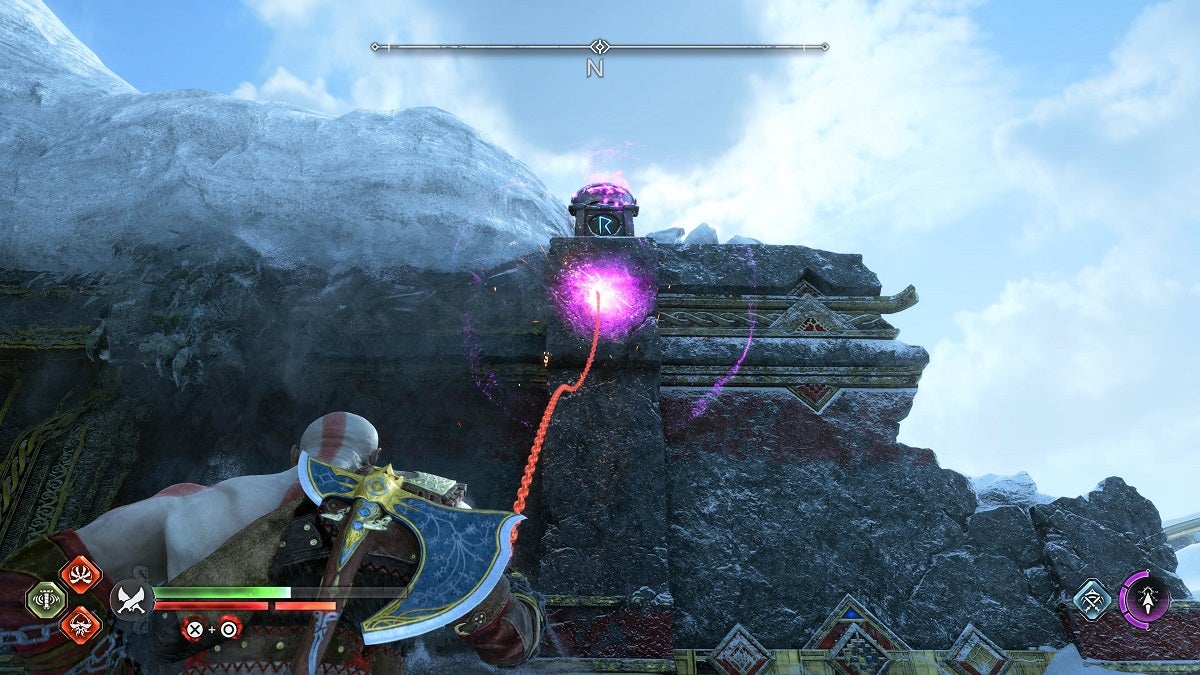
You can open the Nornir Chest in Radsvinn’s Rig by lighting three braziers. The first one is located beside the chest.
Jump over to the platform to the right and keep heading forward until you see a barrel to the left you can break with Sonic Arrows. Do so and you’ll find the arrows behind it.
Zip to the upper part of the right and go to the southwestern end. To the bottom left, you’ll see an explosive pot behind a grate. Destroy the pot to light the third brazier.
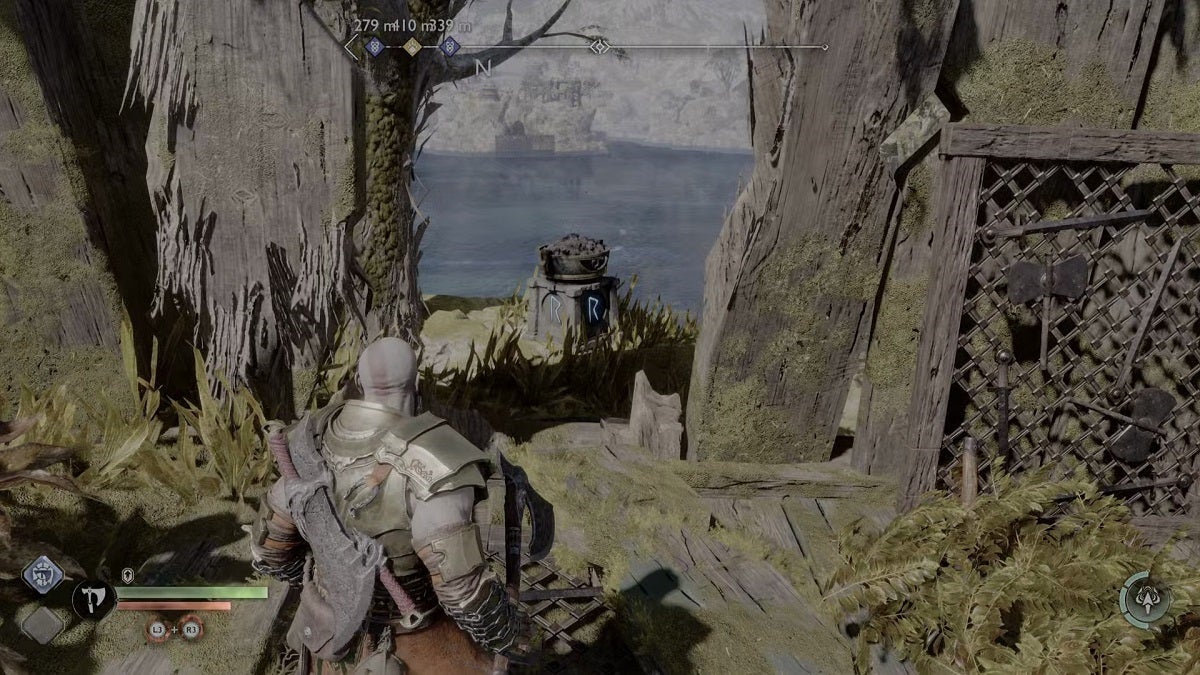
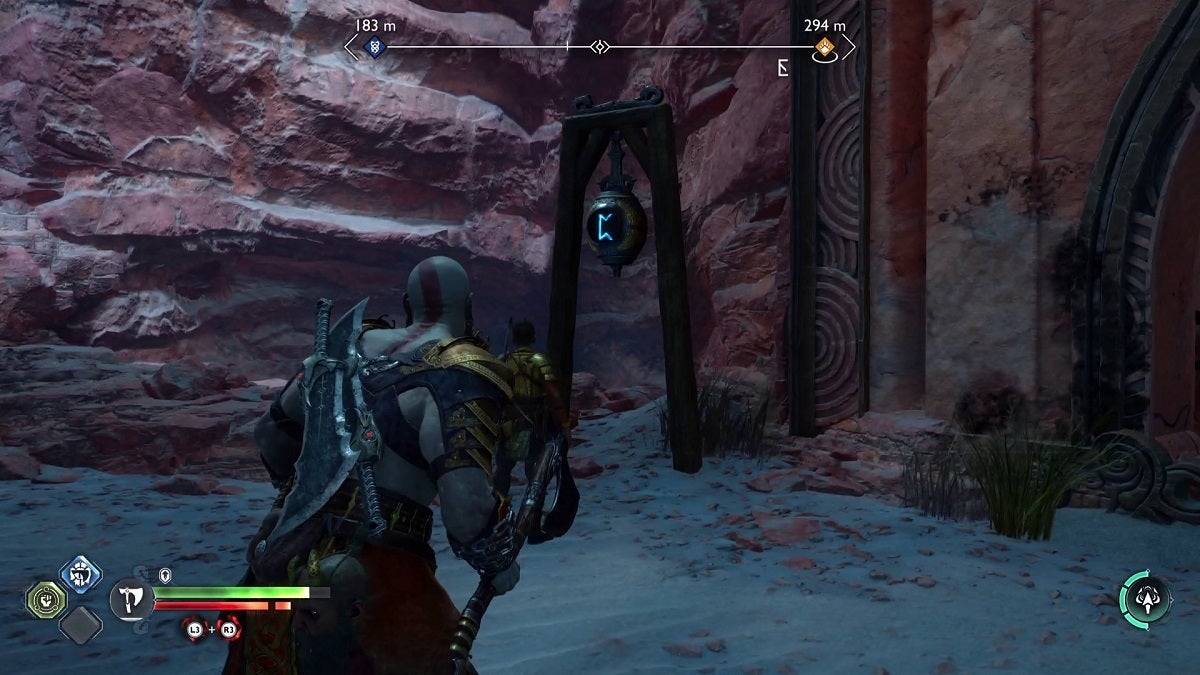
Alberich Island
Prerequisites: Sonic Arrows
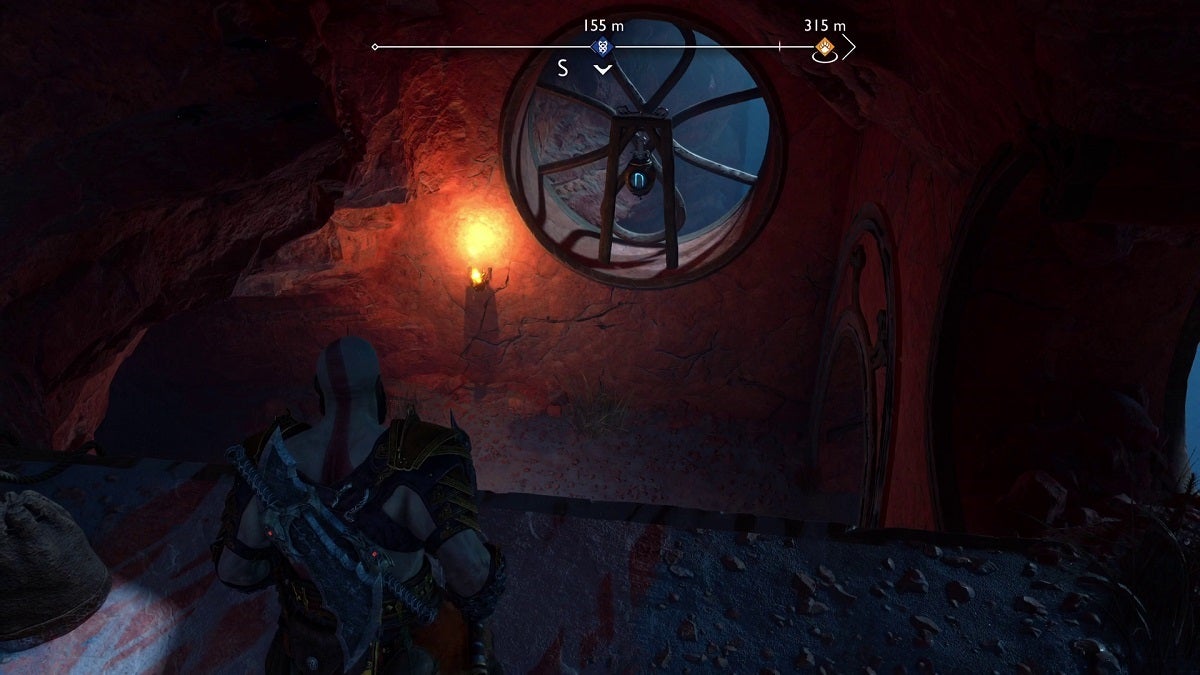
You’ll need to hit three bells in quick succession to open the Nornir Chest in Alberich Island. The first is one located right next to the chest. Leave this for now.
The second one is hung by a wooden crane, but the bell is situated behind a grate. You can lower the bell by hitting the middle section of the crane with a Sonic Arrow.
Head over to the right and you’ll spot the third bell behind a gate. Throwing your axe to the spinning switch to the left will make the bell rise up, allowing you to hit it.
Hit the final bell first, then run up to the bell next to the chest, then turn around and hit the bell that’s hung by a crane.
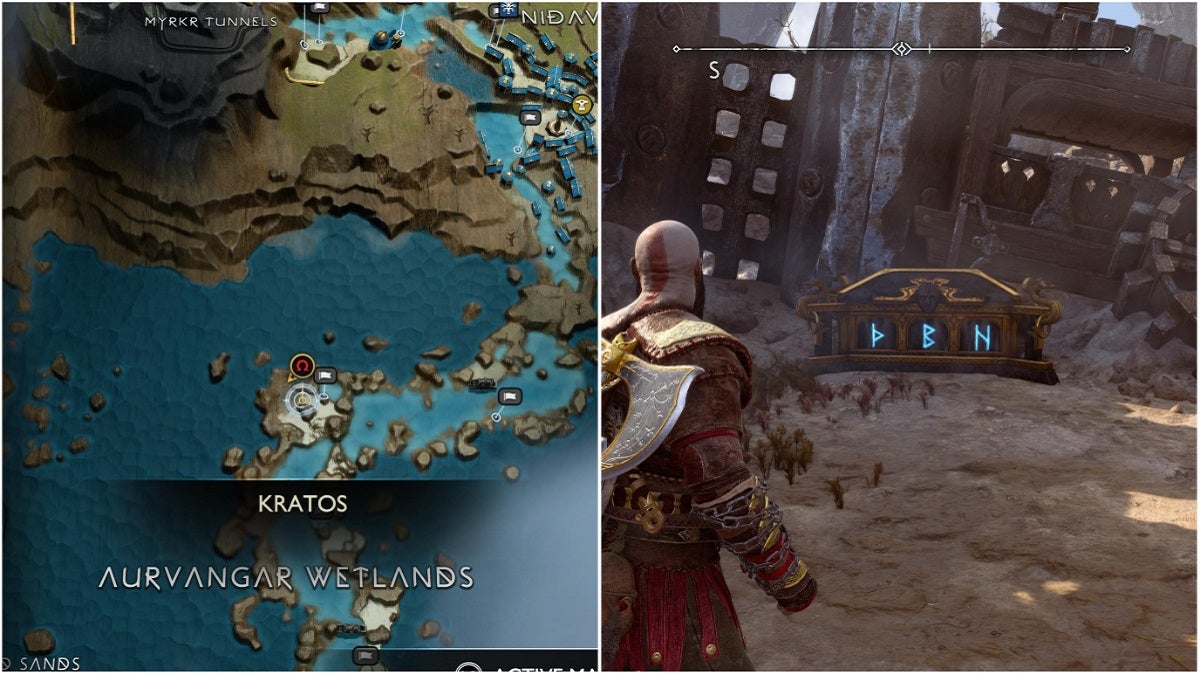
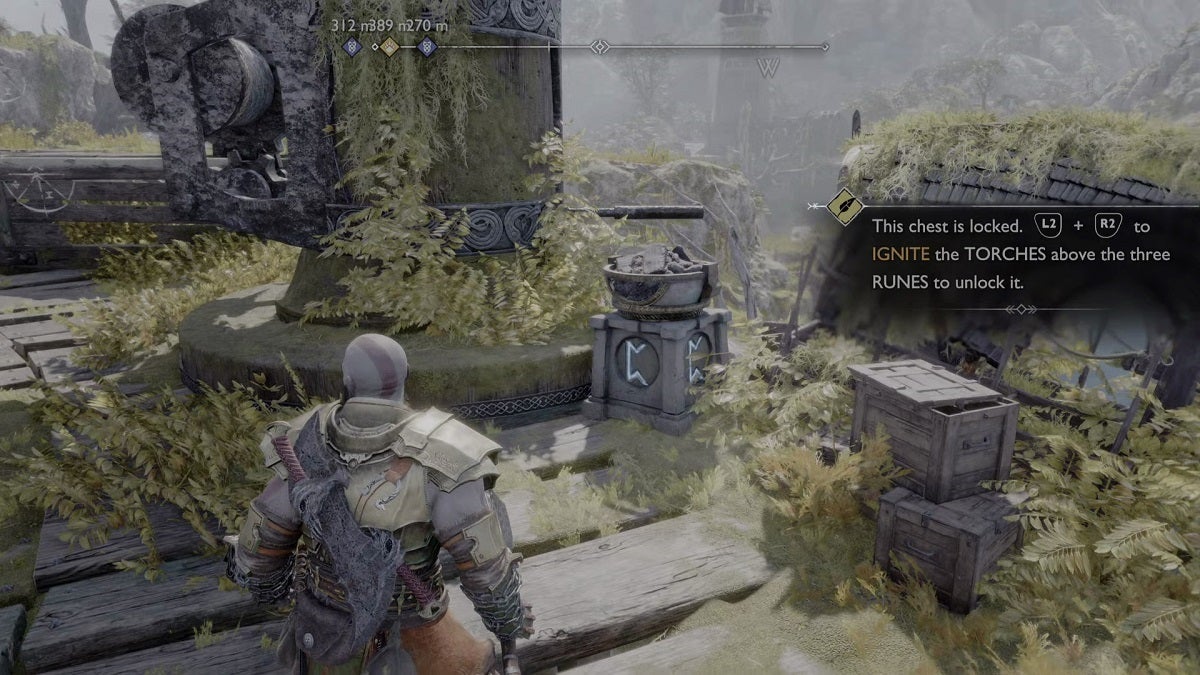
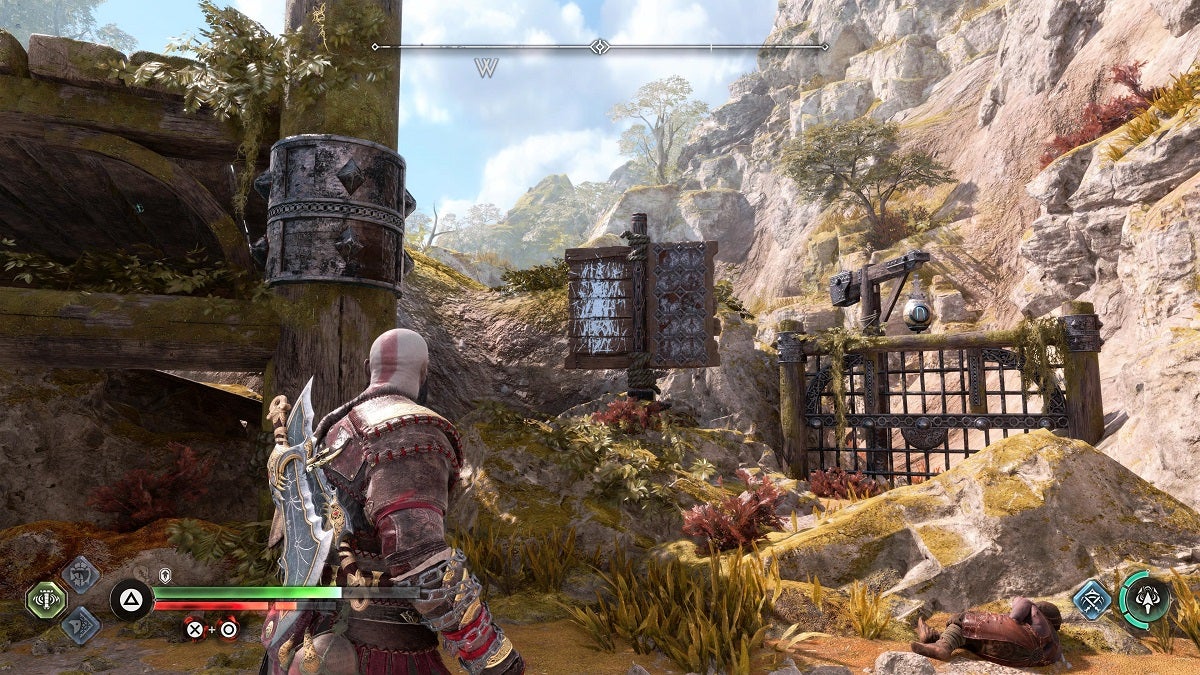
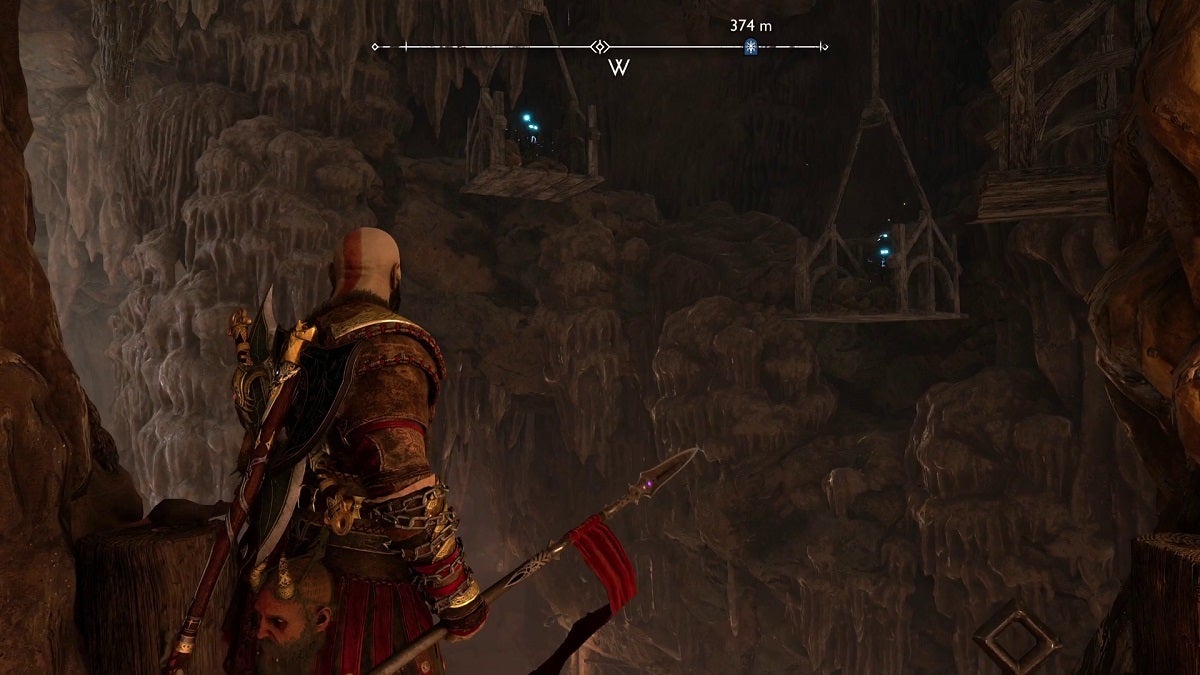
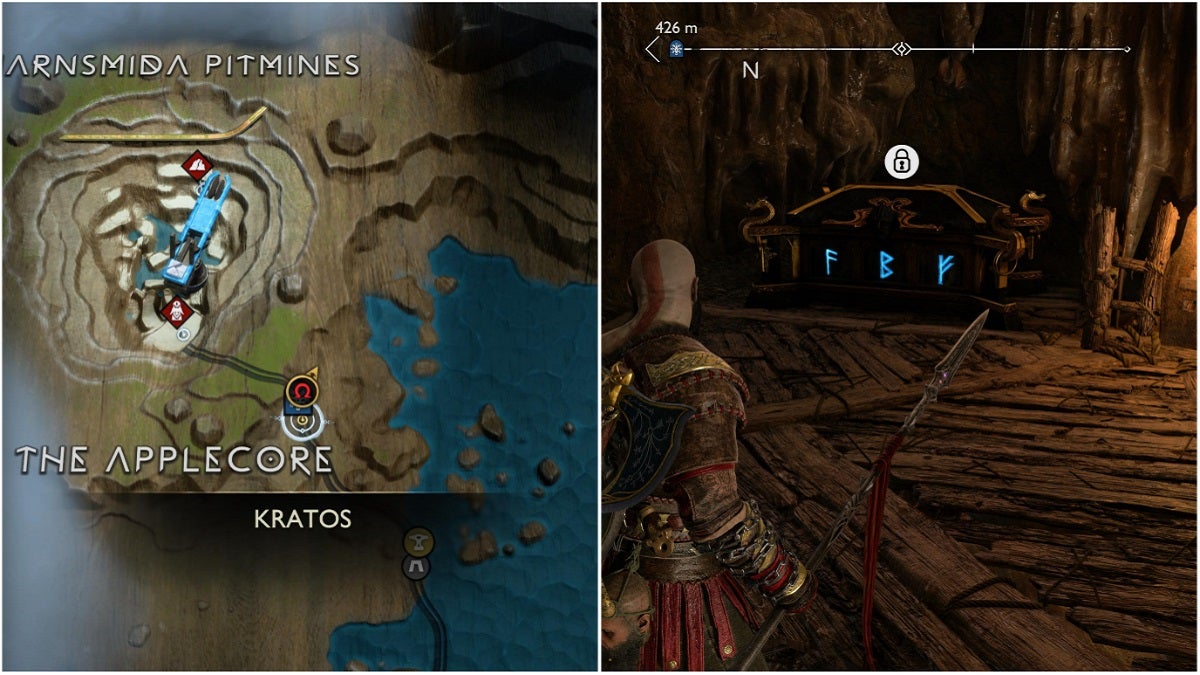
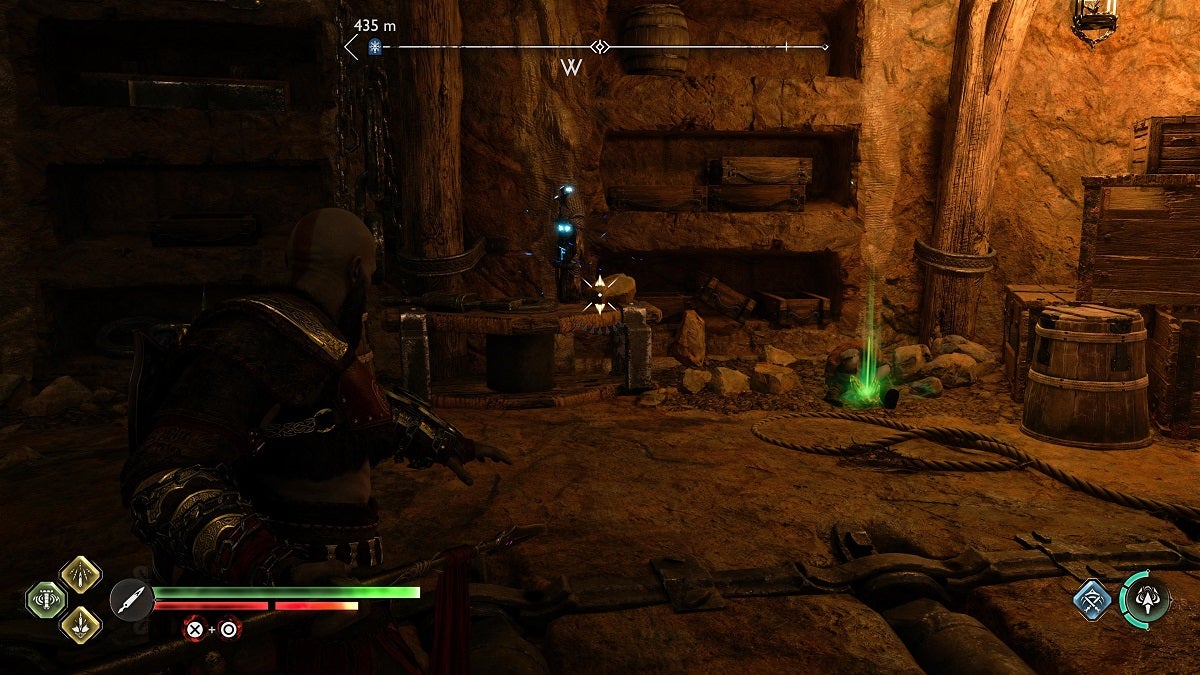
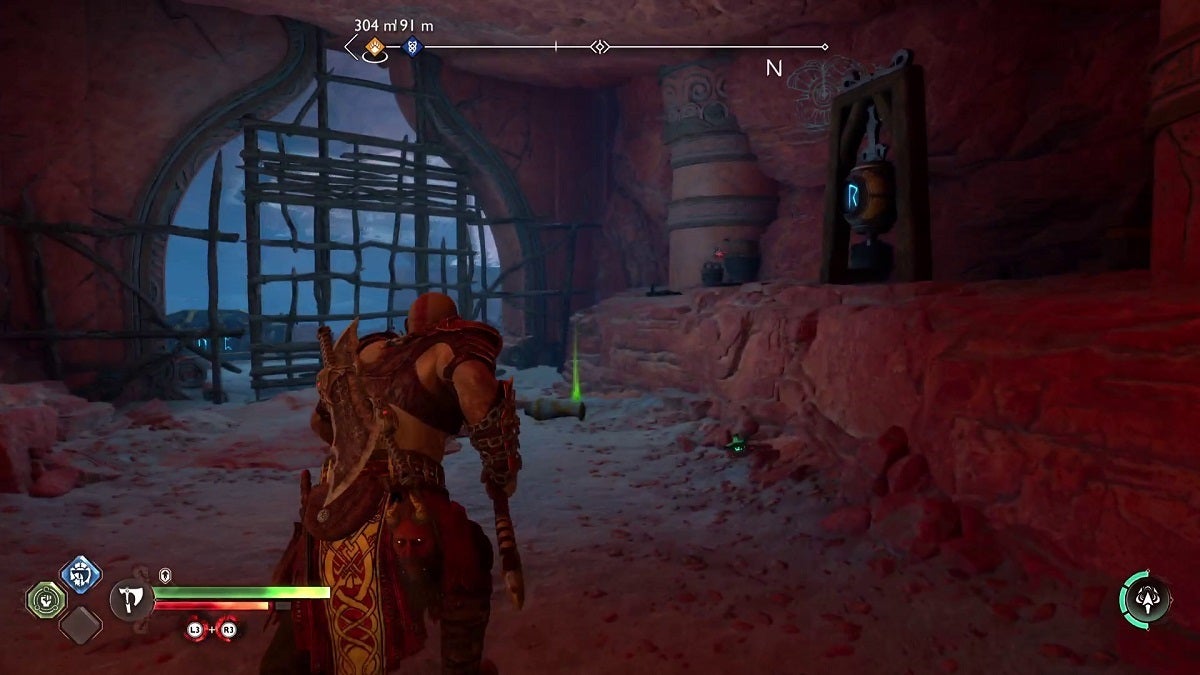
Jarnsmida Pitmines
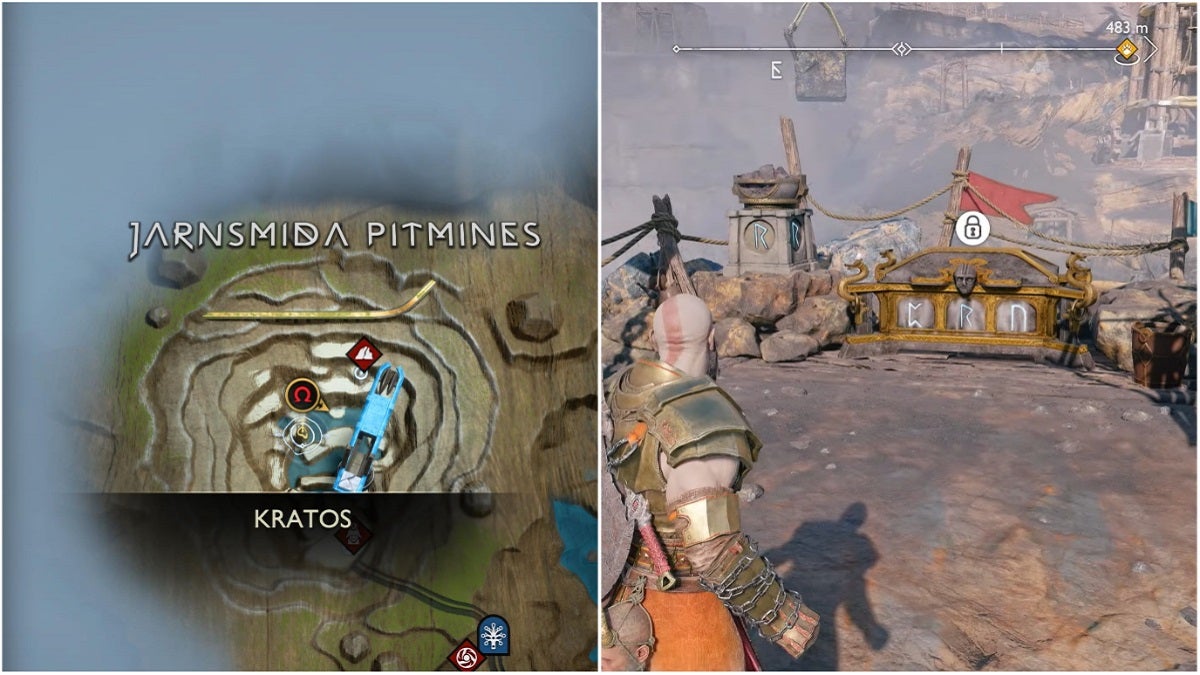
Prerequisites: None
The Jarnsmida Pitmines is a place you’ll pass through during the “Quest for Tyr” main mission. If you missed this Nornir Chest during the said mission, you can return to the Jarnsmida mines by using the cable ferry in the Aurvangar Wetlands to the Sverd Sands. This path will lead you to the Applecore, then to the Jarnsmida Pitmines.
To open the chest, you’ll need to light three braziers. The first one is located right next to the chest.

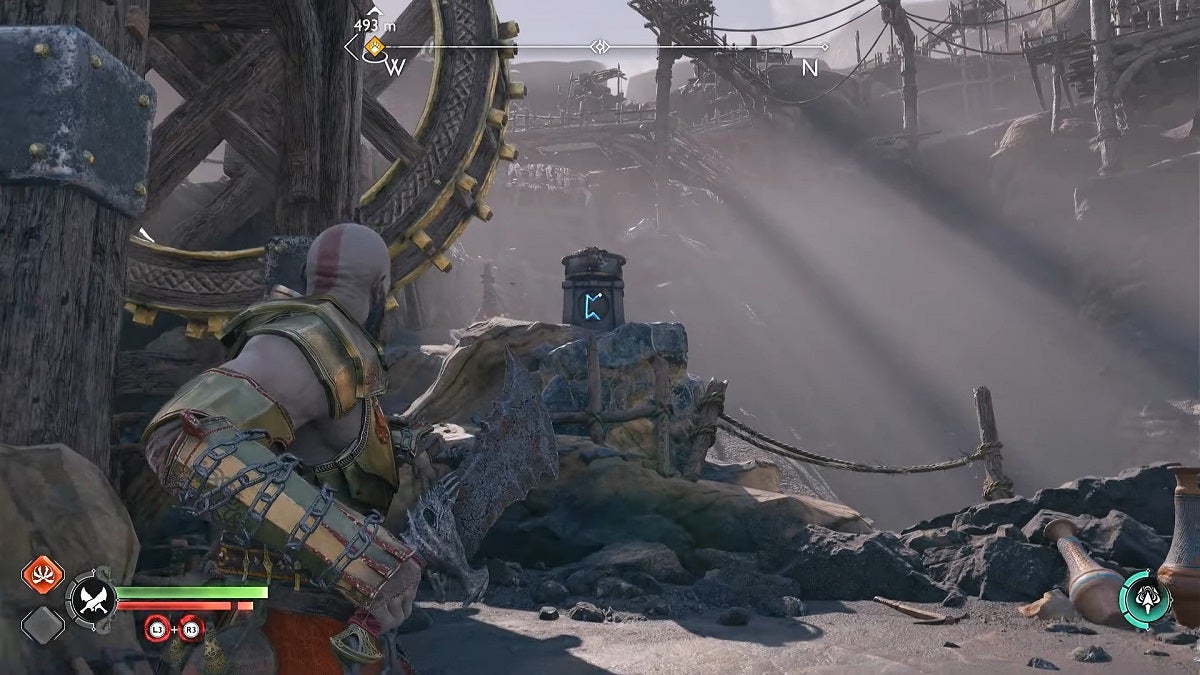
Head left and jump down to the lower area. Keep walking forward and you’ll see the next brazier under a water wheel. Don’t do anything to it yet. For now, zip to the next platform where you’ll find another brazier.
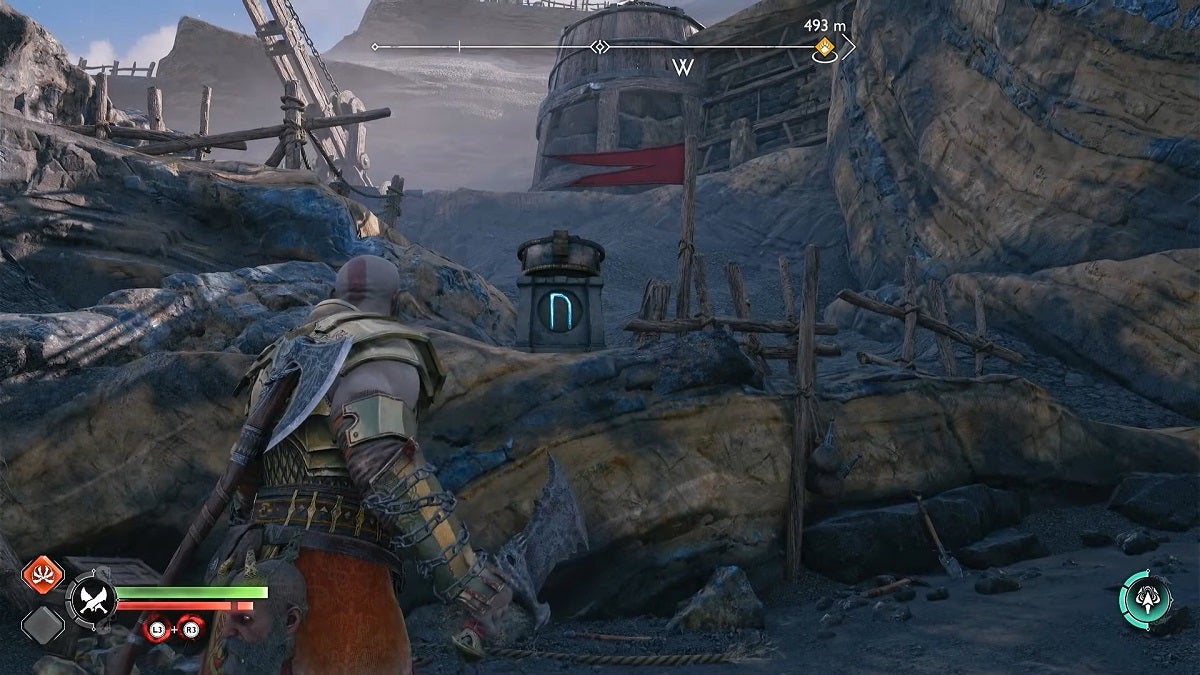
Return to the previous brazier. Look up to the water wheel and throw your Leviathan Axe at the tip of the wooden trough above. This will stop the water from falling on the brazier, allowing you to ignite it.
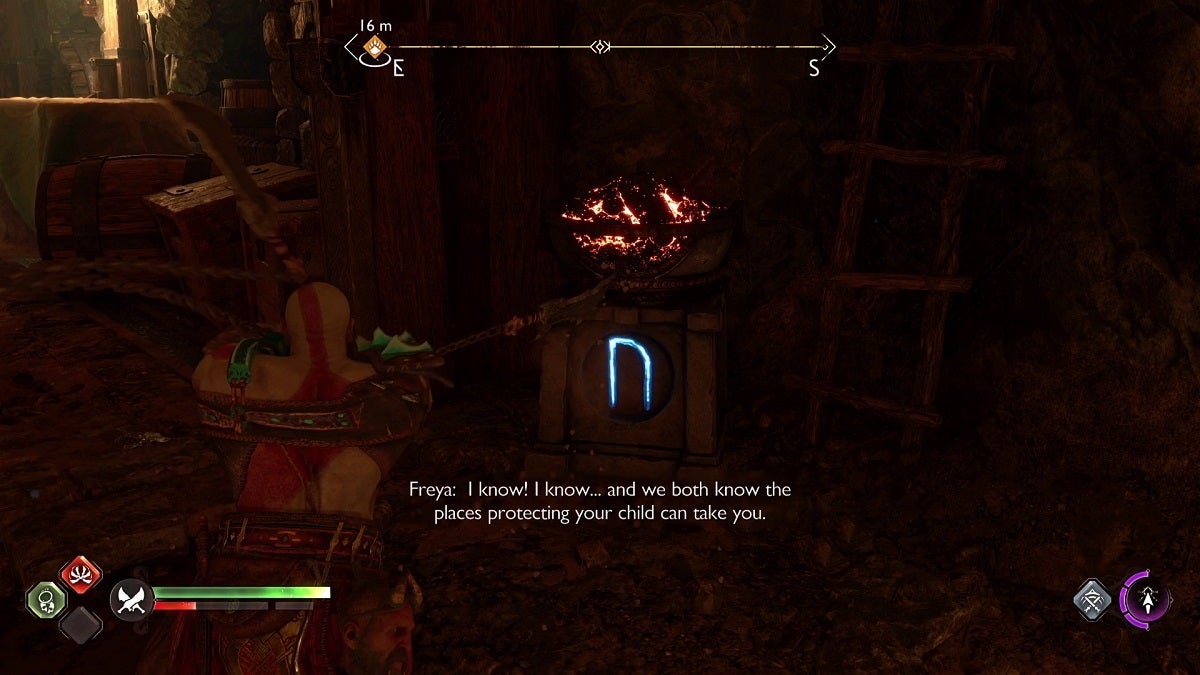
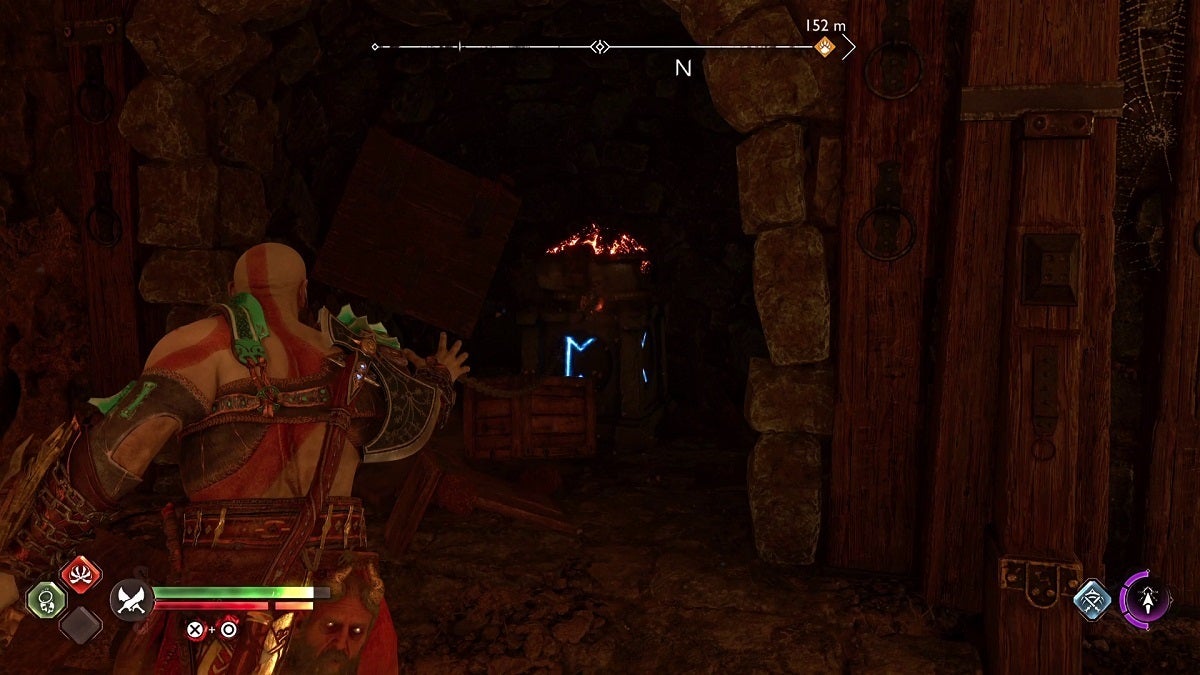
Mykar Tunnels
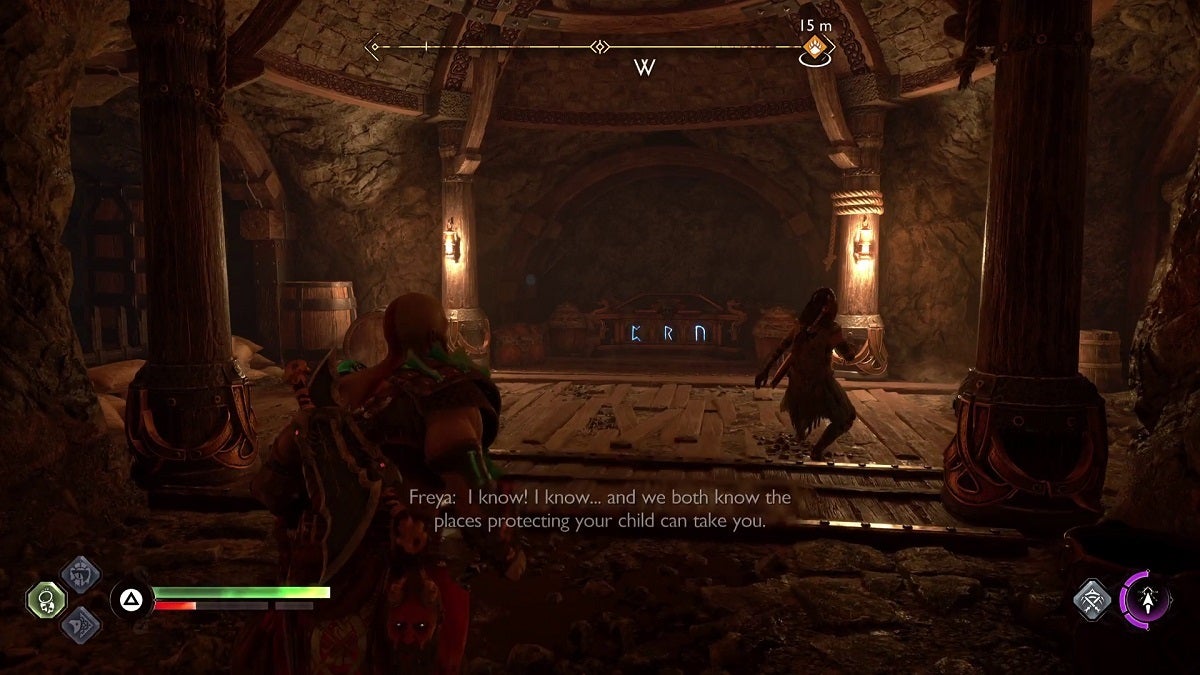
Prerequisites: Runic Arrows
At the beginning of the “Forging Destiny” main quest, you’ll come across the Nornir Chest as you go through the tunnel.
The chest is opened by lighting three braziers. The first brazier is located to the left of the chest. You can use the Runic Arrows to light the brazier.

The second brazier is located across the chest.
Run up to the path that’s facing the chest and face the first opening to the left. Destroy the boxes and you’ll see the last brazier.
The Forge
Prerequisites: Draupnir Spear
This Nornir Chest is located in the area before the gate to The Forge. You’ll need to destroy three totems with your spear to unlock this chest.
The first totem is on a hole in the wall northeast of the chest.
Head southwest and you’ll find the next totem atop the rock ahead.
Turn around and run to where the fallen wooden cart is. You’ll find the final totem on top of a rock.
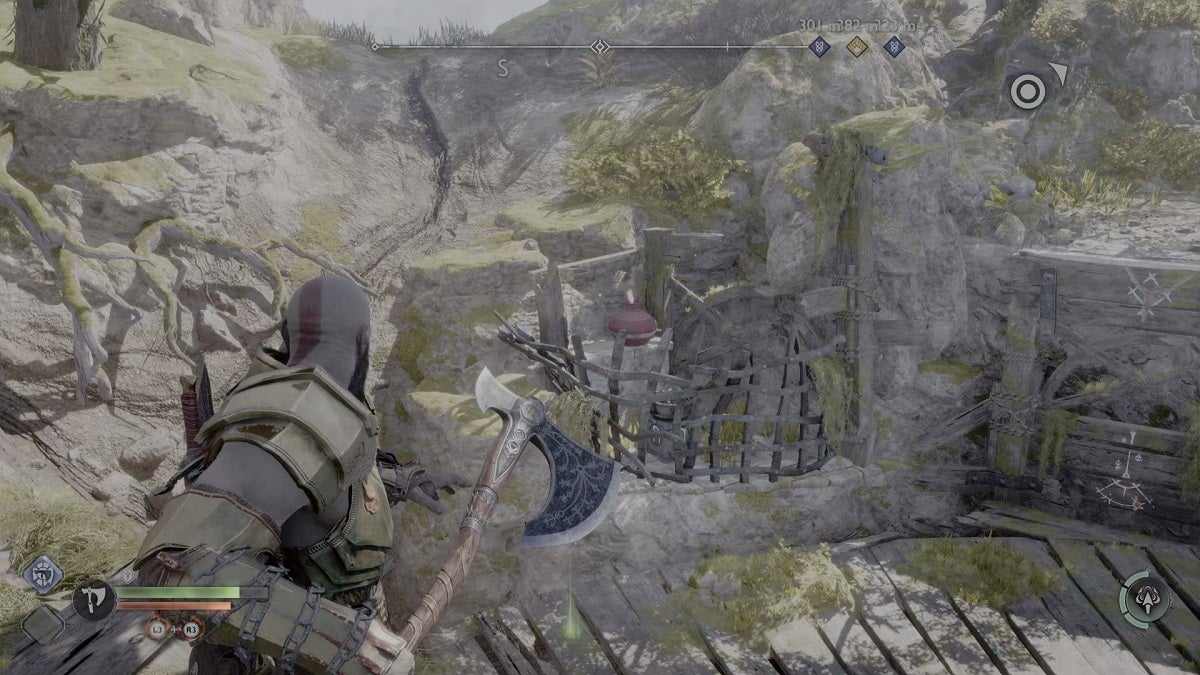
Sverd Sands
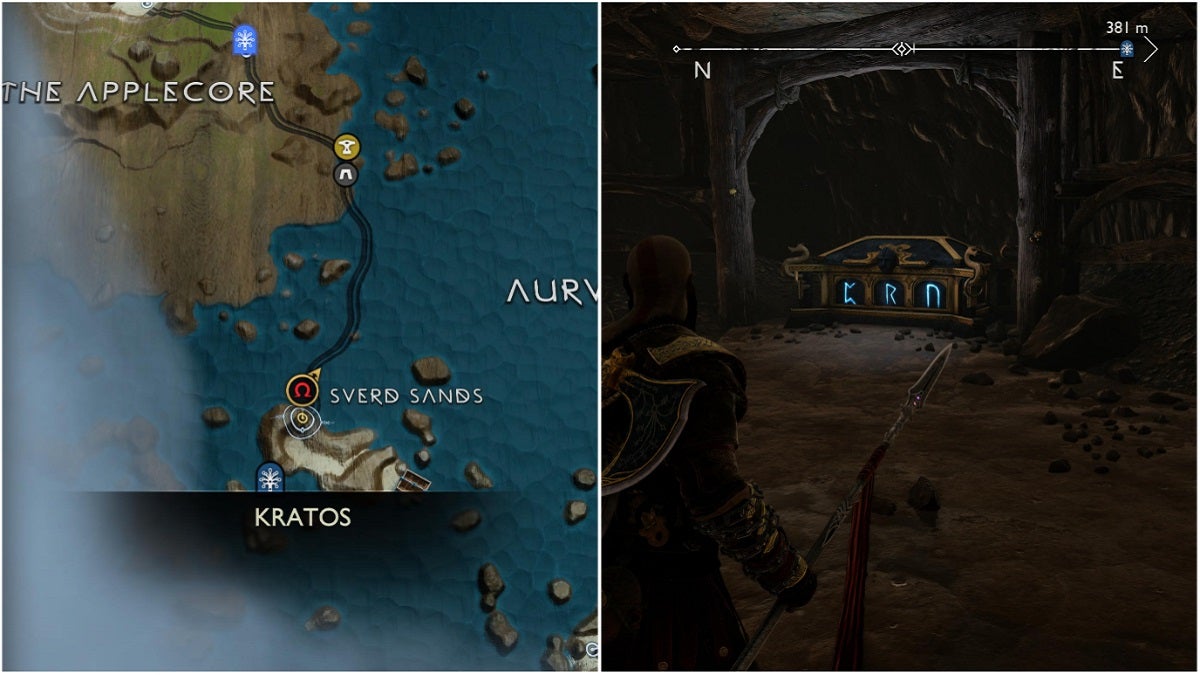
Prerequisites: Draupnir Spear
To the north of The Applecore Descent Mystic Gateway, interact with the rope to create a zipline for yourself using the Draupnir Spear. Head down, then to the right and you’ll find a wind spout. Throw a spear here. You can then use this as a foothold to get to the upper area. Keep heading onwards and you’ll see the Nornir Chest.
This chest is opened by destroying three Nornir totems. However, these totems can only be destroyed with the spear, and they all need to be detonated at once.
The first two totems are located right across the chest, on a wooden platform hanging from the ceiling. Throw a spear at them, but don’t explode them yet.
Turn around and head right, up the two high ledges. Turn around and you’ll see the third totem leaning against a rock column. Destroy them at once and the chest will open.
The Applecore
Prerequisites: Draupnir Spear
The Nornir Chest is located on the corner just before the passage where The Applecore Mystic Gateway is. The totems here are destroyed by shattering all three at once using the Draupnir Spear.
For the first totem, head to the right of the Nornir Chest and look over to the waterfall that’s blocked by a broken wooden trough. You’ll see a faint light behind the waterfall under it. Aim your spear here until the aiming reticle becomes yellow before throwing it.
The next totem is located right across the Mystic Gateway.
Next, head to the passageway where a Realm Tear is. To its right is a chunk of golden rocks. Destroy it by hitting the explosive pot behind it to reveal the third totem.
Every Nornir Chest in Midgard
Even though you start at Midgard at the beginning of the game, you can only ever explore the entirety of Midgard after unlocking realm travel. There are only four Nornir Chests in Midgard. Here’s where to find and unlock them all.
Well of Urd
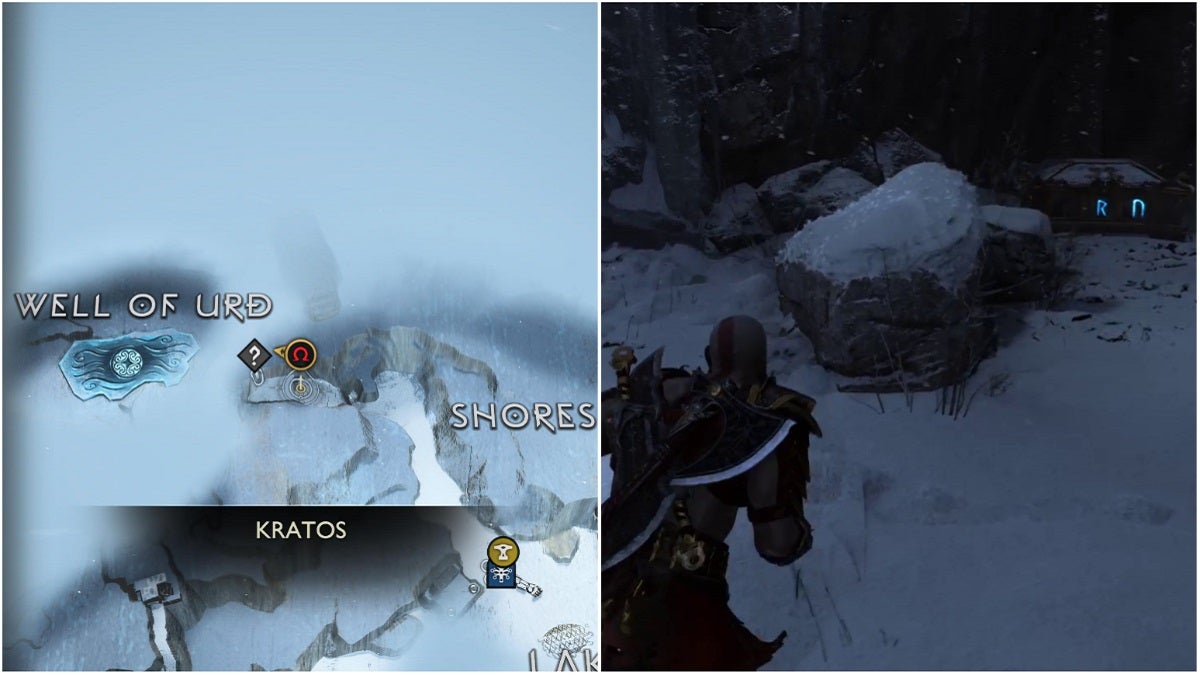
Prerequisites: None
You’ll need to light three braziers to open this chest.
The first brazier is located atop a higher ledge across the chest.
To get to the second one, zip to the crack on the wall right of the first brazier. From here, keep going up until you’re standing on the highest ledge. Look to the south to see the next brazier.
From here, look to the left and descend to the ledge below. Look to the upper left to find the third brazier.
The Oarsmen
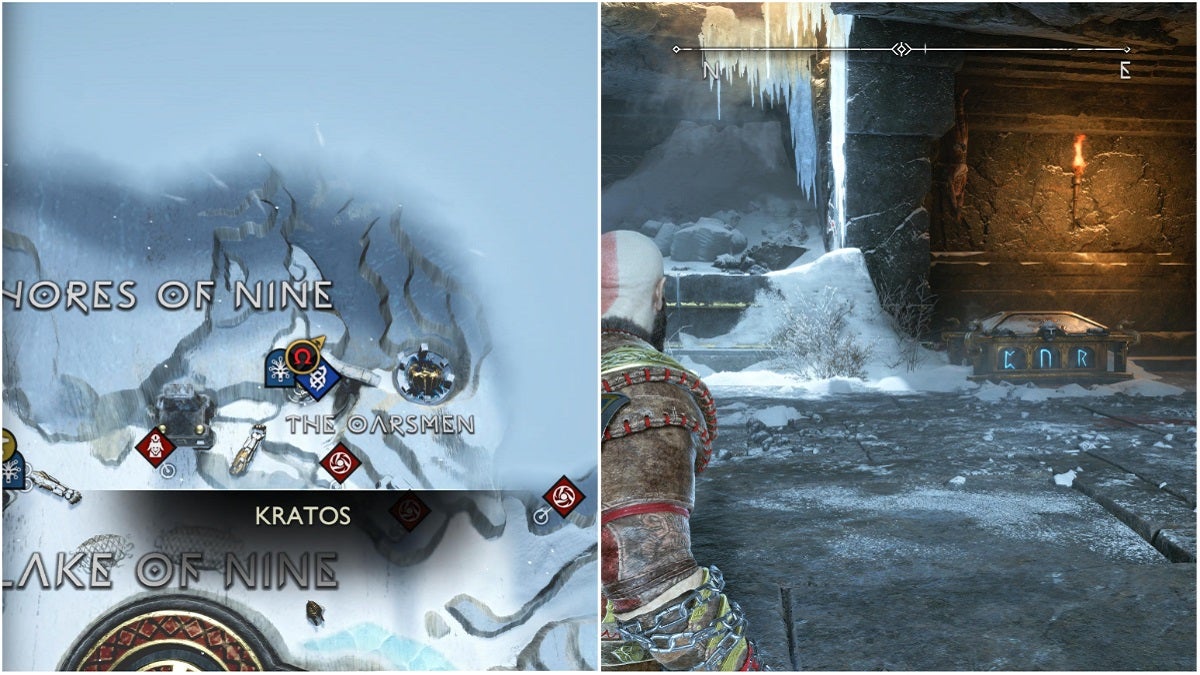
Prerequisites: None
The Nornir Chest in The Oarsmen is unlocked by hitting three bells. You’ll spot these bells close to the vicinity of the chest, but to get to one of them, you’ll first need to open a gate.
Make your way to the upper ledge left of the Nornir Chest and make your way back up to the surface. Be careful as you’ll have to face a handful of enemies here, including a Huntress. Once defeated, use the chain here to get to a higher ground. Keep heading forward from here and you’ll spot a massive chain on the ground in a lower area. Interact with the chain and a new path will open up.
Head to this new path and make your way down the staircase. Get rid of the Wisps here before moving on. Then, continue towards the closed gate and open it. Before passing through the gate, get rid of the debris to the left with a Sonic arrow.
Now, you have access to all three bells.
The first one is in a crevice west of the Nornir Chest.
The next is positioned south of the previous one. Run up to it before throwing the axe at it.
The last one is near the gate you recently opened.
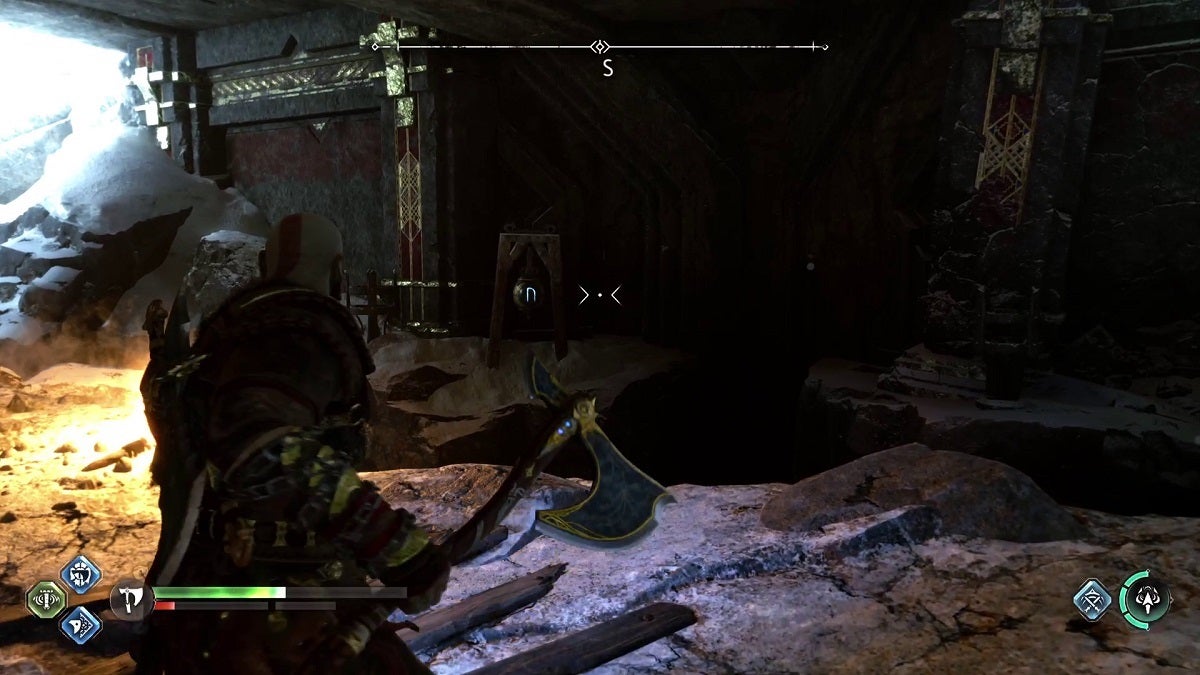
Raider Hideout
Prerequisites: Runic Arrows
The Nornir Chest in the Raider Hideout is locked by three braziers. Before getting to them, however, you’ll first need to clear this area of Raiders.
Look across the bottom of the staircase at the entrance of the cave to see a dark chasm. To the far end of the chasm, atop a tall pillar, is a brazier.
Grab an explosive from the bomb pot to the left. Hit the upper section of the pillar with a Runic arrow three times to make the hex larger. Do the same for the lower part of the pillar.
Then, throw the explosive while targeting the brazier itself. Its arch will make it land at the bottom of the pillar, hitting the bottom hex, which will then affect the upper hex, thus burning the brazier.
Grab another explosive from the bomb pot and throw it over the golden rock formation on the northern wall of the hideout. This will reveal the second brazier. Throw another explosive at it to light it.
Head over to the Nornir Chest and clear the bramble to the left by using a Runic Arrow and lighting it with the Blades of Chaos, revealing the final brazier. You can either throw another explosive at it or you can fire three Runic Arrows to its left so that its hex reaches the position of the brazier. You can then burn the hex with your Blades of Chaos.
The Lost Treasury
Prerequisites: Runic Arrows
This chest is unlocked by lighting three braziers. Move the shield with the Blades of Chaos to the left to reveal the first brazier. The Blades of Chaos won’t be able to reach this brazier, so use a Runic Arrow at the base of the brazier and set this ablaze instead.
For the second brazier, move the shield back to the right. Approach the base of the shield and begin climbing. Once at the top, notice the explosive pot next to a chunk of golden rocks. Throw a weapon at it to make it explode. Proceed to the newly opened path and eliminate the Wisps here. Once done, look over to the northern wall to find the second brazier at the top. Use a Runic Arrow once more to light it.
Make your way back to the shield and move it to the left. Once done, use it to climb back up. Make your way back to where the golden rock chunks were and move the fallen pillar to the left with your Blades of Chaos. Return to the shield and move it to the right. The pillar will force it to remain at the center.
Head to the before the shield to open the gate ahead. Use the Leviathan Axe and a Rune Arrow to freeze the two spinning plates on either side of the shield. Go inside the treasury and break the chain beside the door to leave it open. Look over to the northern side of the treasury and you’ll find the final brazier. Light it by using a Runic Arrow and the Blades of Chaos.
Every Nornir Chest in Alfheim
Up next is Alfheim. This realm holds a total of seven Nornir Chests.
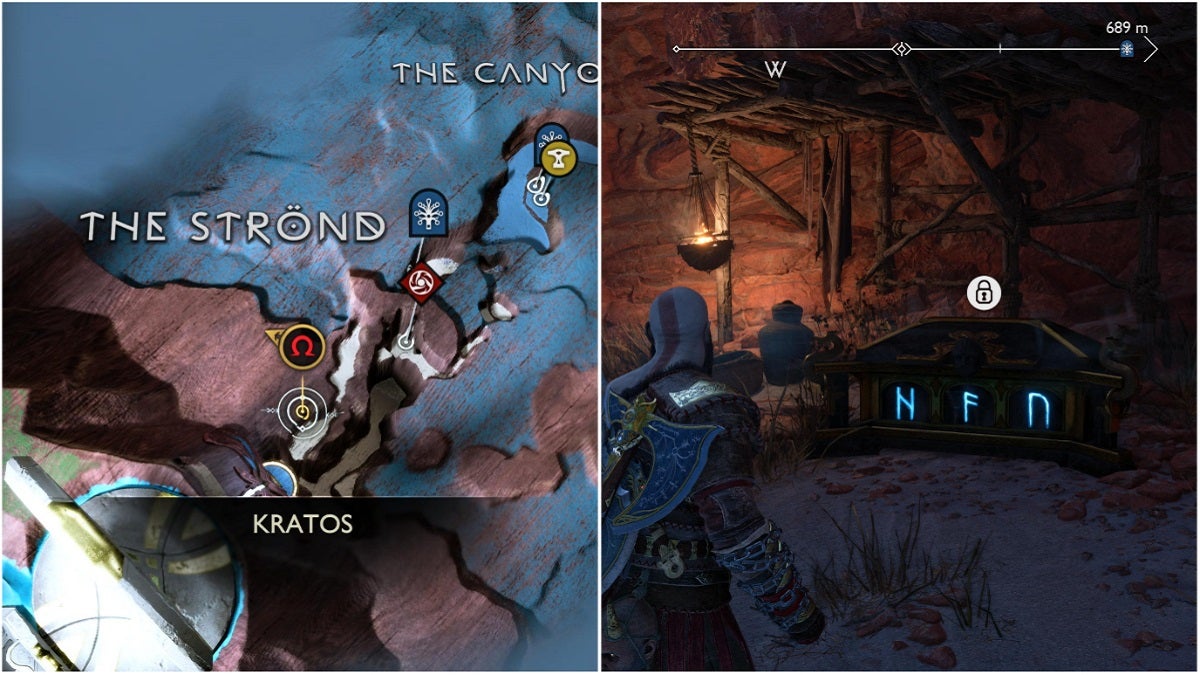
The Strond

Prerequisites: None
You’ll come across the first Nornir Chest in The Strond early on as you explore the realm for the first time. After squeezing through the first time gap you’ll encounter in The Strond, make a left to drop onto a lower ledge. You’ll find the Nornir Chest here. You’ll need to light three braziers to open this chest.
Look across the chest to find the first brazier.
Turn around and head to the path right of the chest. Look over the cliff to the left to find the next brazier below.
Head back up and keep heading forward until you see an opening on the wall to the left. You’ll have a clear angle of the third brazier here.
Temple of Light Entrance
Prerequisites: Draupnir Spear
There’s a second Nornir Chest in The Strond, right before the entrance to the Temple of Light, and you’ll need the Draupnir Spear to open it. More specifically, you’ll need three spears to embed on three Nornir totems, and blow them up at the same time to destroy all three totems at once.
The first totem is on a rock to the right of the chest.

The second is on a cliff positioned across the chest.
Walk towards the Temple of Light, but before jumping over the broken bridge, look over to the right to find the third totem.
Temple of Light

Prerequisites: Sonic Arrow
This next chest is right on the path as you ascend the Temple of Light, right after the area where you topple two statues to create a light bridge. You’ll need to ring three bells in quick succession to open the chest.
There are two bells situated left of the Nornir Chest.
For the third one, head over to the hallway right of the chest. You’ll see a twilight stone on the right and an obstacle next to it you can break with a Sonic Arrow. Destroy the obstacle and hitting the twilight stone will now make the axe hit the third bell.
The Below
Prerequisites: None
You’ll find this chest as you do the Secret of the Sands favor. Otherwise, you can explore The Below, a region you’ll find in the Alfheim deserts.
As you enter The Below, you’ll eventually find a bell before a closed gate that’s supposed to lead to the Nornir Chest.
For now, turn around and make your way to the highest ledge in this area and exit the cavern. Progress through this level up until you’re zipping through a series of rock pillars to get to an opposite valley. Once on this ledge, head to the right and make your way to the lowest platform and you’ll find the chest and another bell next to it. Open the gate here to prepare for later.
Make your way back up. However, before getting on the highest ledge, look over to the twilight stone on a rock face to the left and aim your axe at it. At the correct angle, the axe will bounce off the stone to hit three hive matter bulbs, clearing it. You’ll now be able to progress through this area until you’re on a higher ledge, facing a window where the third bell is.
Under the bell is a door to the right. Open this door first. Ring the bell, then quickly make your way down to where the chest is. Ring the final two bells to open the chest.
The Barrens
Prerequisites: Complete the Secret of the Sands Favor
This chest is located in a building on the northernmost section of The Barrens. It’s necessary to clear the Secret of the Sands favor before coming here as the favor clears out the storm.
The temple will be filled with Hive Matter when you find it for the first time. You can clear it by hitting three hive matter bulbs in one Axe throw. You can find this angle by aiming at the temple from the northern side.
The chest opens by lighting three braziers. The first one is located left of the area’s main entrance.
The second is on the roof of this building. You’ll only see it after clearing the hive matter. You can light this brazier by hitting the explosive pot next to it with the Leviathan Axe.

The third brazier is on the northeastern section of this building.
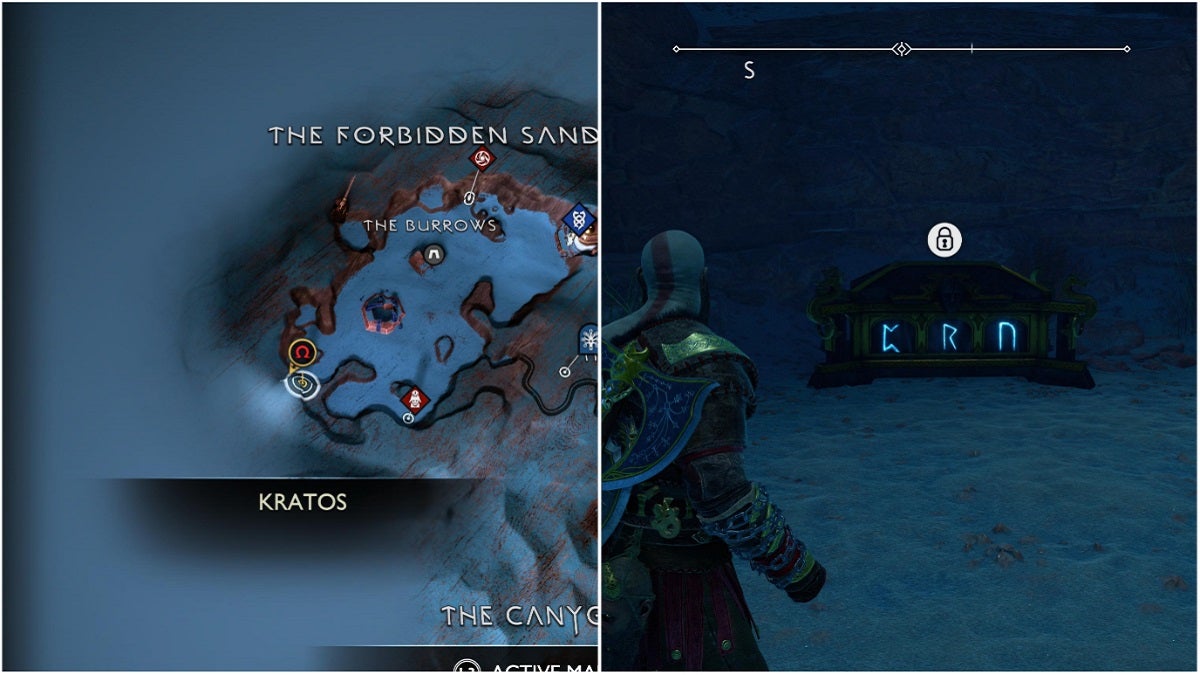
The Forbidden Sands (East)

Prerequisites: Runic Arrows, Sonic Arrows, and complete the Song of the Sands Favor.
Complete the Song of the Sands quest first to clear the storm in The Forbidden Sands.
One Nornir Chest is located in a Light Elf mausoleum in the east. Upon finding the mausoleum, throw the axe at the base of the entrance to create an opening. Enter the mausoleum and you’ll find the Nornir Chest inside, surrounded by hive matter.
Stand before the Nornir Chest and turn around. Look over to the left and you’ll find a hive matter bulb and a twilight stone behind it. Aim at the twilight stone at the proper angle and the axe will bounce around the twilight stones in the room and hit the three bulbs that are keeping the hive matter together.
Walk away from the chest and look over to the right and you’ll see the brazier next to a fire pit. Hit the brazier with a Runic Arrow, then use another Runic Arrow on the fire pit. This will cause the hex to absorb the fire, onto the brazier.
Turn around and look over to see the next brazier. You’ll need to use your Runic Arrows to create a hex link between the brazier and the fire pit to the far left. Hit the hex with another Runic Arrow to make it bigger if need be.
The final brazier is behind the hive blockage above the previous brazier. You can force the blockage to open for a few seconds using a Sonic Arrow. First, create a link between the brazier below and the brazier above using your Runic Arrows. You can shoot the arrows on the pillar to the right of the brazier.
Once there’s a link between the lower brazier and the hive blockage above, hit the hive with a Sonic Arrow, then quickly fire a Runic Arrow at the brazier below to create a series of explosions, lighting the brazier above.
The Forbidden Sands (West)
Prerequisites: Runic Arrows and complete the Song of the Sands Favor.
The next Nornir Chest is on the southwestern section of The Forbidden Sands, behind a fallen pillar next to a wall with a heart graffiti on it.
You can open this chest by lighting three braziers. One is in this trapped section, on a pedestal north of the chest.
Head back outside and you’ll see the next brazier atop a rock to the north. Use a Runic Arrow to light the brazier.
Look over to the east and you’ll see the last brazier on a gap in the rock formation ahead. Use Runic Arrows again to light this one.

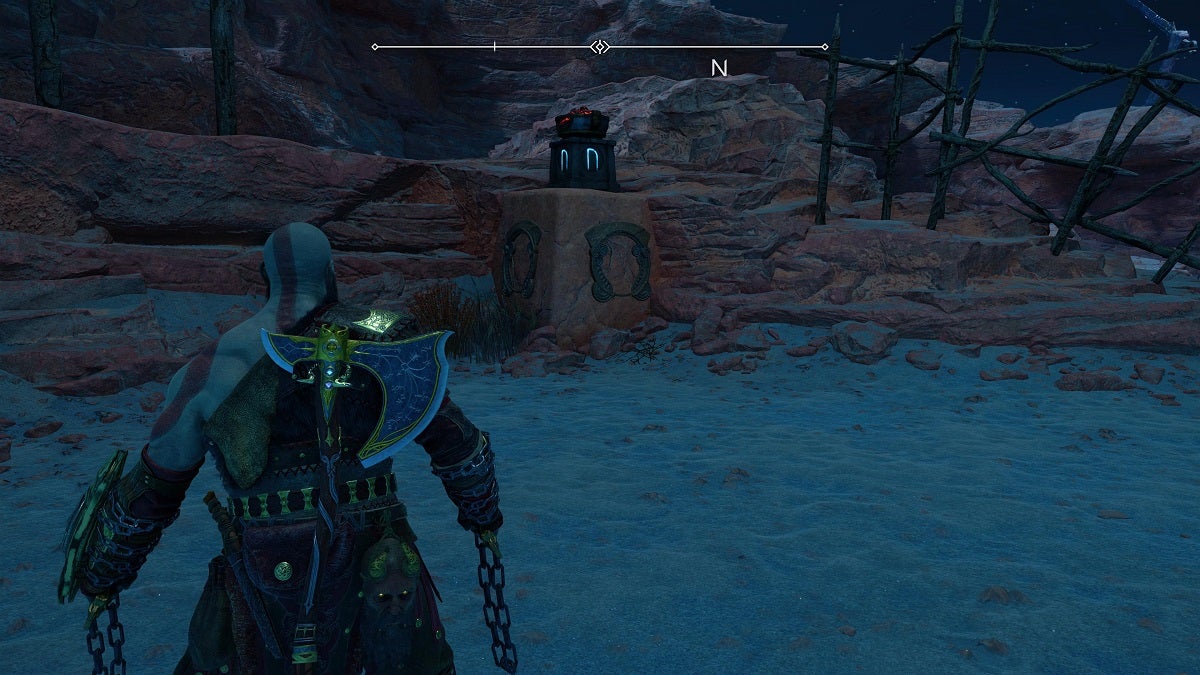
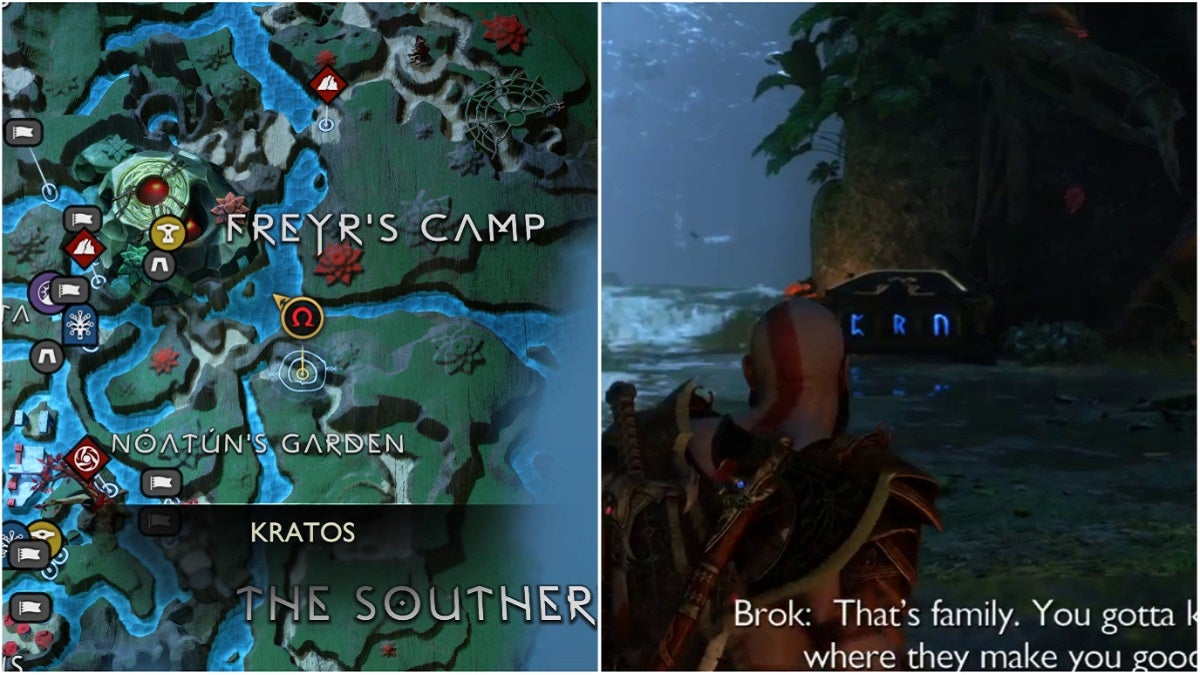
Every Nornir Chest in Vanaheim
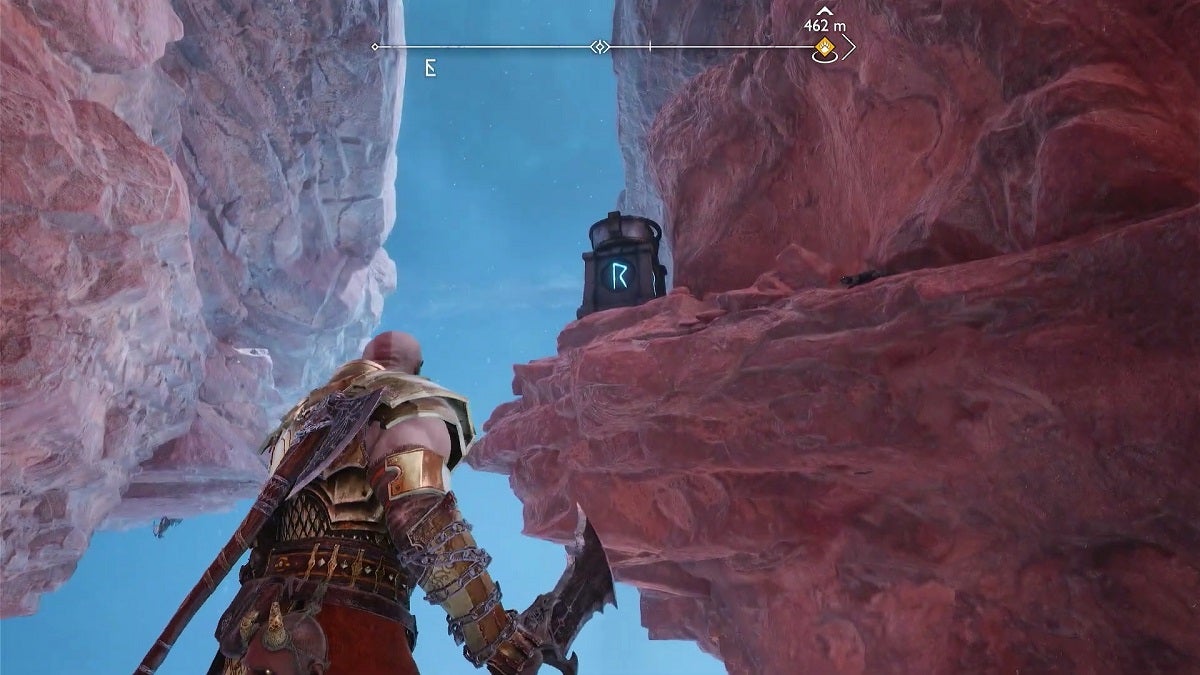
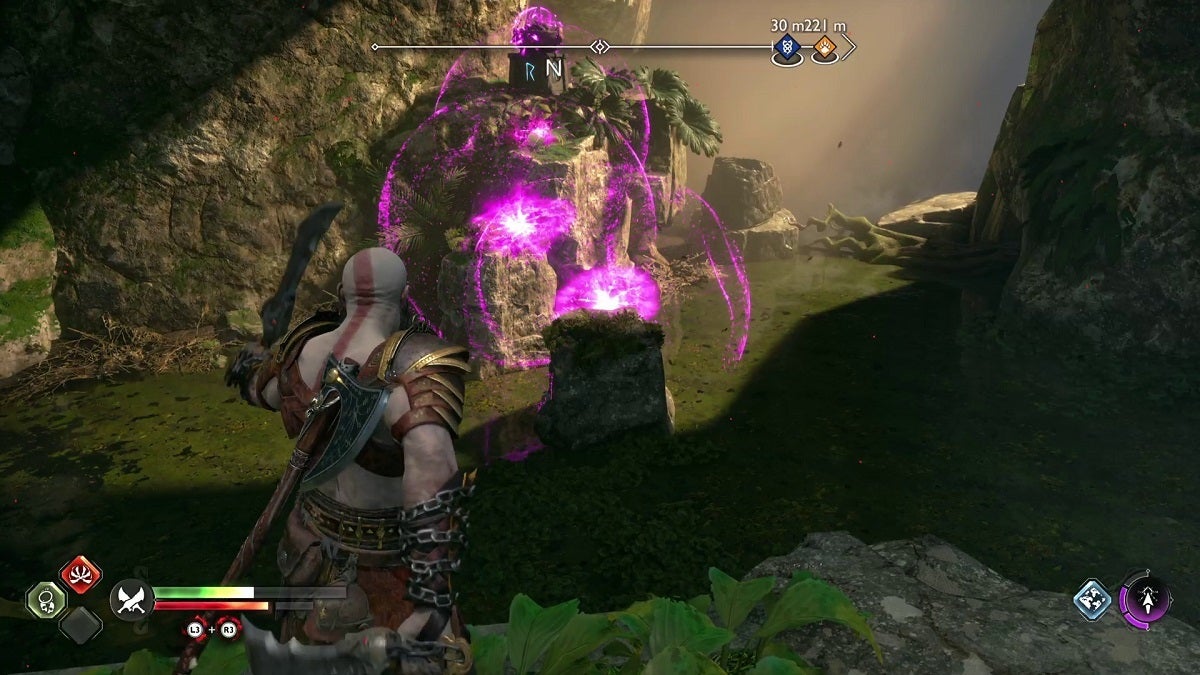
The next venture is to the land of the Vanir, Vanaheim. The realm contains the most Nornir Chests in the game, housing over 11 in total.
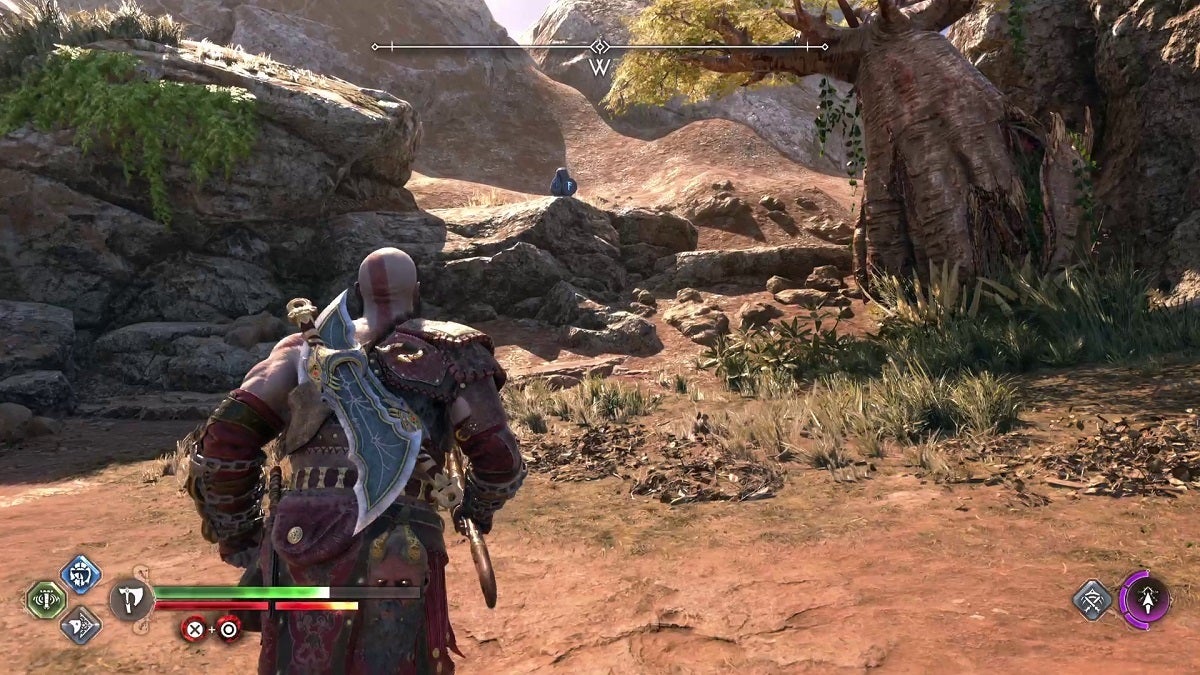
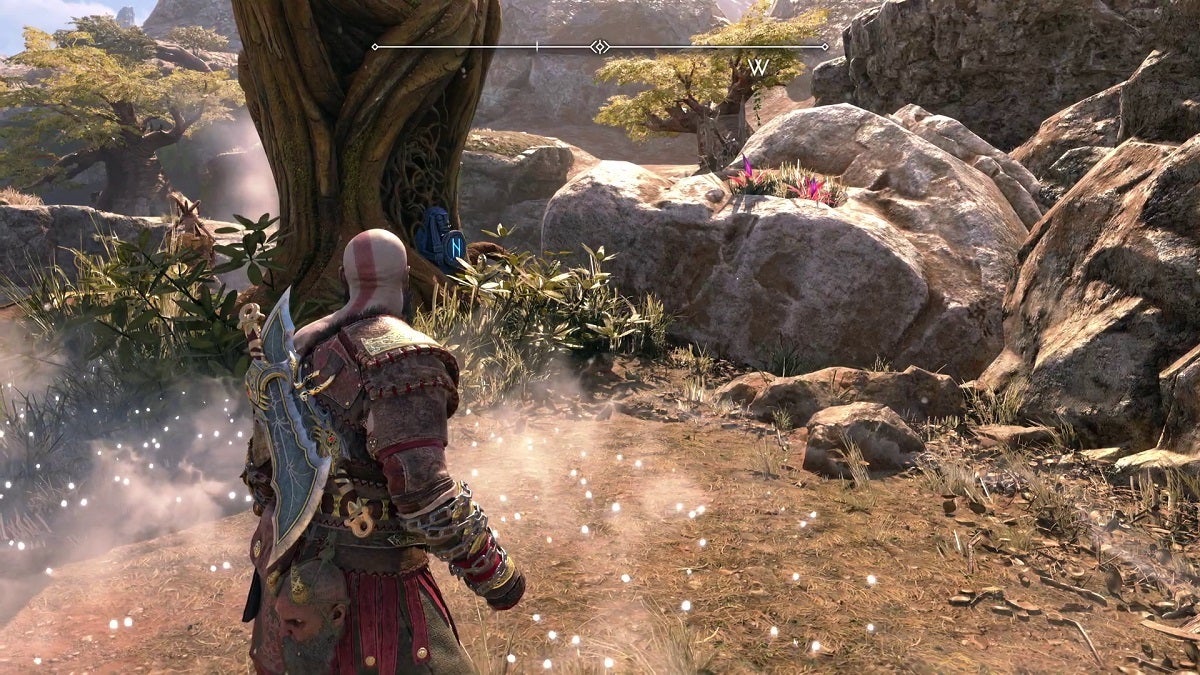
The Southern Wilds
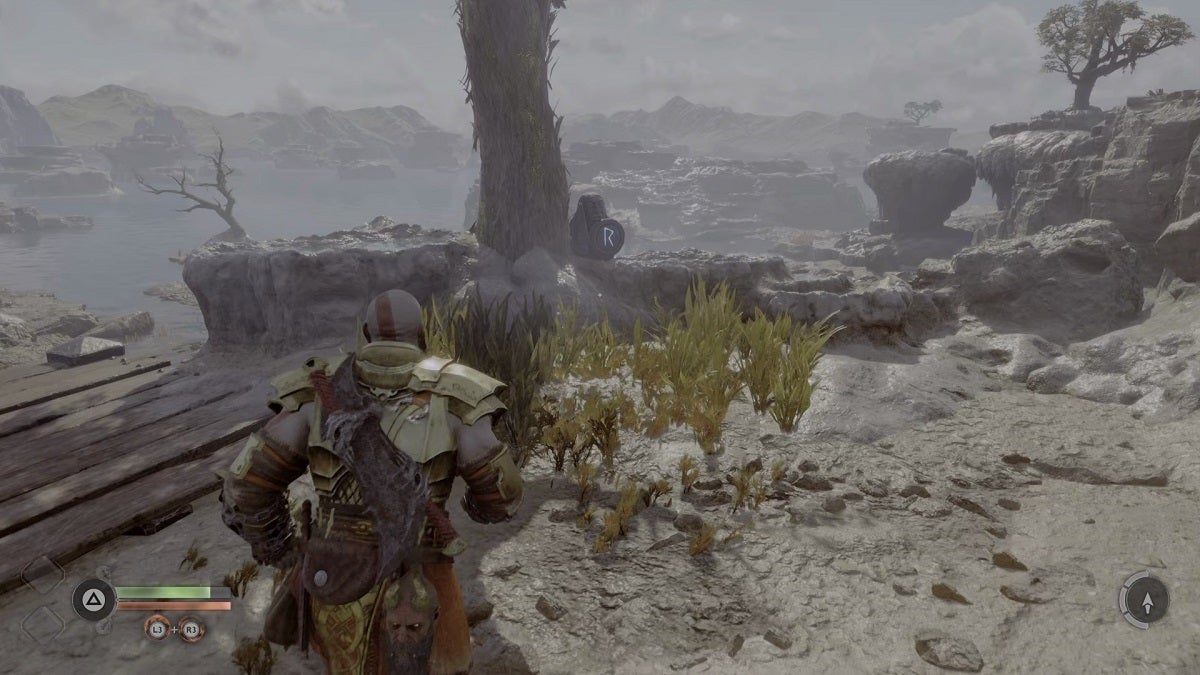
Prerequisites: None
You’ll find this at the base of a tree on your way to Freyr’s Camp in the Southern Wilds. You’ll need to spin three turnstiles to open this chest.
While facing the chest directly, turn to the left and look up to see the first turnstile.
Look over to the right of the chest to see the second turnstile, covered up by brambles. Burn the brambles using the Blades of Chaos to spin the turnstile.
Head to the pathway positioned southeast of the chest and you’ll find a bramble scattered on a higher ledge. Burn it to find the third bramble.
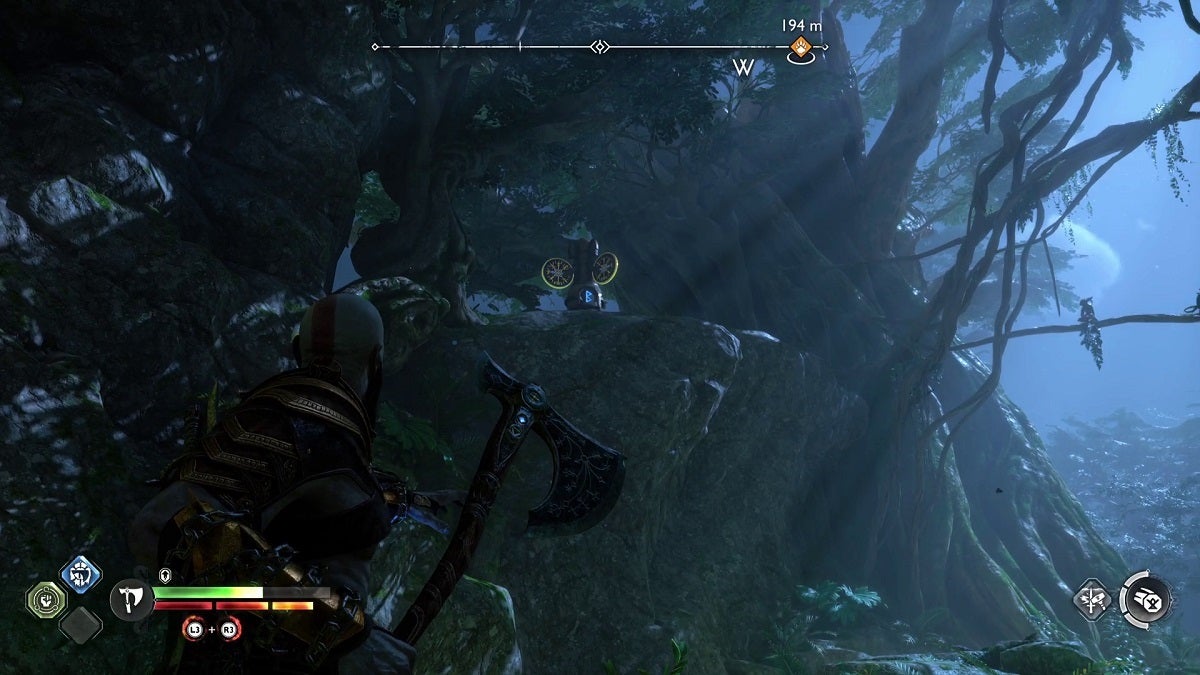
The Abandoned Village
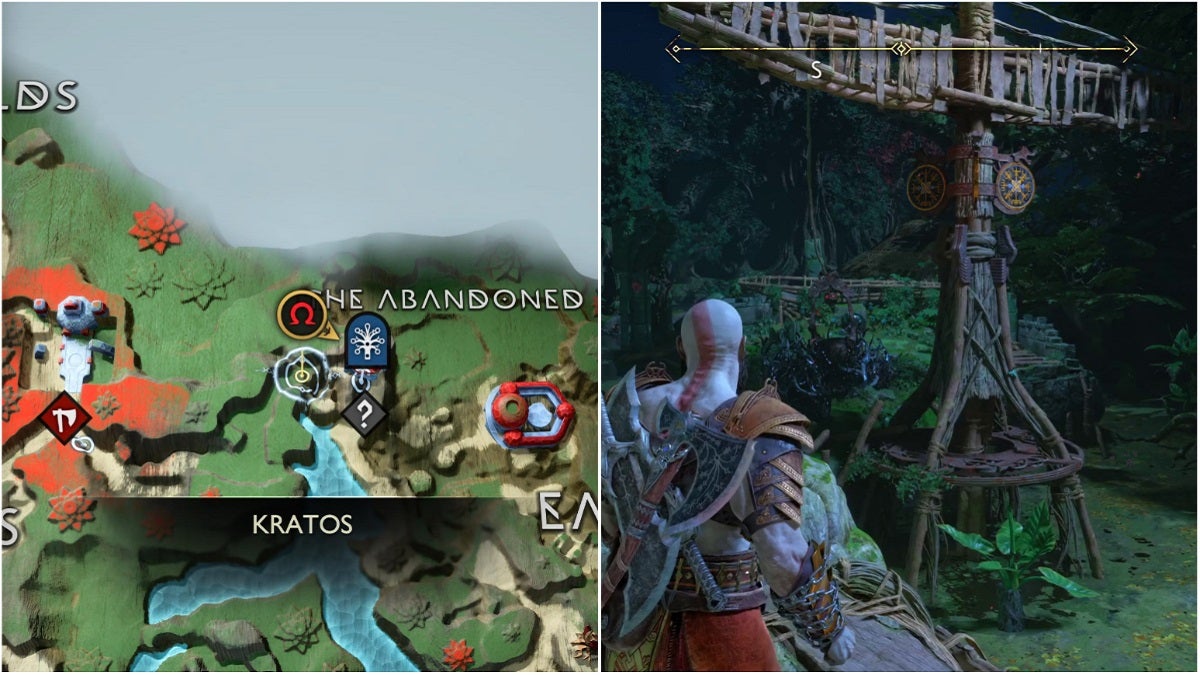
Prerequisites: None
The Nornir Chest in the Abandoned Village is opened by lighting three braziers. Two of these braziers are lit by using the massive spinning crane, which carries a torch after you free it from a bramble with the Blades of Chaos. You pass by this area as part of The Reckoning main quest.
One of the braziers is located below the ledge that’s directly facing the crane. Turn the crane and have the fire bucket close to this area and swing it towards your direction. This will cause the bucket to swing toward the brazier.
The second brazier is located west of the crane. Do the same process as done previously.
The last brazier is located next to the chest. You can light this with your Blades of Chaos.
Cliffside Ruins
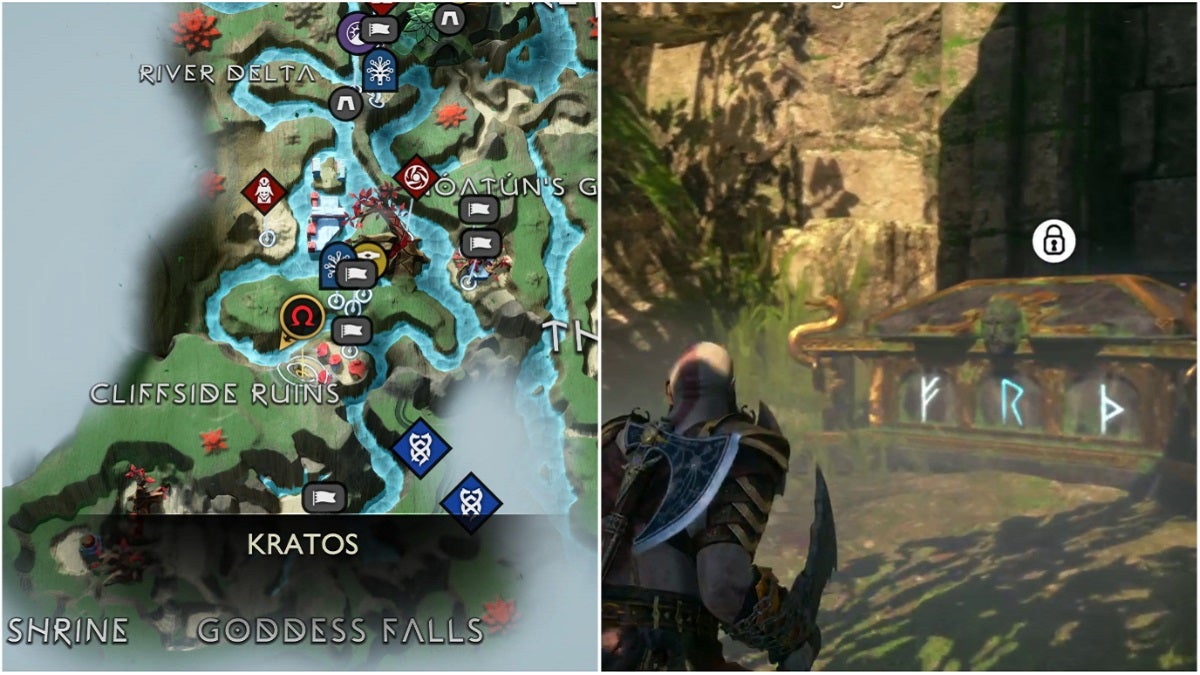
Prerequisites: Runic Arrows
This Nornir Chest is opened by switching three turnstile switches. From the chest, turn around and jump over the gap. Turn around once more and look to the right, past the rock pillar and you’ll see brambles covering a Nornir turnstile. Use the Runic Arrows to burn the bramble, giving you access to the turnstile.
Head to the southeastern corner of the ruins and you’ll find a wall you can climb on. Climb up and hop onto the stone pillars. Get to the pillar that’s closest to where the chain is. Look over to where the chain is and you’ll spot the next turnstile behind a rock formation.
For the third turnstile, get back on the ground and hop on the boat. Get to the island to the north, look back on the Cliffside Ruins, and you’ll spot the last turnstile.
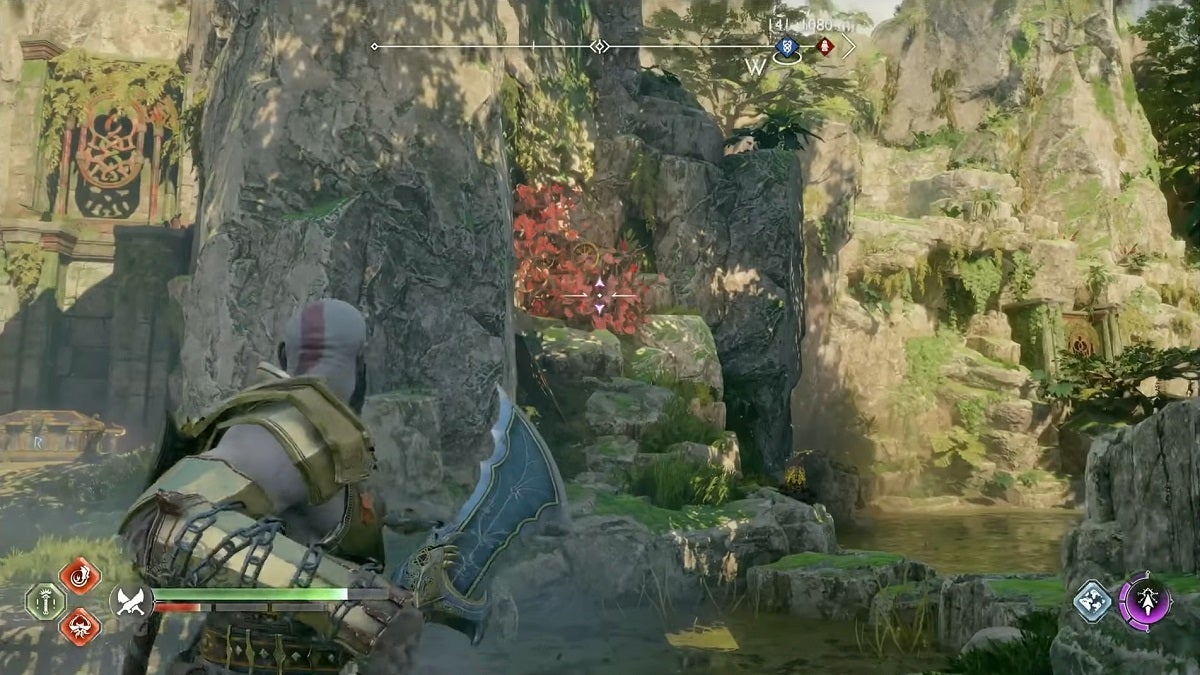
Veiled Passage
Prerequisites: Runic Arrows
You’ll need to ring three bells to open this Nornir Chest. Thankfully, they’re all placed in close proximity, on the walls across the water from the chest. First, clear the bramble that’s covering the bell to the right. Shoot a Runic Arrow at it, then pick up an explosive from the Fire Pot in this area.
Once cleared of the bramble, fire Runic Arrows and have the hex cover all three bells. Throw another explosive at the hex and all three bells will ring.
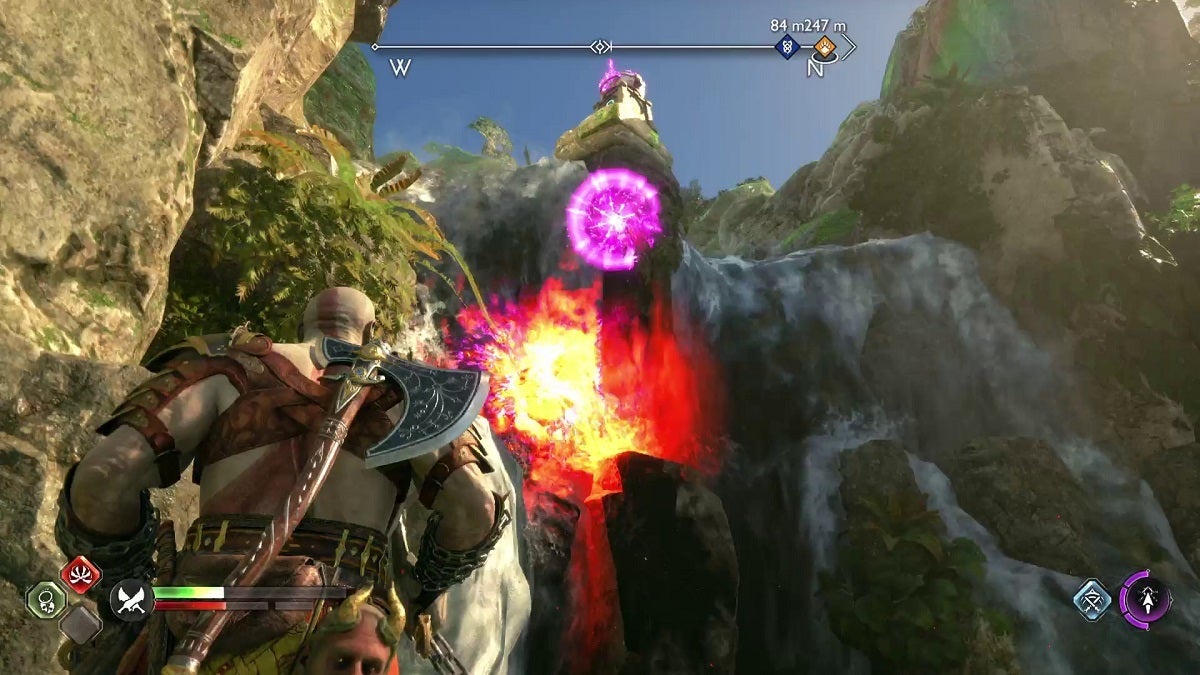
Goddess Falls
Prerequisites: Runic Arrows
This chest is opened by lighting three braziers, and you’ll need to use a lot of Runic Arrows to get this done.
The first brazier is located on a rock to the right of the chest. Shoot Runic Arrows on the islets leading up to the brazier to have the fires of the Blades of Chaos light it.
Look over to the left of the chest and you’ll find the next brazier. Do the same process as before to light it.

The third brazier is on top of the waterfalls left of where the chest is. Use the Runic Arrows once again, but avoid shooting the water as the arrows don’t work on those surfaces.
Eastern Barri Woods
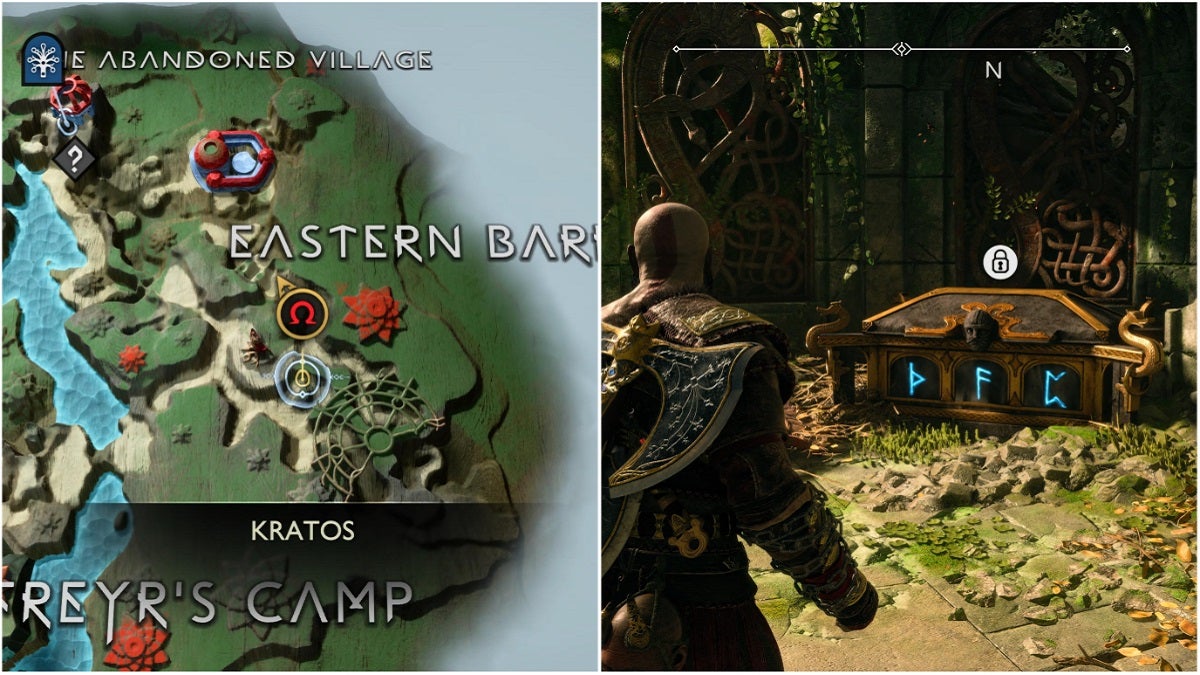
Prerequisites: Runic Arrow
You’ll find this Nornir Chest in a gazebo located after Skoll and Hati’s den. It’s opened by flipping three turnstiles. The first one is located to the left of the chest.
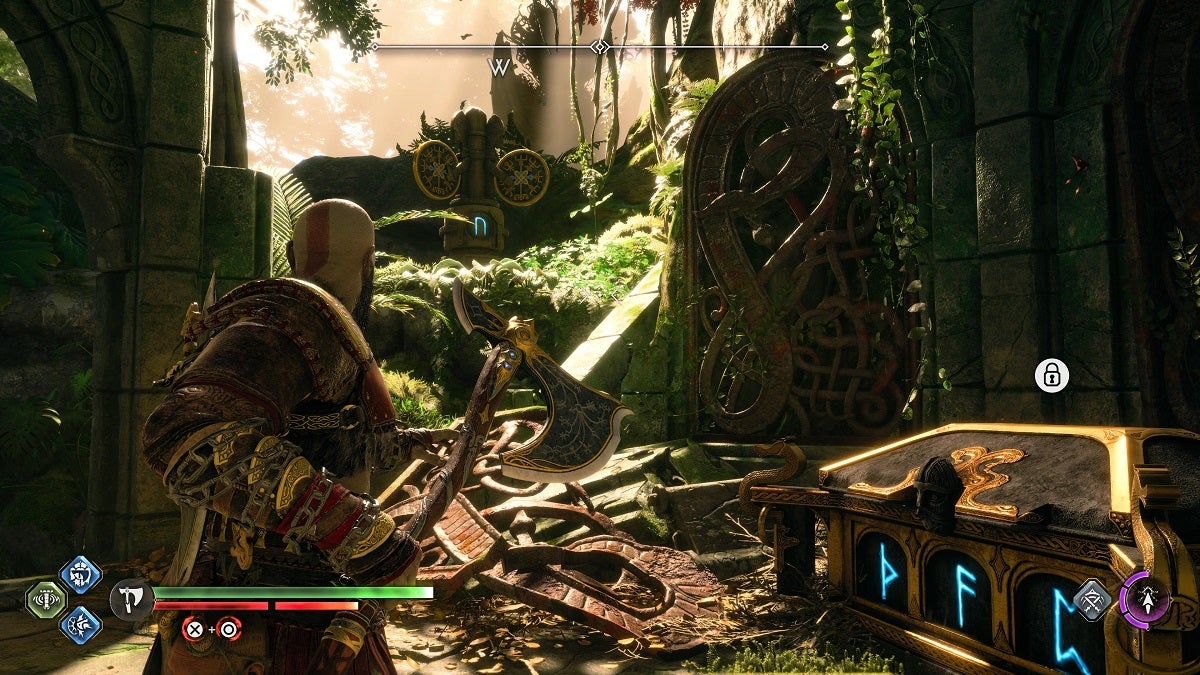
Turn around, take a few steps down, and look to the right to see brambles covering the next turnstile. Burn it using Runic Arrows and the Blades of Chaos and flip the turnstile to the correct rune afterwards.
Return to the chest, then make a left. Once you reach the end of this path, look ahead and you’ll spot the turnstile on another gazebo across. Hit its paddles to flip the turnstile to the correct rune, and the chest will open.
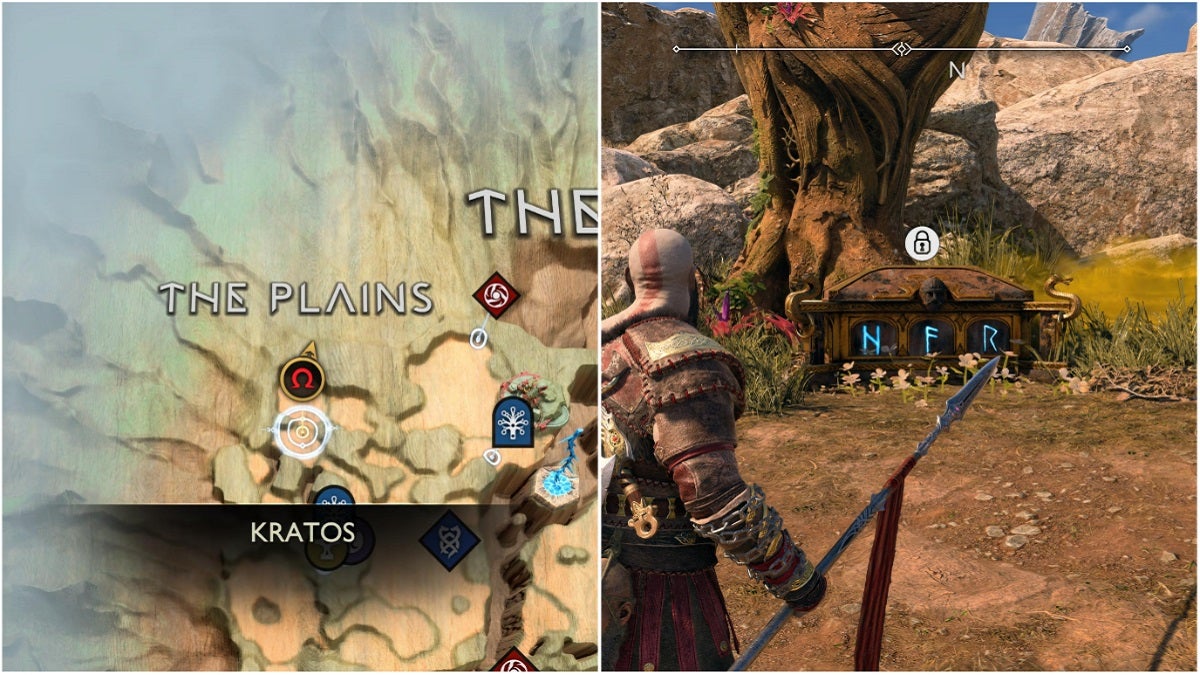
The Plains (East)
Prerequisites: Complete the Scent of Survival favor
You can open this chest by ringing three Nornir Bells. First things first, make your way to the top of the wall at the back of the chest. You can get here by taking the path that leads to The Sinkholes and sticking to the left. You’ll eventually find a wall crack you can zip to. This path will lead you to the aforementioned wall.
Run up to the northernmost section of the wall and you’ll find another bell that’s wrapped by brambles. Burn the brambles using the Blades of Chaos, then make your way back to the chest. There’s a section here that allows you to jump down to the ground.
The first two bells you’ll need to ring are located behind the chest. Hit the one furthest back first.
Run to the left and look over the rock formation to see the bell you recently freed of brambles.

The Plains (West)
Prerequisites: Runic Arrows and complete the Scent of Survival favor.
Once you get to the area marked above, you’ll come across a closed gate that’s blocked by a Seidr barrier. You can break this barrier by shooting a Runic Arrow at the right side of the gate and shooting at it two more times to expand the hex. Then, throw the Leviathan Axe at it to freeze the Seidr root.
Inside is a Revenant Camp. Eliminate the Revenants first before going on your way to opening the Nornir Chest.
You’ll have to destroy three totems to open this chest. There’s one to the east inside the trunk of a tree.
Face west and you’ll find another totem on top of a rock.
Freeze the Seidr root right of the chest and go around the statue behind it to find the third totem.
The Jungle
Prerequisites: Runic Arrows, complete the Return of the River favor, and set time to Night using a Celestial Altar.
This Nornir Chest is in the same area as the Mystic Gateway in The Jungle, which can only be accessed after opening the dam during the Return of the River favor.
The chest is opened by turning three turnstiles. The first one is located on top of a ledge on a wall right of the chest.
From the chest, head left, then make the next left and you’ll find a Celestial Altar. Make a right from here and you’ll see a crack on a wall you can zip to. Make your way up, then turn to face the Celestial Altar to find the next turnstile.
Jump back down to the ground, turn to the right, and look up. You’ll see a bramble on the side of the wall that’s covering the last turnstile. Clear it using a Runic Arrow and the Blades of Chaos to spin the last turnstile.
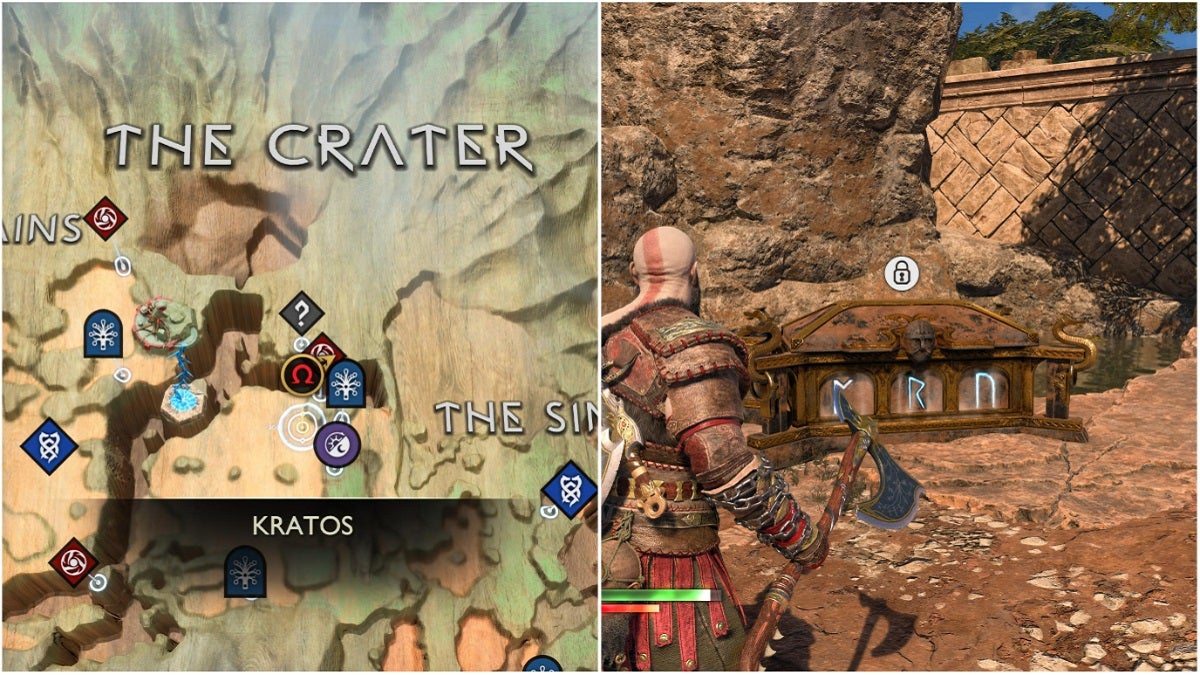
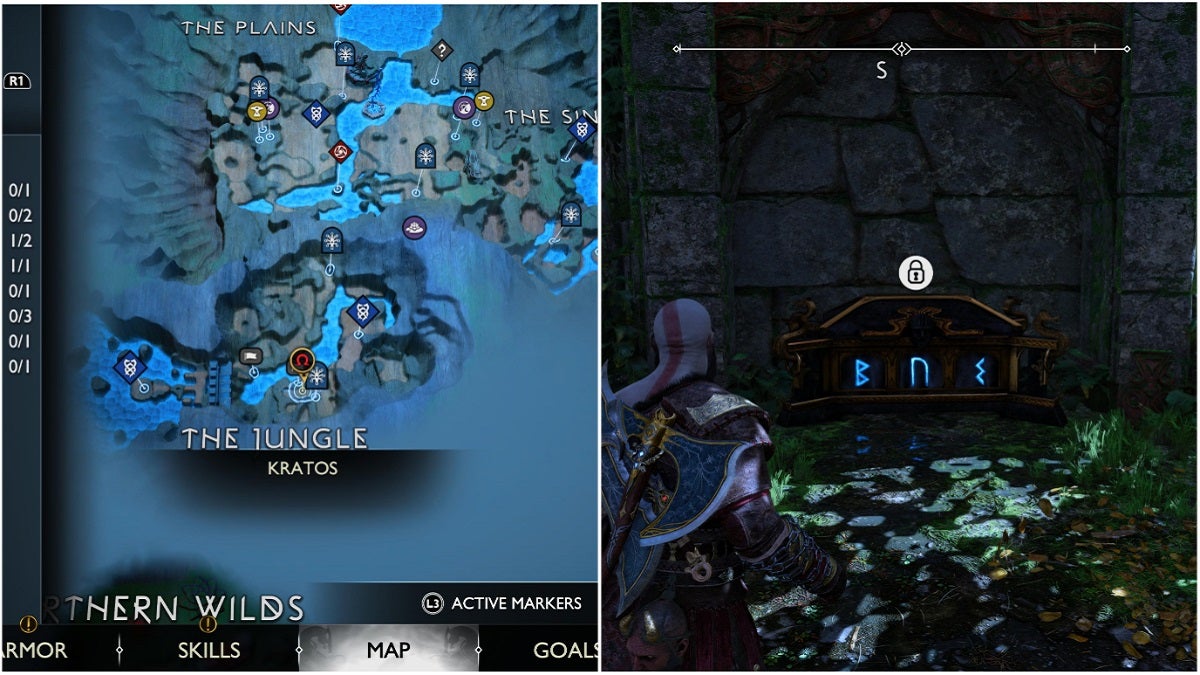
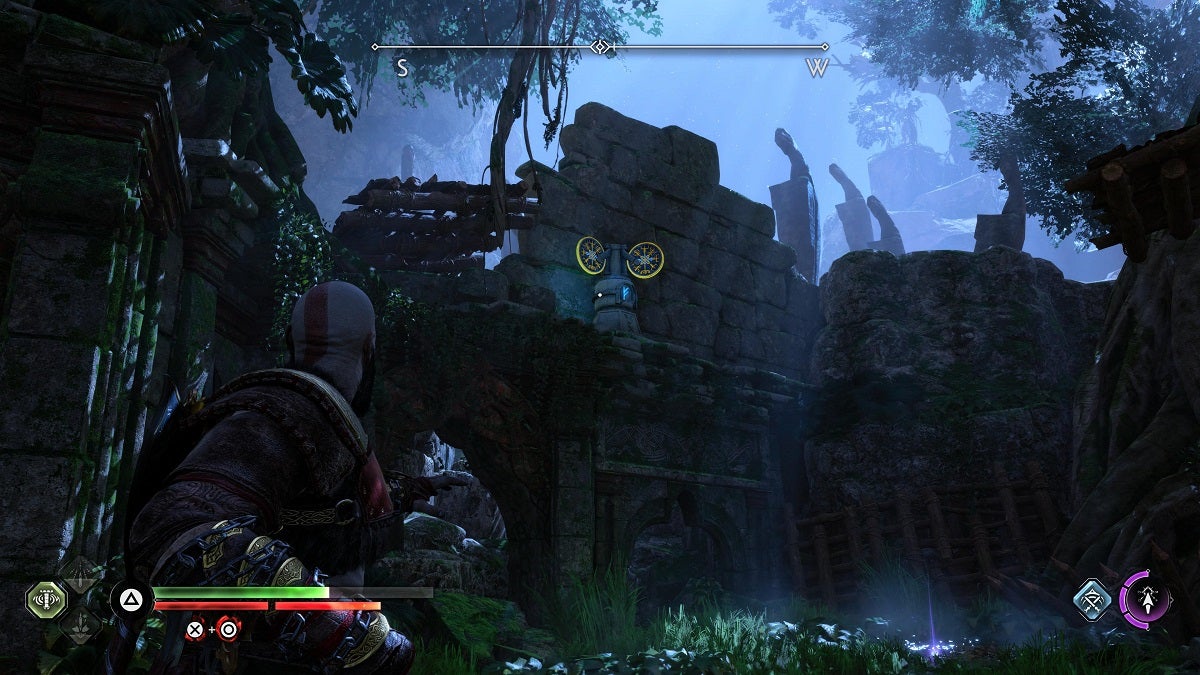
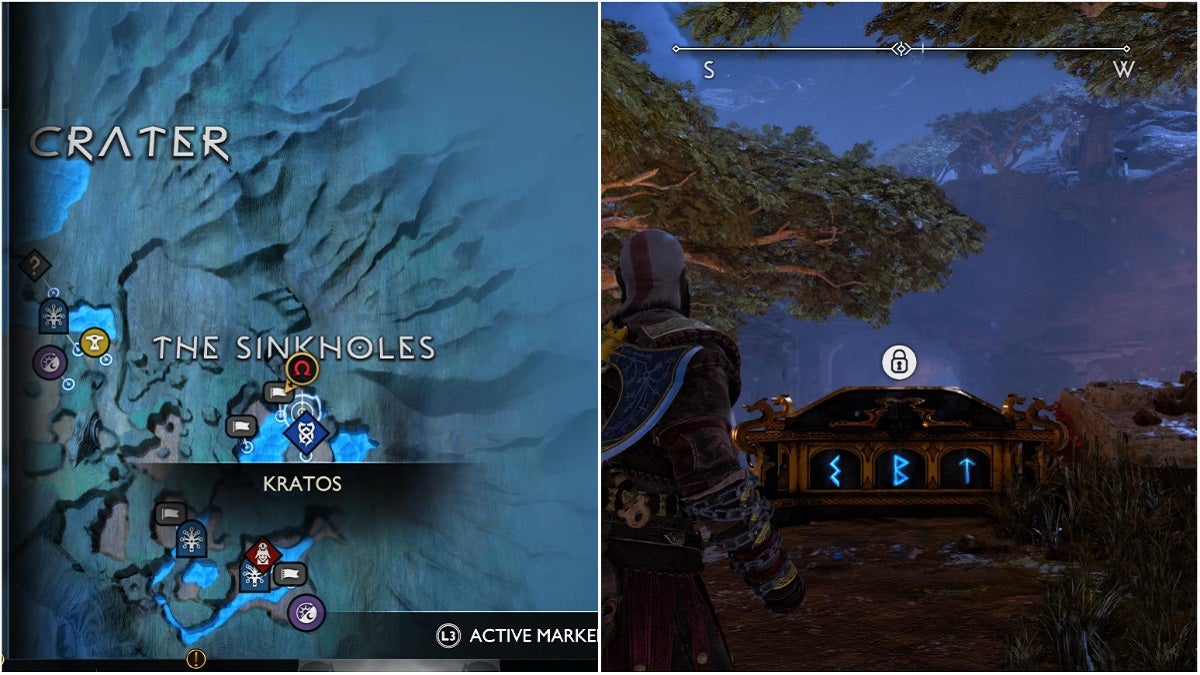
The Sinkholes (West)
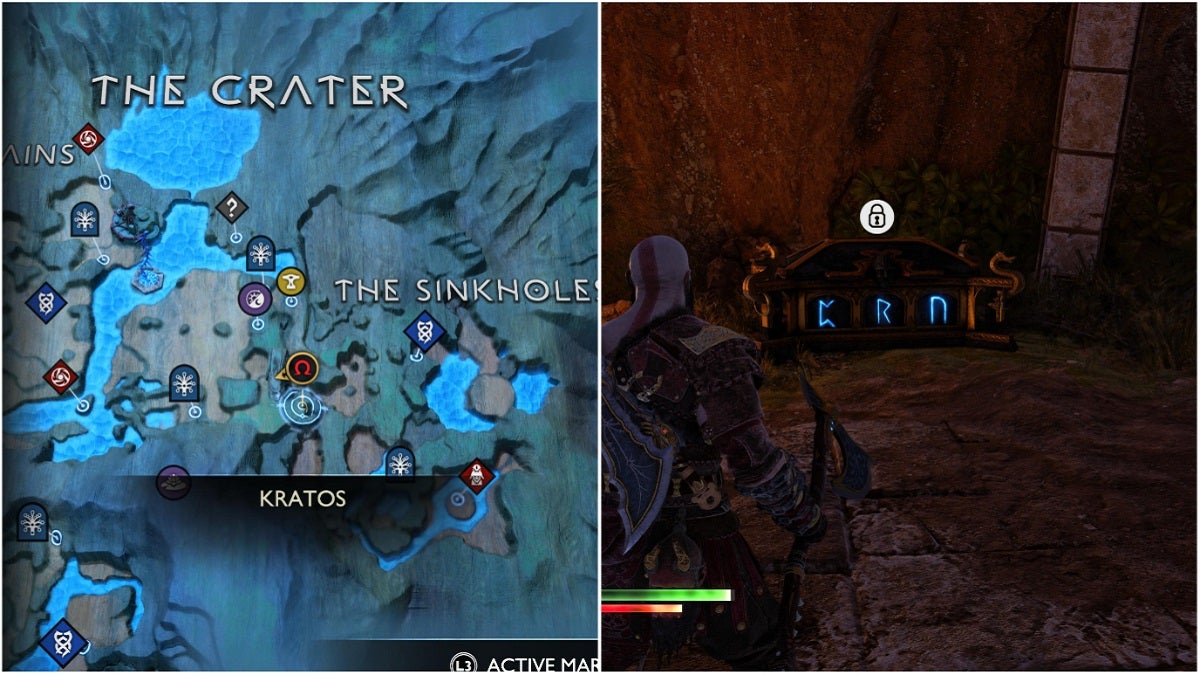
Prerequisites: Runic Arrows and complete the Scent of Survival favor.
Upon entering The Sinkholes from The Crater, there’s a zipline you’ll need to use to get to the area. Once reaching the ground, turn around and run forward to get to the area marked on the image of the map above.
This chest is opened by lighting braziers. From the chest, proceed to the left, then look to the right when facing the ruins. You’ll see the first brazier on top of a ledge. Use the hex of the Runic Arrows to have the fires of the Blades of Chaos reach the brazier.
Turn around and run forward. You’ll easily see the next brazier from where you are. Use the same process as before to light this one.

To get to the final brazier, zip on the higher ledge to the right, turn around, and look up. Once again, use the hex of the Runic Arrows to light the brazier.
The Sinkholes (North)
Prerequisites: Complete the Return of the River favor, the first half of The Burning Skies favor, and the Draupnir Spear.
While chasing the Ash Tyrant during The Burning Skies favor, you’ll pass through a hallway in which the dragon will constantly spew fire at you. Once you emerge from this path, you’ll see the Nornir Chest on the right, positioned between two trees.
This chest is opened by destroying three totems using the Draupnir Spear. The first one is on top of the pillar right of the chest.
Run up to the north and you’ll see the second totem on the right on top of a ledge.
Head to the southeastern section of this area and you’ll find the last totem.
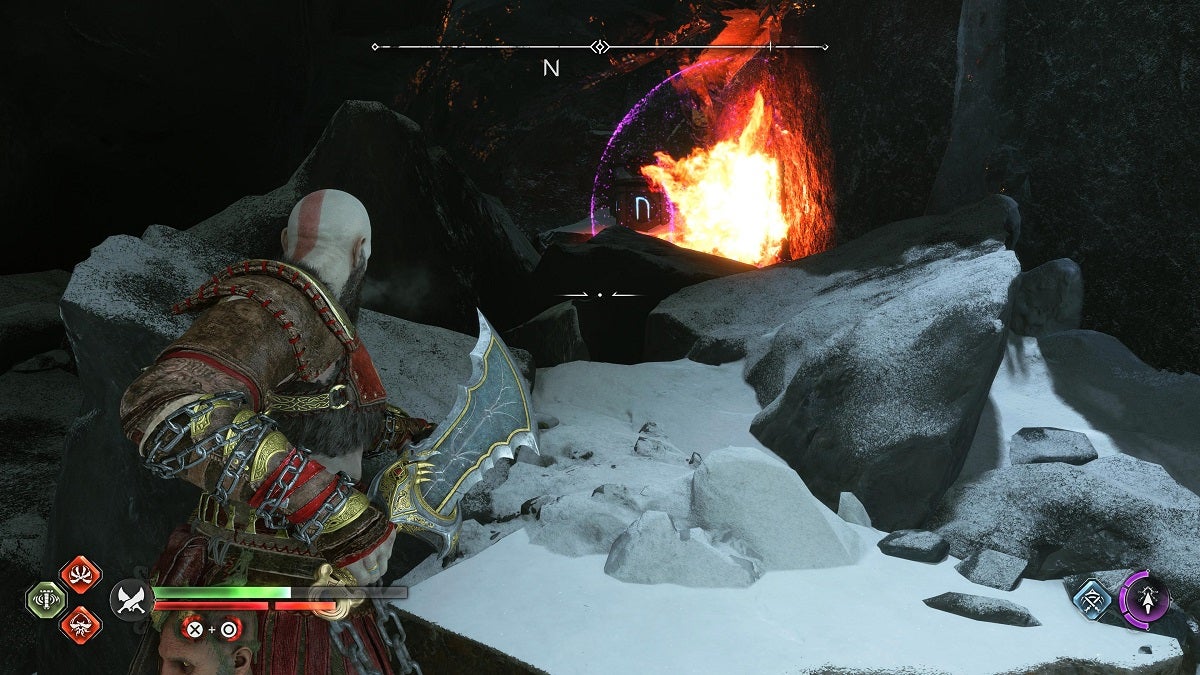
Every Nornir Chest in Muspelheim
There are two Nornir Chests in Muspelheim, and both of them are quite easy to find.
Burning Cliffs
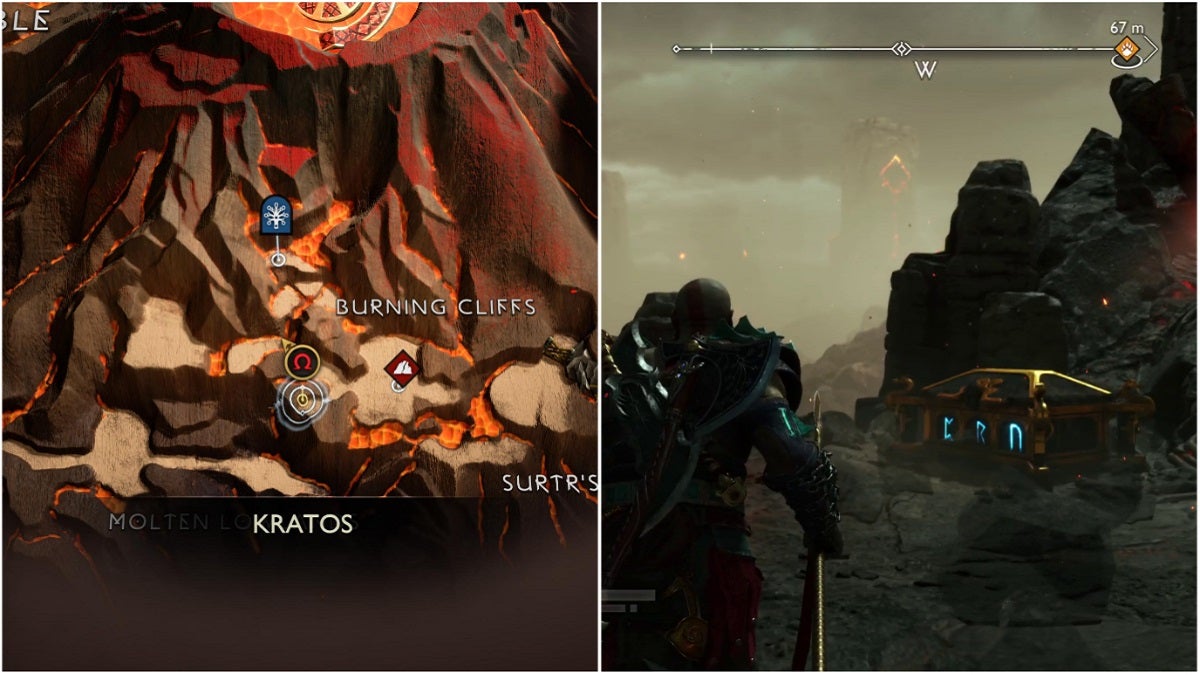
Prerequisites: Draupnir Spear and Runic Arrows
You’ll find this chest during The Summoning main quest, behind a rock you can destroy using the Draupnir Spear. The chest here is opened by lighting three braziers.
While facing the chest, look up and a little bit to the right to spot the first brazier.
Head back outside and make a hard right. You’ll spot the next brazier on a ledge, beyond a pool of lava. Fire a series of Runic Arrows next to the brazier until you can reach the hex with your Blades.
Return to where the chest is and look to the left to see the final brazier. Link the last brazier with the previous one using Runic Arrows to light it. Once both braziers are encircled by connecting hexes, fire a Runic Arrow at the lit brazier.
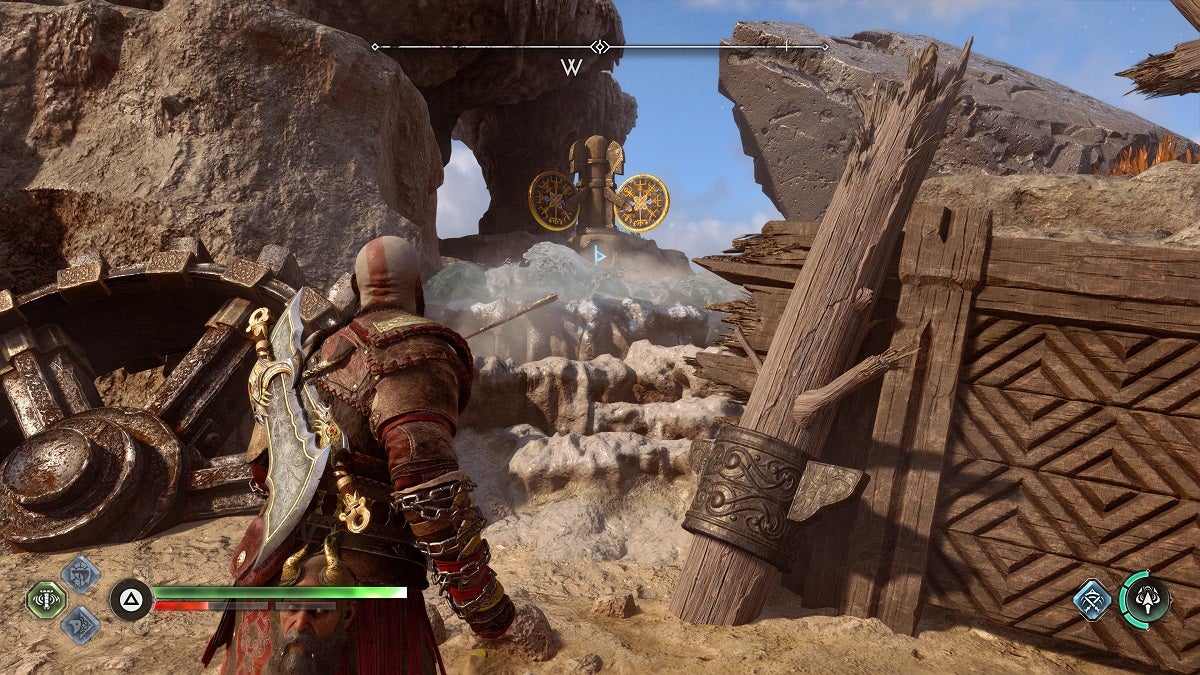
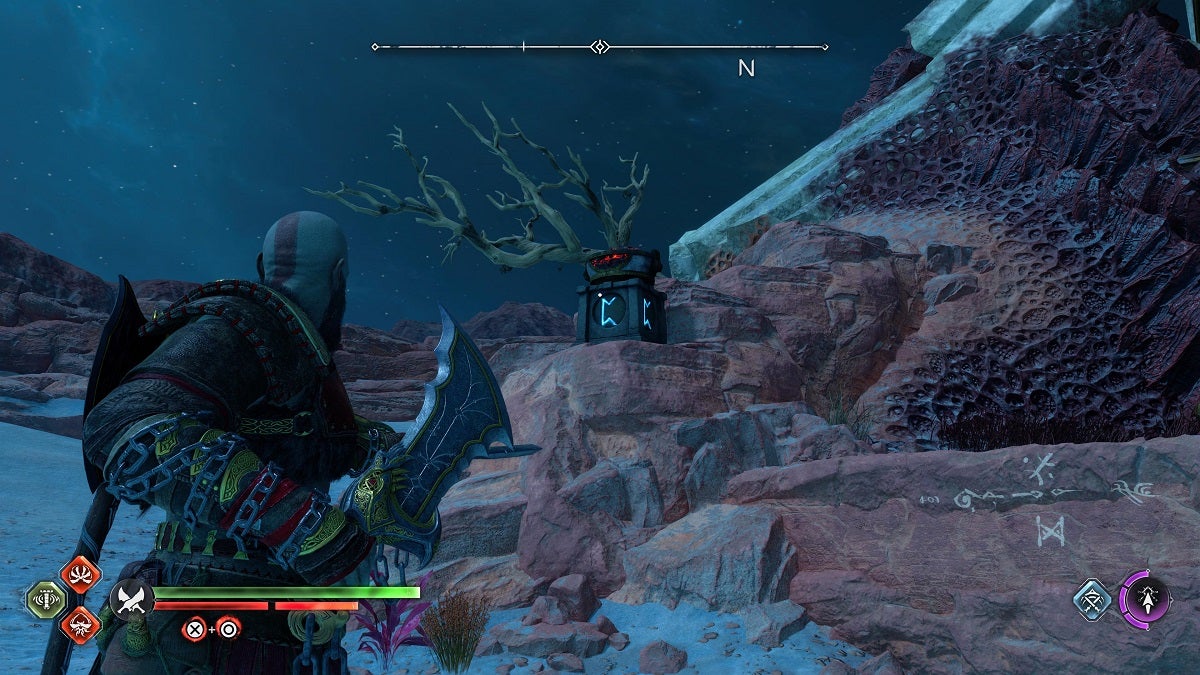
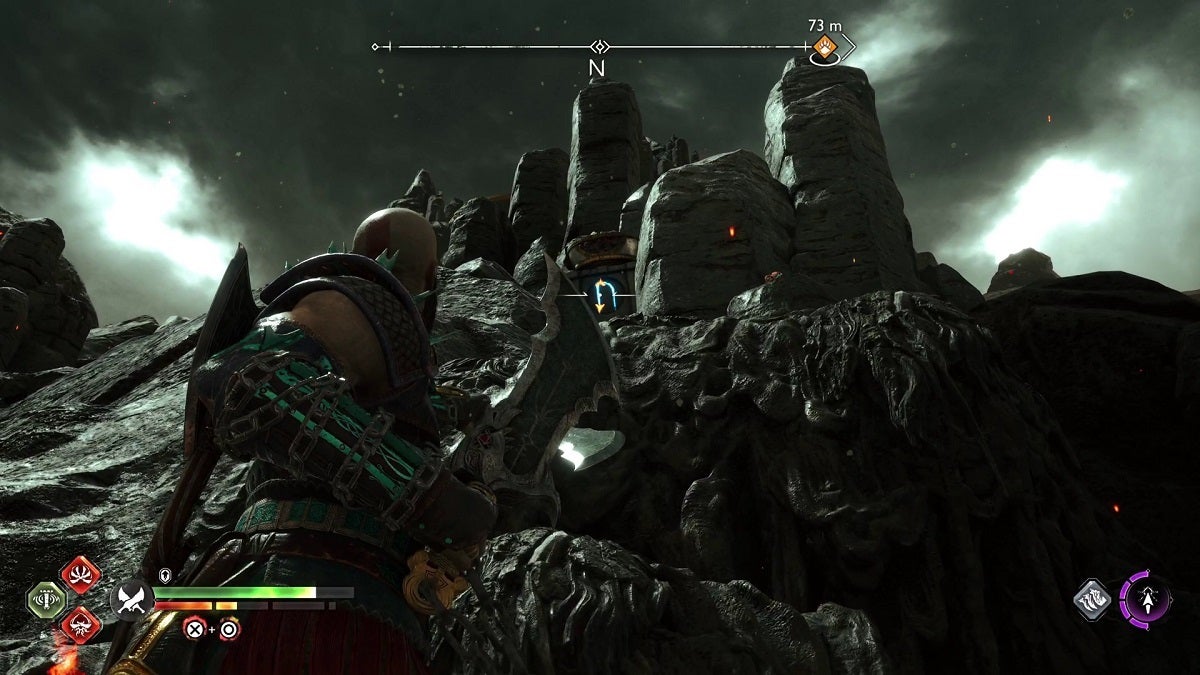
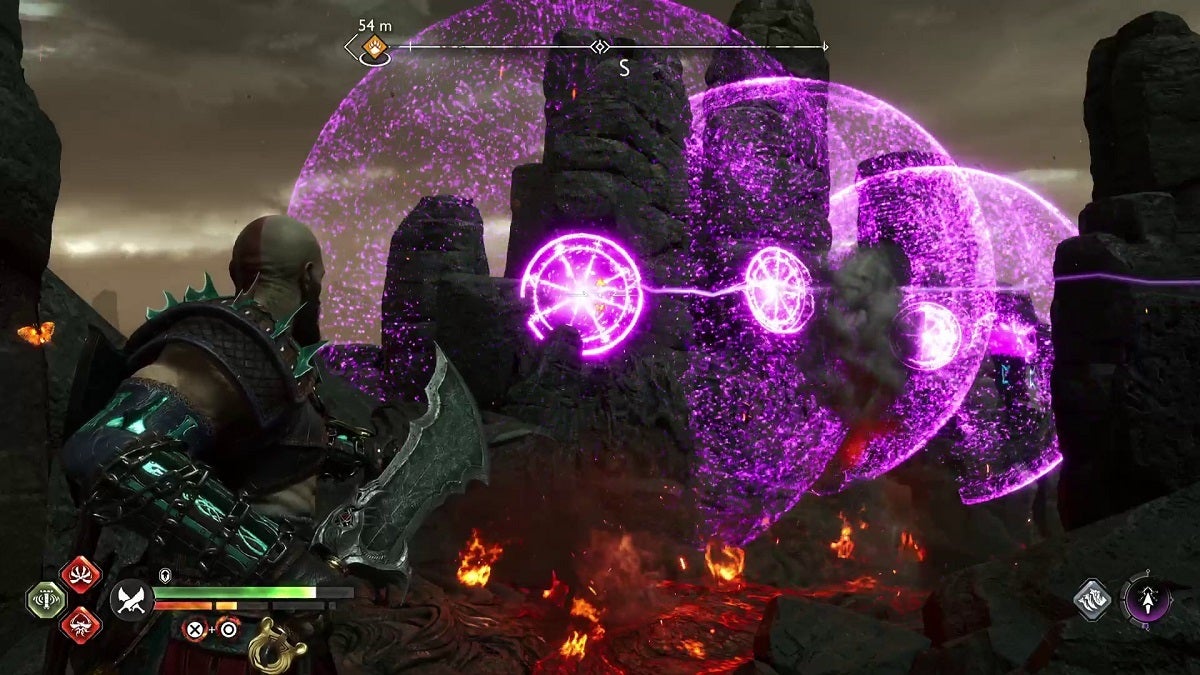
The Crucible
The Nornir Chest in the middle of the Crucible when you complete all six Crucible Challenges.
Every Nornir Chest in Niflheim
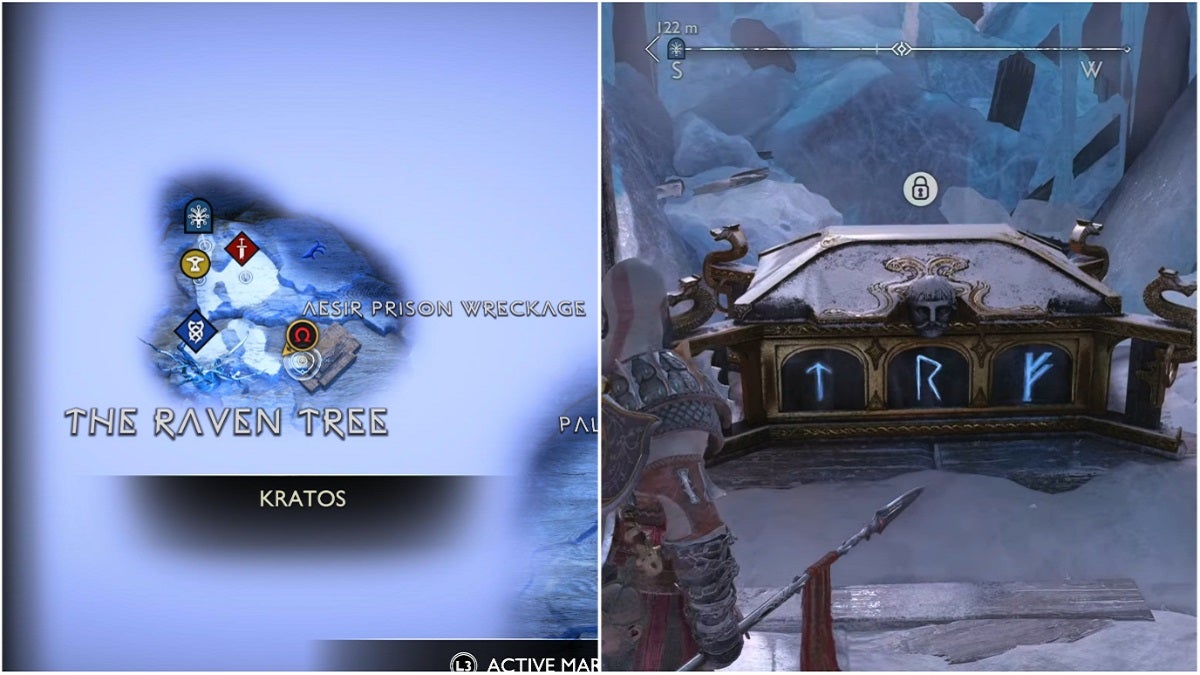
Prerequisites: Draupnir Spear
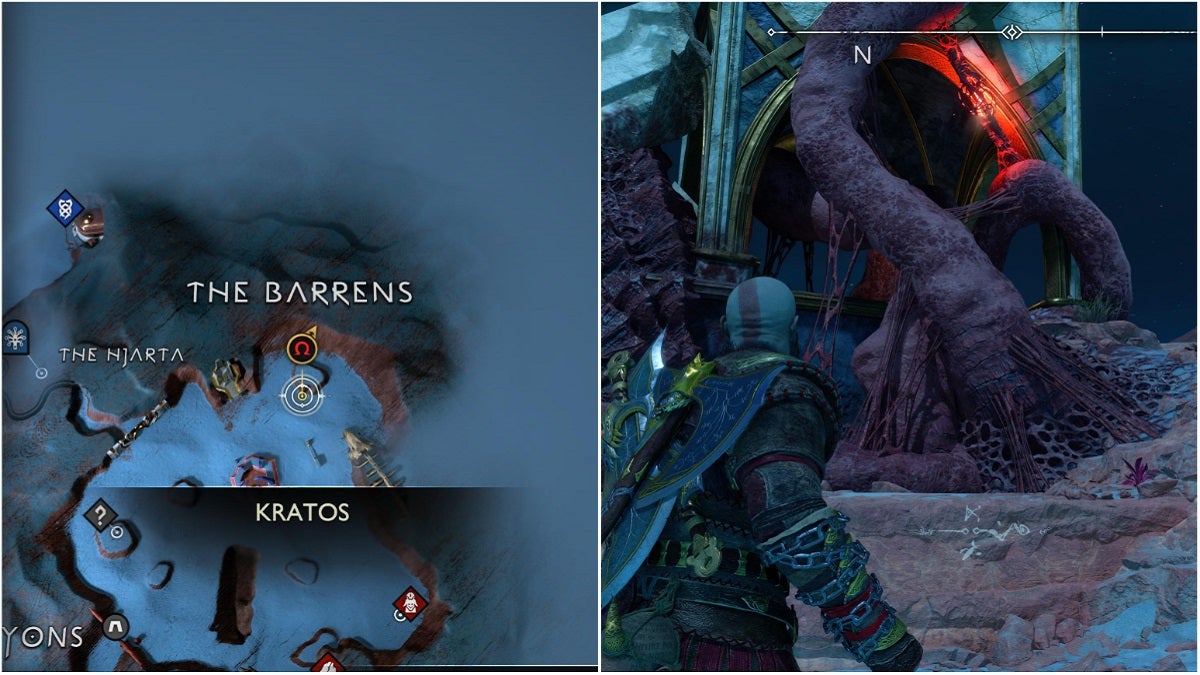
This is the only Nornir Chest in Niflheim. However, you’ll only be able to access this area after you beat the main story.
A new path will appear next to the path leading up to the Raven Tree. Taking this path will lead you to the Aesir Prison Wreckage. The Nornir Chest is on the level directly under the surface. You can get here by entering a room from a lower level and breaking a wall above to enter this higher level.
The chest is opened by destroying three totems. You’ll find the first totem directly across the chest.
Make your way to the floor below and head to the northeasternmost cell. You’ll find a Dark Elf in this cell, as well as the second totem by the window.
Head back outside and head to the center of the prison. Look down to find the final totem on the ground.