God of War Ragnarök offers its players superb side quests. Among them is the Secret of the Sands side quest in Alfheim. This side quest is filled with challenging puzzles and familiar enemies, and it has a very memorable ending too.
Table Of Contents
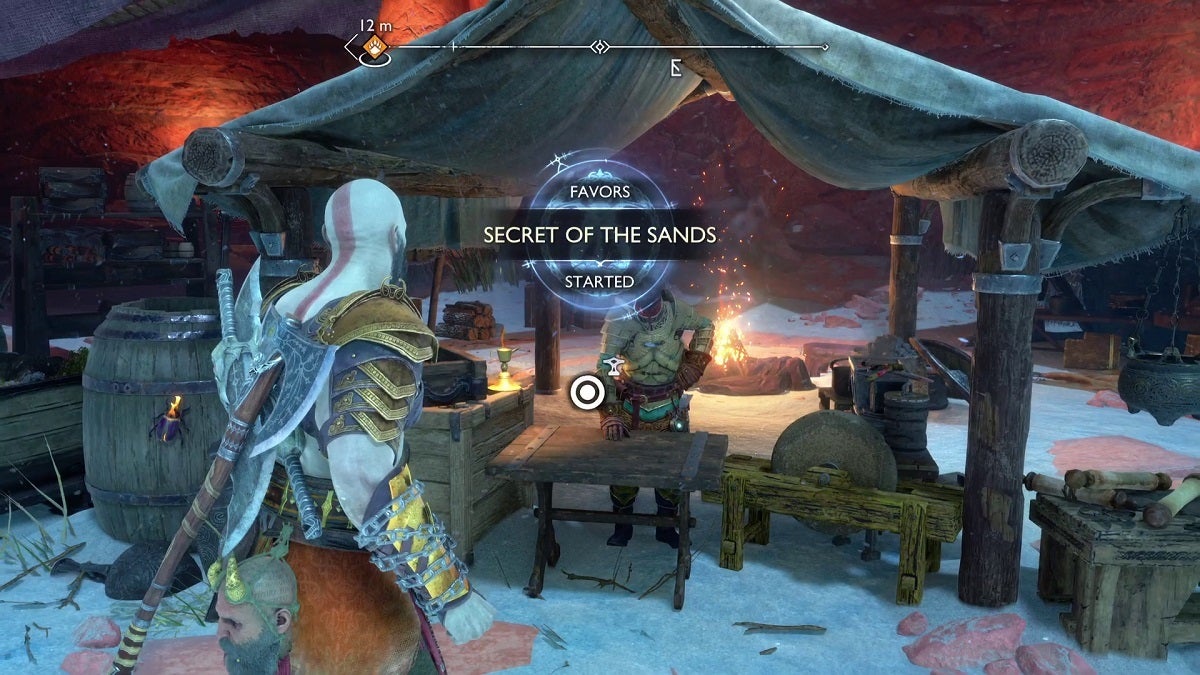
Starting the Secret of the Sands Side Quest
The quest automatically becomes available after you complete the “Gróa’s Secret” main quest during your first visit to Alfheim. A new path will open up to the right of the Mystic Gateway in The Strond. Pass through this newly opened gate and keep going forward. You’ll then see a hive matter and three glowing bulbs you can destroy by throwing the Leviathan Axe. Throw the axe from a direction where you can destroy all three bulbs in one throw.
Once done, the ledge to the right of the hive matter will become climbable. Make your way up and you’ll spot Sindri up ahead. Approach Sindri and the Secret of the Sands favor will officially begin. Be sure to track the favor so you’ll know where to head from your compass.
Heading Out Into the Desert
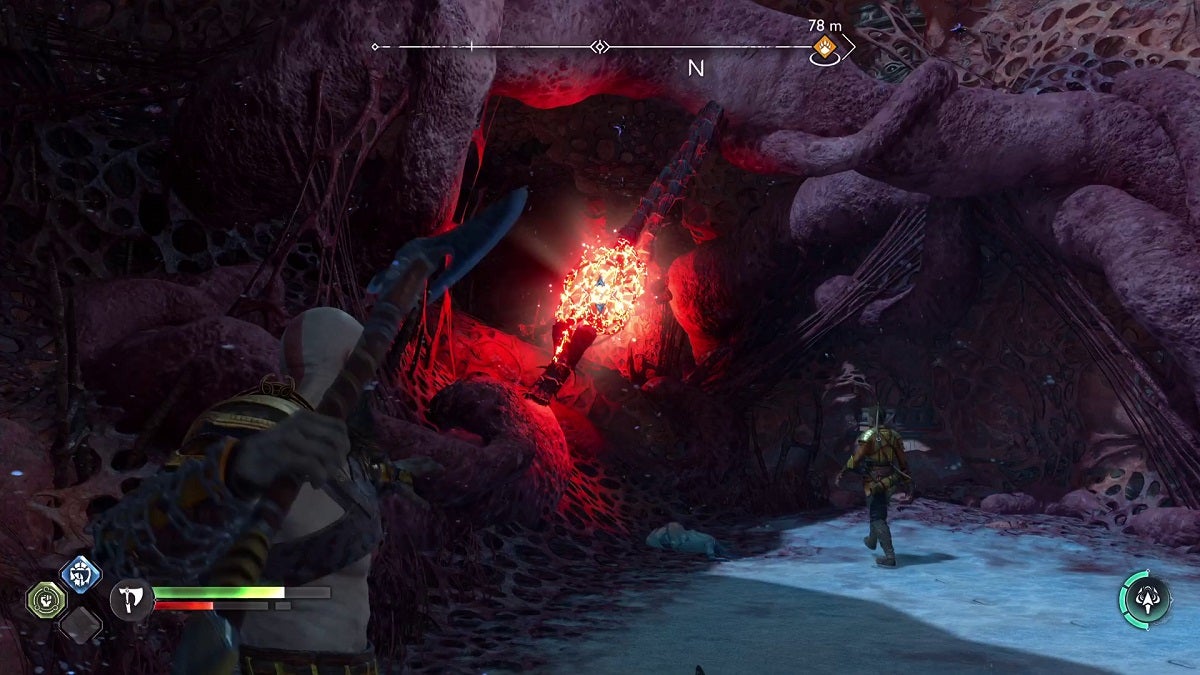
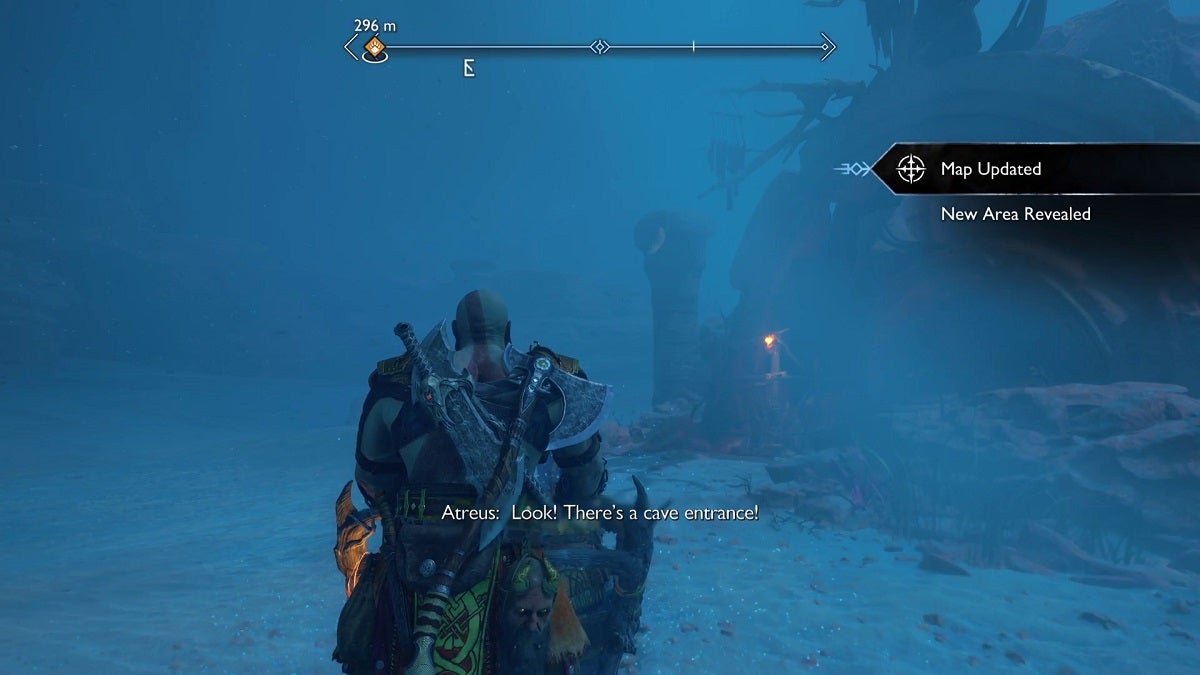
Up ahead Sindri’s shop, you’ll see two creatures known as Gulons that will pull a sled for Kratos and Atreus, thus giving you a mode of transportation as you explore the Alfheim desert. Travel out of the canyon and into The Barrens. Keep following the marked location of the favor via your compass until you reach an entrance to a cave. Atreus will call this out as soon as you get close to it.
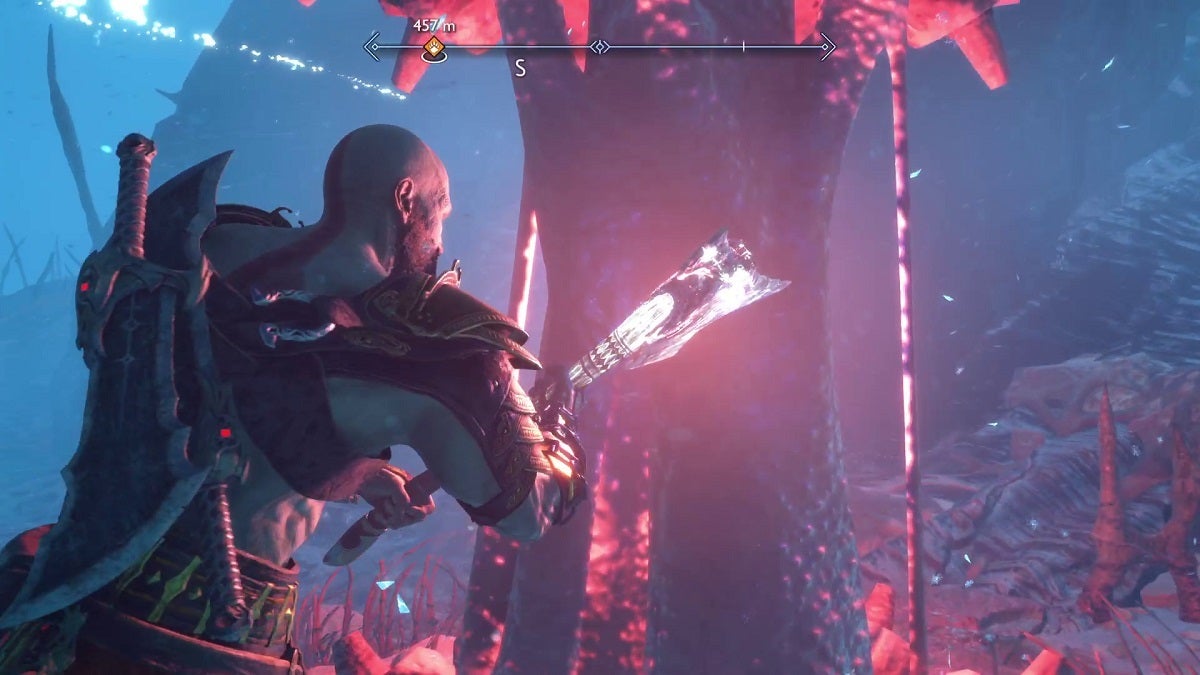
Enter the cave and start descending until you find a crack the blades can latch onto on the opposite side of the cave wall. Keep going forward from here to reach The Below. Continue forward still, destroy the hive matter bulb, and jump down where you’ll get ambushed by a Dark Elf.
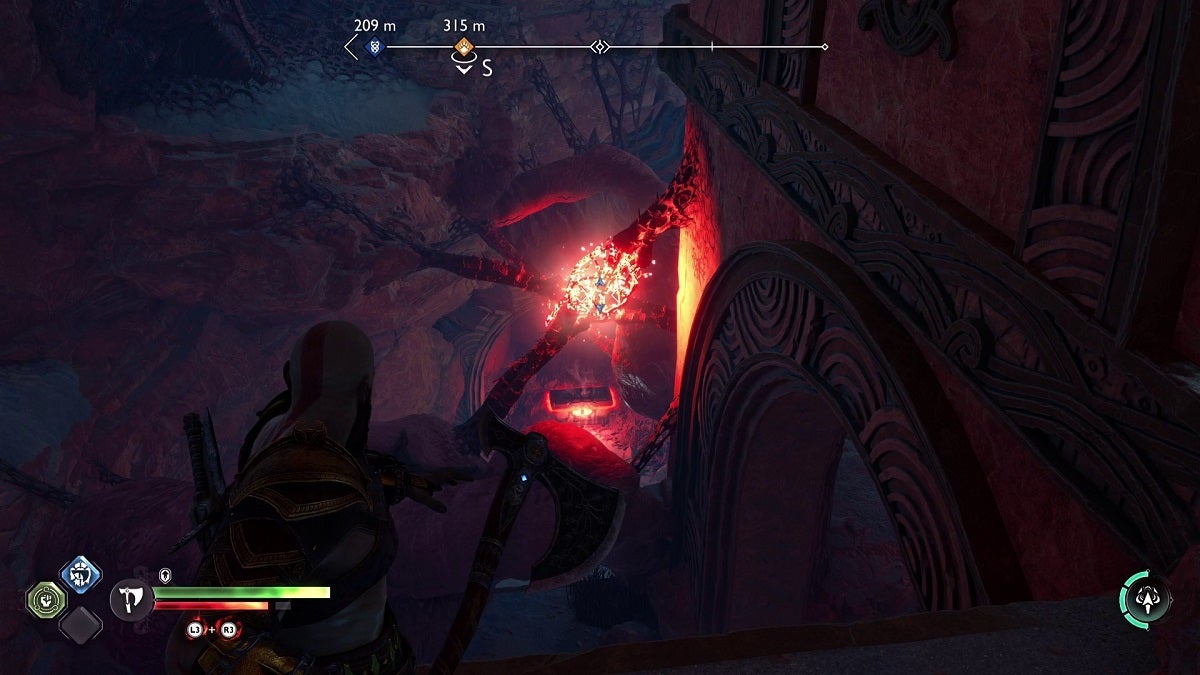
Once the elf is defeated, notice yet another hive matter blocking the path, with three succeeding bulbs to the left. At the base of the lowest bulb, you’ll see a twilight stone. Throw your axe here from an angle where the axe’s trajectory can hit the three bulbs.
Once done, keep pressing onward and watch out for the two Dark Elves that will attack you here. The chest at the back of this path contains Hacksilver, so be sure to open that too.
Opening the Nornir Chest in The Below
Continue toward the path to the right and you’ll reach an open cavern where you’ll need to fight a couple of Dark Elves. There’s a Nornir bell at the passage at the back of this cavern, but pay no mind to it for now. After you defeat the Dark Elves, approach the climbable wall right of a twilight stone. Once you’re on the upper ledge, make a hard right and look down to spot an angle where all three hive matter bulbs are lined up. Destroy them to open up a path to the chest ahead.
Be sure to loot the chest before proceeding to get Rawhide, Dwarven Steel, and Hacksilver. There’s also a Rune Read you can interact with close to this chest. Once all this is done, make your way back up to the highest ledge in this cavern to find your exit.
Continue onwards and use the rope line to zip to the other side of the cave. As soon as you land, turn around and head down to find a chest you can break open for a handful of Hacksilver. Once looted, make your way back up and press on to the other end of the ledge. Zip towards the tall rock formation to the right and keep zipping until you reach the opposite ledge ahead.
Head down to the lower ledge to the right. Ahead you’ll find the Nornir Chest and another bell. Approach it and open the gate next to the chest. There are also Nightmares and Wretches here, so be mindful of these enemies. Remember this Nornir chest and bell. You’ll open this later on. For now, turn around and face the twilight stone that’s positioned above three hive matter bulbs.

Throw your axe while targeting the stone to destroy the three bulbs. Make your way back up to the upper ledge, zip to the closest wall crack, then onto the next, and you’ll be able to access the newly cleared wall crack from here. Zip to the next rock and begin climbing up and around this rock until you’re able to land on another ledge.
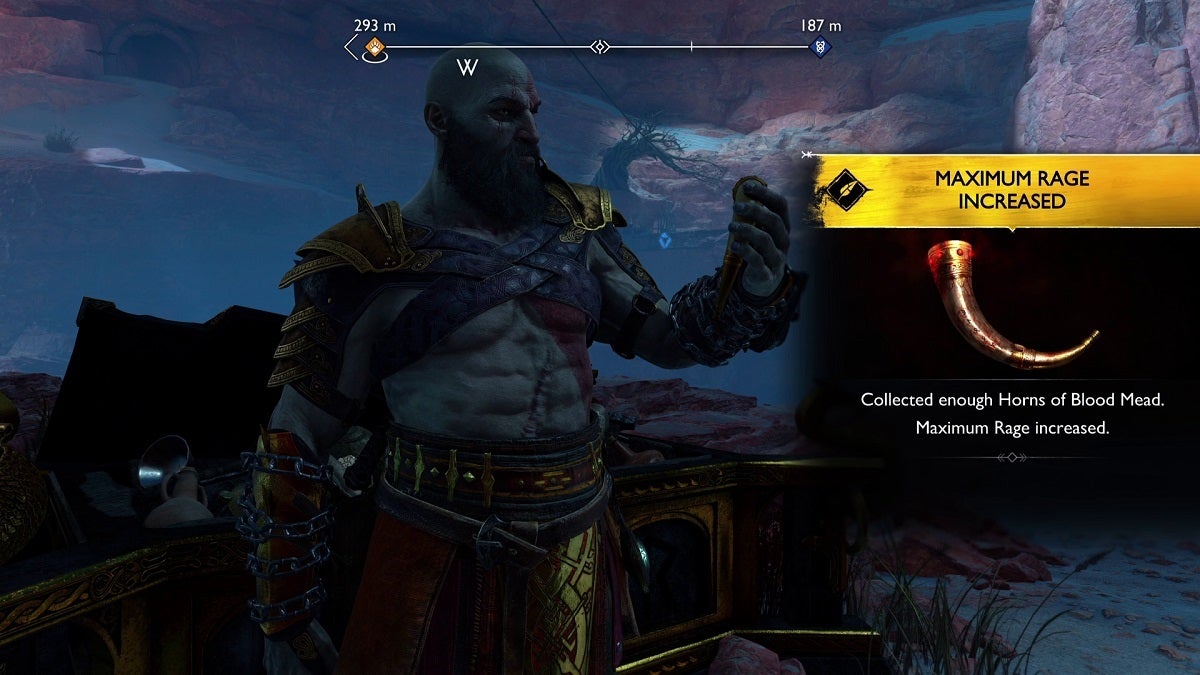
You’ll be able to enter another cave cavern from this ledge. You’ll also see the third Nornir bell. Make your way down and open the gate to the right. From this position, hit the bell and run up to and hit the next quickly then onto the final one. Manage to hit all three bells in a short span of time to open up the Nornir Chest. This will reward you with a Horn of Blood Mead.
Going Deeper Into the Cave
Make your way back to where the final bell was. Continue forward and use the chain to get down to the lower section of this cavern. Be prepared to fight a bunch of Dark Elves as soon as you get down. After the enemies have been eliminated, head to the northern corner of this cavern to find a crawl space. Enter it to continue forward.
When you surface to the other side, go to the end of the ledge. The forward path is blocked for now. So instead, head to the lower ledge to the right. Notice the hive matter bulbs to the right. You’ll take care of this in just a moment. For now, turn around and look over to the back of the golden rock formation that’s blocking the path to spot an exploding pot. Hit it with your axe to destroy the rock formation, clearing your path.
Head back up to the upper ledge, then face the hive matter bulbs. Next to the lowest bulb is the same rock formation you destroyed earlier and an exploding pot right next to it. Hit this pot to reveal a twilight stone. Throw your axe on the stone at the right angle to destroy the three bulbs. This clears the path to a chest that contains Rawhide, Dwarven Steel, and Hacksilver.
Clearing Multiple Hive Matters
With all that done, return to the upper ledge and continue heading west. You’ll arrive at an area that’s also plagued by hive matter. You’ll need to clear this to move forward and complete the favor.
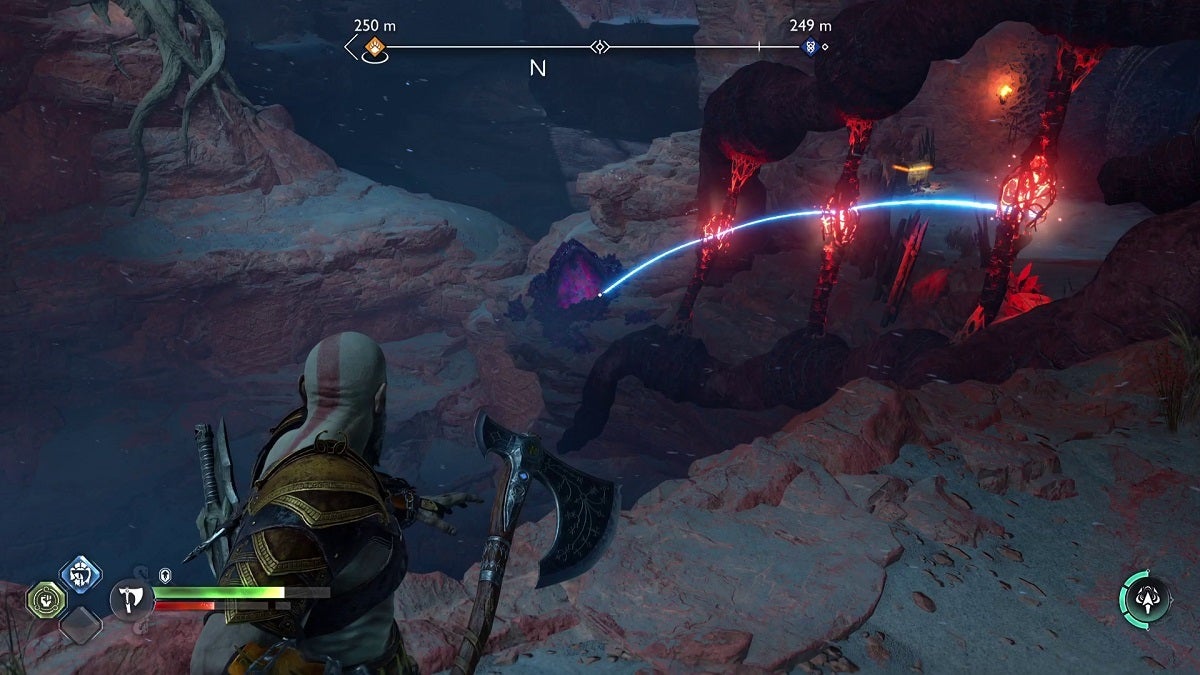
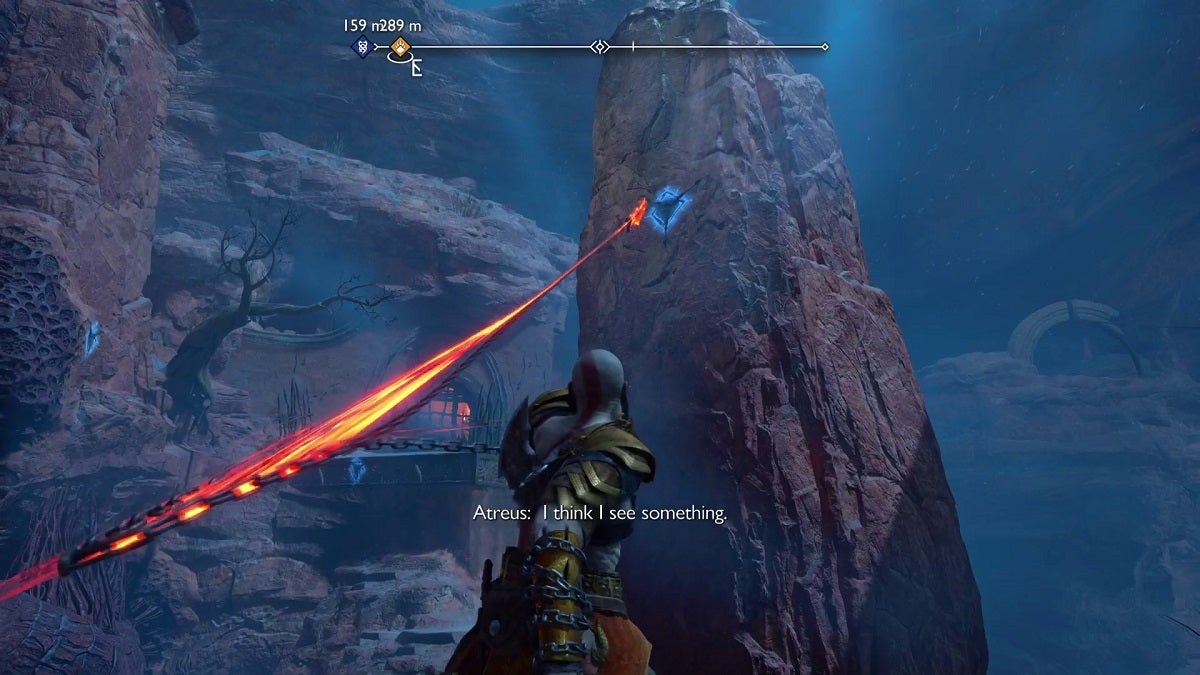
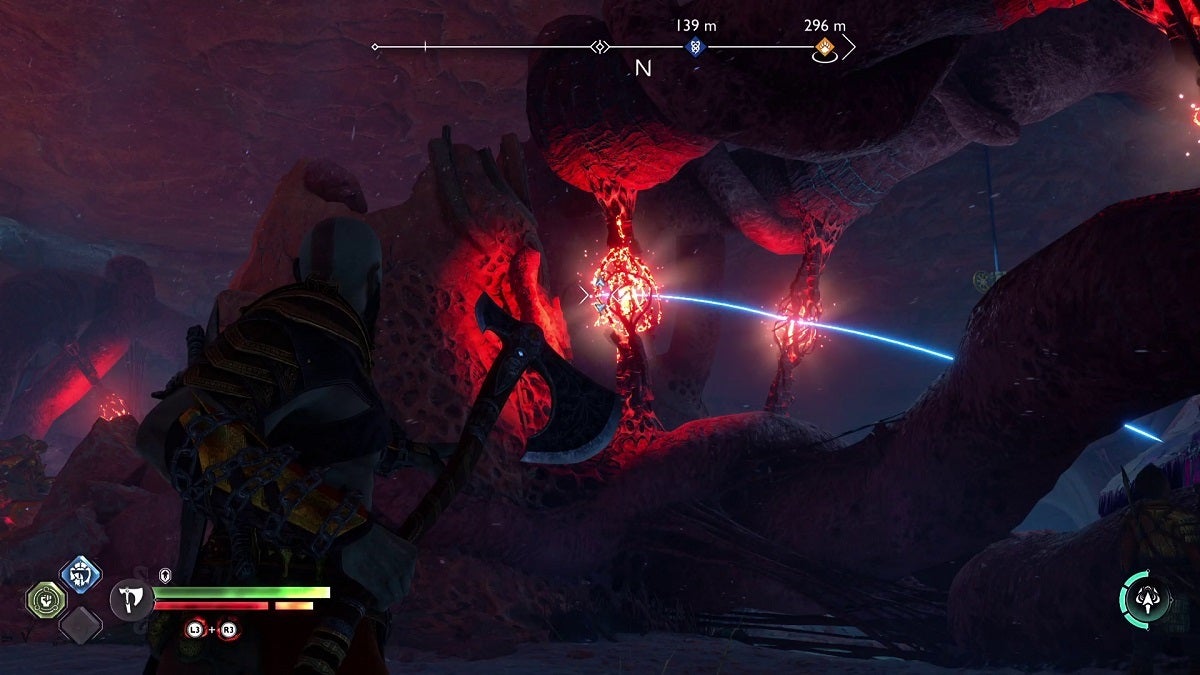
There are Wretches you’ll need to deal with here as well. Once the Wretches are dealt with, face the hive matter to the right, and target the left-most bulb while also targeting the twilight stone behind it. As long as the trajectory is marked blue, the axe’s path will land at another bulb, into another twilight stone, which will then send it to the third bulb, clearing this path.
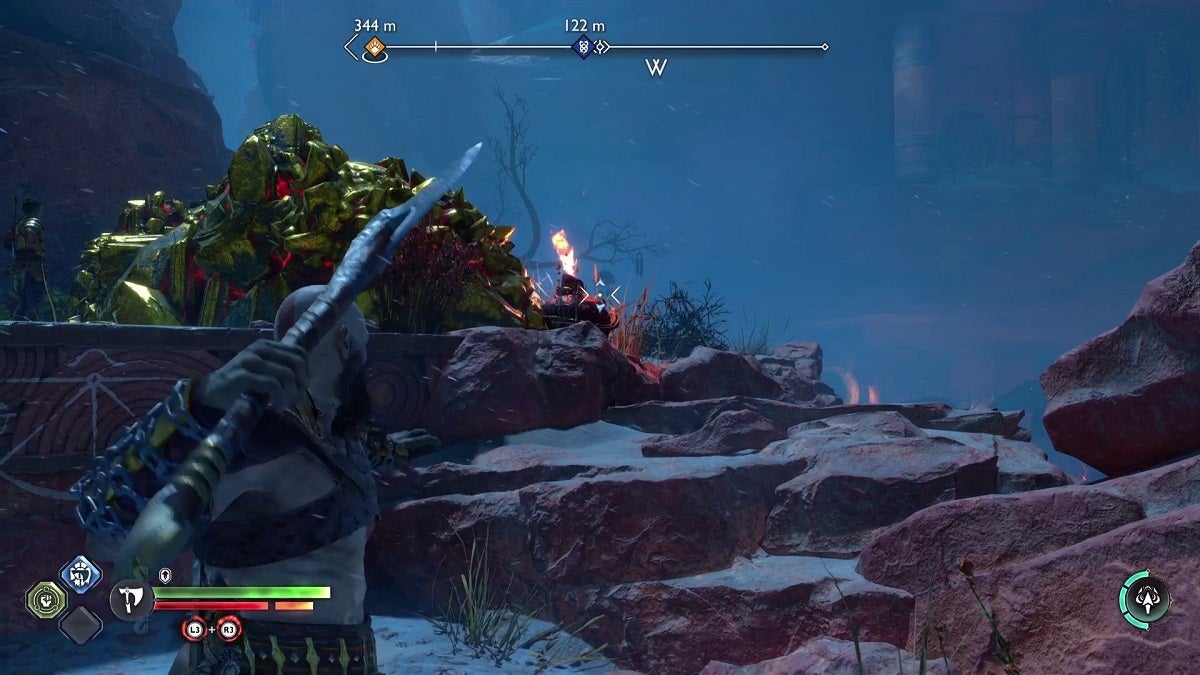
Jump the gap, then immediately look to the left to spot a bomb next to a golden rock formation. Hit the bomb to destroy the rock formation. Once done, make your way to where the rock formation was and aim your axe at the twilight stone ahead. Once again, find the correct angle where the trajectory is marked blue to clear the next hive matter.

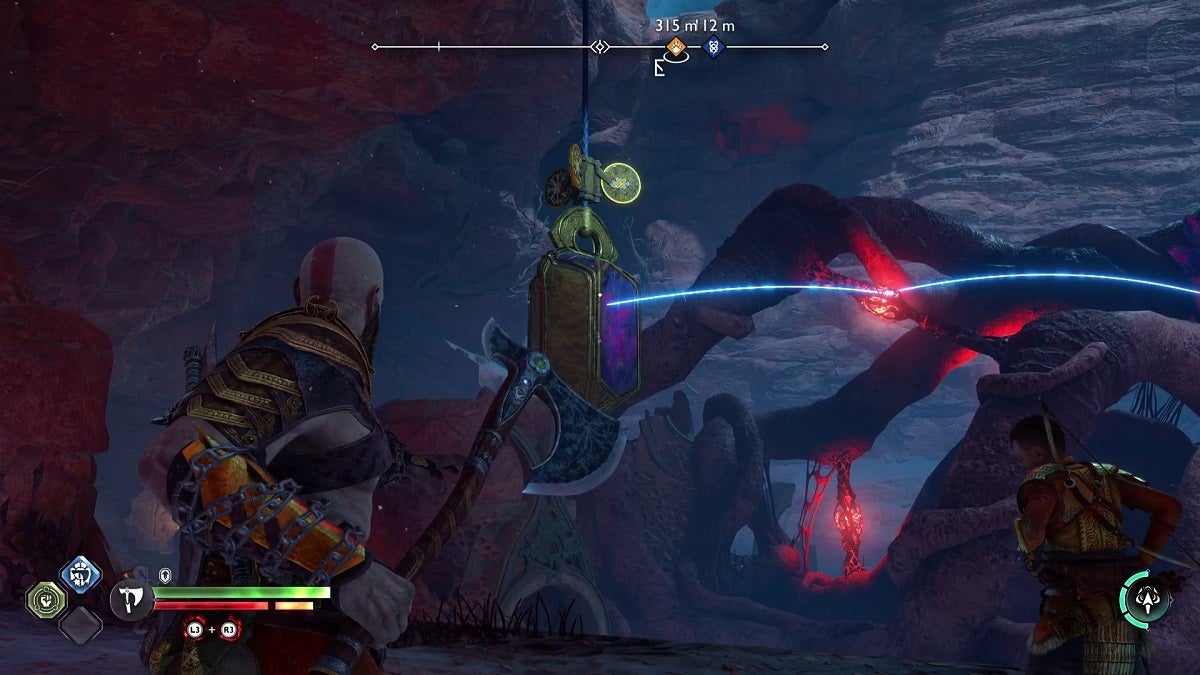
Continue onward and zip towards the upper ledge. Open the chest to the right to receive Forged Iron, Dwarven Steel, and Hacksilver. Up ahead, you’ll spot a massive hanging golden ornament with a twilight stone on one of its sides. You can spin this ornament by hitting the turnstile to the right. The twilight stone will now be in the correct position so that you can hit it at an angle with your axe to destroy three straight hive matter bulbs.
Freeing the Pained Creature
Continue going onwards from here and eliminate any Nightmare that comes your way. At the end of this path is a Nightmare hive. Destroy this hive to prevent it from spawning any more Nightmares. Climb the wall at the back of this area. When you reach the top, you’ll find the reason why you came to this place.
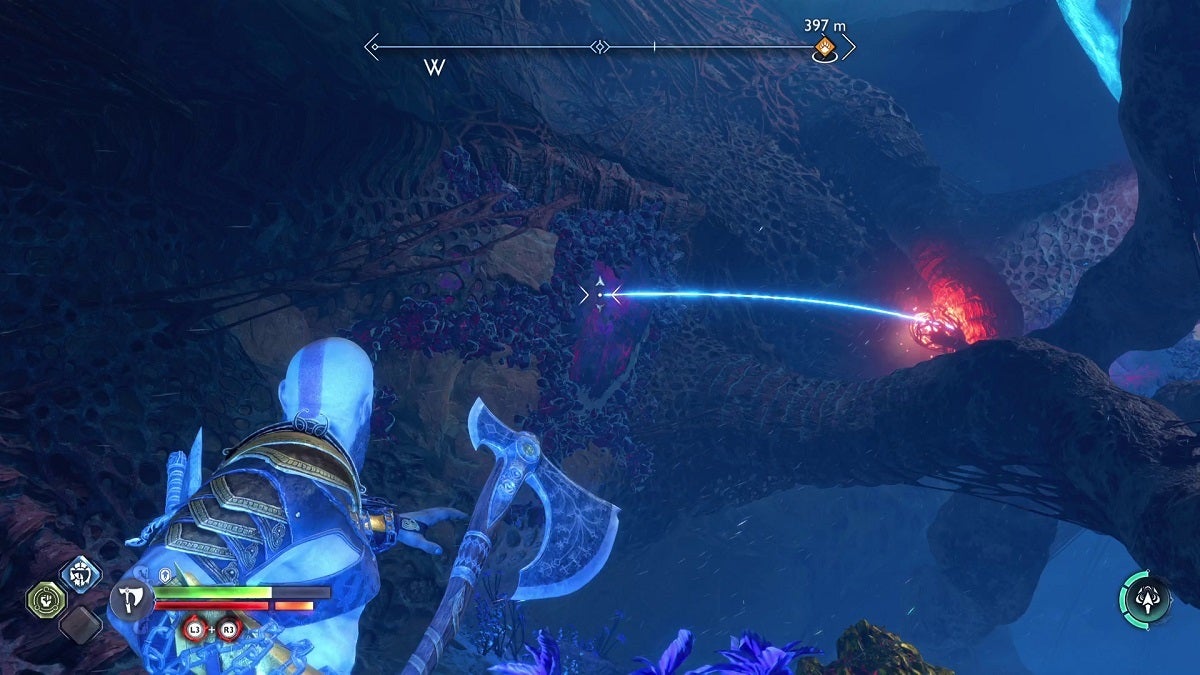
The next step is to now free the Hafgufa. Look over to the left to find a twilight stone. Aim at it from a proper angle so that it hits the hive matter bulb and the twilight stone next to it. This will clear up the first set of hive matter.
Go to where Atreus is standing and face northwest to spot a bomb behind the rock formation. Once destroyed, head to that area and face the hive matter bulb closest to you. Be sure your aim also hits the twilight stone behind it. This will send your axe flying toward three straight bulbs.
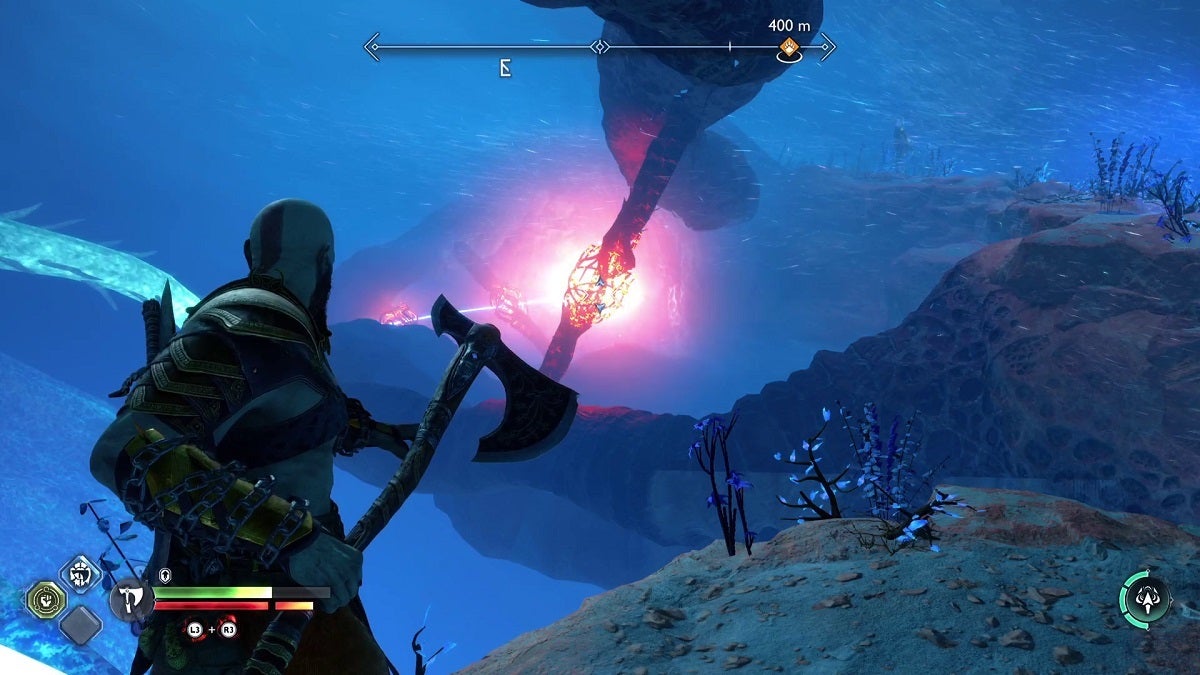
With all of that done, make your way back to the surface which you’ll be able to do by continuing to the path to the east. Keep going onwards from here and you’ll reach the surface in a short while. When you do, use the sled and head to the location of the Hafgufa as marked on your compass. You’ll be able to destroy the remaining hive stuff that’s trapping the creature from here.
Once the creature is freed, all that’s left to do is to observe the majestic creature and listen to a heartwarming dialogue between Kratos and Atreus.