
Table Of Contents
Mirage Tower
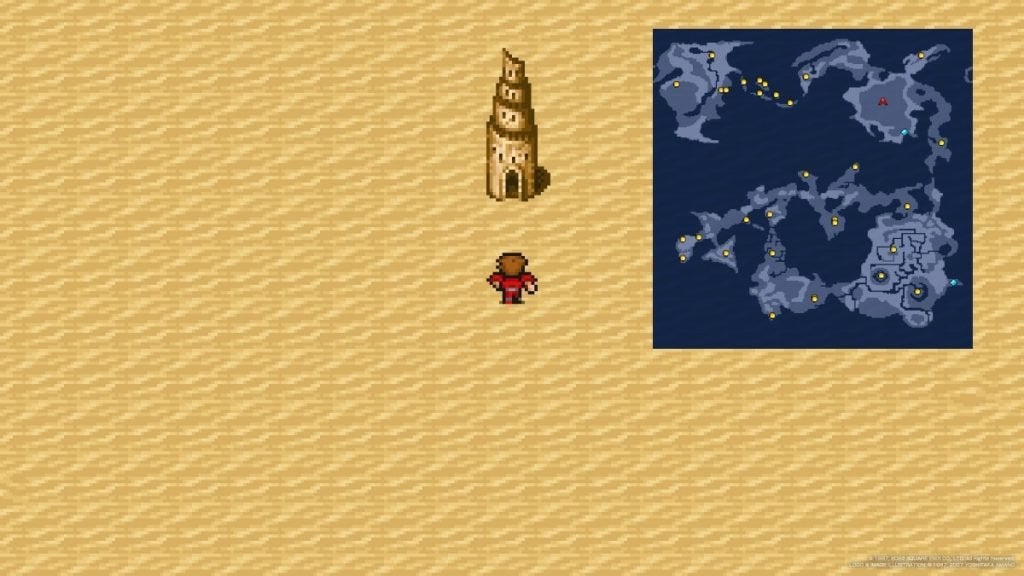
We’ve got the Chime, so now it’s time to make our way to Mirage Tower, and then the Flying Fortress. Hop on your Airship and fly to the northeastern continent. Mirage Tower is located in the middle of the desert, so land on some grass and walk your way there.
When you enter Mirage Tower, head to the room to the immediate north. This room has several chests containing a Healing Helm, 18,010 Gil, 3,400 Gil, Vorpal Sword, 2,750 Gil, Aegis Shield, and a Tent.
Exit the left door on the south side of this room and then go up the stairs to 2F.
The next room forces you to walk in a big circle around the room. Go counterclockwise until you reach the door to the room in the middle. This room contains 8,135 Gil, 7,900 Gil, Thor’s Hammer, 12,350 Gil, 13,000 Gil, Cottage, 7,600 Gil, Sun Blade, 10,000 Gil, and a Dragon Mail.
Exit the right door on the south side of this room and then continue counterclockwise until you see the stairs. Take them up to 3F.
Enter the room on this floor and kill the Blue Dragon blocking your path.
The Warp Point in the middle of the room takes you to the Flying Fortress. You need the Warp Cube for it to work, but you should have already gotten this from the robot in the Waterfall Cavern.
Take the Warp Point to the Flying Fortress.
Flying Fortress 1F
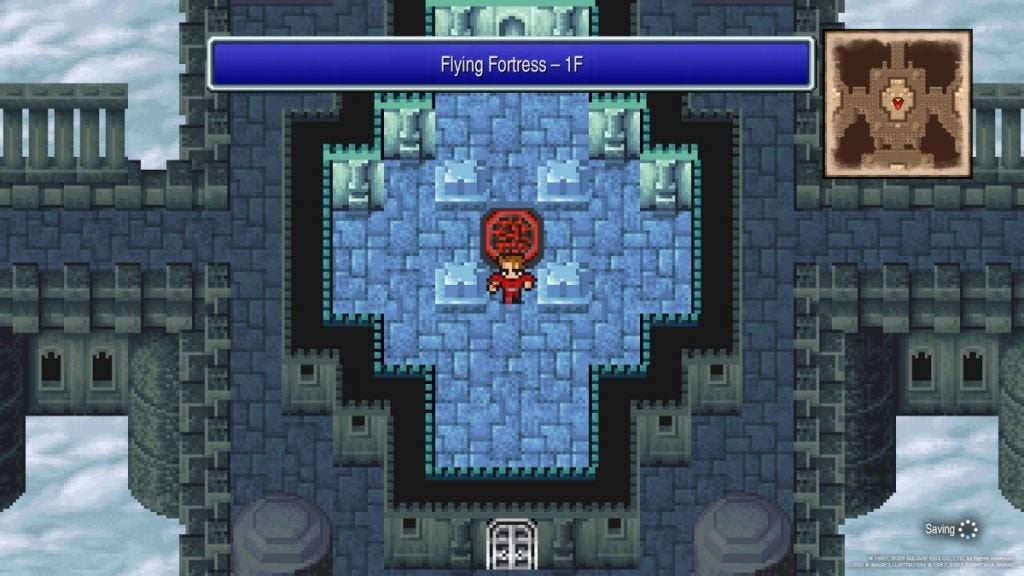
Leave the room and head south. Enter the room and take the Razer from the chest. Go back to the starting point and then go west. Enter the room for 7,900 Gil, 4,150 Gil, Potion, and 9,900 Gil.
Go to the room on the eastern side of this floor and get 1,180 Gil, 5,000 Gil, Protect Ring, 6,720 Gil, and a Healing Helm.
Finally, go to the northern portion of the area and stand on the warp point to go to Flying Fortress 2F.
Flying Fortress 2F
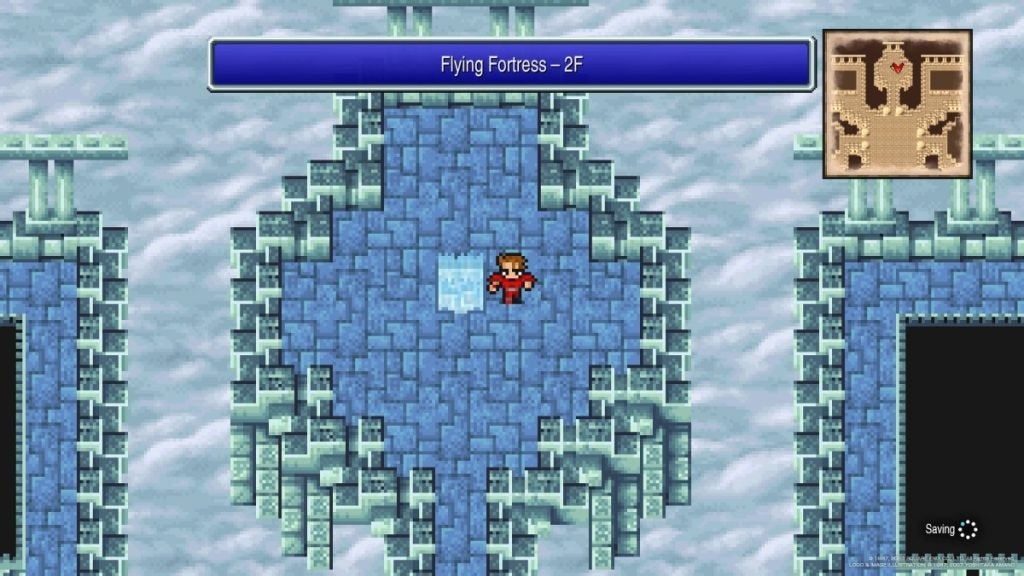
The second floor of the Flying Fortress has eight different paths you can choose from. Every path except the southern path contains a chest or two, so explore each one of them. You’ll get a Cottage, Mythril Helm, 1,380 Gil, 13,000 Gil, Adamantite, Diamond Gloves, Diamond Shield, Ribbon, Black Robe, and a White Robe.
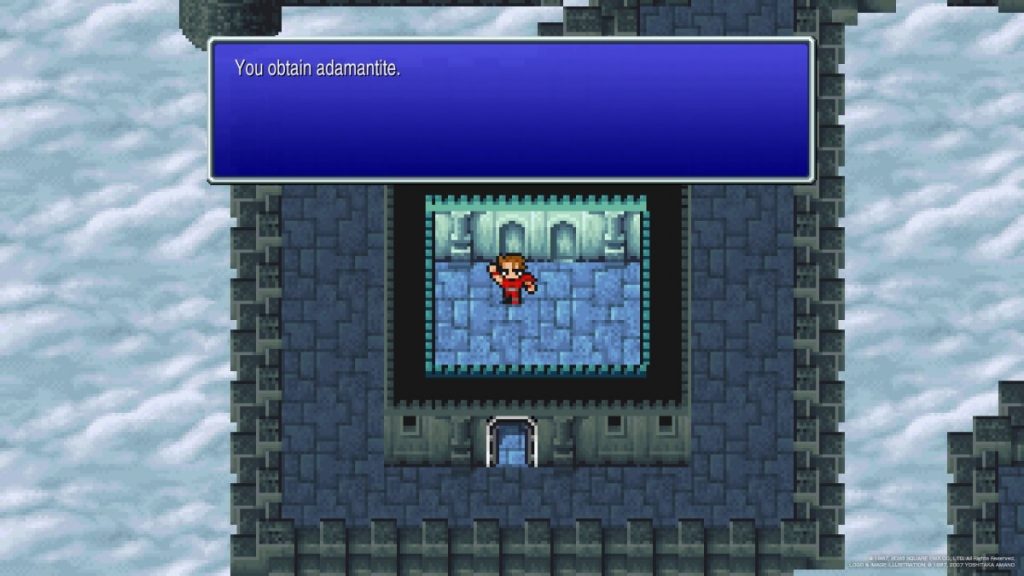
The Adamantite is especially important, so don’t leave without getting it. Once you’ve collected the treasures, take the southern path for the next Warp Point.
Flying Fortress 3F
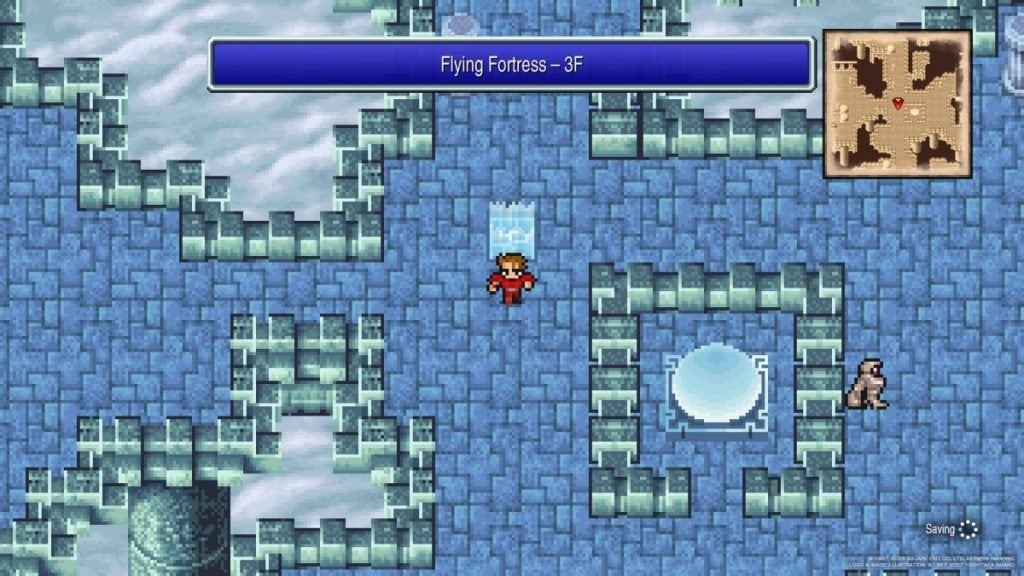
Head north and enter the room. It contains a Potion, Protect Ring, 5,450 Gil, and 9,000 Gil.
Leave the room and head west of the Warp Point. Enter the room for a Gold Needle, 4,150 Gil, 3,400 Gil, and Sasuke’s Blade.
Head back to the Warp Point of this floor and then go to the eastern side of the area for another room with treasure. This one contains 8,135 Gil, Protect Cloak, 9,500 Gil, Clothes, Gold Needle, and 6,400 Gil.
Go check out the observatory window in the middle of the area, and then go to the west side and take the Warp Point to the next floor.
Flying Fortress 4F
This floor is straightforward. From the starting point, head south two sections and then east two sections. You’ll find another Warp Point. Take it up to the fifth floor.
Flying Fortress 5F
This fifth and final floor of the Flying Fortress contains one of the most infamous random encounters in Final Fantasy history: Warmech. It is the most difficult enemy in Final Fantasy 1. Luckily (or unluckily), you only have a 3/64 chance of encountering it. If you want to fight Warmech, continue walking up and down this hallway until you eventually encounter it. Otherwise, go to the end of the hall and prepare to face Tiamat, Fiend of Wind.
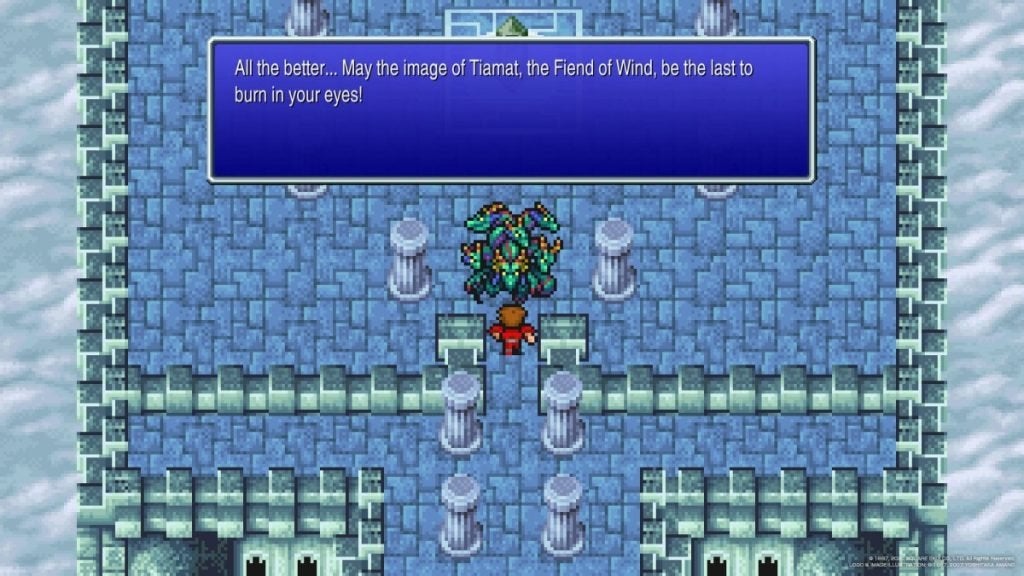
Tiamat is a relatively difficult fight. He likes casting Lightning, so use NulShock to protect yourself. Cast your best magic at him, attack with melee characters, and stay healed. You’ll have him beat soon. You’ll get 6,000 Gil and 5,496 Exp for beating Tiamat.
You’ve restored light to the Wind Crystal and, therefore, all four Crystals. We’re ready for the final battle, but we have to make a pitstop first.
Take the teleporter behind the Wind Crystal and get back to your Airship. Head to a town and rest/resupply. We’re heading to Mt. Duergar and then the Chaos Shrine.
Lufenian and the Chime