Table Of Contents
Leaving Timber
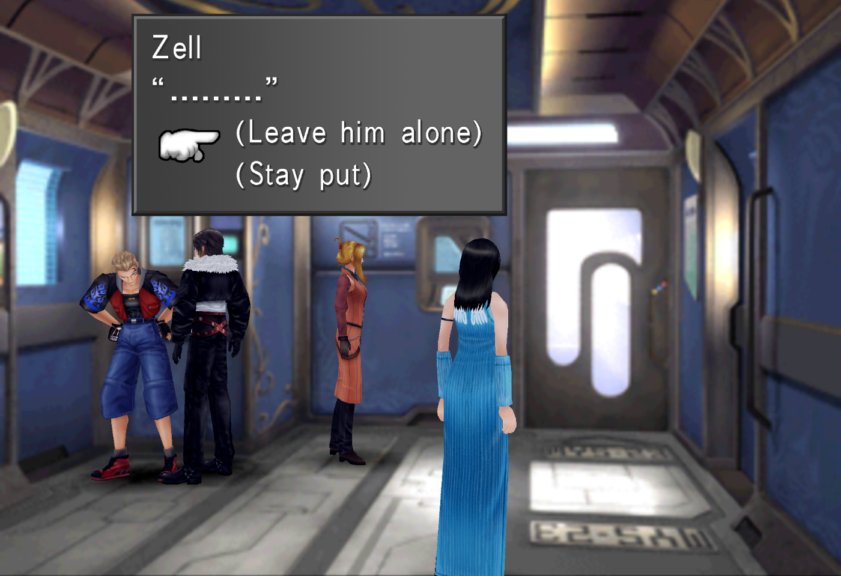
On the train, you must simply progress through the dialogue as normal. After speaking to everyone else (including Selphie) keep trying to talk to Zell until a prompt appears. Select “(Leave him Alone)” here. You will then have a choice to get off at the East Academy Station as planned or to get off later near Dollet.
Note: You can still access all of the areas currently available to you from either station. The choice here will merely determine how far you have to walk on the World Map.
At this point, there are few optional things you can do. From either station, you can make the long trip to Timber and obtain the Timber Maniacs Issue 3. This can be found in the Timber Hotel Room which can now be rented for 100G. You can also return to Dollet and continue the Queen of Cards side-quest (as well as find other things of use there as well).
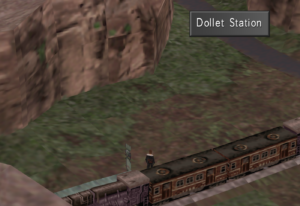
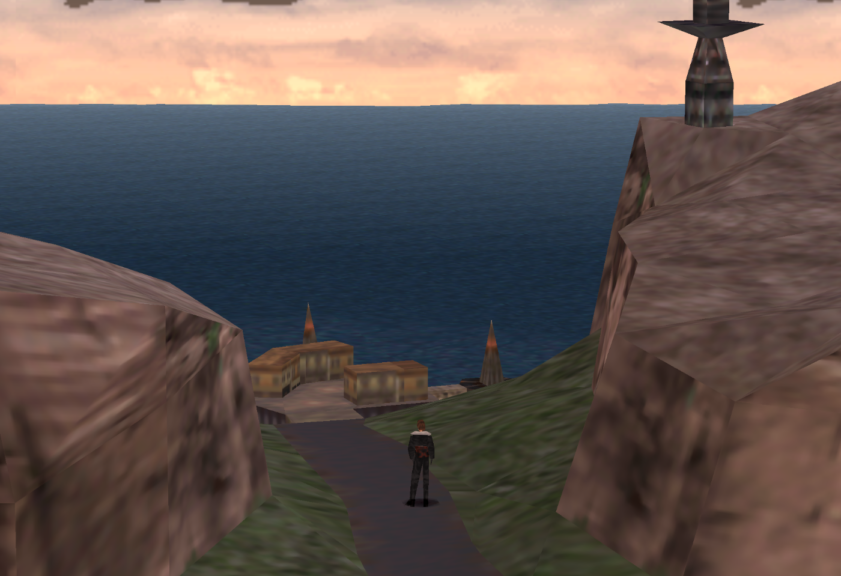
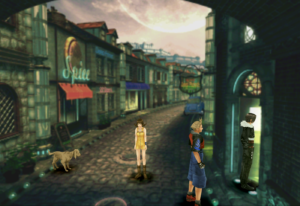
Dollet is found by following the road to the sea. By staying on the road, you can avoid any random encounters. Dollet is to the left as you come out of Dollet Station.
Detour To Dollet
Once in Dollet, you will encounter a new rule for Triple Triad: the Random Rule. This can make playing Triple Triad a lot more difficult than it would be otherwise. Thankfully this rule can be abolished but it can be tricky to do so.
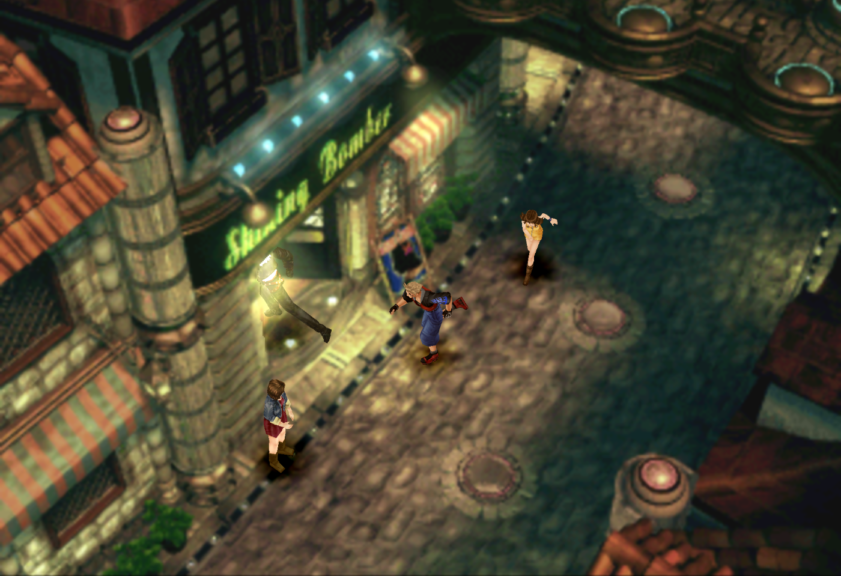
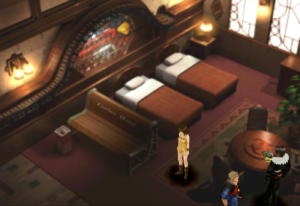
If you’re wanting to continue the Queen of Cards side quest, head over to the “Shining Bomber” pub and go to the second floor. If Siren has learned Move-Find, then you can use the save point. From here, you can talk to the Queen herself about her artist father.
She’ll mention that she gave the Minimog Card to her father so that he could create the Kiros Card. This will become available in Deling City. Note she will also mention the next card her father requires: the Sacred Card.
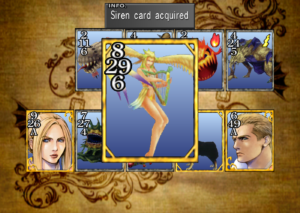
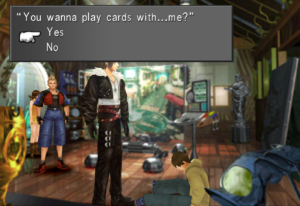
You can also get Timber Maniacs Issue 8 here by inspecting the card table on the left. The man standing behind this table can be challenged for a chance to win the Siren Card. You can challenge him by simply talking–the “thing” he is looking to start is a game of Triple of Triad.
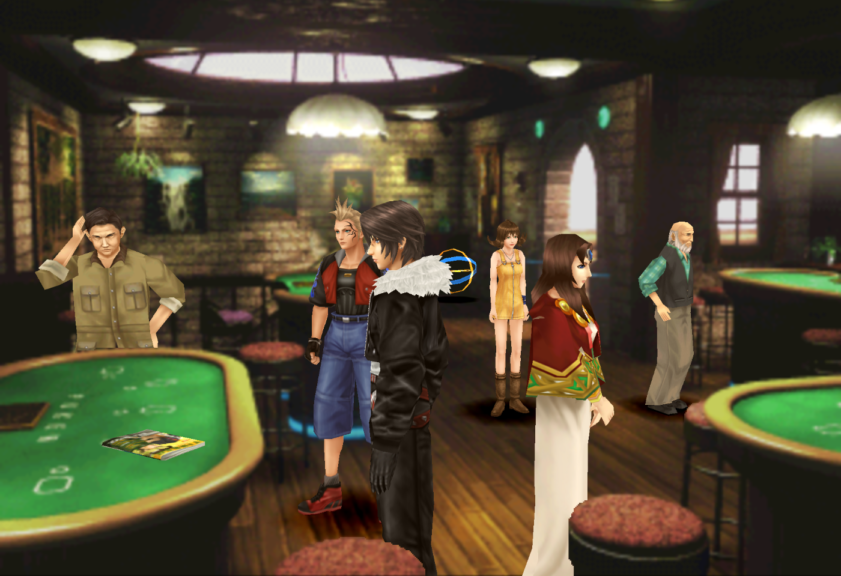
Once you beat him, he will show you a secret card room across the bridge which will yield further rewards. Talk to him for some low-level monster cards. Inspect the magazine piles as this will have a chance to give certain rewards as well.
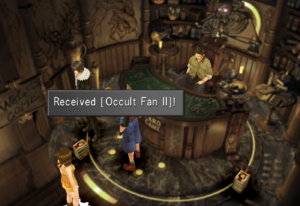
Rewards here are mostly in the form of lore, but the pile nearest the door can yield common items as well. This pile also has a chance to give the Occult Fan II. If the pile begins to repeatedly show “(There’s nothing of interest here.)“, leave and re-enter the room to try again.
After you leave the pub, head to the house to the right side of the road, just after the entrance to the beach. Here you can find the Queen’s son. Enter the house and challenge him for a chance to win back the Minimog Card.
Note: While it’s possible to undertake a new side-quest here relating to the paintings, the rewards are substantially better later on in the game and this guide will be examined then accordingly.
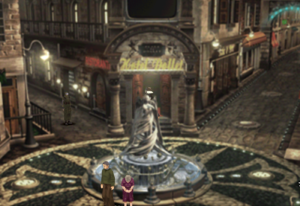
In Dollet, you can collect Timber Maniacs Issue 7 by renting a room at the Dollet Hotel for 100G (which is positioned just north of the fountain. Here you can find the magazine on the desk on the right. Once you’re done in Dollet, you can leave for the world map.

Heading to Galbadia Garden
Whether you decided to head Dollet or not, you can now make the journey to Galbadia Garden. None of the monsters you may encounter on the world map should prove much of an obstacle to your party.
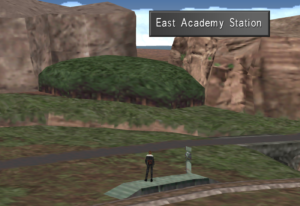
Galbadia Garden is located across the bridge from the East Academy Station through the forest in the canyon. Before you head to the forest, make sure Squall’s, Selphie’s, and Quistis’s respective junctions and magics are set up to your liking.
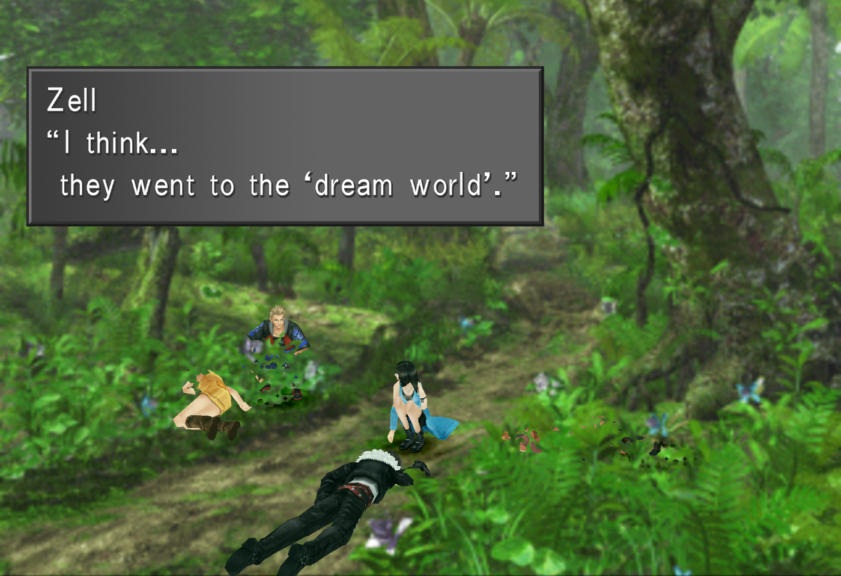
Once at the forest, your party will stop for a dialogue before Squall, Selphie, and Quistis collapse. Your perspective will then change and you will reenter the Dream World for the second time.
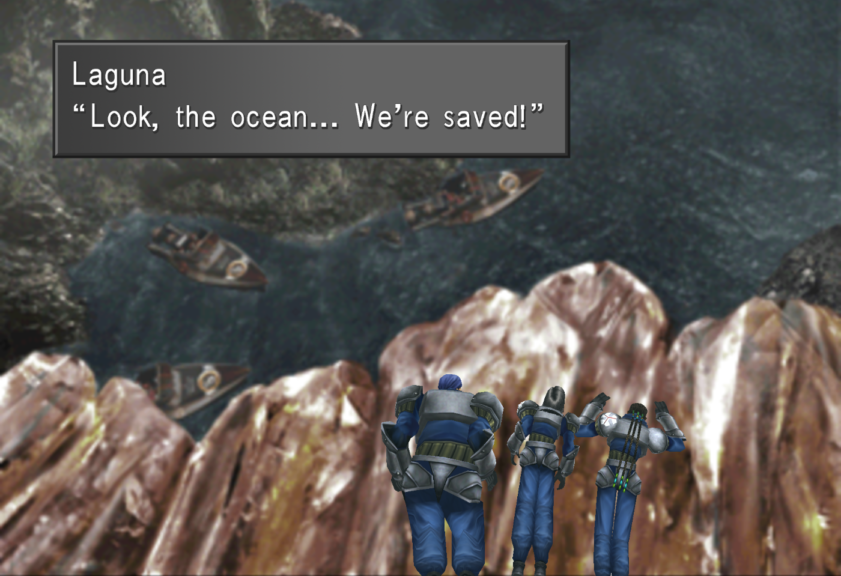
The Dream World
Once again, you’re with Laguna, Kiros, and Ward in a Dream Sequence. Their junctions and levels will be directly transferred from and to Squall, Selphie, and Quistis respectively here. In this location, you are much freer to explore than in the last sequence.
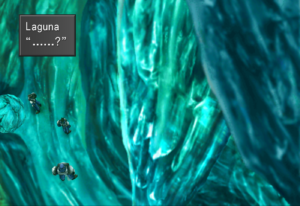
To start, proceed with the dialogue as normal. Selecting the “Yeah, a bad feeling” dialogue option will start a short optional dialogue with Laguna and the others.
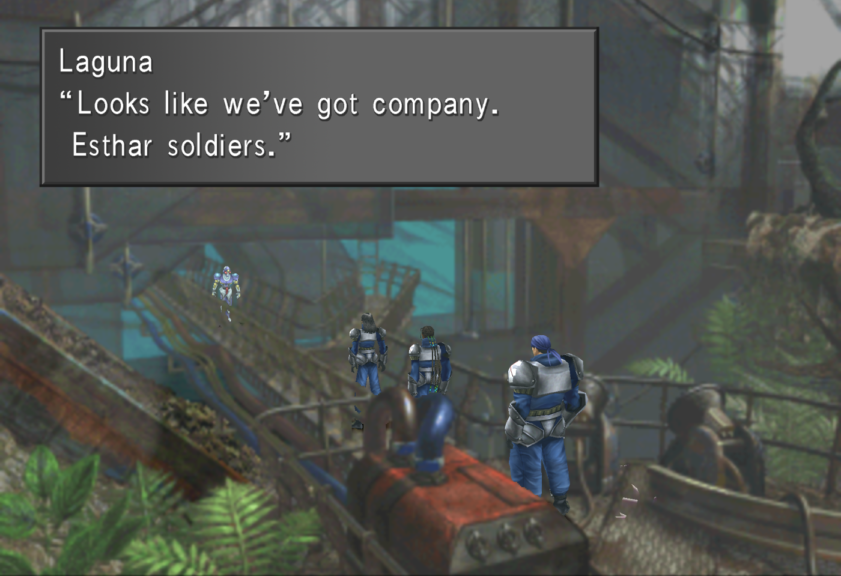
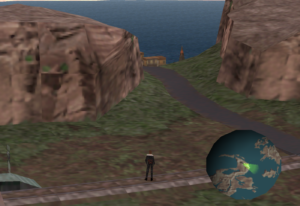
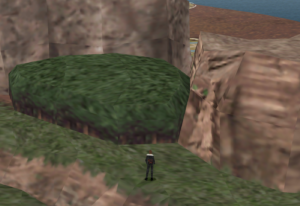
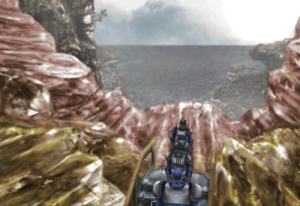
After this, head down the cliff to the Excavation Site. Here you’ll find a Draw Point with Sleep. Going further ahead, you’ll be ambushed by Soldiers from Esthar. These soldiers are generally fairly easy to beat but note that they can’t be carded.
Despite what Laguna says next, you are not being actively pursued and can freely explore the area as you choose. You will, however, encounter these soldiers and other enemies as random encounters here. If your average party level is above 30, then it’s possible to acquire certain materials needed for the Lionheart.
The Old Keys and the Three Hatches
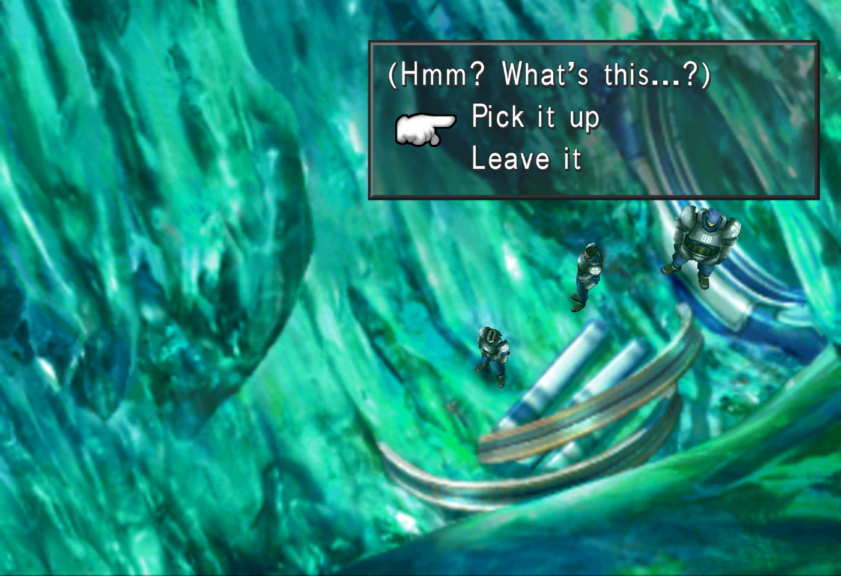
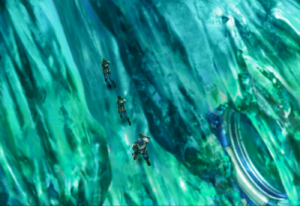
You now have the chance to unlock draw points and items for a part of the game that comes much later. Part of this is done by Laguna acquiring “Old Keys,” and then promptly losing them again. For the first Old key, take the path to the right on the walkway where you first got ambushed.
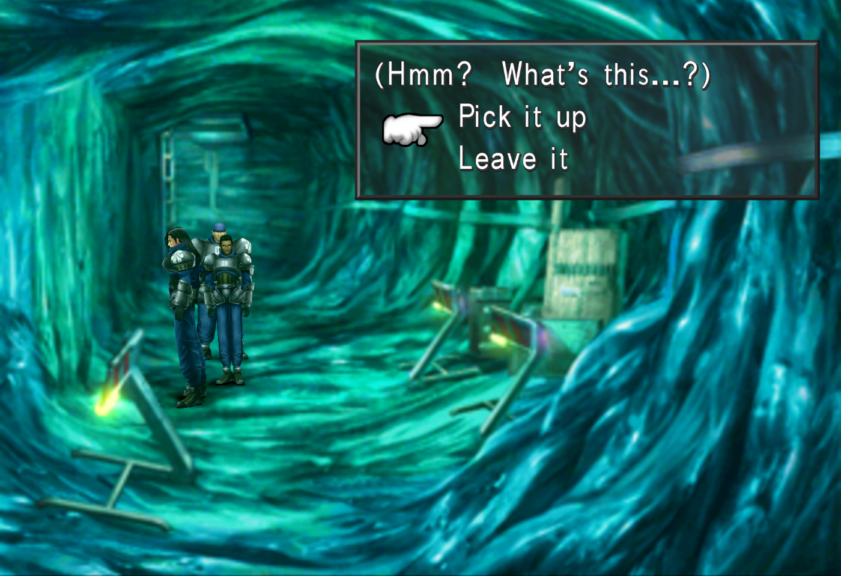
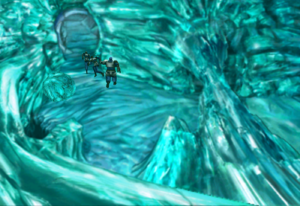
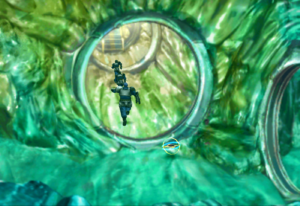
Climb down the ladder, proceed through the dialogue, and follow the path ahead until you reach the entrance of a crystal-like area. Examine the pile of debris to obtain the first Old Key and lose it again. After this, proceed along the path to the left until you reach a walkway with three hatches.
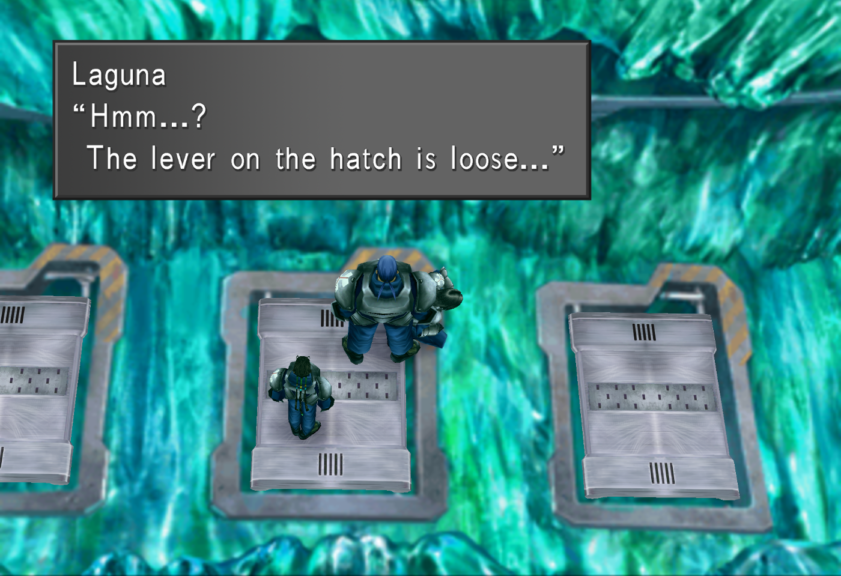
These hatches can be tampered with in the right sequence and yield items in turn. Head to the middle hatch first. Inspect this and select “Tamper With It” when the prompt shows. This may require multiple attempts to find the exact location needed.
Once done, you can’t proceed further ahead this way so exit the way you came by heading right. Head back to the outside walkway where you were first ambushed and take the path to the left instead this time.
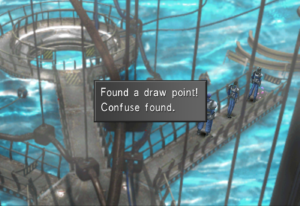
You will find the walkway splits again into three paths. The leftmost path in this new area is permanently closed but the path on the right has a Draw Point with Confuse. To proceed, head down the middle path and climb down the ladder.
Here you can find another old key, on the left side of the tunnel, near the yellow glowing light.
After this, head down the tunnel. Here you will find the three hatches again, although your path will be blocked if you tampered with the middle one earlier as mentioned. Proceed to tamper with the one on the left.
Once done, make the journey back to the other side of the area with the three hatches and tamper with the hatch on the right. With all three hatches tampered with, you can proceed further into the site by heading upwards from the first old key you found and then taking the path to the left.
The Detonator
In the following area, you will find a detonator. Here, detonate the furthest red switch by the boulder first. This will open the left hatch and yield an item later in the game.

After this, detonate the nearest blue switch. This in turn will open the right hatch and yield a different item later as well. At this point, you are close to leaving the site.
Leaving the Excavation Site
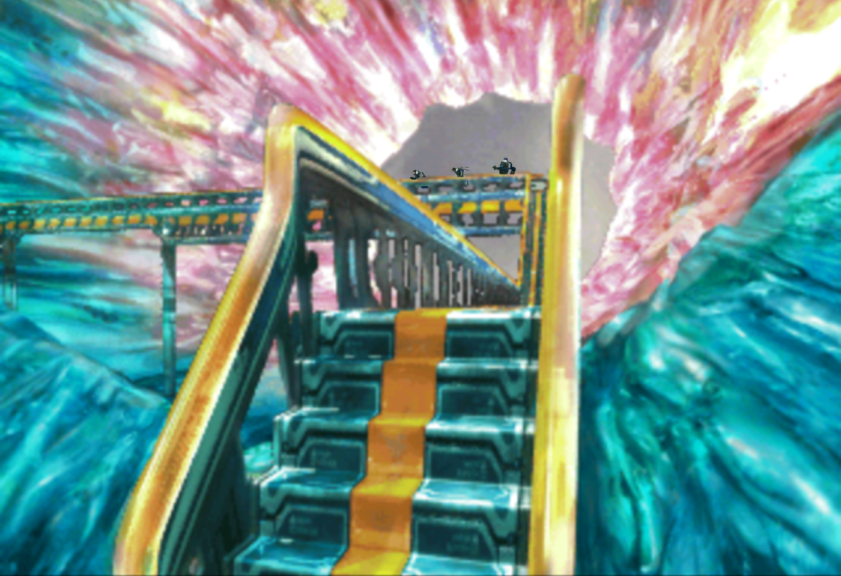
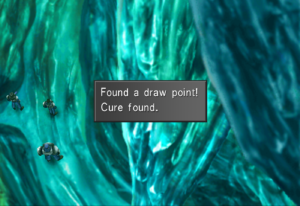
When you’re ready to leave the site, proceed up the stairs beyond the detonator. Follow the path around until you reach another path with a crystalline boulder on the left. Examine it and Laguna will push it to reveal a Draw Point with Cure.
Keep heading up the path until you find a Save Point. You’re close to leaving the site here. When you proceed up the stairs and go near the edge of the cliff, you’ll enter successive battles with Esthar Soldiers.
Note: If you opened the hatches and moved all of the boulders, you will only have one encounter here.
These encounters shouldn’t prove too much of an obstacle. Just be sure to have enough healing magic and items stocked if you expect to face multiple encounters. Upon landing the final blow, the Esthar Soldier in question will end the battle with “Soul Crush.” After this, all that’s left to do is let events unfold…