Items: Mana Egg
Equipment: Dark Armor, Gauntlets, Death Mask, Bloody Knife, Binding Whip, Lightning Sword
Gold: 240G, 240G, 240G, 240G, 240G, 240G, 240G, 240G, 240G, 240G, 240G
Enemies: Zombie, Salamandile, Pink Mage, Pteranobone, Giant Moth
Optional Boss: Lord’s Ghost, Wand
To get here, go back to the Zil Desert. You should be in the South Zil Desert. If not, enter Zil Padon or Laine, then leave and re-enter the Zil Desert. Once you’re there, press R2 once so the arrow is spinning toward the Castle of Dreams. Head north and west all the way, then north from there until you hit a wall. The Castle of Dreams is west from there.
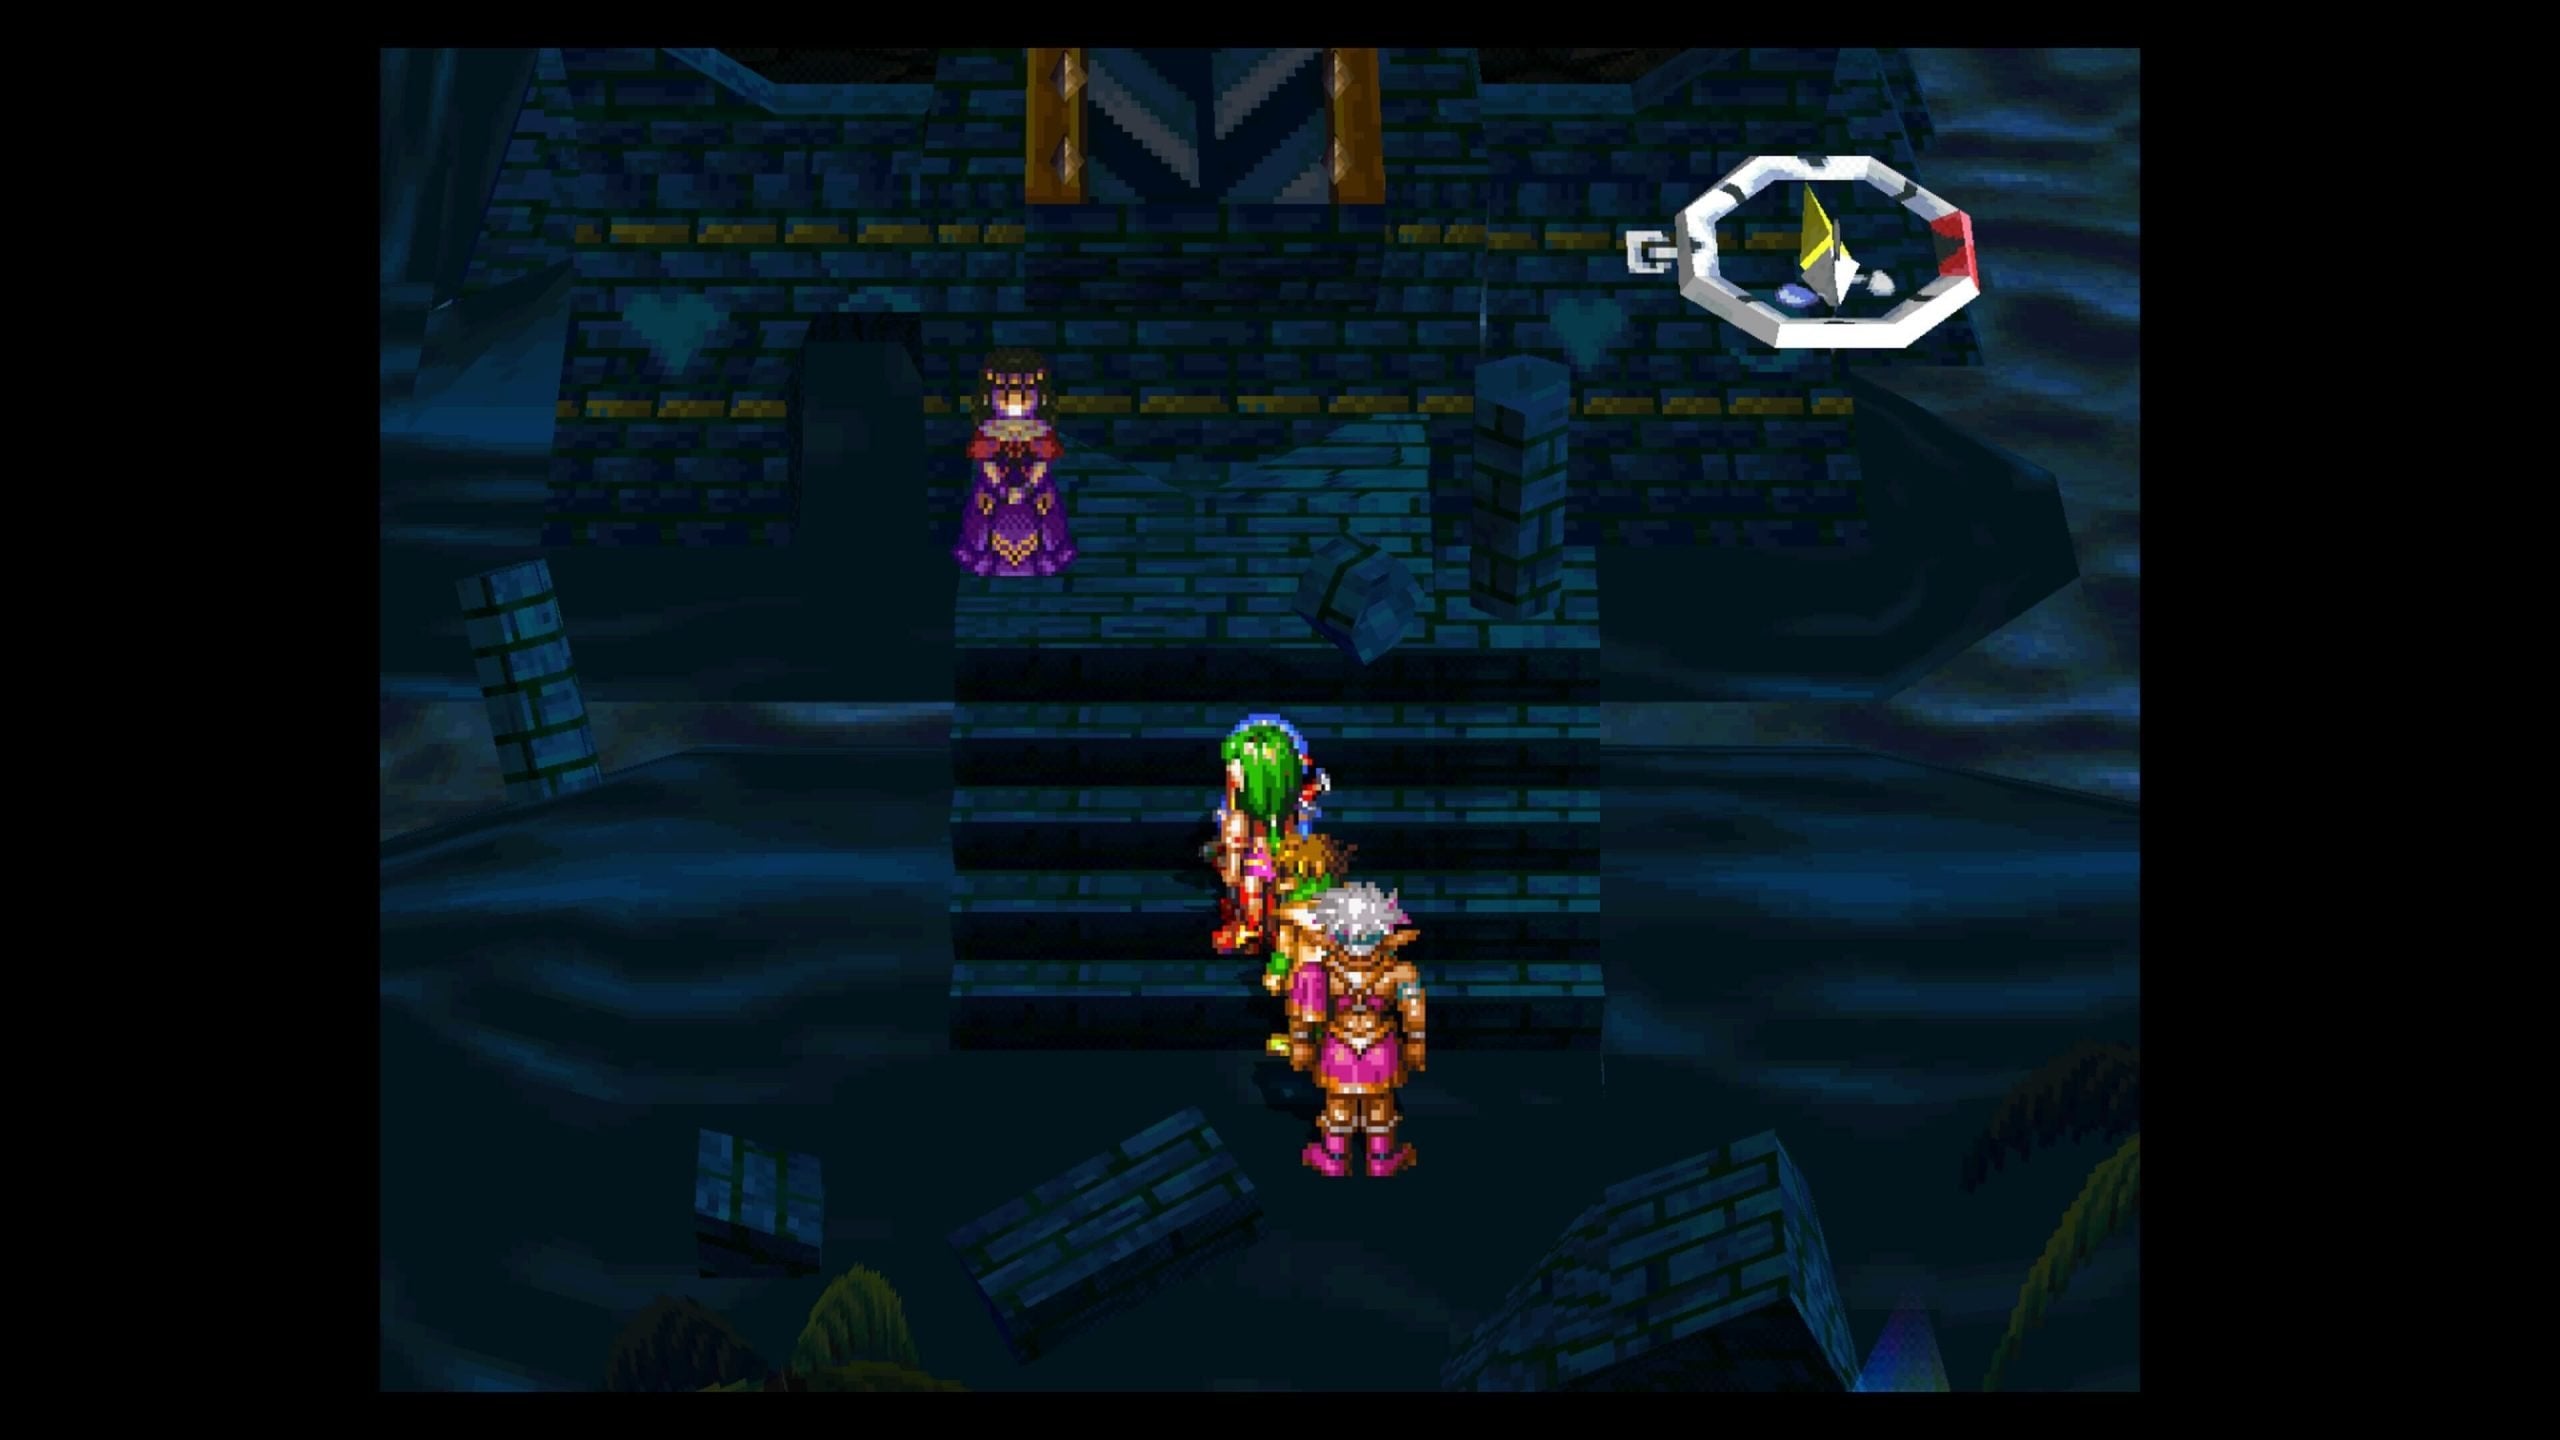
Once you enter, you’ll be told that this is a Special stage, which doesn’t affect the story in any way. Use the Save Point here if you want and then talk to the girl at the entrance.
Check out the gate and the bridge will lower, allowing you into the Great Hall. Grab the 240G, then use the Save Point. From it, head south and into the Cemetery. Walk east and north to get another 240G, then go back to the stairs and walk south, east, and north and along the wall to some Dark Armor. (The Aura Armor is MUCH better.)
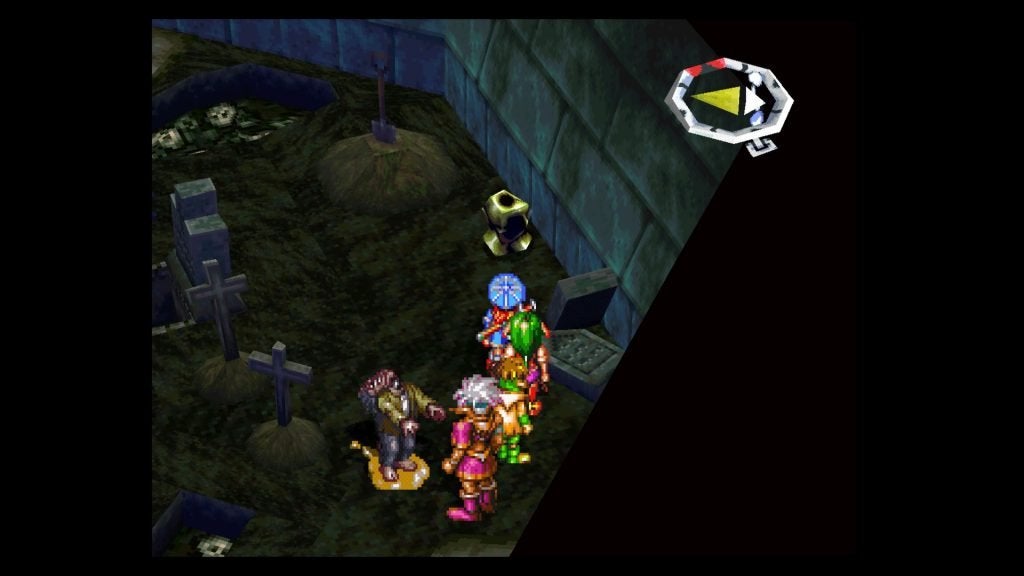
Head northwest along the wall some more, watching out for the Salamadiles here, as they are extremely hard. Use Wind and Blizzard magic against them to take care of them. When you step on the stone floor before the gate, head northeast and get another 240G while watching out for spikes coming out of the wall.
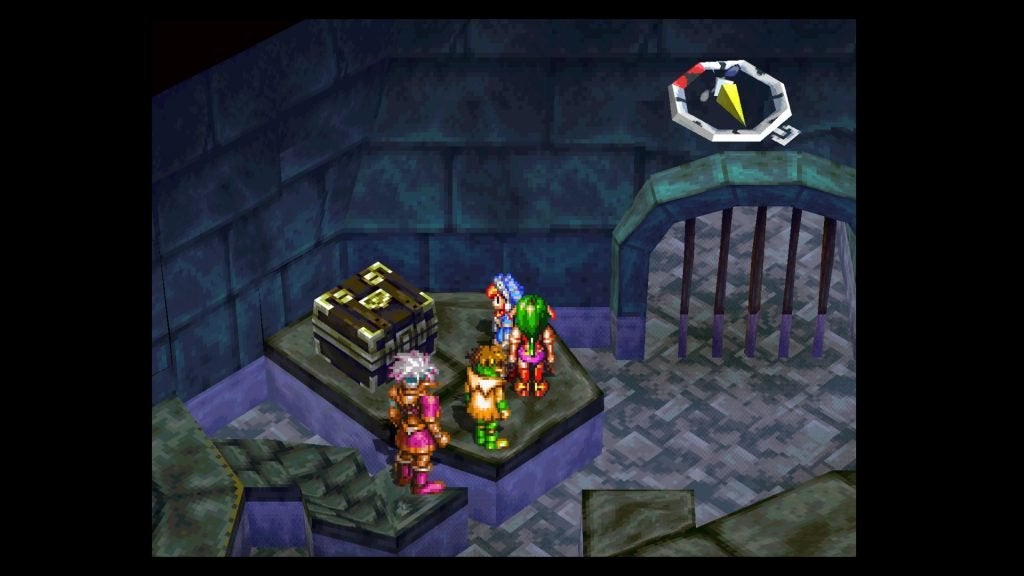
Go back and through the gate to the northwest, then go west and southwest to the wall to some more spikes. Go on the other side of the graves and head northeast onto a stone structure, then go east and open the chest to find some Gauntlets.
We used these on Milda since we had you skip out on upgrading her earlier.
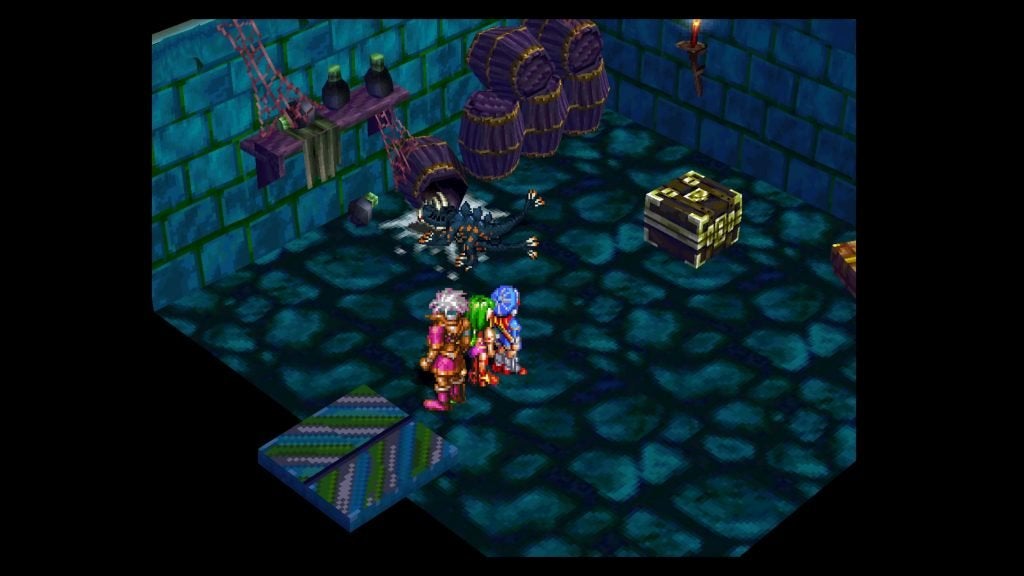
After that, make your way back to the Great Hall’s Save Point. Use it, then head west into the Knight’s Room. Grab the 240G on the left side, then watch out for the monsters that will attack you. They are tough, and there are a lot of them in here.
Once they’re taken care of, go through the door on the upper right to the Library. In here, just get the Death Mask out of the chest (for Rapp, since we skipped his upgrade earlier), then return to the Great Hall.
Use the Save Point, then head up the stairs to your northwest. Up here, go south and grab the Bloody Knife, then go through this western door into the Dining Hall. (Don’t forget to equip that Knife!)

Look around. There’s a broken door that’s leaning up against the upper-left wall. If you check behind the door, you’ll find a Mana Egg.
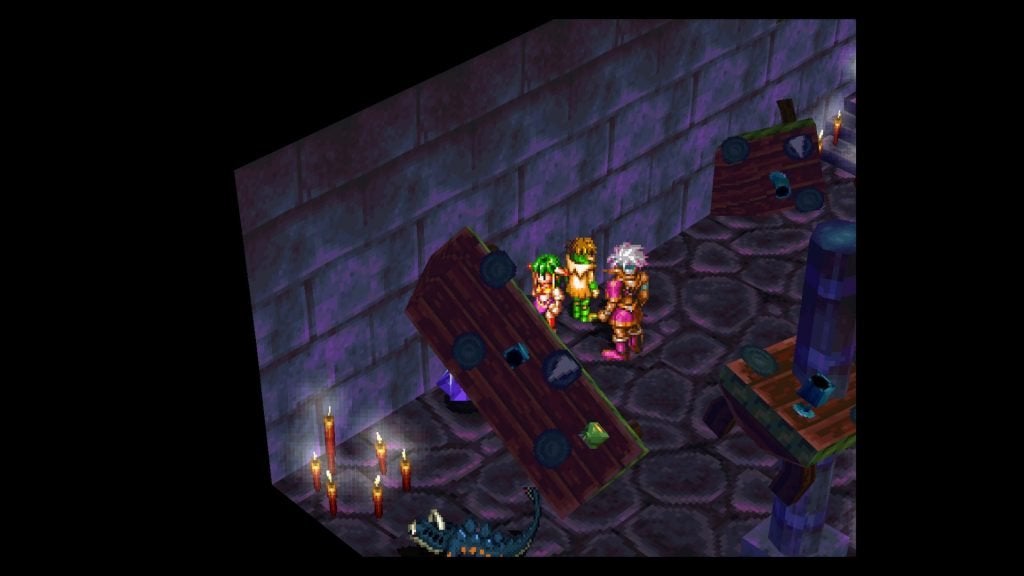
If you go to the topmost part of the room, you can go out the hole in the wall to go on the Rooftop, even though there’s nothing you can do out there. If you look just to the right of that hole on the topmost part of the room, you’ll see a table against the wall with some gold beside it. Grab the 240G beside it, then go down and between the two cracks to pick up another 240G. Exit out of that door to be back in the Hall.
Head north to find 240G, then continue north into the Small Room. Get the 240G and the other 240G out of there, then head back out into the Hall and go west in the Study.
Get the 240G behind the bookcase as you walk in, then go up the little stairs to the Save Point. Grab the other 240G, to your left, then go right of the Save Point to find a hidden Binding Whip by the bookshelf. (Equip it on Feena and put the Bloody Knife on Rapp.)
Now, use the Save Point, as we have a ridiculously tough boss coming up.
When you’re ready, open the cabinet on the upper left and go through it to get to the Rooftop. Walk across the giant vine into the Lord’s Chamber, then descend the rope and talk to the girl here to fight the hardest boss you’ve come across yet!
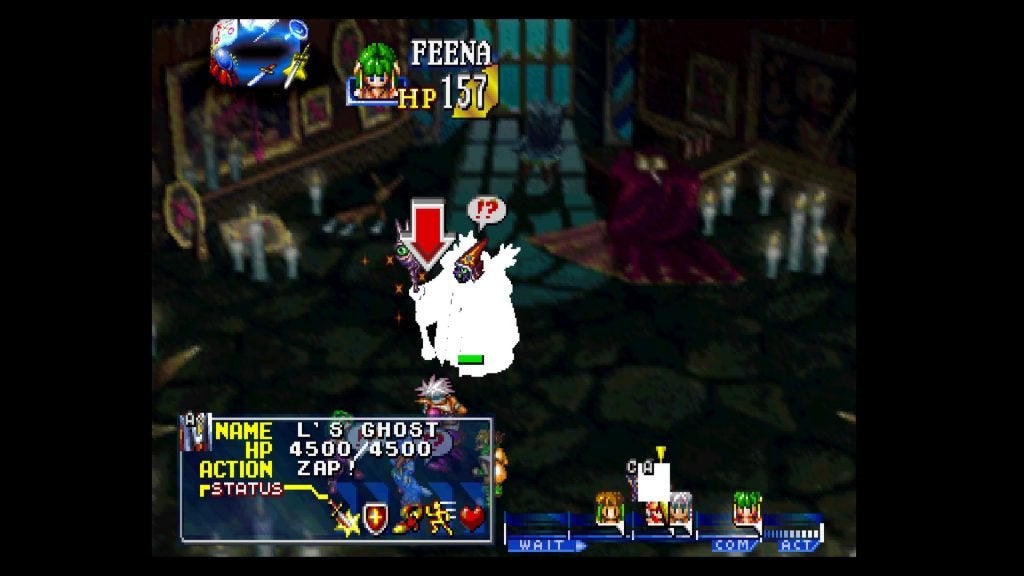

Lord's Ghost (with Wand)
EXP: 9900
Gold: 18000
The head and body share the same HP, but the Wand does not. This guy hits harder than anything you’ve encountered yet. Two of his attacks can hit multiple allies for major damage, with a third attack easily killing whomever it hits. And even worse? All 3 can hit within seconds of each other, so we’re going to have to be very, very careful.
You can likely only take two hits tops before you’re dead, so you’ll need to spread everyone out to reduce the amount of damage he can do.
His X-Ray attack can only attack to the upper-left down to the lower-left, and the upper-right to the lower-right, so right off the bat, choose to have each of your characters use Defend -> Evasion and go to a spot directly above or below him.
Once you’re there, do not move. Do not use combo attacks, critical attacks, or skills that require you to move closer to the enemy. (So no V-Slash, W-Break, Lotus Cut, Ice Slash, Paralyze Whip, Fire Whip, Zap! Whip, Doppelganger, or Milda Hit. Once you’re out of MP/SP, then you won’t have a choice, but don’t move unless you absolutely have to.)
Once you’re in position, then you can start toasting him from afar. Make sure to heal immediately every time a hit lands. Heal/Alheal should be enough after Zap! hits, but you’ll need Healer/Alhealer after X-Ray hits, and Alhealer+ (if you survive. Otherwise, Resurrect) if GadZap hits. Because GadZap is the most dangerous weapon he’s got, we need to take out the Wand first to get rid of it. Once it’s gone, then you can focus on the body/head.
Milda is the easiest to manage. Have her just use Milda Kick until she’s out of SP. From there, stick her on Item duty (hence, the extra Crimson Potions), and if she doesn’t have any use for that, you can either have her Defend, or have her jump in with combo attacks as a last resort.
Next up is Feena. Since you don’t want her to move, have her use these spells (if you have them) in this preferred order: DragonZap, BA-BOOM!, Crackling, Burnflare, and Crackle. She should also be your main healer, dropping an Alhealer, Alhealer+, or Resurrect when needed. Healing takes priority since a 2nd hit can usually be fatal.
Justin should use Midair Cut, followed by these spells (if you have them) in this preferred order: GadZap, DragonZap, BA-BOOM!, Zap All, BOOM-POW!, Crackling, Quake, Zap!, Burnflare, Burnstrike, and Crackle.
Finally up is Rapp. He should use Demon Ball (or Discutter if he doesn’t have it yet), followed by these spells (if you have them) in this preferred order: Zap All, BOOM-POW!, Crackling, and Burnflare.
His attacks are in further detail below. Stay healed, and when in doubt, play it safe.
- Single attack: Wand – A single attack that can hit a range of allies, but inflicts next to no damage.
- Zap!: Body – The strong lightning spell will hit a range of party members for medium to major damage. Be sure to use Alheal afterward to help negate the damage.
- X-Ray: Head – A direct-line attack that can hit multiple allies for major damage. Luckily, it can be avoided completely if you stand directly above or below him.
- Gadzap: Wand – The strongest single spell in the game. What can I say? It’s devastating.
After the battle, the curse of the sword will be broken, and she’ll give you the Lightning Sword! It’s a great sword with +50 ATK, but sadly it’s elemental. On an awesome note, it counts as a free Zap! spell in battle! It’ll definitely come in handy in the Soldier’s Graveyard!
Climb back up the rope, head outside, go back to the Study, return to the Great Hall, and head out of this treacherous Castle, then head back to the Zil Desert.
Make your way south for a while, east for a while, then back south to leave the Zil Desert.
Head back to one of the towns and sell stuff you don’t need, and make sure to stop by Zil Padon/Laine to upgrade your equipment with your newfound riches.
Next, it’s off to the Soldier’s Graveyard, another optional dungeon. Or, if you want to skip it and have been following this walkthrough, you can head back to visit Laine village for the second time.