Items: Mana Egg, Deep Blue Potion, Seed of Mobes, All-Around Seed, Slouch Weed, Seed of Moves, Mana Egg
Equipment: Zero Ax, Zero Shuriken, Zero Whip, Zero Knife, Zero Sword, Zero Rod
Gold: 220G, 220G, 220G, 220G, 220G, 220G, 220G, 220G, 220G, 220G, 220G, 220G, 220G, 660G, 220G
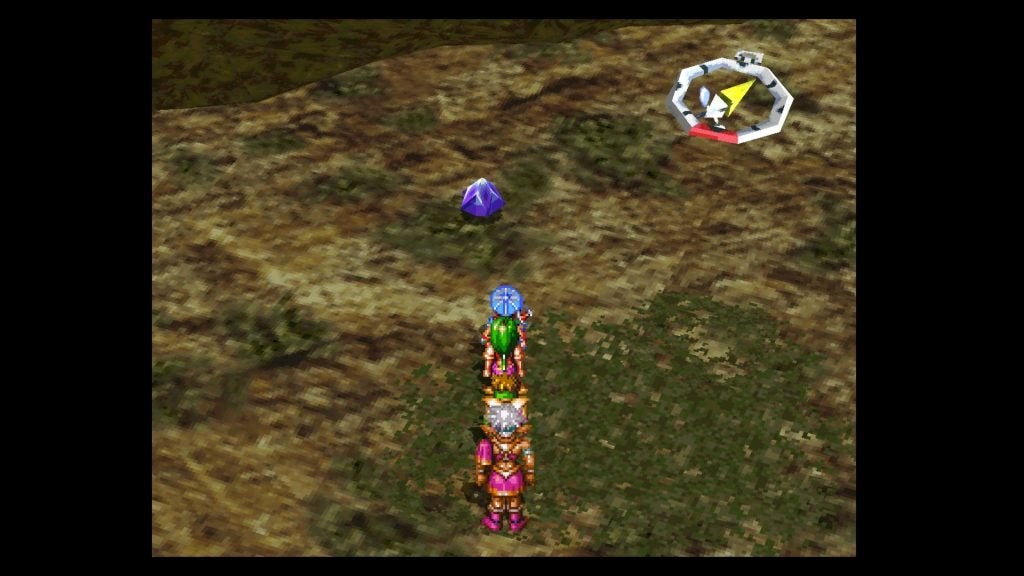
From the DungeonScope Icon you first see, head east for a while until you hit a big wall. There’s a Mana Egg to your south by the dry river bed!
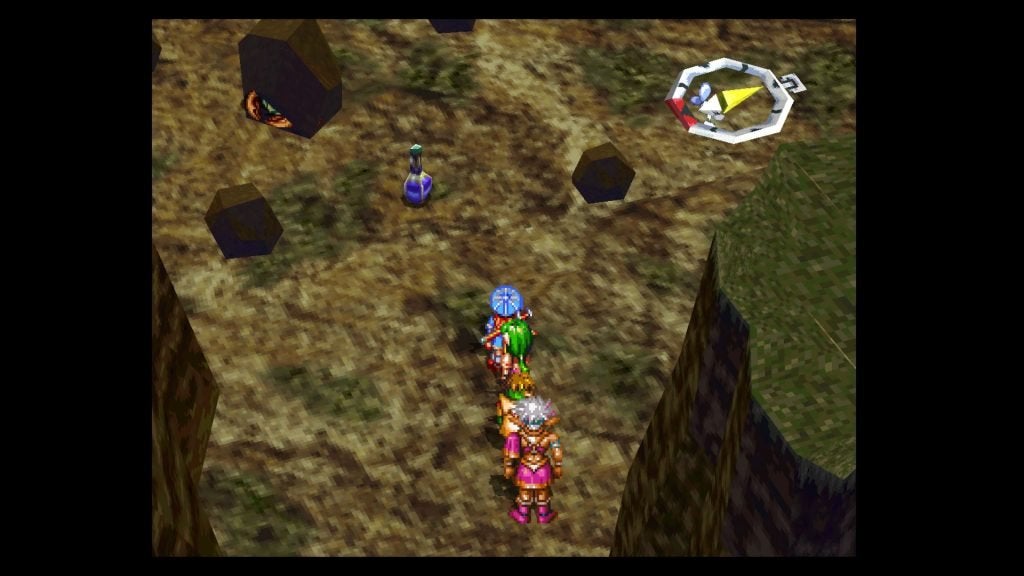
Back at the first DungeonScope Icon in the Savanna, run directly west-southwest to come to 220G, then head south-southeast to find another 220G. Move directly east until you’re between two big rocks, and you should see a Deep Blue Potion ahead.
After that, travel all the way west until you hit a huge wall, then move south along that wall until you come to 220G between the wall and a rock. Keep following the wall south until you run into the dry river bed, where you’ll find a Seed of Moves.
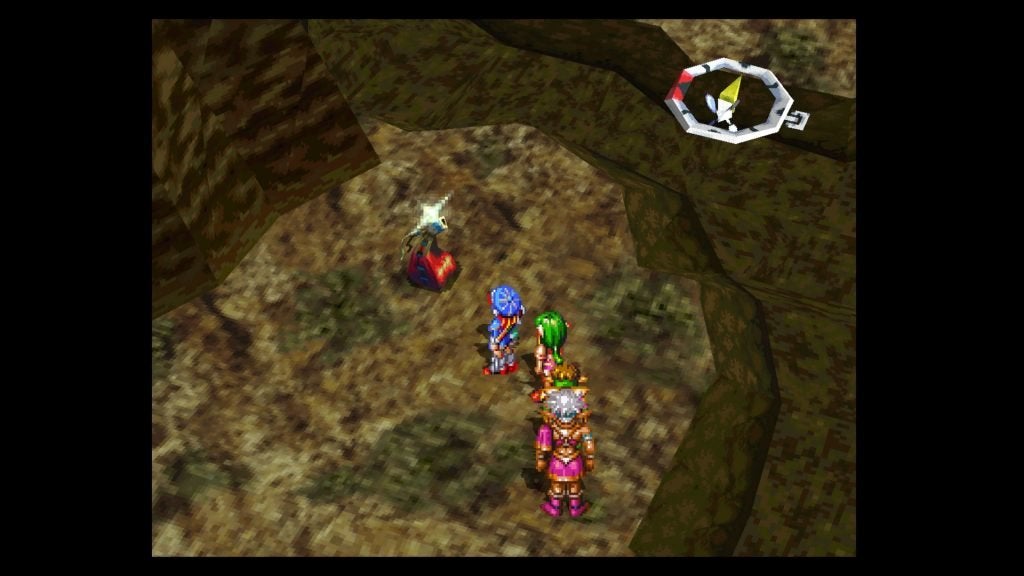
Run northeast to a DungeonScope Icon, then head north-northeast from it to find another 220G between two large rocks. Head back to the Icon and cross the bridge to your east.
Travel northeast along the bed to find 220G nearby, then go east and follow the bed southeast to another bridge. Milda will point out that Laine is not in this here direction, but there’s more stuff to be had this way before we go the “correct” way.
Cross this bridge to the northeast, then move east-northeast to find 220G. Make your way west and follow this next river bed northwest to another DungeonScope Icon. Use it to see that there’s another 220G to the east-northeast. Go and grab it, then head northeast from the money to the other side of the big rock to another 220G in this open area.
Mosey on over to the east of this bag of money to get to the East Savanna. Head south and follow the bed as it goes east to come to an All-Around Seed.
Go to the other side of the rock you’re beside now by going west, north, and east to 220G. From there, head north until you get to the point where you’re under a bridge.
Move north a little, then head northwest and west, following the western/southwestern wall. When you reach the start of a ramp, look for 220G to the north/northwest. Make your way up this ramp that’s to your east (it’s going up to the northeast), and continue following the path until you cross the river bed. When you finally reach normal ground on the other side, turn around and head west-northwest beside the ramp to find another 220G at this dead-end.
Head all the way east until you hit a wall, then go all the way south until you hit the river bed. Move west alongside it until you come to a Slouch Weed. Go to the other side of this rock by going east, north, and west, then head west-southwest a little more to a DungeonScope Icon.
Travel west and southwest for a while until you go under another bridge to your southeast. Head east from it and you should see another Icon nearby. Run north from it to find another 220G, then take a few steps back south, but climb up the ramp here this time. Follow the ramp as it goes across the bed and back down to the ground.
Move east and southeast, under the bridge, then turn and head south-southeast to find 220G. Head west and follow along this wall to the south to find a hole in the wall. Head south through it, hugging the wall and pressing the X button repeatedly, and you should find another Seed of Moves somewhere in there, then go northwest to get to the other side. It’s just southwest to a wall, then northwest to the other side, or on the way back, southeast to a wall, then northeast.
Anyway, once you’re on the other side, enter the building here.
In the Teleportation Room, you’ll be told that this magic launch pad is the only place in the world that leads to the Tower of Temptation.
The Charms are self-explanatory. The Hurricane Belt increases your WIT by 50, which makes Milda a ton more useful if you can afford it. The Miraculous Scales doubles your money obtained in combat. It eventually does pay for itself, but it’s pretty steep, considering you have to give up one of your accessory slots while sacrificing some good armor right now that you could use more.
The Cone of Light makes an ally invincible temporarily. The Secret Move Ring makes your moves quite a bit more powerful as well. Most of them are pretty expensive but are worthwhile in one way or another. It’s all up to you.
Also, we don’t recommend tackling the Tower of Temptation just yet. At this point, it’s near impossible to get through the outside area and first floor alive, let alone the entire dungeon. The best items and equipment in the game are in here, so it’s definitely going to be tough. We’ll come back to it after we get our final permanent party member so we have a more balanced party.
The one thing we do want you to do is to go ahead and use the magic circle here to go to the Tower of Temptation to pick up a couple of things quickly.
Tower of Temptation
Once you’re there, use the Save Point to your north, then grab the Zero Ax, Zero Shuriken, Zero Whip, Zero Knife, Zero Sword, and Zero Rod.
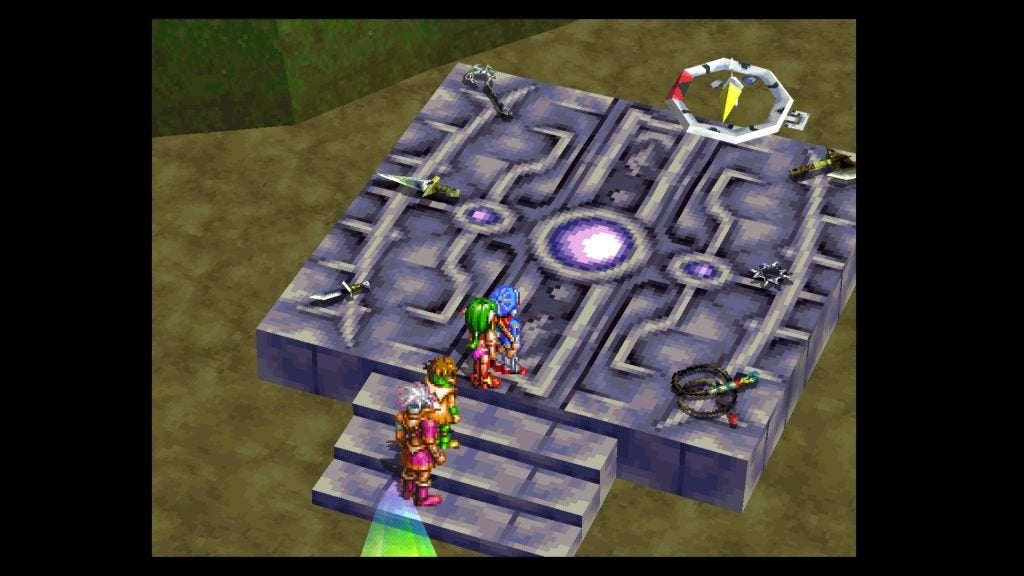
These are all technically Key Items, meaning that they can’t be discarded or sold, and they are used for training purposes since they have +0 attack. It’s better to take them now that way we have more room for the good items when we come back to the Tower later.
If you want, you can try your luck and fight some of the monsters around here, but you’ll probably end up using everything you have just to beat two or three sets of them.
Anyway, use the Save Point if you need to, then head back to the Savanna by using the middle of the magic circle.
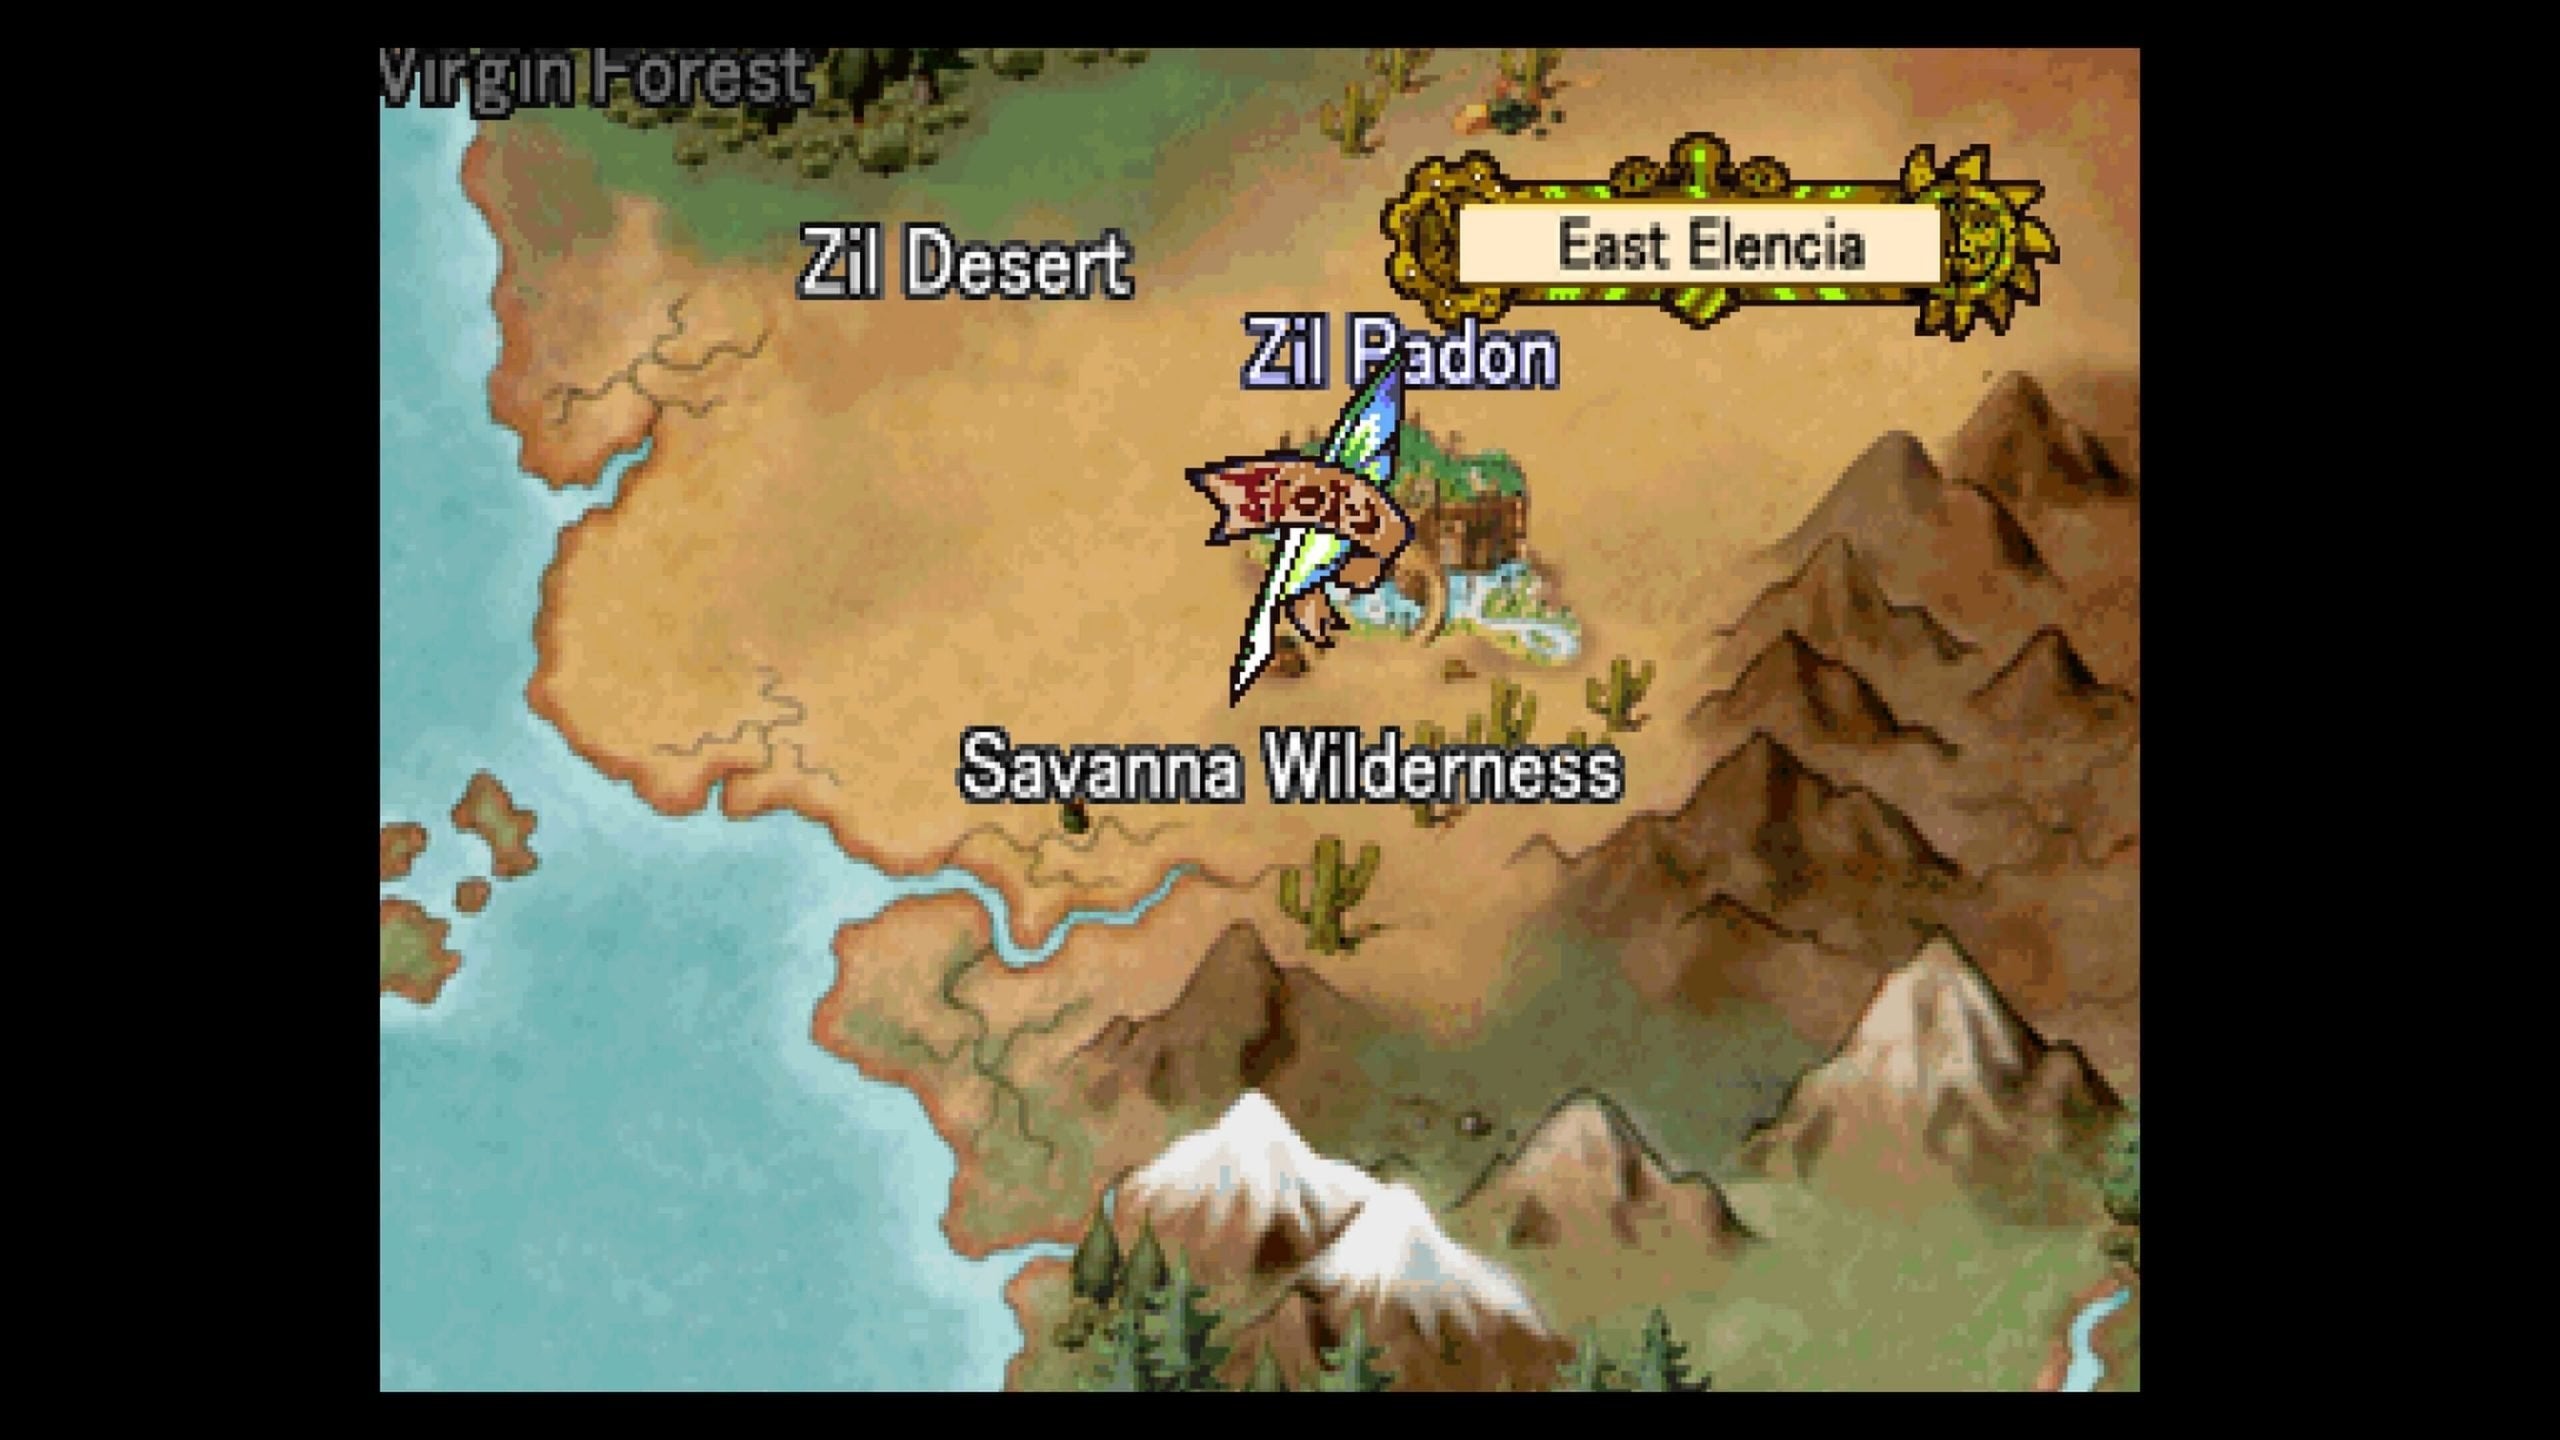
Savanna Wilderness
Leave the Teleportation Room, then make your way back outside this wall by going southeast, then northeast. Once you’re back out there, take a few steps east, then head southeast and east to the river bed. Go north under a bridge to the river bed, then turn west to find 660G at a dead-end.
Go back east (ignore the ramp), then move south, then west back near the hole in the wall. Travel northwest to the dry river bed once again, then follow it as it goes west, looking for the ramp we came down from (to the south).
Go up the ramp as it goes east and follow it back to the ground near the DungeonScope Icon, then head east from it, turning south when you can. Follow the river bed south to a Mana Egg near a wall.

With that, you should now have found enough of them to equip everyone you can with every magic type! If you find any more after this, they’re officially useless!
In any case, head east to a wall, then follow the wall north, past the exit to the east, and to the last thing here in the Savanna: 220G. Now head back south a bit, then venture east to exit the Savanna.
Now, on to the Brinan Plateau!
Also, don’t forget to get Rapp’s final magic while you’re there.