The Kitchen is the third area in Little Nightmares following The Lair. The Kitchen contains:
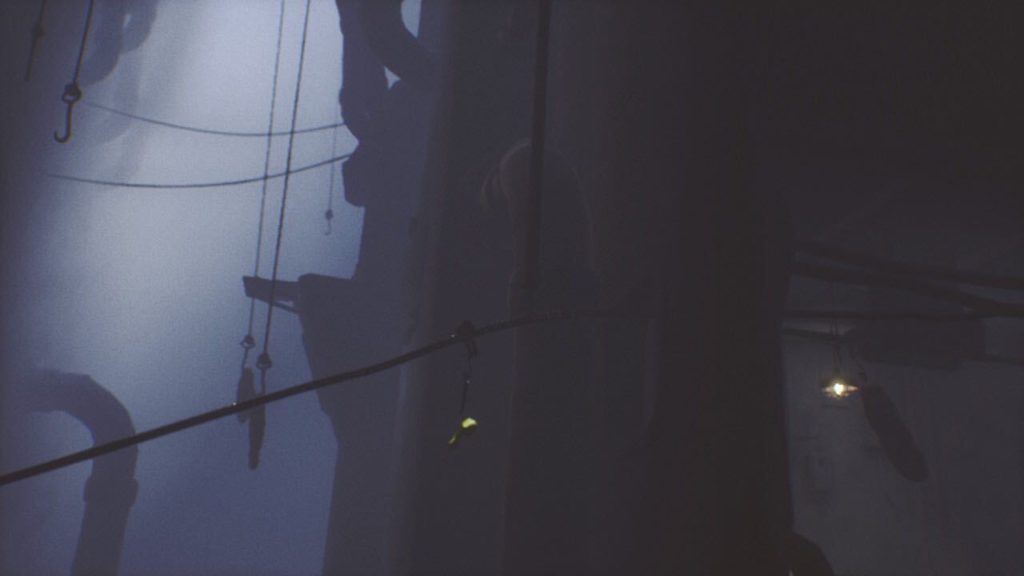
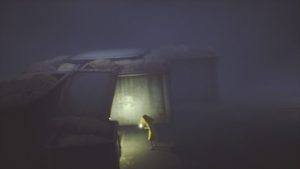
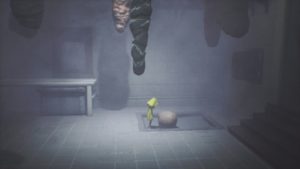
Crawl through the duct and climb up the ladder. Jump and grab a hook as it goes by and ride it all the way to the next area of The Maw. Don’t let go or you’ll drop to your death.
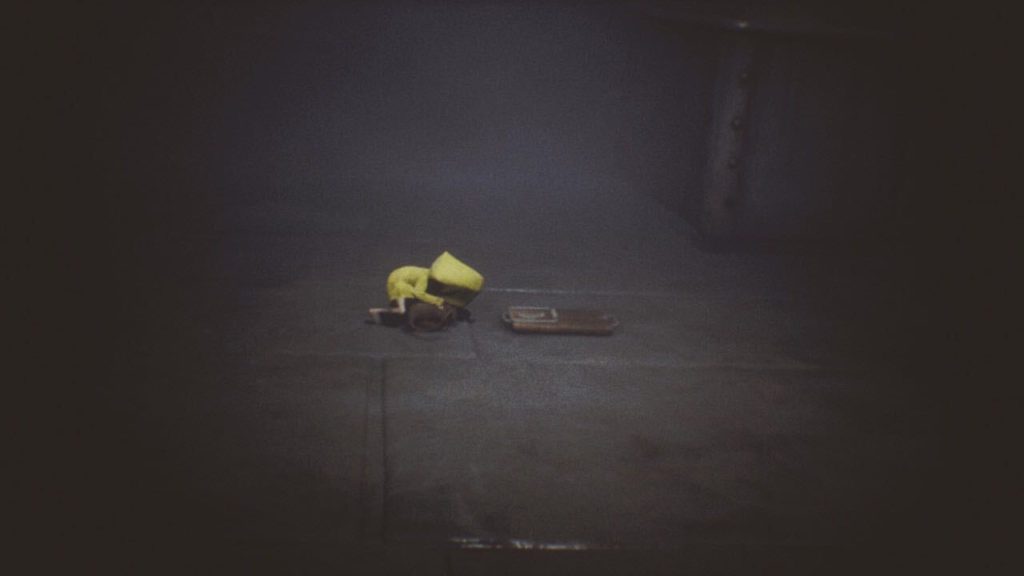
When you drop down to safety, head right. You’ll begin experiencing hunger pains again. Continue right until you see a rat caught in a mousetrap. Grab the rat to eat it and satisfy your hunger.
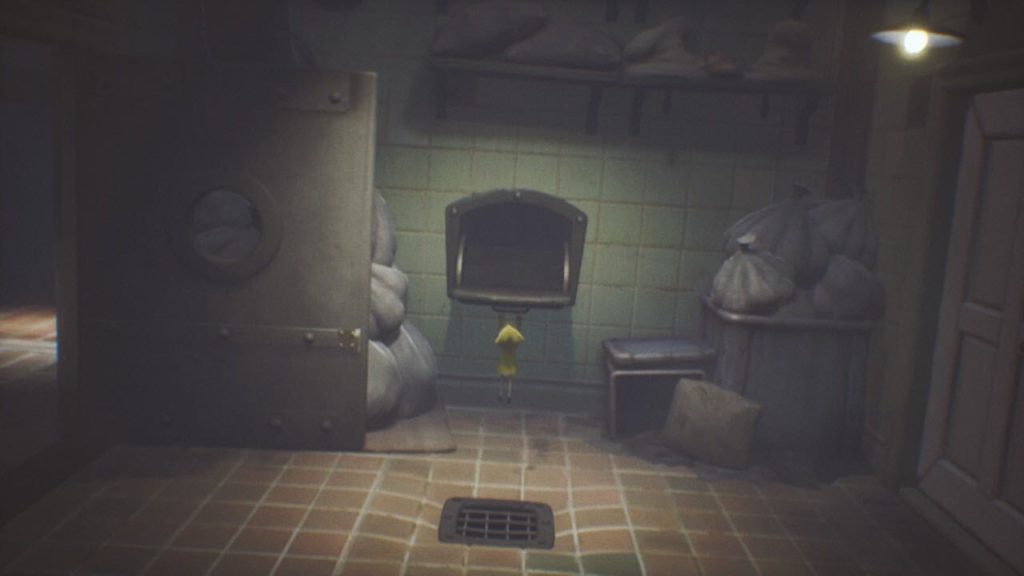
Climb onto the containers and proceed right to enter the next area. Climb the bin in the middle of the room and push the lid over to create a rampway to the other bin to the right.
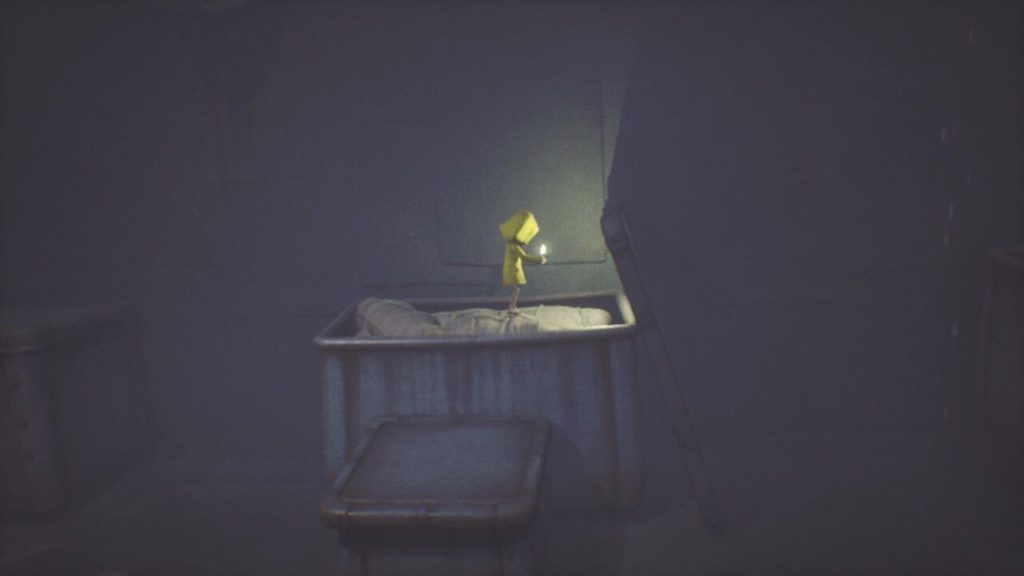
Go up the ramp and onto the bins. Drop down, but instead of continuing right, go left and enter the secret passage that leads to a room with a Statue. Break the statue and then climb up the ladder.
Continue right and push open a door to enter. Push the cart all the way to the wall to the right, climb onto the cart, and then climb through the hole to go to the next area.
Continue right and you’ll eventually arrive at the room where you’ll see the chef working. Instead of running through the door, crawl through the tiny opening so you can enter undetected.
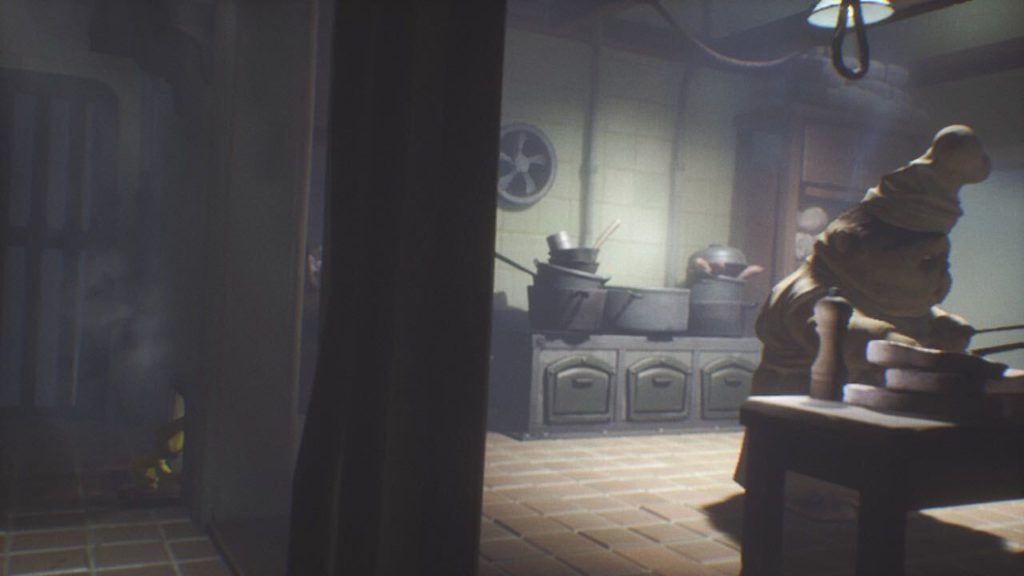
As the chef moves around the room preparing food, navigate under the tables to avoid him. Crawl through the opening in the right-side wall and enter the next room.
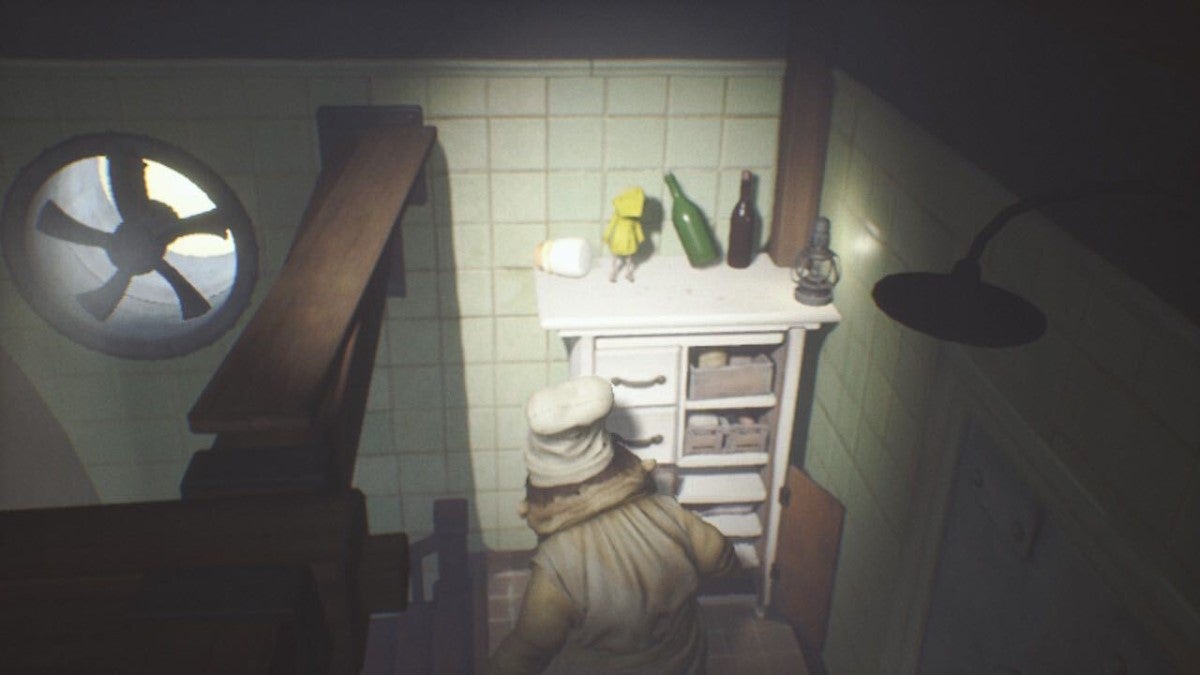
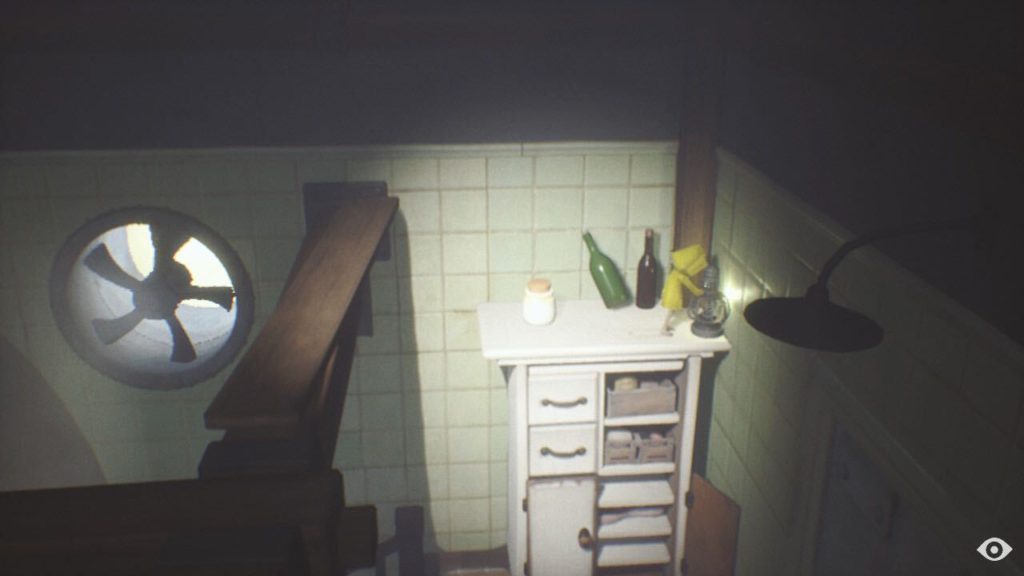
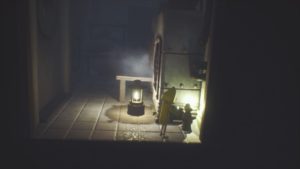
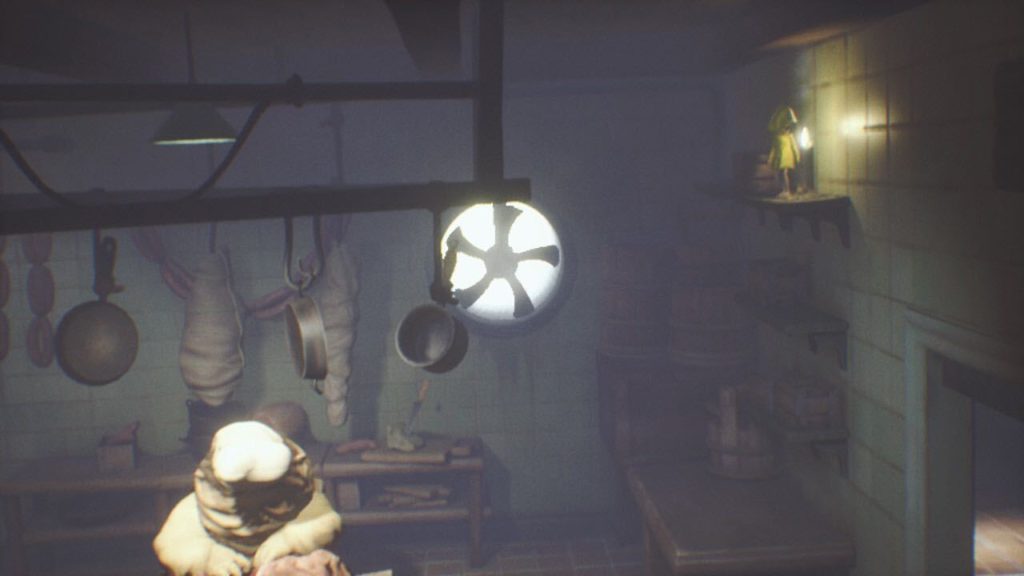
The chef will follow you into this next room. Wait for him to be out of sight, then hop down and close the oven door in the foreground. This will alert the chef and he’ll come running to inspect, so run to the back right corner and climb onto the white cabinet. Light the Lantern at the top.
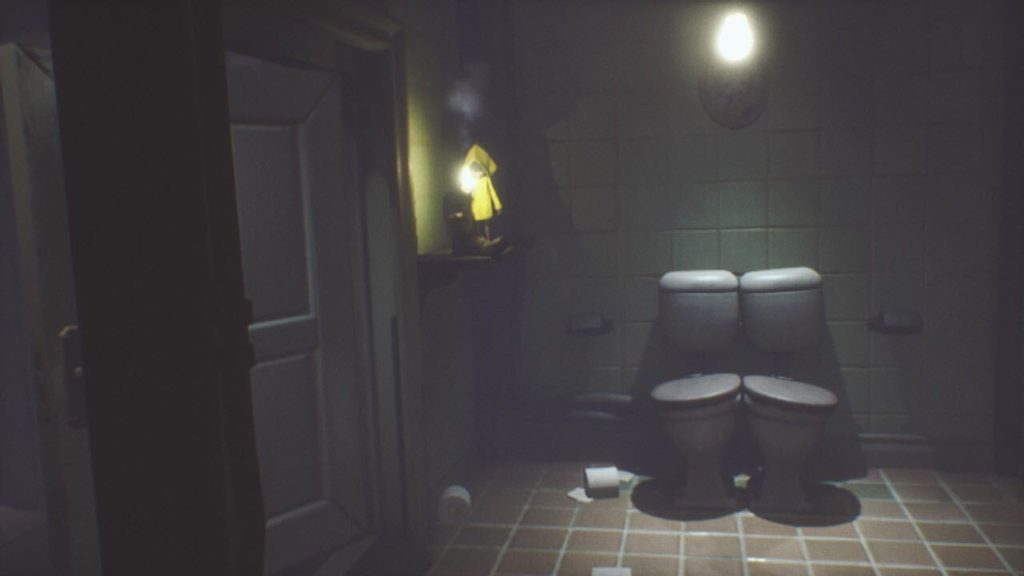
Jump over to the wooden beam on the left. Walk all the way towards the screen and then head left until you reach the loft. Climb the cages and then go through the hole. You’ll now be in the restroom area.
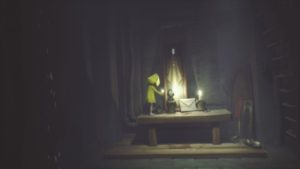
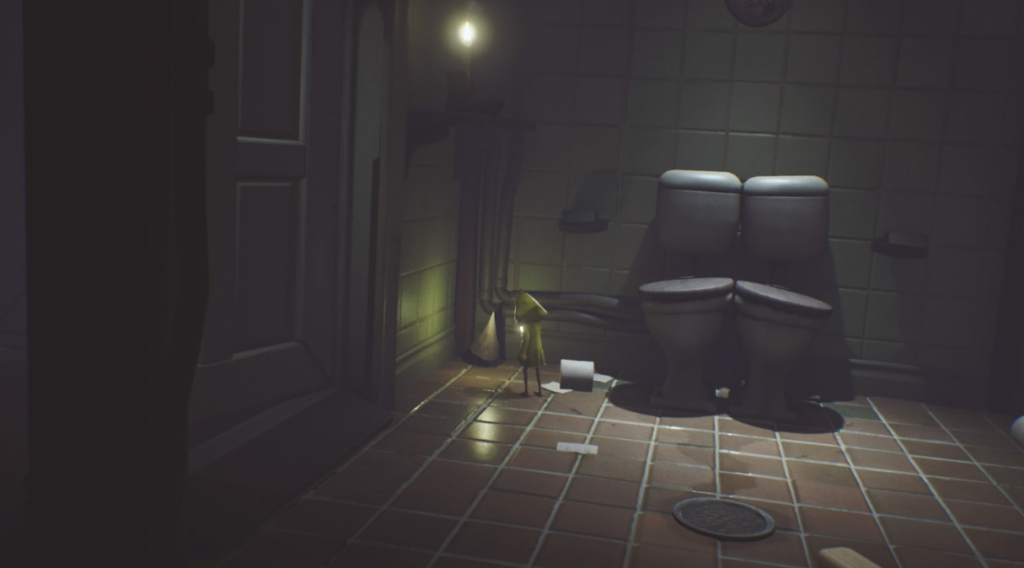
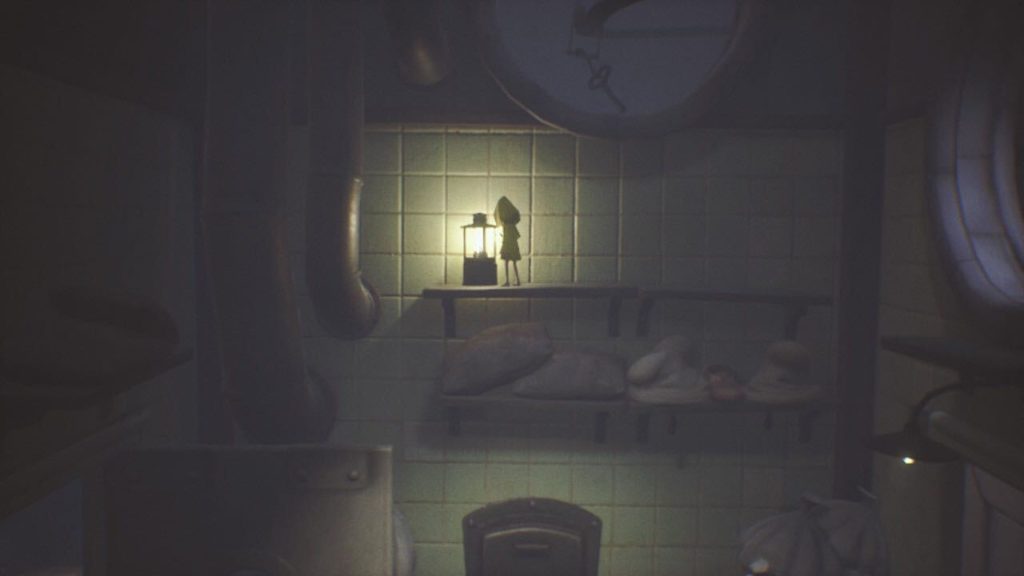
Climb the toilets and then jump to the shelf on the wall to the left. Light the Candle and then drop down. Enter the room to the left.
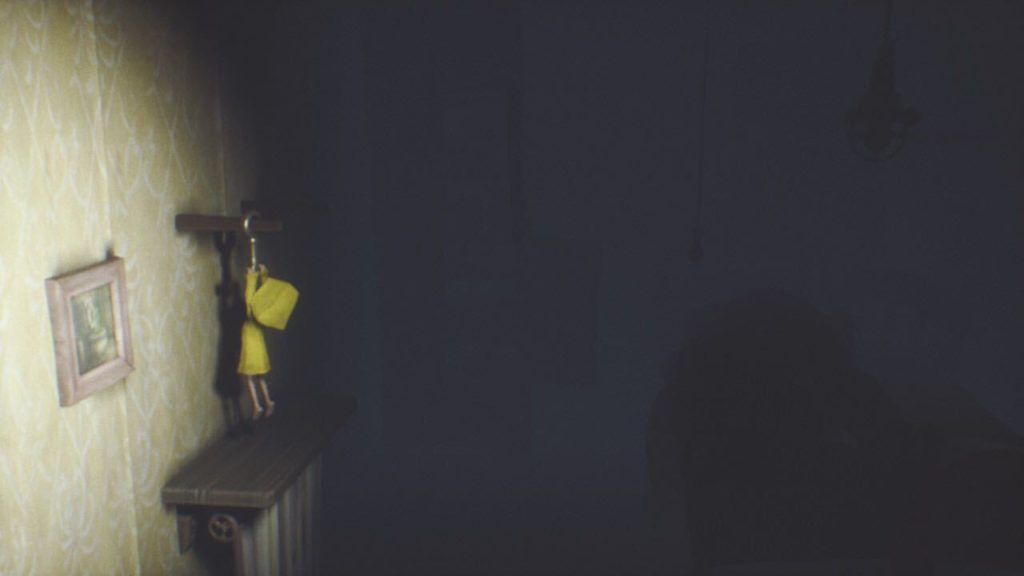
Continue left past the elevator and enter the bedroom. Climb the shelf to the left of the room. Jump up and grab the key, and then swing left and right to eventually slide it off the hook. Both you and the key will fall to the ground, waking another chef that’s sleeping in the bed. Quickly hide under the bed to avoid being detected.
Grab the key and head right back toward the bathroom. When you arrive at the bathroom, there will be a Nome hiding in the top-left corner. Give it a hug.
Grab the key and head back to the elevator. Jump and grab the handle to open the elevator door, grab the key, and then walk inside. Ride the elevator down.
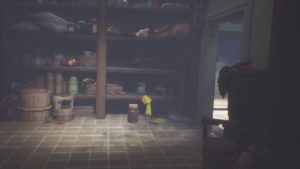
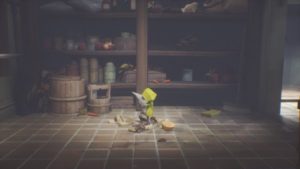
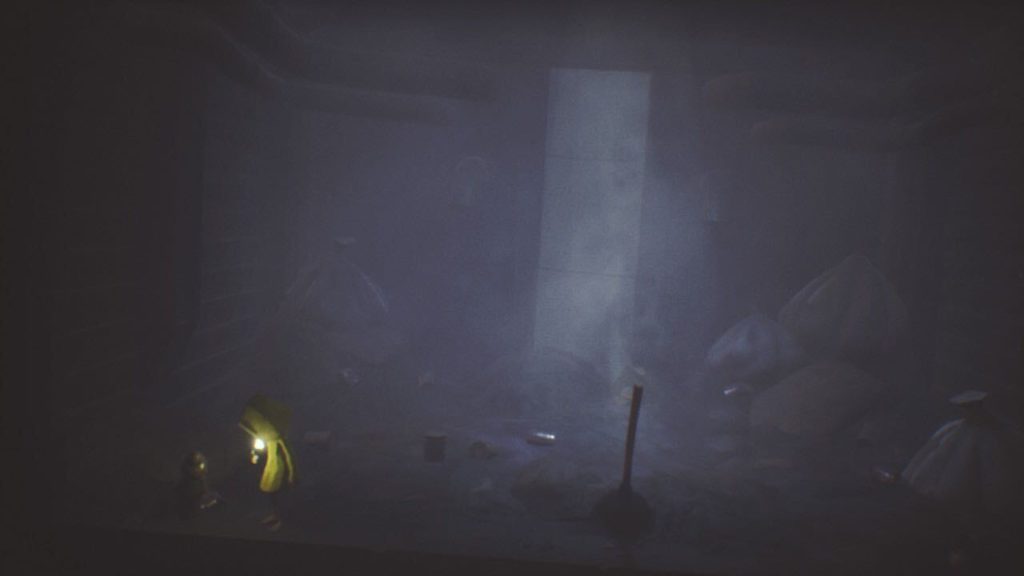
Go left and enter the room. You’ll see a brown jar hopping up and down. There’s a Nome hiding inside. Pick up the jar and throw it to smash it. Hide under the shelf if the chef is alerted by the noise. Once the chef is gone, give the Nome a hug. It’s been through a lot.
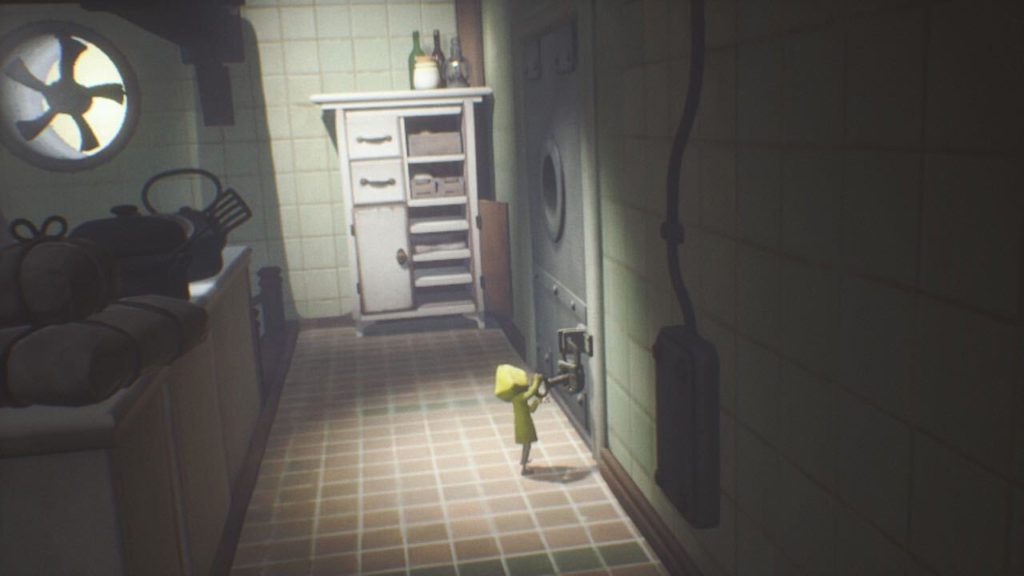
Pick up the key and head right. This is the same kitchen you went through earlier, so follow the same path as you did previously. When you make it to the far right, use the key to unlock the door.
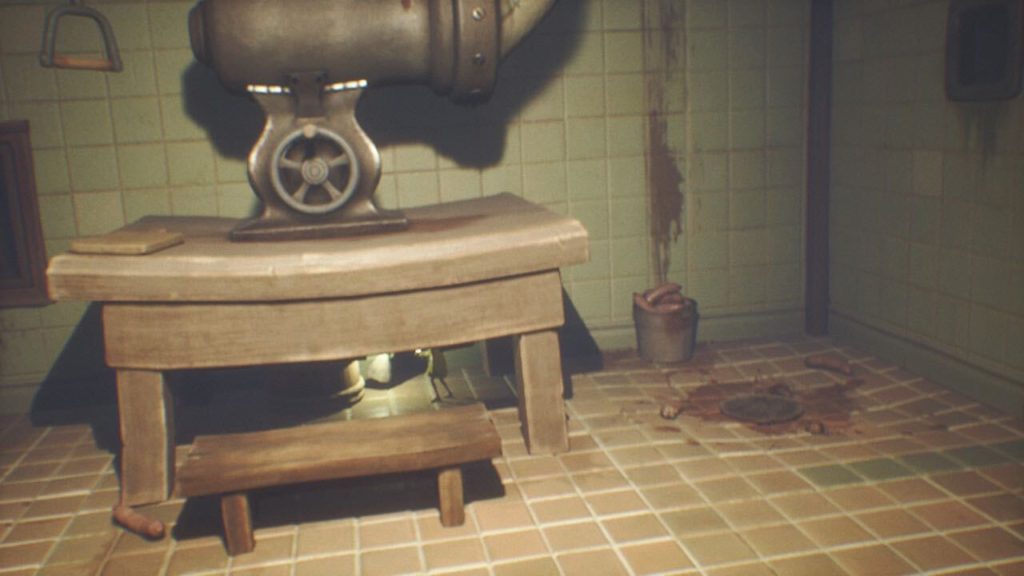
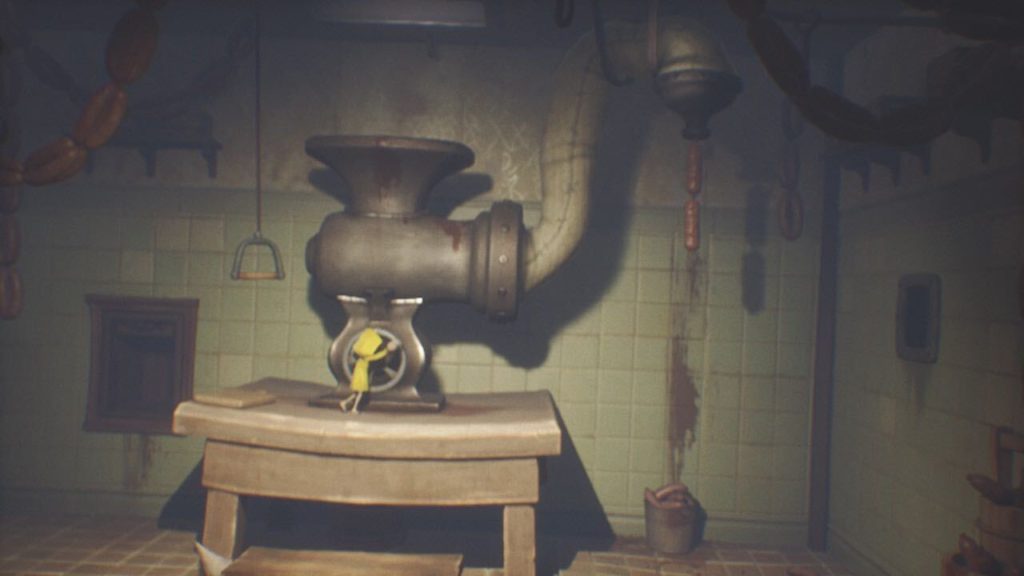
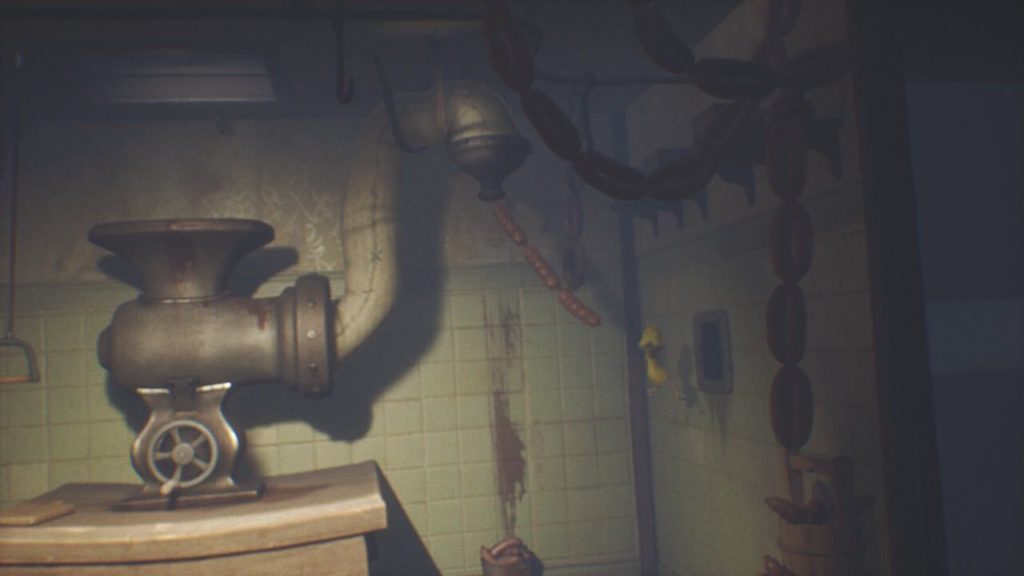
Head right in the next room. Climb onto the table and jump and grab the hole to crawl through. You’ll jump down into the area with the sausage grinder. Hug the Nome under the table holding the grinder.
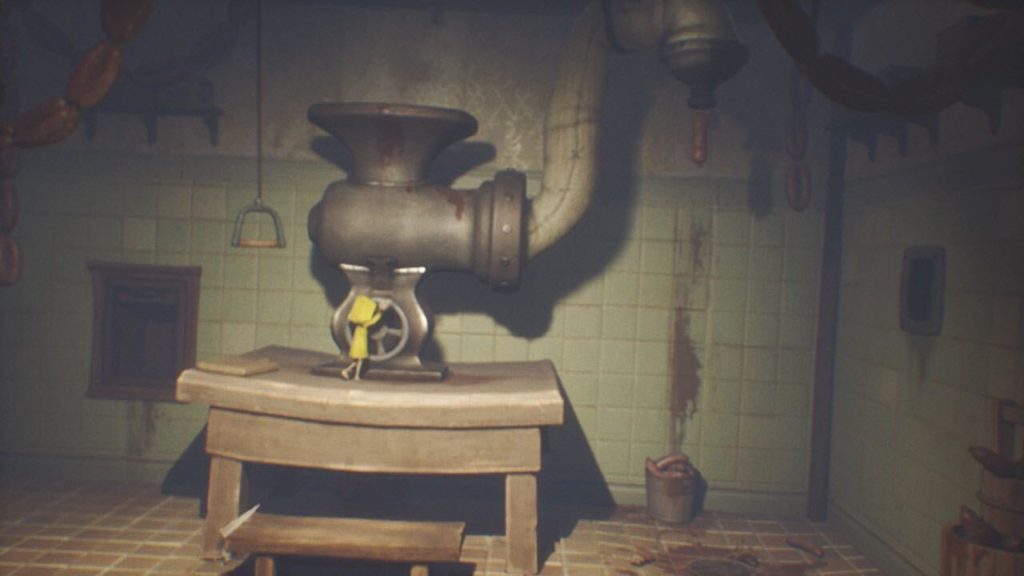
Climb onto the table and then jump and grab the handle to open a hatch above the grinder. Some food will drop down into the grinder. Grab the wheel and turn it to make a link of sausage. Climb into the food lift to the left of the grinder and then ride it up to the freezer in the area above.
In the freezer, grab the food on the left side of the table and then place it on the hatch on the ground. Before doing anything else, climb through the opening to the right. Light the Lantern and then break the Statue in this room. Climb back through to the previous room.
Enter the food lift and ride it back down to the lower level with the sausage grinder. Climb onto the table, jump and pull the handle to open the hatch and drop the food into the grinder, and then turn the wheel to make the second link of sausage.
The linked sausage still isn’t quite long enough for you to jump and grab on to, so ride the food lift back up to the freezer. This time, climb the shelf to the left. Jump and grab the hook, and then swing back and forth to gain a bit of momentum. Swing over to and grab the meat on the next hook. Hang on to it and then both you and the meat will drop down. Drag the meat over to the hatch.
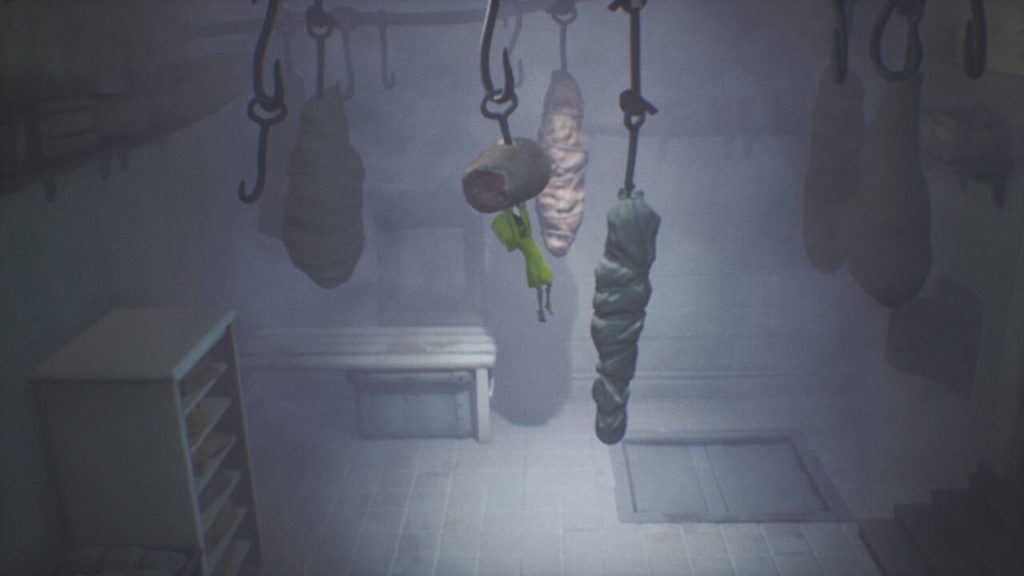
Ride the lift back down, pull the lever to release the meat, and then crank the wheel to create the third and final link of sausage. It’s finally long enough for you to jump and grab. When you grab it, swing back and forth to gain momentum, and then jump over to grab the opening in the wall.
Climb through the duct and into the next room. To the right of this room are two boxes. Take note that you can hide in the bottom one—you’ll need that pretty soon.
Continue right and you’ll see a locked door. Ignore it for now. Jump and grab the lever to pull it, calling the elevator. A chef will ride down with the elevator, so quickly run and hide in the previous box.
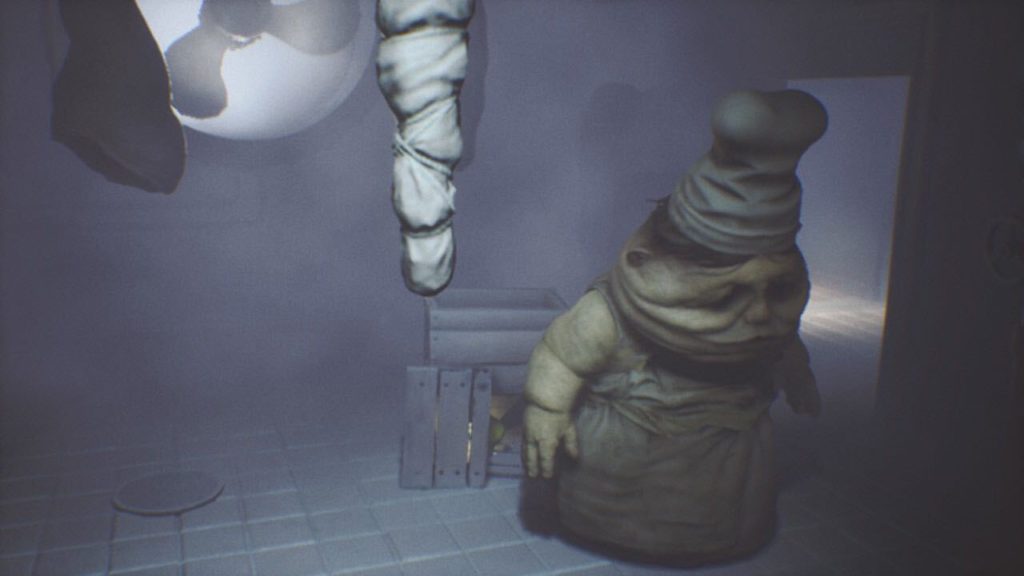
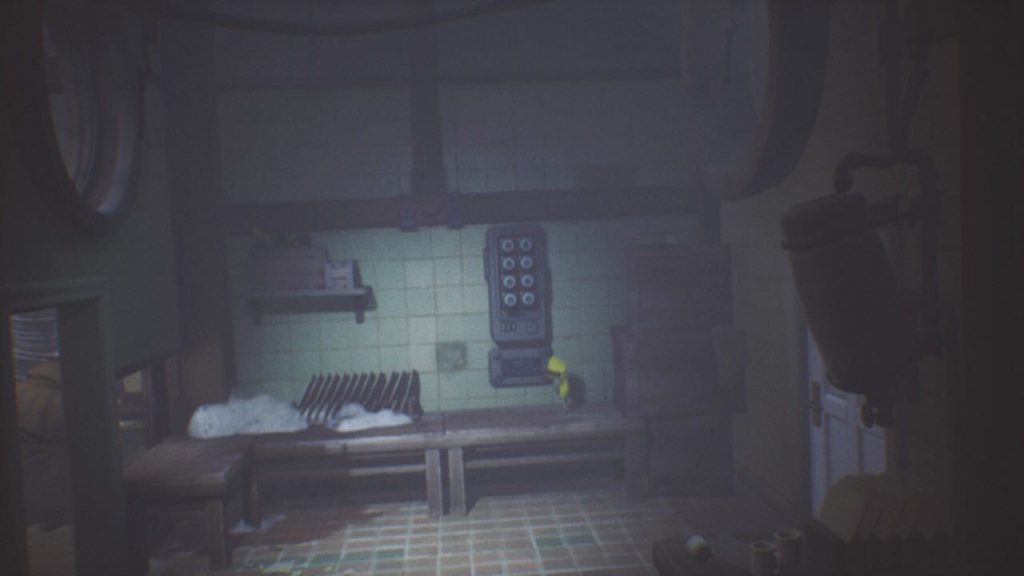
Wait a bit for the chef to exit left, and then head right and enter the lift. Use the lift and then, in the next room, quickly hide in the hole in the wall to the right. The chef will ride the lift up, enter the room, and look around. He’ll then press the button on the wall to open the door to the left.
Once it’s safe, exit your hiding spot and enter the room to the left. There’s a key on the table that the chef is chopping meat on, but ignore it for now. First, climb onto the table to the right, climb up the box and barrels, and then light the Candle on the shelf.
Now it’s time to get the key. Head back down and crawl under the table to the right. Sneak around the chef by continuing around the room under the tables. Crawl through the hole in the wall to the left.
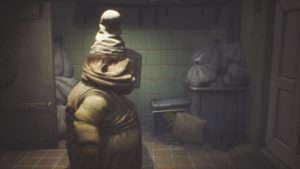
In the next room, press the button on the meat grinder and the chef will come running in. Quickly return to the previous room using the hole you came through, grab the key from the table, and then enter the lift to ride it. As soon as you get off the lift, quickly unlock the door to the right, push it open, and then hide in the canaster in the next room before the chef catches you.

Once the chef leaves the room, climb the canaster you were hiding in and then jump and grab the chute to the left to open it. Enter the chute to go to the area below.
Once inside the garbage room, look in the left corner nearest the screen to find a Statue. Pick it up and throw it to break it.
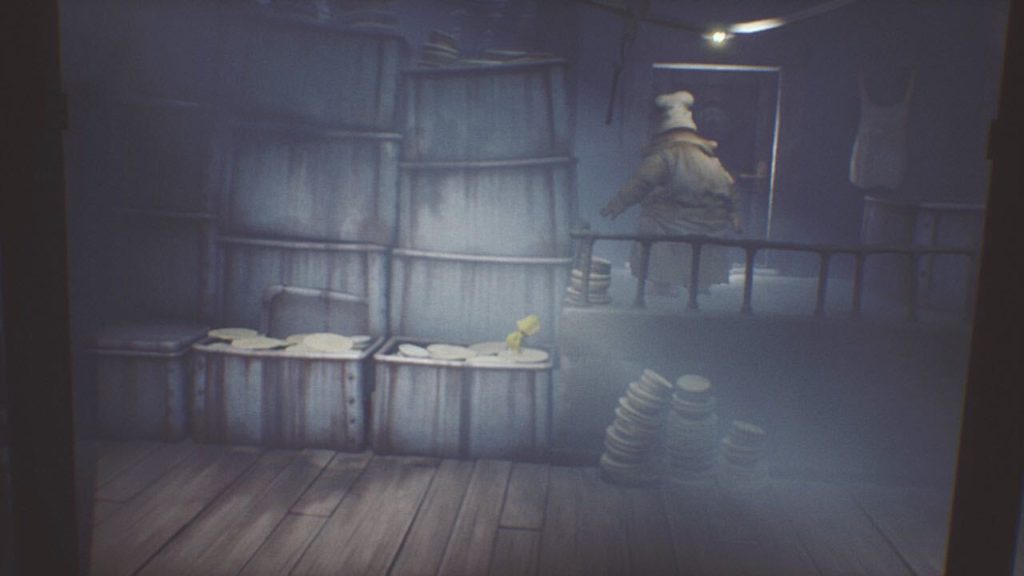
Climb the right wall (nearest to the screen) and enter the duct. The duct has two different possible exits. Use the first exit, and then climb the shelves holding the dishes in the background to the left. When you make it to the top, jump over to the shelf on the left. Above you are hooks moving along the trolley. Jump and grab a hook, and then ride it to the shelf in the next room. Light the Lantern on the shelf.
Jump back over to the room to the right and then go back down to the duct. Enter it and then use the second exit this time. Hide from the chefs by crawling under the tables and then head to the room to the right. Climb onto the table and then pull the lever. This will change the direction that the hooks are moving. After you pull the lever, quickly hide under the table to avoid the chef when he comes in to see what the noise was.
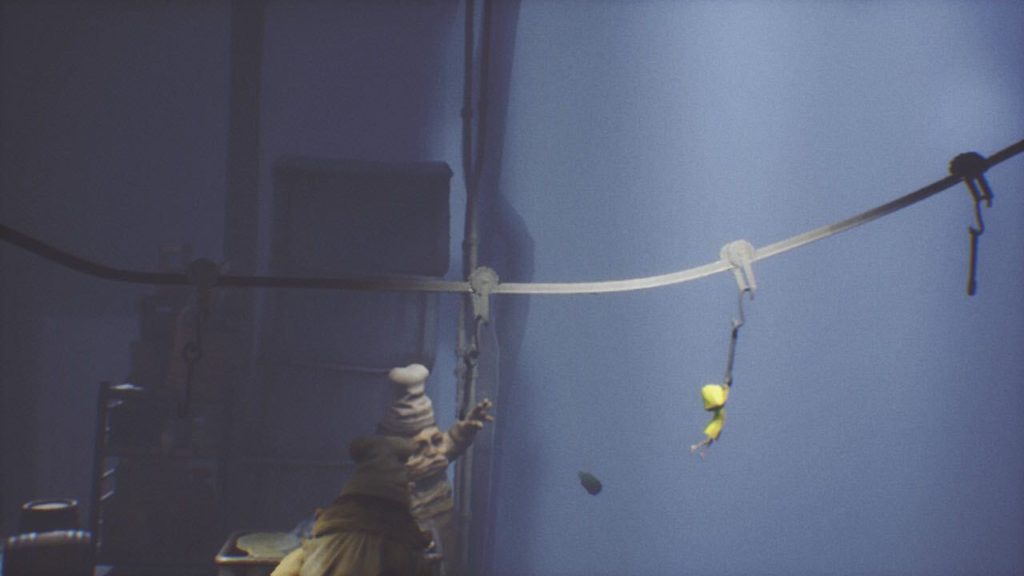
Head back through the room to the left (or through the duct) and then go back to the shelves you previously climbed. Climb them again, jump over to the shelf, and then jump and grab a hook.
Ride the hook through the kitchen. The chefs will notice you. Keep riding, past the room where you pulled the lever, and into the next one. Drop down before the chef in the background reaches out to grab you.
With all the chefs after you now, you’ll need to be quick. Run to the right and slide under the table as quickly as you can. Continue running right, climb onto the box and then the table, and then jump and grab a hook before one of the chefs grab you.
Continue riding the hook out of the Kitchen and into the next area: The Guest Area.
The Lair