
The Lair is the second area after The Prison in Little Nightmares. The Lair contains:
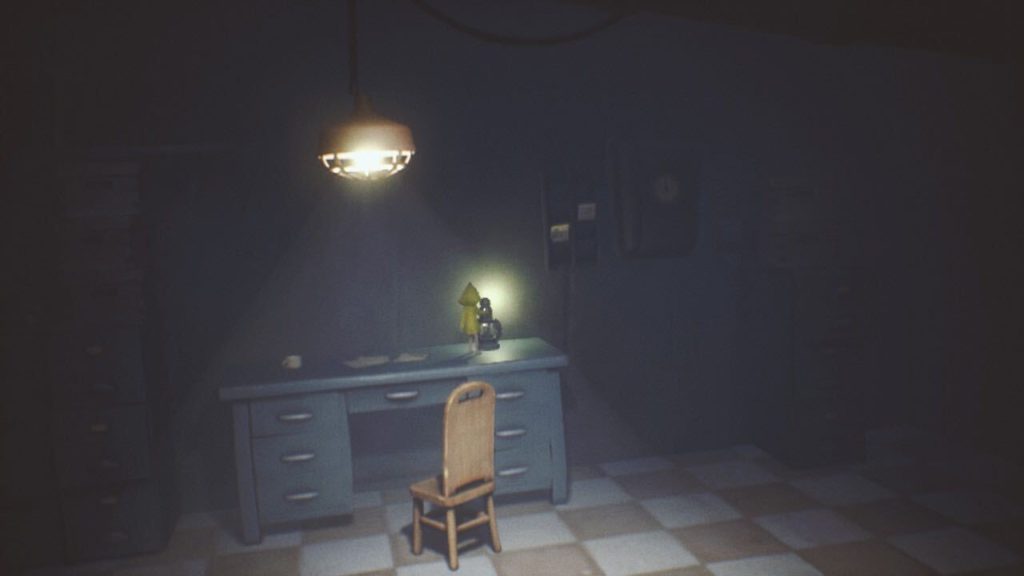
Go up the long flight of stairs and go through the first door you reach. A Nome will run away. Ignore it for now and climb up the chair, jump on the desk, and then light the Lantern.
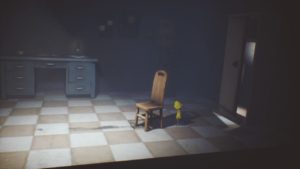
Next, hop off the desk and then grab and drag the chair to the fourth tile from the wardrobe to the right—the tile that’s covered in dirt. This tile is actually a switch that opens a hidden room inside the wardrobe. Go through the wardrobe to the hidden room.
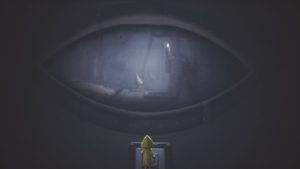
In the hidden room, check behind the control panel in front of the giant eye and a Nome will run away again. Climb onto the control panel and press the button a few times to get a preview of some of the areas coming up.
Leave the room and head back to the flight of stairs. Go up one level and hug the Nome to the left of the platform.
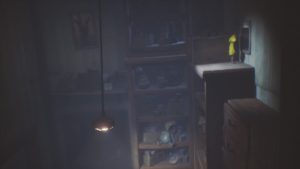
Continue up the stairs to the next level. Climb onto the box and through the opening in the wall to the next room. When you drop down, a few Nomes will run off.
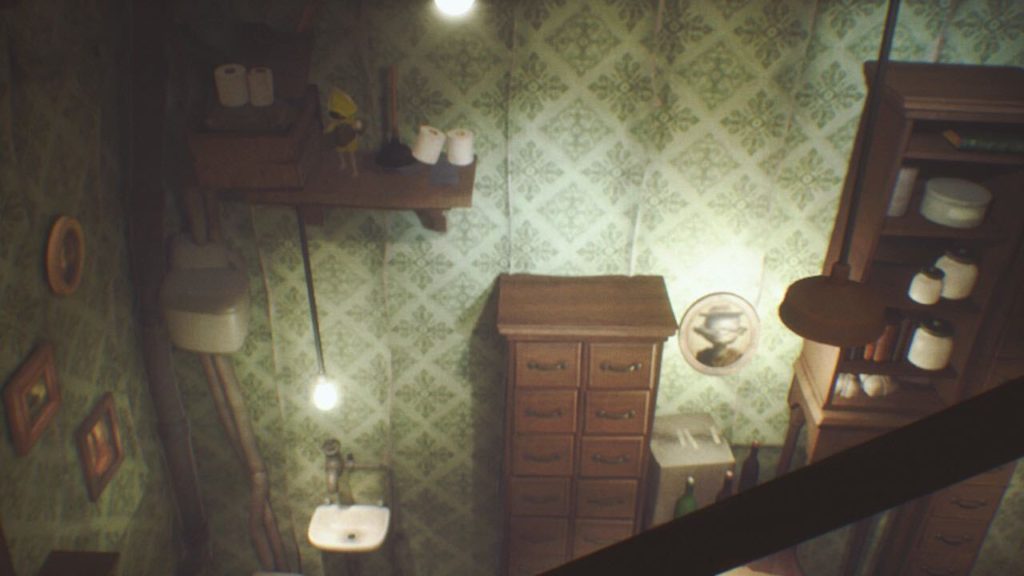
Drag the suitcase from the middle of the room to the closet with a handle on it to the right. Climb onto the suitcase and jump and grab the lever to pull it down. A bed will drop down from the closet.

Climb onto the bed and then climb the drawers to the top. Jump over to the next set of drawers and then onto the shelf with the toilet paper rolls. Grab the Statue and then throw it off the shelf to smash it.
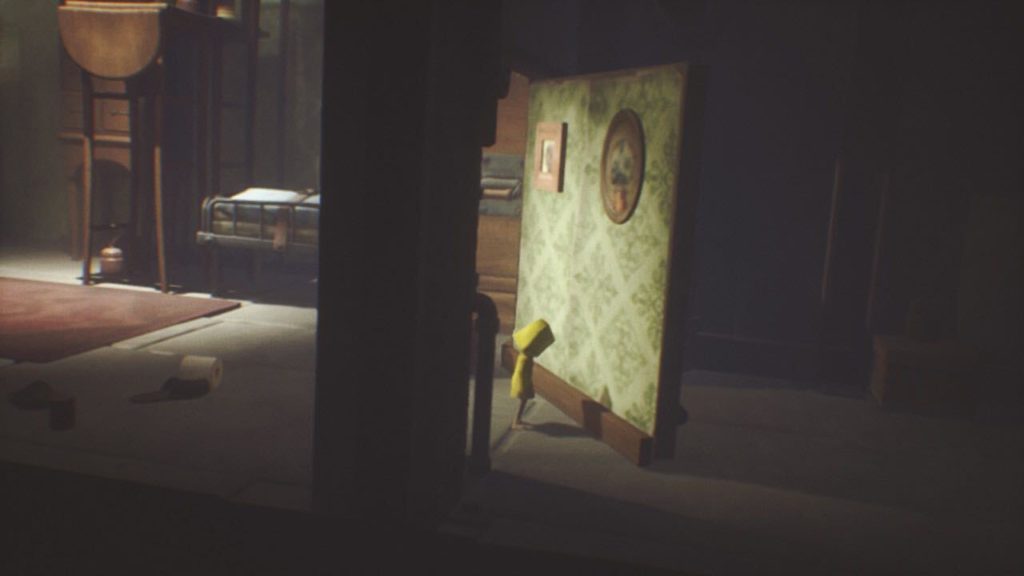
Head back over and down to the table with the key on it. Pick up the key and drop down to the floor with it. Go to the right side of the room and push on the wall with two pictures on it to reveal a new area. Grab the key, head to the right, throw the key onto the step, and then use the key to open the door.
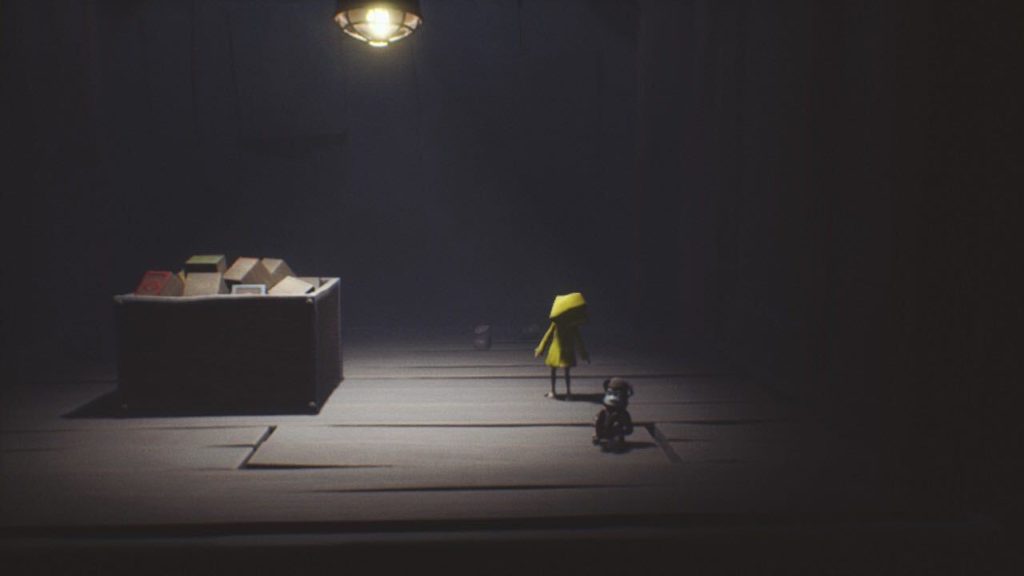
Pick up the toy monkey in the middle of the next room and then throw it at the button on the wall (press and hold the throw button to build strength to reach the button). This will call the elevator.

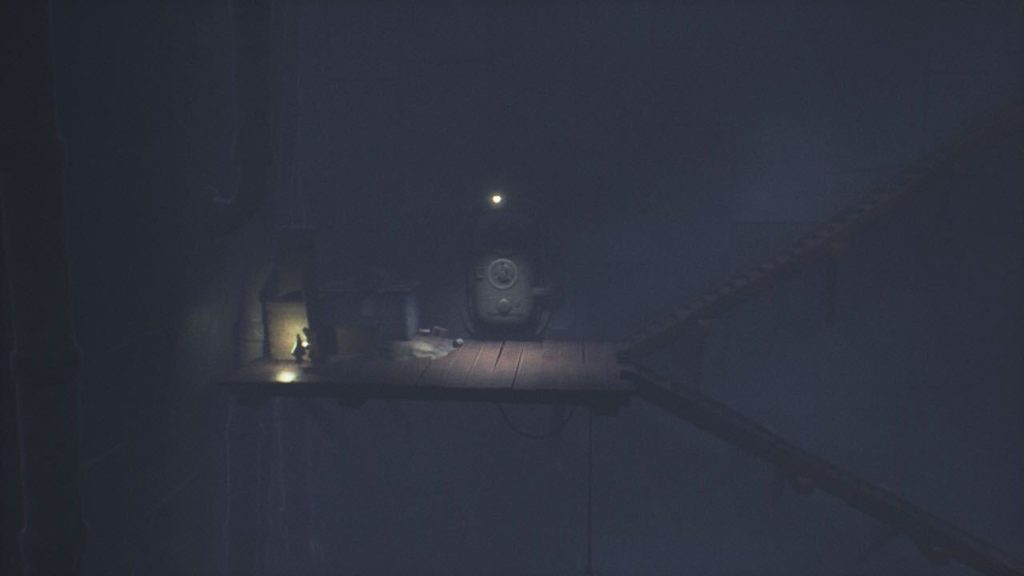
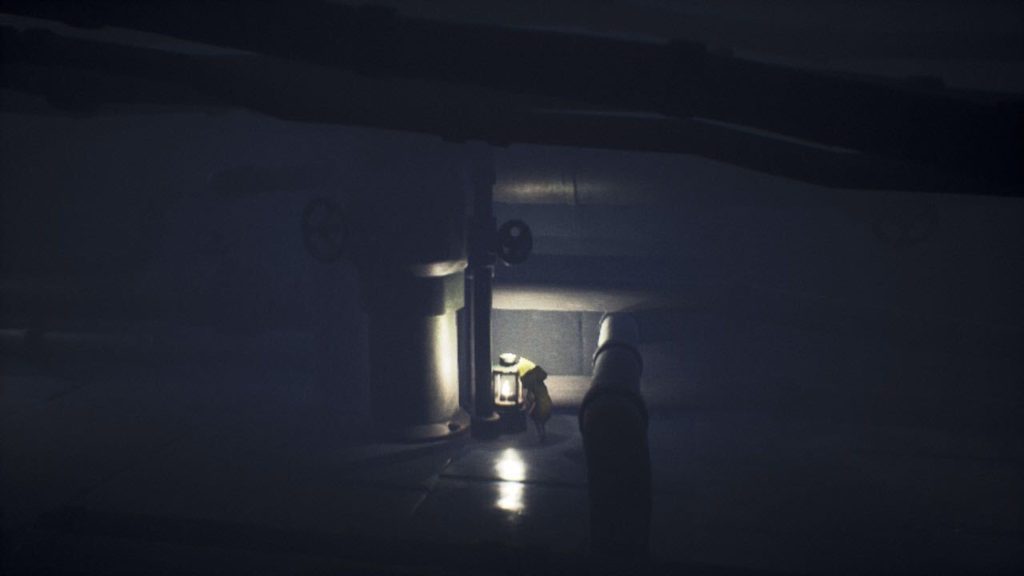
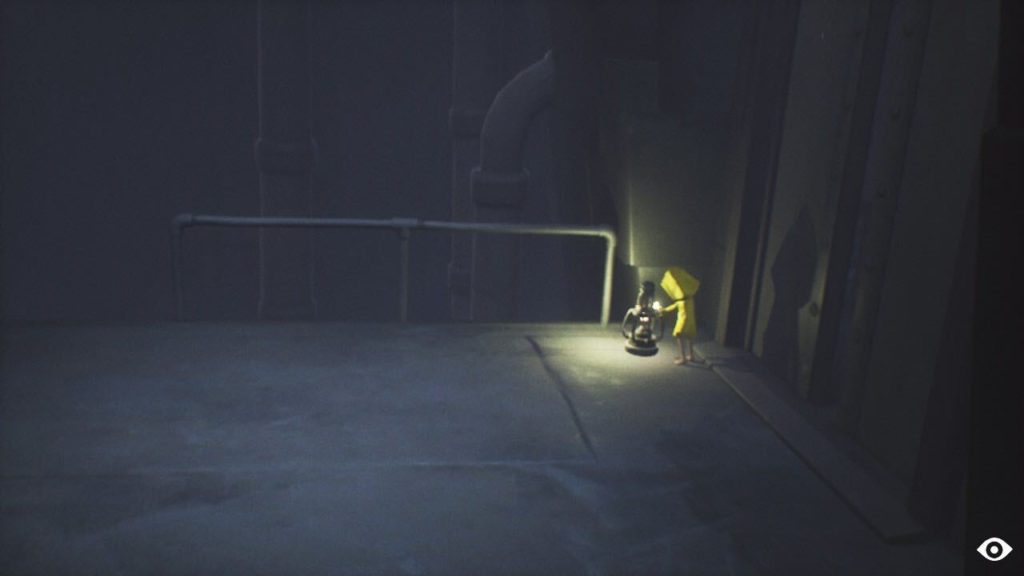
Grab the monkey and head into the elevator. Throw it at the button inside the elevator and ride it down to the level below. As you’re walking through the next area, Six will begin experiencing hunger pains again. Continue on. Crawl under a pipe and then light the Lantern directly beside it.
Continue through the hall and into the next room. Pick up the meat in the cage to eat it and a long arm will sneak in and slam the cage door shut, trapping you in.
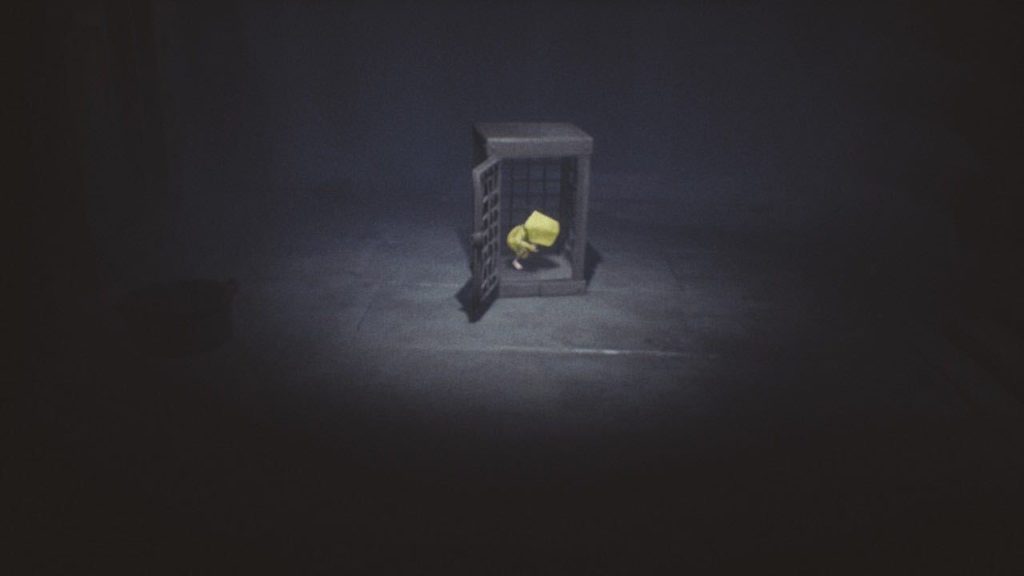
In the next room, you’ll wake up, still trapped inside the cage, as another child in a cage gets pulled away. Inside the cage, move left and right to eventually knock the cage to the ground and open the top. Once free, go left and squeeze through the tiny gap in the wall. Light the Lantern and then go back to the previous room.
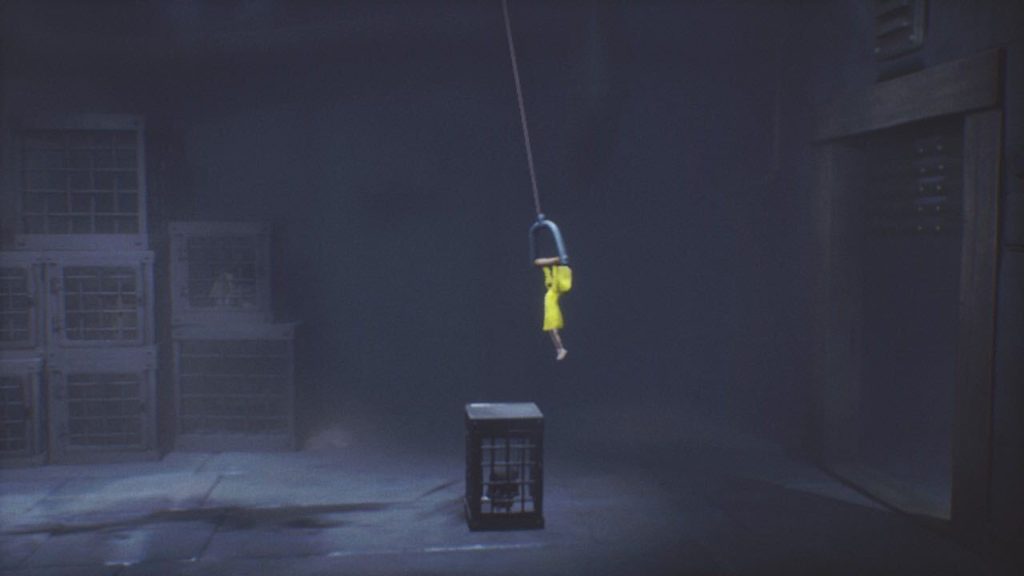
Grab and drag the cage with the kid inside it over to the pulley hanging from the ceiling. Climb onto the cage and then jump and grab the pulley. The door will open. Instead of just letting go, though, swing back and forth to gain some momentum, and then jump towards the door to make it through before it closes.
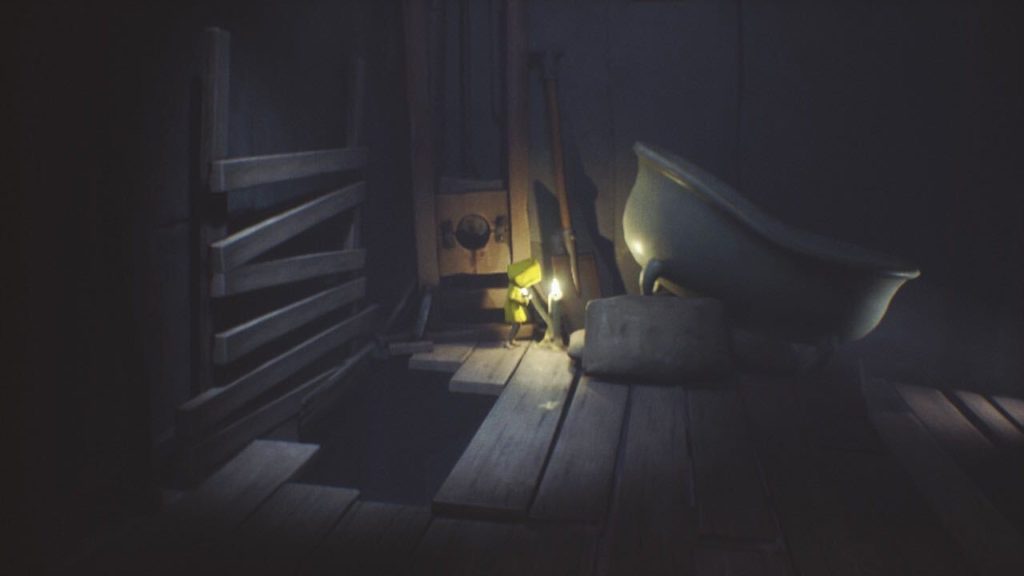
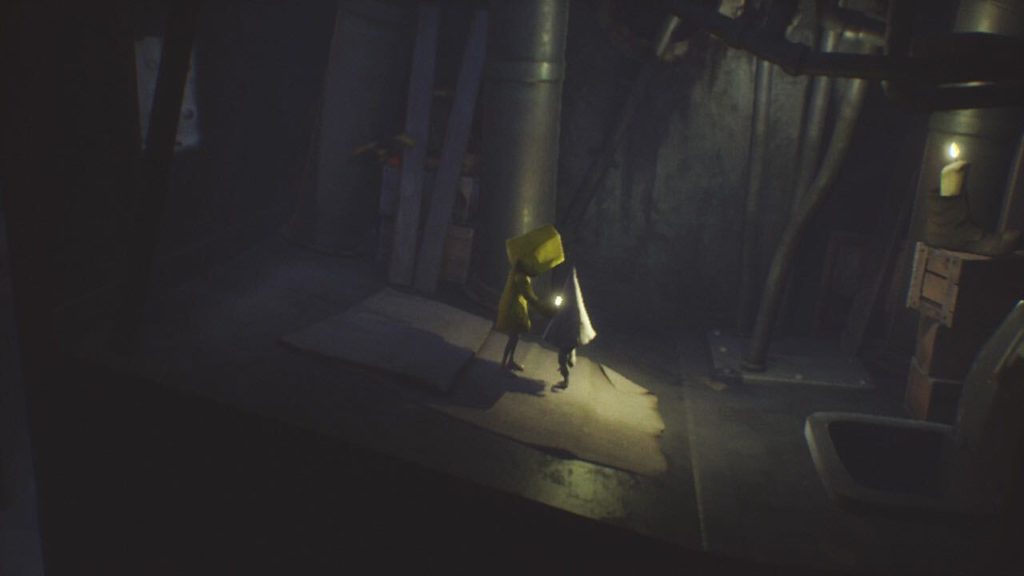
When you make it to the next room and the door closes behind you, turn around and climb up the door to the upper floor. Here, light the Candle.
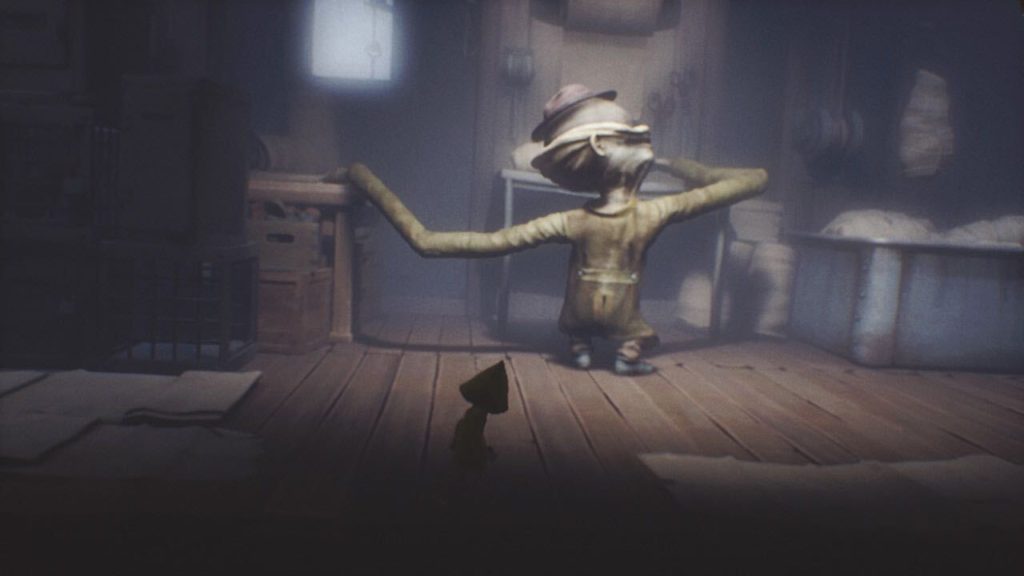
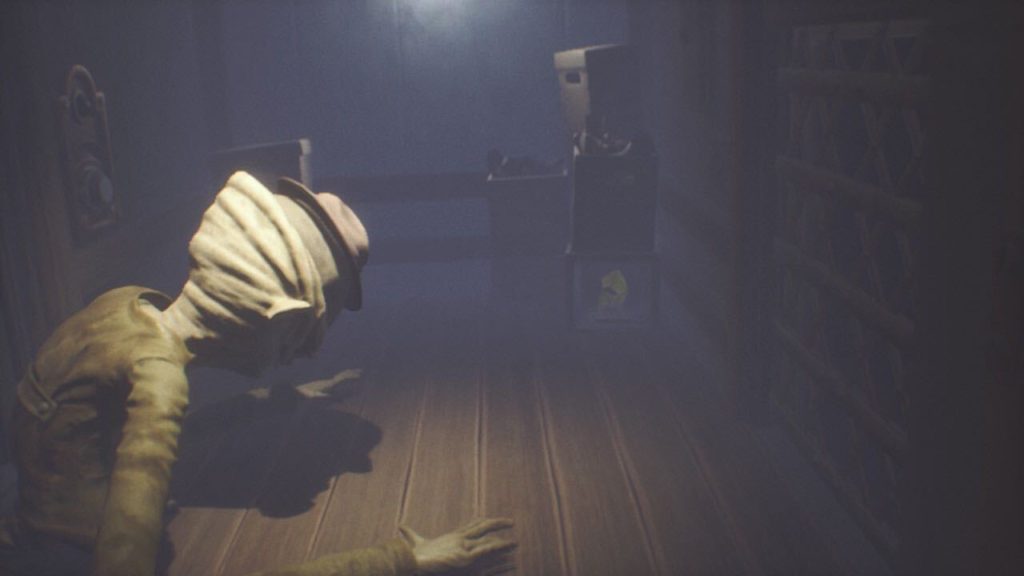
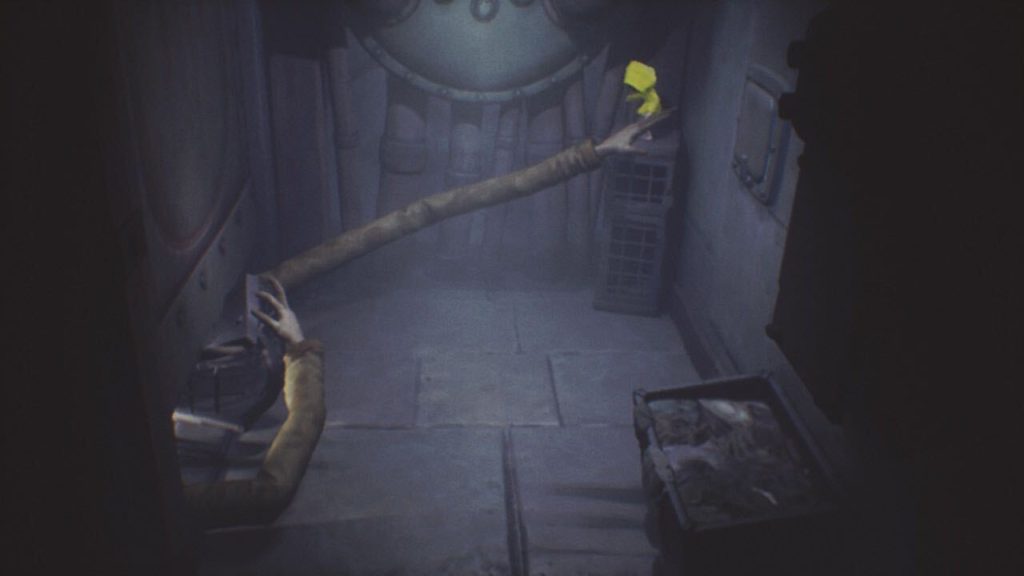
After lighting the candle, crawl through the tiny opening to the right of the room. In this room, be sure to stay next to the wall closest to the screen as you head right. This room contains the enemy with the long arms. This enemy can’t see, but it has a heightened sense of smell and hearing. As you proceed, the long-armed creature will eventually smell you. Once it does, sprint to the right and slide through the tiny hole in the wall.
There’s a chance the creature will follow you to the next room. If so, just hide in the corner on the right side of the room until it leaves.
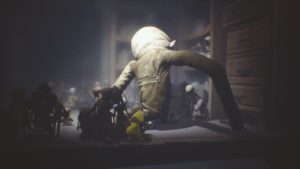
Grab the lever on the floor and insert it in the hole in the column. Crank the lever to open the hatch. As you do, the long-armed creature will come back into the room. Rush over to and enter the hatch before the enemy grabs you.
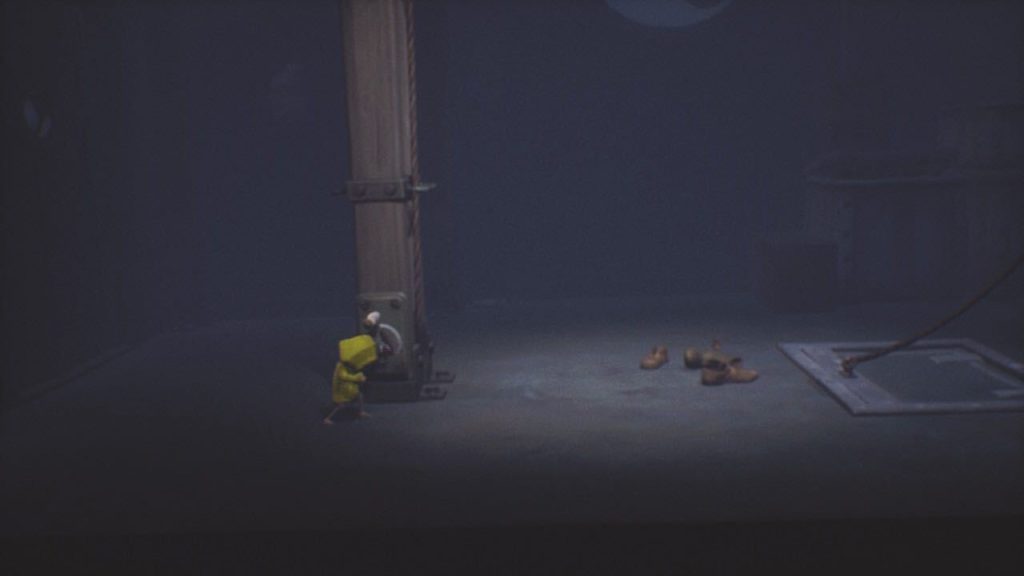
Crawl through the duct and into the next room. Light the Lantern in the back of the room.
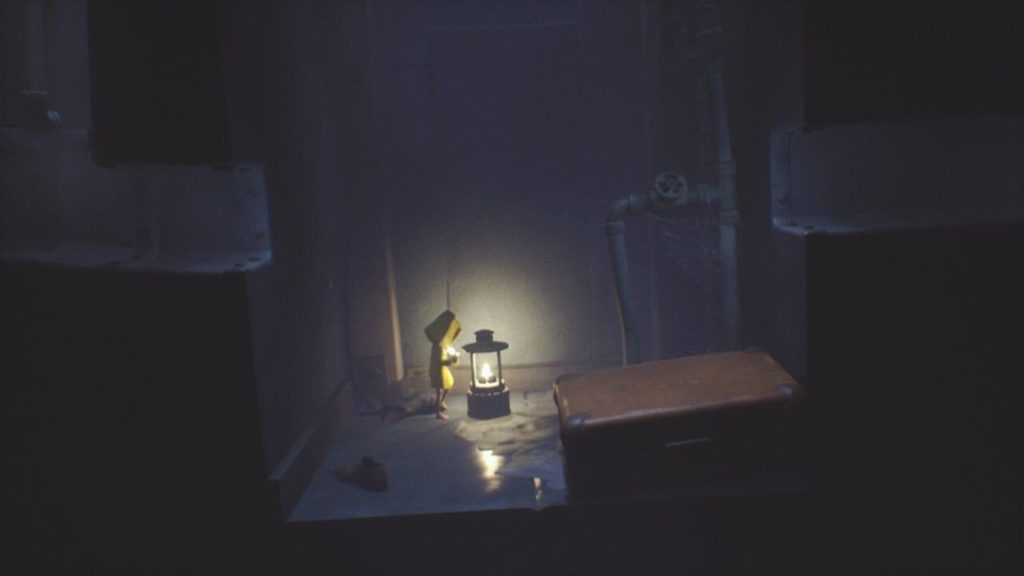
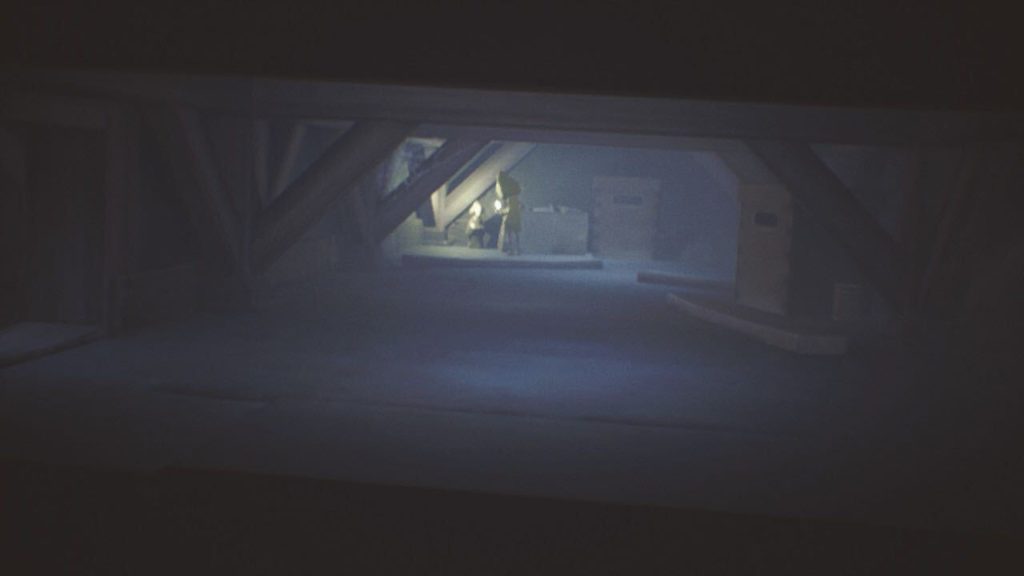
Next, instead of climbing onto the suitcase and proceeding to the next area, climb up the ladder instead. Near the top, you’ll see a Nome. Climb through the duct and give it a hug.
Don’t head back to the previous area. Instead, drop down the hole in the room to the ducts below. This leads to the same area as if you climbed the suitcase and went through the duct.
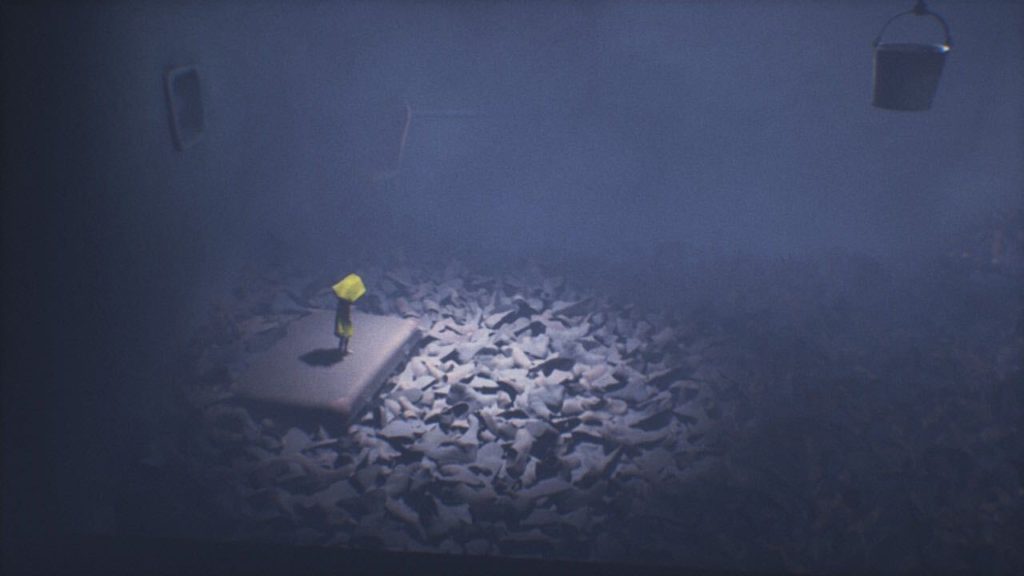
When you crawl out of the duct, you’ll jump down on top of a suitcase in a room that is full of shoes. In the sea of shoes is a monster that will chase after you when you jump down in them. Run and jump off the suitcase so that you’re as close to the next suitcase as possible, climbing onto it as quickly as you can. Repeat this until you make it through to the next room.
Head up the stairs to the right of the next room. In the hallway, the long-armed creature will begin chasing you. Run into the room to the right and hide in the box in the top-right corner of the room.
Ride the elevator up while hiding in the box. Once you reach the top, the door to the right will open and the creature will exit. Head into that room and the gate will slam behind you. Push the toy box off of the board that the toy monkey is also sitting on. Once the toy box is off the board, stand on it next to the toy monkey to drop down to the crawl space below.
Go right and continue past the makeshift ladder for now. In the next area past the ladder, you’ll find a Statue in the back-left corner. Pick it up and smash it, and then head back to the ladder and climb up.
The long-armed creature is walking around in these next two rooms, so you’ll need to be quiet and careful as you sneak across. Be careful not to touch any toys, as they’ll make noise and cause the long-armed creature to chase you.
Sneak through the hole in the right side of the first room. In the second room, climb to the top of the drawers, push the box out of the way, and crawl through the duct. If the long-armed man won’t move away from the drawers before you climb them, you can pick up and throw a toy in the other room to make him move away.
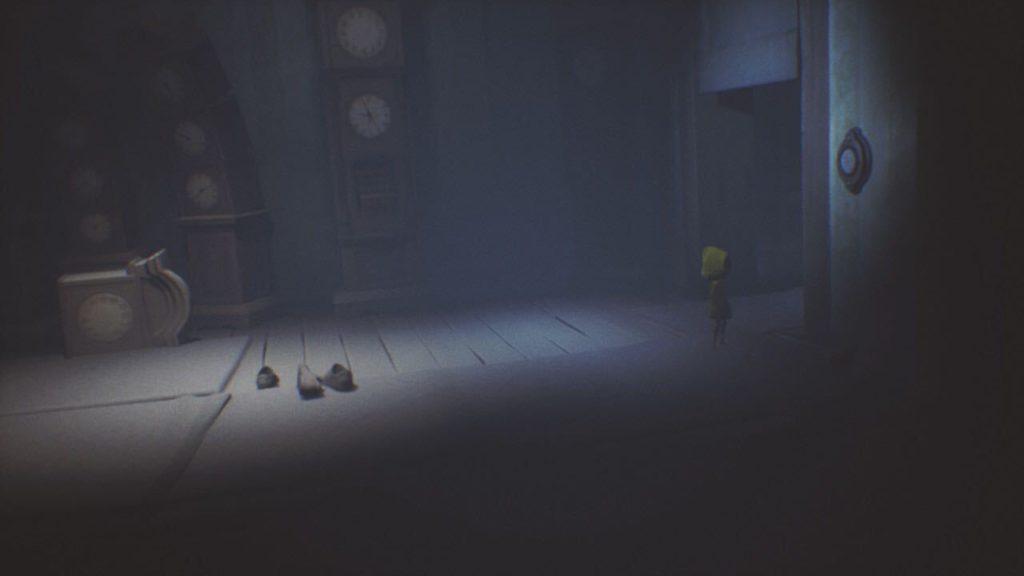
Continue on to the next room, go to the right, and then push the door down. Wait before you go into the room, as the door also knocks down a clock and makes a lot of noise, attracting the enemy to your location.
The next room is full of clocks. Get the creature to follow you into the previous room and then dash back through the next room all the way to the right, grabbing a shoe and throwing it to hit the button and open the door.
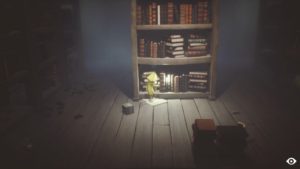
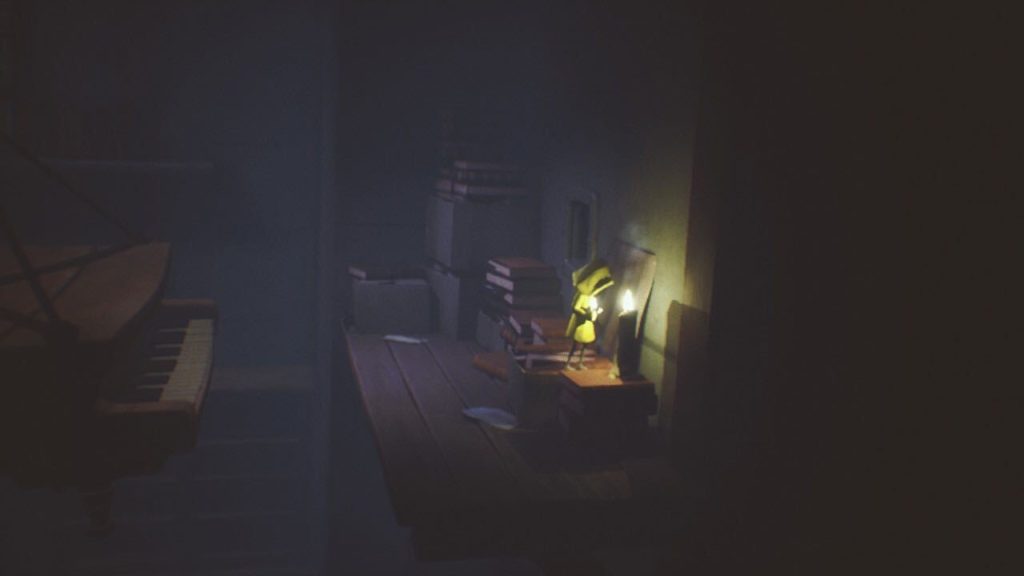
Run all the way through the next room and push the door open to the right of the room to squeeze through. The next room will have a few towers of books. To the right of the room, you’ll see a desk. Crawl under the desk to make a Nome run out. The Nome will run and hide next to the tower of books to the mid-left of the room. Give it a hug.
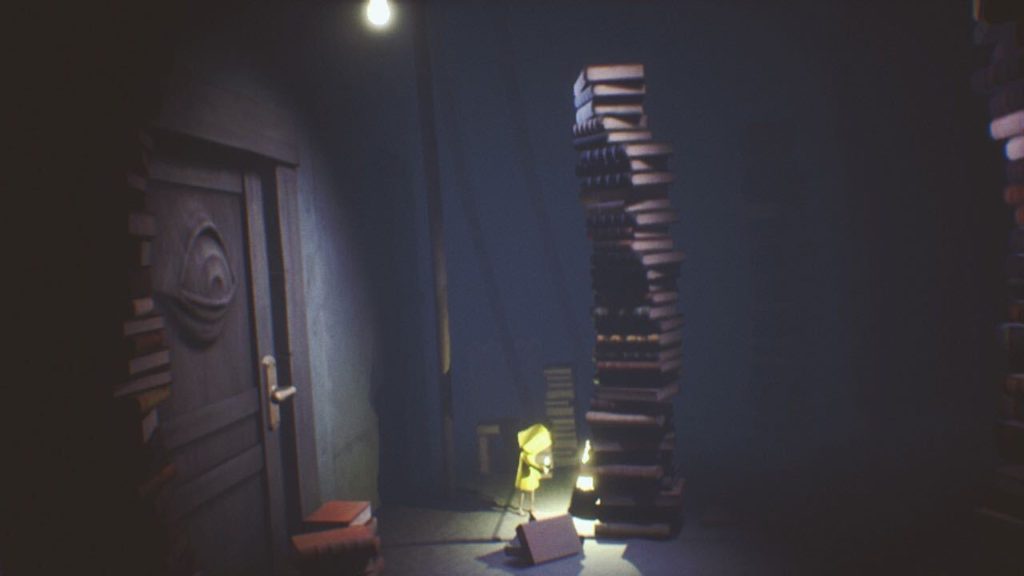
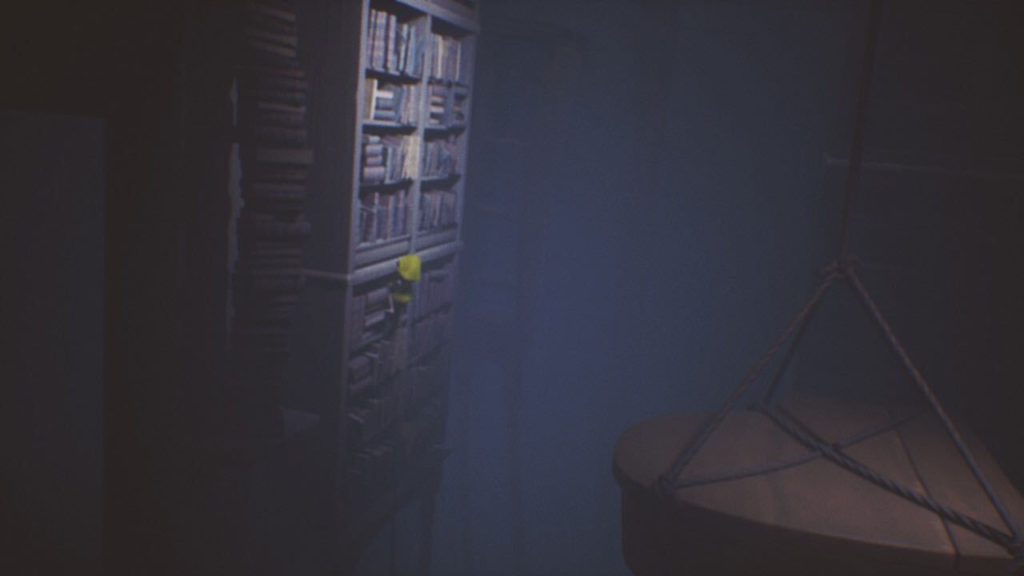
Go to the right side of the room, climb the table, and then climb the bookshelf to the top. Light the Candle that sits on top of the bookshelf.
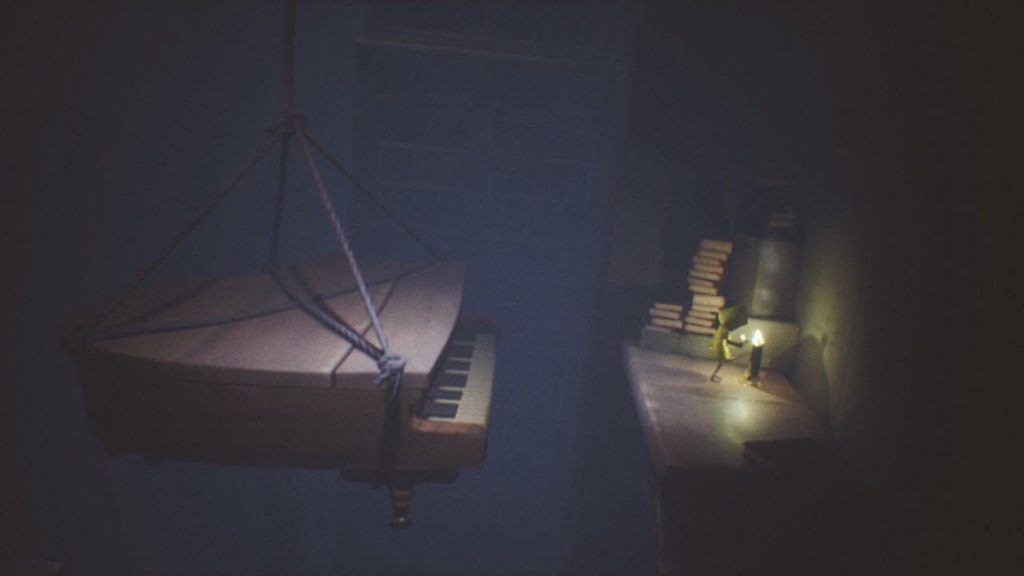
Run and jump onto the piano suspended by ropes. Wait until the piano is closest to you to make sure you can reach it. Jump over to the bookshelf to the left and climb to the top, staying cautious as the long-armed creature reappears.
When the enemy moves on, slowly follow behind it. Take note of the wooden column with a slot for another lever.
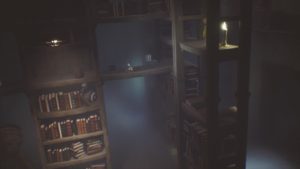
Continue into the library. The library has two Candles for you to light. One Candle is on the top of the bookshelf closest to the entrance. Climb the stack of books as soon as you enter the library and you’ll see it.
The other Candle is in the middle of the room at the bottom of the bookshelf. To get this candle, make it to the left side of the room, make some noise to attract the creature, and then crawl under the bookshelf in the foreground to go back to the Candle and light it.
Make sure to light both Candles before proceeding.
To make it through the library, you’ll want to climb the first set of books and proceed across the top. Make sure to distract the long-armed creature by throwing toys when necessary. Make it to the left side of the room, climb up the stack of books, and crawl through the hole to drop down to the other room.
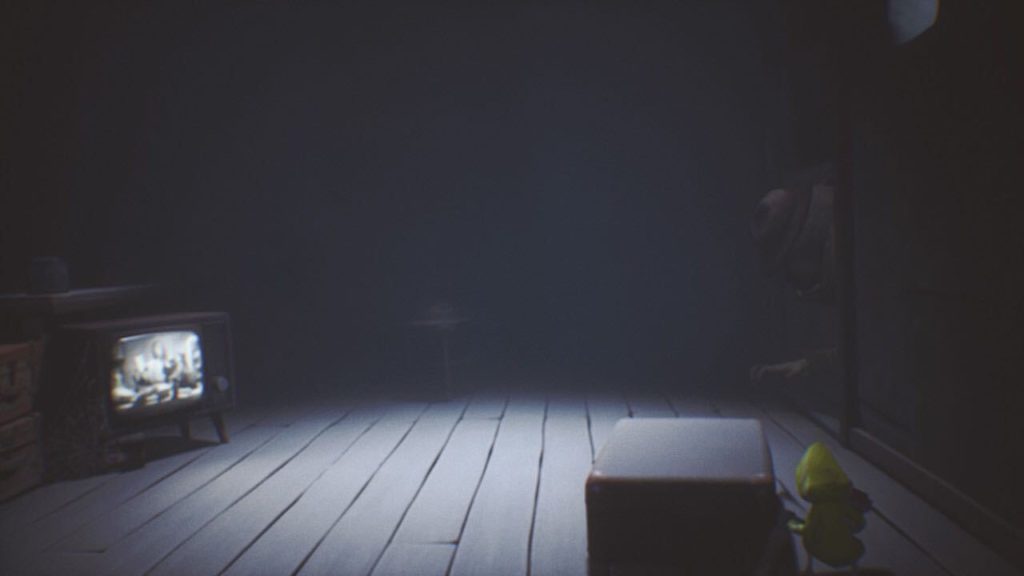
In this room, you’ll see the lever arm on the floor. This is the lever you need to insert into the slot noted earlier. Grab the lever and bring it close to (but not in front of) the door. Turn on the TV to the left of the room and the long-armed creature will run in. This is when you want to pick up the lever and exit.
Back in the library, crawl under the table in the foreground and then continue on to the room with the column that had the slot for the lever. Insert the lever.
Crank the lever and the suspended piano will raise to your level. However, this will also attract the enemy, so quickly run and jump over to the piano, and then again over to the other side. Light the Candle on the stack of books and then climb through the hole.
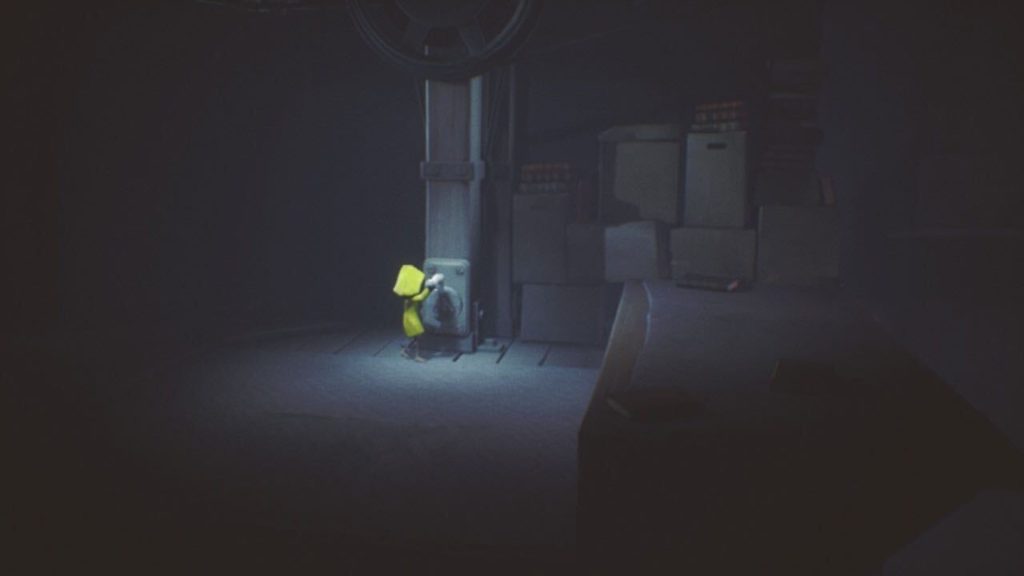
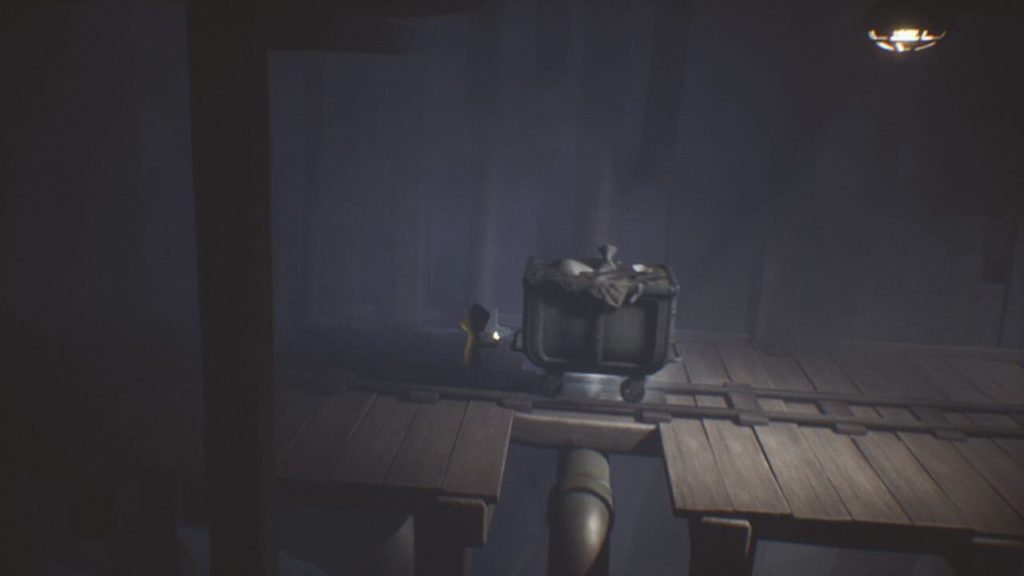
In the next room, pull the cart out so you can get behind it, and then push it over the steam coming from the busted pipe. Climb up and over the cart to make it to the other side. Then, pull and push the cart to the end of the tracks. Jump up to grab the handle and open the door.
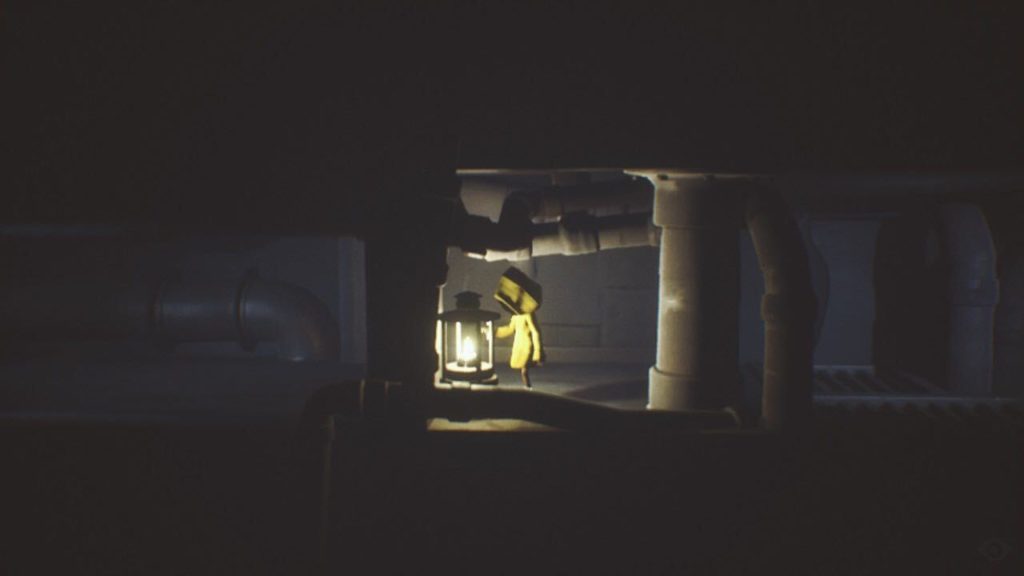
Continue to the right of the next room and climb into the tunnel. Just a few steps in, you’ll see a Lantern. Light it and continue on.
Be careful as you continue through the tunnel, as the long-armed creature will reach through a crack and try to grab you. Make it through the tunnel and drop down to the next area. The long-armed creature will run after you here, so run to the right as quickly as you can and slide under the door held up by a gate.
In this final area of the Lair, you’ll need to carefully navigate between the foreground and background to avoid being captured.
The cage holding the door has two supports. You’ll need to carefully wait for the right opportunity (when he’s not protecting the cage with one of his arms) to grab and pull out a support from the cage. Do this for both supports.
Once both supports are removed, the door will slam down, cutting off both arms of the once-long-armed creature.

Climb the crates and enter the newly-opened hatch. Go through to leave the Lair and enter The Kitchen.
The Prison