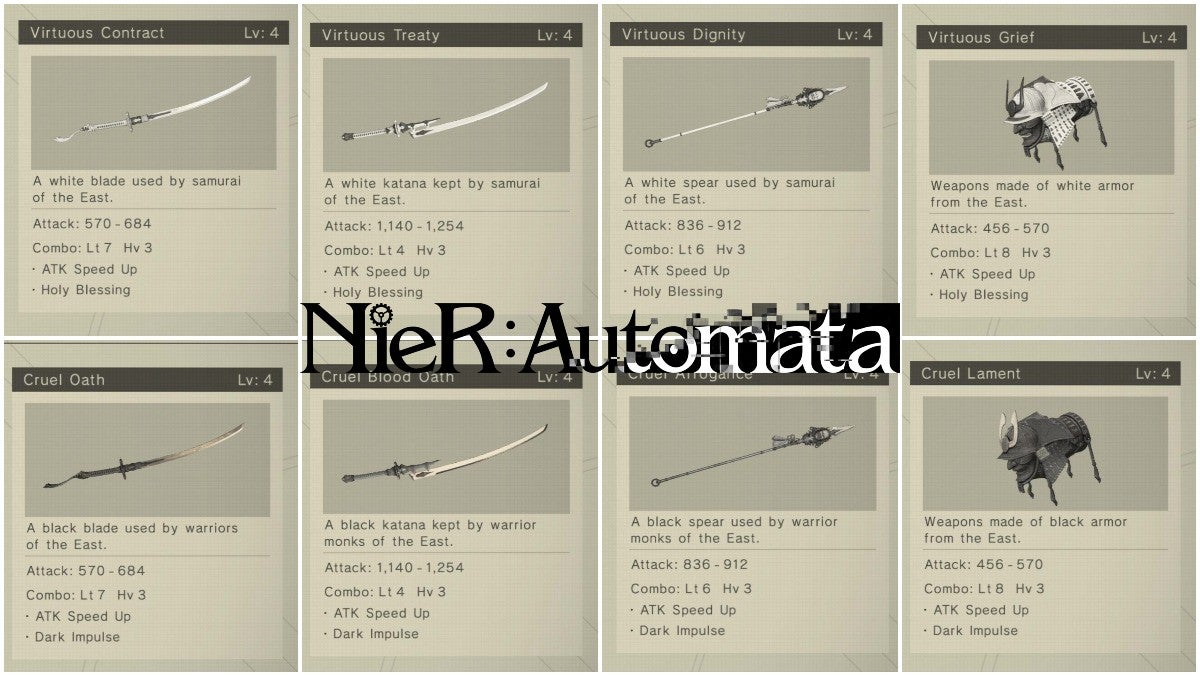
There is an abundance of weapons in Nier Automata for you to collect and choose from. Whether you prefer hard-hitting massive weapons or swift small ones, there’s a weapon in the game that will fit your play style.
Table Of Contents
Where to Get Every Weapon in Nier Automata
There are four types of weapons in the game: Small swords, large swords, spears, and combat bracers.
Each weapon in Nier Automata has unique special abilities and weapon stories. Listed below is every weapon in the game and where you can get them. You can also refer to the images for their damage output and special abilities.
Small Swords
Small swords are the easiest ones to use. Their attack speed is decent enough and their movesets are catered to handle multiple enemies at once.
Faith
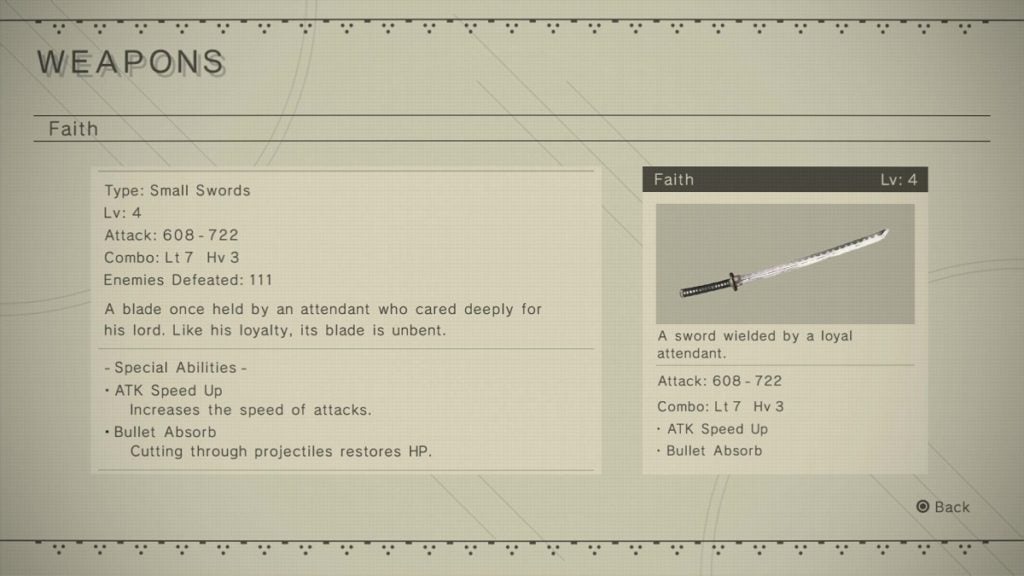
Located in a chest inside the resource unit in the Flooded City. This weapon can only be obtained during your third playthrough while playing as 9S.
Iron Pipe
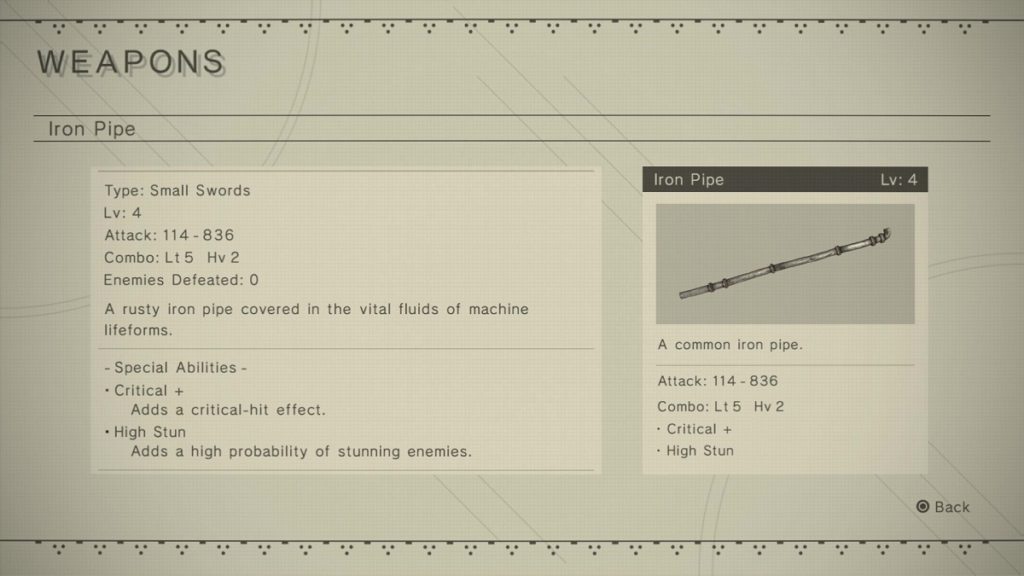
This can be obtained by fishing in the sewer that takes you to the Abandoned Amusement Park.
Beastbane
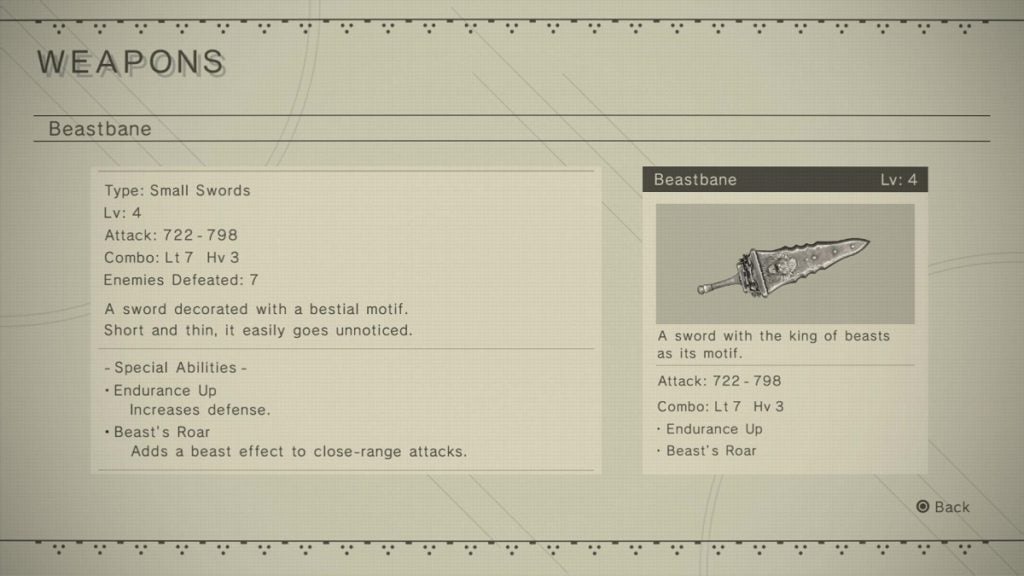
Bought from the Weapon Trader in the Resistance Camp for 10,000 Gs.
Engine Blade
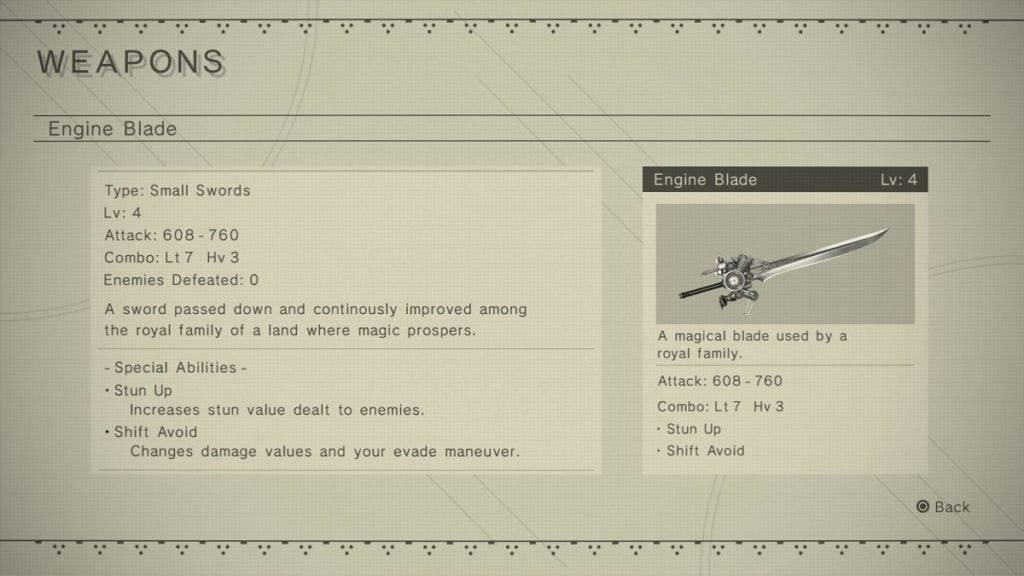
You can find this weapon during Twisted Religion main mission. As you attempt to escape the factory, you will eventually come across a conveyor belt with crushers. Once you get past this area, make your way up the tower. Once you reach the top, find a protruding platform that will shift the direction of the camera as you step on it.
From there, jump from one platform to another until you reach the end of this path, where you will find a room. Inside the room are one normal chest and one locked chest. The Engine Blade is inside the former.
Type-4O Sword
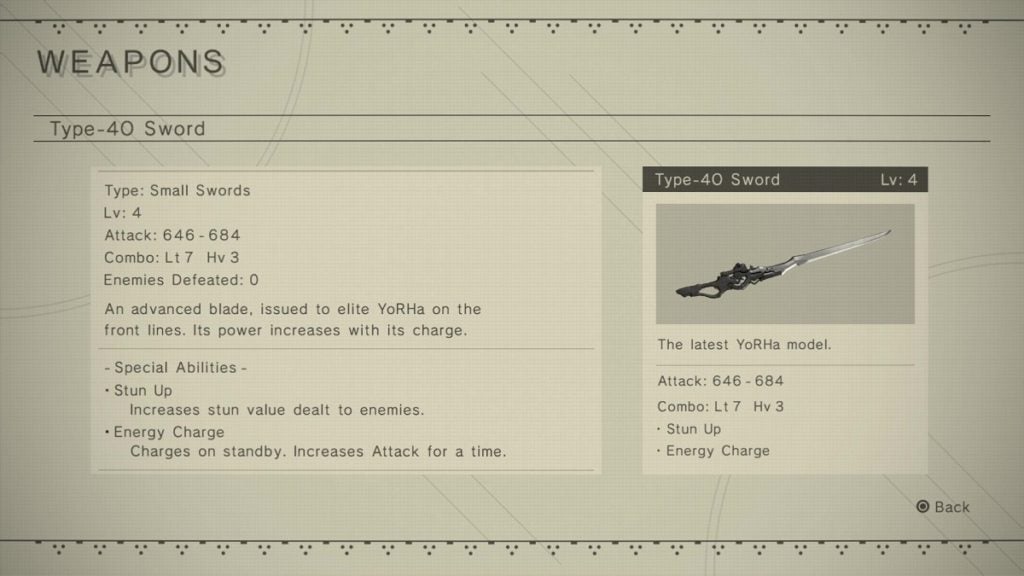
This weapon is a reward for completing the “Find a Present” side quest. You can only do this side quest while playing as 2B.
Type-3 Sword
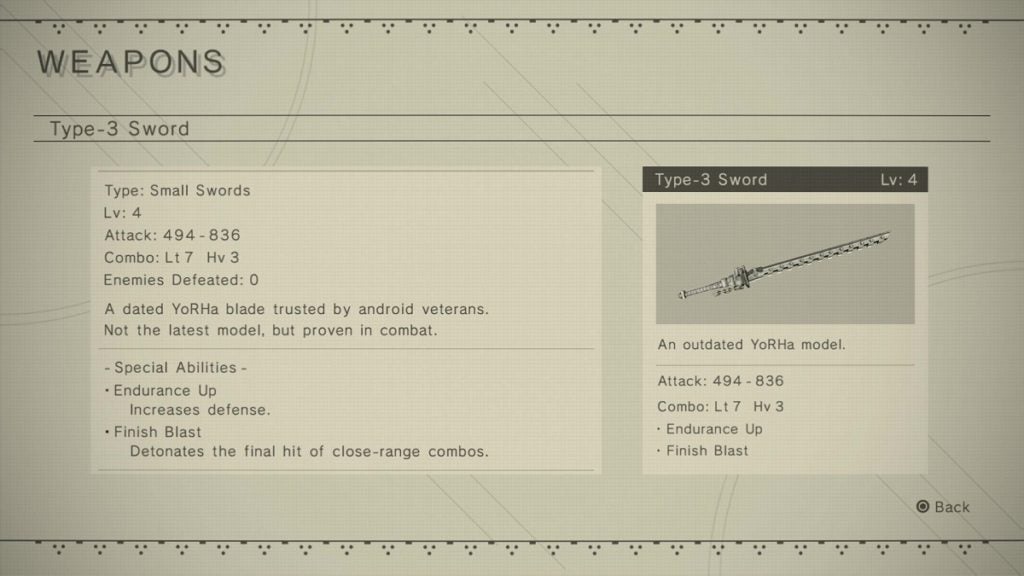
You can purchase this weapon from Devola and Popola for 20,000 Gs during your third playthrough.
Ancient Overlord
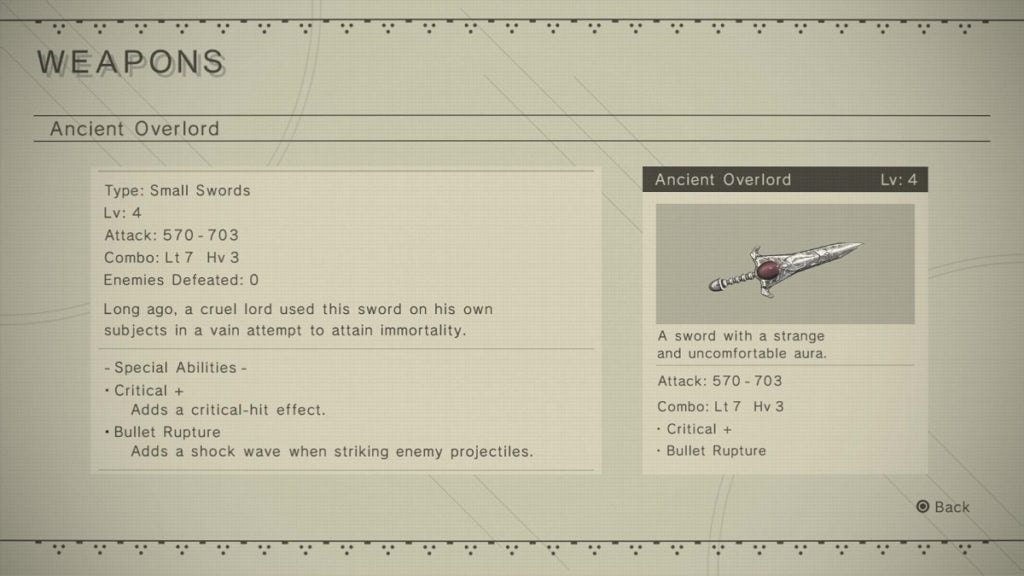
You can purchase this weapon from the Weapons Trader in the Resistance Camp for 15,000 Gs.
Virtuous Contract
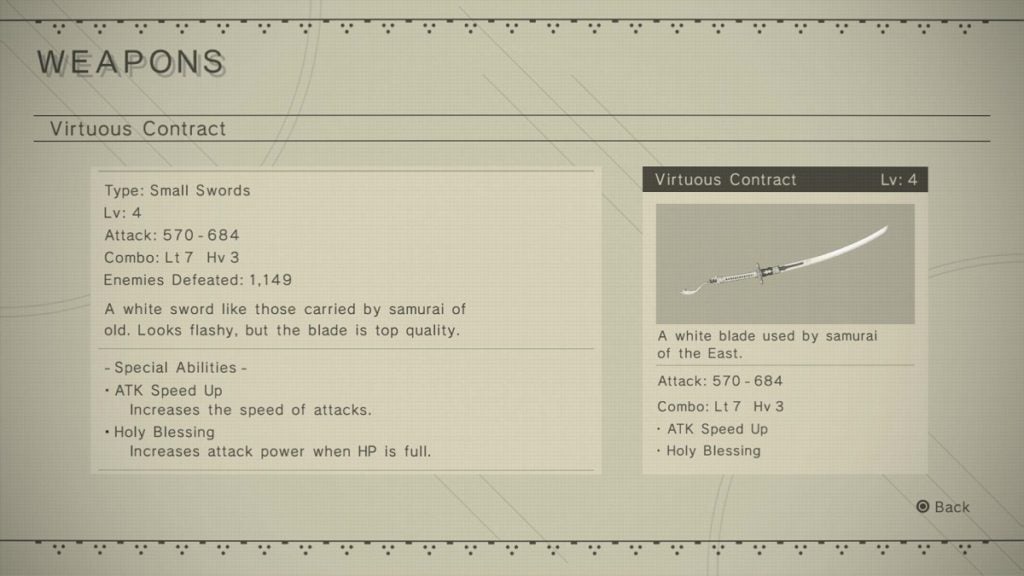
This is 2B’s default weapon.
Cruel Oath
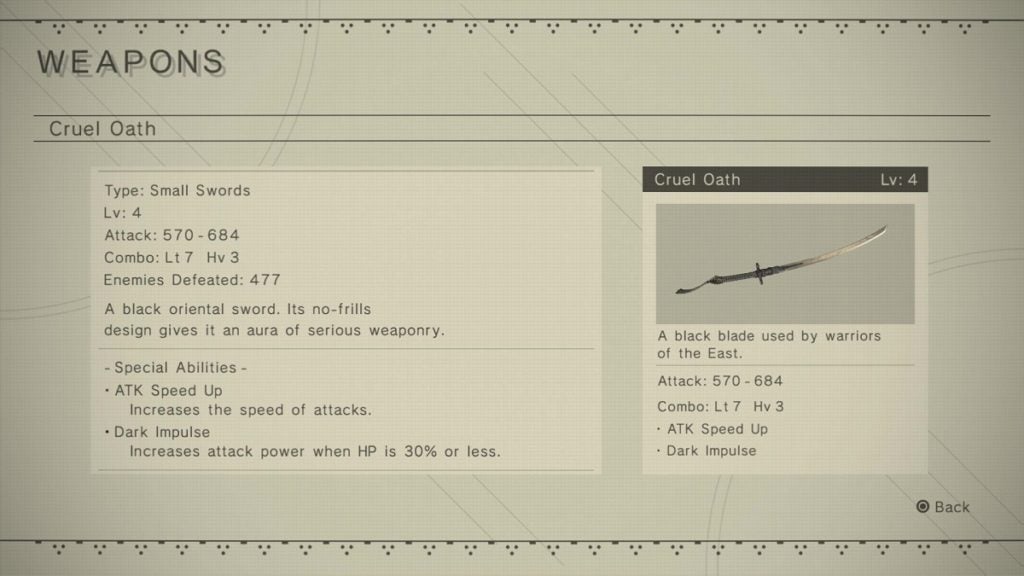
This is 9S’ default weapon.
YoRHa-issue Blade
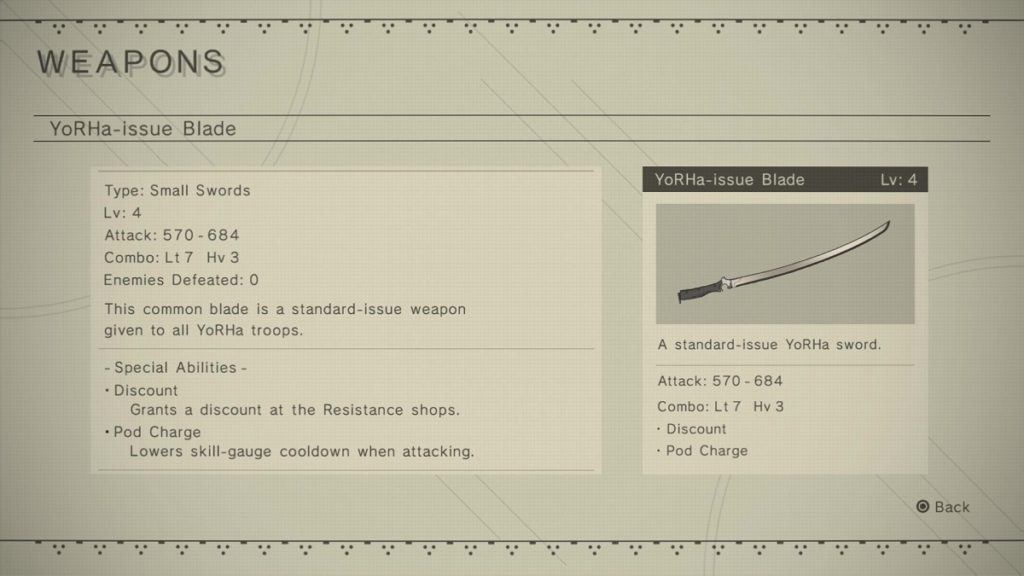
You can earn this weapon by completing the “11B’s Memento” side quest. You can pick this quest up at the Hangar in the Bunker.
Phoenix Dagger
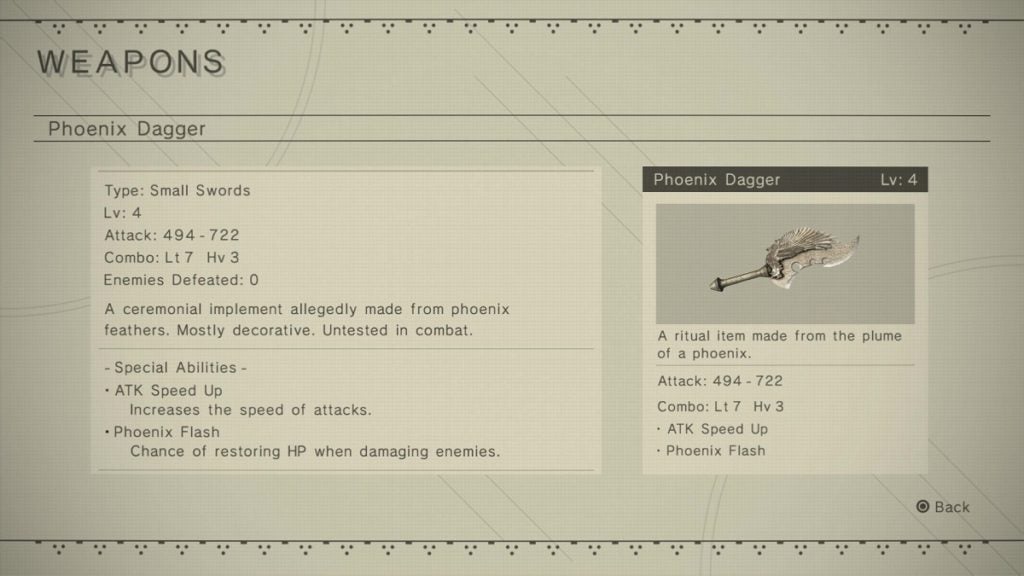
From the City Ruins: Near the Tower access point, head to the right of the rope bridge to find a path that leads downwards until you find an elevator. Ride the elevator down to reach a cave. There is a chest in this cave that’s near a waterfall containing the Phoenix Dagger.
Machine Sword
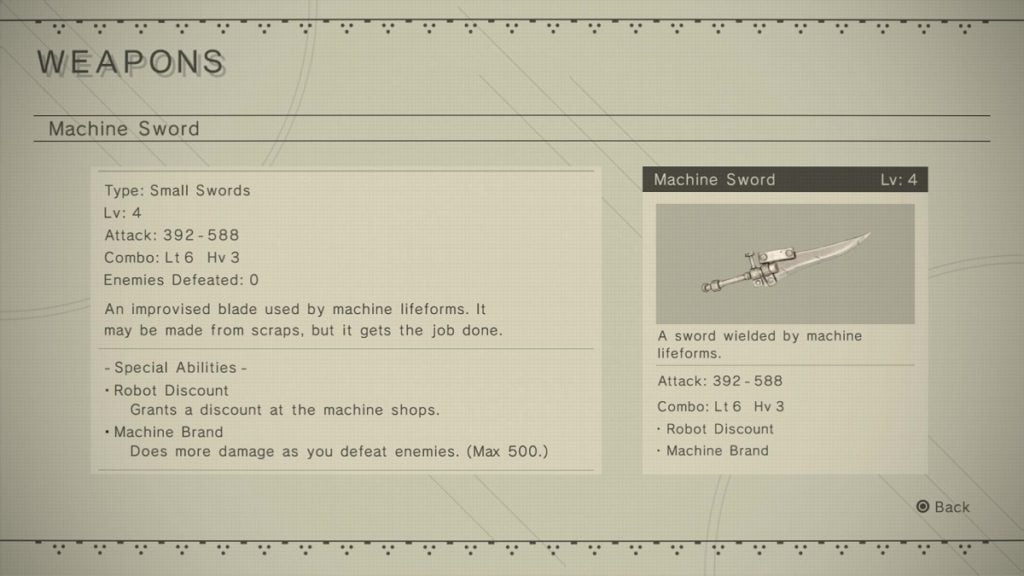
You can purchase this sword from the weapons merchant in Pascal’s Village or from Masamune for 15,000 Gs.
Cypress Stick
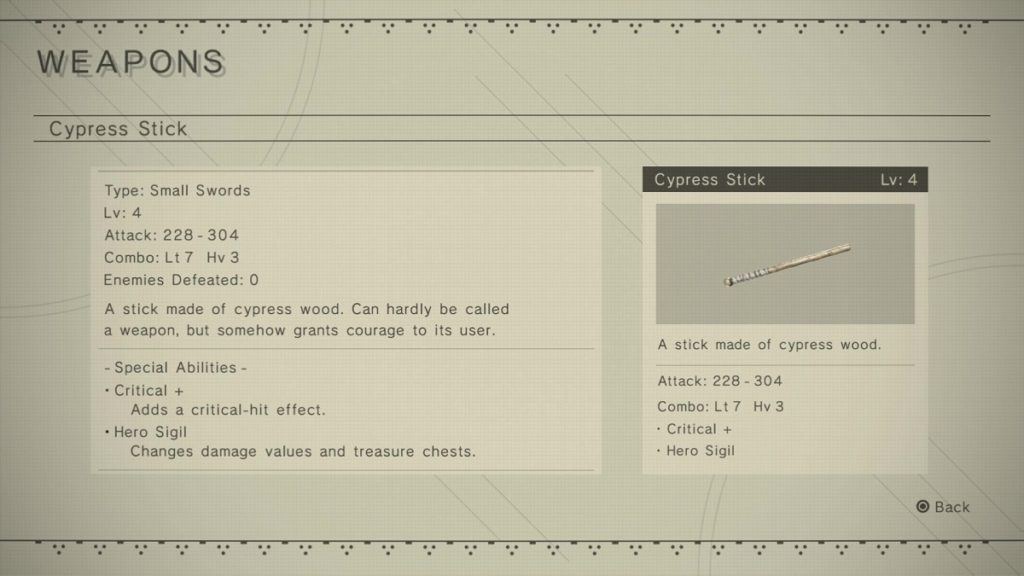
Head to the Forest from Pascal’s Village. As soon as you enter the Forest, you will find a collapsed pillar that you can walk on. Continue moving forward while jumping from one pillar to another structure until you reach the end of this platforming section to find a chest. Inside this chest is the Cypress Stick.
Large Swords
Large swords have the highest damage of any weapon in the game, but their attack speed is also the slowest.
Iron Will
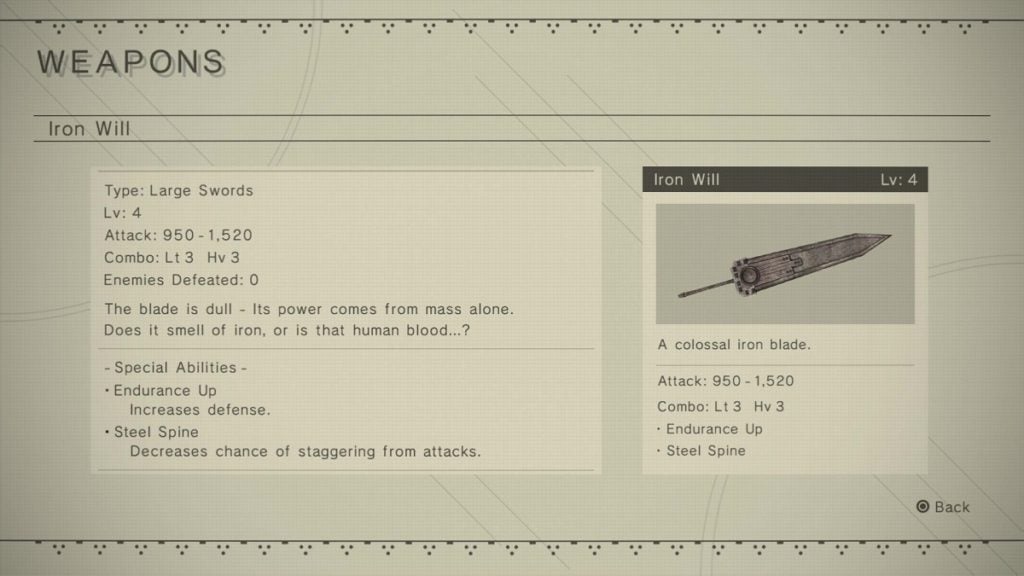
You can find this weapon in the Flooded City on a patch of land you can jump on from the ruined highway. You’ll need the Scanner Pod Program to find this weapon.
Fang of the Twins
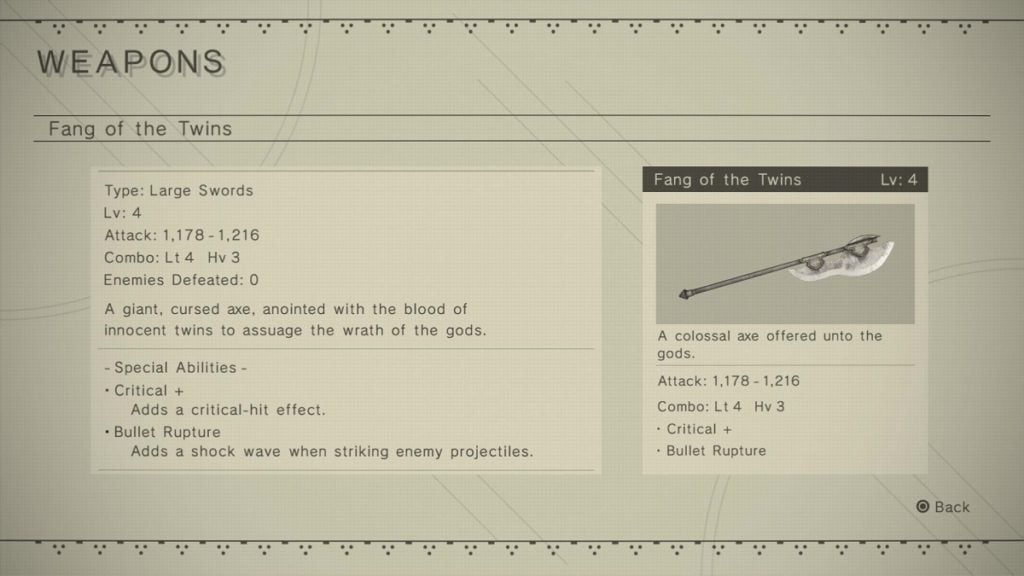
This weapon is located in the Desert Zone Housing Complex. It’s in a chest that’s found atop the stairs in one of the buildings in the area. The said building is close to the narrow path that leads towards the area where you first encounter Adam.
Beastlord
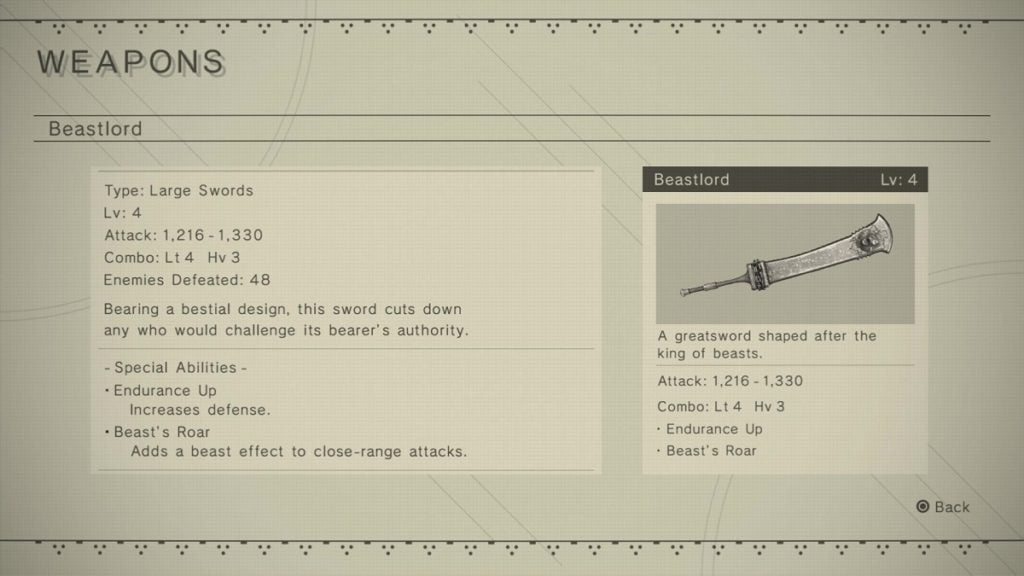
You can purchase this weapon from the Weapons Trader in the Resistance Camp for 10,000 Gs.
Phoenix Sword
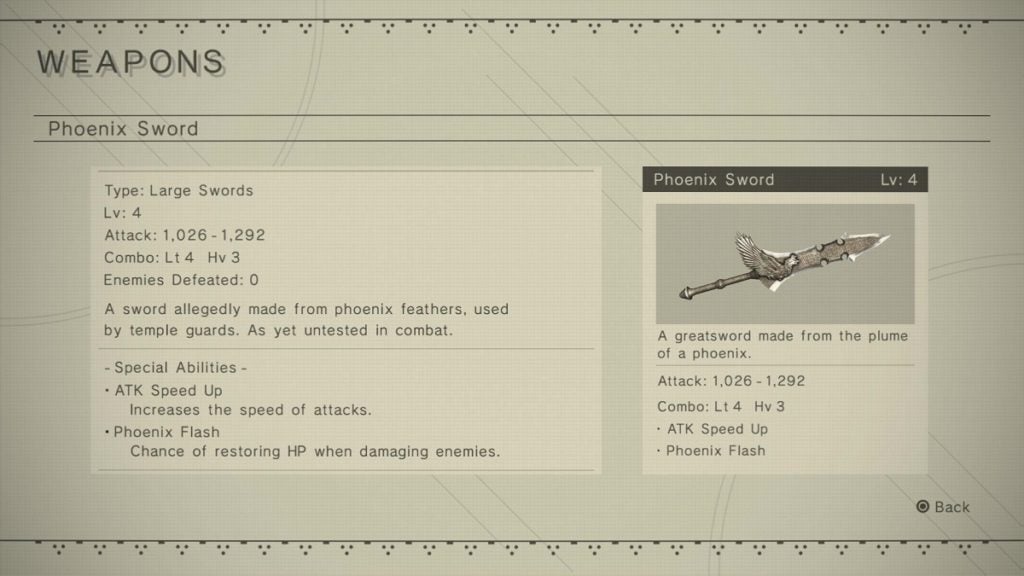
This weapon is found inside a chest on the roof of the building you land on the first time you arrive in the City Ruins at the beginning of the game.
Type-4O Blade
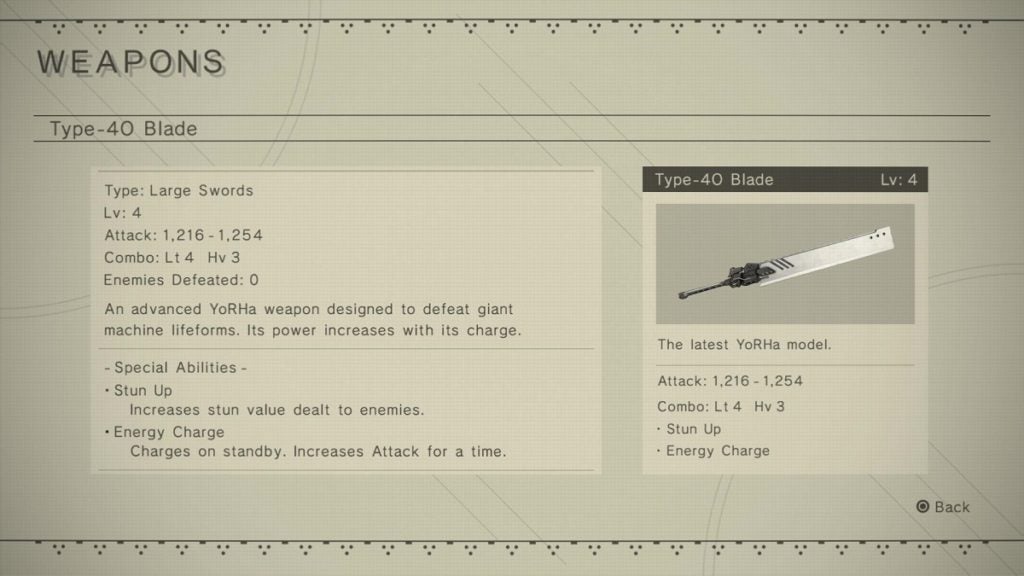
You will earn this as a reward for completing the “Data Analysis Freak” quest. You can begin this quest by going up to Operator 210 in the Bunker while playing as 9S.
Type-3 Blade
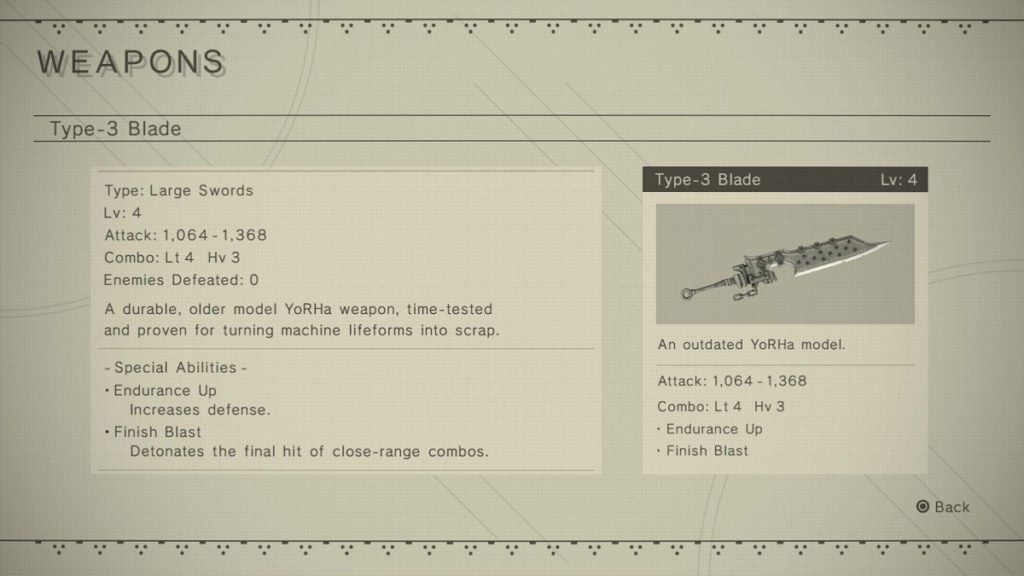
You can purchase this weapon from Devola and Popola for 20,000 Gs.
Virtuous Treaty
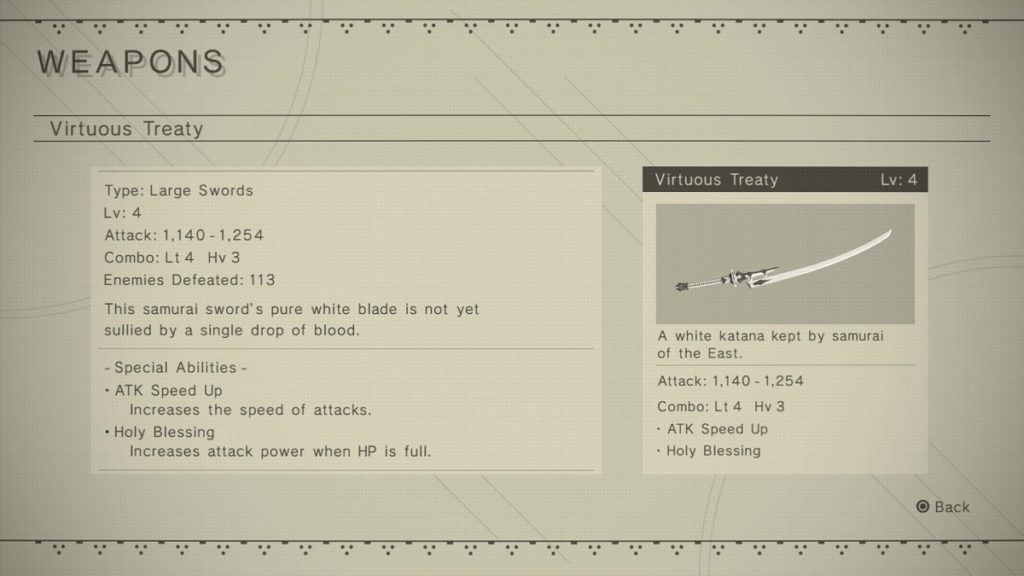
Found outside the Abandoned Factory, near the area where you fight the first Goliath machine in the game.
Cruel Blood Oath
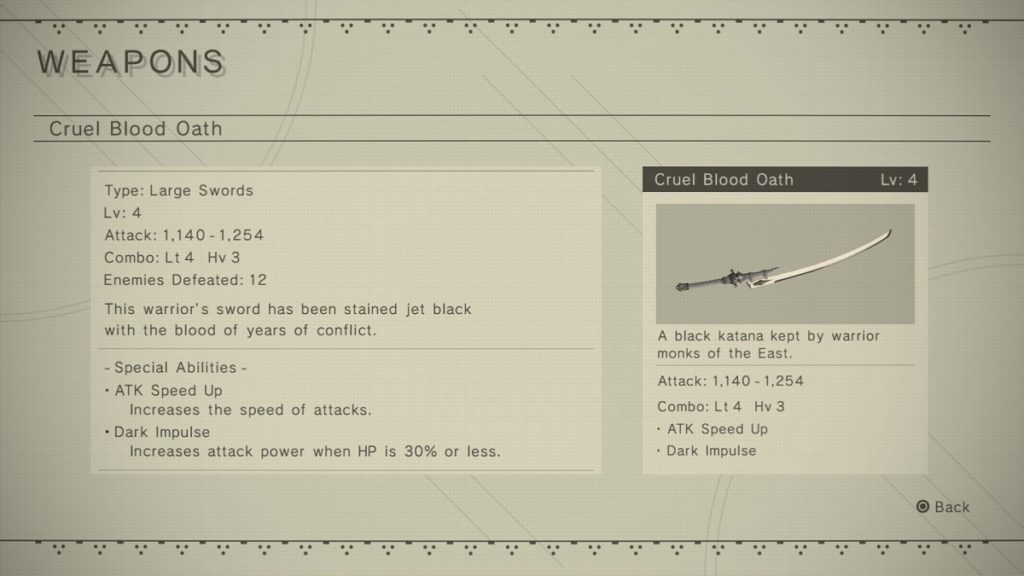
Located behind a locked door in the underground area of the first section of the Desert. The locked door can only be unlocked by 9S.
Machine Axe
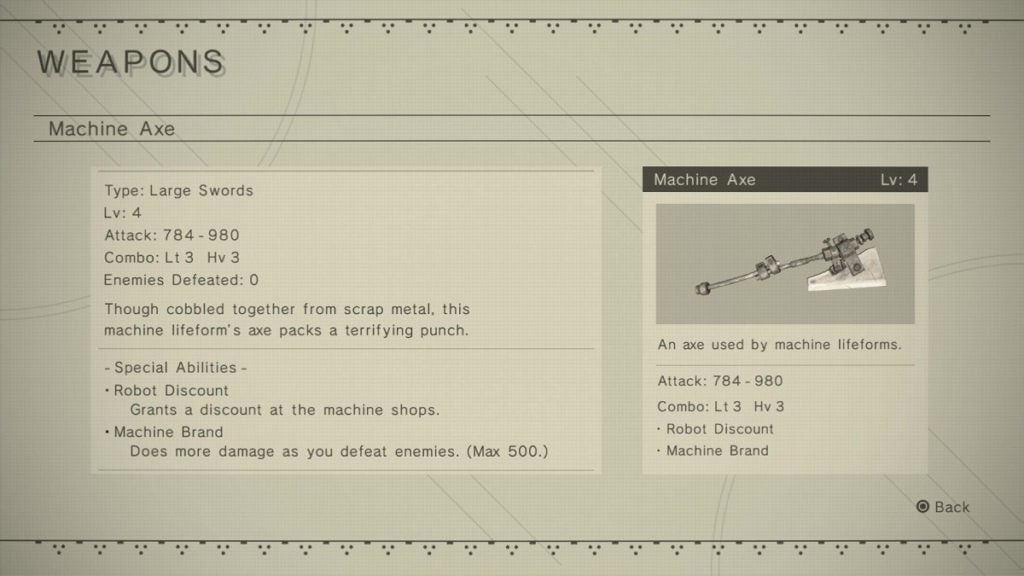
You can purchase this sword from the Weapon Trader in Pascal’s Village or from Masamune for 15,000 Gs.
Spears
Spears are about as fast as small swords but their attack patterns are better suited for fighting a singular enemy rather than a group of them.
Beastcurse
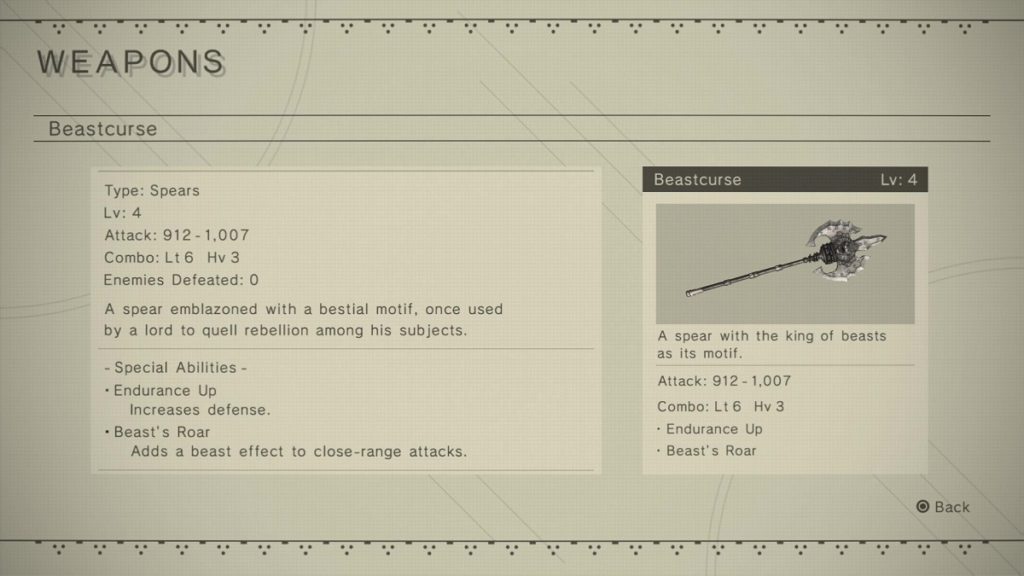
Travel to Forest Zone Royal Chamber. From there, head to the right beyond the area where the linked-sphere type machine is. Before you reach the massive library area, jump upwards instead of taking the slope to reach the highest section of the library. You will find a locked chest here you can open when playing as 9S. The Beastcurse spear is inside this chest.
Dragoon Lance
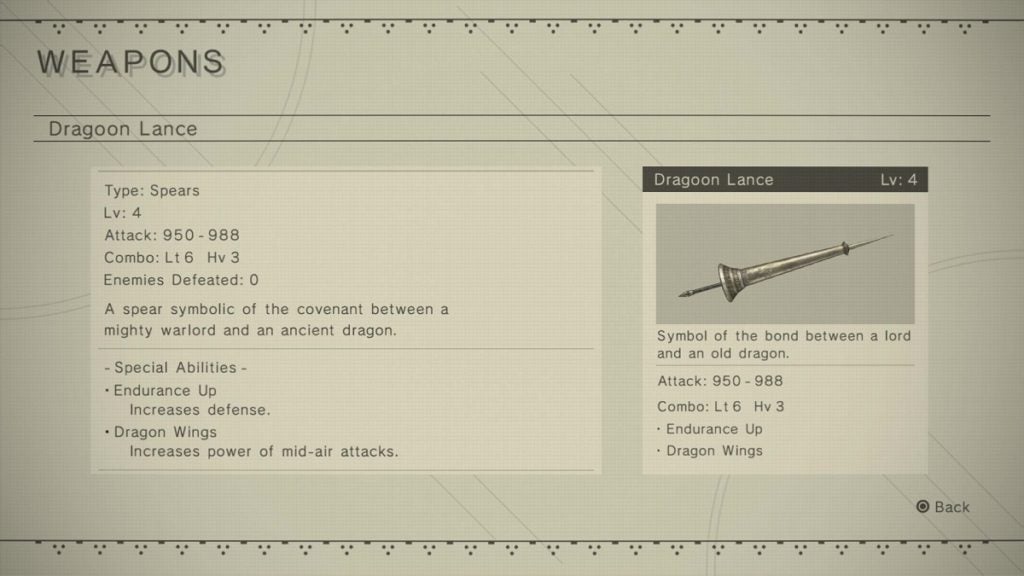
Head to the waterfall area in the Forest Zone Center. You will find an area covered in shade here, with a Lunar Tear on the ground. Near the Lunar Tear is a chest that contains this weapon.
Phoenix Lance
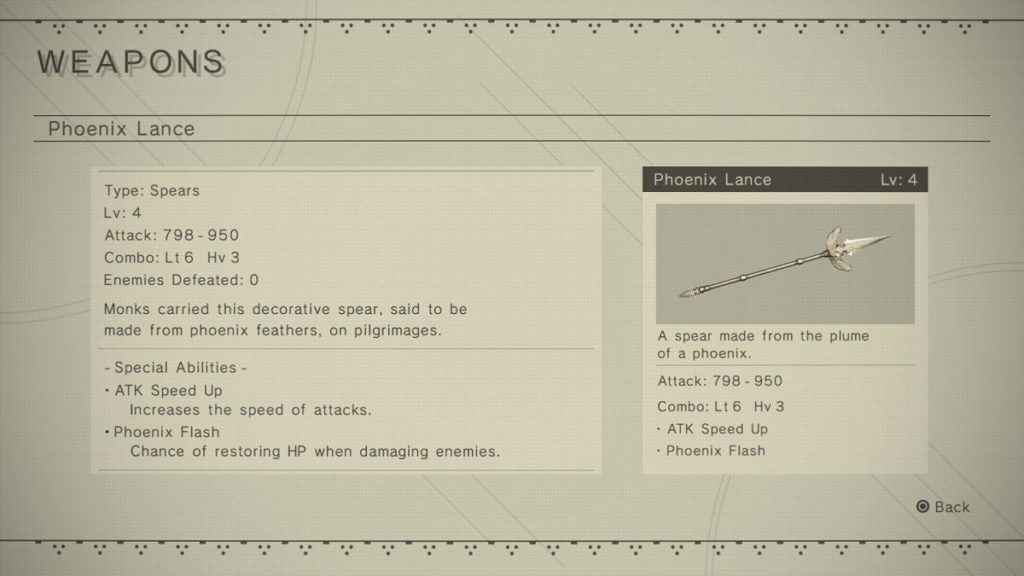
This weapon is found in Desert Zone Central. It is beyond the eastern edge of the white circle shown on the map, just beyond where the pipes are. You will need to use the Scanner to find this weapon.
Type-4O Lance
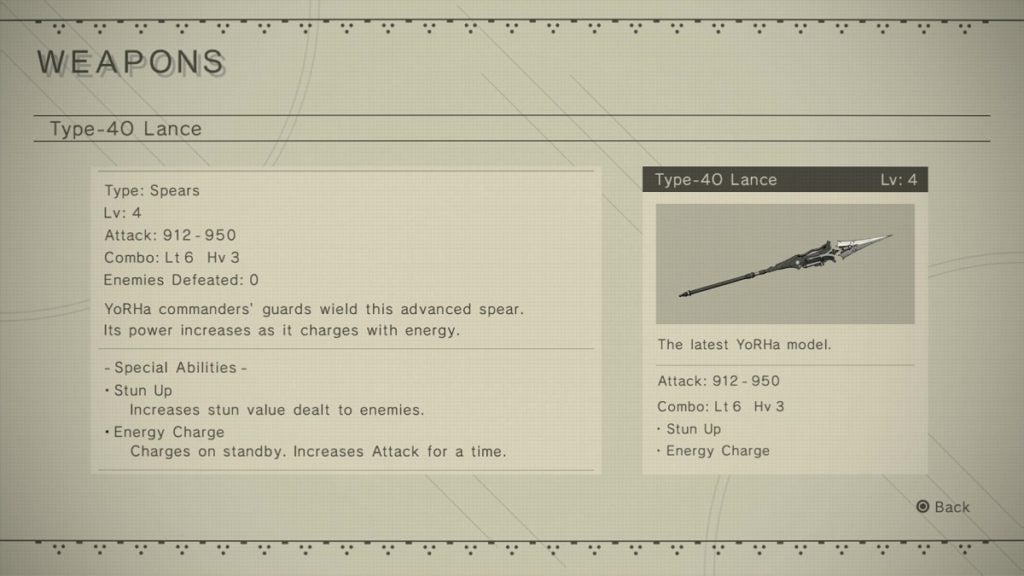
You can earn this as a reward for completing the “YoRHa Betrayers” side quest. You can begin this quest by finding a message on your inbox that will arrive after the center of the City Ruins caves in.
Type-3 Lance
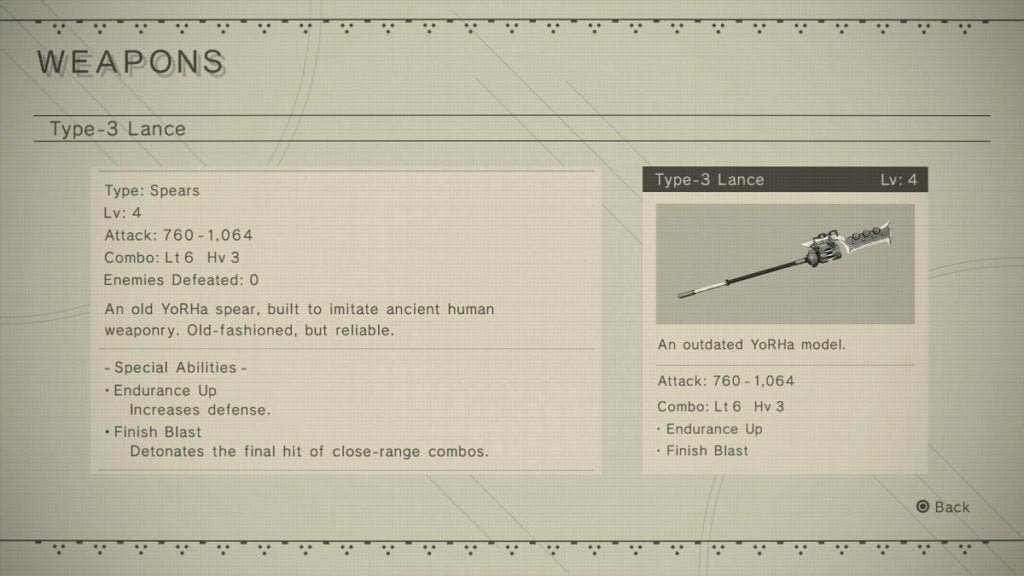
Play as 9S when getting this weapon.
You can find this weapon in a chest on a building in the Flooded City. The building in question is the isolated one that’s closest to the waterfall. To reach this building, hack one of the linked-sphere type machines and remote control them. You can then head to the building, self-destruct, and 9S should spawn in the place of the machine.
Spear of the Usurper
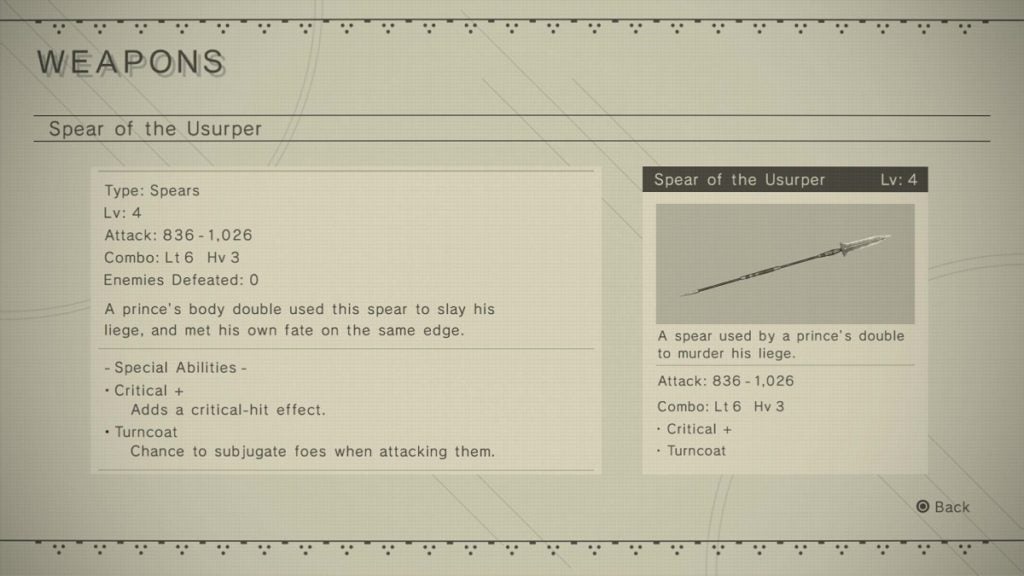
You will earn this after completing the “Heritage of the Past” side quest. You can find this side quest north of the Forest Zone Central access point.
Virtuous Dignity
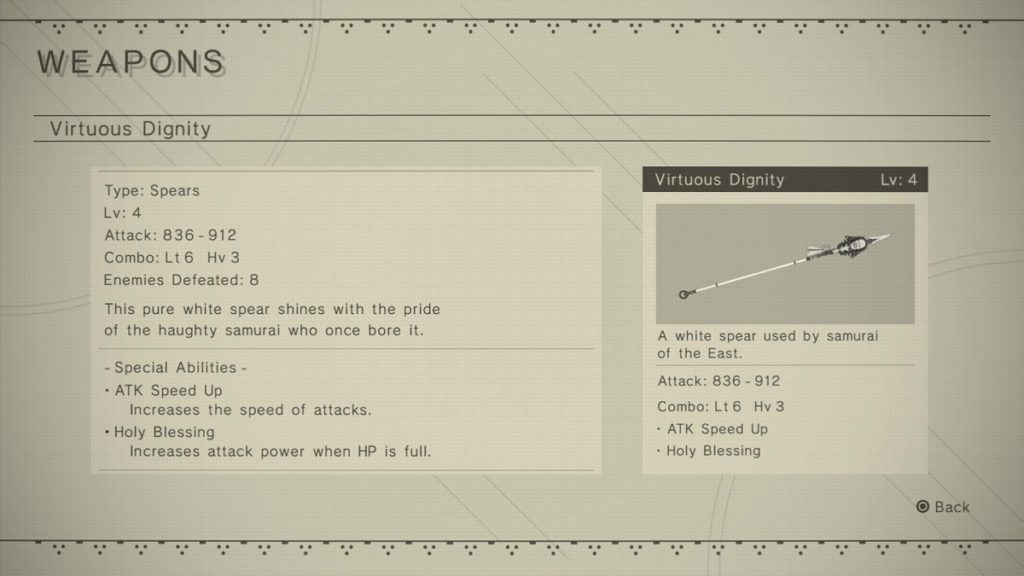
Enter the sewers that connect City Ruins and the Abandoned Amusement Park. Beyond the ladder that leads to the Amusement Park is a small opening that you can pass through to move forward. Continue forward to find another ladder. Climb the ladder and you will find the Virtuous Dignity spear in the next area.
Cruel Arrogance
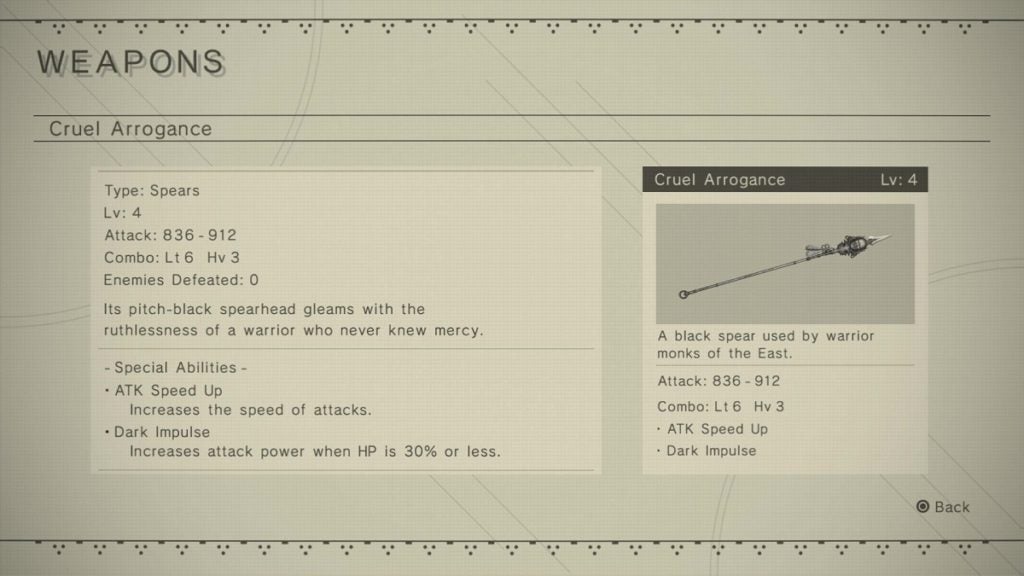
Return to the Abandoned Factory as 9S during your third playthrough. Take the route 2B took during the “Twisted Religion” main quest. Press on until you encounter a pack of exploding machines beyond the conveyor belt that had crushers.
Once you reach another conveyor belt that is roofed and structured, continue forward until you find a ladder. Climb up and head left to the roof of the previous conveyor area. Continue forward to find a locked room. Hack your way inside and destroy all the machines in the room. Pick up the weapon from the center of the room.
Machine Spear
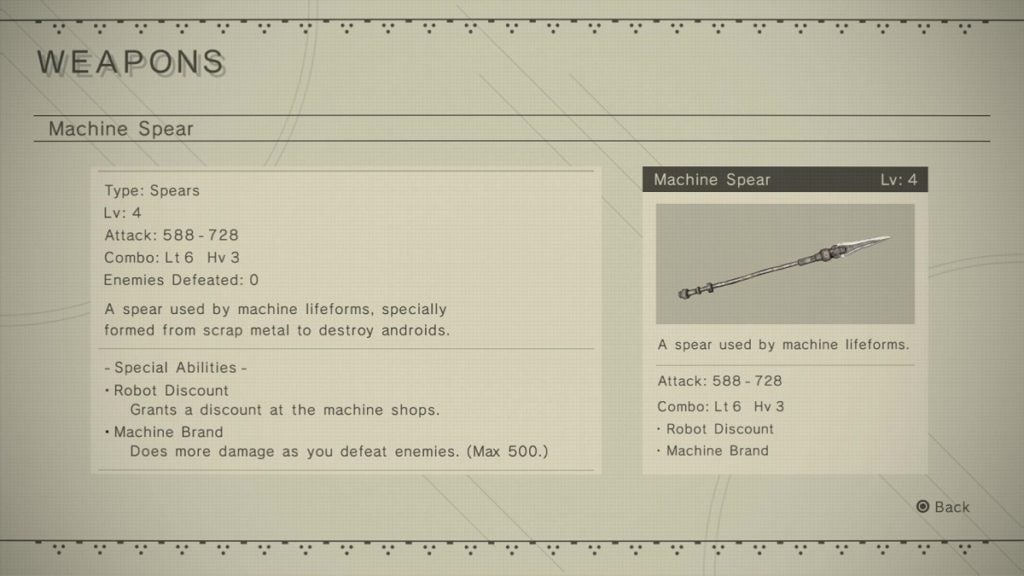
You can purchase this weapon from the Weapon Trader in Pascal’s Village or from Masamune for 15,000 Gs.
Combat Bracers
Combat bracers are the fastest weapons you can equip in the game. Their damage output isn’t as high compared to those of small swords or spears, but if you prefer fighting by employing speed, combat bracers are the weapons for you.
Bare Fists
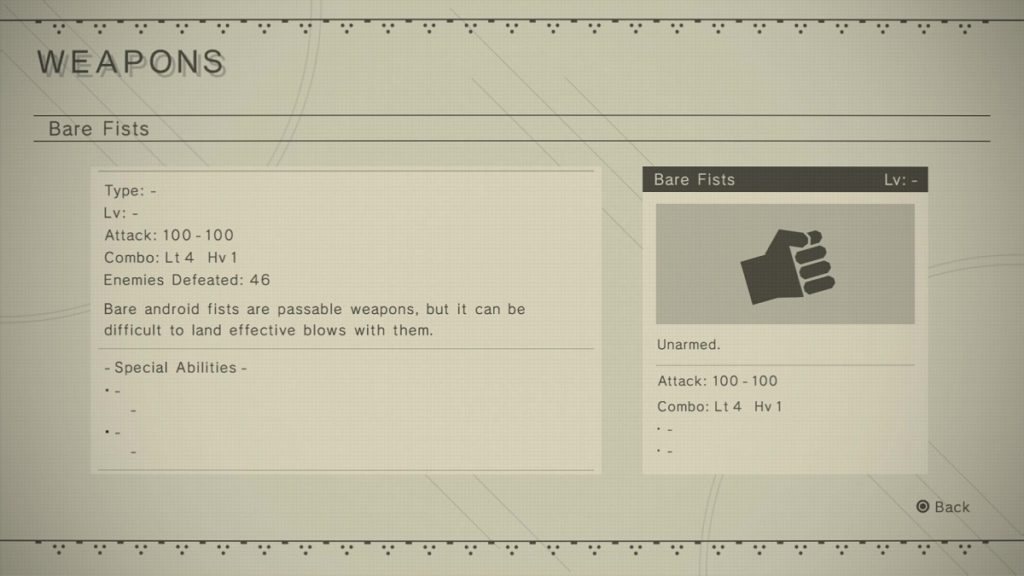
Already available at the beginning of the game.
Angel’s Folly
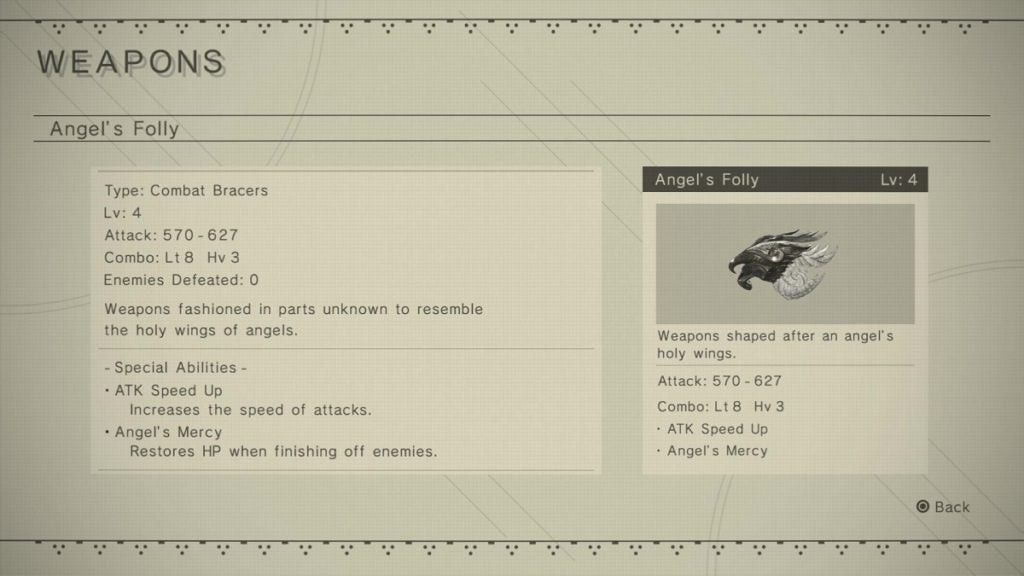
You can purchase this weapon from Emil on his Resistance Camp route for 20,000 Gs.
Demon’s Cry
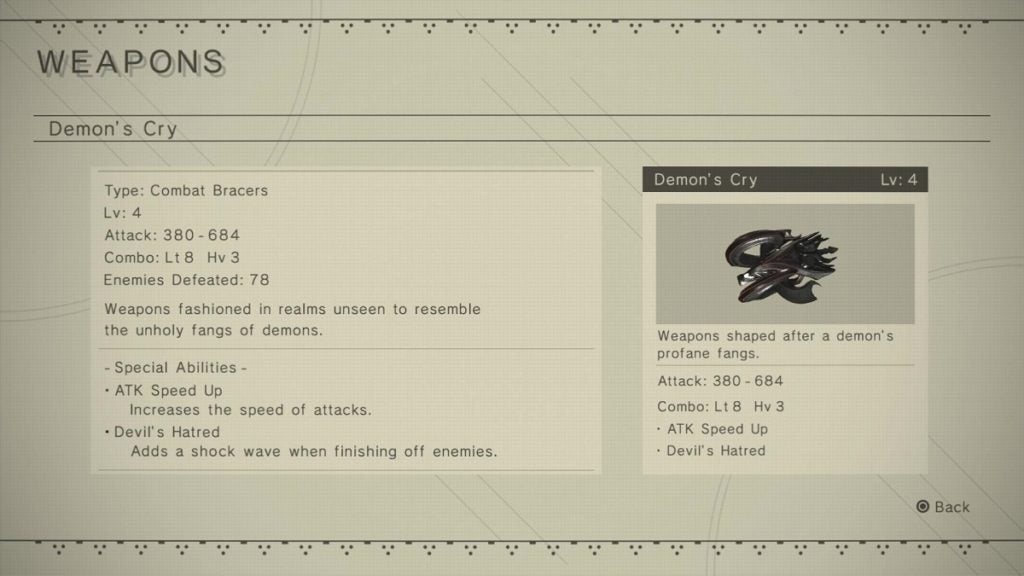
Found in the basement of the Abandoned Amusement Park. You can enter this area by taking the path to the right of the stairs leading to Beauvoir’s boss room. At the end of the path, you will find an elevator that will take you to the basement.
Once you’re at the bottom, continue forward to find the Game Creator Machine. There’s a locked chest behind him that you can hack. Do so to acquire Demon’s Cry.
Type-4O Fists
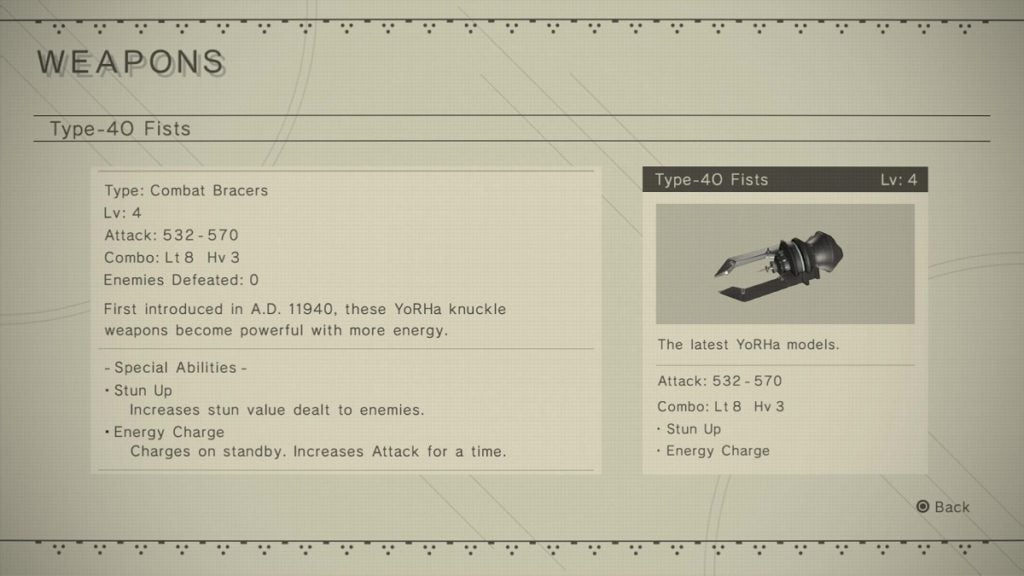
Found inside the locked chest that’s behind the access point in the Resistance Camp.
Type-3 Fists
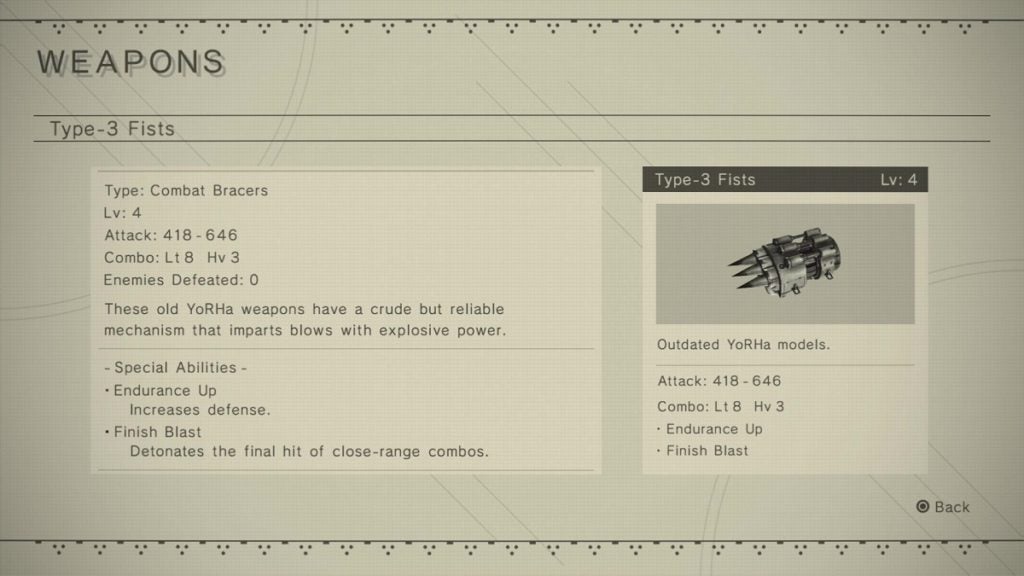
You can purchase this weapon from Emil on his Resistance Camp route for 20,000 Gs.
Virtuous Grief
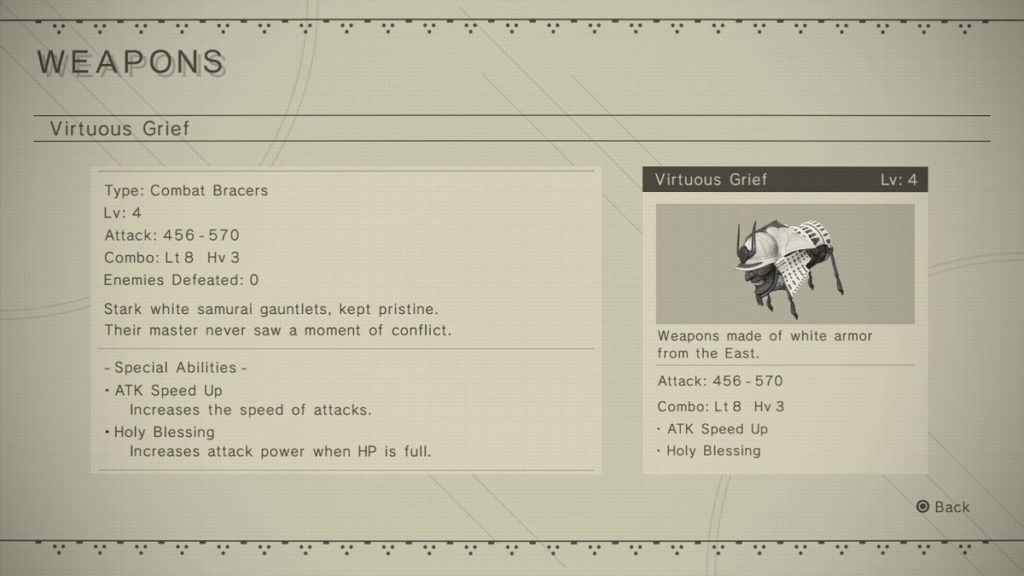
Travel to the Forest Zone Center access point. From there, head to the left until you reach the area where machines are training. Either eliminate the machines or press forward. As soon as you spot three small wooden poles, take the path to the right.
Hug the right side of this area while moving forward and that should take you above the path with a water stream. You should spot a massive tree across you. Make the jump to approach the hollowed-out tree to find Virtuous Grief.
Cruel Lament
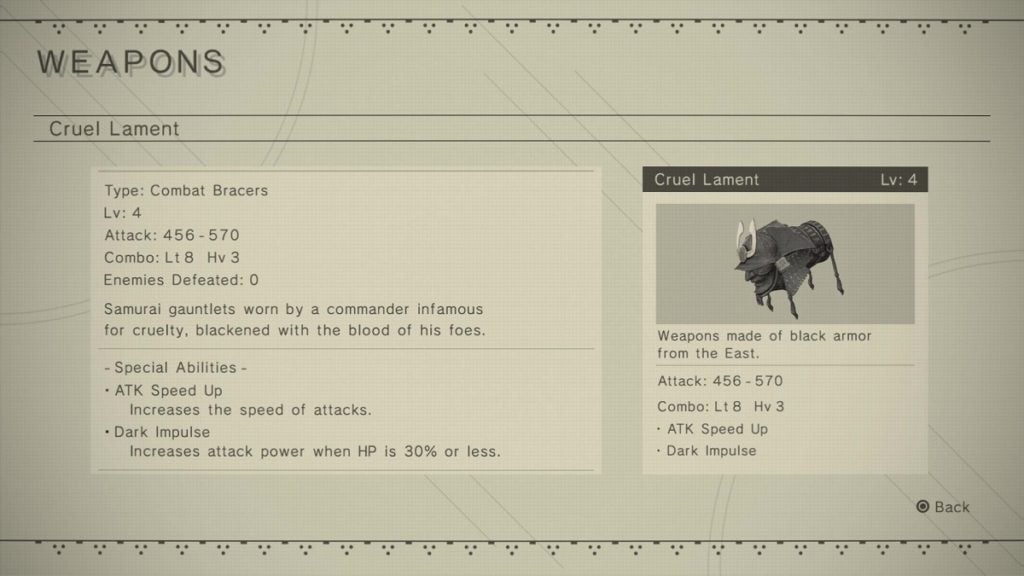
Masamune will give you this weapon after you’ve fully upgraded one weapon.
Machine Heads
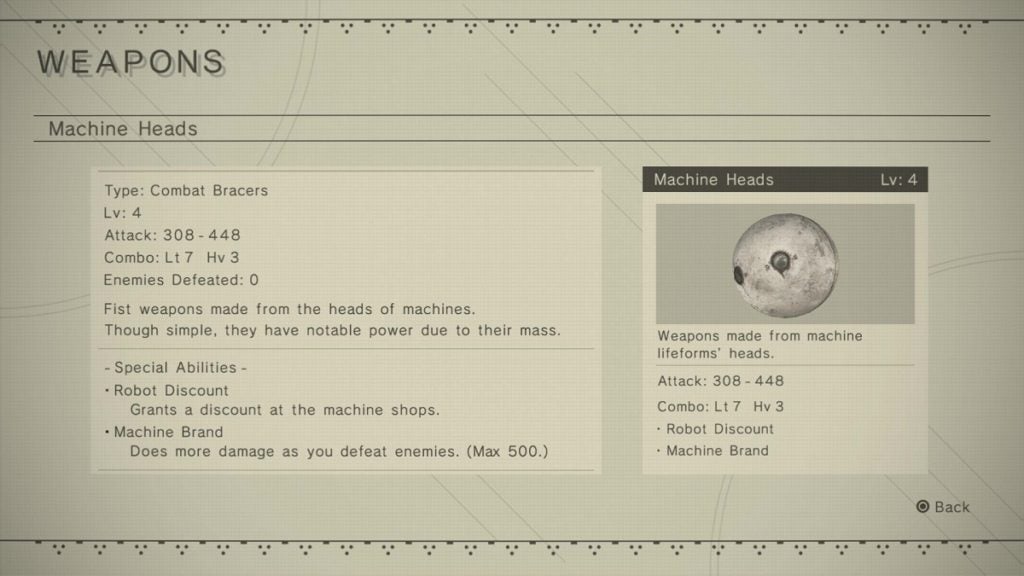
During the “Pascal’s Despair” main quest while playing as A2, you will have the option to either kill Pascal or wipe his memories. Choose the latter option. After that, play as 9S and head to Pascal’s village. You will find Pascal there. You can purchase the Machine Heads weapon from him for 10,000 Gs.
Emil Heads
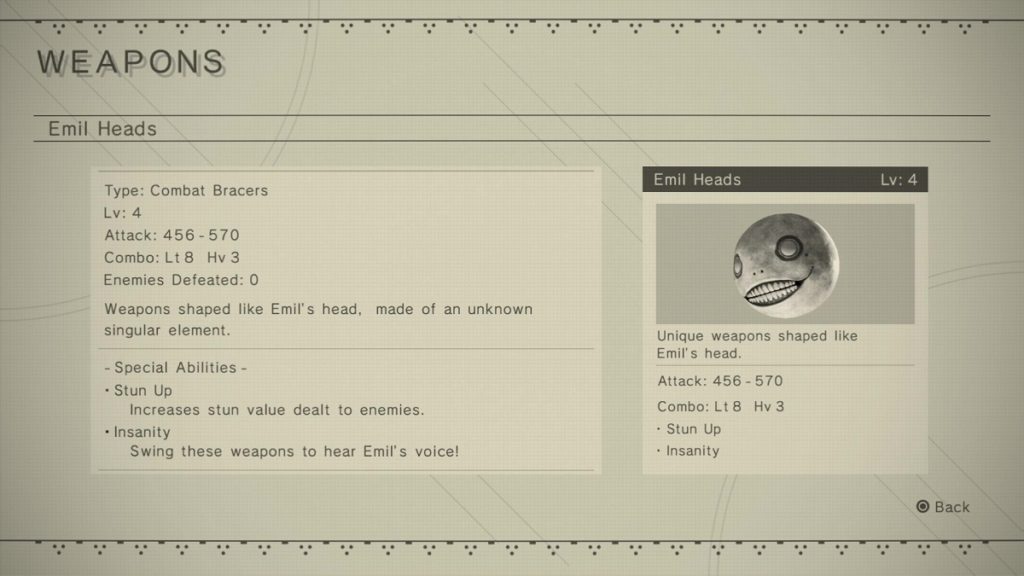
Defeat Emil for the first time to receive this weapon.


