
Pristine Cables are used for upgrading various weapons, but they aren’t exactly the easiest crafting materials to find—unless you know where to look. Here’s where to find Pristine Cables in Nier Automata.
Table Of Contents
What are Pristine Cables Used For?
Pristine Cables are crafting materials needed for upgrading various weapons from Level 3 to Level 4. The following are the weapons that require Pristine Cables to be fully upgraded.
- Virtuous Contract
- Cypress Stick
- Fang of the Twins
- Virtuous Treaty
- Virtuous Dignity
- Virtuous Grief
- Emil Heads
Each weapon requires 3 Pristine Cables to upgrade, meaning you’ll need to collect a total of 21 Pristine Cables to complete all upgrades.
Where to Get Pristine Cables in Nier Automata
You can earn Pristine Cables by completing 2 side quests, from one locked chest, from a merchant, and by farming them from one specific type of machine.
Game Dev. Machine Lv 2 Side Quest
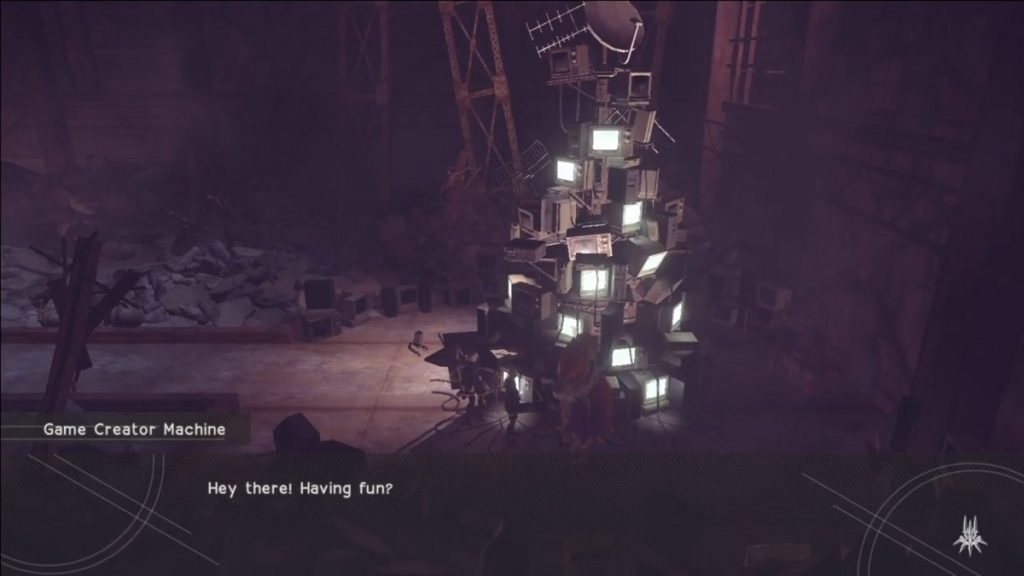
You can do the Game Dev Machine side quest when playing as 9S. Its quest giver is the Game Creator Machine, which is located in a hidden area in the Amusement Park which you can access via an elevator.
To find the elevator, go to where Beauvoir’s boss room is but instead of heading up the flight of stairs, take the path to the right and move forward. The elevator is at the end of this path. Head down and proceed forward to find the Game Creator Machine. Complete his quests to earn 3 Pristine Cables.
Reconnaissance Squad Side Quest
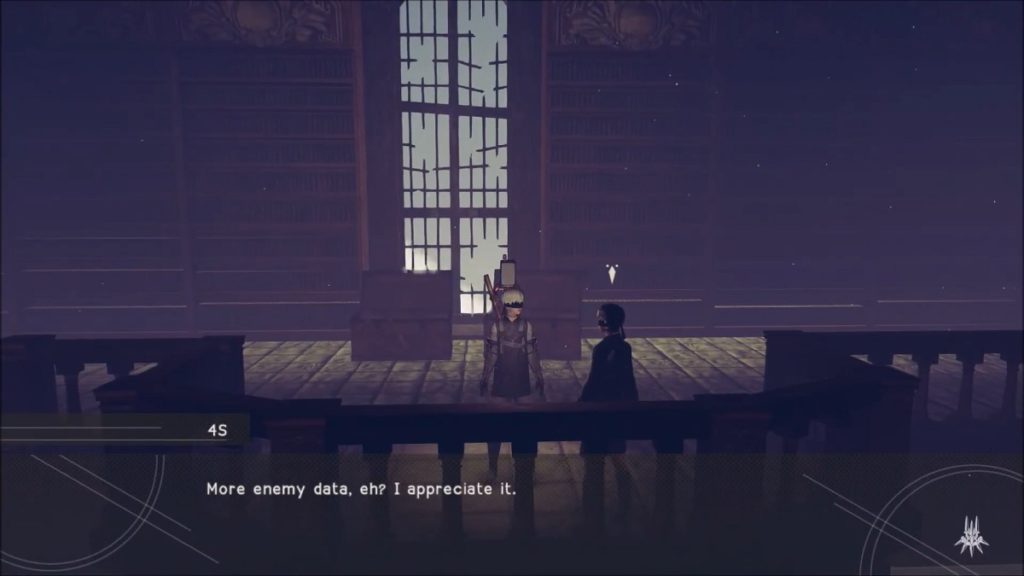
You can access this quest on your third playthrough while playing 9S. It will begin to appear on your map during the Tower Recon main quest. To begin the quest, travel to the Forest Zone Royal Chamber. From there, head right and continue beyond the area where a linked-sphere type machine is.
In the next area, instead of taking the ramp to move forward, jump up to reach the platform above. Continue forward and you will meet an Android who will give you this side quest. Completing the quest will grant you 2 Pristine Cables.
Locked Chest in the City Ruins
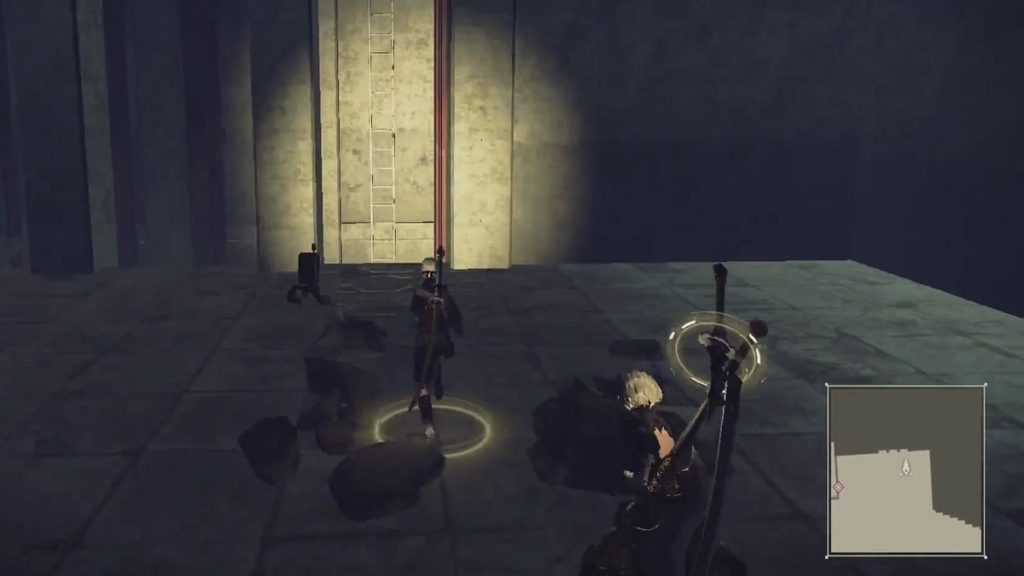
This locked chest is located in the building you land on when you get sent back to Earth after the prologue in the Abandoned Factory. It is also the building you climb when the two Goliath machines appear in the City Ruins just before the center of the area caved in.
At the ground level of this building, you will find a ladder at one end of the room. Head to the ladder, but don’t climb on it. Instead, jump down and you will find the locked chest. This contains a Pristine Cable along with other crafting materials.
Purchase From Emil

You can also purchase Pristine Cables from Emil for 7,500Gs each. His inventory that includes Pristine Cables will only appear if you approach him in his route near the Resistance Camp.
Dropped by Rampaging Small Bipeds

This zombified variation of the Small Bipeds appears after Eve becomes berserk as a result of Adam’s death. They’re also very rampant during the third playthrough of the game.