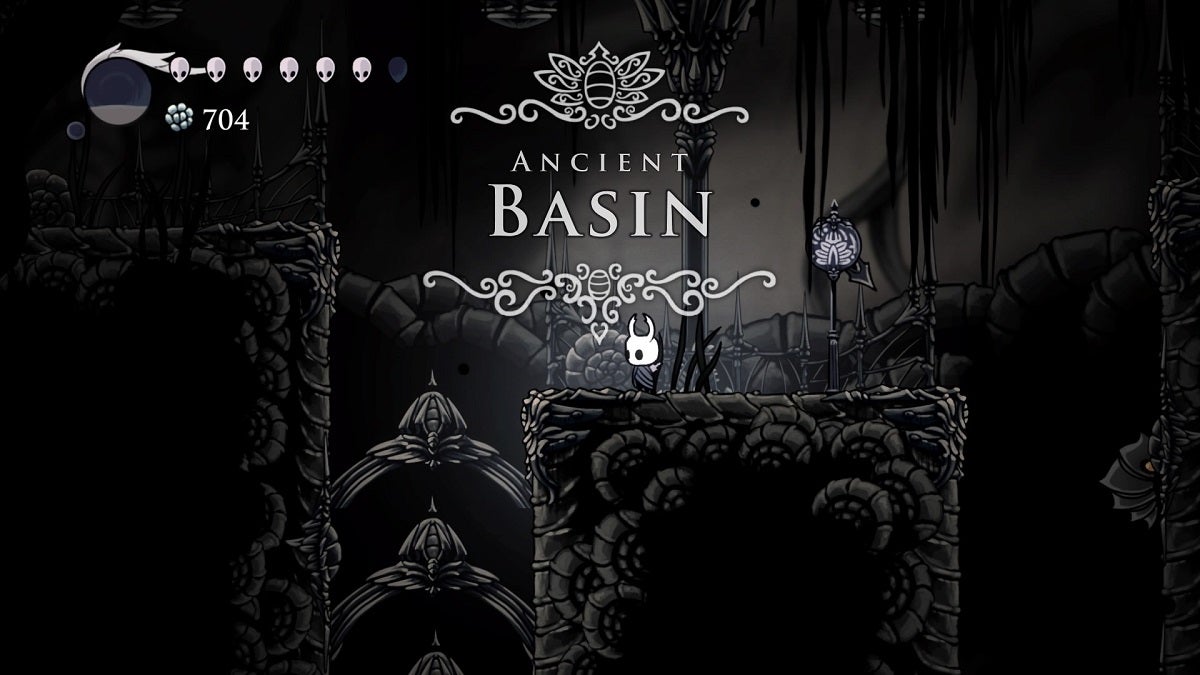
The Ancient Basin in Hollow Knight is one of the deepest areas of Hallownest. Enemies are minimal here, but that doesn’t mean you should be careless while exploring this area.
Table Of Contents
From the Royal Waterways

When you reach the bottom of the chamber after descending from the Royal Waterways, begin making your way to the left. You’ll find floating platforms here with centipede-like creatures crowding the bottom of the arena, accumulating into a spike pit. Jump the platforms and continue pressing forward. Be careful traversing this area as there are Winged Sentries here, too.
When you reach the other side, continue walking forward until you’re at an area where you can drop down. Continue descending to reach the area below.
To your bottom right is an opening on the floor. Jump into this opening to officially arrive at the Ancient Basin.
Finding Cornifer and Heading to the Bench
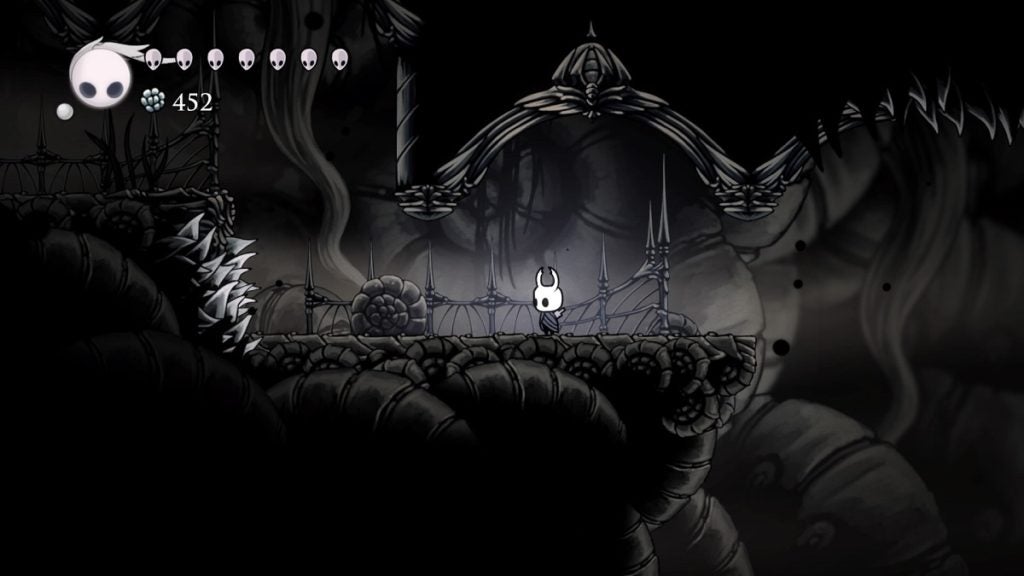
The layout of the Ancient Basin makes it very easy to navigate. However, you’ll still need to be careful while you cling on the walls here, as there are Shadow Creepers walking all around.
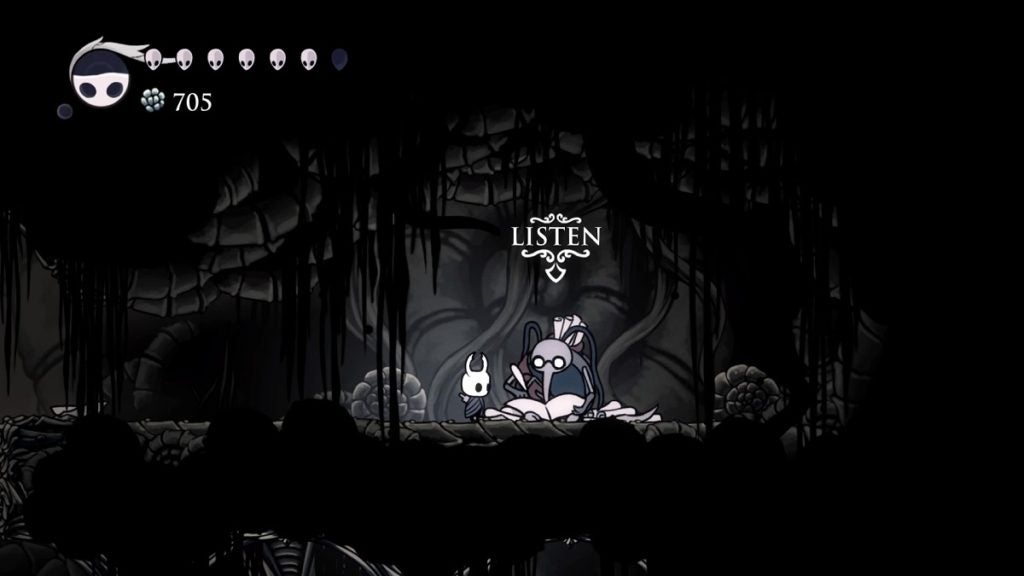
As soon as you drop into the Ancient Basin, you’ll immediately see Cornifer’s paper trail ahead of you. Proceed left and continue heading downwards. After a short drop, you’ll see a glowing room to your right. Inside this room is a fountain of the Pale King. If you drop 3,000 Geos into this fountain, you’ll receive a Vessel Fragment in return.
Cornifer is in the corner just below the fountain room. Purchase the map of the Ancient Basin from him for 112 Geos.
From Cornifer’s location, proceed to the left-most side of the basin and slowly make your way to the bottom. You’ll see a toll machine here. Insert 150 Geos in it to summon a bench. Rest here before moving forward.
Heading to the Broken Vessel
You’ll need to use your Crystal Heart to reach the other side of the pit. Be prepared. There’s also a single platform on your way to the other side with a Geo deposit on it. Stop precisely in this area to harvest the deposit. Once that’s done, use the Crystal Heart once again to continue. Stop before hitting the wall on the other side to avoid the spikes. Continue to the room on the left.
Keep walking and jump into the passage that leads to the bottom. There’s a Geo deposit on your top left. Head down after harvesting the Geo and drop into the room below.
Continue down this path and you’ll encounter a Mawlurk. This enemy is immobile but it will spew infection blobs all around it. Deal with this enemy or just avoid it to continue onwards.
You’ll see another passage you can drop into beyond the Mawlurk. Be careful when dropping down here as there is a spike pit at the bottom of this passage. Dash towards the left before landing to avoid it or carefully slide down while clinging on the eastern wall and dash to the left when you’re about to hit the bottom.
Drop down to the left and continue forward. There’s another Mawlurk above you. It’s best to keep moving forward as it’s hard to reach this enemy. Beyond it is another Mawlurk still situated on the ceiling. Dash away and avoid the blobs as best you can.
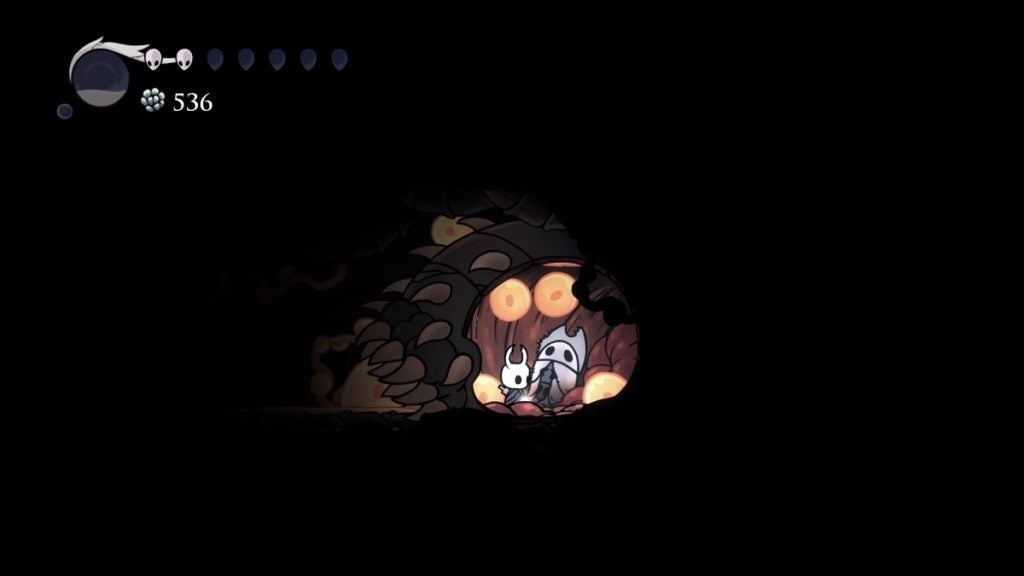
You’ll then come across a shaft you can drop down on. From the bottom, head to the right to find a dead Mawlurk. Walk right into it and you’ll find a dead bug inside. Loot its body to obtain a Simple Key.
Return to the top and go left. There’s another Mawlurk here sitting atop a floating platform. You’ll want to eliminate this Mawlurk before moving forward. Take advantage of the small gap on the right to avoid its infection blobs.
Once it’s defeated, make your way up. Go right to find yet another Mawlurk. This is the last one you’ll encounter here. Eliminate it before moving forward. At the end of this path, make your way up and on to the room above.
Head to the left and climb up until you reach the very top. You’ll see a door held by wooden beams on your right. Destroy it to open a shortcut to the bench. Once done, continue left until you arrive at the boss room.
Broken Vessel
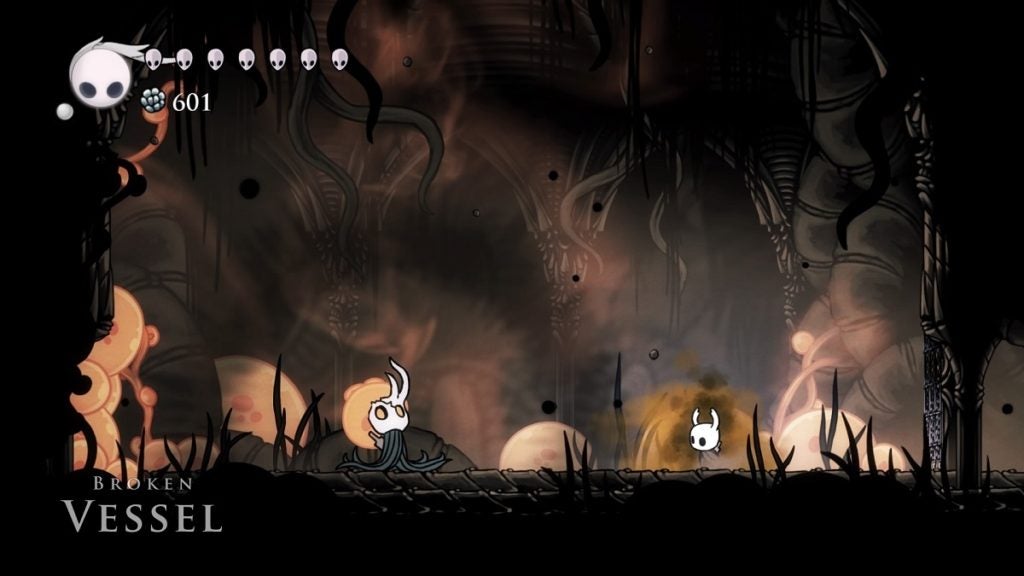
The Broken Vessel is an insanely aggressive boss. It will dash at you both on the ground and from mid-air. A lot of its attacks are incorporated with infection blobs. Infected Balloons will also constantly spawn around the arena throughout the entirety of the fight. Here’s how you can deal with these attacks.
- Dash Attack – The boss’s simplest attack. The Broken Vessel will dash towards you at a rapid rate. His dash will cover about 75% of the arena. You can easily avoid the attack by jumping. You can damage him by doing a downward slash while he’s dashing underneath you.
- Aerial Dash – A variant of the previous attack, only he does it in mid-air. Just stay on the ground and, if you can time it right, hit him with an upward slash as he’s dashing above you. Be careful, though. If you’re distant enough, the Broken Vessel may land on you after the attack.
- Flailing Attack – The Broken Vessel stays in place and flails his nail from left to right. Just move away from him to avoid being damaged. This is also a great time to bombard him with Shade Soul.
- Downward Slam – Occasionally, the Broken Vessel will hover in mid-air and slam the ground beneath him. This will then send 2 blobs of infection on both sides from under him which will traject upwards. Watch out for the blobs of infection and attack the Broken Vessel only when you’re free of them.
- Rapid Burst – The Broken Vessel will slam its head on the ground, causing multiple infection blobs to burst from him. Stay as far away from him as possible when he does this attack. You can hit him with your spell from afar to damage him.
Aside from these attacks, the Broken Vessel will also constantly leap around the arena. Be prepared to dodge away at any given moment. Throughout the fight, Infected Balloons will also constantly spawn. The best way to mitigate this is to equip the Defender’s Crest charm. This charm will create a mist around you which will destroy the Infected Balloons upon contact. This will allow you to focus on the boss instead of being distracted by the balloons.
Given the Broken Vessel’s aggressiveness, the best time to heal during the fight is when he is staggered.
This boss can be very tough, but once you get the hang of his attack patterns, you should be able to defeat him in no time.
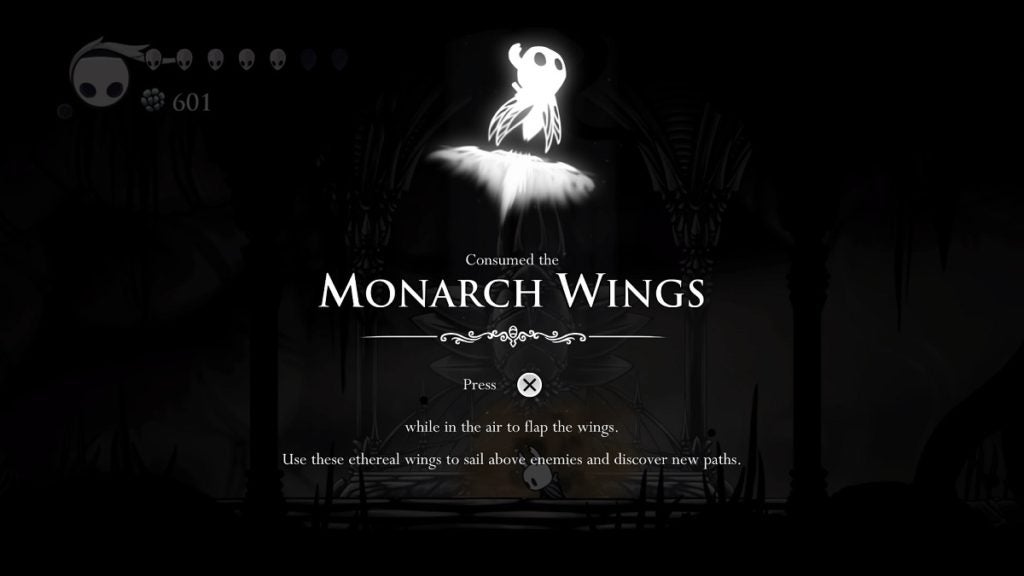
Acquiring the Monarch Wings
After defeating the Broken Vessel, proceed to the room on the left. Continue down this path and you’ll eventually find the Monarch Wings ability. The Monarch Wings enables you to perform a double jump, increasing your verticality even more.
With this new ability, you gain access to more areas you previously couldn’t reach. For example, you can now reach the upper level of the Crystal Guardian’s boss room where you’ll find the Enraged Guardian. You’ll find a Mask Shard beyond this boss variant’s arena. You can also now access the Hallownest’s Crown which sits at the very top of the Crystal Peak.
Returning to the Bench
You can exit this room with your newly acquired ability. Return to the Broken Vessel’s boss room and proceed to the right. Keep walking until you see a path above you, just before the entrance to the next area to the right. Use your double jump to reach the area above.
At the very top platform above you, there’s a Geo deposit you can harvest. Proceed then to the left and climb the platform here. Now, getting through this part sounds tricky, but it’s actually fairly simple. Simply dash to the left, and while in mid-air, perform a jump to cling to one of the walls on the passage above. Keep ascending until you reach the top.
From here, cling to the opposite platform and slowly slide down. The moment you drop, dash to the left and jump once again to cling to one of the walls above you. Keep climbing and you’ll find a Grub at the top.
Once the Grub is freed, make your way back to the bench.
Getting the Pale Ore
Before you conclude your business in the Ancient Basin for now, there’s one last item you need to get. From the bench, make your way up to the very top of the Ancient Basin. Jump onto the ceiling which you entered to arrive at this level.
From here, walk to your left and you’ll find a hole in the ground at the end of this path. Drop down to enter the room below. Keep walking left and you’ll encounter a Lesser Mawlek. Defeat this enemy to continue.
Keep heading left, past the gap, and start climbing. There is another Lesser Mawlek here. Defeat this enemy and keep walking to the left. You’ll eventually arrive at a cavern where you’ll be faced with two Lesser Mawleks. Defeat these enemies, keep walking left, and you’ll find the Pale Ore. Once you’ve acquired it, make your way back to the Ancient Basin.
The Hidden Station
Continue descending until you get past the area where you found Cornifer. From here, head to the right and descend once more. You’ll see a signpost to your right. Double jump to the section above and make your way to the right.
Just keep walking to the right until you hit a wall. Destroy this wall with your nail and head inside. You’ll then arrive at the Hidden Station. Insert 300 Geos in the toll machine here to summon the Stag. There’s a bench at the end of the station.

That is all you need to do here. You can access the areas mentioned earlier now that you’ve acquired the Monarch Wings, you can head to shops to purchase something you might need, or you can simply rest for now. The next destination is going to be a tough area.