
Greenpath is your next destination after exploring the Forgotten Crossroads for the first time. This level is full of threats, yet also full of treats. Let’s get started.
Table Of Contents
Entering Greenpath
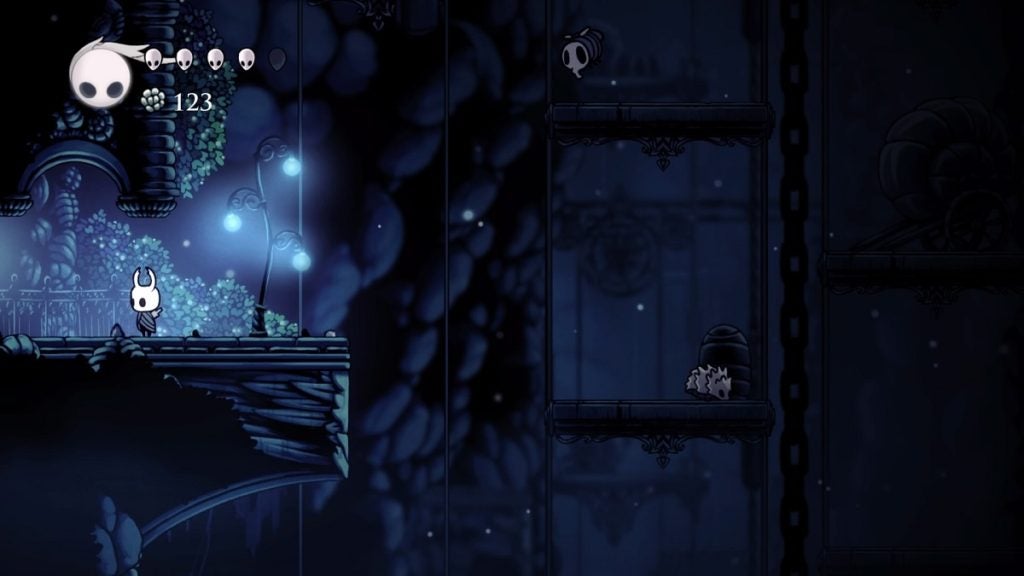
As soon as you enter Greenpath from the Forgotten Crossroads, you’ll immediately begin to see a change in scenery. Walk past the sign that greets you as soon as you enter and keep moving forward. One Elder Baldur will be standing in your way. Defeat this enemy with Vengeful Spirit to press on.
Carefully jump from one platform to another to avoid falling into the pool of acid below. Take the platforms on the bottom. You won’t be able to jump the gap on the platforms above. Keep heading to the left, traverse upwards, then continue to the room on the left.
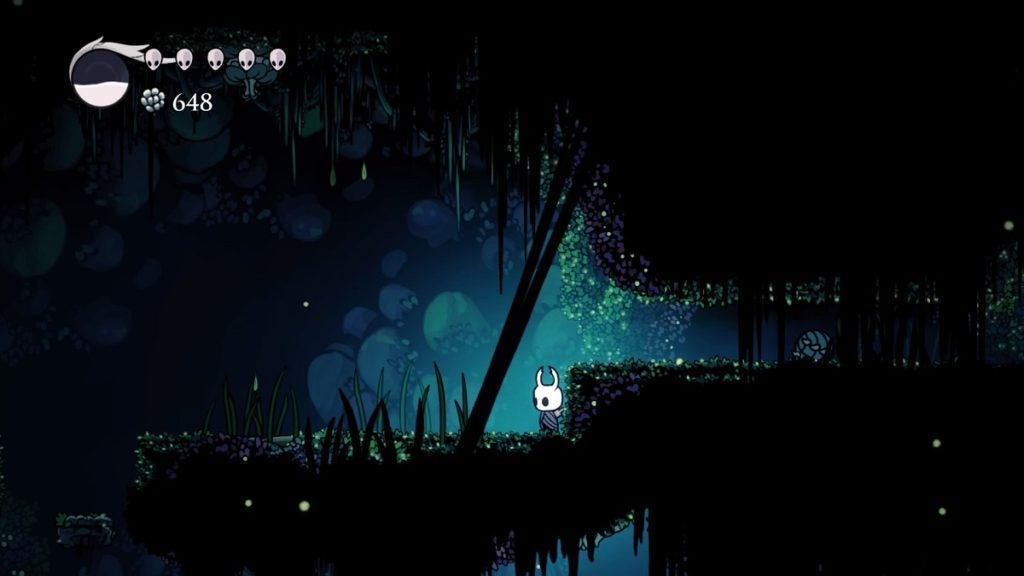
Now, you’re officially in Greenpath. Jump to the platform in front of you and continue taking the path on the top left. Be careful of the enemy here. Once this enemy is dispatched, it will remain to lie on the ground and it will explode after a few seconds.
Keep heading to the left until you reach this area.
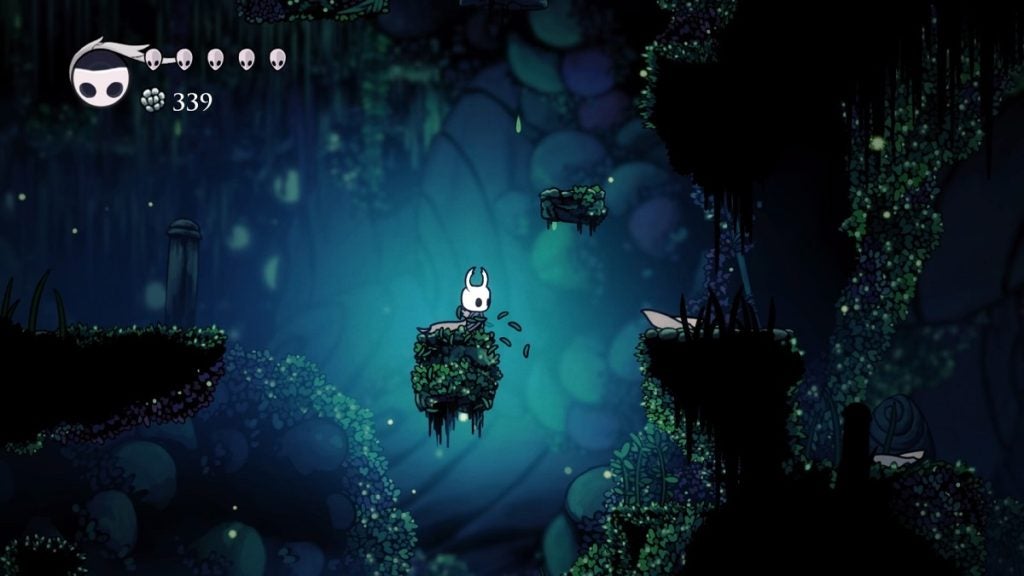
You can jump on the platform to your top right to find a Geo deposit. Keep an eye on the ground here. Once it shakes, move away immediately because a flytrap-like creature called a Fool Eater will sprout from the ground here. Eliminate the Fool Eater or avoid it. Once you’ve harvested the Geo deposit, continue moving on to the left.
In this next room, jump onto the floating platform and keep ascending until you reach the very top. You’ll find a bench here. Rest for a while before moving on. On the second ledge down to the left of the bench, there is a Geo deposit that’s hidden on the ceiling. Stand on the very corner of this platform and start slashing upwards. You should be able to harvest its Geo this way. Once that’s done, head back down and proceed to the room on the left.
A Glimpse of Hornet
As you press on in the next room, you’ll catch your first glimpse of Hornet. Don’t worry about her for now. You also won’t be able to reach her since you can’t jump that high yet. For now, take the path below. On the right corridor, you’ll find a Squit and a Geo deposit at the end. You can harvest that before you proceed below.
Take the path on the right once again and you’ll eventually come across another Geo deposit. Once you’re at the bottom of the room, head to the right and enter the next room.
Finding Cornifer
In this room, you’ll find platforms that are suspended in the air by vines. Slash these vines down to send the platforms to the ground. Use the platform on the right as a stepping stone to hop onto the ledge on the right. Continue heading east.
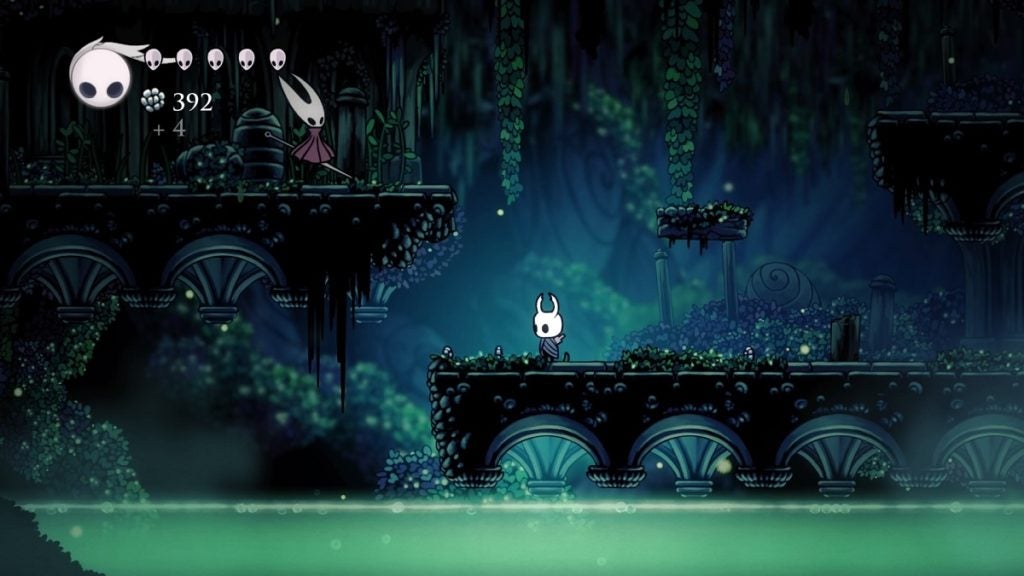
As long as you keep heading east, you’ll find pieces of paper on the floor. Follow this trail to come across Cornifer. Buy the map of Greenpath from him for 60 Geos.
Once that’s done, head back to the area on the left and climb upwards to find another platform held suspended by a vine. Send this platform to the floor. Then, jump on the opening to the left. You should see a hole in the ground. Don’t jump in yet. Jump the gap first and slash down the suspended platform on your left. This is just in case you run out of health and you get sent back to the bench later on. Once that’s done, proceed to jump into the hole.
Meeting the Hunter
In this next area, walk to the left and descend on the platform below. From here, keep heading to the right. You should eventually find an entrance. Head inside.
In this next room, you’ll meet an ominous-looking creature. Don’t worry. This creature isn’t hostile. This is an NPC named the Hunter. Approach and interact with him. He’ll give you the Hunter’s Journal. You should be able to document every enemy you face from here on out.
Head back outside and jump on the suspended platform above. Slash it down and descend along with it. Once you’re at the bottom, you’ll find another suspended platform on the left. Repeat this process once more and you’ll reach the bottom. You’ll also spot a Grub on your top right. Free this Grub before proceeding.
Now that the Grub is freed, press on to the left. Before heading to the next room though, ascend the room for a bit using the platforms and you’ll find a Geo deposit and a Soul totem. Harvest those then return to the bottom and enter the next room.
Following Hornet
You’ll come across Hornet once again, but only momentarily. Keep on walking and drop down to find a hole in the ground. Enter this hole, and then take the entrance to the right. You should find a bench here. Rest before continuing.
Head back to the room where you recently encountered Hornet. Your goal now is to follow her. Keep heading to the left while defeating the enemies you come across along the way.
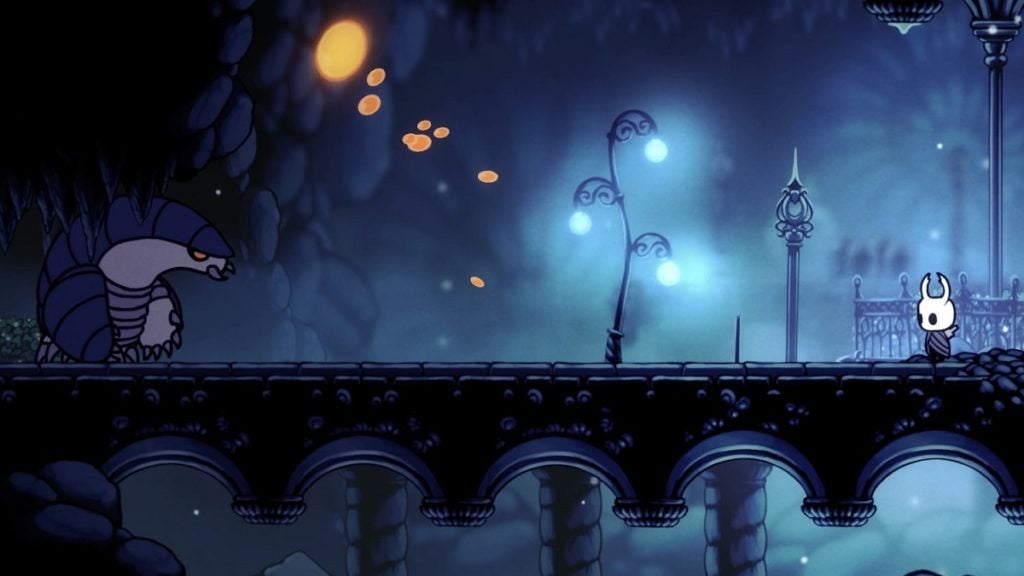
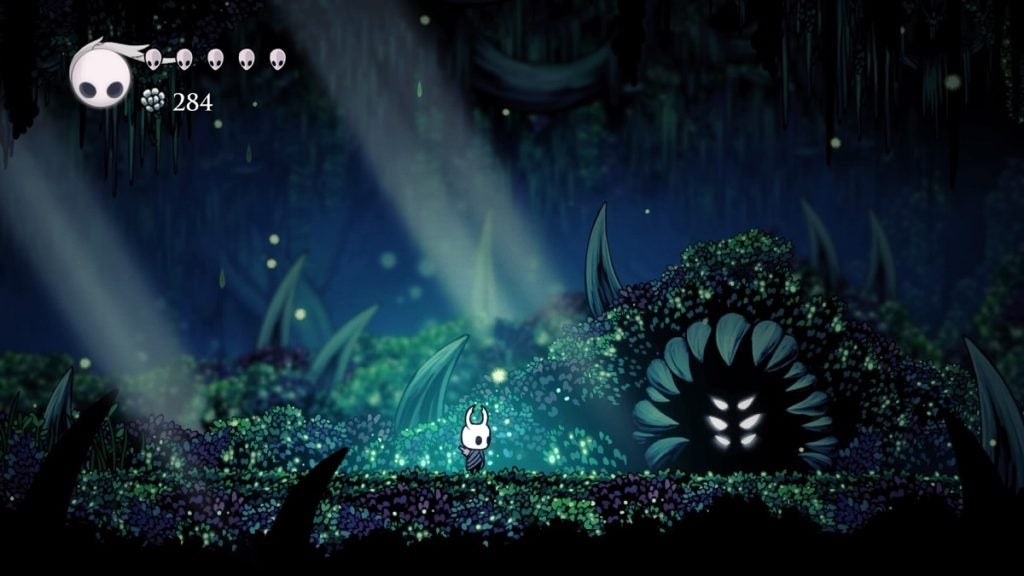
In the next room, you’ll encounter Moss Chargers. Be wary of these enemies as they can charge at you rapidly. You can deal with them or avoid them altogether. If you do choose to deal with them, take note that you’ll need to eliminate the creature beneath the clump of moss.
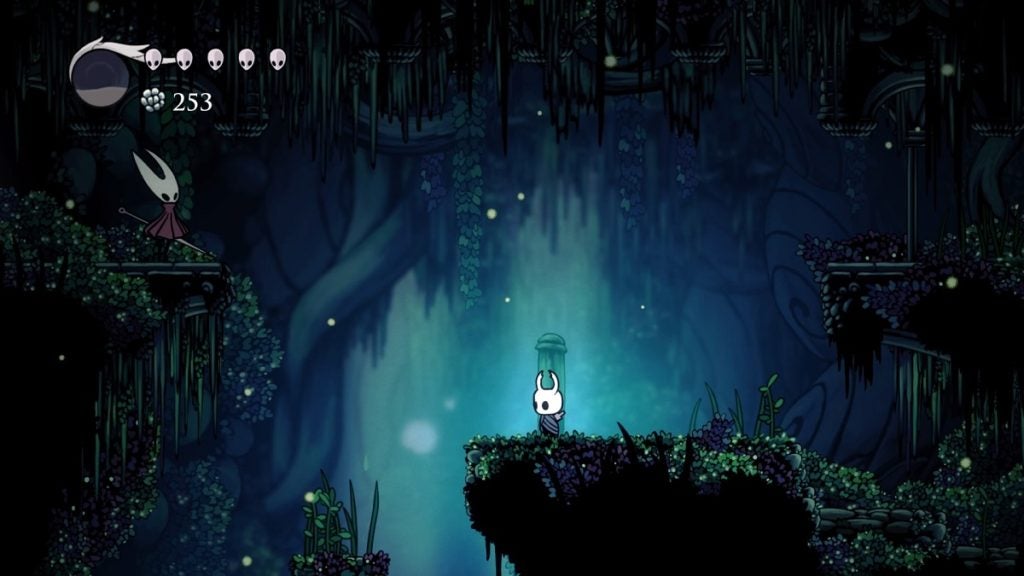
Beyond the third Moss Charger, you’ll find Hornet once again, who’ll flee as soon as you approach her. Take the path she took and keep pressing on.
Once in the next room, you’ll see Hornet above you. Follow her to the next room above. From here, walk to the left and you should spot a Geo deposit. Harvest this and then keep ascending while avoiding or defeating the flying Obbles. Once you reach the top, you’ll find a toll machine. It will ask you for 50 Geos. Oblige and the gate to your right will open. Sit on the bench and then continue heading upwards.
Once you’re almost at the top, fork left and continue ascending. You should then find an opening on the ceiling. Jump up to proceed to the next area.
From here, head to the right and you should come face to face with a Moss Knight. Once you walk past him, the gate ahead of you will close and the knight will stand up to fight you. This enemy wields a shield so your best bet is to wait for him to slash first and attack him once he’s open. Your spell will also come in very handy here.
Once the Moss Knight is defeated, continue to the right and begin ascending. You will eventually reach another entrance on the ceiling. Jump up to arrive at the next room. From here, keep walking to your left. The level will begin to look like it belongs to the Forgotten Crossroads rather than to Greenpath, but don’t worry. You’re right where you need to be.
Zote and the Vengefly King
Keep walking to the left until you hear the sound of a creature rumbling. This sound comes from Zote, who’s currently being chewed up by the Vengefly King. You can ignore this debacle and head forward, but we both know you’re not going to do that. Besides, this enemy is fairly easy to deal with and he’ll drop a substantial amount of Geo upon defeat.

Attack the Vengefly King and he’ll let Zote go. He’ll then focus his attacks on you. The Vengefly King will often shriek loudly and it will summon a Vengefly or two in the arena. He’ll also often charge at you. This is the best opportunity to deal damage to him. Whenever he charges at you, jump and slash downwards. You can also fire your Vengeful Spirit at him. After a few hits and spells, the Vengefly King will go down.
Approach Zote and he’ll “thank” you (not really…) in his own way. Once that’s done, keep heading to the left to continue your journey. At the western part of this area is a hole in the ground. Jump into the hole to proceed to the next area.
From here, proceed to the right and jump down. To your right is a Moss Knight. Defeat this enemy and the gate behind him will open. There’s a Grub here you can rescue.
Continue to head down for now and proceed to the right. You should see a suspended platform here. Slash this down to open a shortcut between your previously rested bench and where you’re currently standing.
Once that’s done, keep walking to the left until you reach the very end. There should be an entrance to the next room facing you and a gap on the floor that leads to the bottom area. Head down first and proceed to the room below. Continue descending and you will see an entrance to your left. Enter this room. This is Greenpath’s Stag Station. The toll machine will ask for 140 Geo. Pay up to summon the Stag. Sit on the bench before heading back to the upper level. Do that when you’re ready.
Head back to the room above you and enter the path to the left. Be prepared for a boss fight.
Hornet Protector
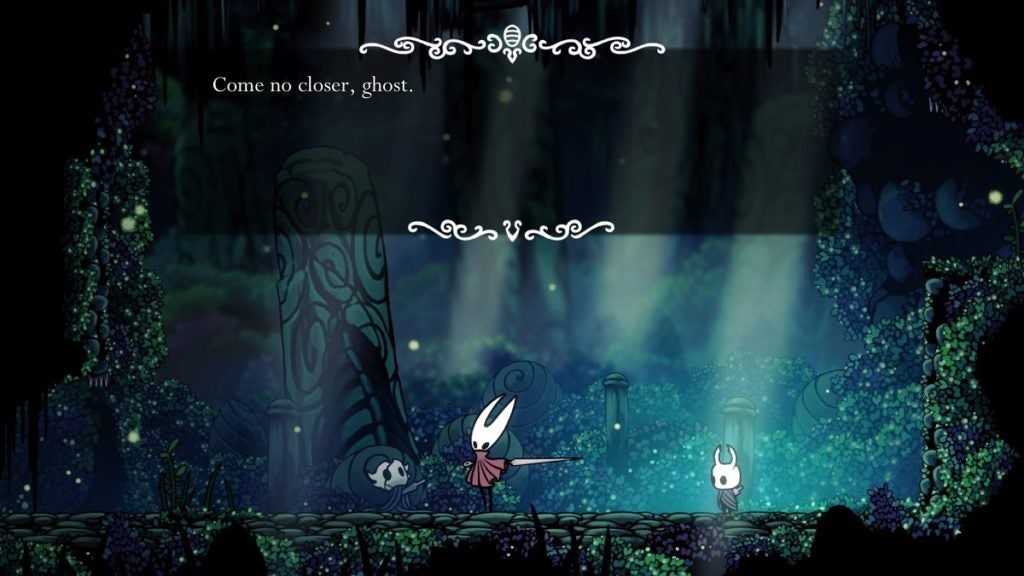
Keep walking to the left and you’ll eventually be faced with Hornet. After a few lines of dialogue from her, the fight will begin.
Hornet is tough and agile, but very manageable as long as you familiarize her attacks. These are the attacks she performs during this fight:
- AOE Thread Attack – Hornet will leap into the air, hover for a few seconds, and unleash an AOE attack around her with her thread. It’s best to stay at a distance below her and wait for her to drop. That’s when you can begin attacking her.
- Forward Lunge – Hornet will also occasionally dash directly at you. Jump up and nail-bounce on her to avoid her and deal damage to her and the same time.
- Aerial Lunge – This is a variation of her lunge attack, only this time she leaps in the air first and lunges at you from there. You can avoid this attack by moving away from her direction, or by anticipating her landing and jumping upwards. You can then attack her when she’s on the ground and you’re in the clear.
- Needle Throw – Hornet will throw her needle in your direction. Thankfully, the reach of her throw doesn’t cover the whole arena. You can simply move as far away as you can from her, or jump to avoid the needle. If you do the latter, be prepared to jump once again when she pulls the needle back to her.
Those are Hornet’s attacks. You should still watch out for her movement since she’ll leap around or run at you every once in a while. Only hit her when she’s clear and be sure to make use of your spell during this fight.
Once you hit her enough, she’ll stagger and pause for a few seconds. This is the perfect time for you to heal.
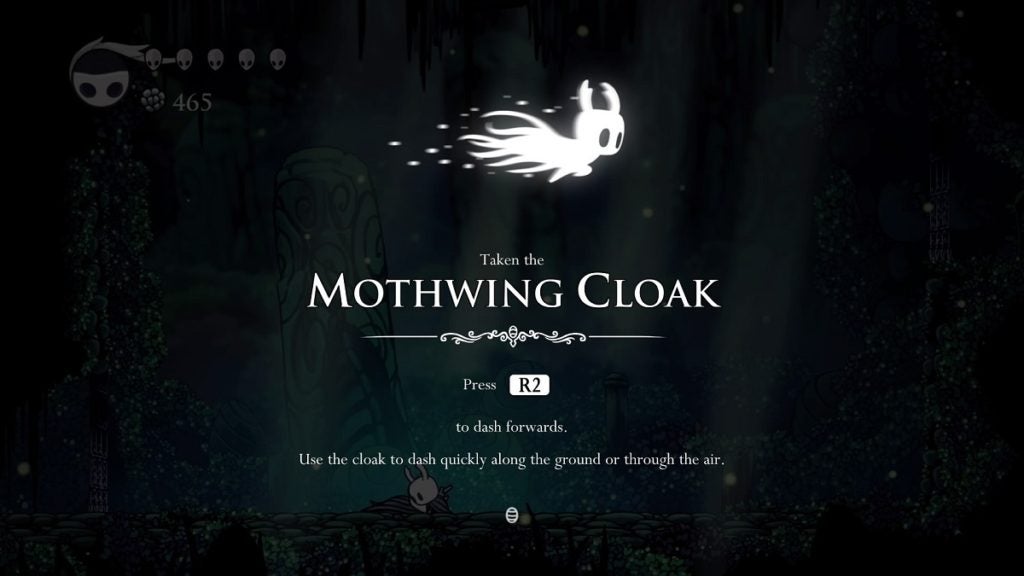
Just keep at it and you’ll eventually defeat her. She’ll flee from the arena and the fallen vessel beside her will drop the Mothwing Cloak. This ability allows you to dash around, whether on the ground or in the air. With this ability, your traversal and movement become less limited.
After the Battle
After you defeat Hornet and obtain the Mothwing Cloak, the screen will shake and apparitions of the three Dreamers will appear before you. A blast will rain down from above which will cause you to pass out. After a few seconds, you can regain control of the Knight again.
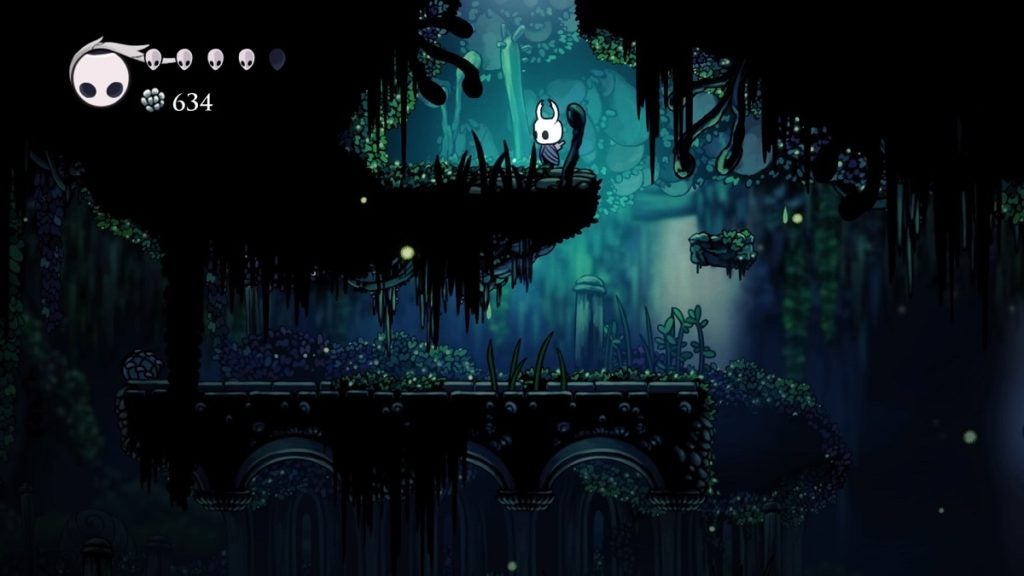
Proceed to the left and drop to the area below. Proceed then to right and avoid the pool of acid by using your newly acquired ability. On your top right is a Geo deposit. Jump and dash towards it to reach it.
Head back down and once at the bottom, you can either head to the left or to the right. If you take the path to the left, you’ll arrive at the Lake of Unn where you’ll find a bench and meet Quirrel. This isn’t a necessary path to take, though.
Heading to the right will take you to an ascending path. Jump and use your dash to reach the platforms. Once at the top, destroy the wooden beam to open the path above you. Walk to the right to head back outside. From here, return to the Stag Station to gather yourself for the next level.
Preparing for the Next Level
At the Stag Station, you can either return to Dirtmouth to purchase items from Sly’s Shop or Iselda’s Shop, but it’s highly suggested that you save up your Geo for the Lumafly Lantern, an item you’ll need later on which costs 1,800 Geo. You can also try visiting Salubra in the Forgotten Crossroads. She’s located east of where you first rescued Sly. Your newly acquired Mothwing Cloak will allow you to reach this area now. Salubra specializes in Charms. She’ll sell you a number of Charms as well as Charm Notches.

Otherwise, just sit at the bench to rest and get ready to head back outside.
Once outside the Stag Station, keep descending until you reach the bottom. Keep an eye out for the Geo Deposits and the Fool Eaters that will spawn from the ground and the walls. You will eventually come across a fenced hole in the ground which you can open by hitting the lever on the right. Be careful once again because there’s a Fool Eater beneath this lever. Open this path and proceed. Once at the bottom, enter the hole on the ground to your right.
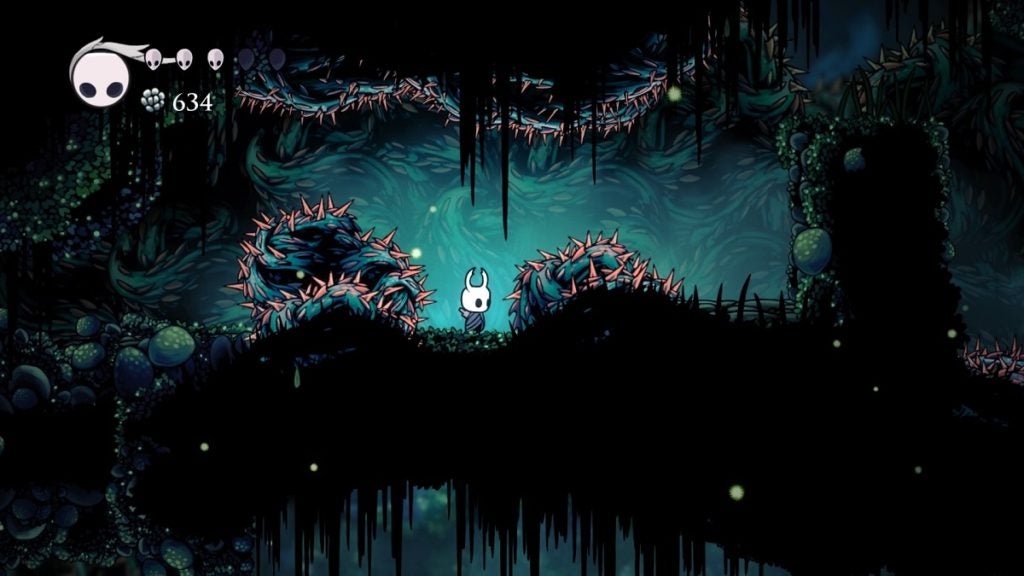
The areas here are filled with spikes, so be sure to mind your movement while moving forward. Keep walking to the right until you reach the next room.
In the next room, remain at the top platform and head to the path above as soon as you see it. There’s a Charm here you should get before you proceed to the next area.
Head to the section above and continue walking to the right. This should lead you to another room. This one is filled with glowing electric bugs. Be sure to move away from them when they come together as they’ll form a ball of electricity that will damage you if you’re close enough.
Navigating this area is tricky. Get past through the first electric bugs and jump to the next platform carefully to avoid the spikes. Then, jump once again and just before you reach the height of the jump, dash forward immediately so you won’t get hit by the spikes on the ceiling. Do this one more time for the next clump of spikes.
Jump to the platform above. Now, take the drop in front of you and dash forward just before you reach the ground. Be sure to time this right since there are electric bugs waiting for you here. Make sure that your dash is timed perfectly for when the bugs aren’t charged up. Once you’re able to do that, perform the same navigation you did earlier where you time your dash perfectly while in mid-air. Once you get through this, the Thorns of Agony charm should be just ahead of you.
Thankfully, you won’t have to go through that whole process again to go back. Simply send the suspending platform to the ground and walk back to where you started. Exit the room, and then return to the room below you.
From here, just keep moving to the right until you reach the next room. Be careful of the Moss Chargers here. In the next room, keep heading to the right. Deal with the Obbles as you see fit. Once you reach the right side of the room, head down the hole and enter the room on the right to rest on the bench before proceeding.
Once done, head back outside and walk to the left. While walking past the narrow corridor, be careful of the Gulka above you as it will throw spikey balls at you at a decent speed.
You’ll encounter more Gulkas as you continue descending. Do your best to avoid them. When you reach the bottom, head to the right and you will find an opening on the floor. Head down and you’ll find another hole. This one will lead you to the Fog Canyon.