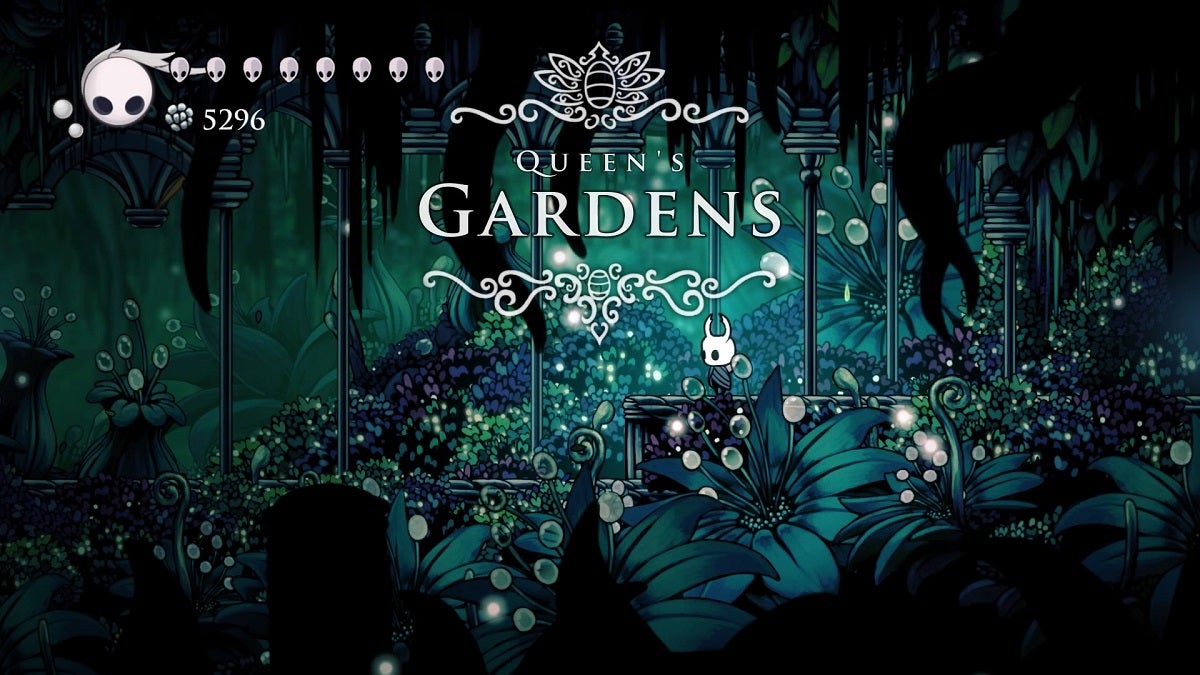
If you’ve been following our Hollow Knight walkthrough, then the Queen’s Gardens is a place you haven’t visited yet. Now, it’s time to finally explore this level so we can acquire an item vital to acquiring the Void Heart charm.
Table Of Contents
Heading to the Queen’s Gardens
Before you head to the Queen’s Gardens, since you’ve defeated the three Dreamers already, Cornifer will actually already be resting in his shop in Dirtmouth. This means you can purchase the map of the Queen’s Gardens there before even exploring the area. Do that before proceeding.
If you’re reading this guide before defeating the three Dreamers, don’t worry. We’ll still talk about where Cornifer can be found in the Queen’s Gardens.
Head to any Stag Station and ride it to the Queen’s Station. From here, make your way up to Fog Canyon. Then, make your way up while sticking to the left side of the room. Past the halfway point to the top, you’ll see an entrance to your left. Take it.
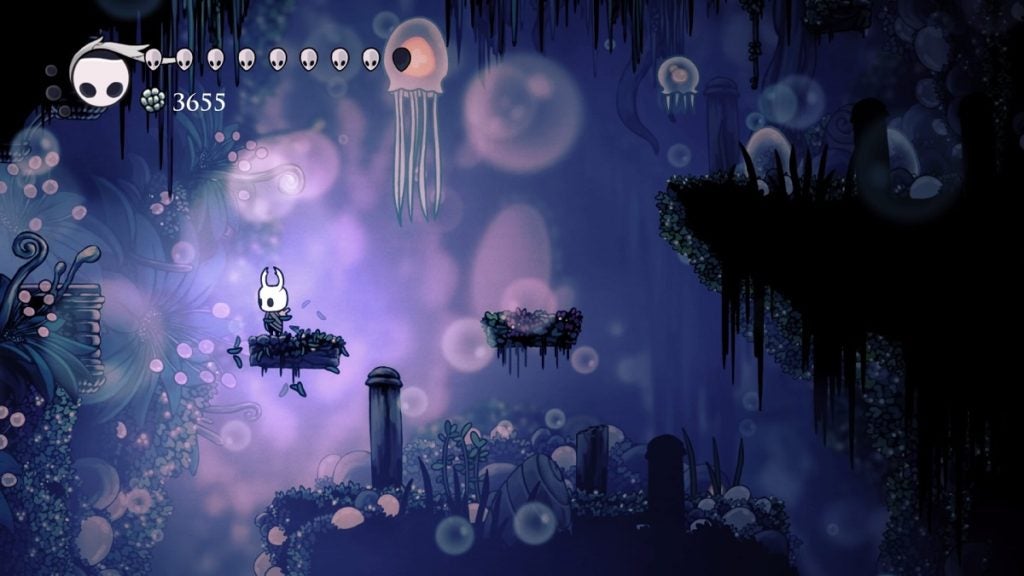
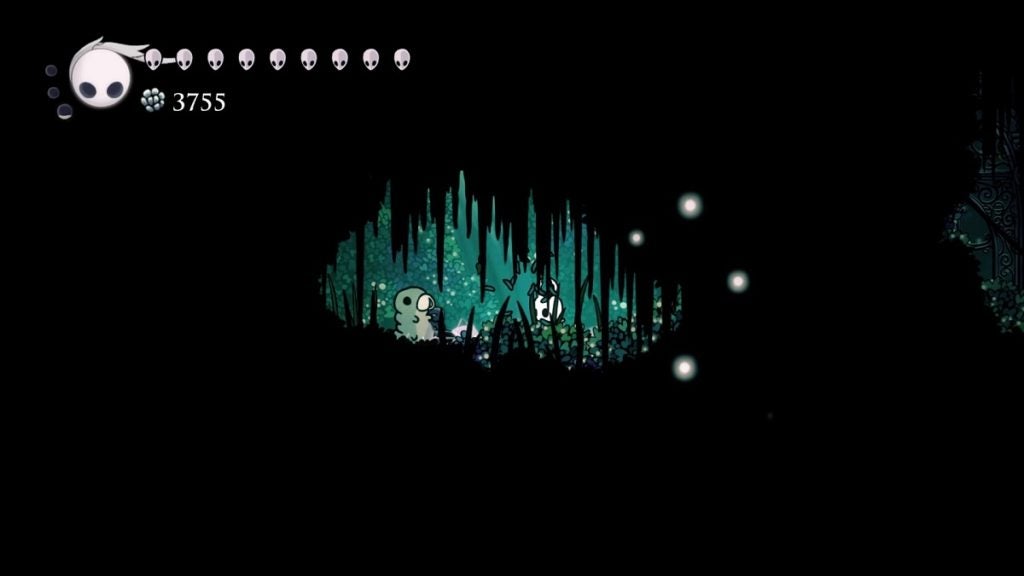
Drop into the acid pool and swim forward, beneath the massive spike formation, and keep walking to the left until you reach the next room to officially arrive at the Queen’s Gardens.
The First Bench and Cornifer
Keep heading towards the left. You’ll encounter a Spiny Husk here. Be careful after defeating this enemy with your Nail. While on the ground, they’ll sprout spikes from their body, damaging you upon contact. However, if a Spiny Husk is defeated with a spell, spikes won’t sprout from their bodies after being defeated.
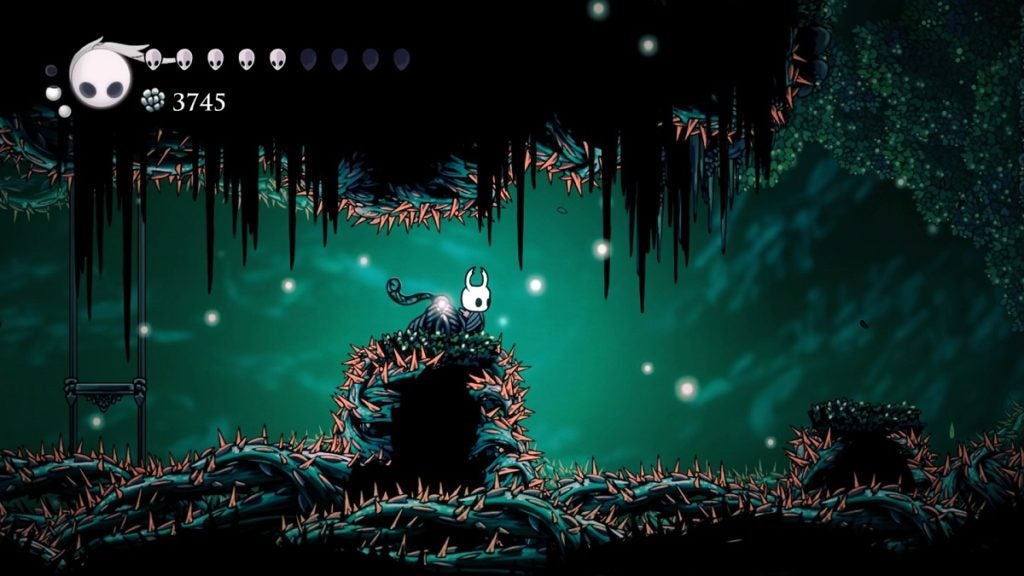
Press on until you reach an ascending area with a spike pit on the ground and a hanging platform above you. This platform will collapse if you stand on it too long. Jump up onto the platform and quickly head to the area on your top right. There’s a Rancid Egg you can acquire here. Once done, continue left and onto the next room.
You’ll encounter a Mantis Petra in this next area. Quickly dispatch of it before descending. Make your way down slowly while leaning towards the right side of the room. There’s a spike pit at the very bottom of this area, so be careful of that. You’ll find an entrance on the bottom right. Head in to continue.
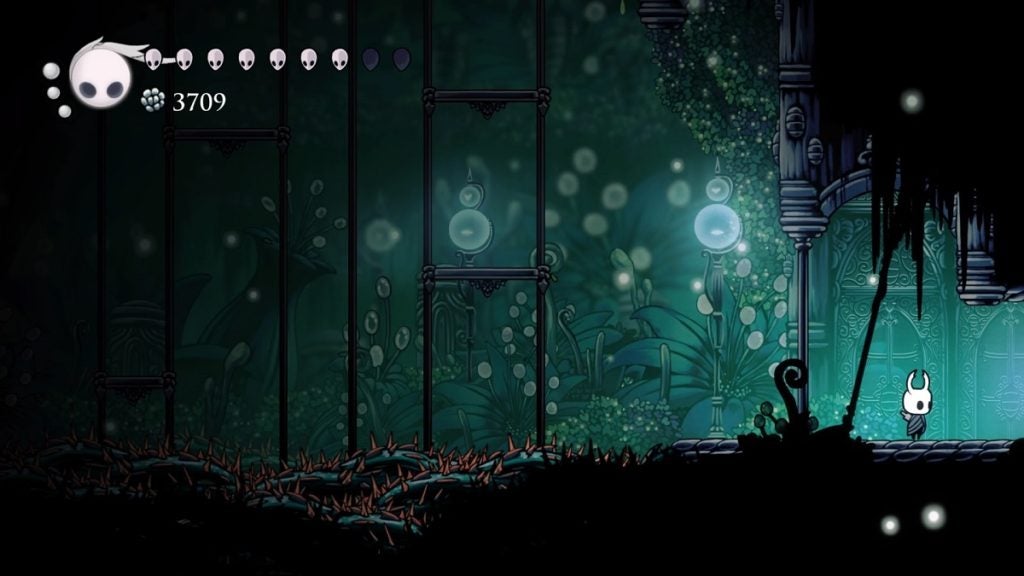
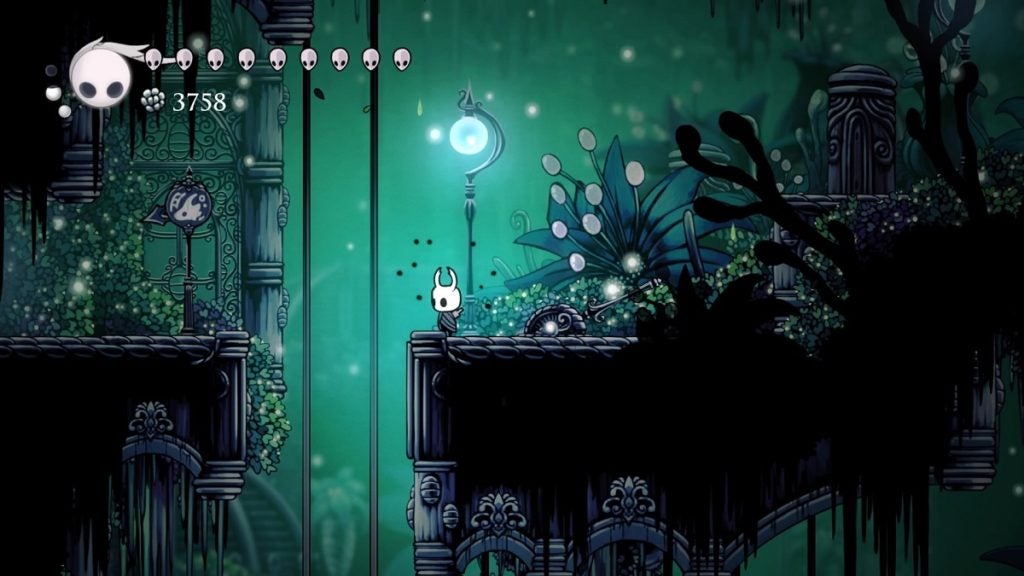
Keep heading to the right where you’ll need to deal with another Mantis Petra. On the platform beyond it, you’ll see a paper trail and a bench sign. Follow the sign to the top right and head onto the next room. In this next area, climb to the top-most floor to find a bench.
Those who haven’t defeated the three Dreamers yet will find Cornifer in the area to the right of this section. Just follow the paper trail and his humming and you’ll easily find him.
Heading to the Stag Station
Once that’s done, head back outside and start descending. At the bottom, you’ll see a locked gate to your right. To unlock this gate, you’ll need to platform your way to the area on your left. Carefully jump from one platform to another. Be wary of the Fool Eaters on the safe patches of ground here.
At the corner, cling to the wall on the left and slowly slide down. There’s another Fool Eater here. Continue making your way to the right until you’re standing at the lever. Hit this lever to open the gate. Once done, head to the right, make your way up, and destroy the wooden beam to open up a path. From here, you can make your way to the previously closed gate. Head in to continue.
Slowly make your way to the bottom of this chamber. Slide down on the walls and carefully take the collapsing platforms. Once you reach the bottom, take the entrance to your left.
You’ll see even more collapsing platforms here, along with a couple of Mossflies and Mantis Petras. Make your way past them and continue heading towards the left. Be careful not to land on the spike pit below.
At the end of this path, take the entrance to the left and continue on to the next room. You’ll find a toll machine here that will summon a bench if you pay 150 Geos. If you have this amount, do so to rest up before continuing.

Head back out and continue to the room filled with collapsing platforms. As soon as you enter the room, you should stand next to a bench sign. From here, climb upwards to reach the next area.
Climb up and move to the right. You’ll eventually arrive at an arena where you’ll need to fight three waves of enemies consisting of Mantis Petras, Spiny Husks, and Mantis Traitors. Once these enemies are defeated, the gate to the right will open up.
Continue right, then make your way up and continue by heading to the left. Keep walking until you reach the end of this path to find a Grub. Free it, then make your way back to the right and into the opening in the ceiling.
Start ascending until you reach the top-most area of this chamber. Once at the top, take the entrance to your right and hit the lever ahead of you to open up this shortcut. You’ll need to open this shortcut for the sake of a side quest which we’ll discuss later on. For now, head back to the left and take the other entrance across you.
This next area is filled with Loodles. This spider-like enemy bounces around the arena until they’re eliminated. Defeat them first before moving on to make crossing this area easier. Continue onto the next room to face the same enemies. Dispatch them and keep pressing on towards the left. On the far-left side of this area, there’s a Hallownest Seal on the platform on the top-left. Pick it up and head back down.
From here, stick to the bottom floor and continue making your way to the right. You’ll arrive at a room filled again with Loodles. Defeat them, continue to the right, drop down, then start walking to the left where you’ll find a hole in the ground. Jump into the hole to continue.
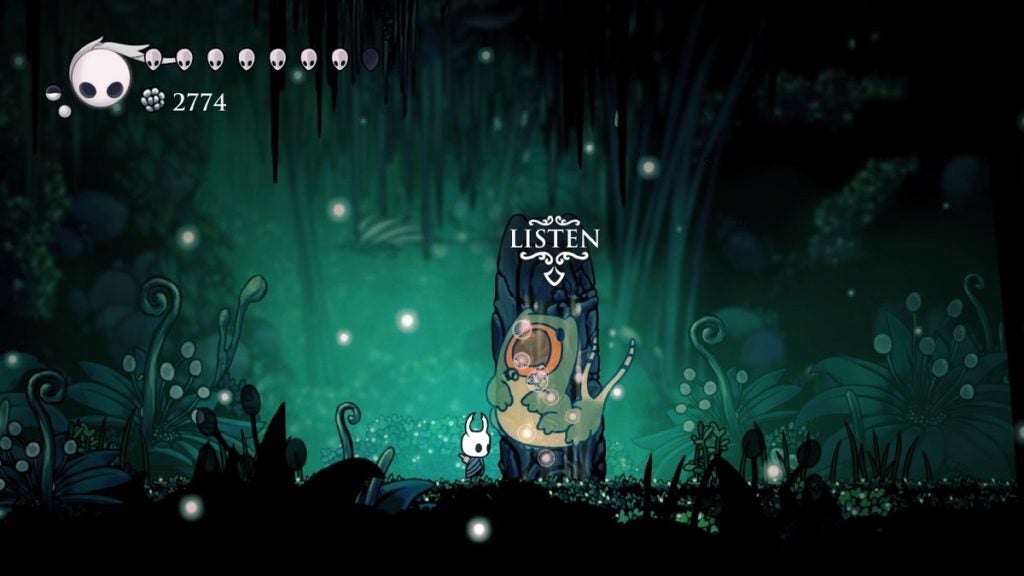
Proceed right and you’ll arrive at a Warrior Dream’s monument. This Warrior Dream is called Marmu. You can fight her now, but it’s recommended you press forward first so you can rest at a bench and unlock the Stag Station before fighting.
From the monument, keep walking towards the right and you’ll spot an opening on the platform at the top. Proceed and you’ll drop at the Queen’s Gardens’ Stag Station.

Fighting Marmu
Once rested, return to Marmu and challenge her. This boss fight is relatively easy. Marmu will curl into a ball and bounce around the arena. This is pretty much her only attack. Hit Marmu with your nail as she’s charging towards you to make her bounce away. Her charge can sometimes be swift so you’ll need to be as fast as her. Once defeated, Marmu will grant you 150 Essence.
Ascending the Queen’s Gardens
Return to the Stag Station and walk to the right. Hit the lever here to open the door beyond it. This will take you back to the room with the spike pit, spike walls, and collapsing platforms. Make your way to the top and head to the right. Continue to the right and make your way up again. Head left to enter the next room.
This area will challenge your platforming skills. Jump from platform to platform until you reach the other side where you’ll find an opening in the ceiling. Jump into it to continue, and then take the entrance to your left.
Continue walking to the left and dash past the Shade Gate. You’ll then come across an open area with another set of collapsing platforms. Make your way to the left and begin climbing up once you reach the end. Once you reach the top, a gate will shut the gap you passed through, and you’ll be faced with the boss of the level.
Traitor Lord
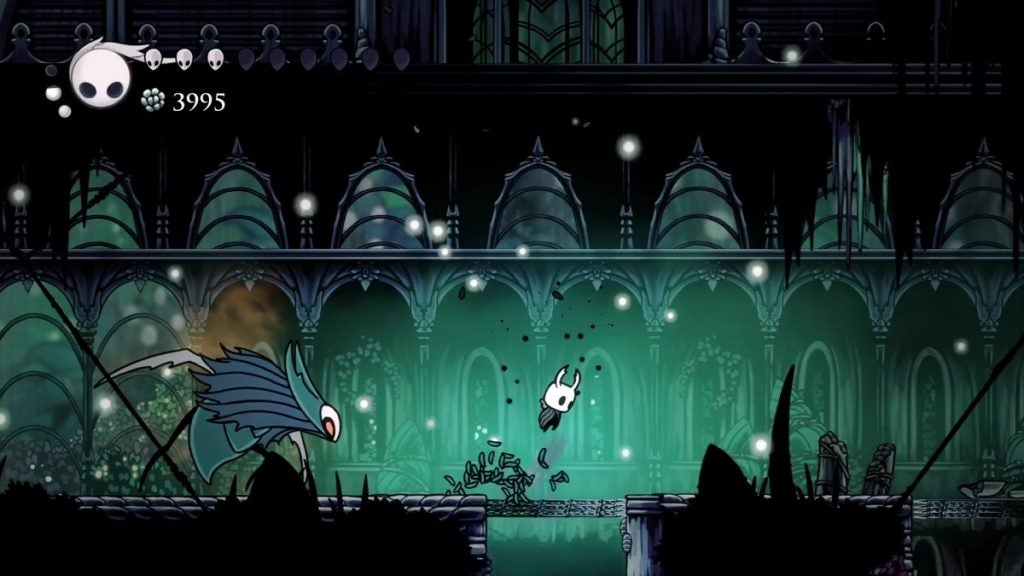
Before the Traitor Lord arrives, you’ll first need to fight three Mantis Traitors. Once these three are defeated, the Traitor Lord will drop from the ceiling.
The Traitor Lord moves similarly with the Mantis Traitors. Like the Mantis Traitors, the Traitor Lord will dash towards you while attacking and he will jump into the air and dive towards you from there. Both of these attacks can be dodged by dashing towards the Traitor Lord. However, to be safe, when the Traitor Lord is dashing towards you, it’s better to simply jump over him and attack only once you land behind him.
He also has two other attacks that aren’t employed by the Mantis Traitors, which are as follows:
- Shockwave Attack – The Traitor Lord will pound the ground and a shockwave will emit from him in both directions. Dash towards the shockwave to avoid being damaged.
- Dual Discs – The Traitor Lord will throw two discs at you that move in a wave-like pattern. You can nail-bounce on this attack or just predict their movement based on their patterns to know where to stand to avoid being damaged.
The Traitor Lord is a fast boss despite his size. His attacks also deal two masks of damage. Your dodge is your most useful skill during this fight. If your Shade Cloak is still cooling down and you need to dodge away, take advantage of the Descending Dark’s invulnerability.
If you need to heal up during this fight, the best way to do it is to lure the Traitor Lord on one side of the arena. You must then move to the other side and that should give you enough space and time to heal up. Another great time to do this is if you’re far enough and you’ve just dodged a Shockwave Attack since the Traitor Lord won’t move again until the shockwaves have dissipated.
After several hits with your nail and spells, the Traitor Lord will fall.
Going to the White Lady
After you defeat the Traitor Lord, proceed to the left and on to the next area. Keep going until you see a massive structure you can enter. Proceed and make your way down. You’ll meet the White Lady here.
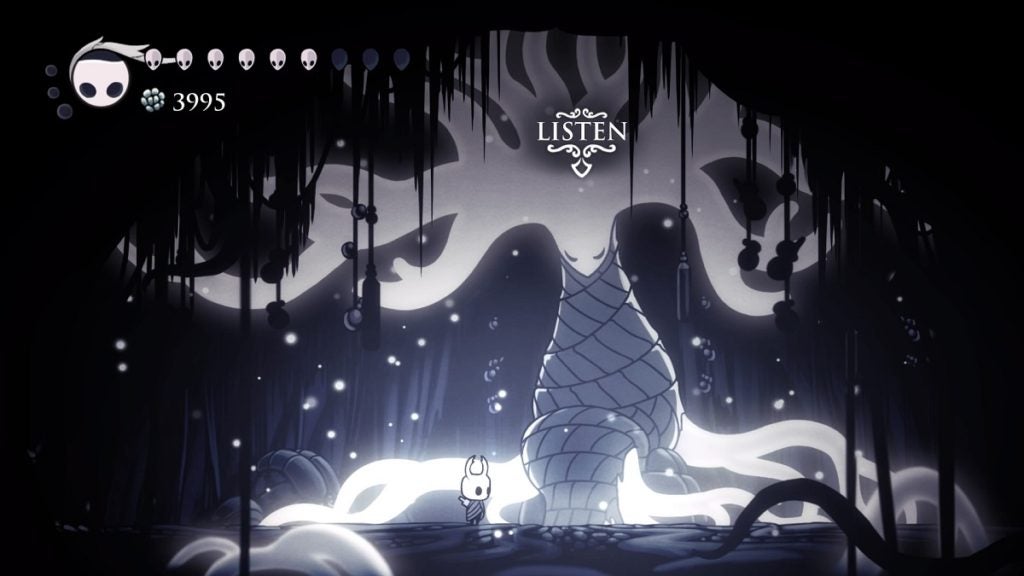
Interact with the White Lady and she’ll give you a White Fragment, the other half of the Kingsoul charm. Hold on to this. Your next destination is the place that contains the other half of the charm.