
The Resting Grounds is a small area in Hollow Knight, but from acquiring the Dream Nail and encountering your first Warrior Dream, its importance in your journey is unquestionable.
Table Of Contents
Descended From the Crystalized Mound
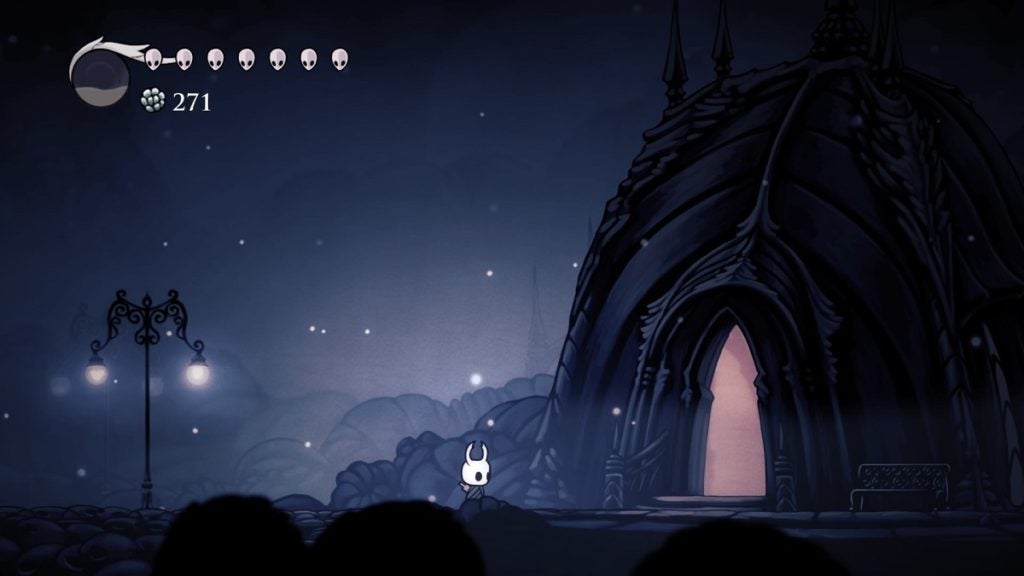
Once you reach the bottom after jumping from the chasm in the Crystalized Mound, you’ll immediately arrive at the Resting Grounds. From here, begin walking to the right until you stumble upon the statues of the three Dreamers.
Interact with the statue to learn about the three dreamers. After this, their locations will be added to your map. Their apparitions will then appear to you once more and a beam of light will teleport you to the dream world.
Acquiring the Dream Nail
While here, wait for a white moth to arrive. It will create a path for you. Jump from platform to platform while following the moth. When you reach the end of this path, the moth will give you the Dream Nail.
You can use the Dream Nail to fight enemies known as Warrior Dreams. You can also fight variants of various bosses by using the Dream Nail on their corpses.
After acquiring the Dream Nail, you’ll wake up in the hut of the Seer. Interact with her to learn more about your new item. She’ll then tell you to return to her after you collect 100 Essence.
After your conversation with the Seer, head outside and descend once and you’ll immediately get the chance to try out your new item. Use the Dream Nail on the Whispering Root and collect the Essence that has scattered in the arena. There should be about 20 of them here.
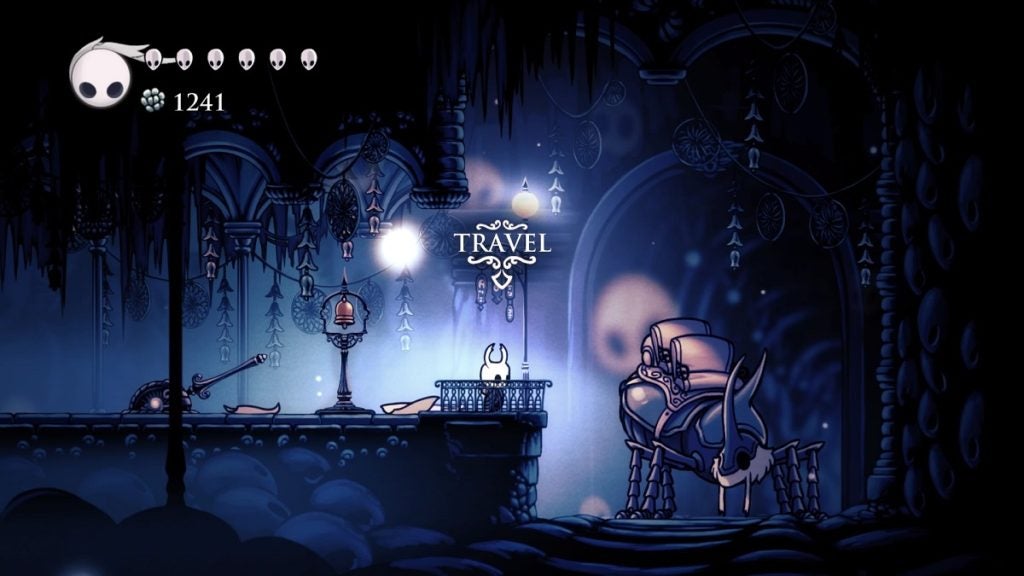
Once you’ve collected them all, head back up and you’ll see a Stag Station entrance on the right side of this cavern. Head inside and rest up. You won’t need to pay Geo to summon the Stag here. Simply hit the lever, hit the bell, and the Stag will come running.
Your First Warrior Dream
You’ll find a note from Cornifer here saying he’s left the area. If you want a map of the Resting Grounds, you can purchase it from Iselda in her shop in Dirtmouth. You can do this now. You can even stop by Sly’s shop so you can hand him the Shopkeeper’s Key you acquired in Crystal Peak.
After doing these things, return to the Resting Grounds. There are still a couple of things you need to do here before moving on.
Exit the Stag Station and make your way to the opposite platform on the left. Continue walking forward until you reach the end of the path. You can pick up the Dreamshield charm here. Pick it up and return outside.

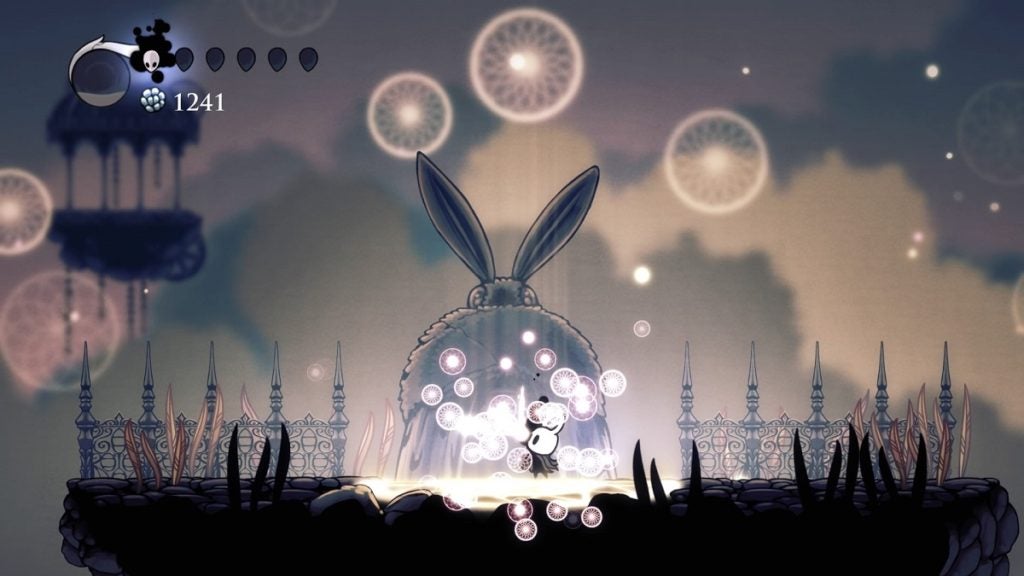
Head to the very bottom of this area and enter the next room on the left. Continue walking way past the statues of the three dreamers and on to the next room. Keep heading left and take the upper platform. Keep walking and you’ll encounter your first Warrior Dream boss. Give it a try to understand how these things go. Interact with Xero and challenge the Warrior Dream.

Xero isn’t too tough. He’ll remain in the air throughout the entire fight. You’ll only need to watch out for his Nails. Not only will he hurl it at you, but he can also call them back.
Focus your attacks on him. Use your nail and spells to deplete his health. Once you’ve damaged him enough, he’ll summon two more nails and the rate at which he throws his nails at you will increase.
This is pretty much his only attack. Just be careful and you’ll defeat him in no time. Defeating him will reward you 100 Essence. You can then return to the Seer and she’ll give you a Hallownest Seal.
Returning to the City of Tears
From the Resting Grounds, you can make your way back to the City of Tears. You’ll only use the latter level as a pathway to get to the next level: the Royal Waterways.
Exit the Seer’s hut and drop to the very bottom of the area. Once there, jump on the tomb to your right. The floor beneath you will shake once you step on it. You can break this down with Descending Dark.
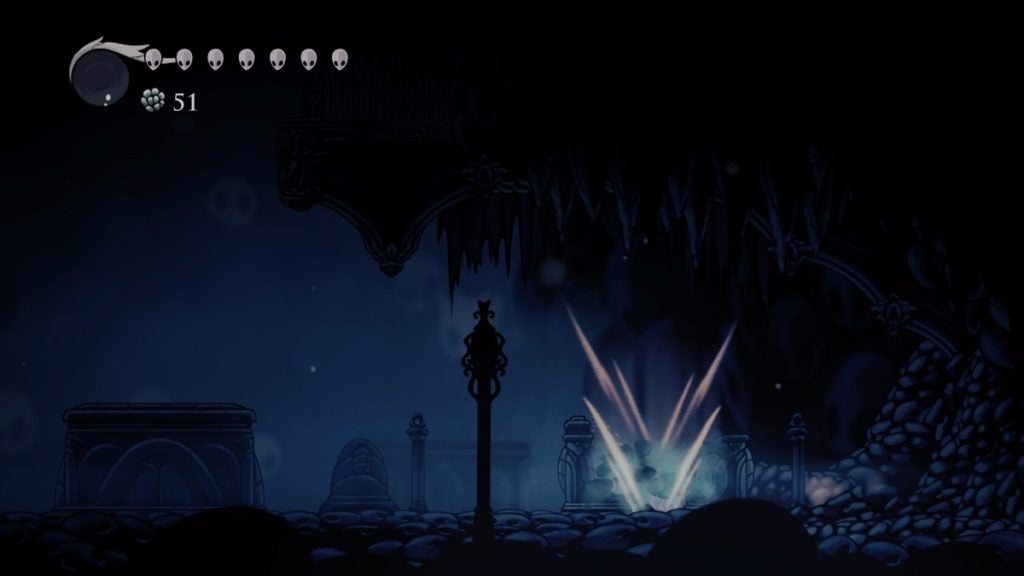
Once at the bottom, walk to the right until the ground beneath you caves in. There will be a breakable wall to your right. Break this wall and walk through it. Keep walking to the right and you’ll come across an Entombed Husk. Eliminate this enemy first.
There is a breakable ceiling above you as well. Destroy this ceiling and slowly get inside. Head back down and dash away when the Belfly from the ceiling above dives toward you. Once it’s safe, go back up there and defeat one more Entombed Husk. Free the Grub that was trapped behind it. There’s also a Geo deposit on the left side of this area.
Head back down and continue walking to the right. You’ll find one more chest here containing Geo. Open it to collect its contents. Above and to the right of the chest are a breakable ceiling and a breakable wall. Destroy the wall on the right first. Continue along this path. Just be careful on certain breakable floors as they hide spike pits. Dash forward immediately once the floor shakes.
At the bottom of a narrow vertical passageway, an Entombed Husk will emerge from a hidden area on the right. Eliminate this enemy and claim the Wanderer’s Journal inside.
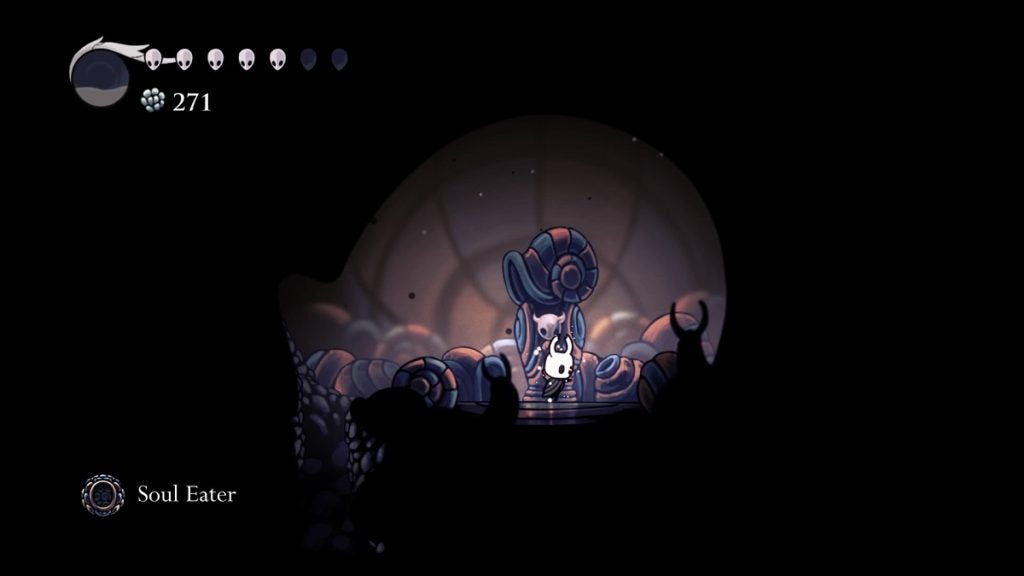
Climb the narrow passageway and destroy the breakable ceiling to reveal a secret room. Climb up once more to obtain the Soul Eater charm.
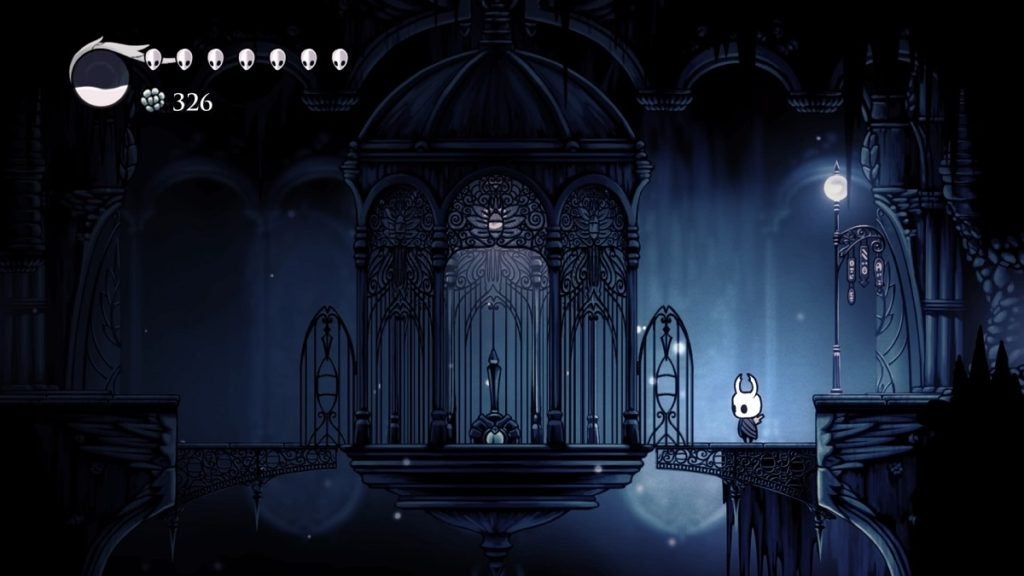
Head back to where the previous Geo chest is. This time, break the ceiling above you. Climb up, walk left, and climb up again. Head to the right and you’ll see a massive structure and a bench right beside it. Remember this area as this is where you’ll start one of the toughest side quests in the game. You don’t have to go inside now. You can simply rest on the bench and return to the caverns below.
Return once again to the Geo chest. From here, go left. Keep on going, beyond where you initially dropped, until you spot a breakable ceiling above you. Destroy this and bait the Belfly inside. Once it’s safe, jump up and open the Geo chest. After you collect the Geos, head back down and continue walking to the left. Destroy the wooden beam ahead of you to get to the next area.
You’ll then find your way on a massive elevator.
Take this elevator down and it will take you to the eastern part of the City of Tears. You’ll explore the second half of the City of Tears for a little bit, but we’ll immediately make our way through to the Royal Waterways after making a couple of stops.