![]() Key Takeaway
Key Takeaway
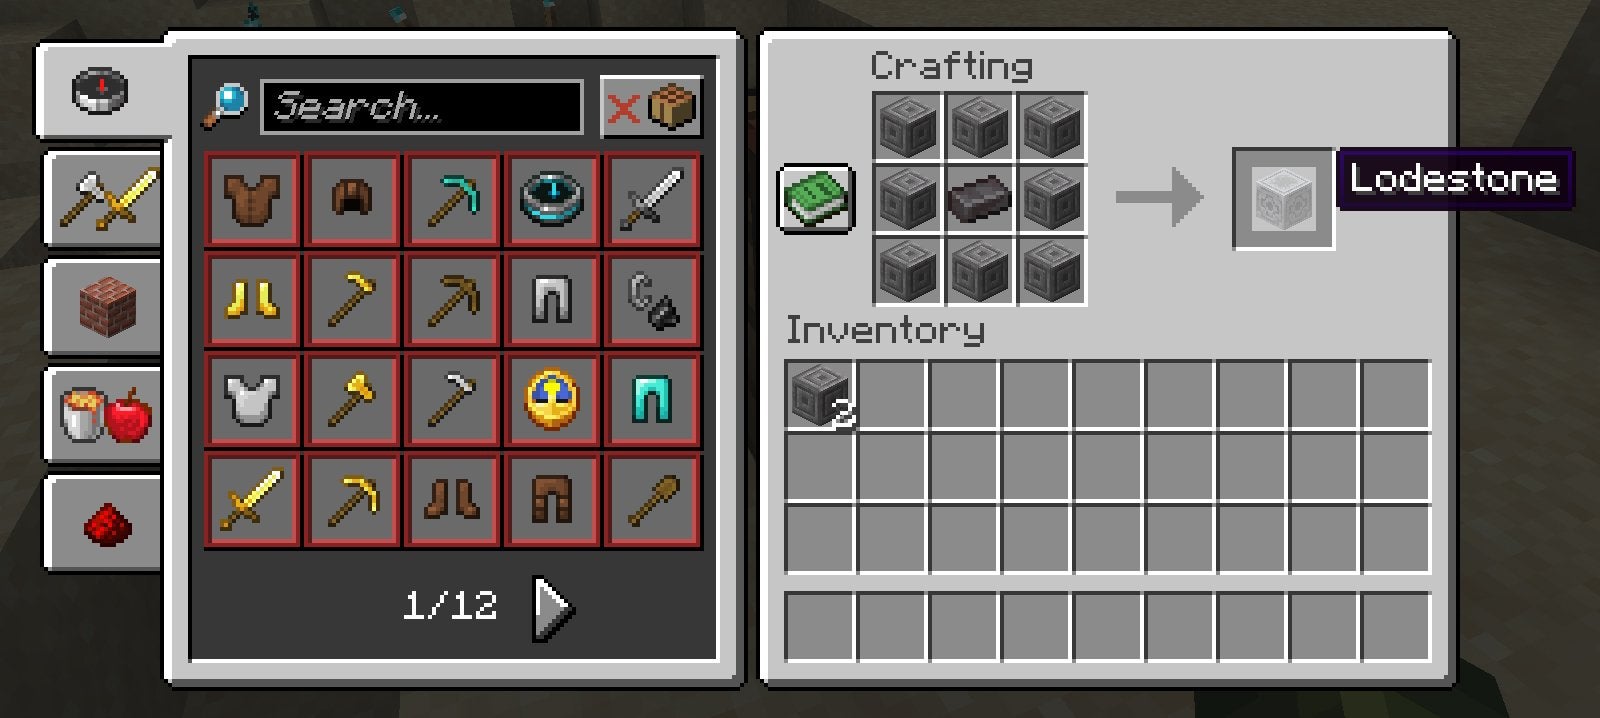
To craft a Lodestone in Minecraft, you’ll need eight Chiseled Stone Bricks and one Netherite Ingot.
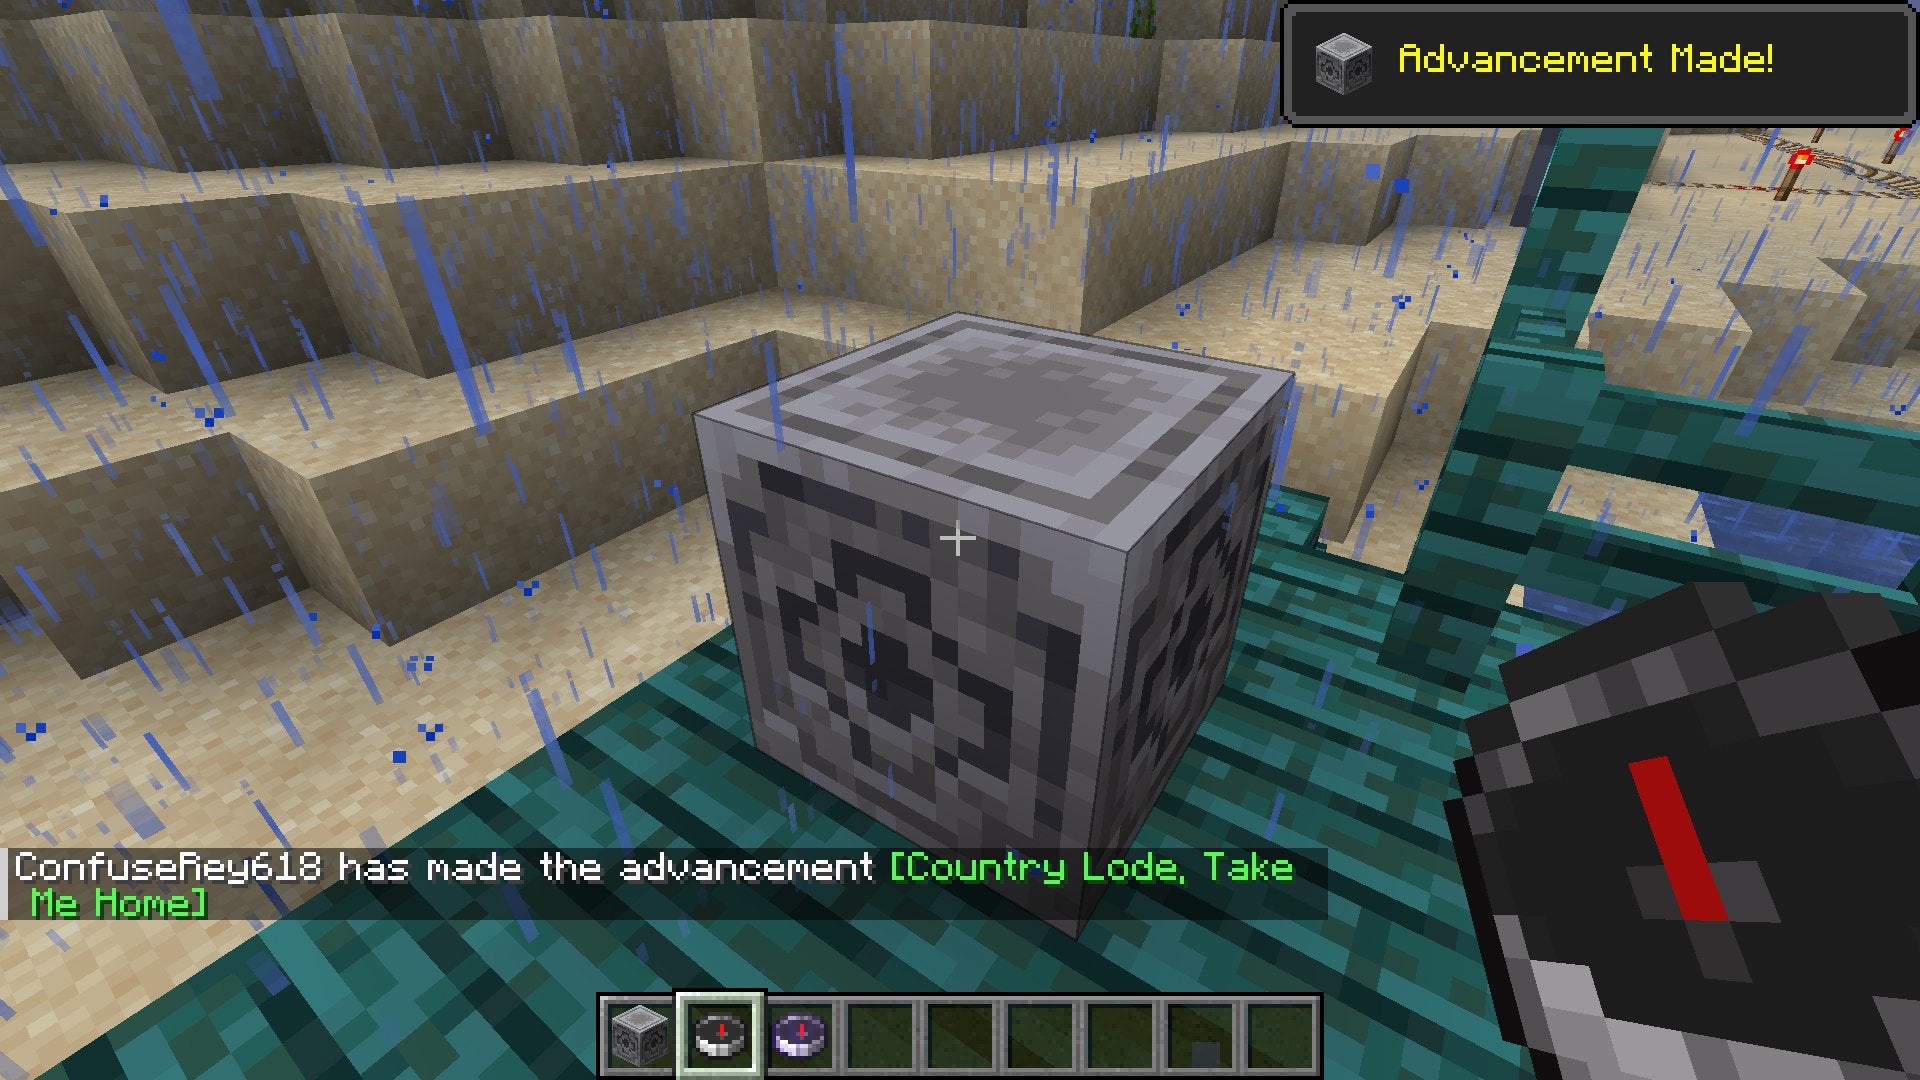
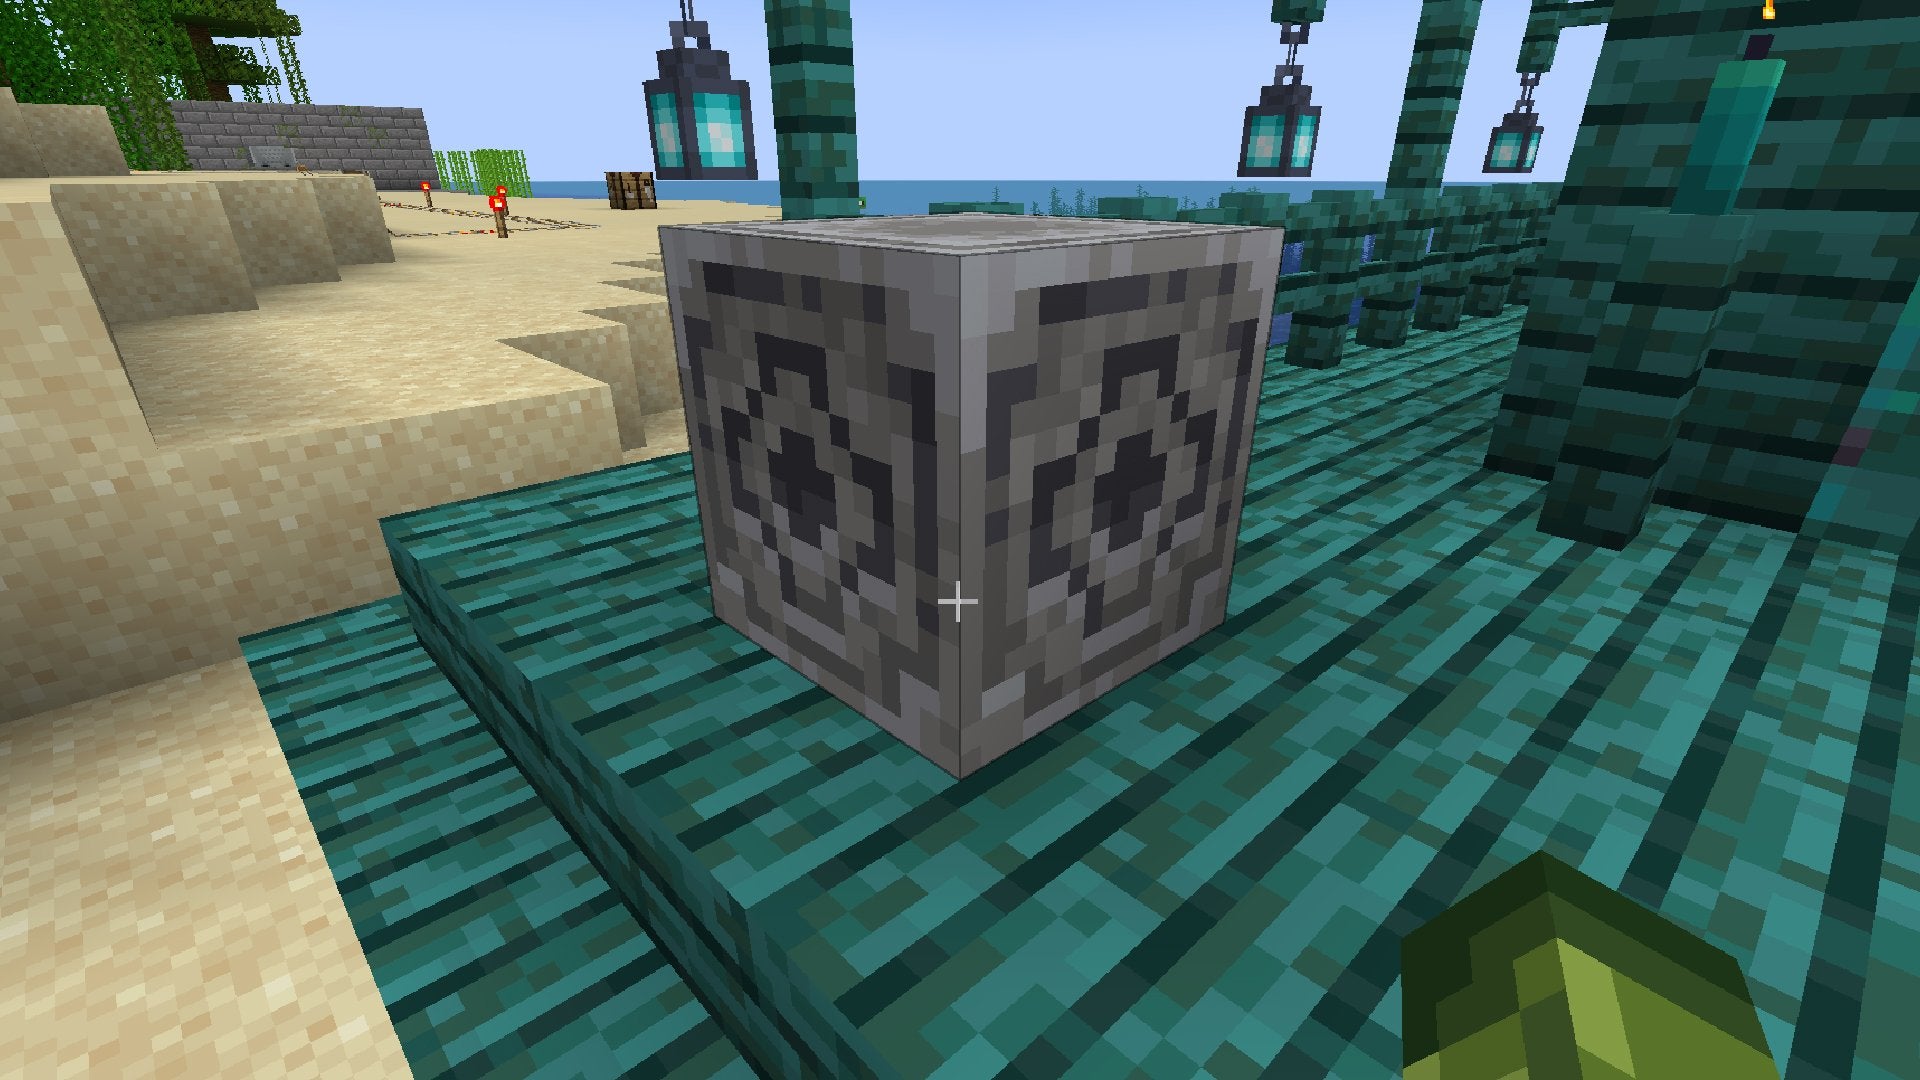
After placing your Lodestone, use a Compass on it to create a Lodestone Compass—which always points to the Lodestone it was used on instead of your world spawn point.
If you’re venturing far away from your base—like, really far away—then a Map alone won’t help you find your way back home. You’ll need to use a Compass along with a Lodestone in Minecraft to return from such an epic journey.
Table Of Contents
How to Get a Lodestone in Minecraft
To craft a Lodestone in Minecraft, you must combine eight Chiseled Stone Bricks and one Netherite Ingot on a Crafting Table. Place the Netherite Ingot in the centermost slot. Then fill the remaining eight spaces with Chiseled Stone Bricks. This recipe gets you one Lodestone.

Besides crafting one yourself, you can also potentially find a Lodestone while exploring the Nether. In the Bridge Chests of Bastion Remnants, you’re guaranteed to find one Lodestone. With that said, Bastion Remnants are hard to find themselves, so good luck!
How to Get Chiseled Stone Bricks
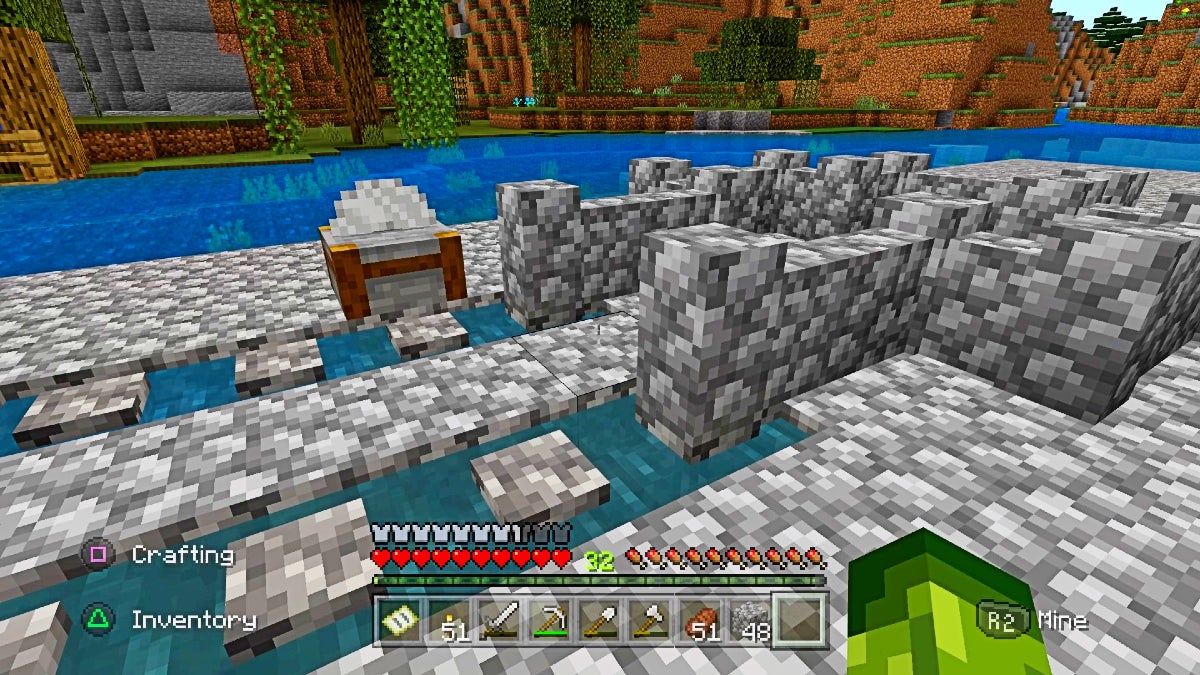
Chiseled Stone Bricks can manually be made from humble Cobblestone, albeit with a generous number of steps.
- To begin, smelt Cobblestone blocks in a Furnace to get Stone blocks.
- Then, arrange four Stone blocks in a square shape on any crafting grid to get four Stone Bricks.
- Afterward, line any row of a Crafting Table with three Stone Bricks to get six Stone Brick Slabs.
- Following this, place two Stone Brick Slabs in a short vertical line (1 x 2) on a crafting grid to get one Chiseled Stone Brick.
If you want a simpler method of crafting Chiseled Stone Bricks, use a Stonecutter. All you need to craft a Stonecutter is three Stone blocks and one Iron Ingot. Both are relatively easy to obtain, so this method is recommended.

For the Stonecutter method of making Chiseled Stone Bricks, simply plop Stone blocks into a Stonecutter and then select the Chiseled Stone Bricks recipe in the Stonecutter’s interface. When done, you’ll be able to turn as many Stone blocks into Chiseled Stone Bricks as you please without needing to follow the four-step process we outlined above.
Alternatively, you can trade Stone Mason Villagers (apprentice level or higher) one Emerald for four Chiseled Stone Bricks. In the Java Edition, this trade is guaranteed to be available. However, in the Bedrock Edition, there’s only a 25% chance that it’ll be present.
While exploring, keep your eyes peeled for Chiseled Stone Bricks when you’re near Ocean Ruins, Ruined Portals, and Jungle Temples. Chiseled Stone Bricks have a small chance to spawn as part of these structures. You can mine Chiseled Stone Bricks with any type of Pickaxe.
How to Get Netherite Ingots
Netherite Ingots are one of the most tedious resources to acquire in Minecraft. Travel to the Nether and start blast-mining in search of the rare and elusive Ancient Debris. Ancient Debris has crazy-high explosion resistance, whereas other Nether-native blocks—such as Netherrack—do not. This makes using huge quantities of explosives viable for finding the rarest of ores in this hellish dimension.
Once you’ve found some Ancient Debris (which also has a small chance to spawn in the Chests of Bastion Remnants), smelt it in a Furnace to get Nether Scrap. You need four Nether Scraps and four Gold Ingots to craft one Netherite Ingot. Thankfully, both Nether Scraps and Netherite Ingots have uncommon odds of spawning in the Chests of Bastion Remnants. This makes your life slightly easier when hunting for this resource.
How to Use a Lodestone in Minecraft
Luckily, using a Lodestone in Minecraft is easier than making one. All you need to do is walk up to a Lodestone while holding a Compass and then use your Compass on the Lodestone. When you do, you’ll reset the Compass so that its needle begins pointing toward the Lodestone it was used on instead of your world spawn point.
Furthermore, you can do this any number of times with other Lodestones if you want to reset your Compass again. Connecting a Compass to a Lodestone turns the Compass into a Lodestone Compass. The Lodestone Compass has a purple glow, much like an enchanted item.

The Main Benefits of Using a Lodestone Compass
No matter how far you go from your Lodestone, the Compass you set to it will always point to its partner Lodestone. This is a better way to navigate back home than using a Map—if you’re traveling very far away. Maps have a limited range; after a certain distance, you won’t see yourself on your Map, even if you’ve zoomed it out as much as possible. As long as you make sure your Lodestone is in your home base, you’re good!
What’s more, you can connect multiple Compasses to multiple Lodestones. This way, you can navigate to different locations without needing to juggle Maps. To keep track of locations and navigational tools easier, rename your Compasses on an Anvil.
Usually, Compasses don’t work in the Nether or The End, as their needles spin endlessly in these realms. However, if you place and use a Lodestone with a Compass in the Nether or The End, your Lodestone Compass will work! This means the Lodestone and Compass combo is perfect for navigating in any dimension.
Speaking of navigational aids, try setting up a Beacon to find your way back home easier. Not only does it emit a notable column of light, but it also gives you a bunch of great passive effects when you’re nearby! Plus, it looks cool.


