
![]() Key Takeaway
Key Takeaway
Here’s a quick overview of how to get through The Catacombs:
- Keep descending The Catacombs through spiral staircases and spiked bridges.
- If you encounter Skeletons that rise after you kill them, that means there is an Undead Mage nearby. Kill the Undead Mage first and the Skeletons remain dead after you eliminate them.
- Once you make it to the spiral staircase that breaks off at the end, look down and use the ledges to descend to the bottom.
- Continue onwards until you reach Pinwheel’s boss room.
- Defeat Pinwheel to clear the area.
The Catacombs in Dark Souls is a harrowing place filled with deadly enemies and even deadlier terrain. With sound combat and navigational tactics, you can make it through this decrepit mausoleum while scoring rare loot and more. It’s pretty dark, so bring a light!
Table Of Contents
Heading to The Catacombs in Dark Souls
Start from your home away from home. You can get to The Catacombs from Firelink Shrine. Begin by the bonfire, then head to the ruins where you find Kingseeker Frampt. While facing him, head left and you’ll find an opening. Head through this opening, make a right, and take the staircase on the left to descend to a graveyard.
From here, proceed forward while sticking to the left. Be wary of the skeleton enemies that you’ll encounter on your way. Eventually, you’ll find another staircase that leads down. Take it and keep heading forward and you’ll eventually find a cave opening. Head through to continue.
Descend the staircase after passing through the cave until you finally arrive at The Catacombs.
Finding the First Bonfire in The Catacombs
As you arrive at this spiral staircase, you’ll be met by three Wisp enemies and a Skeleton. Wisps are floating, glowing skulls that explode as soon as they get close enough to you. You’ll know they’re about to explode when they shake and glow brighter.
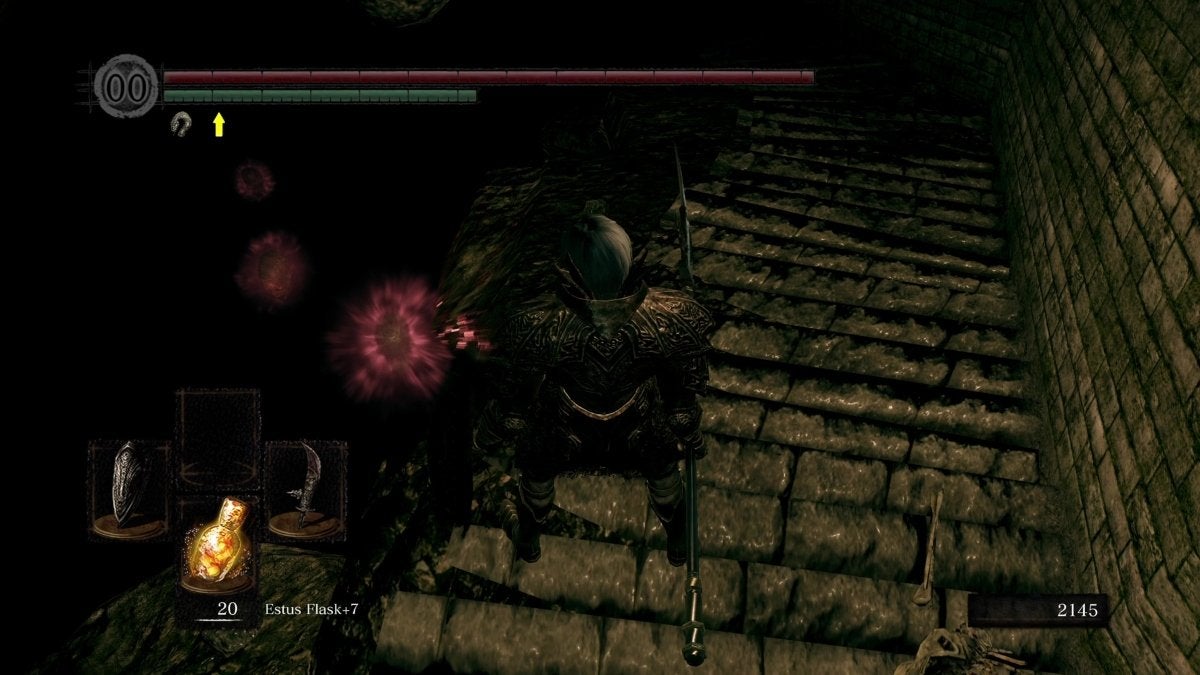
When this happens, run as far away from them as you can! Make sure your back is not facing a ledge, as the knockback from a wisp attack can send you hurtling to your death.
That said, deal with the Skeleton and run forward before the Wisps get to you. Continue through the doorway ahead. As soon as you pass through, immediately turn to the left to find a Skeleton waiting for you. That sneaky scamp! Take it out before it attacks you.
After dealing with the lurking Skeleton, proceed to the area below. More Skeletons will respawn while you’re here. If you kill these Skeletons, they’ll rise back up after a few seconds. If you can manage it, run past them or only dispatch those blocking your path. Run towards the left side of the end of this cavern and you’ll find another doorway.
After passing through the hallway here, immediately make a left and you’ll see a hole in the wall.
Head through, turn right, and you’ll find an unlit bonfire and an Undead Mage behind it. Kill the mage first, then light the bonfire. Congratulations, you’ve made it to the first safe zone in The Catacombs of Dark Souls!
Tricks for Handling Wisps
You cannot damage Wisps, so fighting them is pointless. Interestingly, Wisps can damage other enemies; you can use that to your advantage. Alternatively, if you want to avoid these floating skulls as much as possible, equip the Ring of Fog to obscure your presence.
Tips for Dealing With Skeleton
With the Undead Mage slain, the Skeletons that kept rising on the way here won’t resurrect again after defeat. Undead Mages also don’t respawn after you kill them—but Skeletons do if you rest at a bonfire.
Skeletons that respawn after dying can also be put down for good by slaying them with a divine weapon. Though, again, they respawn after resting at a bonfire. Here is a list of weapons with the divine auxiliary trait built into them:
- Astora’s Straight Sword
- Crescent Axe
- Grant
- Greatsword of Artorias
- Silver Knight Spear (doesn’t always permanently kill Skeletons due to an inconsistent bug)
Alternatively, you can upgrade your weapon of choice into a divine one. First, enhance your chosen armament to +5. Then, visit Andre of Astora in the Undead Parish to ascend your +5 weapon to a divine weapon (+0).
For Andre to ascend your weapon along the divine path, you’ll need the Divine Ember (found in the area after the Moonlight Butterfly boss fight), one Green Titanite Shard, and some Souls (the exact number varies depending on your weapon). To strengthen your divine weapon, you’ll need more Green Titanite Shards.
Descending Further Into The Catacombs
There’s a mechanism you can push left of where the bonfire is located. It opens the path to the next area. Exit the bonfire room the same way you came in. Afterward, make a left and proceed through the newly opened path. Once again, deal with any Skeletons you come across along the way.
You’ll now find yourself in a wide, open cavern. Stay on this path and deal with the Skeletons ahead. Be careful, though, as there’s an Undead Mage in the area across to the right who will keep hurling fireballs at you.
Crossing the First Bridge
Cross the bridge at the end of this path to get to the area across the chasm. You’ll be able to get to the fireball-throwing Undead Mage here. However, there are also other Skeleton enemies nearby. Slay them, but be sure to prioritize the Undead Mage. You want to eliminate her so that the other Skeletons in this area remain dead.
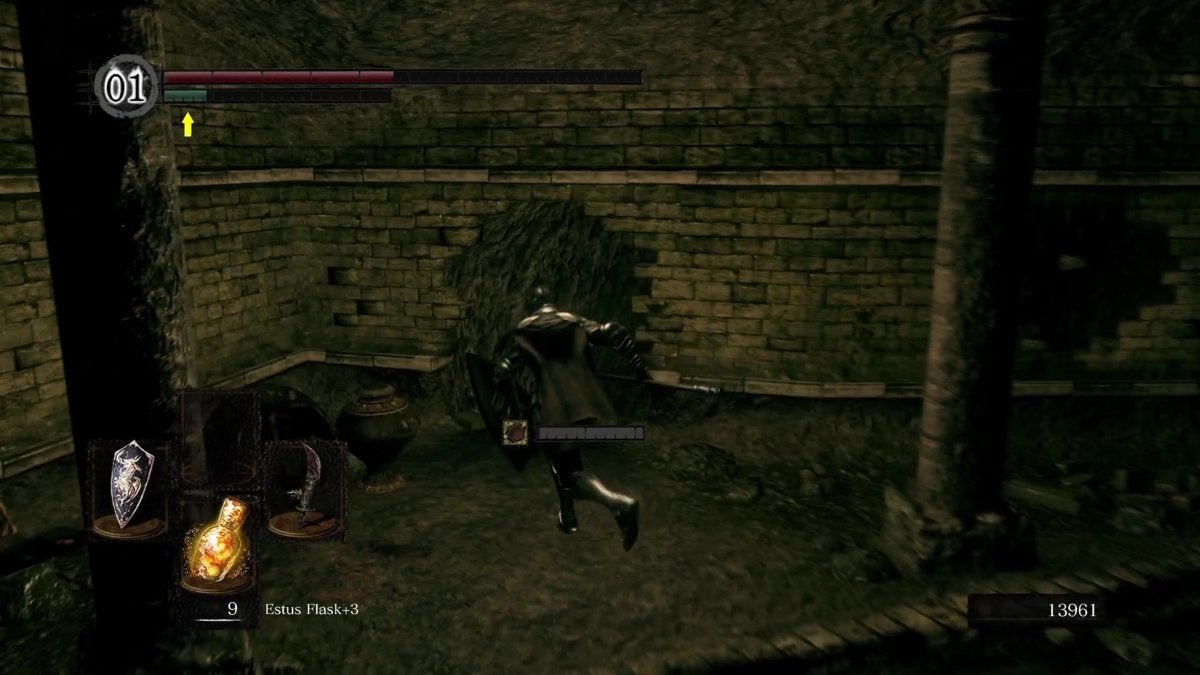
Once all the enemies are truly dead, proceed to the next room. Here, you’ll find a Skeleton on top of the higher ledge ahead. It will attack you by jumping and spinning towards you while it juts its sword forward. You can easily avoid getting damaged by holding up your shield.
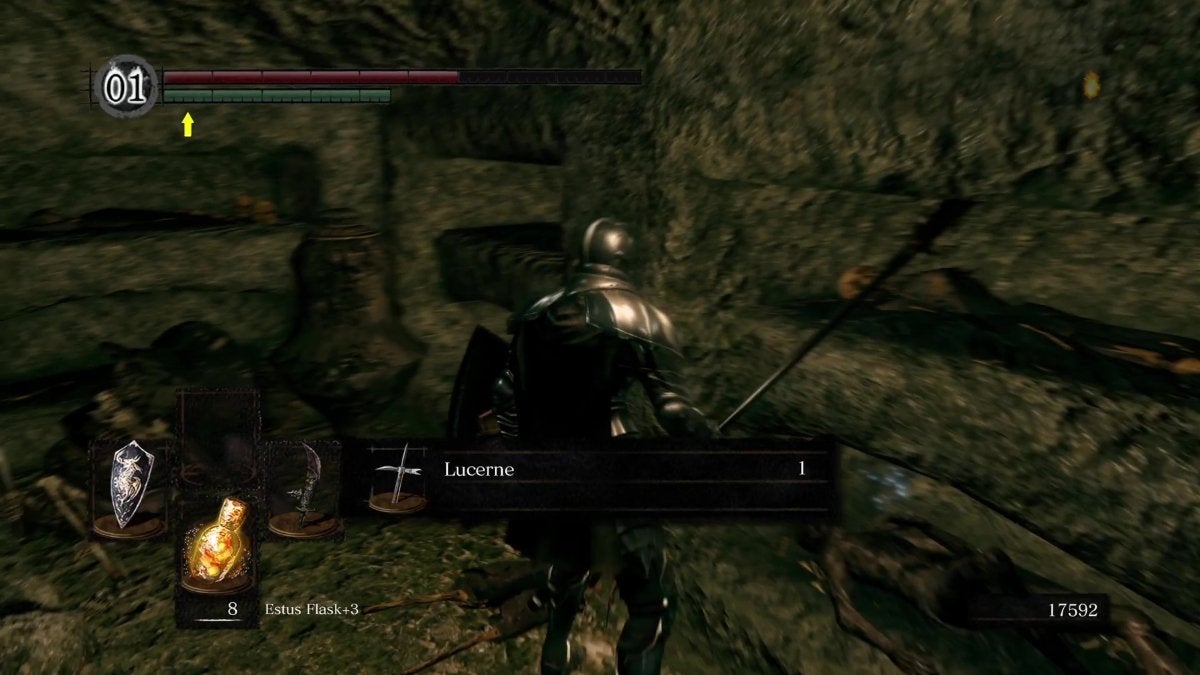
Next, head to the room on the right and you’ll find loot on the back wall. Pick it up to receive the Lucerne weapon. Two Skeletons will rise close by. Dispatch them before moving on.
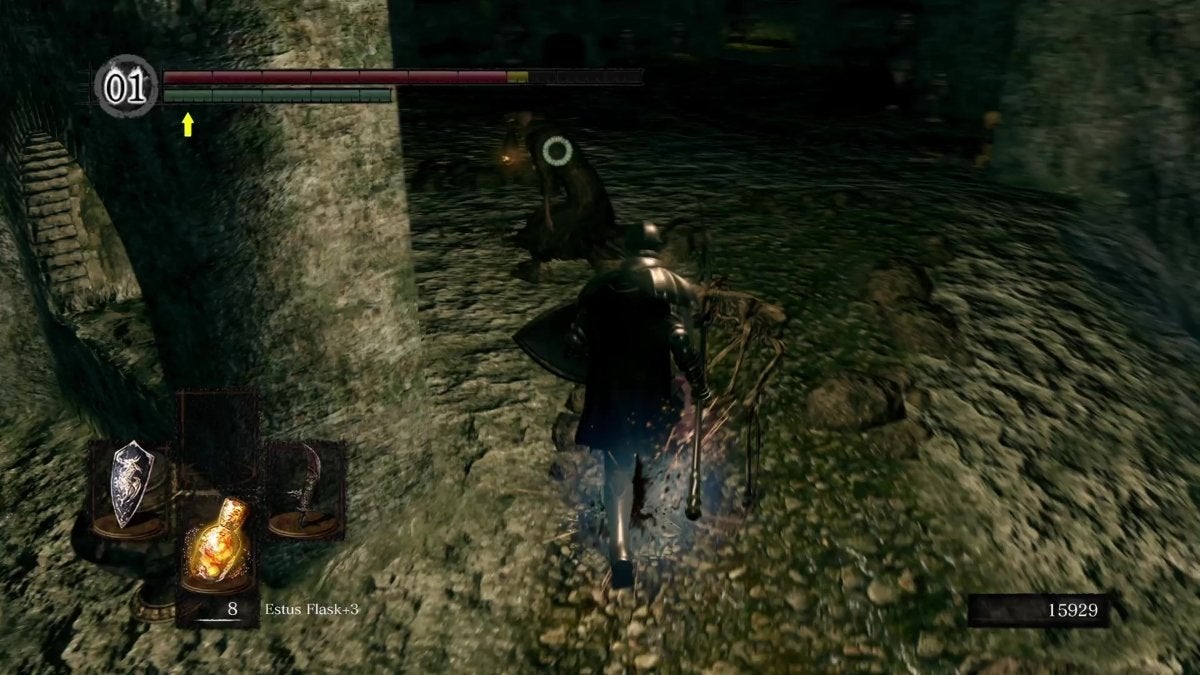
Exit this room, make a right, and go on straight. Keep following this path and defeat any Skeletons that you encounter. Up ahead, take the doorway on the left, and keep going forward once more. Be wary of more Skeletons—one of them uses a bow. Take out the bow-wielding Skeleton first for an easier time.
Getting Past the Spiky Bridge
You’ll eventually pass through a doorway that leads you out of this dark tomb and into an open cavern with a spiky bridge in front of you. Take the path on the right. Run past the Wisps and fell the Skeletons however you want.
There’s a lever at the end of this path. Pull it to flip the bridge, allowing you to cross.
Be careful of the Skeletons at the end of the bridge. There’s also an Undead Mage behind them. If you can, target with the mage first.
After crossing the bridge, head to the room on the right. On the ground, you’ll see two ditches that look a bit like open graves. Stand on the one of the left and you’ll fall into a room where you’ll find two Crystal Lizards. The one on the right leads you to a room with a Soul of a Proud Knight.
Take the one on the left, kill the lizards, and reap your rewards. Continue forward and you’ll find a ladder. Climb it to get to an upper ledge.
Here, you’ll find another two sunken patches of ground. Stand on the one to the right and you’ll find yourself near the ledge you activated to spin the spiky bridge.
Finding the Second Bonfire in The Catacombs
From here, head to the bridge and cross it once more. This time, instead of entering the room on the right, proceed forward instead. The staircase here spirals down—follow it. There are Skeletons below that will materialize once you get close enough. You can either fight or run past them. They’ll return to life after you eliminate them, as you can’t defeat their Undead Mage master yet.
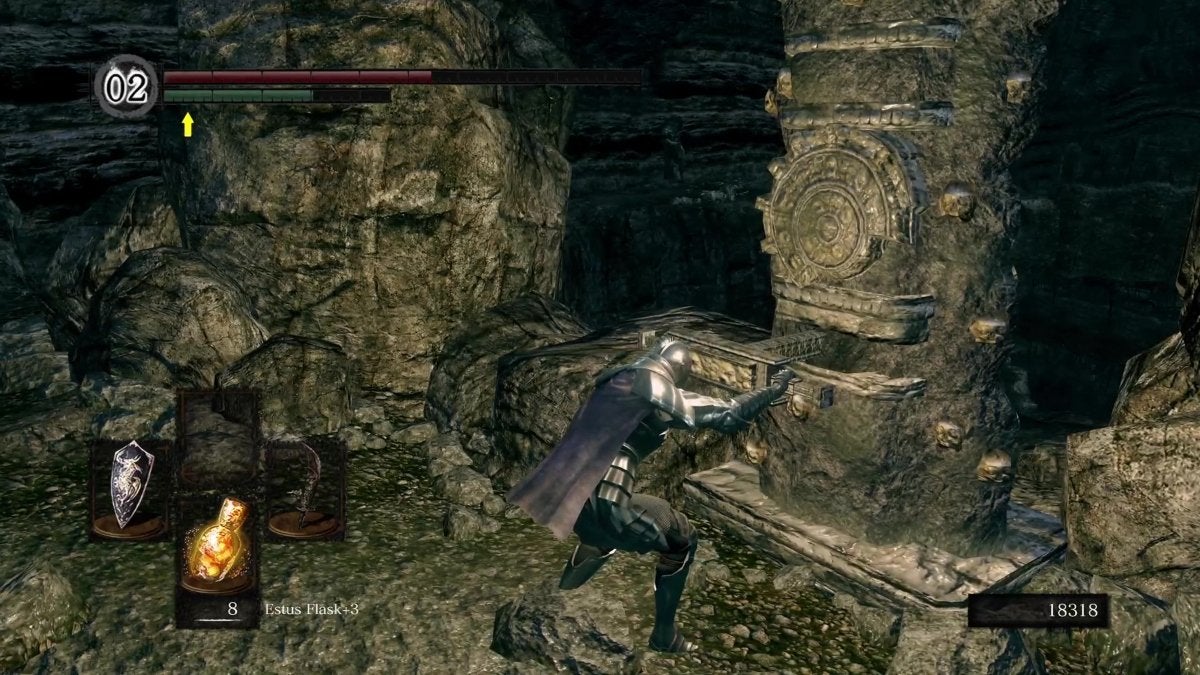
There are a lot of rooms you can enter on your descent. For now, make your way down as far as you can go. You’ll eventually find the point where the staircase breaks off. Don’t jump down yet. Instead, enter the room closest to the end of the staircase. There’s a lever here you need to push.

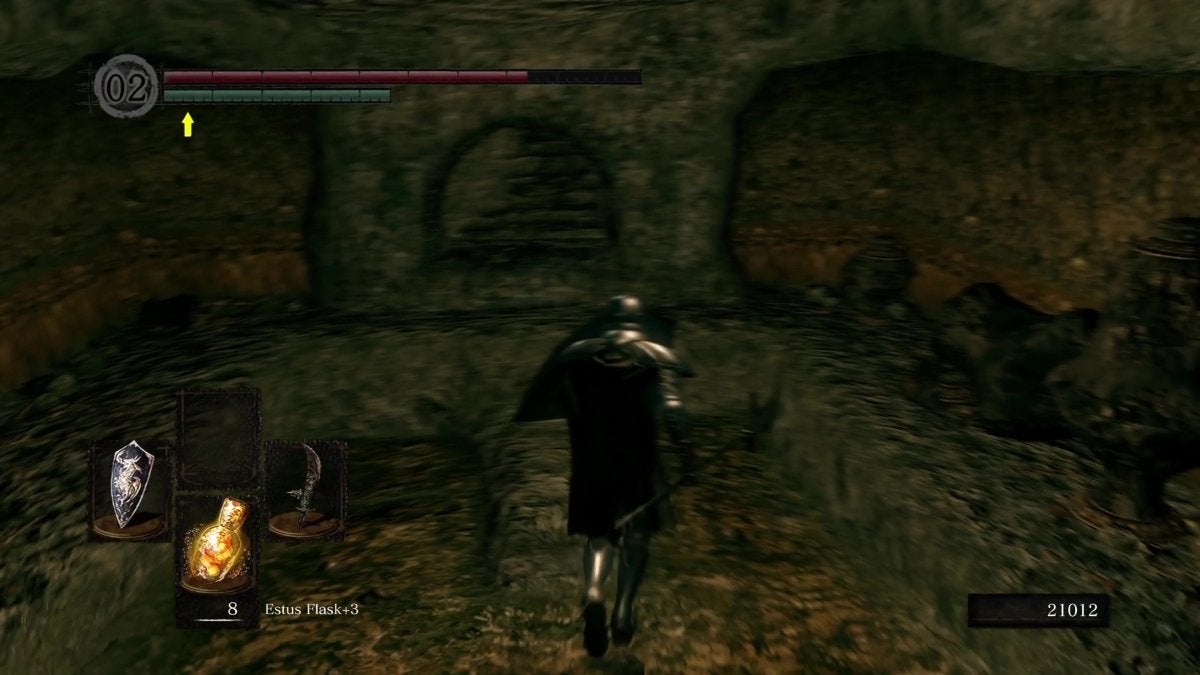
Leave this room and head back up. Pass through the first door you come across next to your left. Then, immediately take the path on the left. Once you’re out in the open again, keep heading forward and you’ll come across a dead end ahead of you and a ladder on the wall to your right.
Strike the dead-end wall to reveal a hidden path. Be careful of the spike statue here. Enter the newly revealed path. You’ll find a bonfire at the end.
Entering the Gravelord Servant Covenant
Head back down and exit this room. If you head up the ladder on the left, you’ll find a lever that flips the spiked bridge in this area. Do so, head down, and cross the bridge. Enter the room after the bridge and descend the staircase. You’ll come across two Skeletons here—fight or flee at your discretion.
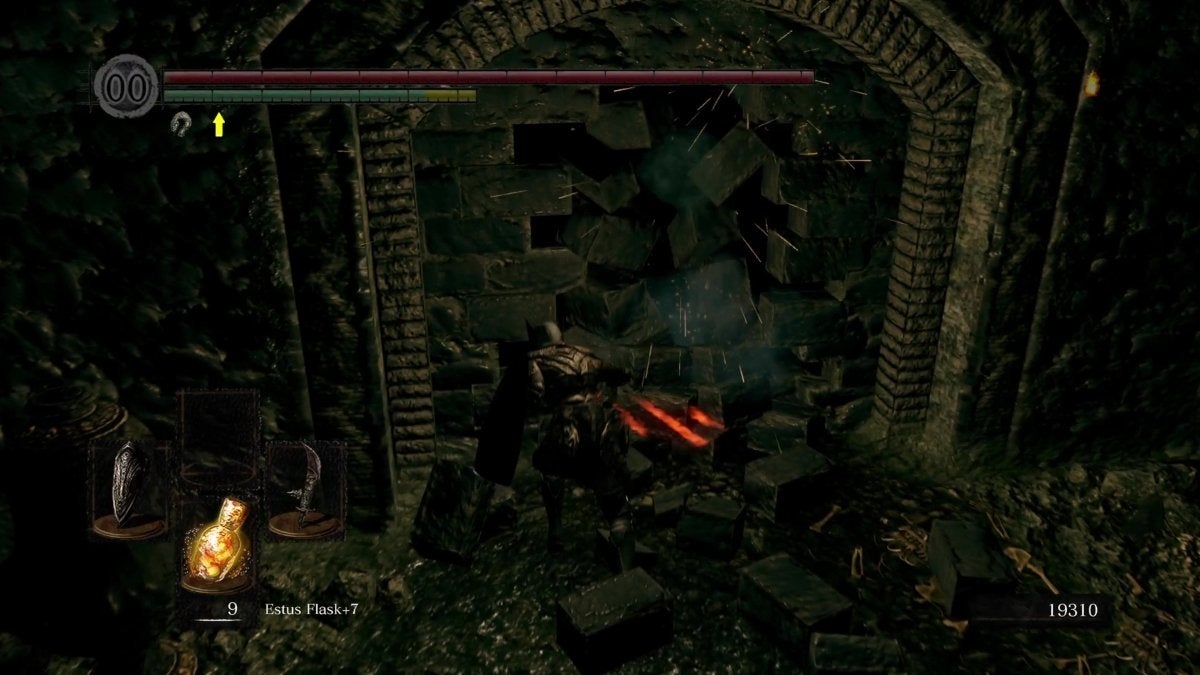
You’ll then come across an open doorway and an area on the wall to the right of the door with loose bricks. Strike this part of the wall to break through and open up a path.
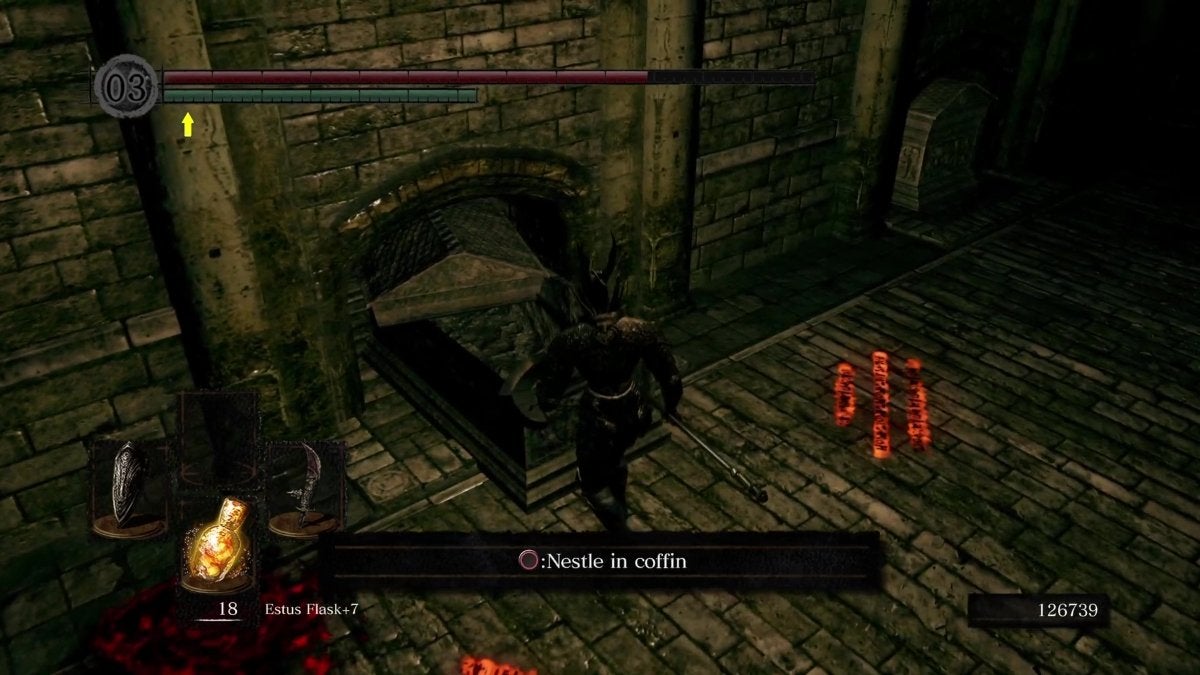
Locating the Transportation Coffin
If you head straight through this area, you’ll find a large coffin at the end that contains the Darkmoon Seance Ring. There are a ton of Skeletons here, as well as a Giant Skeleton that drops down from the ceiling just before you get to the giant coffin.
With that, head back up and pass through the exit next to the wall you broke open. Follow this path forward. Deal with the Skeletons and run past the Wisps here. You’ll eventually find another door at the end of this path. Head inside and keep heading forward.
You’ll find a Titanite Demon at the end of this area. Behind the demon are three Eyes of Death. Defeat the demon and pick up your loot. There’s a coffin near where the Titanite Demon is that’s half-opened.
Interact with this coffin to lie inside it. Wait for about 30 seconds and a cutscene will play.
You’ll then be taken straight to the boss arena of Gravelord Nito. However, you actually won’t be able to fight the boss yet. Instead, you can approach Nito’s giant coffin and you can join the Gravelord Servant Covenant. When you join the covenant, you’ll receive the Gravelord Sword and Miracle: Gravelord Dance.
Once done, interact with the coffin you arrived in to return to the area where you faced the Titanite Demon.
Getting Out of The Catacombs in Dark Souls
Make your way back to the previous bonfire. From here, head back down, and make your way to the doorway before the bridge. Head down the spiral staircase until you reach the dead-end. From here, look down and you’ll find a protruding ledge you can drop on. Be very careful. Drop down and make sure you land on the ledge.
Keep doing this until you reach the bottom. You’ll also find a Green Titanite Shard along the way. When you descend all the way, you’ll find a hole in the ground. Drop down the hole and a cutscene will play showing a skeletal blacksmith breaking through a nearby wall.
After the cutscene ends, turn around and light the bonfire to take a breather. Beyond, you’ll soon face the many-faced boss of The Catacombs in Dark Souls…
Facing Pinwheel, the Boss of The Catacombs in Dark Souls
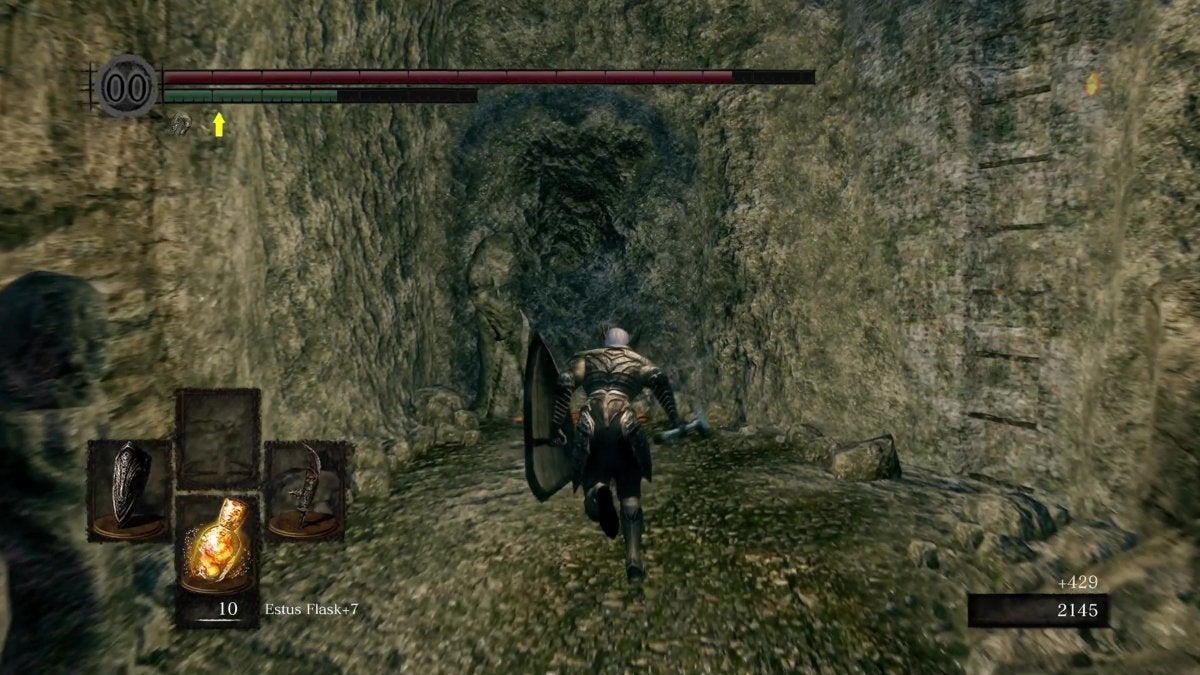
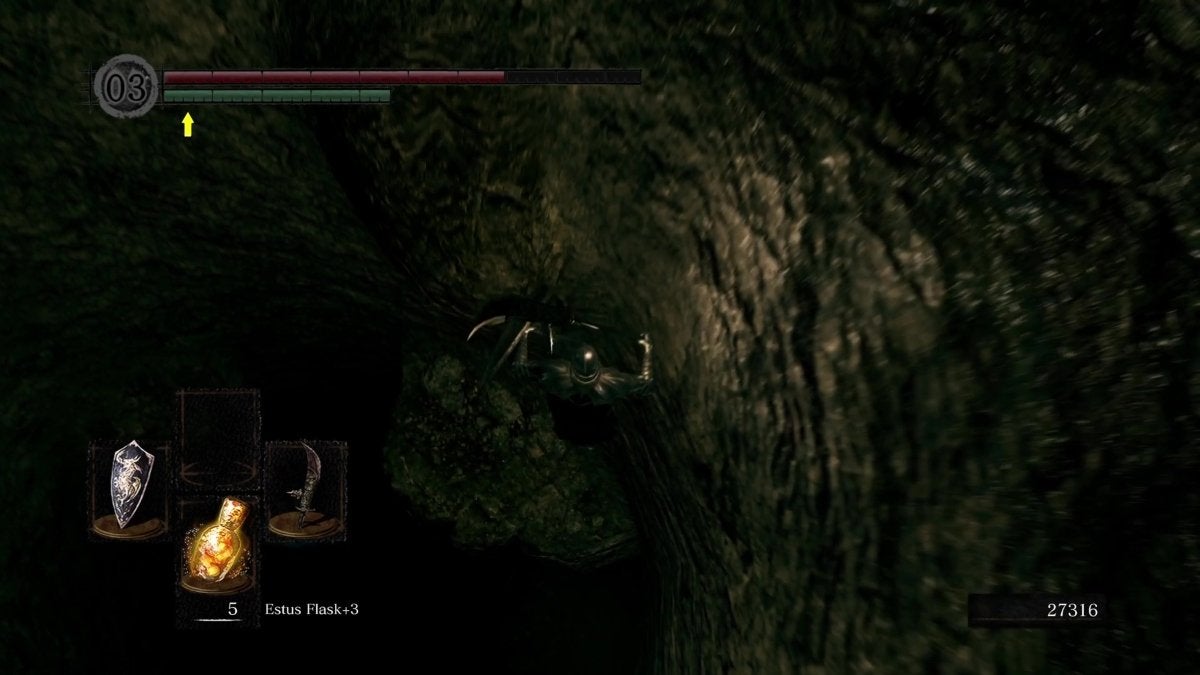
After resting at the bonfire, you can approach the blacksmith (named Vamos) for upgrades. Otherwise, pass through the hole in the wall and stick to the right. There are a lot of Wheel Skeletons here (also known as Bonewheels) that will roll towards you and deal continuous damage as long as they’re in contact with you.
Do battle or run past them (we recommend the latter). Keep going down this path until you find an area where you can drop down. A cutscene then plays, showcasing the boss you’ll face in this area: Pinwheel.
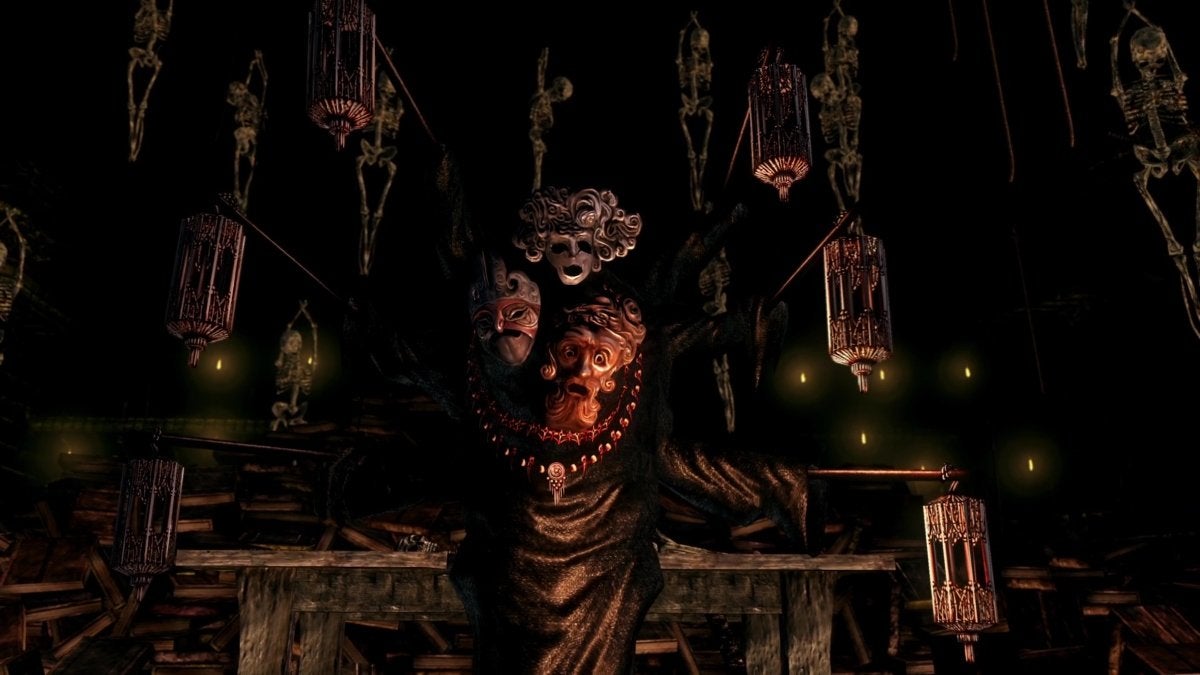
Pinwheel is one of Dark Souls‘ easiest bosses. Eliminate this boss as quickly as possible to avoid complications.
This boss only has three attacks for which you need to watch out. It most commonly throws fireballs at you. It can also do a flamethrower attack that spews a continuous flame rather than throwing singular fireballs at you.
On top of that, Pinwheel can create two copies of itself. Its copies will also send fire attacks your way.
That said, keep your sights on the original Pinwheel. As soon as the fight begins, run towards it and give it everything you have. All in all, this fight shouldn’t take long. Pinwheel is a particularly low health compared to everything you’ve faced so far in the game.
Pinwheel’s Drops
After defeating Pinwheel, you’ll receive the Rite of Kindling. This allows you to kindle bonfires and increase the number of Estus Flasks you hold to 15 and 20. Other than that, you also receive one Humanity, a Homeward Bone, and 15,000 Souls.
With that, you’ve officially cleared The Catacombs of Dark Souls. It’s time to prepare for the next area. Return to the previous bonfire if you have to, rest up, upgrade your weapons, and then return to Firelink Shrine for other important business.
The following part of your journey will challenge you way more than The Catacombs ever did. If you need to power up before heading down, consider visiting the Painted World of Ariamis to gain more Souls and loot first.